How to set consistent printed layers
Would anyone help with the topic related to PrusaSlicer settings in order to achieve consistent printed layers:
RE: How to set consistent printed layers
You ask if anyone can print out the same cylinder in the other post but you haven't included the model you would like people to print.
If you want slicing help then the best way to do that is to save your project (Save As from the file menu) which will save a .3mf file. ZIP up the 3mf file otherwise the forum wont accept the file type. Attach the zip file to your post here and then we can slice it and see what the preview gives us. That will allow us to use exactly the same settings you are using as the project file contains not only your model but all of the print, filament and printer settings you are using.
We can then print if needed (after changing the print profile to match our non bondtech printer) and see if we can get different results.
RE: How to set consistent printed layers
Here is the PrusaSlicer 3MK file attached.
RE: How to set consistent printed layers
OK, when I get in this evening after work I will try this. I actually have some mystic brown. I dont have a mini though, I have a MK3 that is using a Bunny & Bear geared extruder so I suppose it has a geared output a bit like your bondtech.
RE: How to set consistent printed layers
Lots of customization - like a Bondtech extruder. So any comparisons will be apples to oranges. I am printing the part with my stock Mk3 with 0.15 mm layers and will post a print in a few minutes, to show what a quick print on my Mk3 can do.
I let the thing run full speed using the Prusament profile, not my own PLA profile. Seams are whatever they were set to - I think random.
RE: How to set consistent printed layers
Printed using my defaults:
RE: How to set consistent printed layers
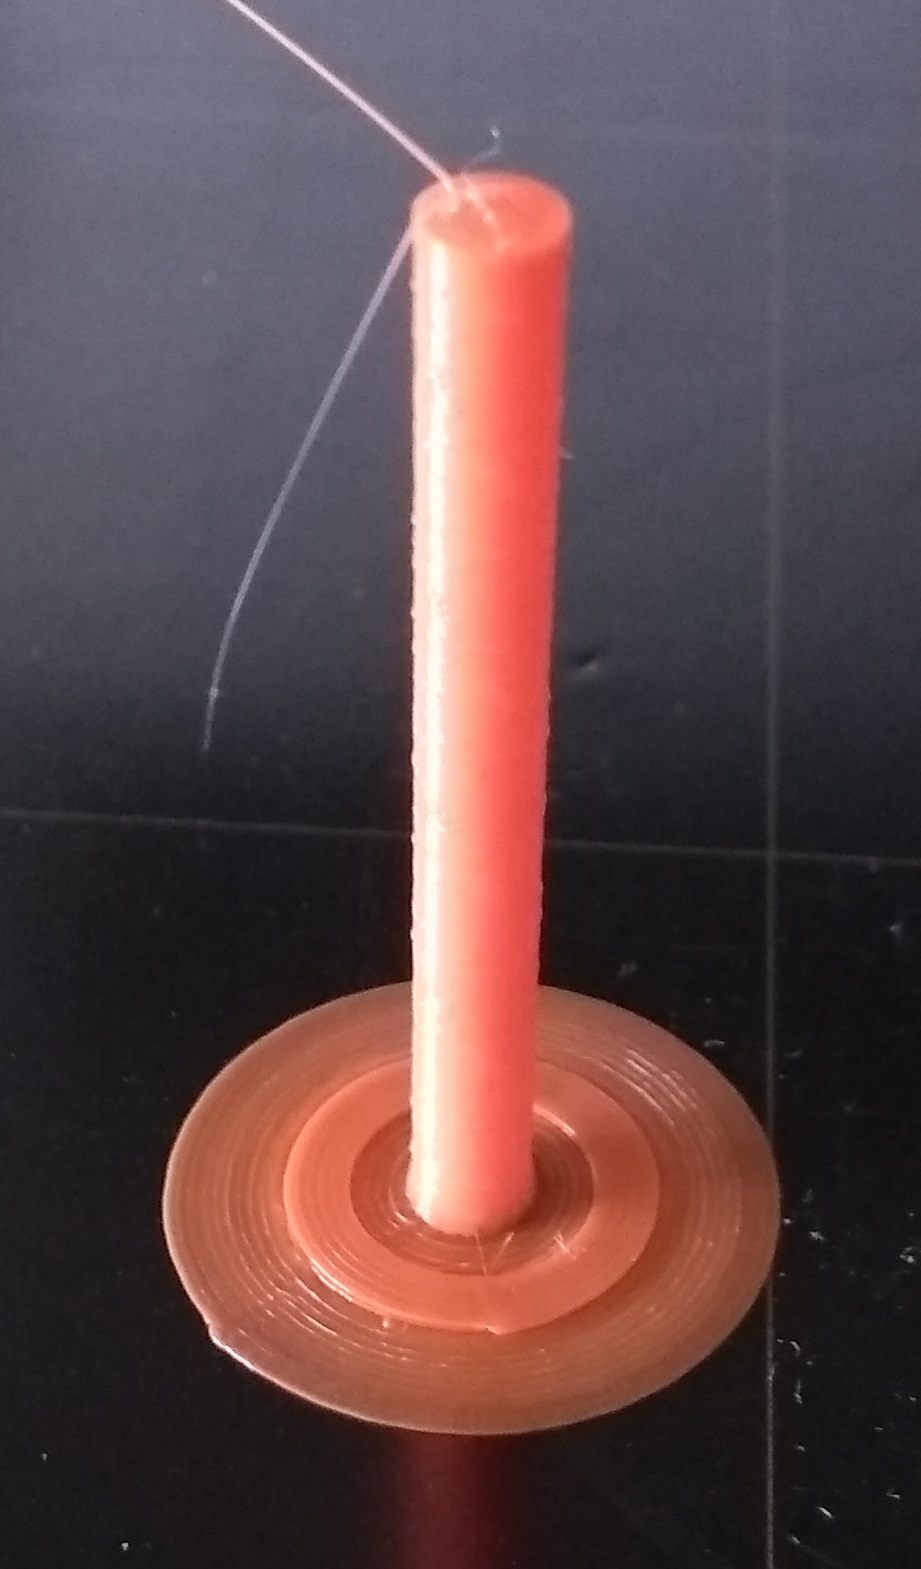
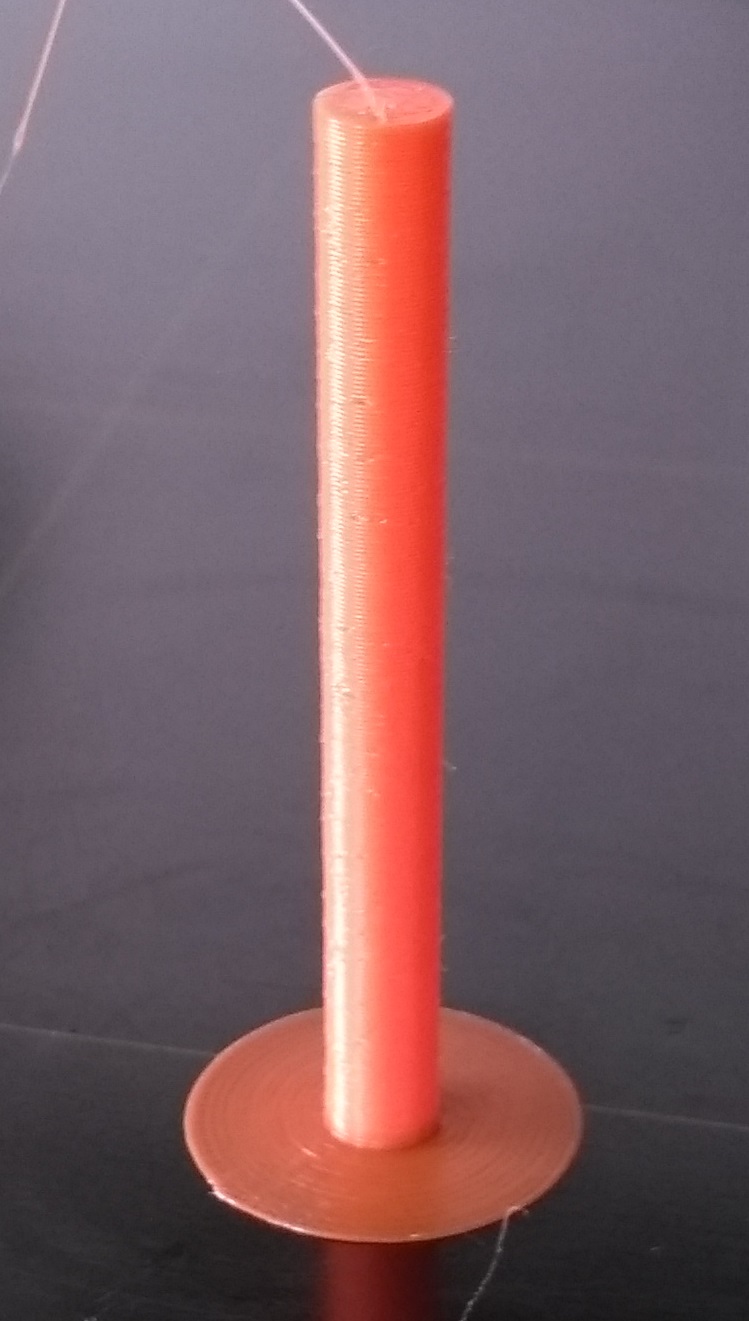
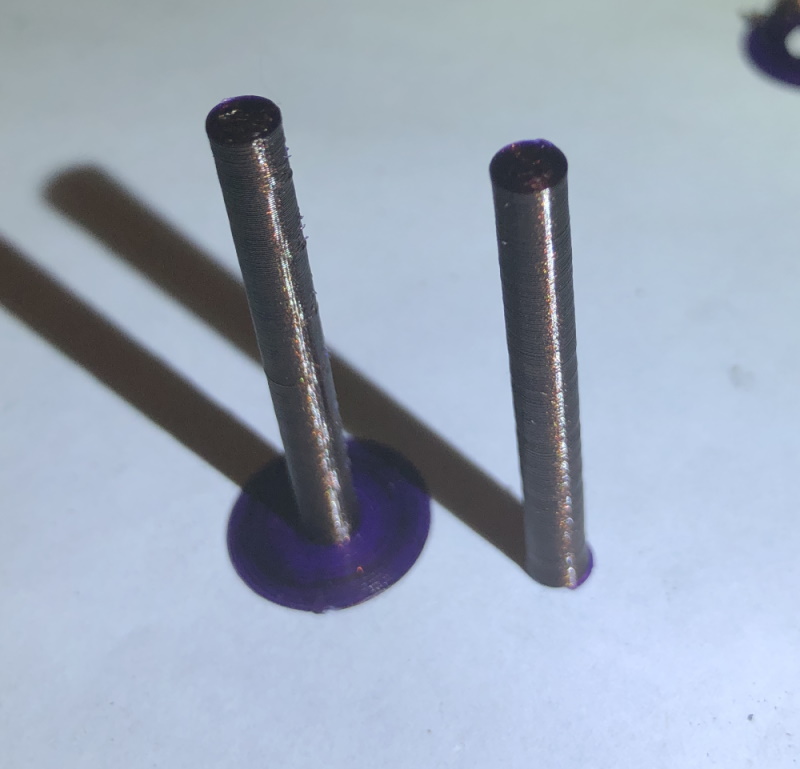
I printed off 2 of them in mystic brown. The first with your settings but my printer selected, the second with my usual print and filament settings. Left is your settings, right is my settings. Both had the brim for printing but mine has a tuned brim setting which mostly came off when I removed it from the bed.
Neither exhibit anything like your prints. The left one has some seam artifacts, the regular pattern on them is caused by the seam being moved in response to where the infill is located with gyroid as it moves up the part. For the right hand part I just used rear seam and rectilinear infill as I think its better on tall thin parts like this.
I think whatever is happening with your prints is down to the printer rather than the output gcode, unless of course there's something weird going on with the filaments Linear Advance settings.
RE: How to set consistent printed layers
Ditton on what neoplyl said. I'd look first at part cooling. Melted plastic on a part like this is from either trying to print too fast (the Prusament profile used is definitely too fast) or the part cooling fan isn't working as it should. Either the fan is not running, or the fan shroud is pointing the wrong way, or... Plus, the images you posted of this in that other thread show that the part only starts having issues when the "build" is only this part: hence, less time between layers: another way to say part cooling is the issue.
But my config called for an 18 minute print, whereas the Prusament config did the print in 9 minutes.
RE: How to set consistent printed layers
Would you send me your config or it's confidential?
RE: How to set consistent printed layers
Not sure who you are asking - so I'll reply, too.
My config is nearly all defaults. In printer I have a modified Startup gcode to reduce ooze prior to bed level. And my only change to the generic PLA profile is I accept a bit faster cooling when printing small layers (the opposite of what will help your issue). and I set a flow limit. So nothing in my config will help you.
Printer: MK3 (anti-ooze);
Filament: Generic PLA (slow down if under 4 second layer time);
Print: add brim, no skirt
Anyhows: here's my config.
RE: How to set consistent printed layers
I tried printing using this recommended settings:
- lower retraction and de-retraction speed = 35mm/s.
- The wipe is changed from 70% to 10%.
- Retraction distance is reduced to 2.2mm.
Here are the results following the 3D printing sequence:
- 01_Bondtech settings_215C.jpg - 1st print: Using your recommended settings at 215C. When I was removing the cylinder it separated from the brim. The cylinder separated from the heatbed easily and brim fell once I removed the cylinder.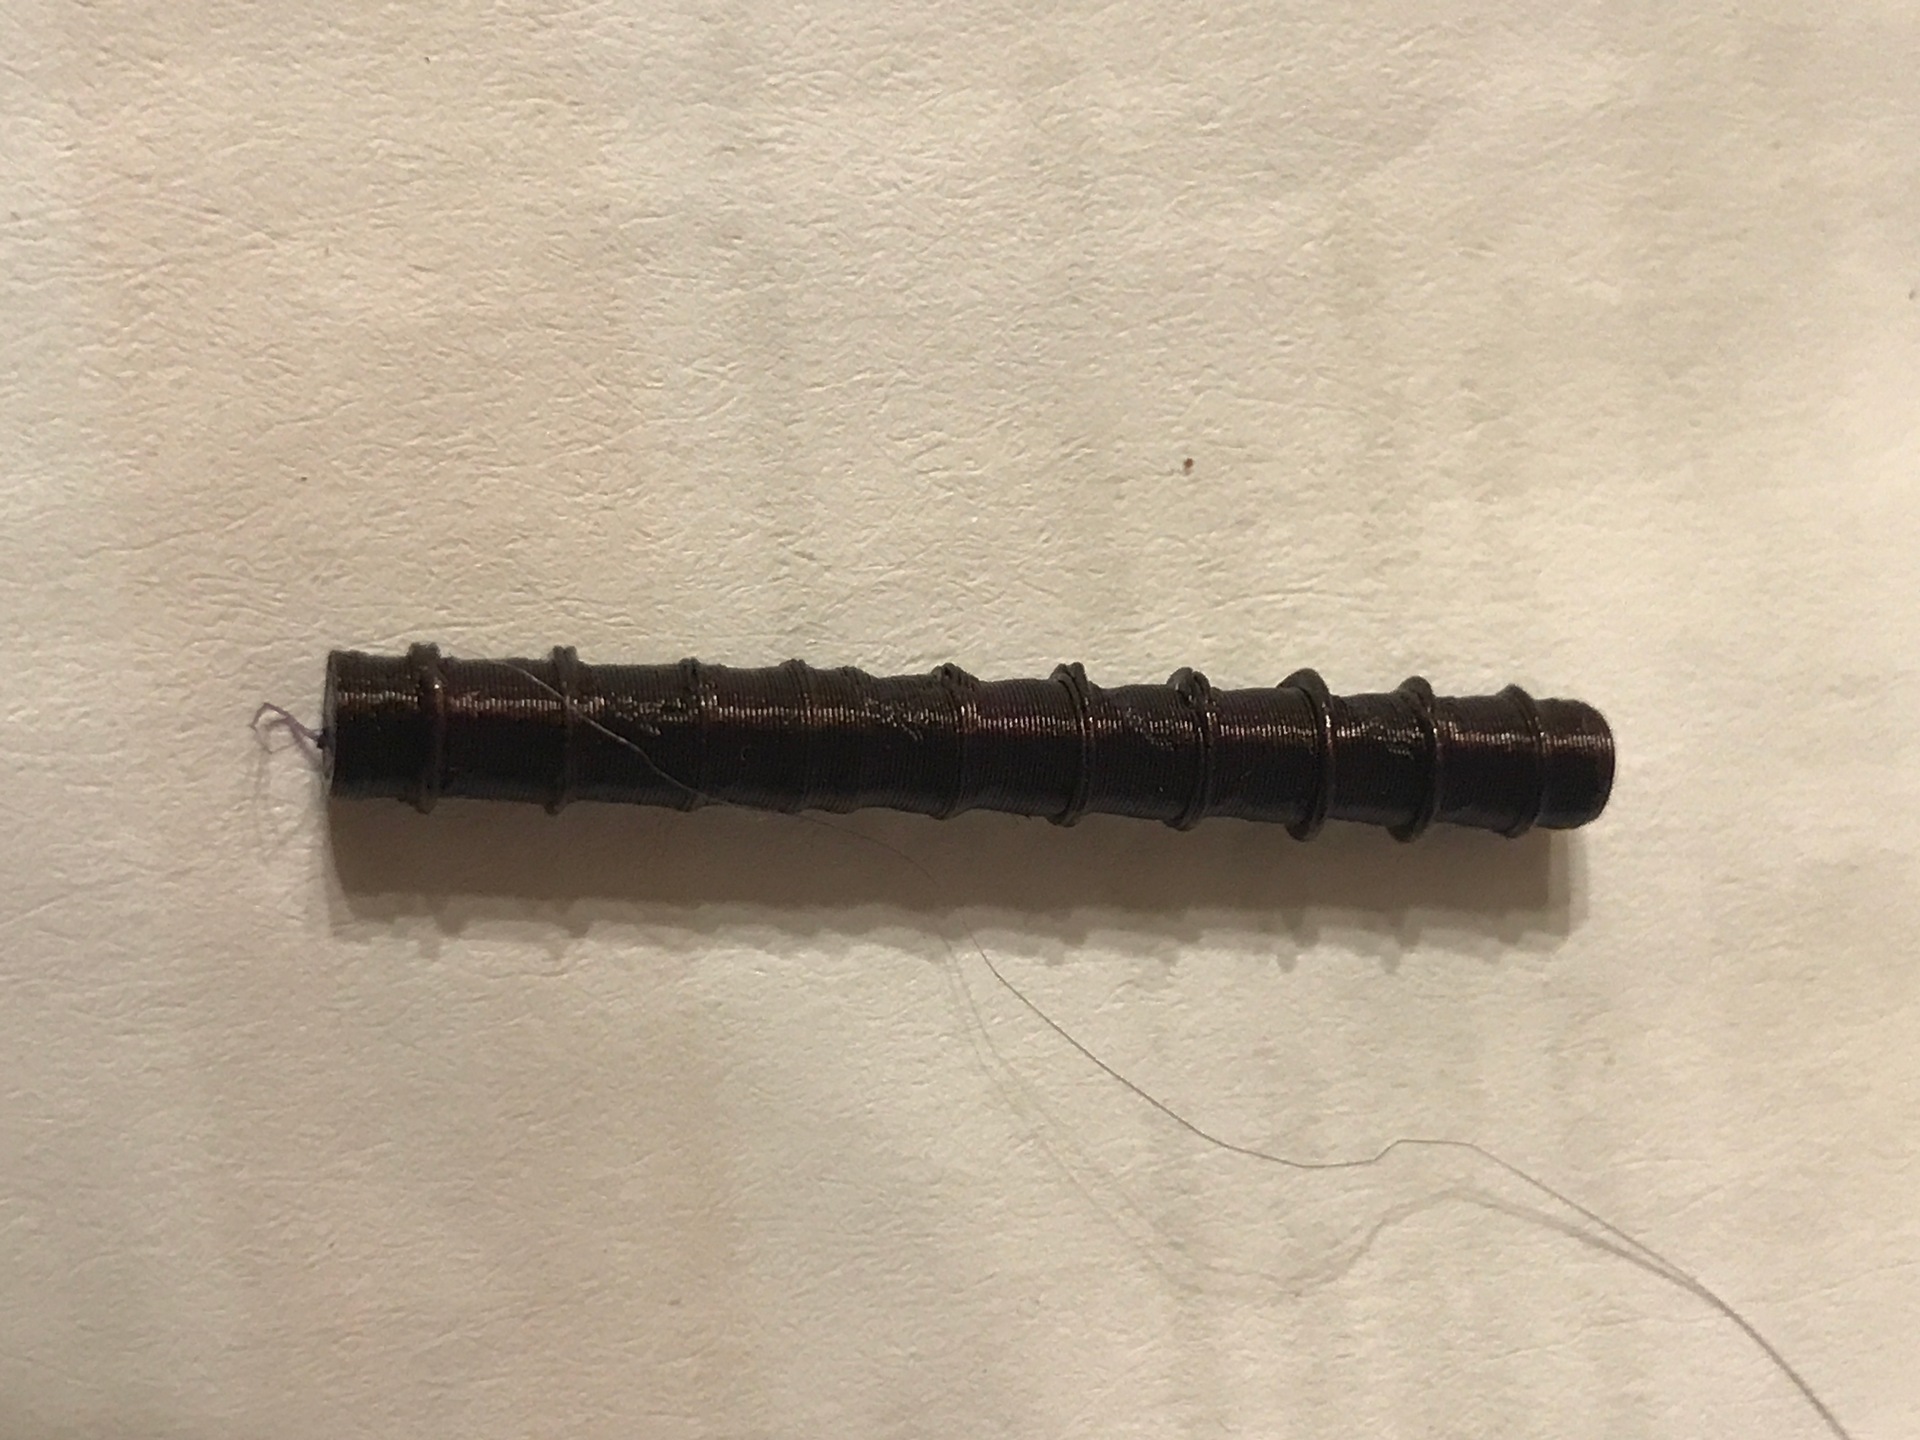
- 02_Bondtech settings_230C.jpg - 2nd print: Using your recommended settings at 230C. The cylinder separated from the heatbed not so easy.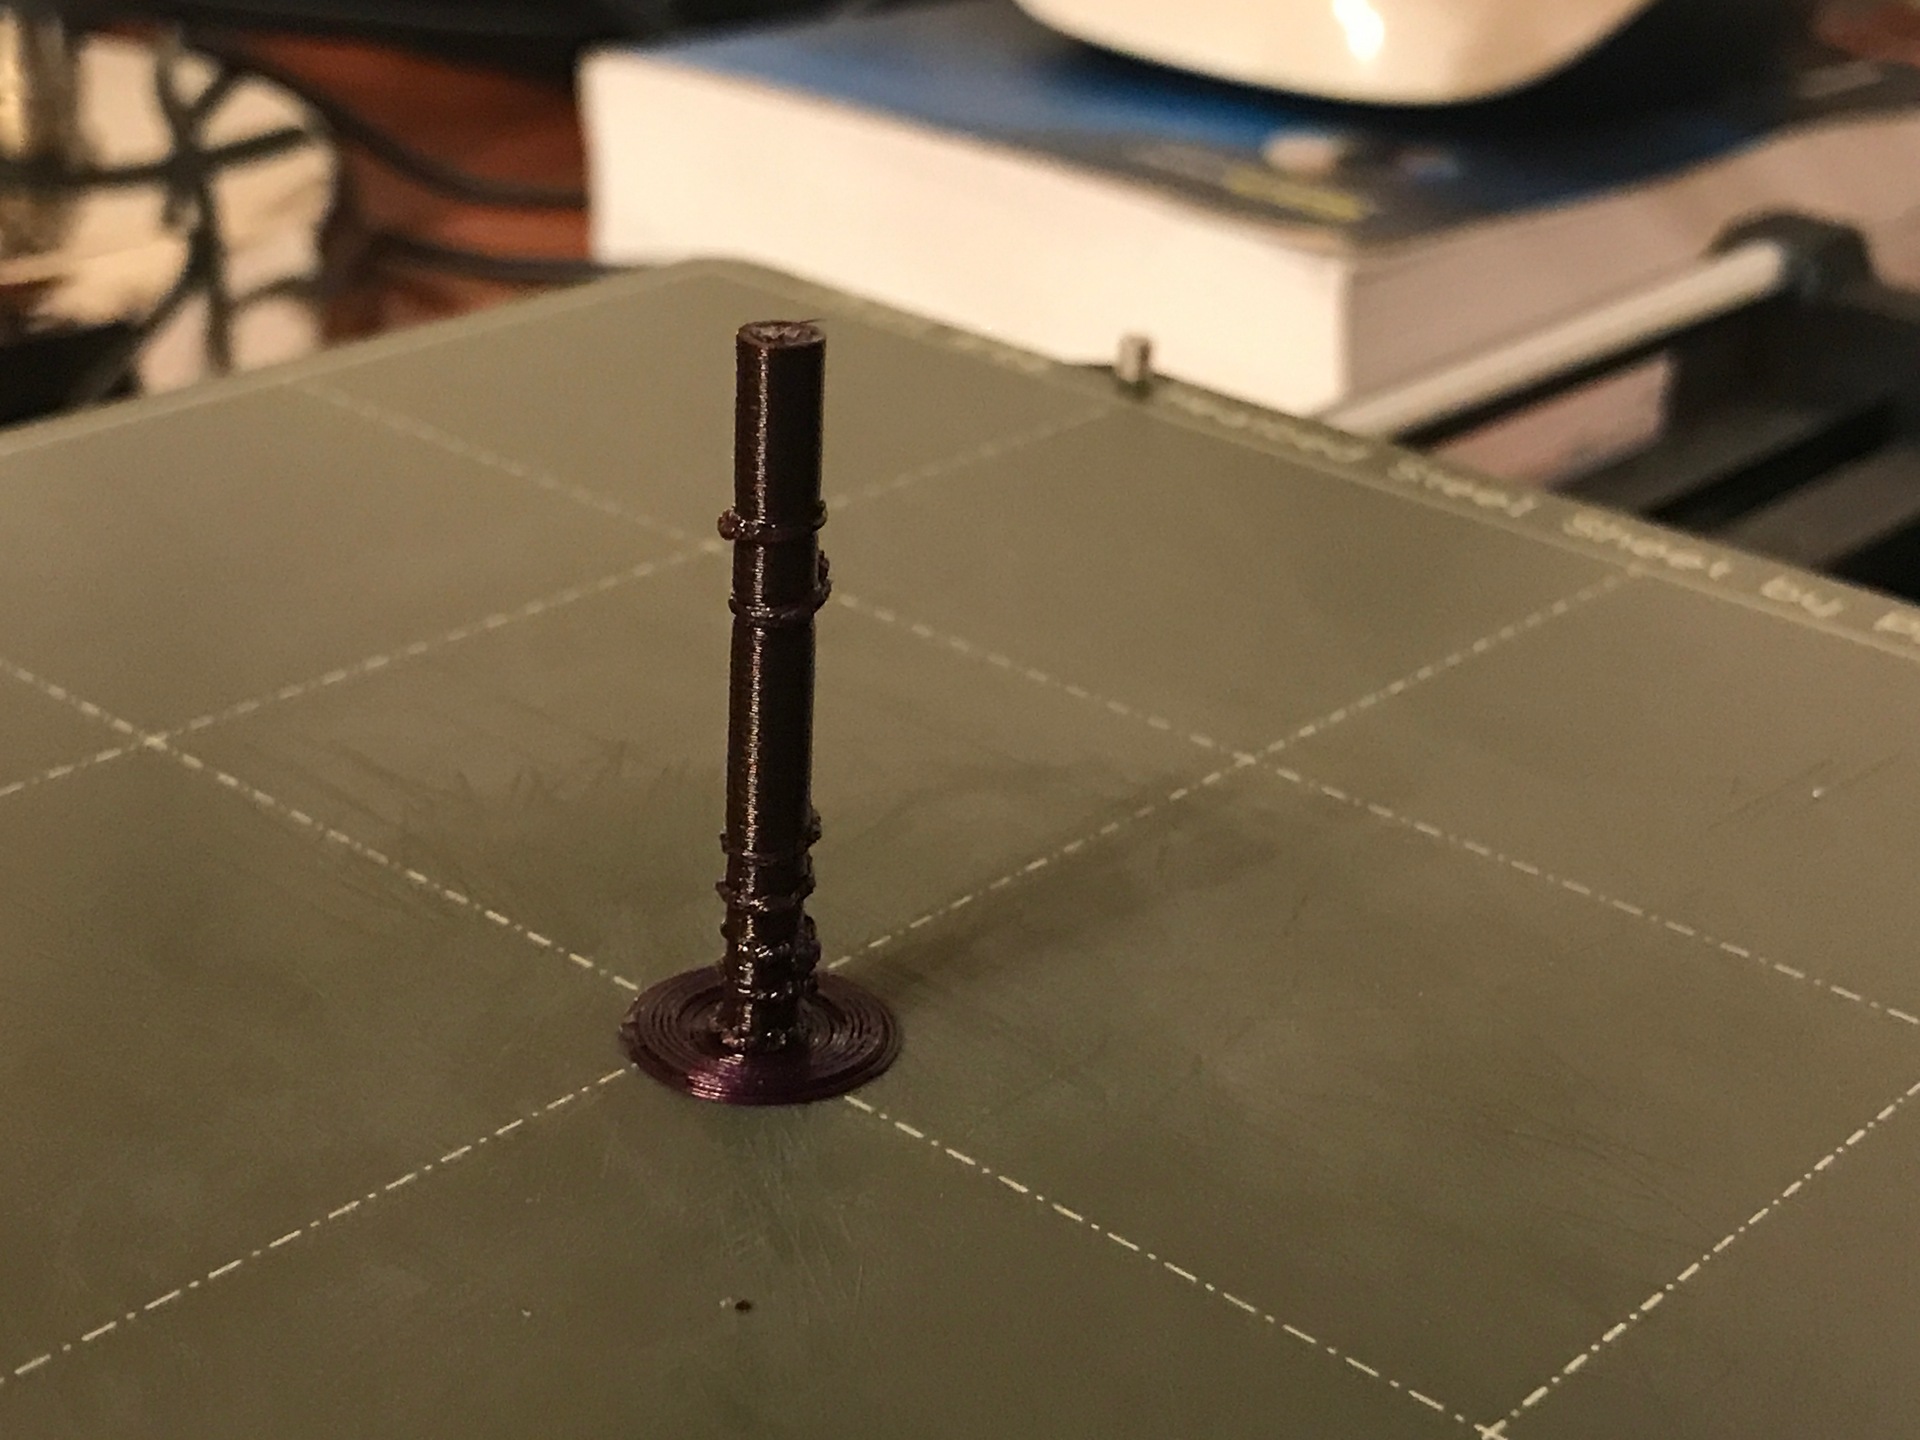
- 03_Default settings_230C.jpg - 3nd print: Using default settings at 230C. The cylinder separated from the heatbed very difficult.
- 04_Default settings_230C.jpg - 4th print: Using default settings at 230C. The cylinder separated from the heatbed very very difficult.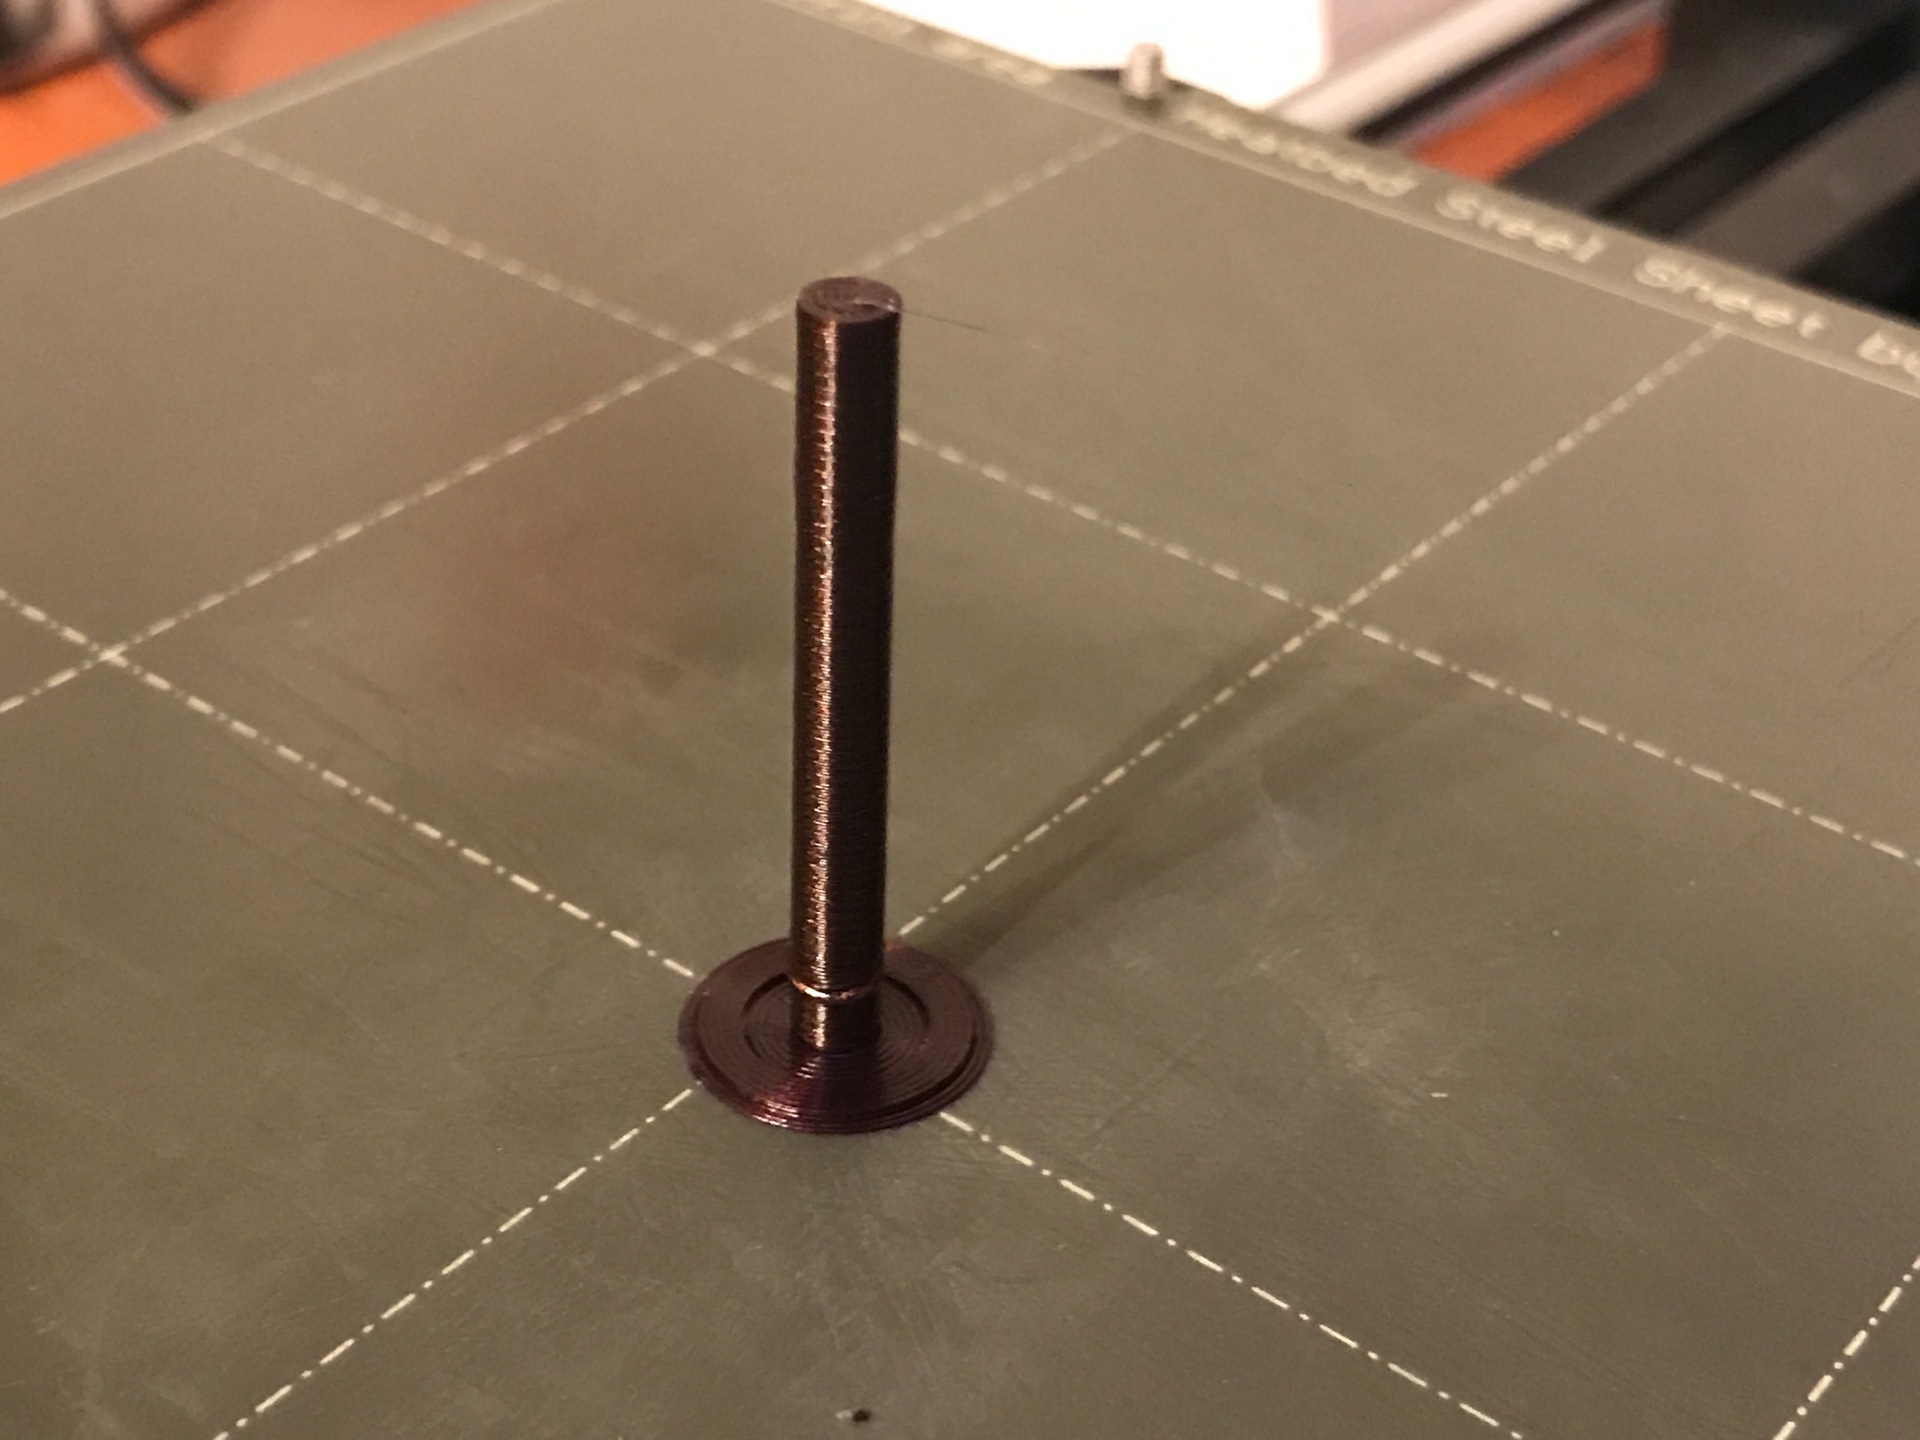
- 05_Default settings_215C.jpg - 5th print: Using default settings at 215C. The cylinder separated from the heatbed very very difficult.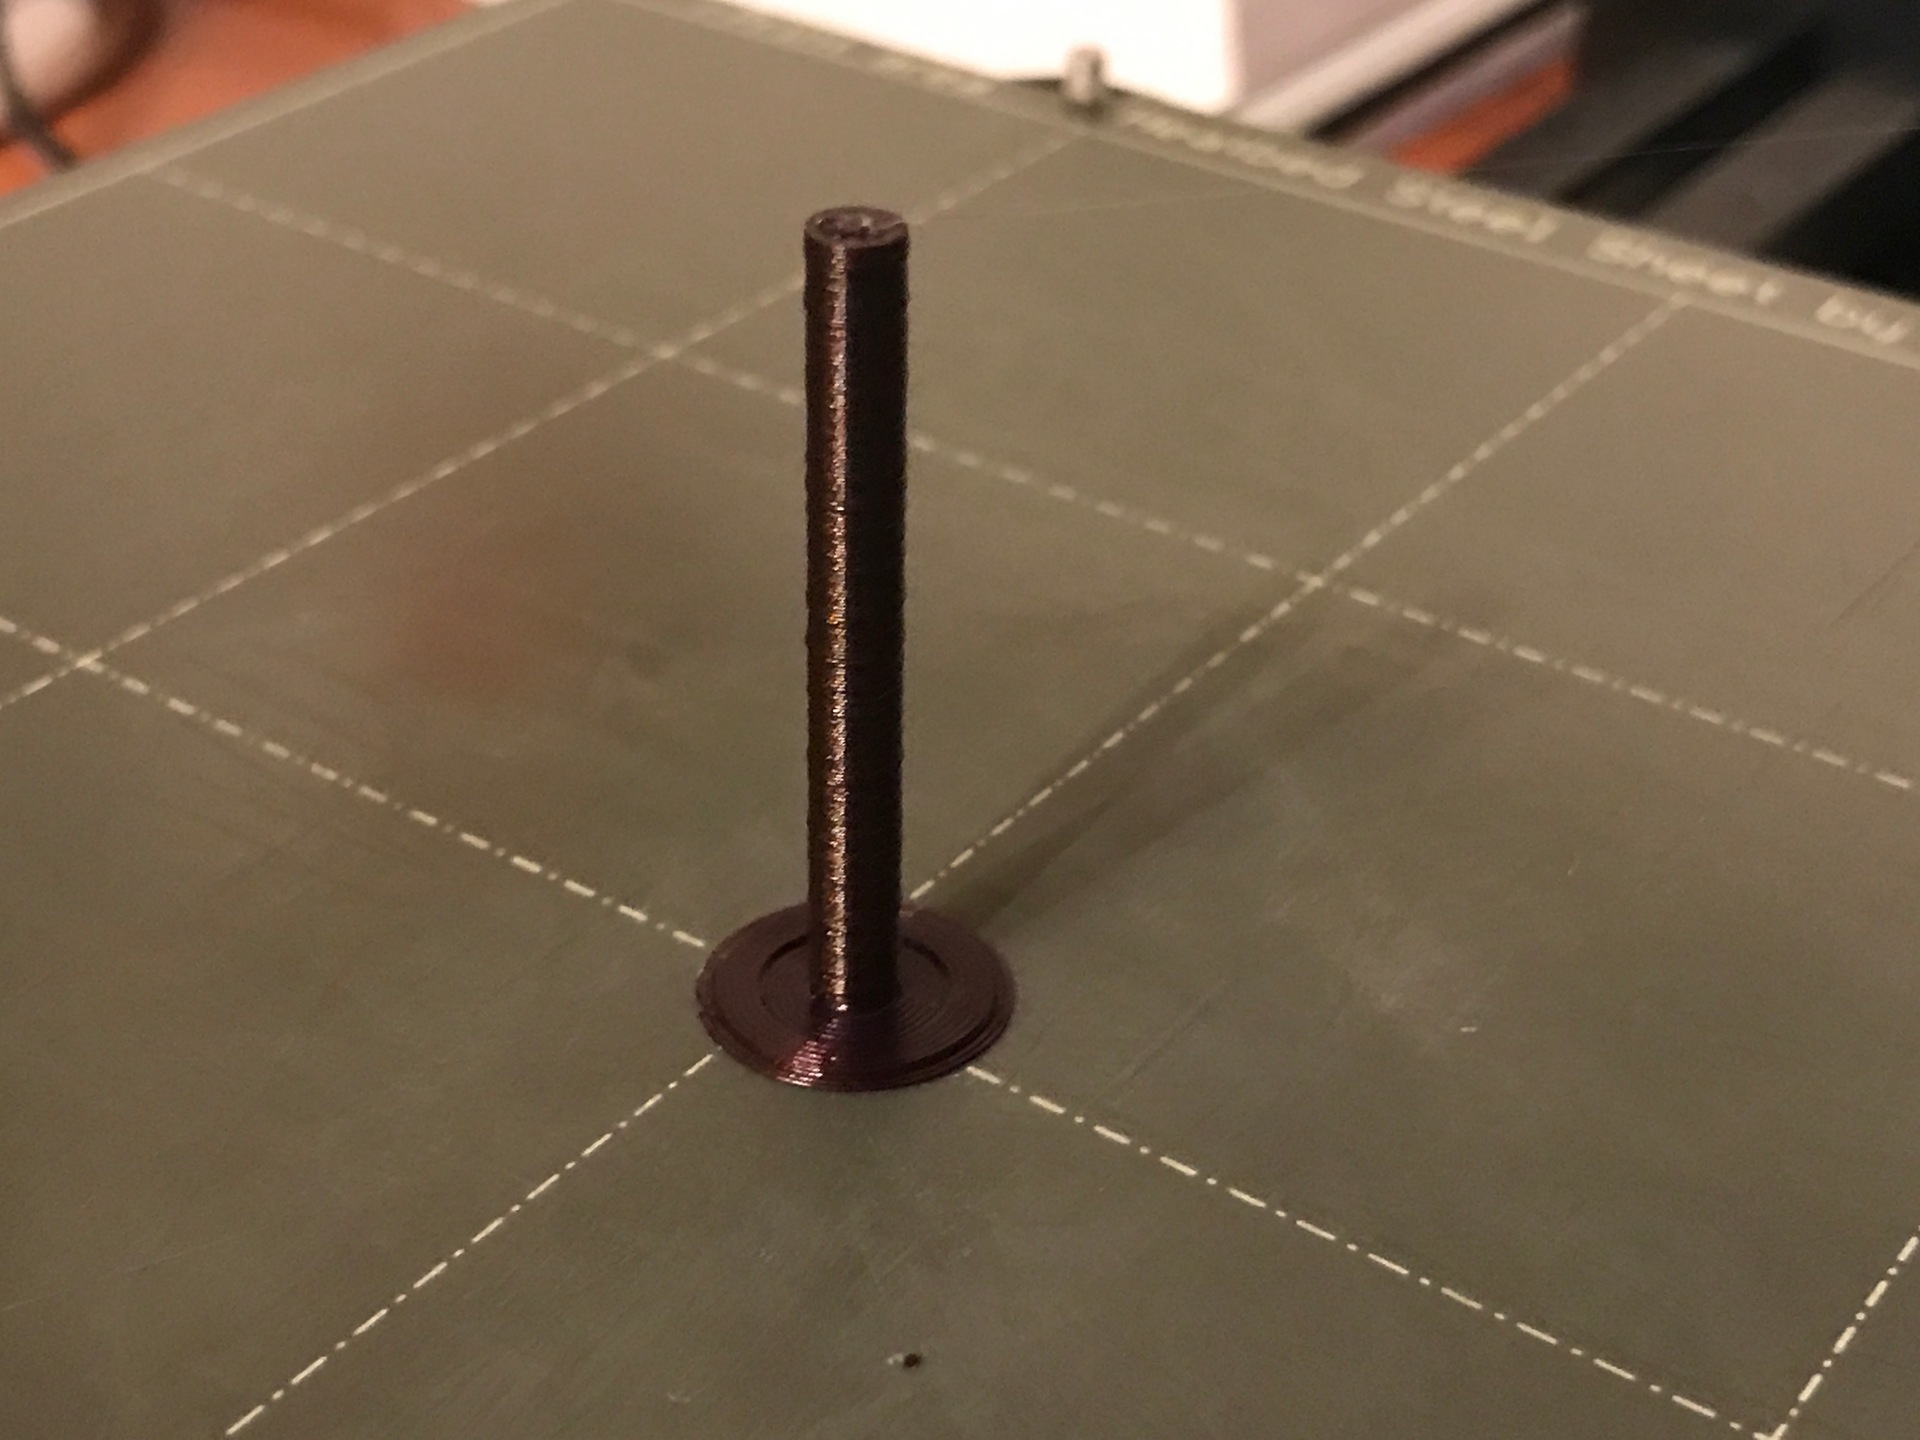
- 06_Bondtech settings_215C.jpg - 6th print: Using your recommended settings at 215C. At the end of the printing process the cylinder wobbled at the upper part and separated from the heatbed very very easily.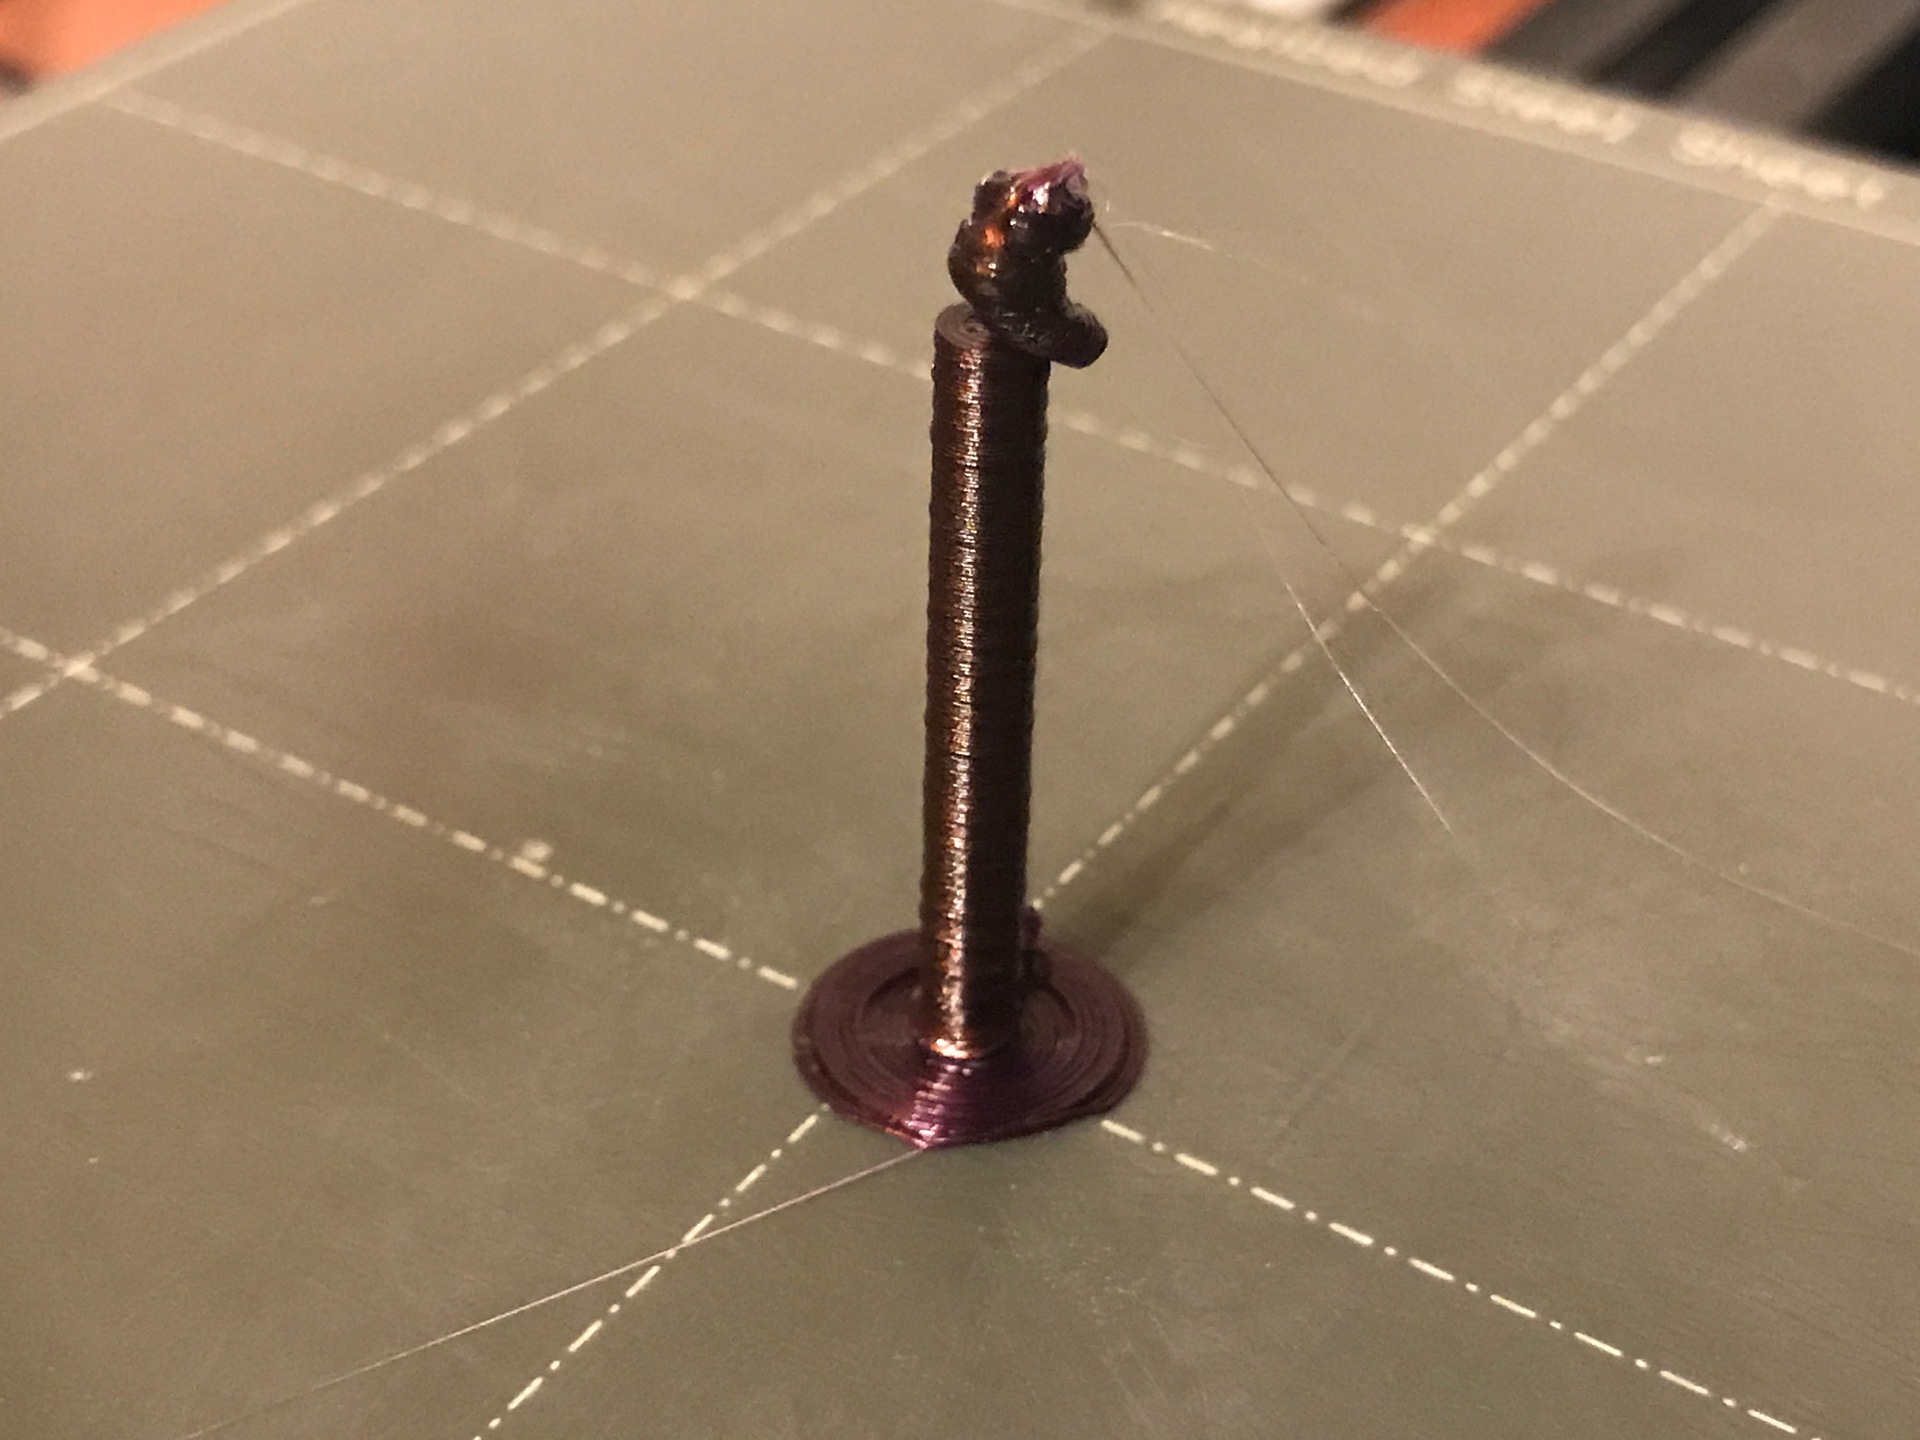
- 07_Bondtech settings_215C.jpg - 6th print: Using your recommended settings at 215C. I put supporting base (another low wide cylinder) and as you can see at the button it's OK while going up causes problems.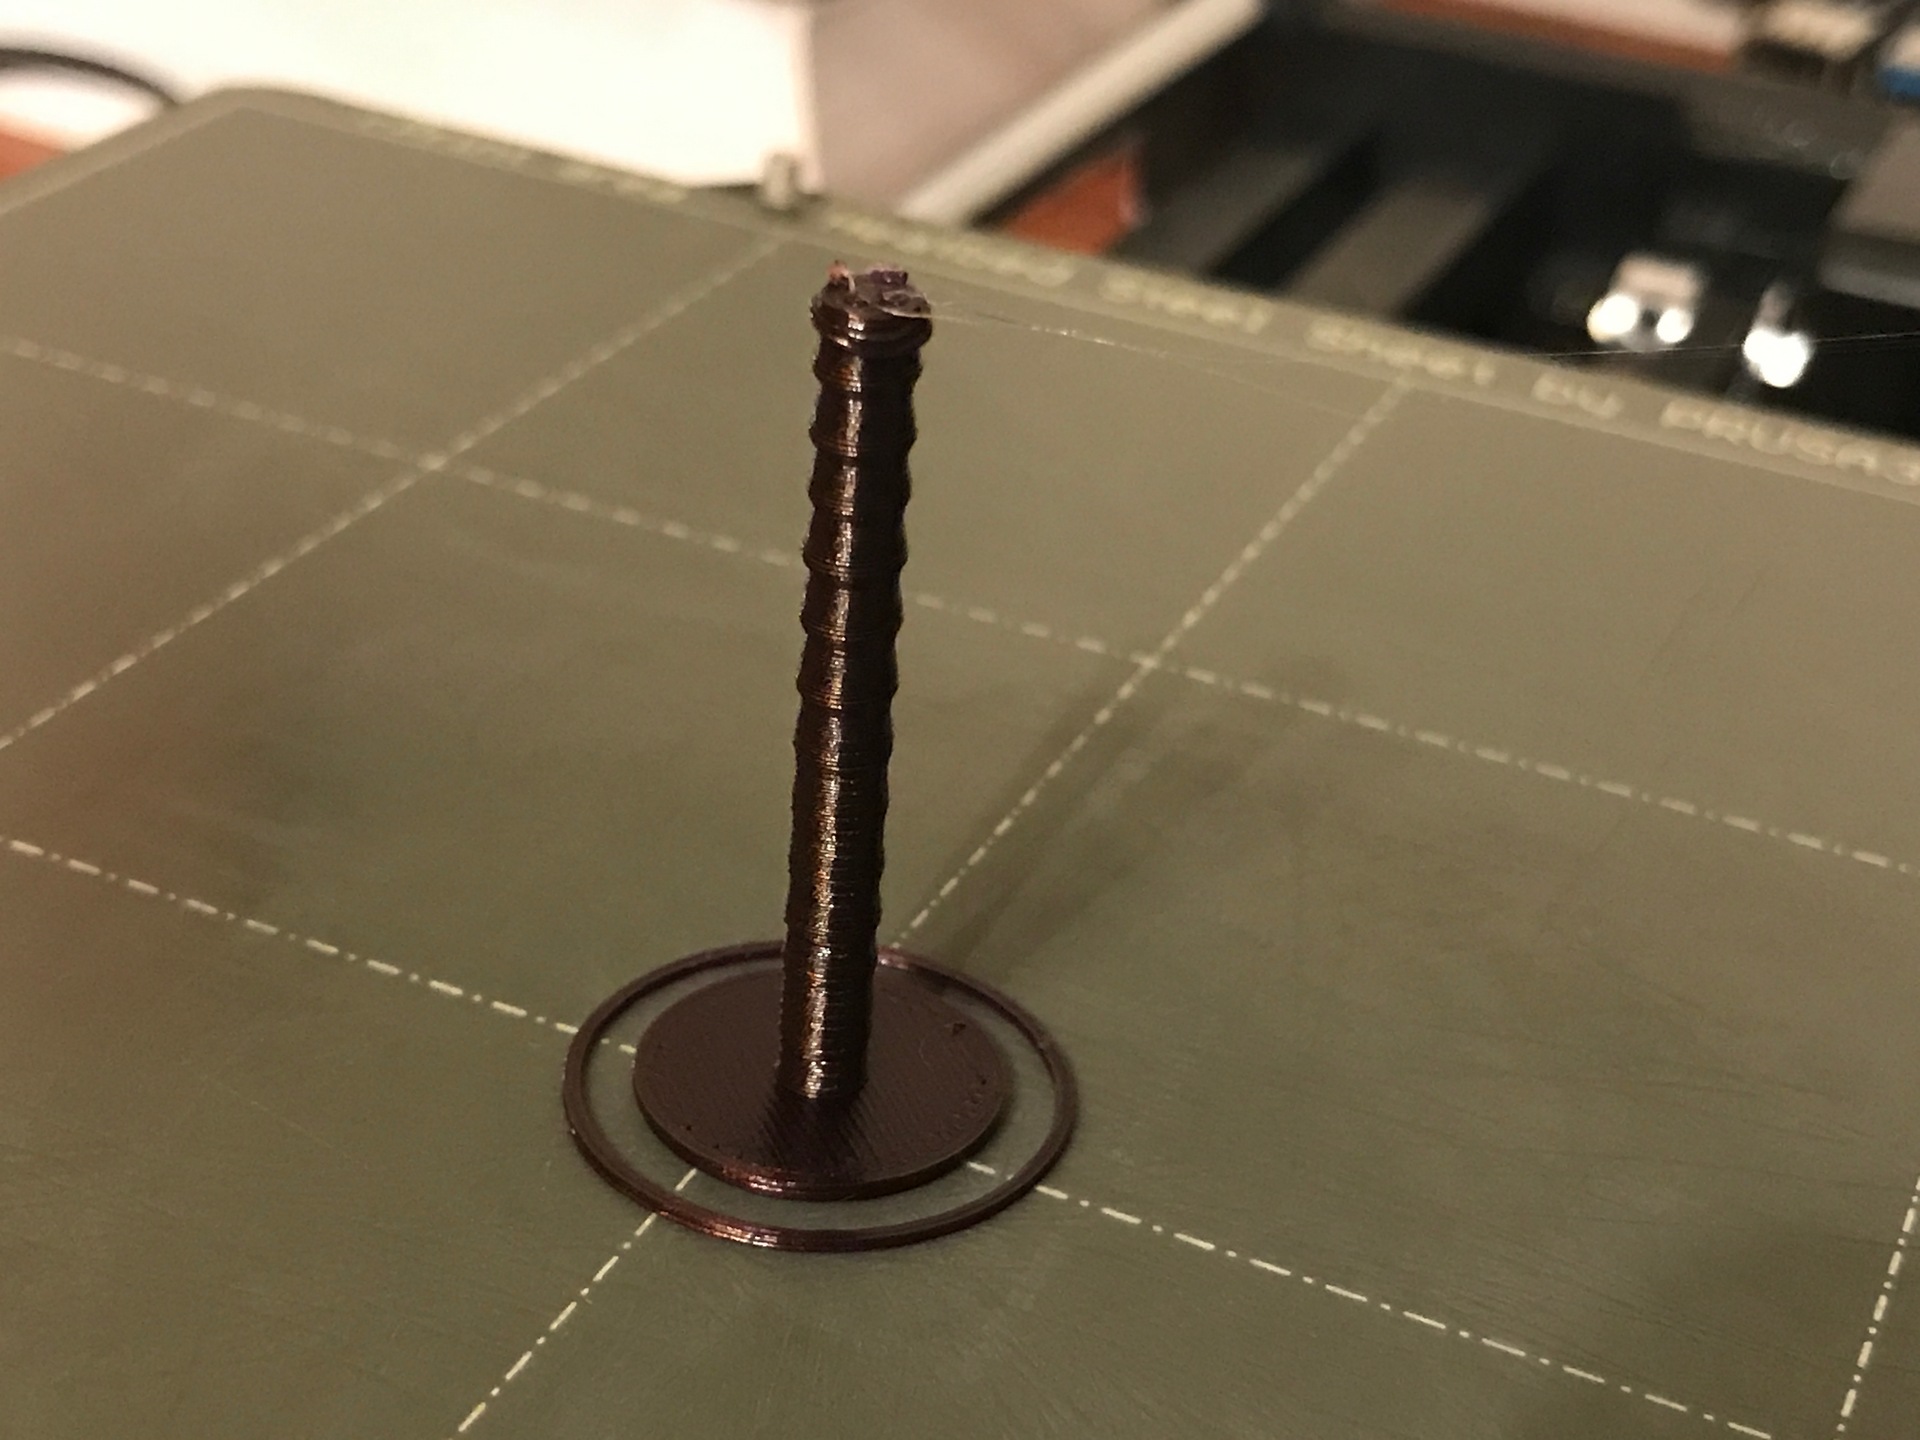
My conclusion is:
- If the tall cylinder is stuck to the base very very well it does not wobble and does not cause the visible rings - see print 03,04,05 and 07.
- At 230 degree the filament is more liquid and does not cause wobbling of the cylinder so - no rings. The Prusament Mystic Brown is a very dense and sticky filament at temperatures like 215C.
- I think that PINDA probe is also involved as it is not temperature compensated (like MINDA) and changes its readings during printing process and stickiness to the base.
- The Gyroid pattern causes irregular levels building in this case.
- Heaving a sticky heatbed surface is also very important.
Any recommendations or thoughts?
RE: How to set consistent printed layers
First the PINDA as used on the MK3 is temperature adjusted. The MINDA as used on the mini is not. If those large rings around the column are caused by your nozzle forcing it to move (which is what your description sounds like) then you are possibly over extruding plastic. The nozzle should not be hitting the part as it prints and from my and Tim's goes you can see that the same model with the same base prints fine. Even with a small 5mm brim.
There are several usual suspects when your nozzle hits the part.
-One the part is warping up from the bed and so goes higher. That doesnt look like whats happening to you.
-You are extruding too much plastic. With this example though I would expect that the bulge the wall out more, plastic going up occurs when it cant go out the sides and this is basically a 2 perimeter mostly hollow tube.
-Theres something wrong with your z axis, such that its not raising up the correct amount for each layer. I dont have a mini so I dont know how likely that is with the design. Personally if I had it I would check all the axis are square and perpendicular to each other. Just to rule it out.
I would then be printing some hollow cubes and checking the wall thickness to confirm my extrusion multiplier for that filament is correct. Basic trouble shooting steps as again I do not think your underlying issue has anything to do with the g-code as produced by the slicer.
RE: How to set consistent printed layers
Yes, I also think that the nozzle with the fillament is pressing the previous layer and causes this strange bulgings on the side.
This could be:
- not corectly working Z-Axis, BUT as you see on pic 4 and 5 everything is OK. The only temperature related component for me is the PINDA probe and I suspect it has a huge role in this issue. I will order a new one just to be safe.
- it is quite possible that the extruder is extruding too much plastic - will have to calibrate it for this material. But in this case why pic 4 and 5 are ok!?!
- I tripple checked the X-Y-Z and they are perpendicular to each other. Also the X-Y is flat with up to 0.07 mm. deviation.
RE: How to set consistent printed layers
@sth-udoma
You really should try a simple default set up --- I have no idea why you feel you need to adjust things like retraction or wipe parameters or even use 230 instead of the Prusa recommended 215 (which is too hot for Prusament on my printer).
Also - the PINDA (or MINDA on the Mini) affects layer 1, period -- and has no effect on layer 2 and up.
The print sheet in those last photos looks layered in something. And I suspect that something is preventing the PLA from sticking; thus your part is prone to falling over. But - other photos show you are somehow defeating the cooling profile for the filament, and instead of waiting between layers are printing each layer as fast as possible, and not giving the layer a chance to cool; and this lets the nozzle drag the plastic around.
This seems to me to be a user problem, not a software or machine problem.
ps: I've printed Mystic Brown ... 210 works quite well.

Left is simply printing slower.
RE: How to set consistent printed layers
One other possibly unrelated observation, in all your pics of the part on your bed I notice that it is offset to the right. Iirc the part is centred in Prusa Slicer. This would indicate there is some problem with the calibration on the printer, or at least it would on a MK3. Being a few mm off is not unusual but that is more than I would expect.
Also it is worth checking that Z axis movement is not binding in spots which would cause irregular height issues.
Ps Tim is quite correct that the Minda probe only works to set the first layer distance, once that is done it doesn't do anything else. However I suppose that a faulty Minda probe that is sending false readings could cause other issues. You would have to be very familiar with the Mini/Buddy board firmware to have a clue as to that though.
It may be worth using the online chat option to talk to Prusa support staff. Also you could check the Mini github issues page to see if anyone else has had a similar issue https://github.com/prusa3d/Prusa-Firmware-Buddy/issues?q=is%3Aissue+is%3Aopen+sort%3Aupdated-desc
RE: How to set consistent printed layers
Hi!
I think I managed to find what causes all my problems.
On the following picture there are 3 frogs. Two of them are printed before upgrading to Bondtech extruder and hot-end, one of them I printed now. Guess which is the new one?
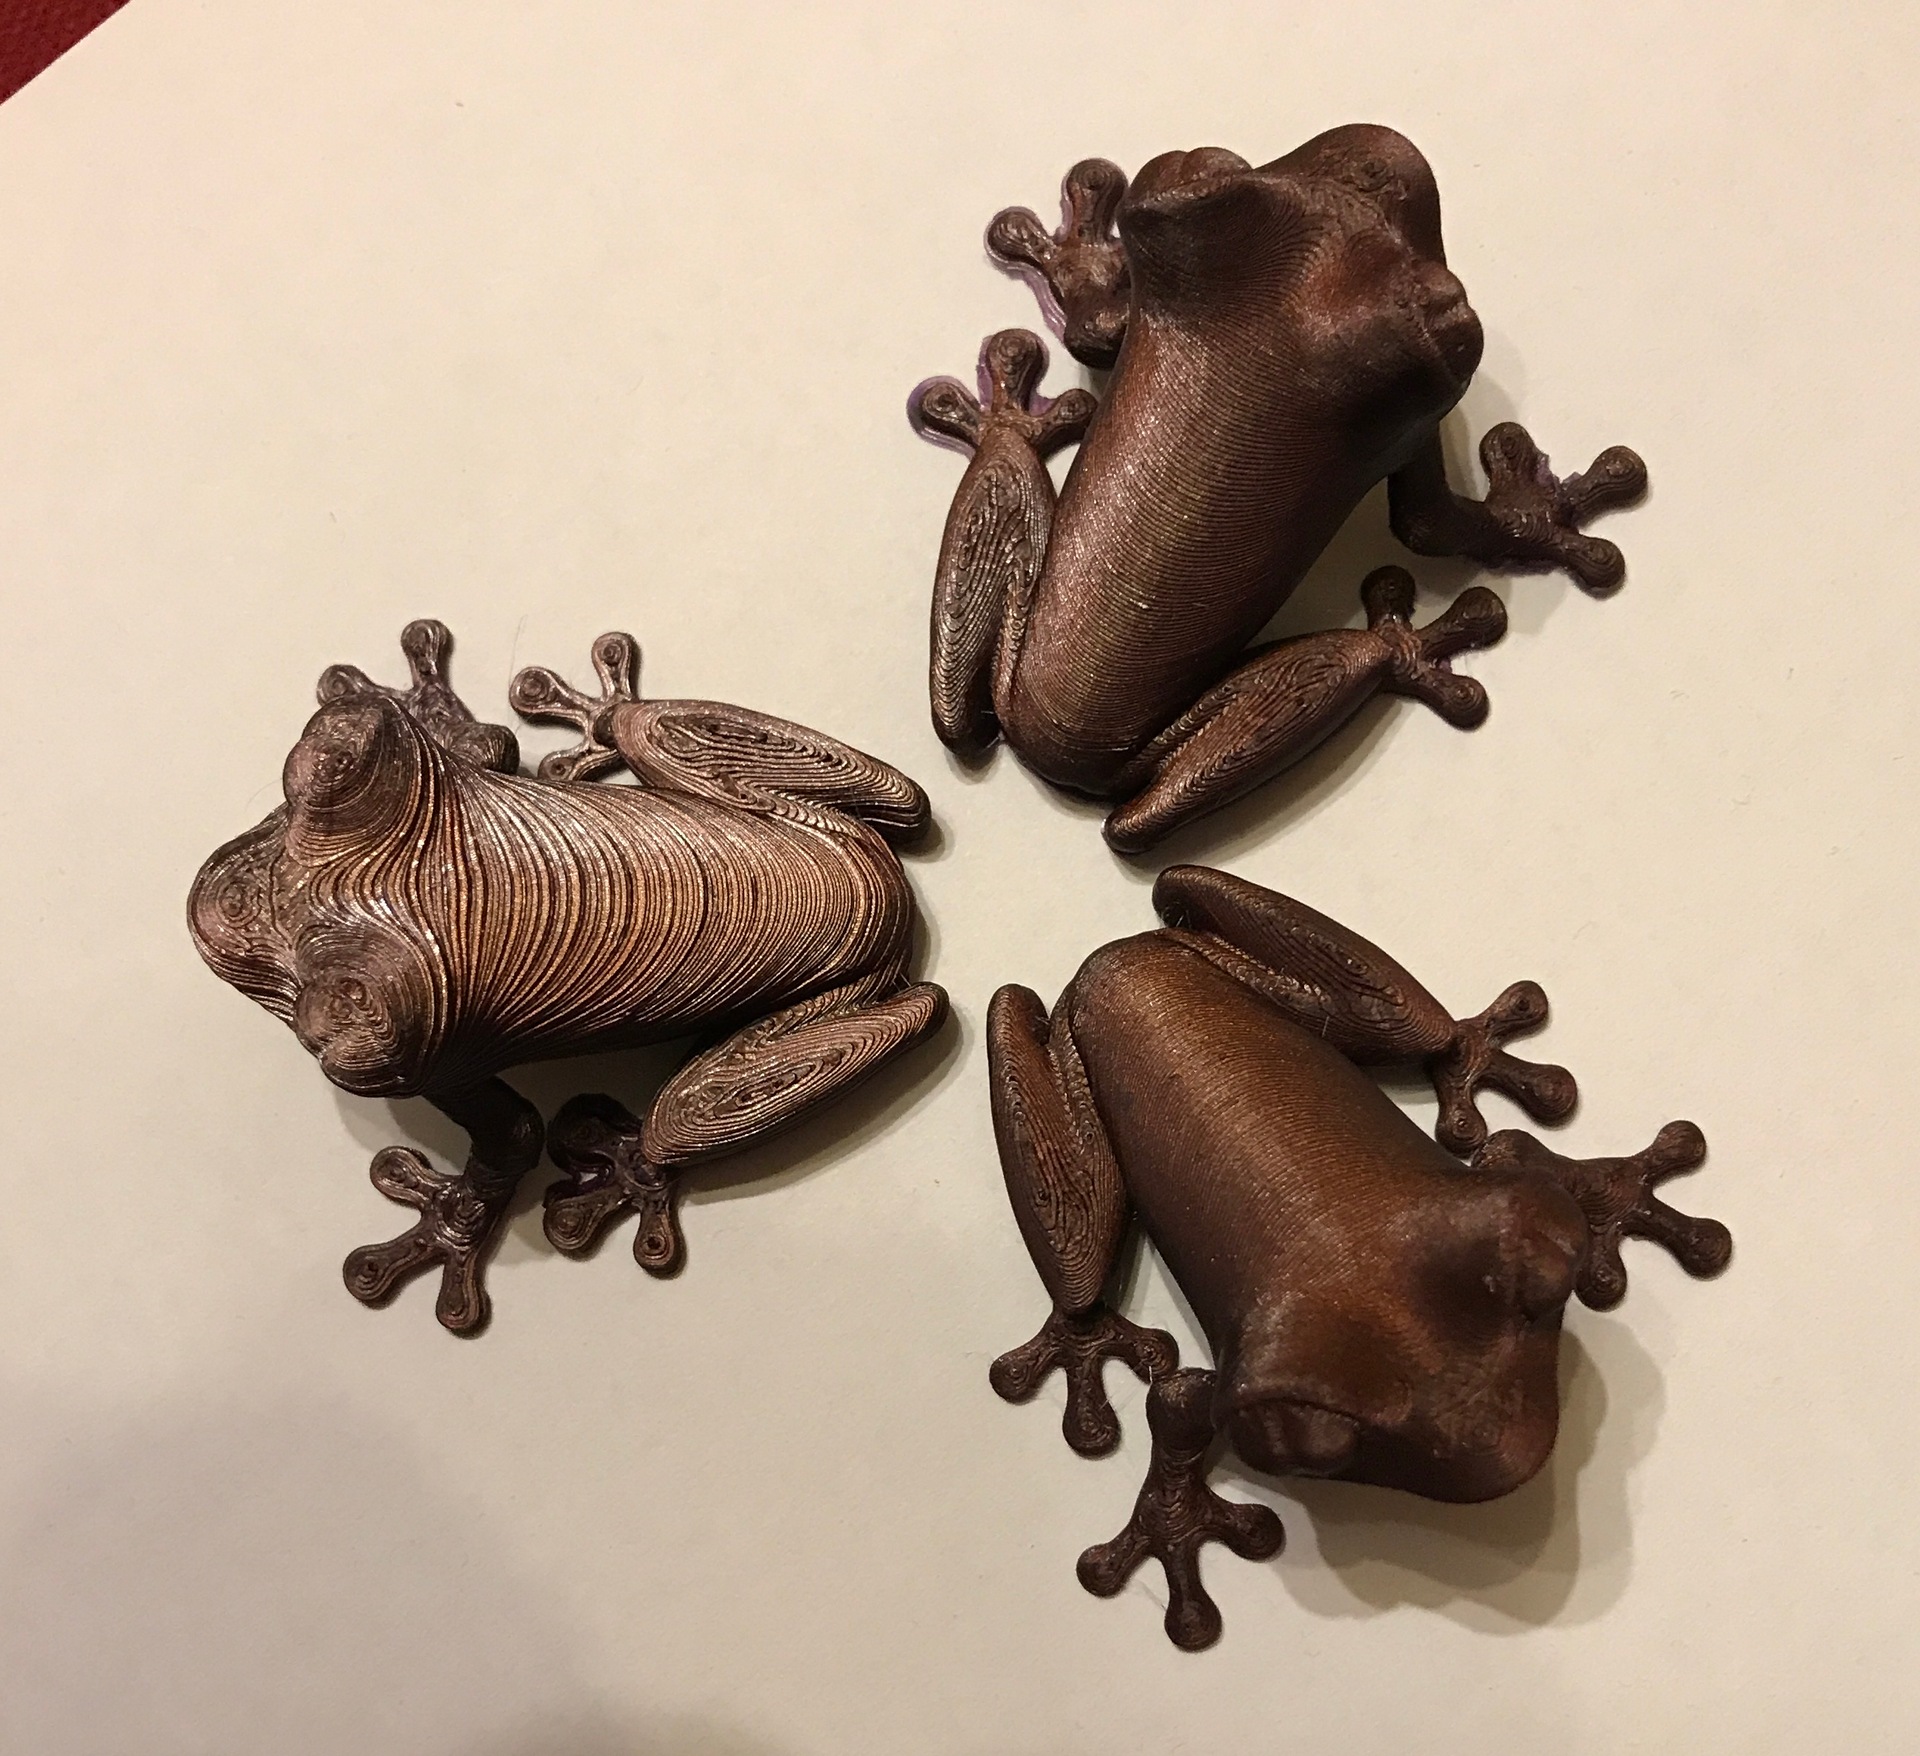
You are right! The one with thicker layers!
According to everyone recommendations I rechecked all the X,Y,Z, re-checked the Bondtech extrusion calibration (M92 E415 was pitch perfect). The extruder gives the correct amount of filament. Also did a lot of other measurements and checking, including a video how exactly the 3D printing is done in order to get clues - here it is: https://www.udoma.org/tmp/21102020/TallCone_Print.avi ).
I disassembled the hot-end block – everything was just exceptional. And finally I remembered that when I changed the hot-end I also changed the (Fu.. Da.. !?!%$#) nozzle with a brand new one ordered from the manufacturer. And according to the site it was 0.4 original nozzle for Prusa Mini. I compared it with the old one and they do not look the same – the new one had а little more thread.
I carefully re-assemled the hotend block using the old nozzle. And here are the results at 215C from first print:
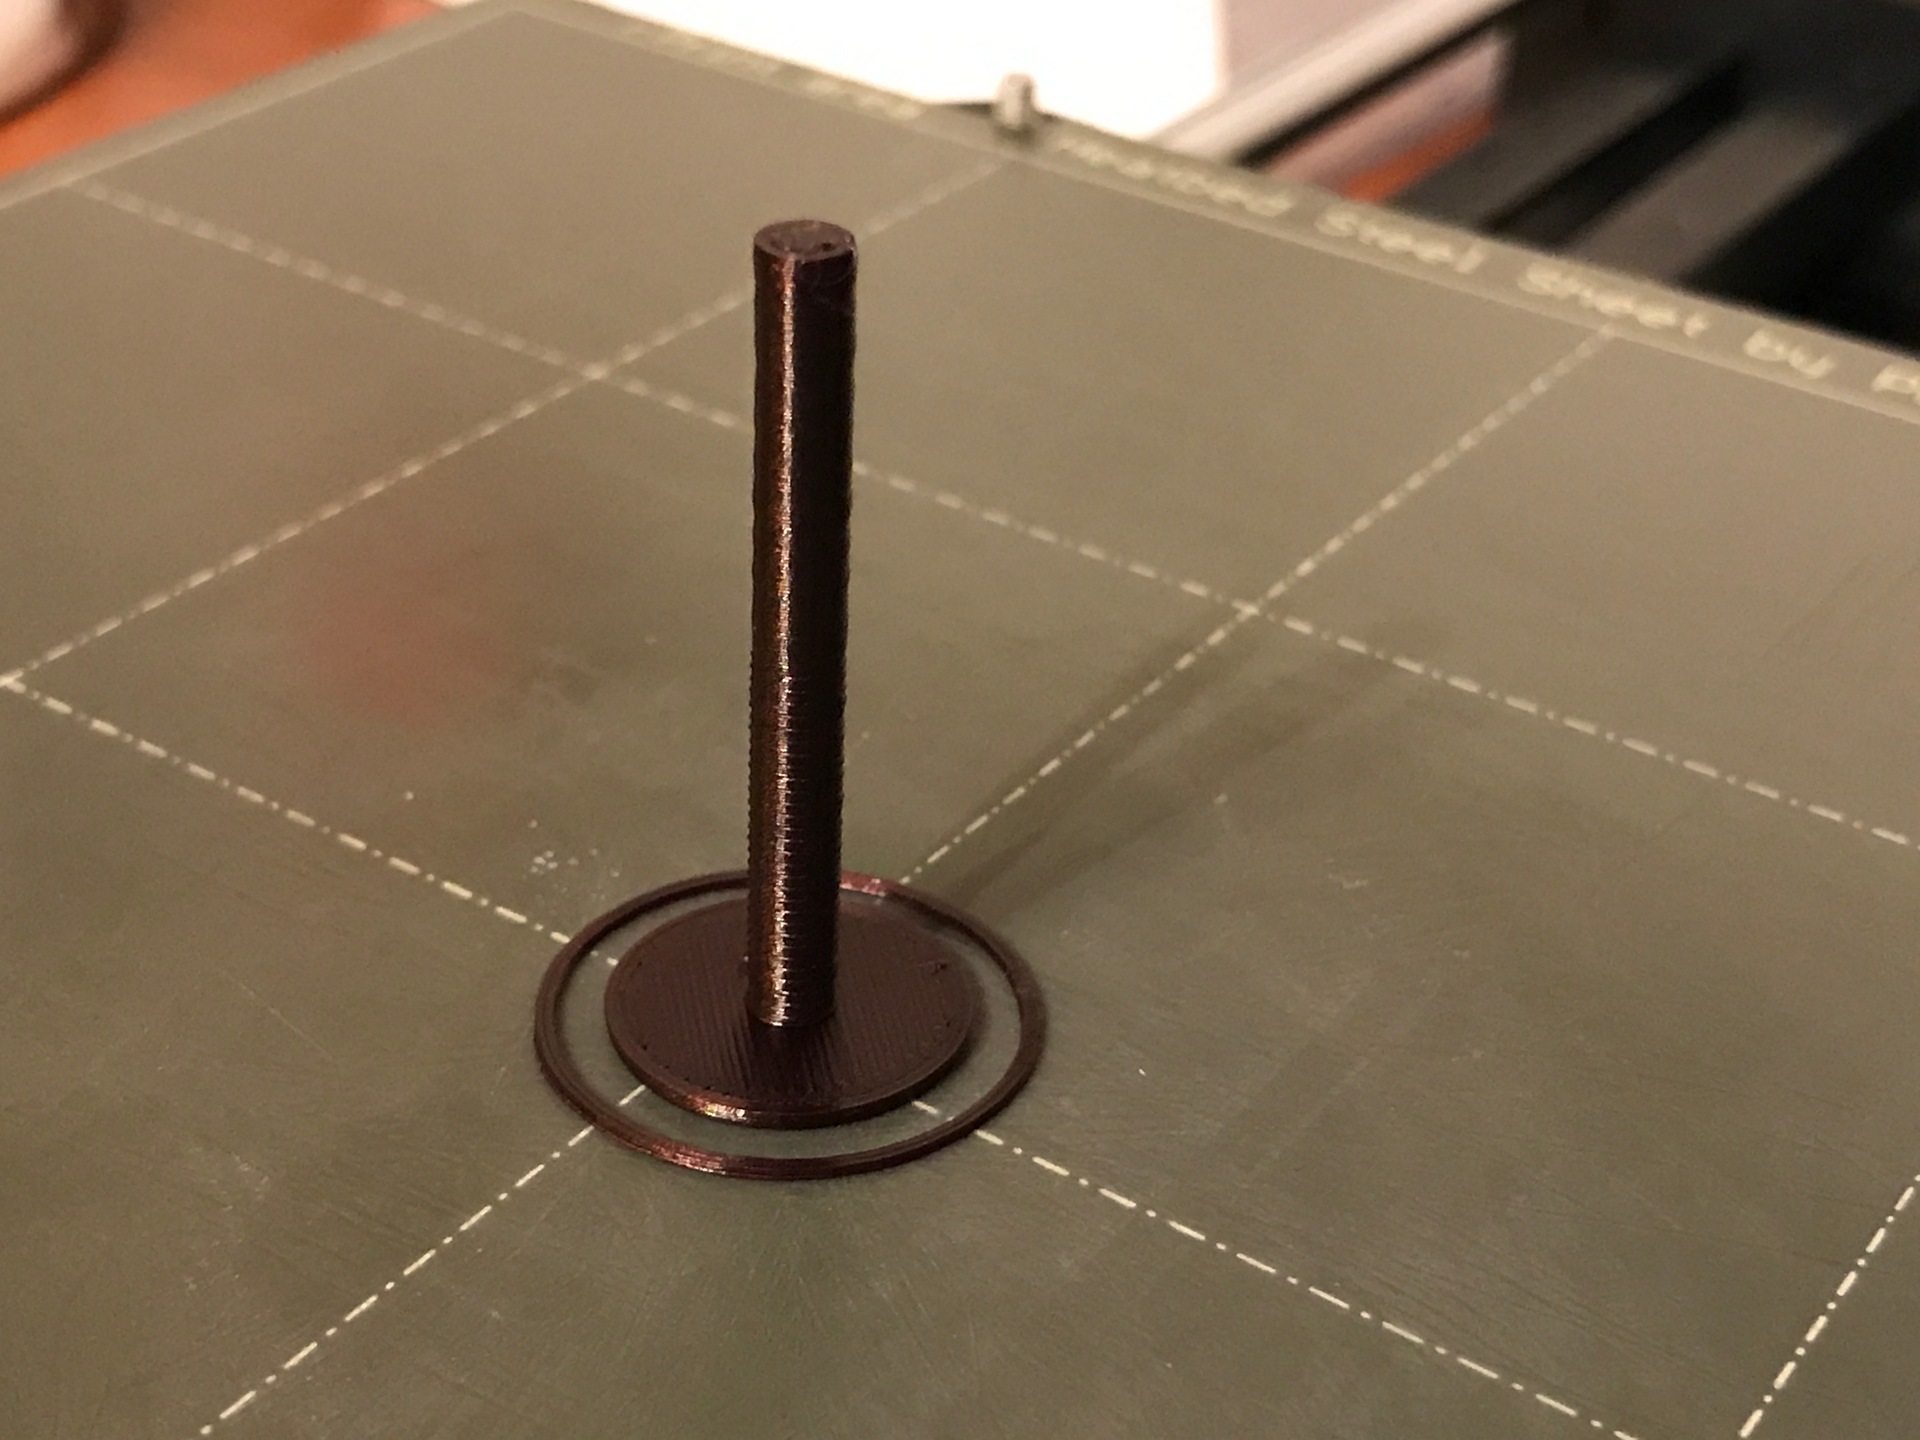

It seems the new nozzle is just not OK and is more then 0.4 mm:
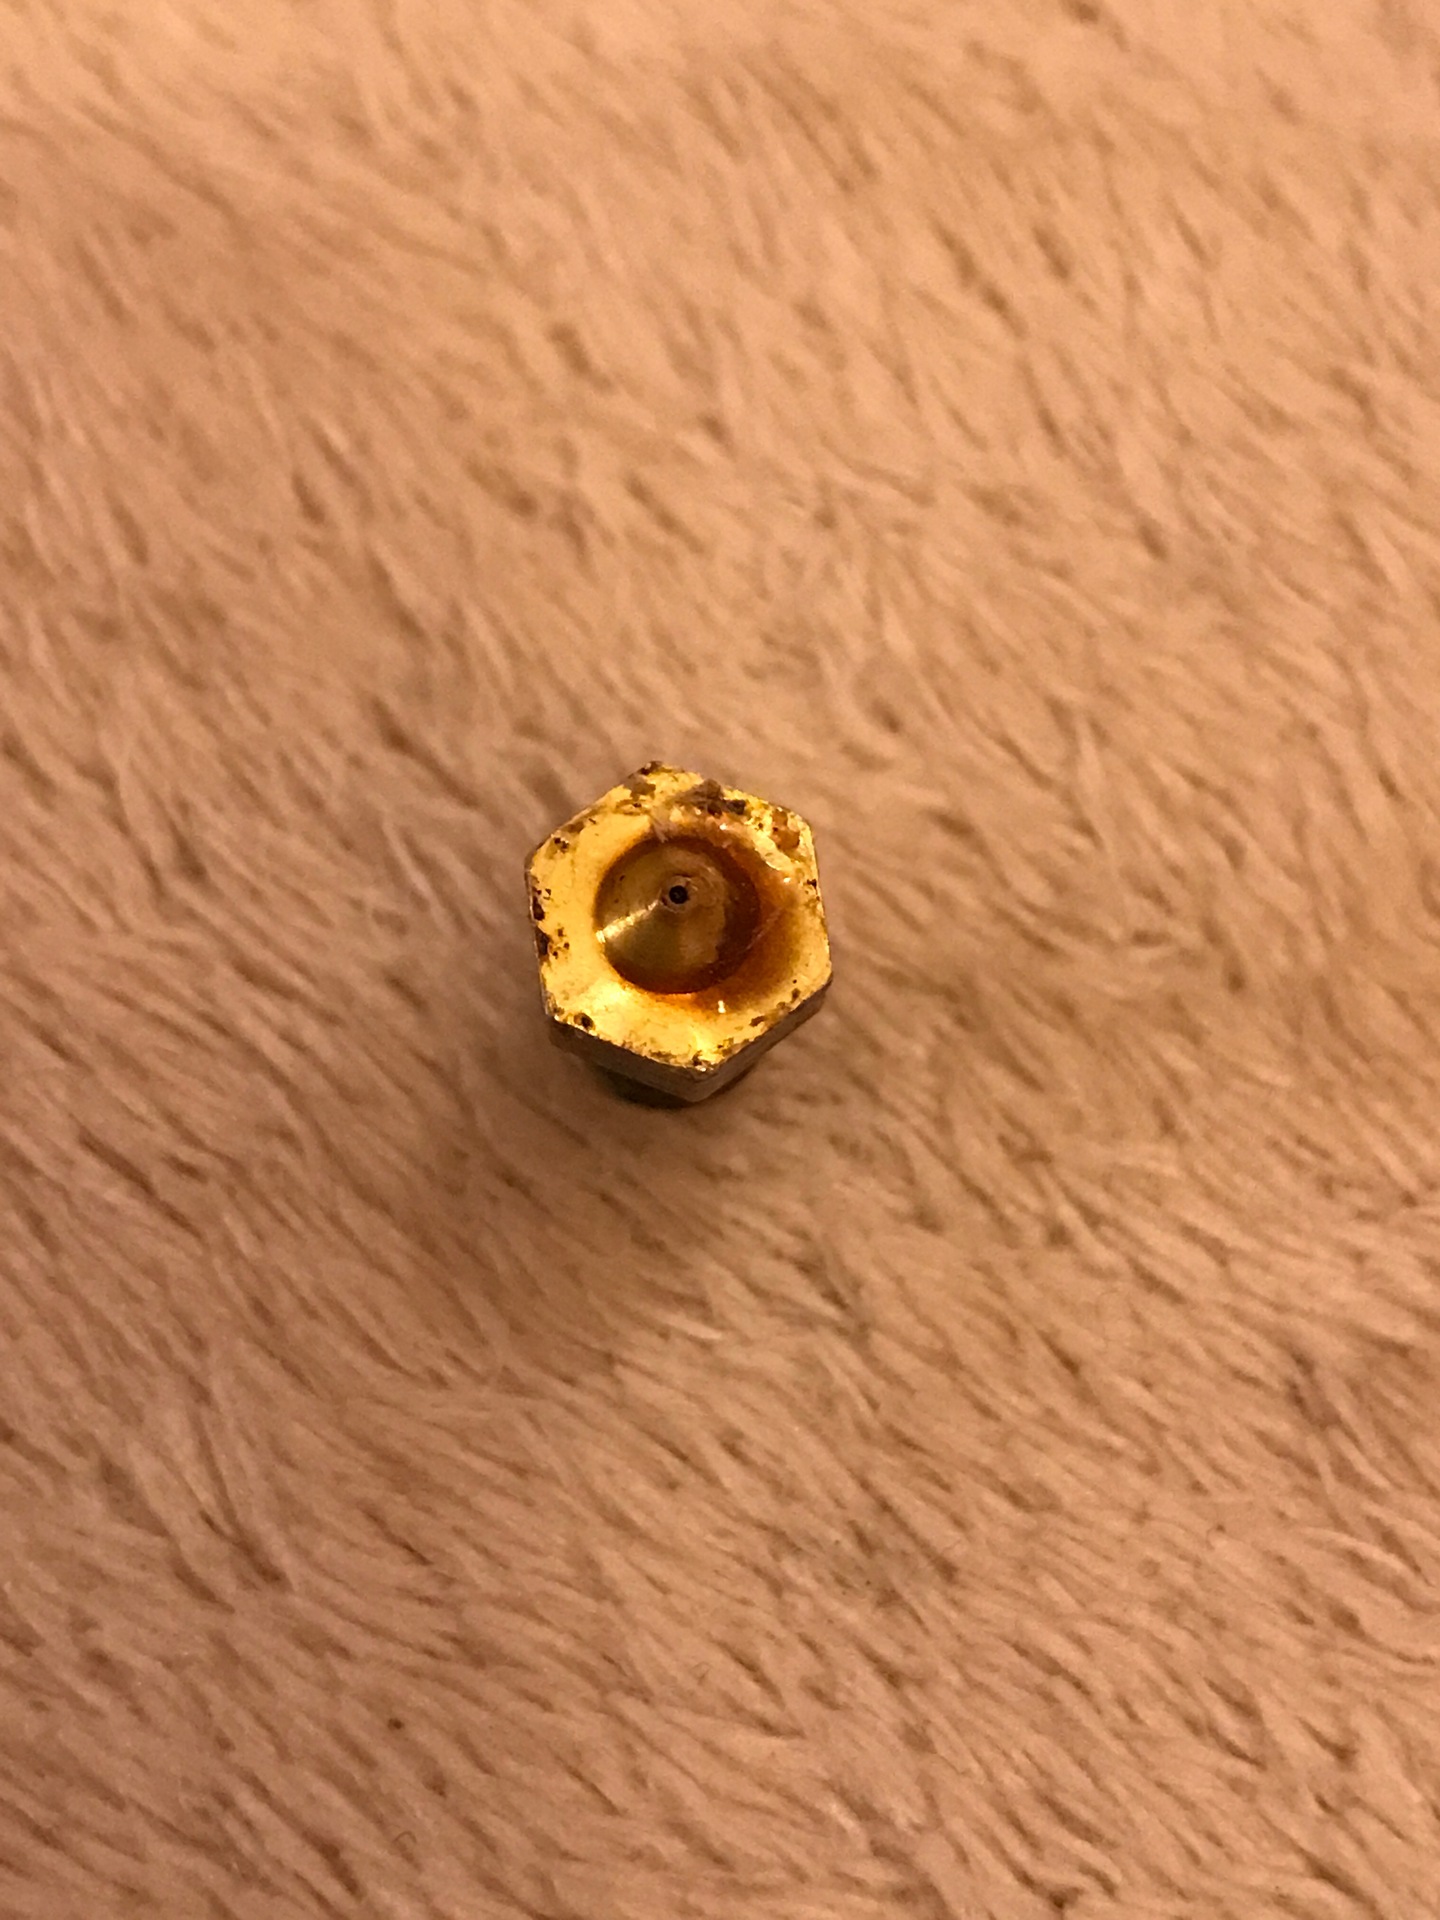
Any ideas how could I measure it’s diameter?
RE: How to set consistent printed layers
Put it in the extruder, set Slicer to extrude a 0.45 mm wall cube, print the cube, measure the wall. If not 0.45 mm thick, the nozzle isn't 0.4 mm.
I guess the upside is your printer is working as expected again. +1
RE: How to set consistent printed layers
@tim-m30
I tried with 2mm. wall and it was exactly 2mm (check with digital calipers) at the upper part BUT at the base the walls were bulged.
Yes, now the printer is again in top condition 🙂
RE: How to set consistent printed layers
Sorry but the problem appeared today. It seemed it's not only the nozzle.
Frogs 1 and 2 are from before, 3 is with the new nozzle and 4 is with the old nozzle printed yesterday:
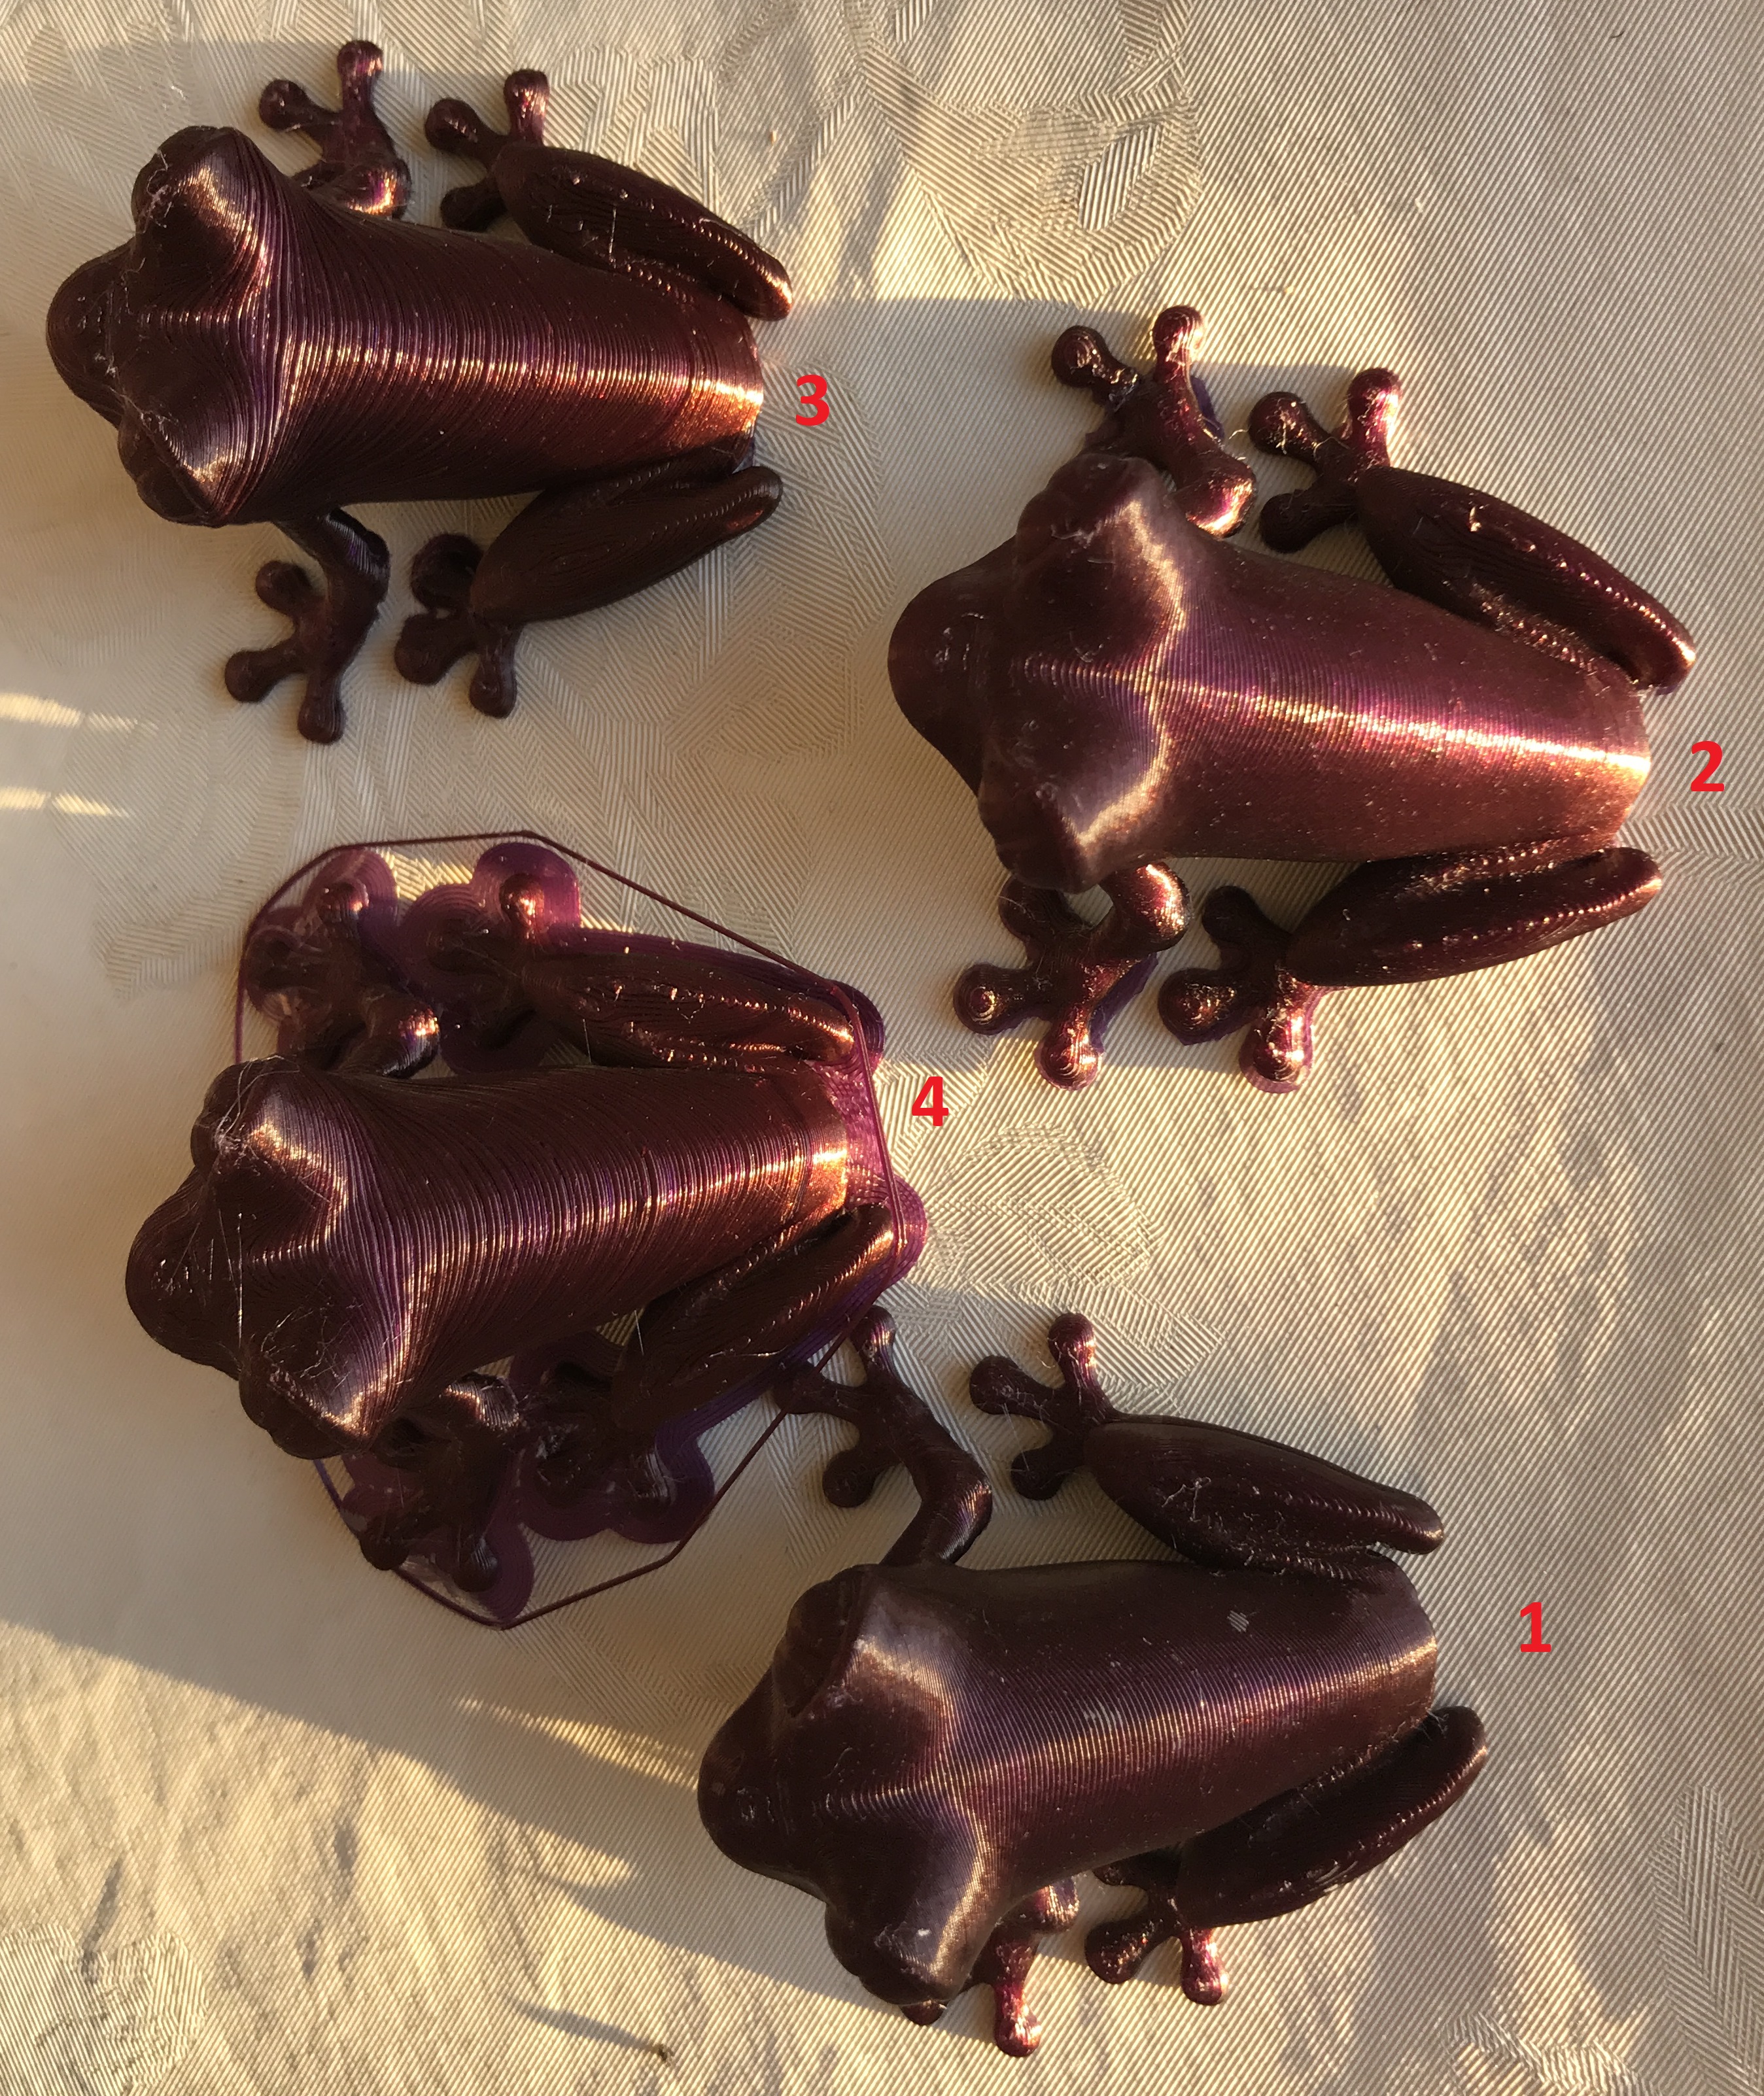
I also printed a first level calibration shape and found that there are zones which were printed later during the printer process (the thicker triangles marked with red) which are higher/thicker then the rest part of the squares. Is this normal or it's a indicator that Z-Axis does not position the layers consistently? MINDA is not involved in this process isn't it?

RE: How to set consistent printed layers
You must print a single extrusion for the measurement to work properly. Vase mode, as they say. But it would be odd for a brass nozzle to be worn out if you only print PLA and haven't printed Carbon Fiber or Glow in the Dark.