How I Fixed A "Bed Thermal Runaway"
Had a print fail today due to a "Bed Thermal Runaway". I searched quite a bit online but didn't find a solution that resolved the issue. I thought I could share my experience here in case someone else has this happen to their printer and might use this a potential solution.
What Happened
- I went to remove my print and saw that it had stopped printing at some point earlier in the day. The LCD screen said "Bed Thermal Runaway".
- I reset the printer, and tried a new print. The hotend would preheat, but the bed stayed at ambient temperature. The preheat eventually failed.
Trying to find the issue
- I confirmed the thermistor wasn't faulty by using a heat gun on the bed (this showed the temperature sensor was functioning).
- I checked the Heated bed thermistor and confirmed it was properly placed
- I also confirmed the fuse on the RAMBO was good
- I also completed a self test which resulted in:
Selftest error !
Please check :
Heater/Thermistor
Not connected
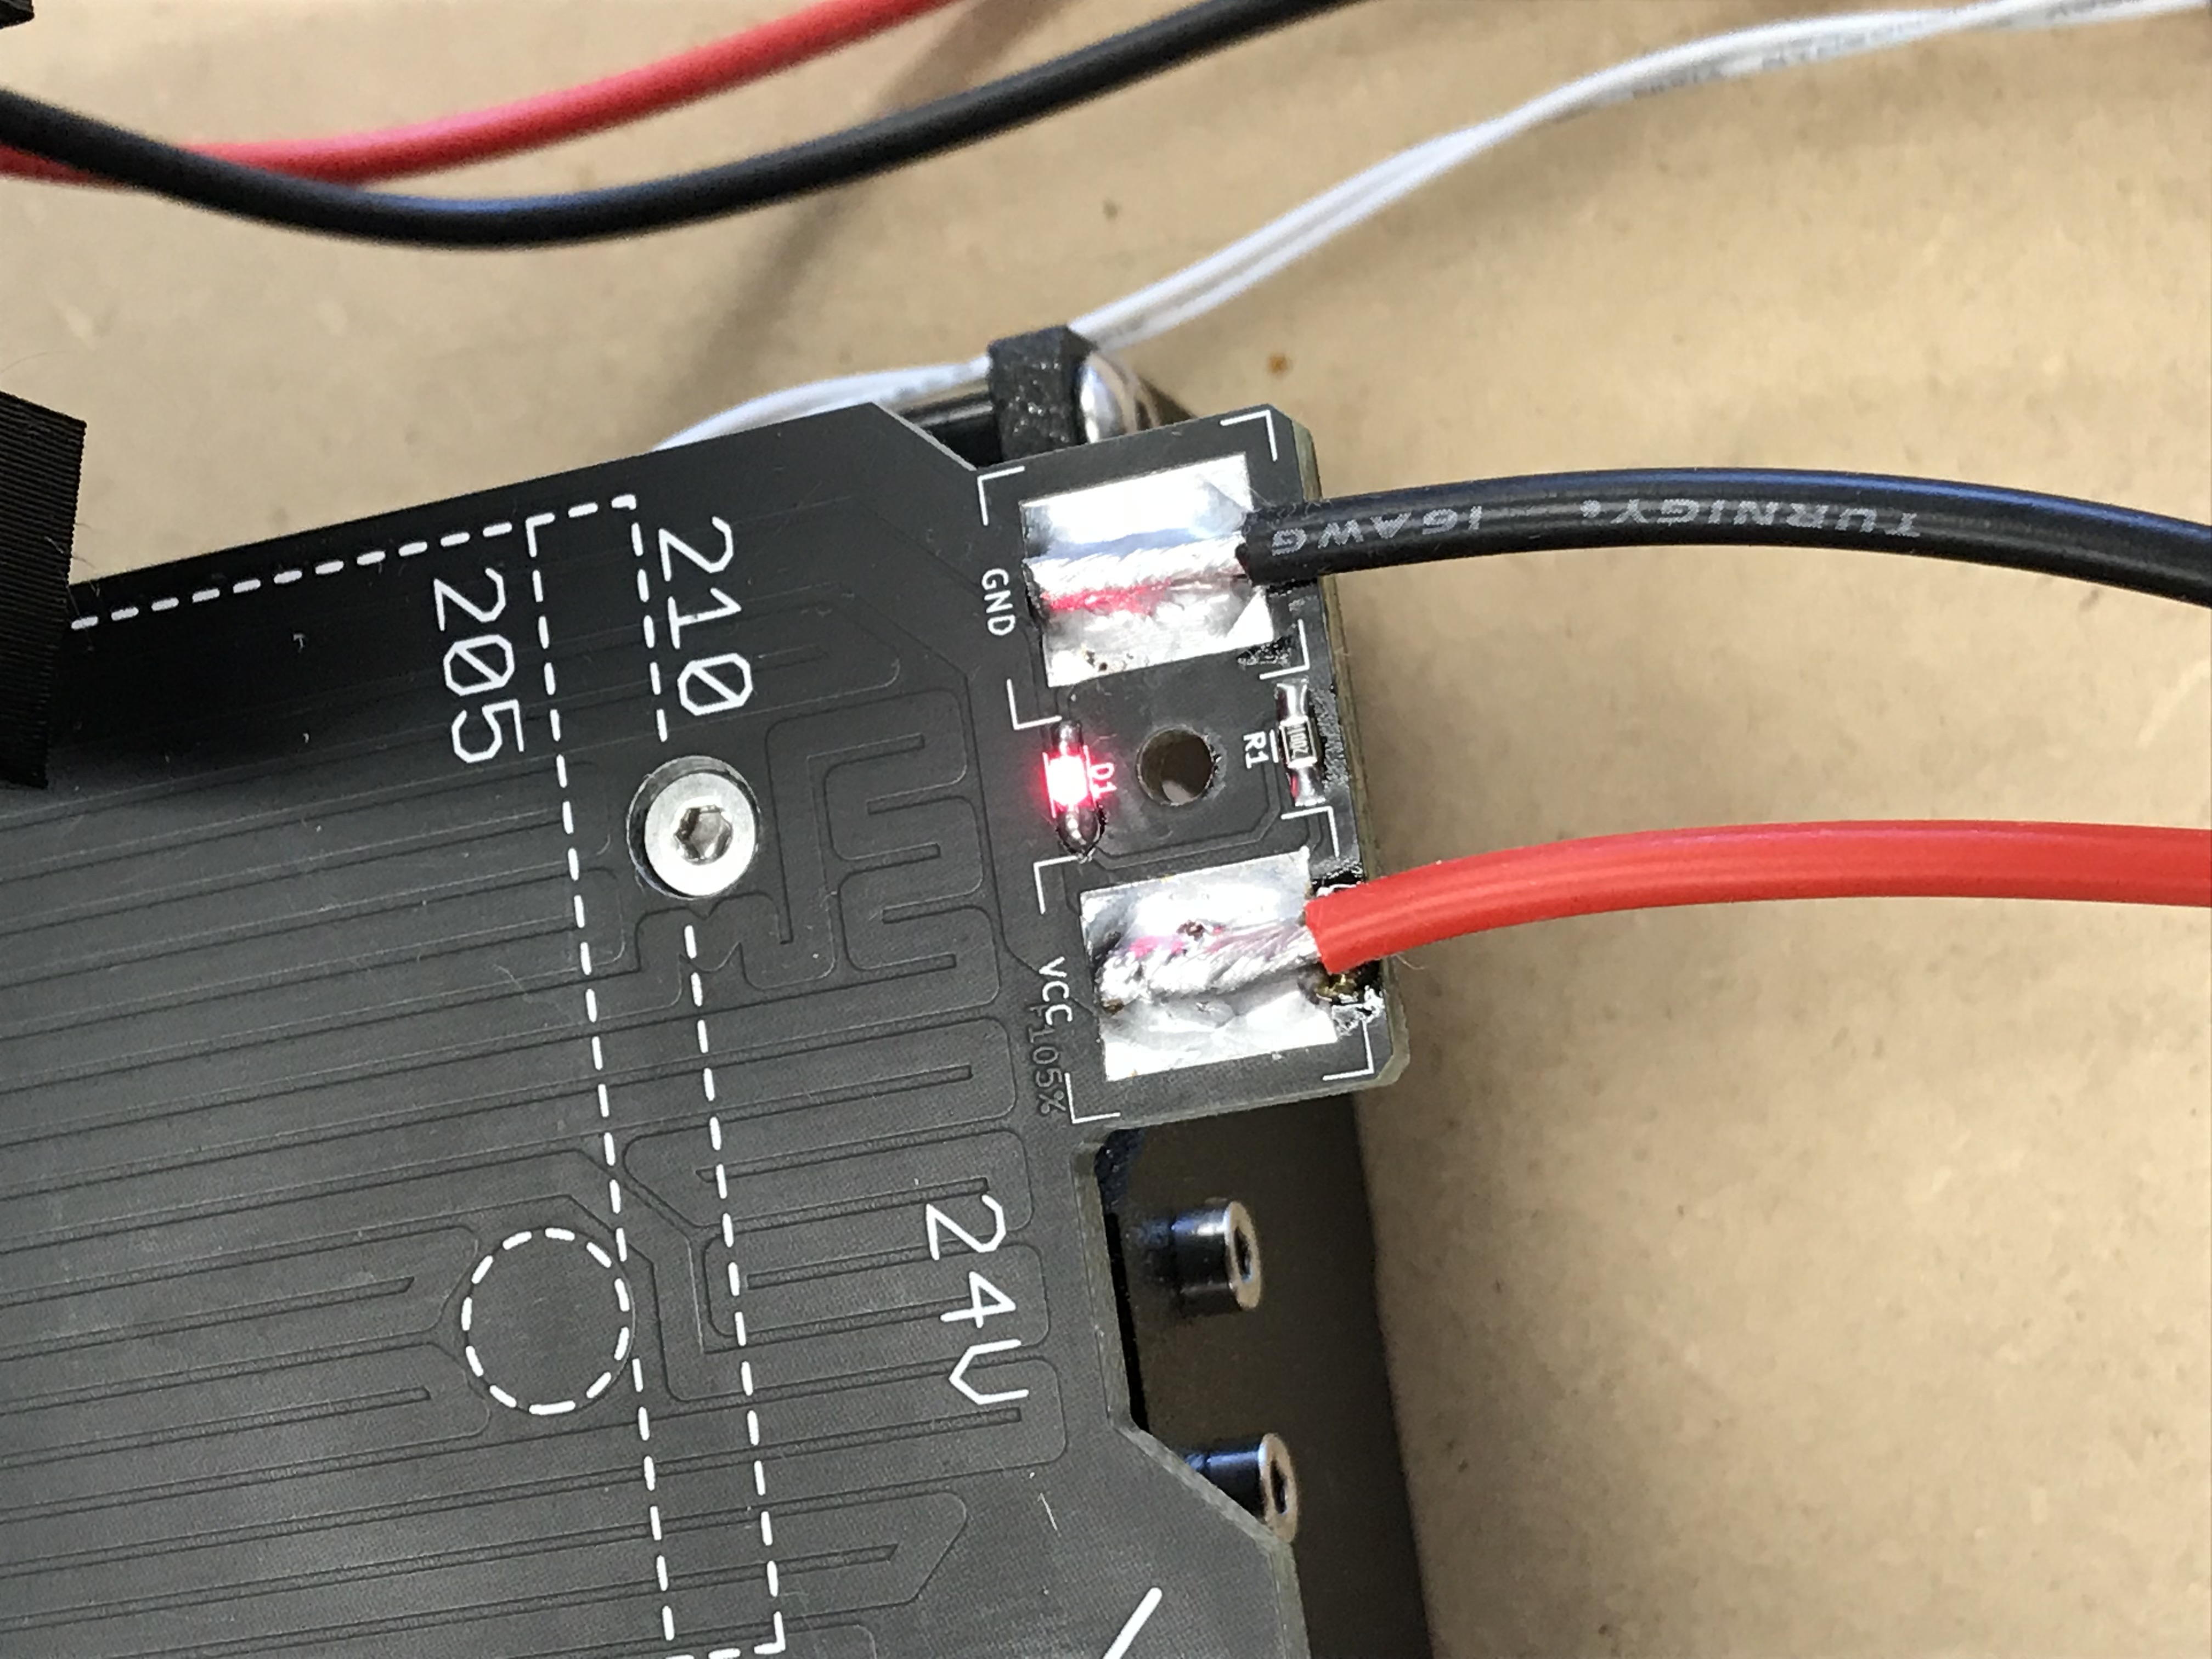
- I removed the cable cover from the back of the heated bed and inspected the leads and ensured they were still intact and soldered securely to the pads.
- I made sure the Heatbed connector was fully screwed in tight into the socket on the EINSY RAMBo
- I checked all the wiring to make sure no pinches etc.
Found the issue
- Finally set the bed to preheat and checked the voltage on the RAMBO - it was 24V, however the soldered pads on the heated bed were NOT showing any voltage.
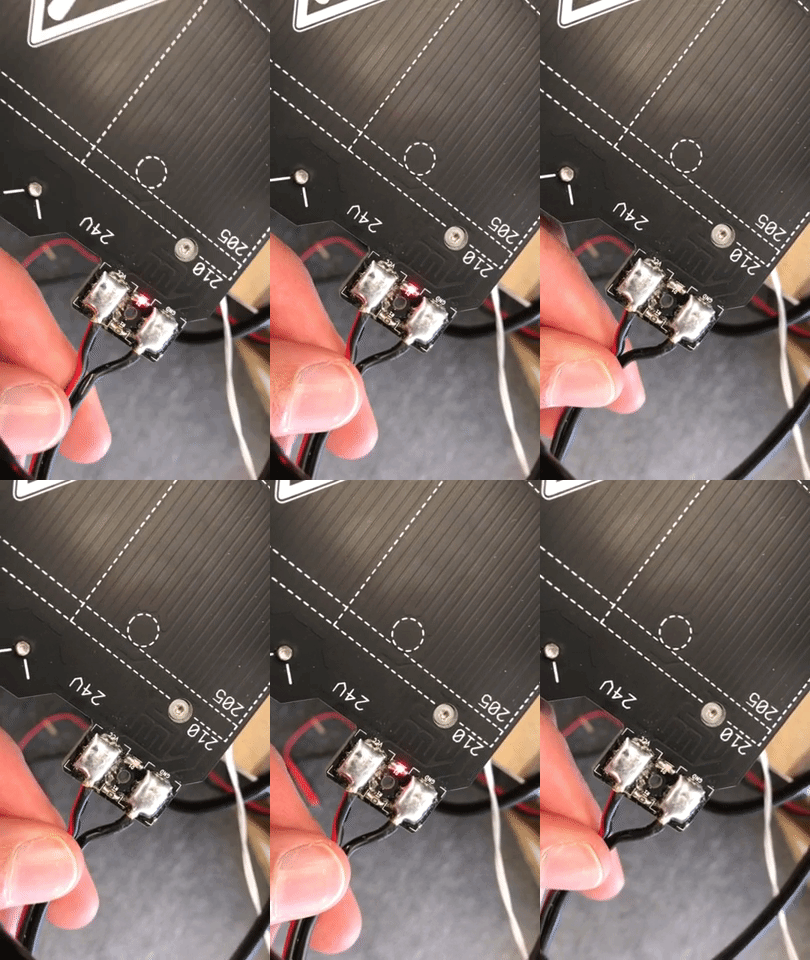
- I moved the wiring on the Heatbed and noticed that if I pushed up gently on the wire it would turn the hotbed on and the LED light to red. (see https://giphy.com/gifs/5zs6uM6c8iDNPsHDIf )
- I resoldered the wire to the bed thinking maybe the weld wasn't good, but the issue wasn't resolved.
- It ended up being an internal wire failure near the point of solder.
Solution
- I decided that the wire wasn't very flexible as it has such a low wire strand count and after all that moving around it had eventually failed inside.
- I desoldered both wires, removed them from the RAMBO and replaced them with 16AWG very high strand count / very flexible wire.
- I flexed the wire vigorously and it's working great.
- Back to printing!
Re: How I Fixed A "Bed Thermal Runaway"
Good job. Thanks for sharing this.
Re: How I Fixed A "Bed Thermal Runaway"
Thanks! My ground wire had completely severed in the same spot.
Re: How I Fixed A "Bed Thermal Runaway"
My MK2S developed similar problem after I placed it too close to the wall, and when the bed moved to the rear the cable bundle hit the wall. After that I got a lot of heating errors while preheating. I suspected that the heat bed wires took a hit so I gently twisted the heat bed wires and it started to work again. I might have to replace those wires at some point like you did... friend of mine with same printer model (we both bought kits) had a defective heat bed connector from the start, so I guess those parts really should be beefed up.
Re: How I Fixed A "Bed Thermal Runaway"
I am having the same identical issue.
--------------------
Chuck H
3D Printer Review Blog
Re: How I Fixed A "Bed Thermal Runaway"
Solder wicking into the wire ends and creates a very abrupt transition from solid, immobile metal block to individual strands. Flexing takes place repeated at same small length of the wire strands and accelerates fatigue. Later incarnations of the heat bed transition wire strands in a more gradual fashion via a crimp terminal. The crimp doesn't hold all the wires tight at the same spot so flexing is over a longer segment. It's still short, but defintely longer than created by the end of the solder wicking.
Flexible, multistrand helps, but you still have that abrupt transition when the wires are soldered.
RE: How I Fixed A "Bed Thermal Runaway"
Hello,
this topic is a little old, but I have some information to add.
First, the documentation : https://help.prusa3d.com/en/article/thermal-runaway-temperature-drops_2131
If it happens to you, I hope you will find the solution in it.
In my case, the problem was I was printing a (too) little PETG part, as listed in the above link.
The solution for me: print several parts at the same time, which makes a bigger thing to print, which makes the printing bed happy 🙂
have fun
RE: How I Fixed A "Bed Thermal Runaway"
Thanks for this! I had a print fail over night and when I woke, it had stopped mid print and said "BED THERMAL RUNAWAY".
I started the print again immediately and it started working so I was going to just see how it did. After a two second google search, came across this post, stopped my print and checked the solder points. As I removed the cover it must have broken the last strand as the ground was completely severed. Resoldered both points and it's back up and running.
For anyone else performing this procedure that may not be experienced with soldering, here's what you need to do:
My positive (VCC) wire was still attached but had signs of wear, so I did the same to both wires.
Where the wires have broken, snip it clean off, then strip back 3-4mm of the plastic on the wires. You will then have fresh new wire, which you need to "tin". To do this, apply a small amount of solder to the soldering iron tip, and then hold the soldering iron to the tip of the wire, the wire will then heat up. Start pushing solder onto the wire (not the soldering iron tip) until the solder melts all into the hot wire. Your wires are now tinned and ready.
Next you must heat up the solder on the heat bed (until molten) and flick out the old pieces of wire that are in there. Now, hold the tinned wires (with pliers or tweezers holding the plastic part of the wires) on the top of the solder on the heat bed and apply heat and pressure from the soldering iron on top of the wire. The wire will heat up and then heat the solder on the heat bed. After a couple of seconds you will have a nice molten pool of solder, remove the soldering iron but keep the pliers or tweezers holding the wire in place. After a second or two you will see it solidify and you can let go and you'll be as good as new. Hope this helps someone in need one day!
RE: How I Fixed A "Bed Thermal Runaway"
It sure did help, when i was going to solder the wires is saw the strands from the sensor looked enameled, it´s horror, always. But coming across your post gave me confidence as no such thing was named, thank you! Up and running again!
RE: How I Fixed A "Bed Thermal Runaway"
in case it may help someone in my situation this error was caused but hotend block twisted a but, not in the middle of the fan, so I think the air flow was wrong and fan was overcooling the bed.
As soons as I have realligned the extruder block this error gone)
RE: How I Fixed A "Bed Thermal Runaway"
The exact same thing happened to me, and I was pulling my hair out trying to figure out what was going on. Thanks for the link.
I don't suppose anyone would happen to know this happens, and why it is specific to PETG?
Hello,
this topic is a little old, but I have some information to add.
First, the documentation : https://help.prusa3d.com/en/article/thermal-runaway-temperature-drops_2131
If it happens to you, I hope you will find the solution in it.
In my case, the problem was I was printing a (too) little PETG part, as listed in the above link.
The solution for me: print several parts at the same time, which makes a bigger thing to print, which makes the printing bed happy 🙂
have fun
RE: How I Fixed A "Bed Thermal Runaway"
From what I can tell it seems to be due to the fan cooling the bed off too much for a small print since the fan stays fairly central and directly over the bed's temperature sensor. I'm going to retry with a lower fan speed and see if it works. It is frustrating it doesn't just pause the print job, heat the bed up again, and continue the print.
The exact same thing happened to me, and I was pulling my hair out trying to figure out what was going on. Thanks for the link.
I don't suppose anyone would happen to know this happens, and why it is specific to PETG?Hello,
this topic is a little old, but I have some information to add.
First, the documentation : https://help.prusa3d.com/en/article/thermal-runaway-temperature-drops_2131
If it happens to you, I hope you will find the solution in it.
In my case, the problem was I was printing a (too) little PETG part, as listed in the above link.
The solution for me: print several parts at the same time, which makes a bigger thing to print, which makes the printing bed happy 🙂
have fun
RE: How I Fixed A "Bed Thermal Runaway"
Thank you for this post. My mk3s had the same issue but my wires were not soldered in just in crimp ring ilets. Both weird came right out of the crimps when I touched them. I crimped them right and it is printing like a champ now.

