Super confused on Live Z adjustment and "squish"...
I finally built my MK3S that I have been sitting on since my B-day in August! Everything seems to be ON point. I did the test calibration and everything checks out OK, and passed. I did the paper under the nozzle for the first calibration and the paper did not rip or get caught up. I made sure that nothing hit the bed! Please see pictures below.
It did the calibration for live Z. And I honestly can't tell with my eye as I'm adjusting it if anything is actually happening, this could be in part that I'm not doing it enough for fear that I don't want the nozzle to crash into the bed... but if there is squish, my eyes aren't seeing it. If I go in the " - " range (negative) is that lowering the extruder nozzle to the bed or is it raising it? For some reason I am not under standing it at all. I've read through the entire manual and perhaps I'm just tired but I am having a super hard time seeing the "squish", "somewhat squished", "round"...etc. I know it said you should do a live Z calibration if you switch sheets (I have both smooth and textured) or move the printer. But should this also be done before ANY print. IE: I print one object. If I print the same object a second time would I do a live Z adjustment or ONLY if I am printing a second object that is different?
This is my very first 3d printer. I don't have any prior knowledge to go on or hunches to say that looks right or feels right. I have a benchy printing now so it will be done in about 1.5 hours. I will be able to post pictures of it here shortly.
Based on some of these what should I be doing? I feel silly for asking but it's one of those things, where if you don't know, you don't know.
I think I'm rather mechanically inclined with certain things and honestly I did not run into any issues at all other than the stupid cable management under the printer and in the rambo box. It was all a very tight fit, and I plan on redoing the wiring and making it look nicer. By printing the lcd cable holders on the inside rail since I wasn't too keen on stuffing it in like the manual states. But honestly I already love this despite not understanding everything 100% yet. I really wish I would have done this sooner, it's a lot of fun.
Here are my pictures.
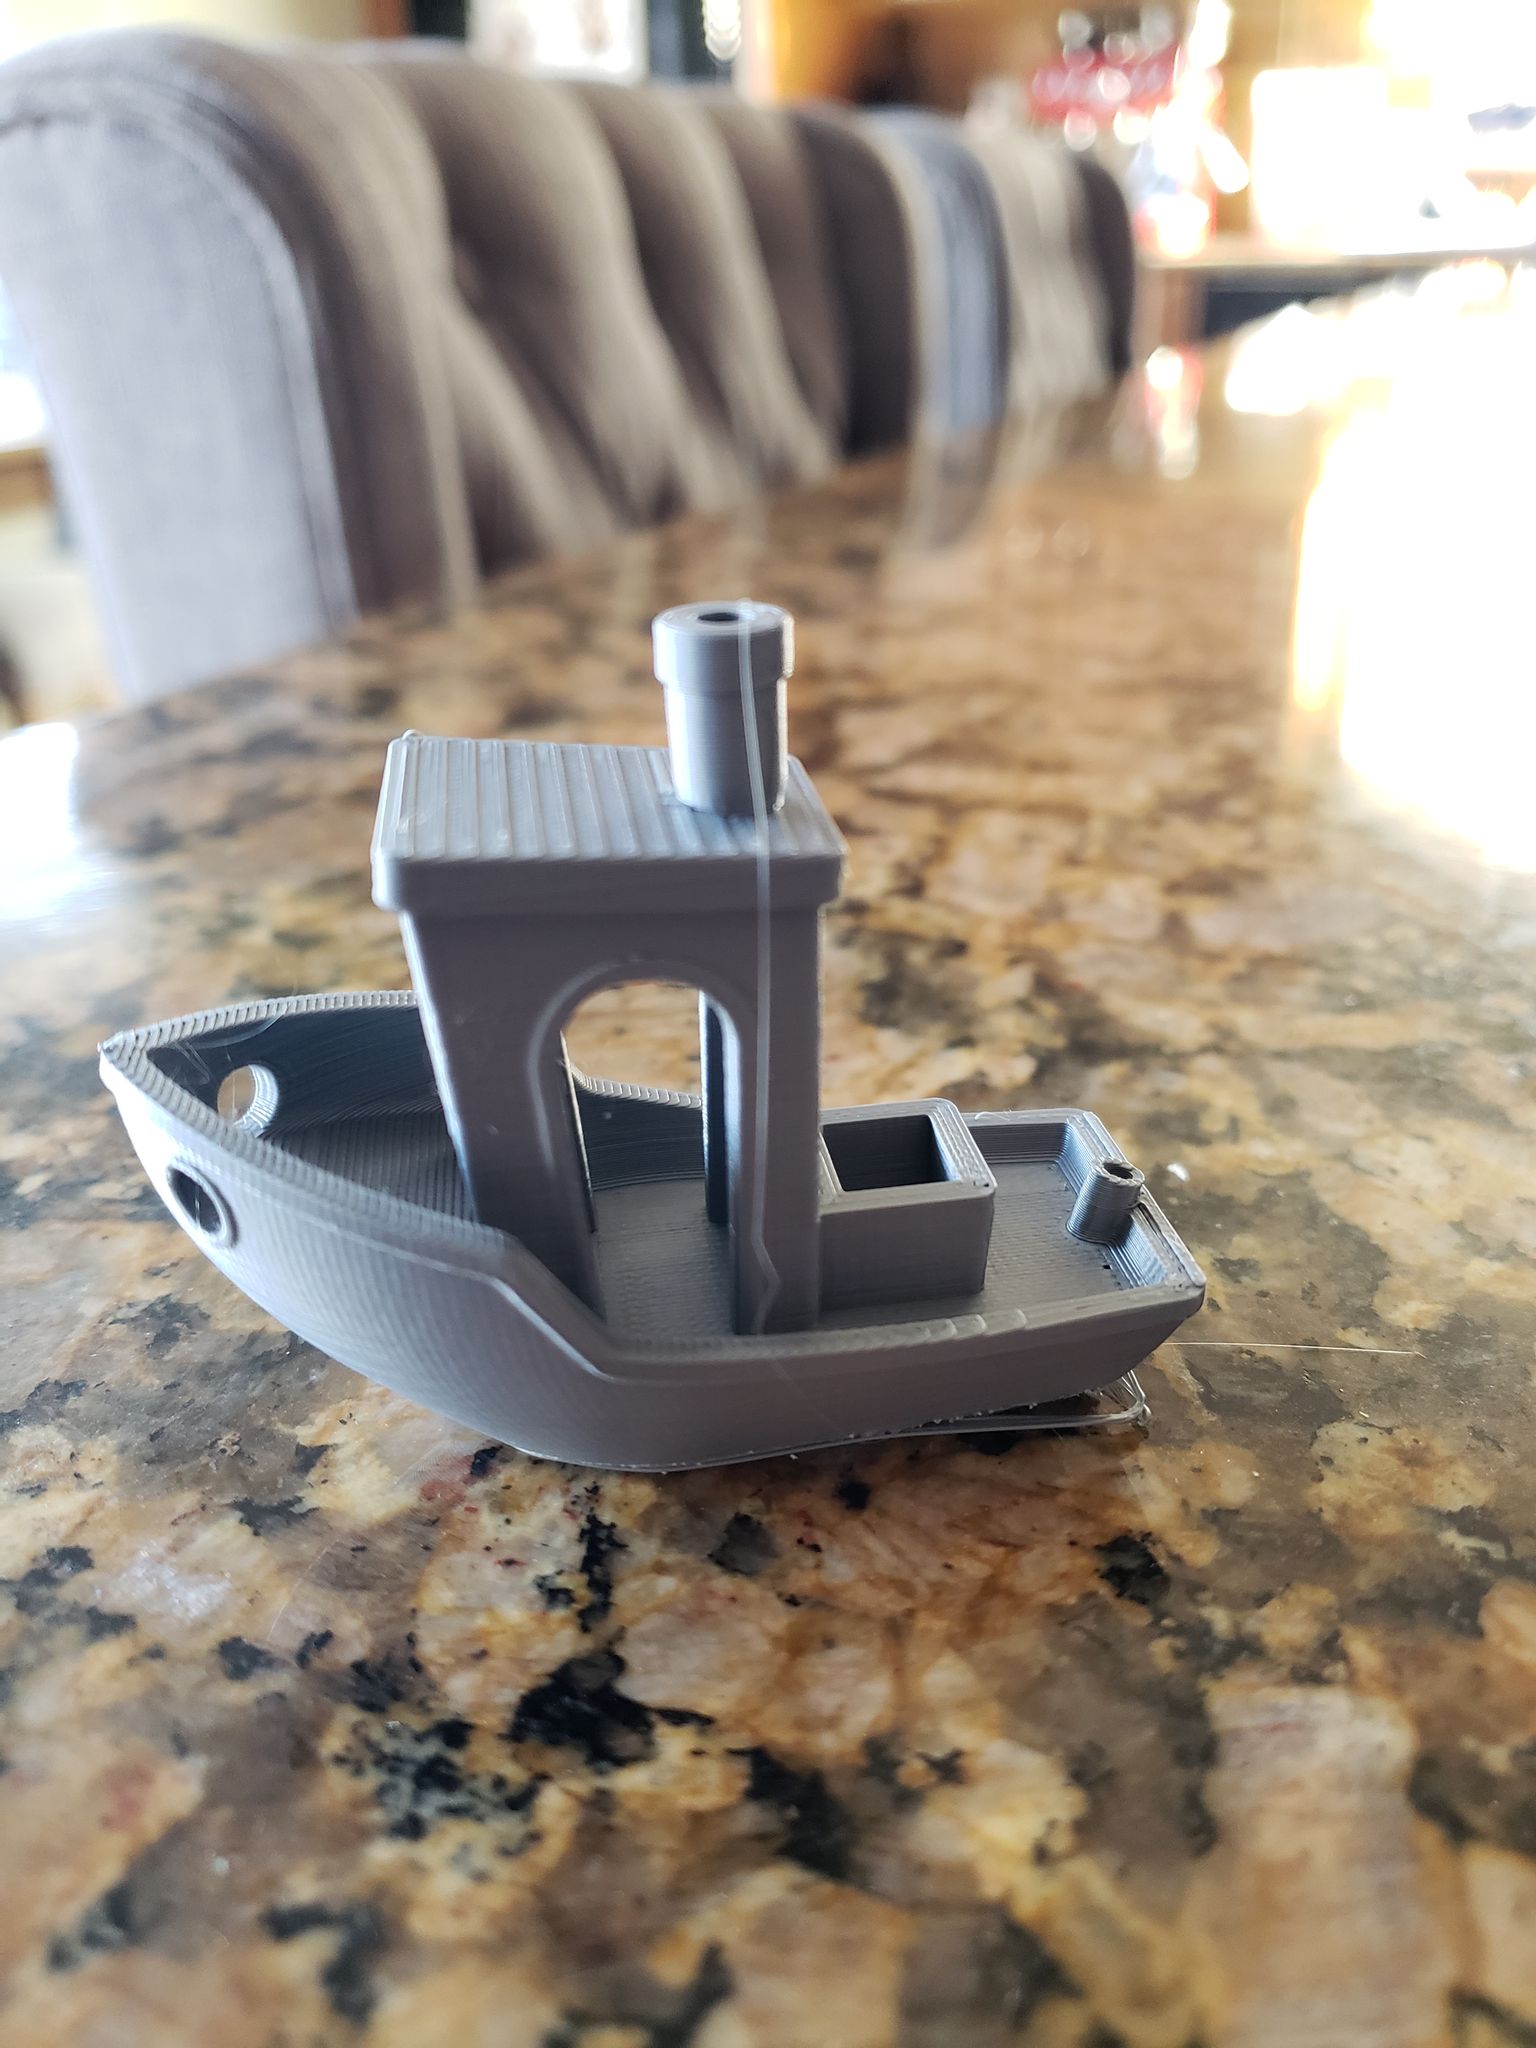
Built MK3S.. YAY!
Calibration: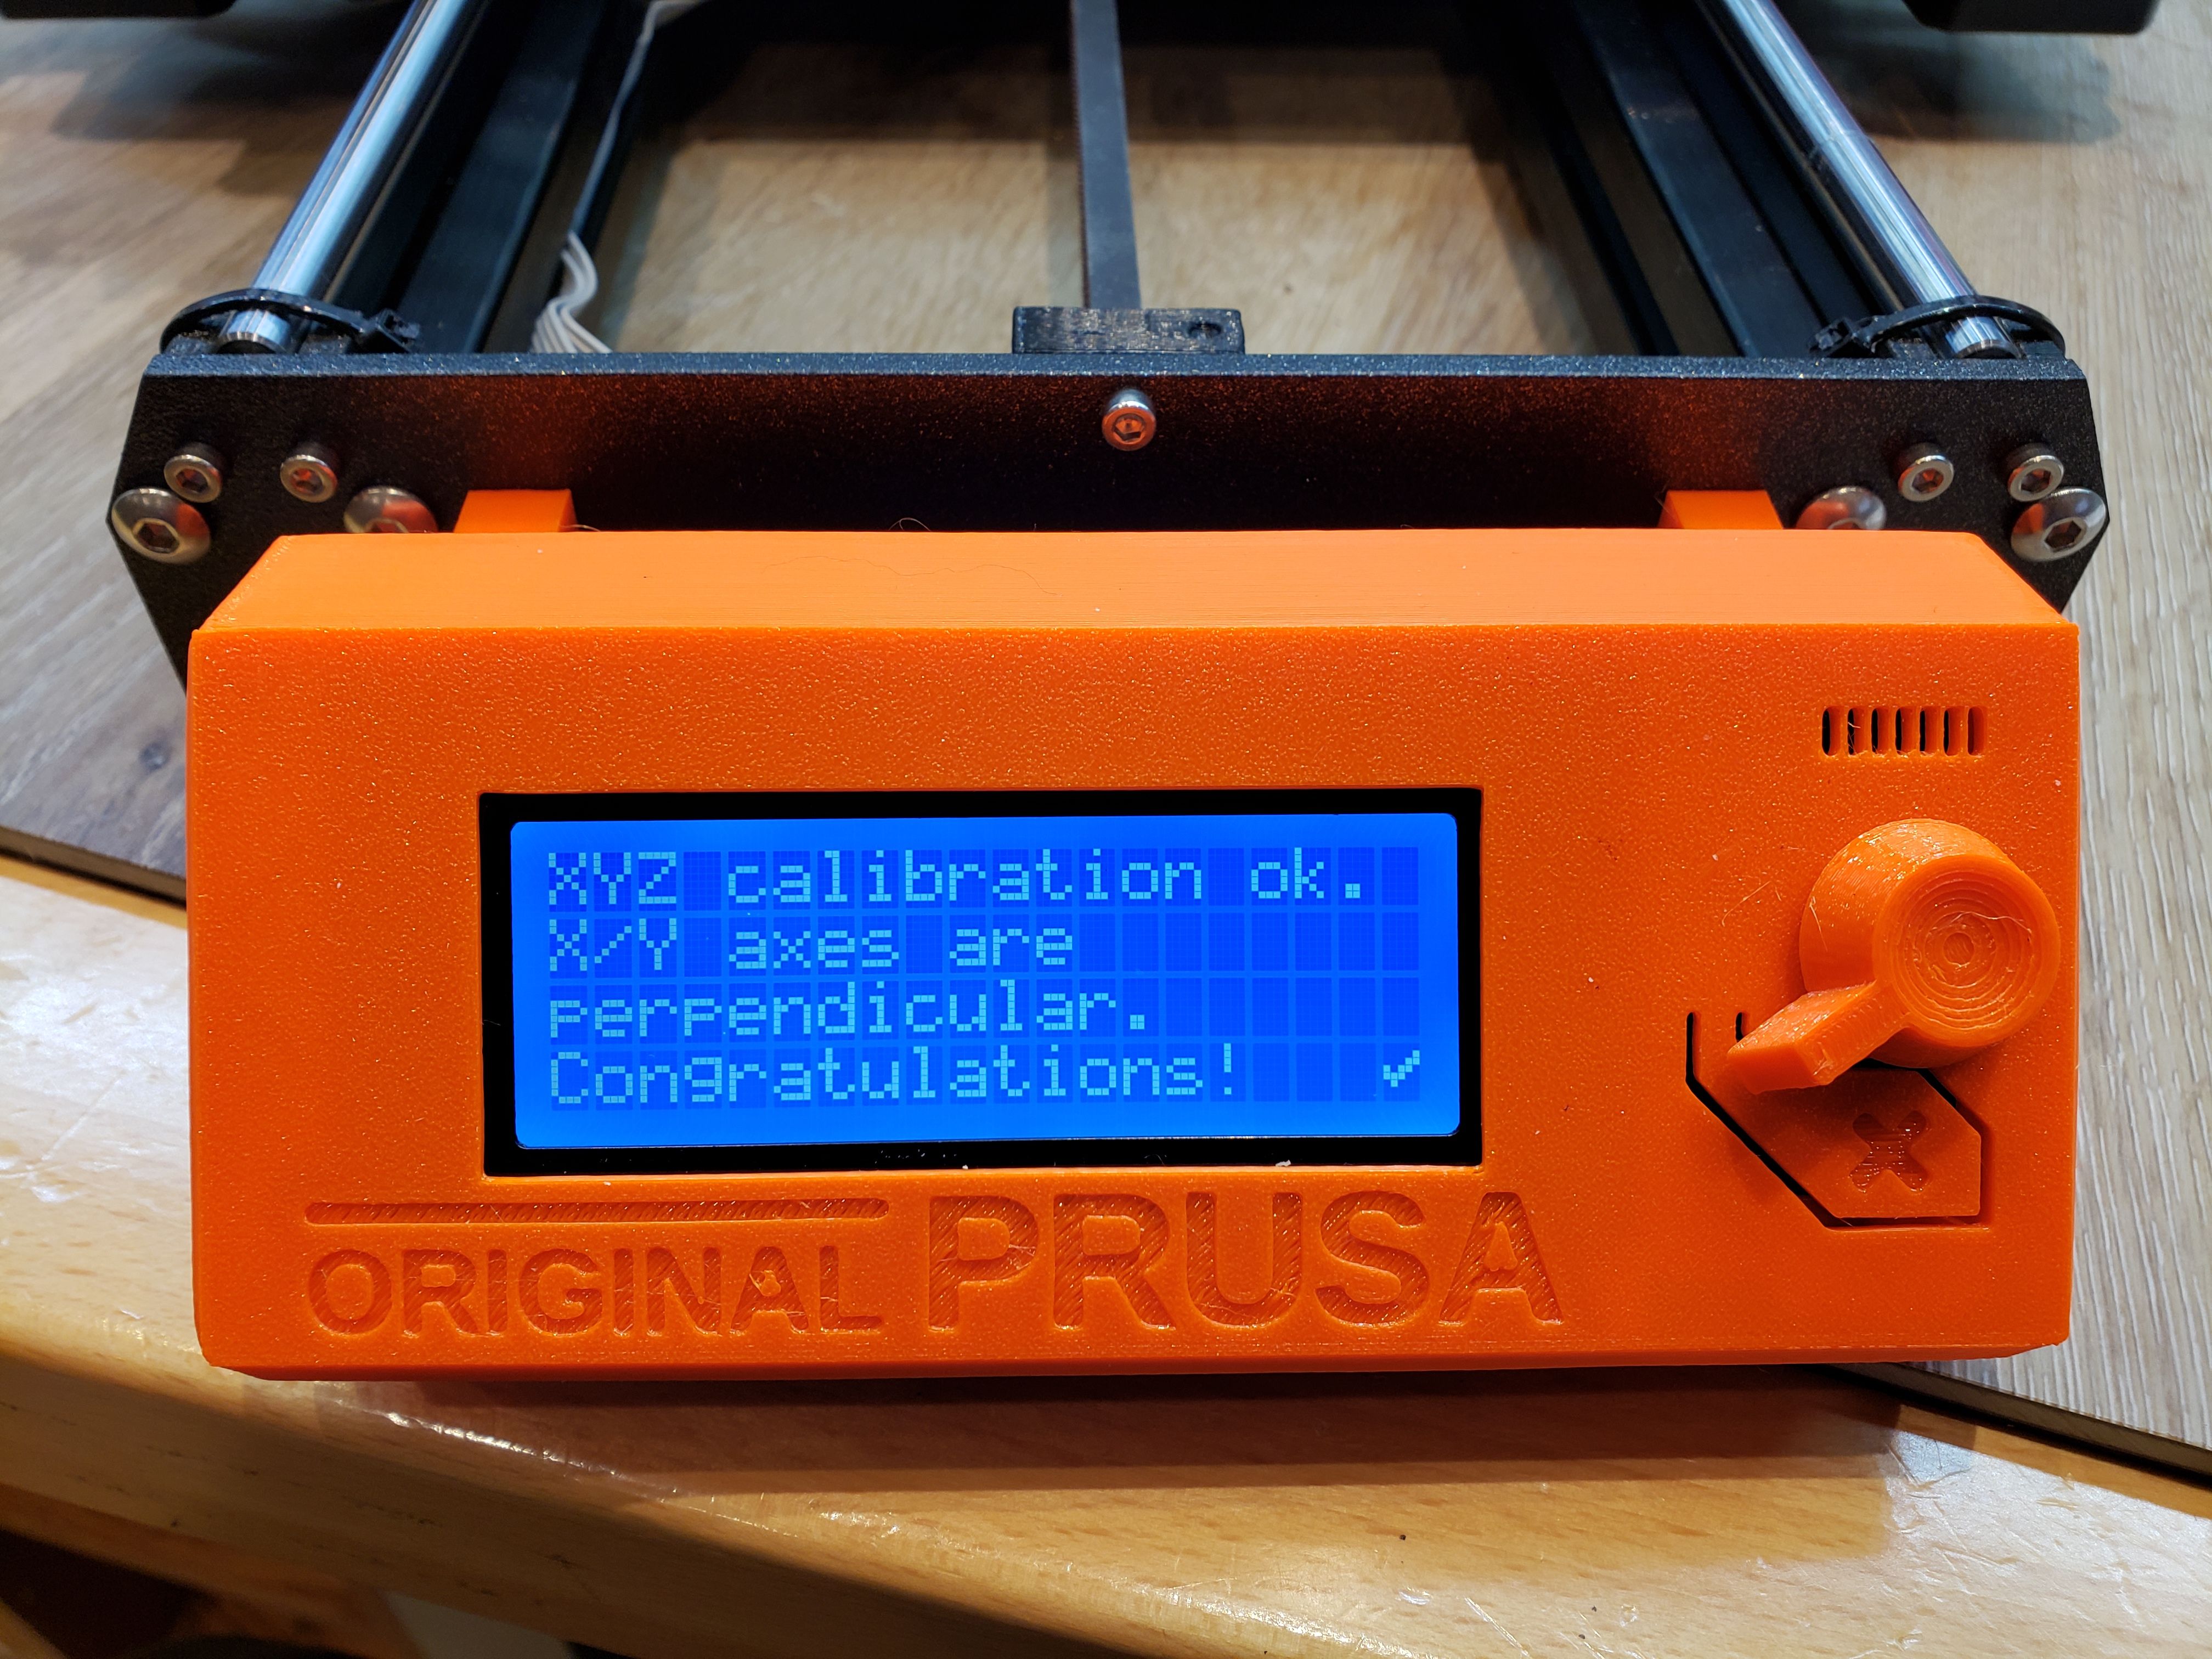
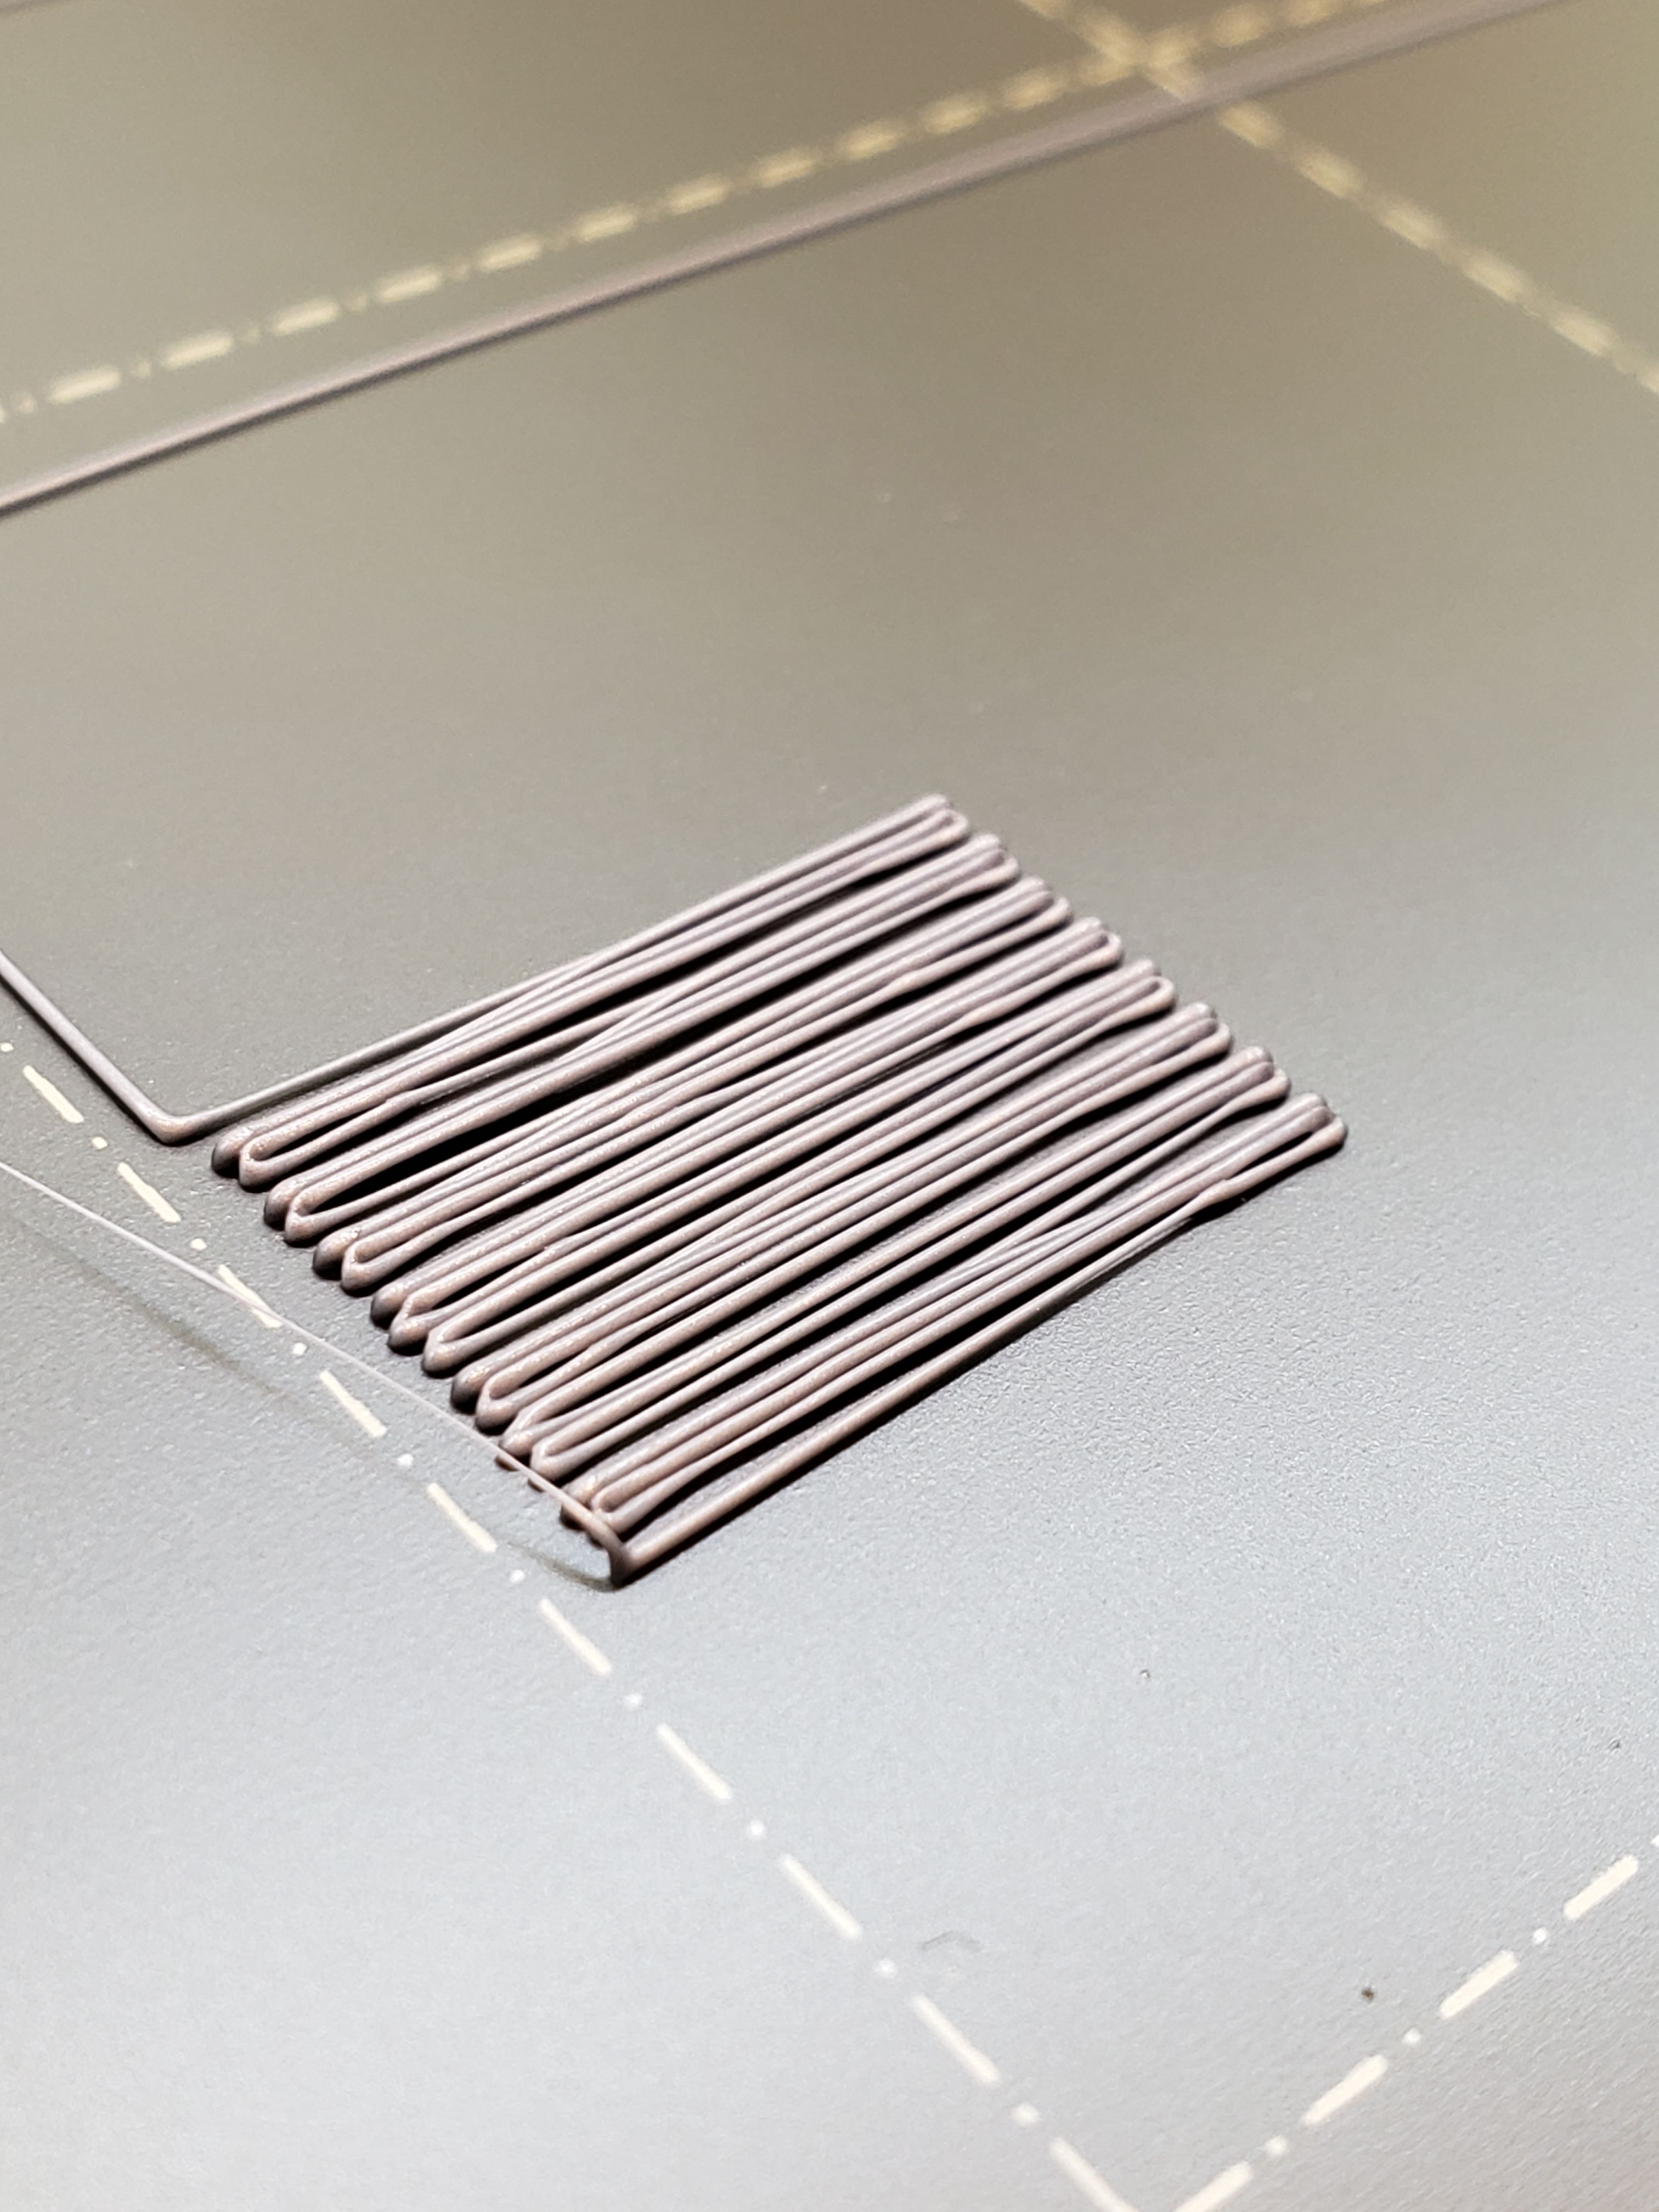
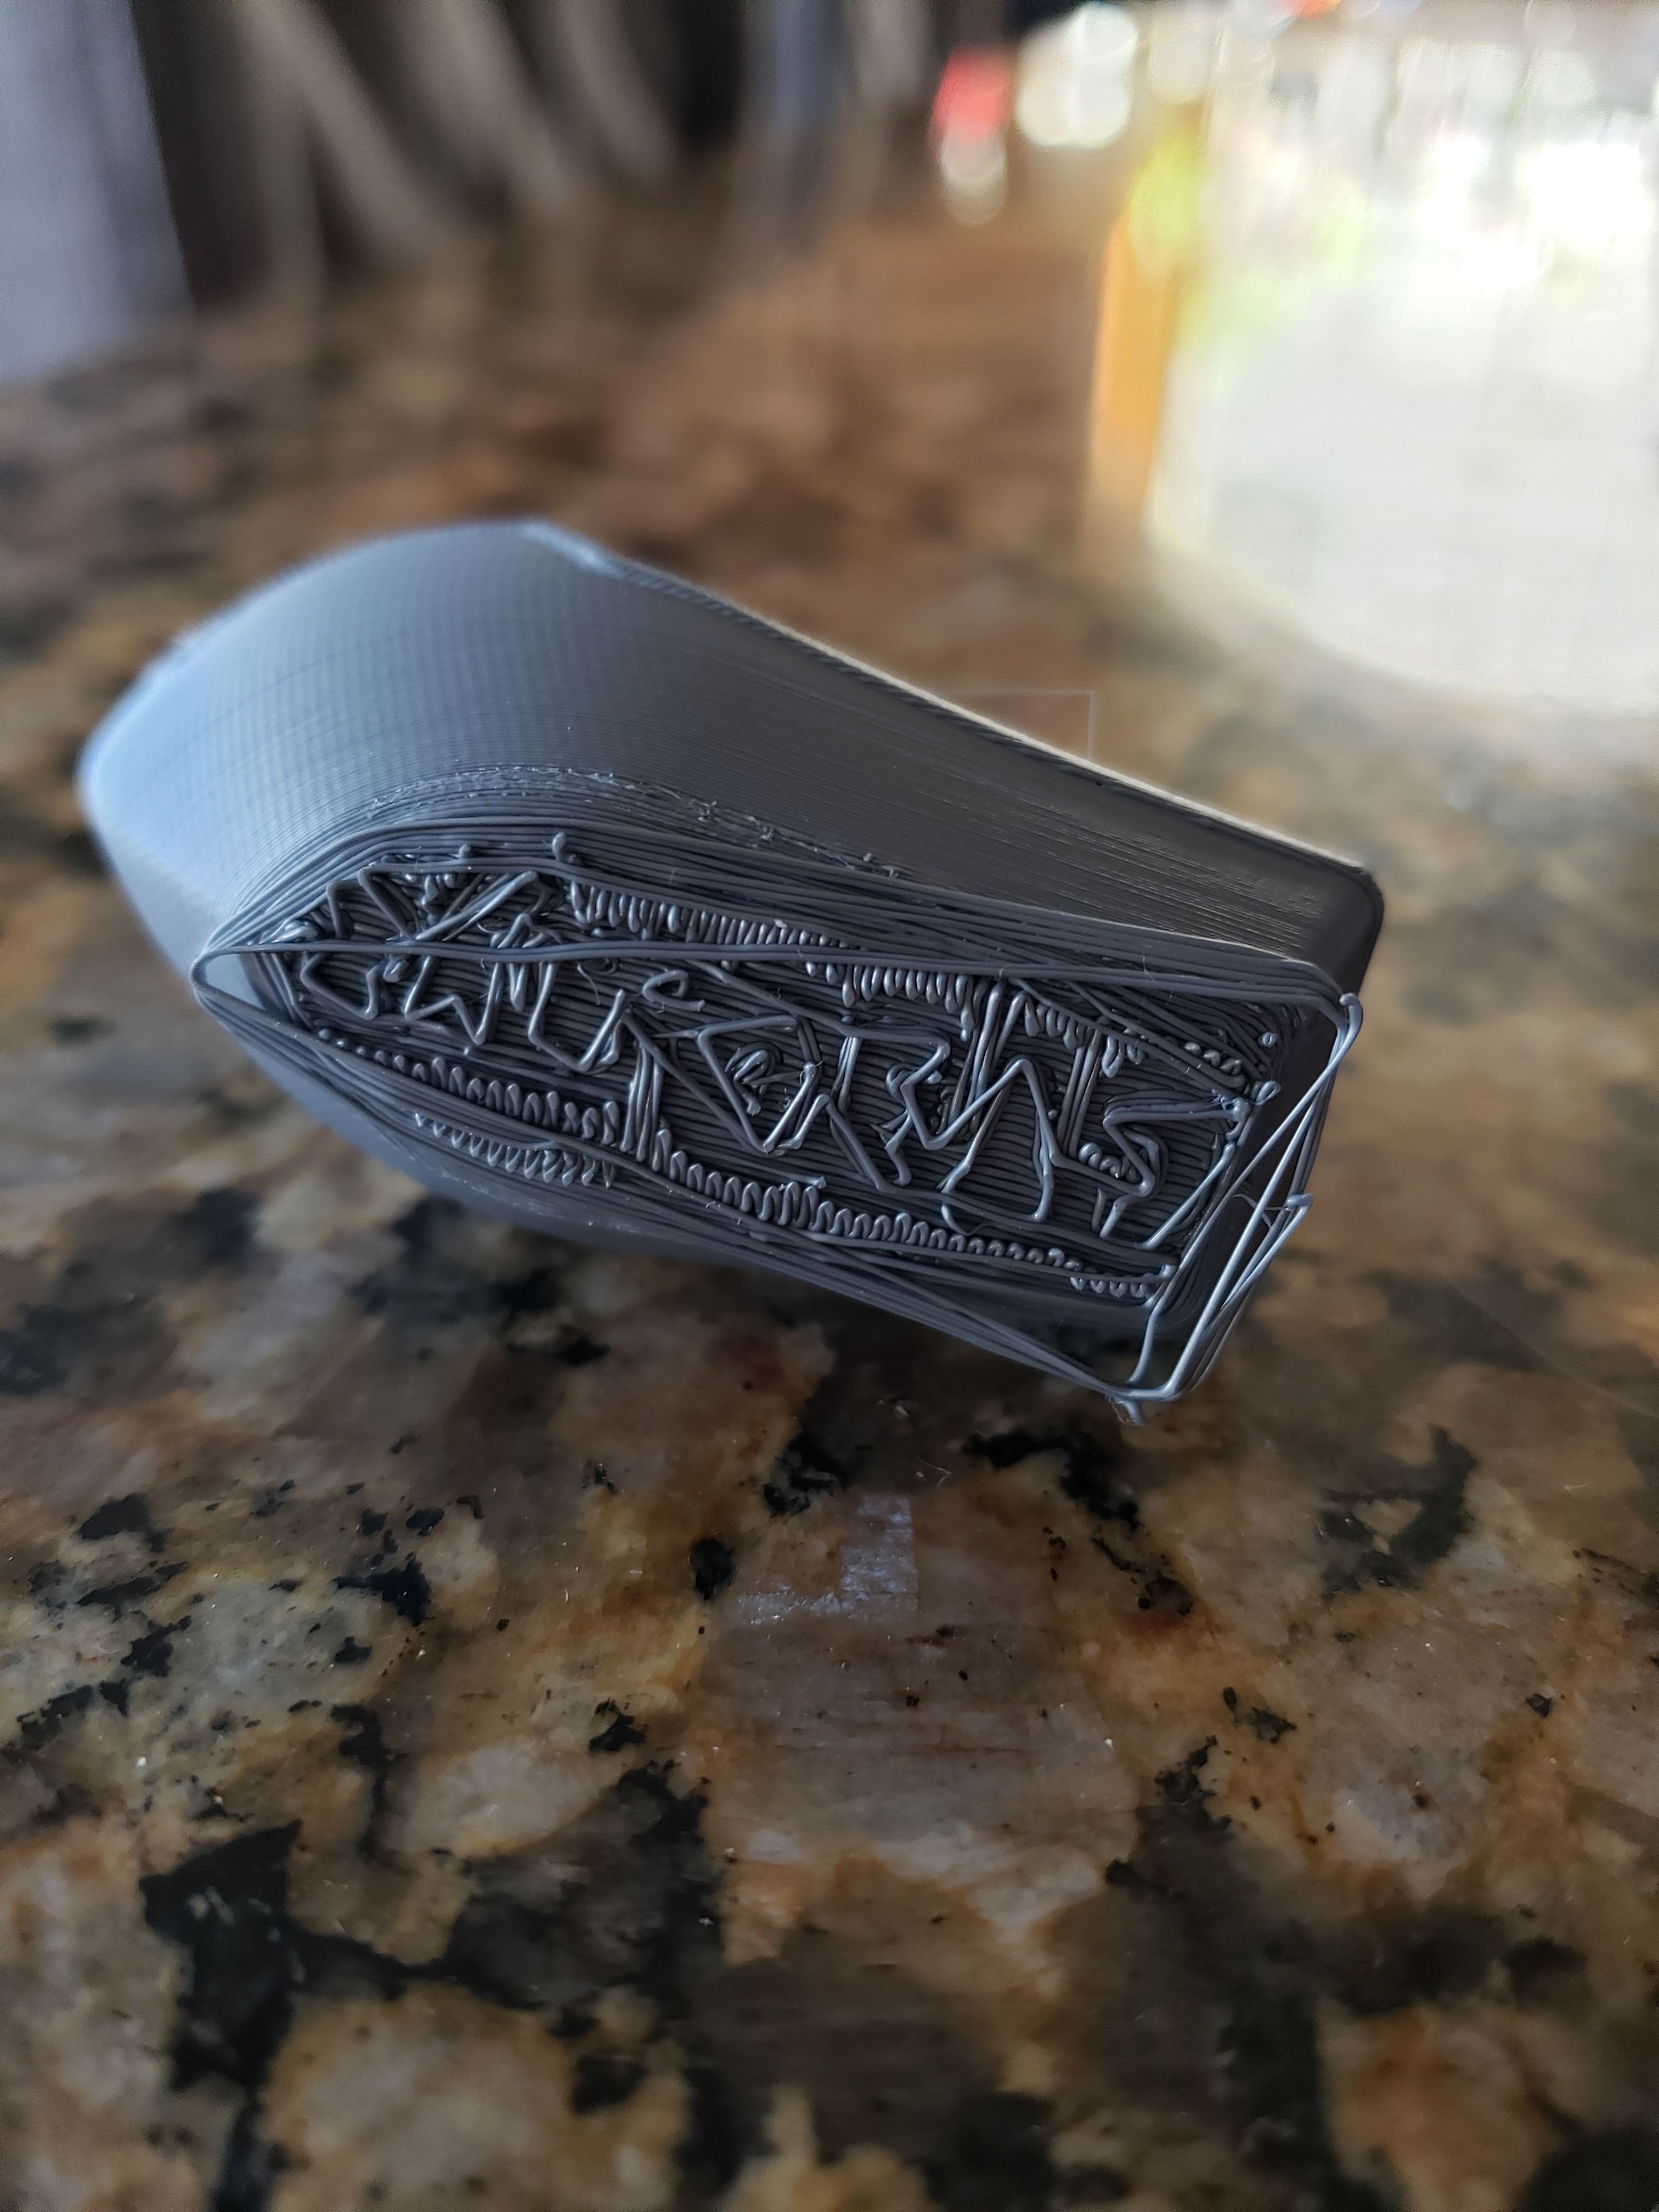
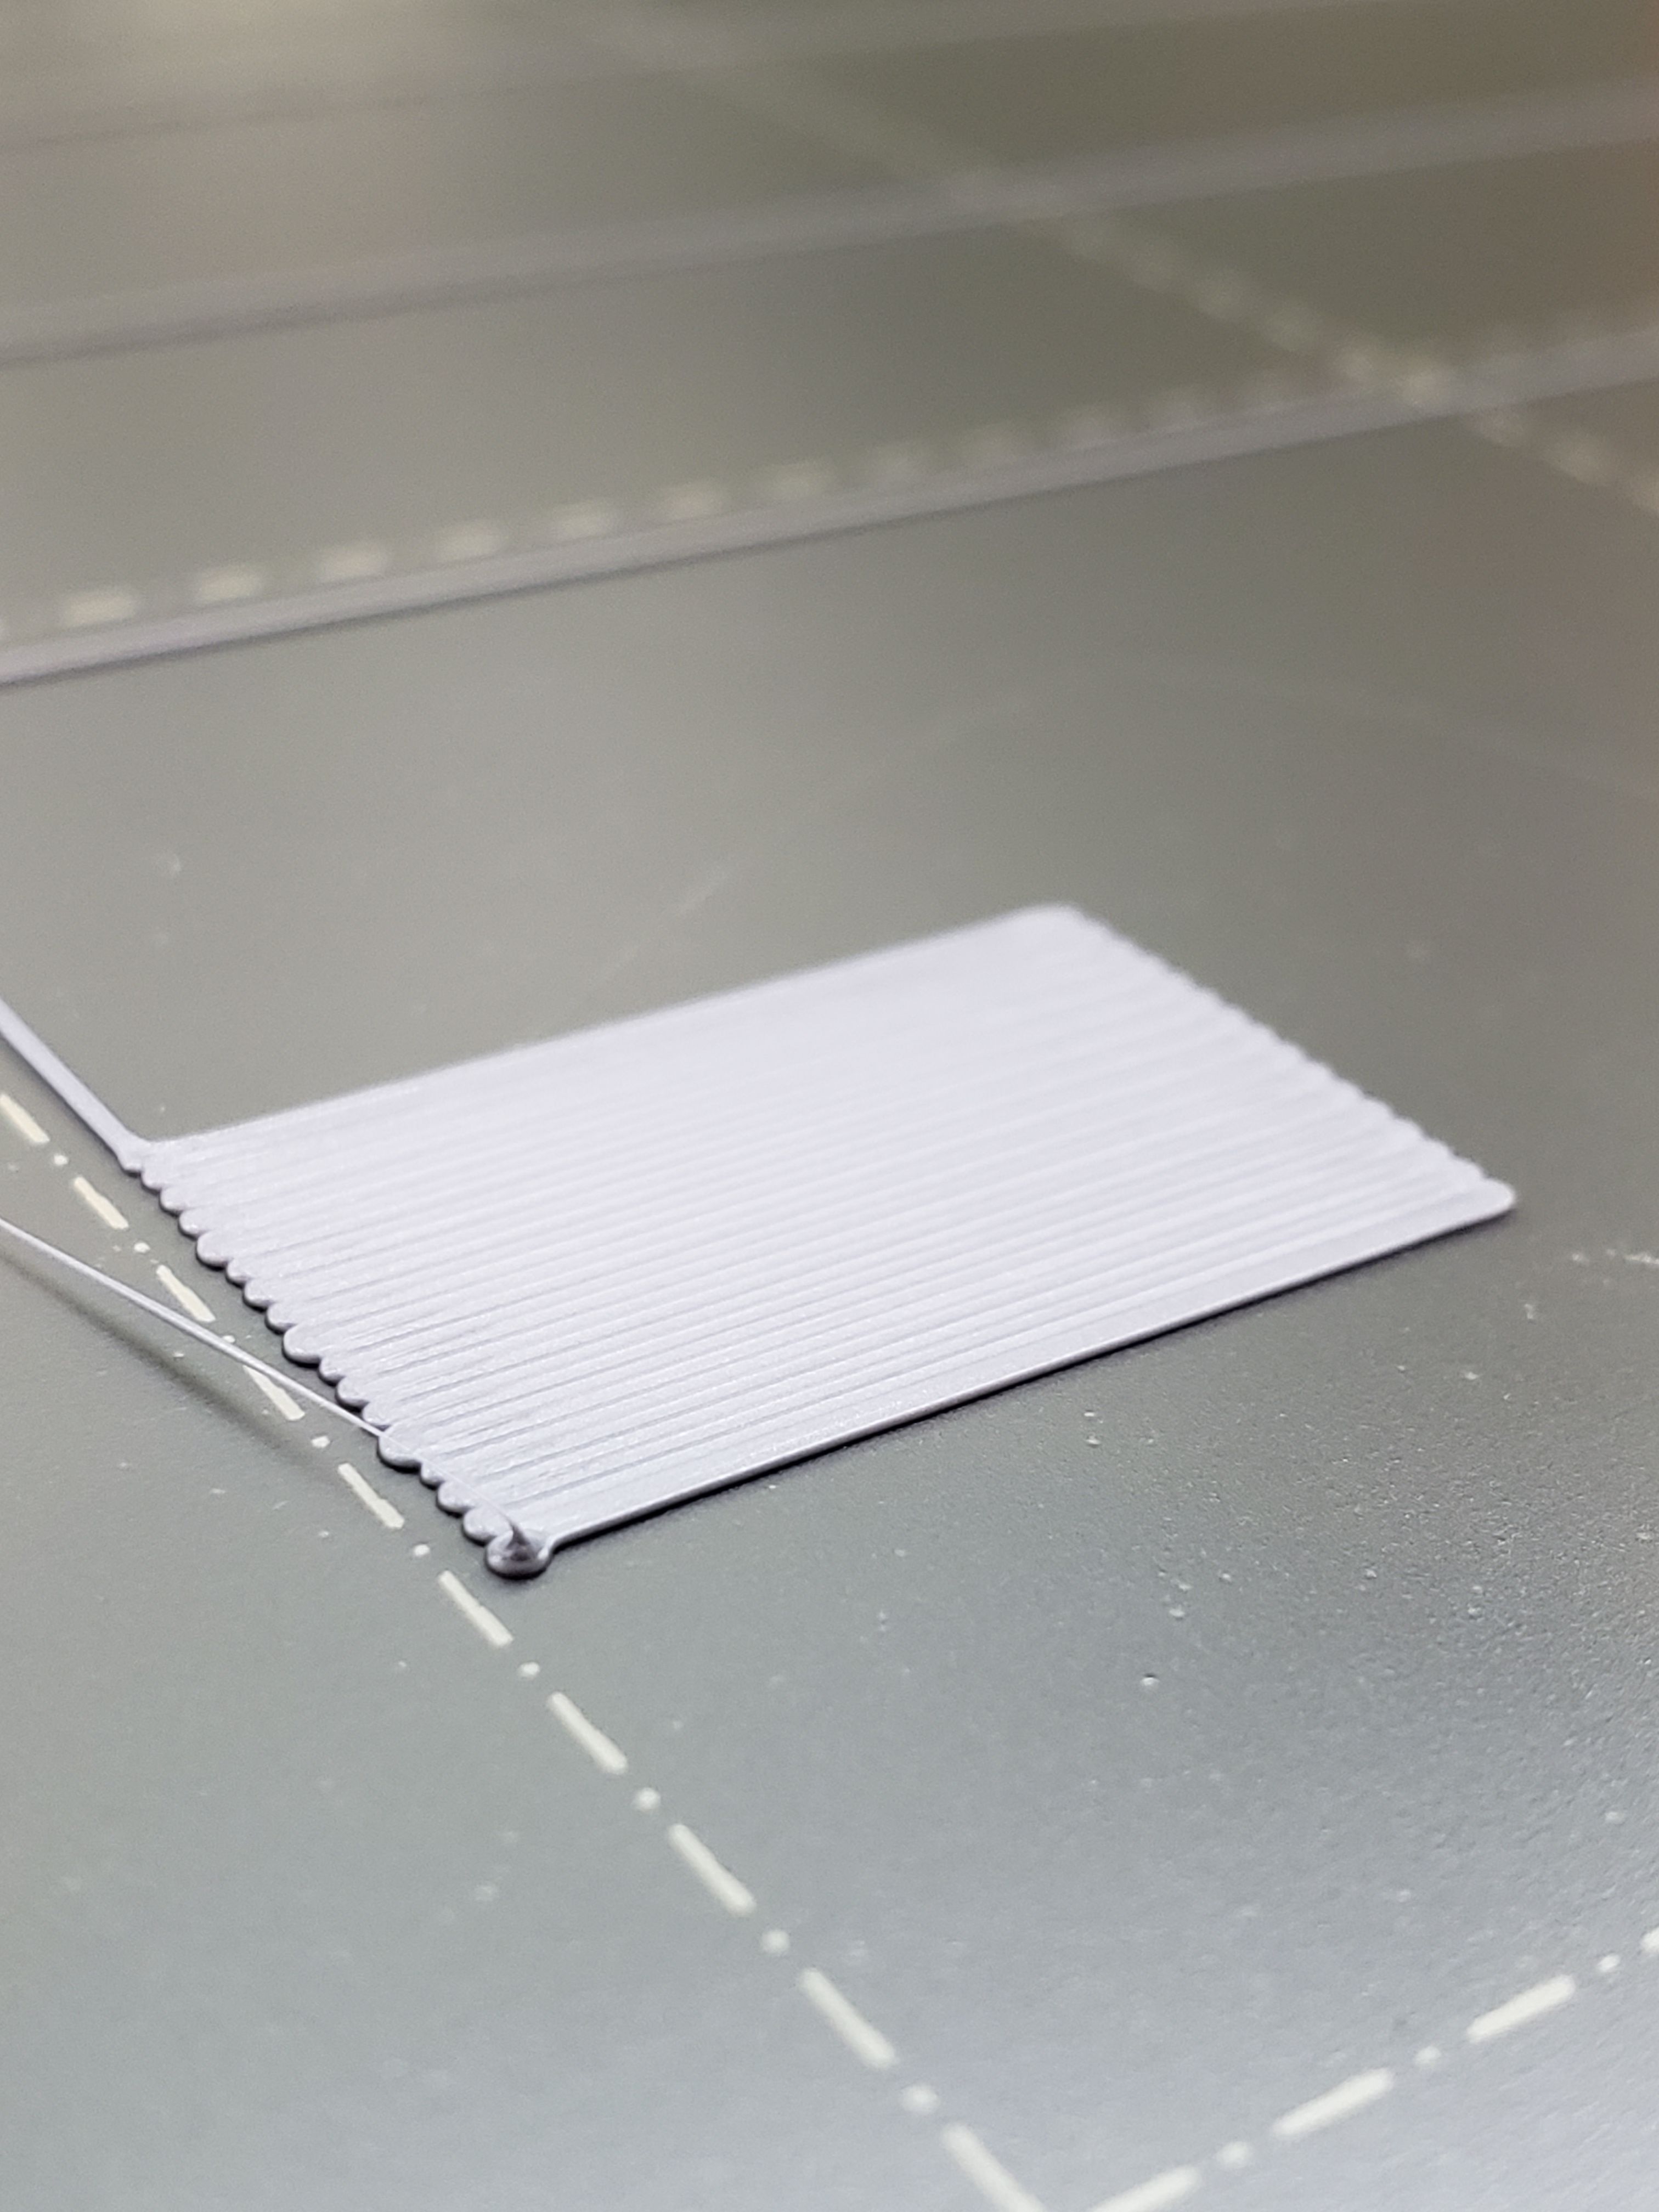
Squish test of Live Z. Shouldn't this be closer together? It looks like it's too spaced apart for each line?
Appreciate all the help. I'm sorry if these are newb questions or silly. I want to learn 🙂
-Nigel
RE: Super confused on Live Z adjustment and "squish"...
Z is too high, more info: https://help.prusa3d.com/en/article/first-layer-calibration_112364
RE: Super confused on Live Z adjustment and "squish"...
Negative is moving the nozzle closer to the bed. Its not unusual to see a negative value of -1500 on some printers but -800 to -1000 is more normal.
Run the built in calibration once so it sets the flag in memory that it has been done and then use the method from this post https://forum.prusa3d.com/forum/original-prusa-i3-mk3s-mk3-assembly-and-first-prints-troubleshooting/life-adjust-z-my-way/
Its far easier and much more accurate than the built in method.
Adjusting the live z is not required between printing objects. Any number of them. Once dialed in for a specific sheet that's it. Sometimes a different filament type will need a slight adjustment (many find PETG filaments need the nozzle a touch more further away from the bed than PLA for example) but tha.ts usually a 10 to 20 tweak to the value. Which can be done while printing the skirt if using one.
RE: Super confused on Live Z adjustment and "squish"...
In your test photo, the Z is way, way too high. The extrusion is not being squished down at all, which is why the adjacent lines are not touching. It should resemble painting, not sausages.
RE: Super confused on Live Z adjustment and "squish"...
Lower it on the test lines before the block until you get a flat line that is difficult to move with your fingernail.
--------------------
Chuck H
3D Printer Review Blog
RE: Super confused on Live Z adjustment and "squish"...
Awesome thank you for all the information! I have my Live-Z set at -0.115. Honestly I was afraid to go low, I was just imaging the bed getting scratched and ruined due to the nozzle crashing into it. So it appears I need to lower it quite a bit more!
That makes me feel better then. Some of the horror stories I've read after people build their MK3s and nothing is working right or they are having errors just in the first test/calibration. I made sure double/triple to take my time with all steps and just enjoy building it. I was so happy when it did the first round and everything was AOK!
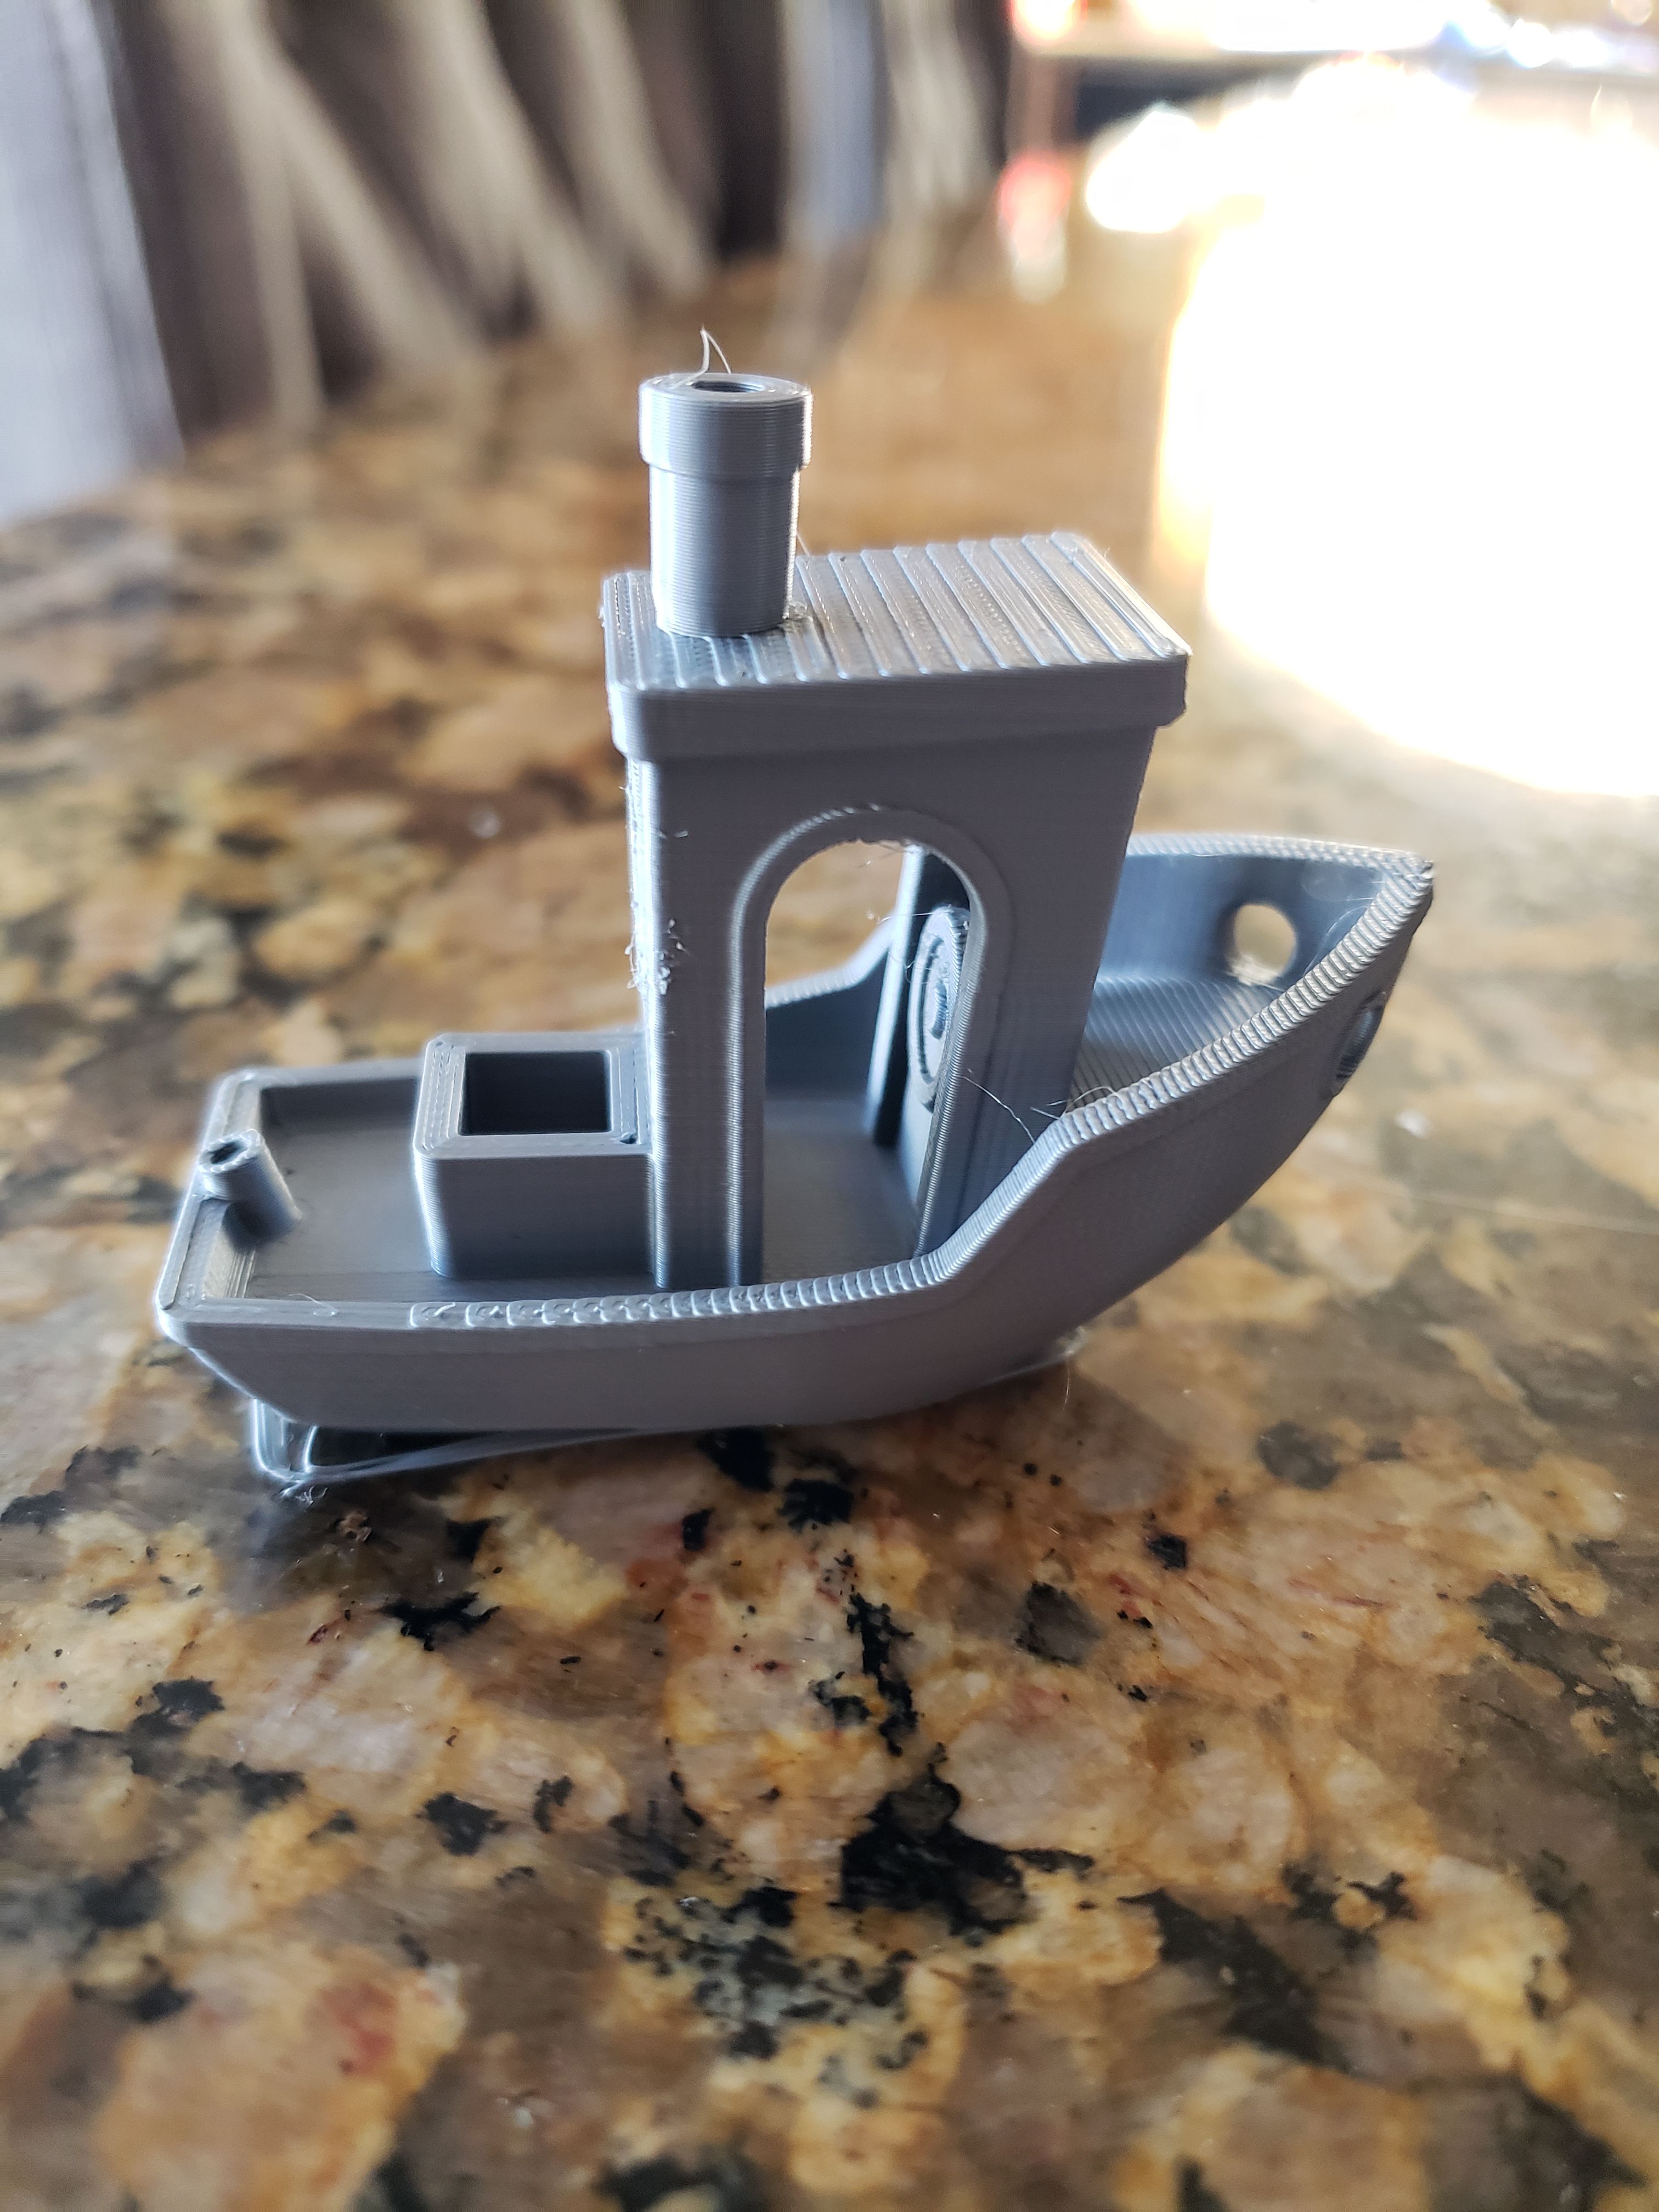
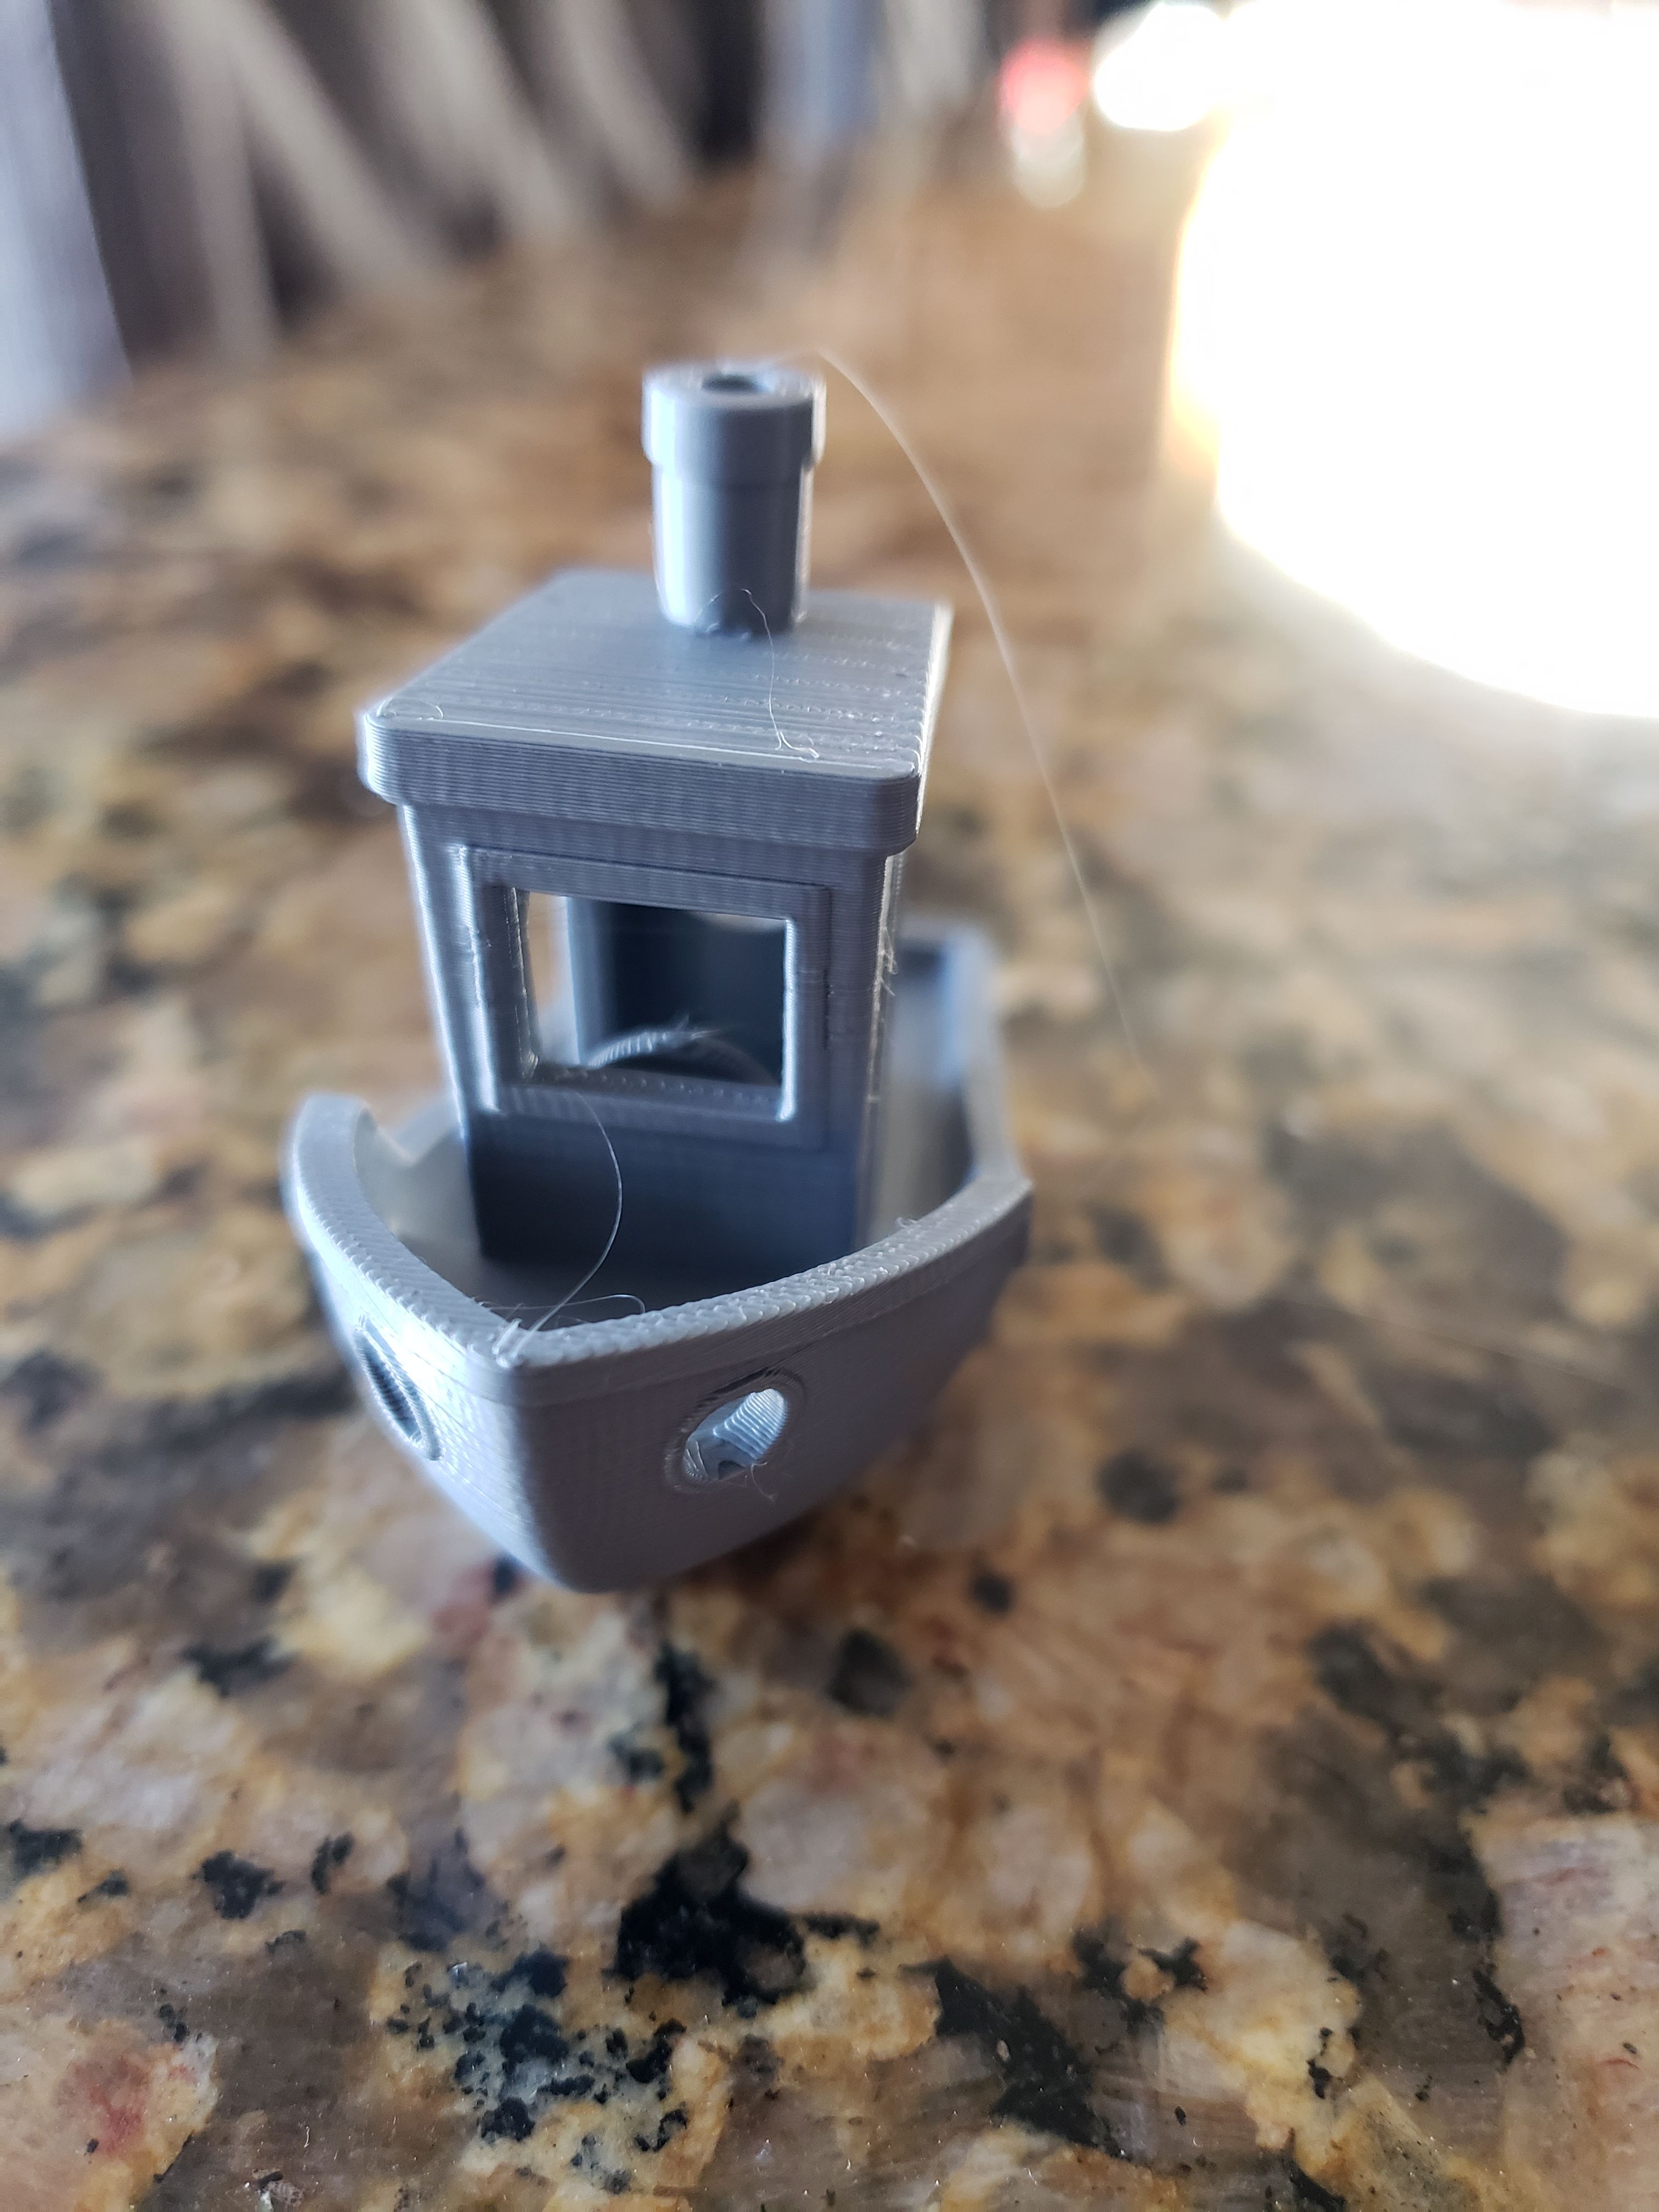
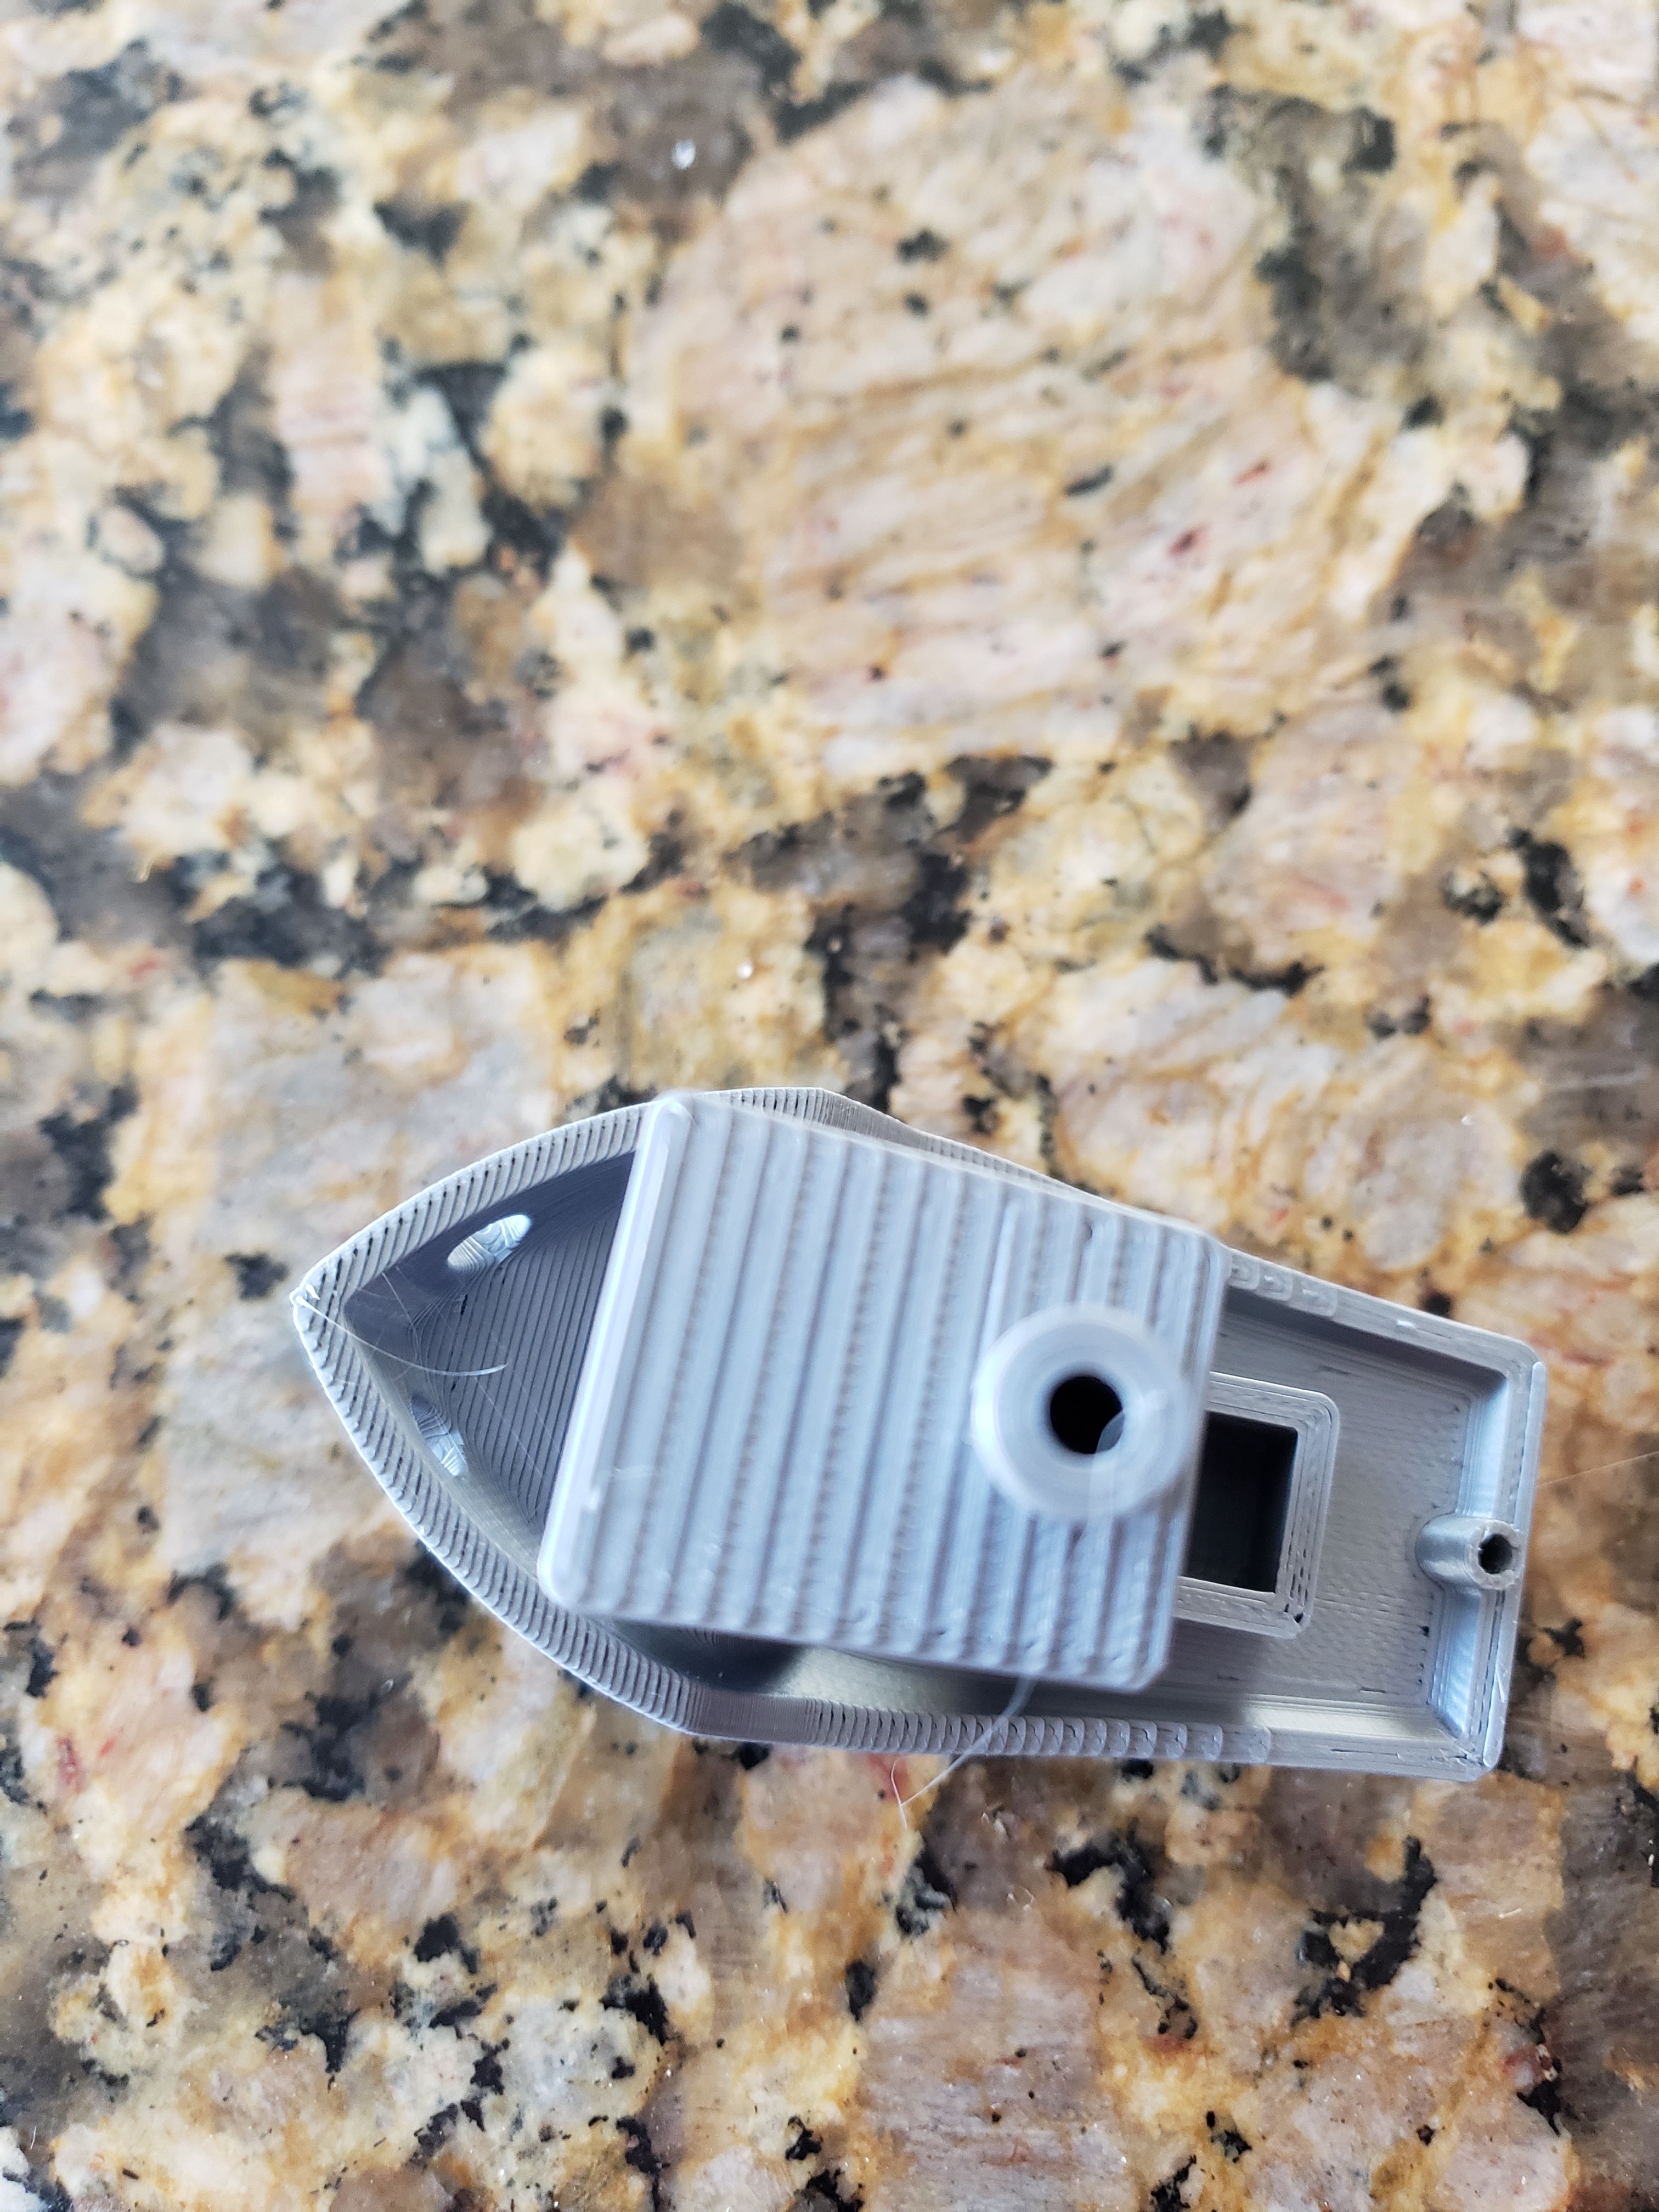
Here are pictures of my benchy. First print. And you are right, at the very bottom it looks horrible... So one question I have is since my Live-Z wasn't low enough, why would the rest of the benchy look OK in terms of going up. Wouldn't the first layer set the tone for the entire print. IE: If it's stringy on the first bottom part, why is it not like that the entire way up?


I am reading that Live-Z link now!. So much good information here! It can be very overwhelming to take it all in.
Thanks much!
-Nigel
RE: Super confused on Live Z adjustment and "squish"...
I just adjusted the Live Z again. This time I SEE the squish!! I see a noticeable difference after adjusting it to -0.540.
I think that was my problem at first. I was incrementally going down by 0.005 each time, so it would have taken me forever to get to where I am at now..lol
That little Gcode print is awesome! I wonder why it's not part of the "Use This" when building the printer. That's FAR better and easier to understand.
Here are three quick pictures: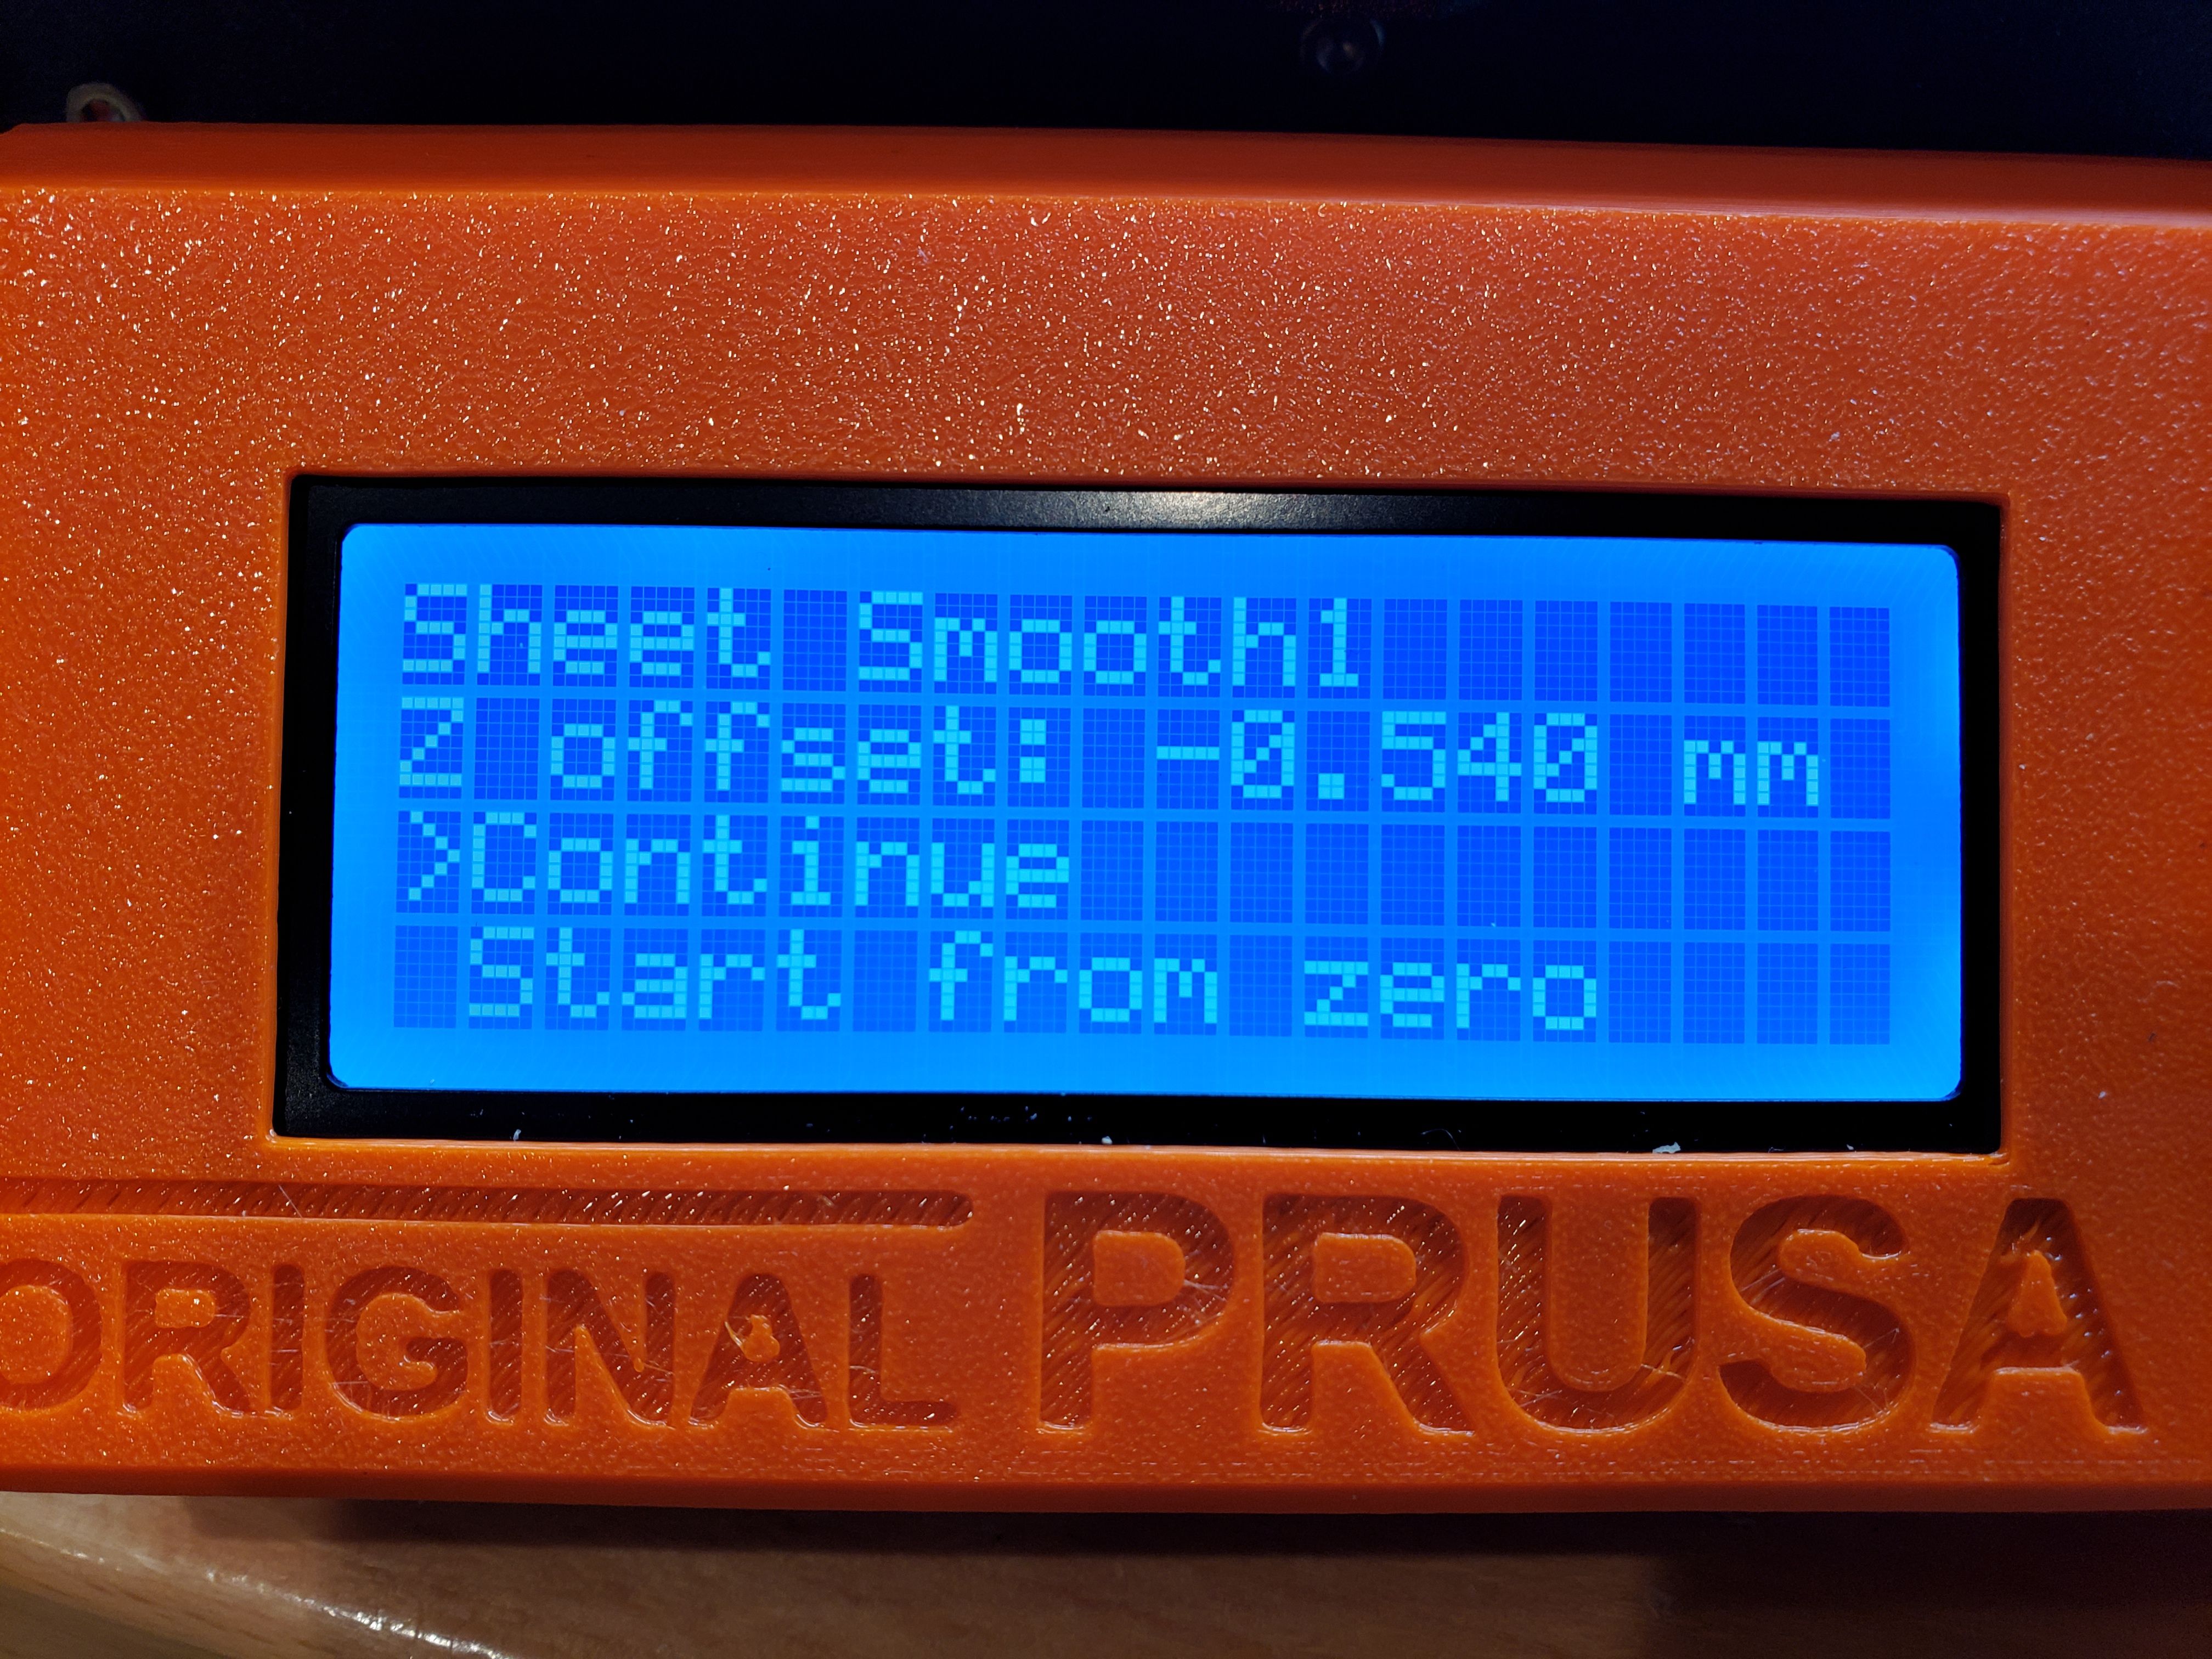

Getting there! Thank you for all the help!
-Nigel
RE: Super confused on Live Z adjustment and "squish"...
To answer your question about the benchy, you got lucky. Normally with a first layer that poorly stuck down the print would pop off the bed at some point and you would either have a blob on the nozzle or a bed covered in spaghetti. Apparently the bits that did stick down on the first few layers were stuck well enough that all the rest of the layers did what they were supposed to do.