XYZ calibration failed. Bed calibration point was not found.
I3 MK3S KIT
1- Started the Calibration Wizard. Self-Test completed successfully. XYZ Calibration failed at the end of the first round (end of 4 sensors points detection phase). Error is "XYZ calibration failed. Bed calibration point was not found. See manual."
- Note that the "PINDA" sensor distance was previously adjusted using a tie wrap as a spacer, as stated in the assembly instruction manual.
- As expected, at the start, the print head went all the way up, touching the stopper with a rattling noise.
- The nozzle is cleaned.
- I used a sheet of paper under the nozzle, the print head did not catch the sheet while searching for the 4 corners sensor points.
- I can see that there are 3 different movements to detect each sensor points. The first is a round pattern, the second is a linear X displacement over a stepping Y-axis, and the third is as "X" pattern targeting the sensor point. The fault occurs and the very end of the fourth sensor point detection.
2- I read that it is sometimes a "PINDA" sensor adjustment that can cause that error.
- I slightly lowered the sensor as recommended.
- Another calibration attempt ended with the same result, same error.
3- I read that it is sometimes the "PINDA" sensor cable/connector that can cause that error.
- Cable is not pinched,
- I unplugged and re-plug the connector. Another calibration attempt ended with the same result, same error.
4- I reset to the factory default (All).
- Another calibration attempt ended with the same result, same error.
QUESTION: I really don't know what to do next. Can you instruct on what to do next?
Thank you.
RE: XYZ calibration failed. Bed calibration point was not found.
r-p-caron,
First, a note, unlike many internet product fora Prusa technical support does not respond to forum postings, this is a user forum. If you wish to receive help from Prusa tech support you will need to contact them via chat through the Eshop. If you do not see the chat icon appear in the lower right corner after a few seconds see this forum thread "Need Help? Can't See chat?" for assistance.
Having said that... You noted that you adjusted your PINDA sensor "using a tie wrap as a spacer, as stated in the assembly manual". How close to the heatbed (no build plate was installed, right?) was the extruder nozzle? Unfortunately the assembly manual is a little bit ambiguous about this adjustment. I recommend that you place a sheet of paper on the heatbed and adjust the z-axis down until the nozzle just begins to "drag" on the paper when you try to move the paper and only then, using the tie wrap, adjust the PINDA sensor height. Since it does not fail until the final point I surmise that your PINDA sensor height, combined with a slight "warp" in the heatbed is causing the error as the z-axis does not move up and down during this "hunt" so if your sensor is too high and the heatbed is slightly lower at this location then the controller will fail to detect the metal embedded in the heatbed at this location.
A couple of additional points...
You may wish to take a straight edge and lay across the heatbed from side-to-side and corner to corner to check the "flatness" of your heatbed. A light shining behind the straight edge can help you see any gaps. If there are gaps you can try to remove/reduce them by loosening all of the heatbed screws (9) and re-tightening them taking care to use the sequence in the assembly manual and not overtightening. There is no load on these screws so an 1/8th to 1/4 turn beyond contact is sufficient.
When you reach the part of the calibration which adjusts the "live-Z" stop and make certain that your build sheet is spotlessly clean. You do not specify whether you have the textured or smooth sheet but the expert consensus on this forum is whichever sheet you have a thorough scrubbing under hot water with dish soap free of additives (Dawn is a favorite in the U.S.A., Fairy in the UK) and paper towels, followed by a long rinse under hot water and drying with clean paper towels is the best. Note that Prusa does not recommend this method, however, they also consider the build plate to be a consumable and will likely not provide any warranty anyway. Once you have made a first pass at adjusting using the "built-in" routine (you must complete to the end) then see this thread "Life adjust Z - my way" for a much easier to use method to fine tune this all important adjustment.
Good luck, and don't hesitate to ask if you have any other questions.
Regards,
Steve
RE: XYZ calibration failed. Bed calibration point was not found.
This issue is now resolved. I believe it is important to participate in this forum by reporting here the diagnostic steps to arrive at a reliable and permanent solution.
Summary:
Anomalie :
Started the Calibration Wizard. Self-Test completed successfully. XYZ Calibration failed at the end of the first round (end of 4 sensors points detection phase). Error is "XYZ calibration failed. Bed calibration point was not found. See manual."
Solution :
Tighten the gear screws on the X-axis belt motor shaft.
Details :
Note 1 : I assume you read my very first message on this post. The following is complementary to this first post.
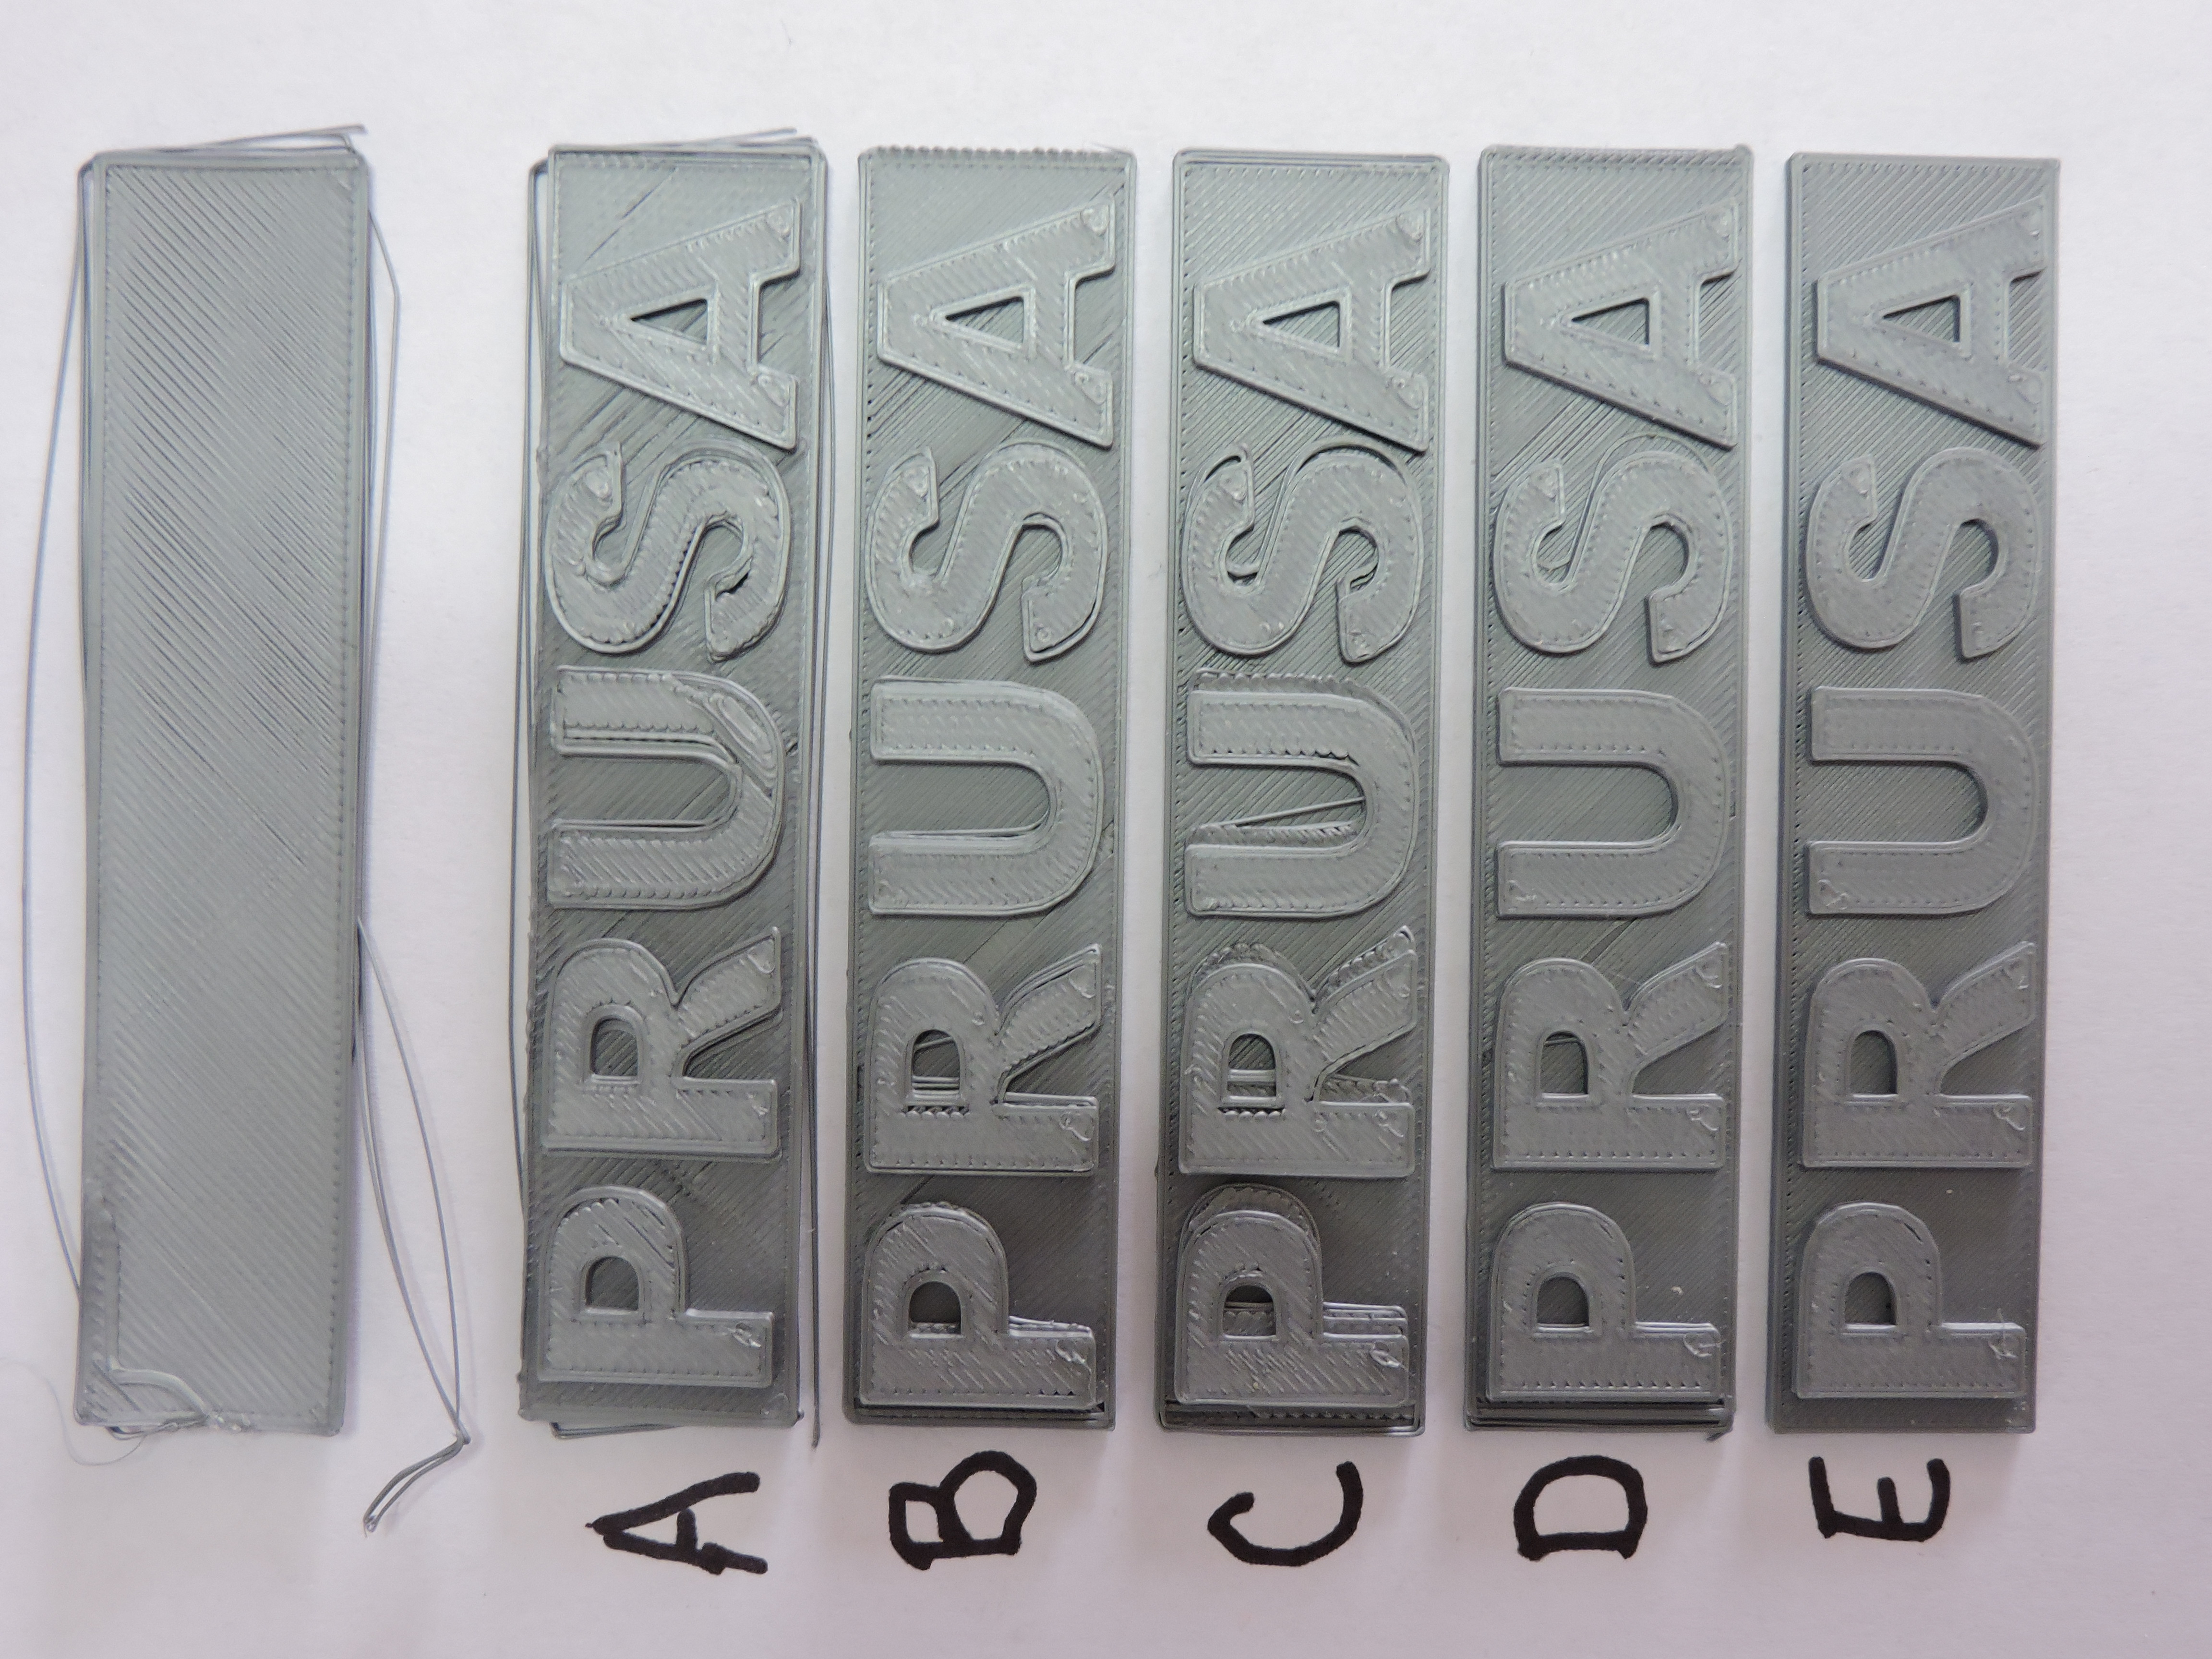
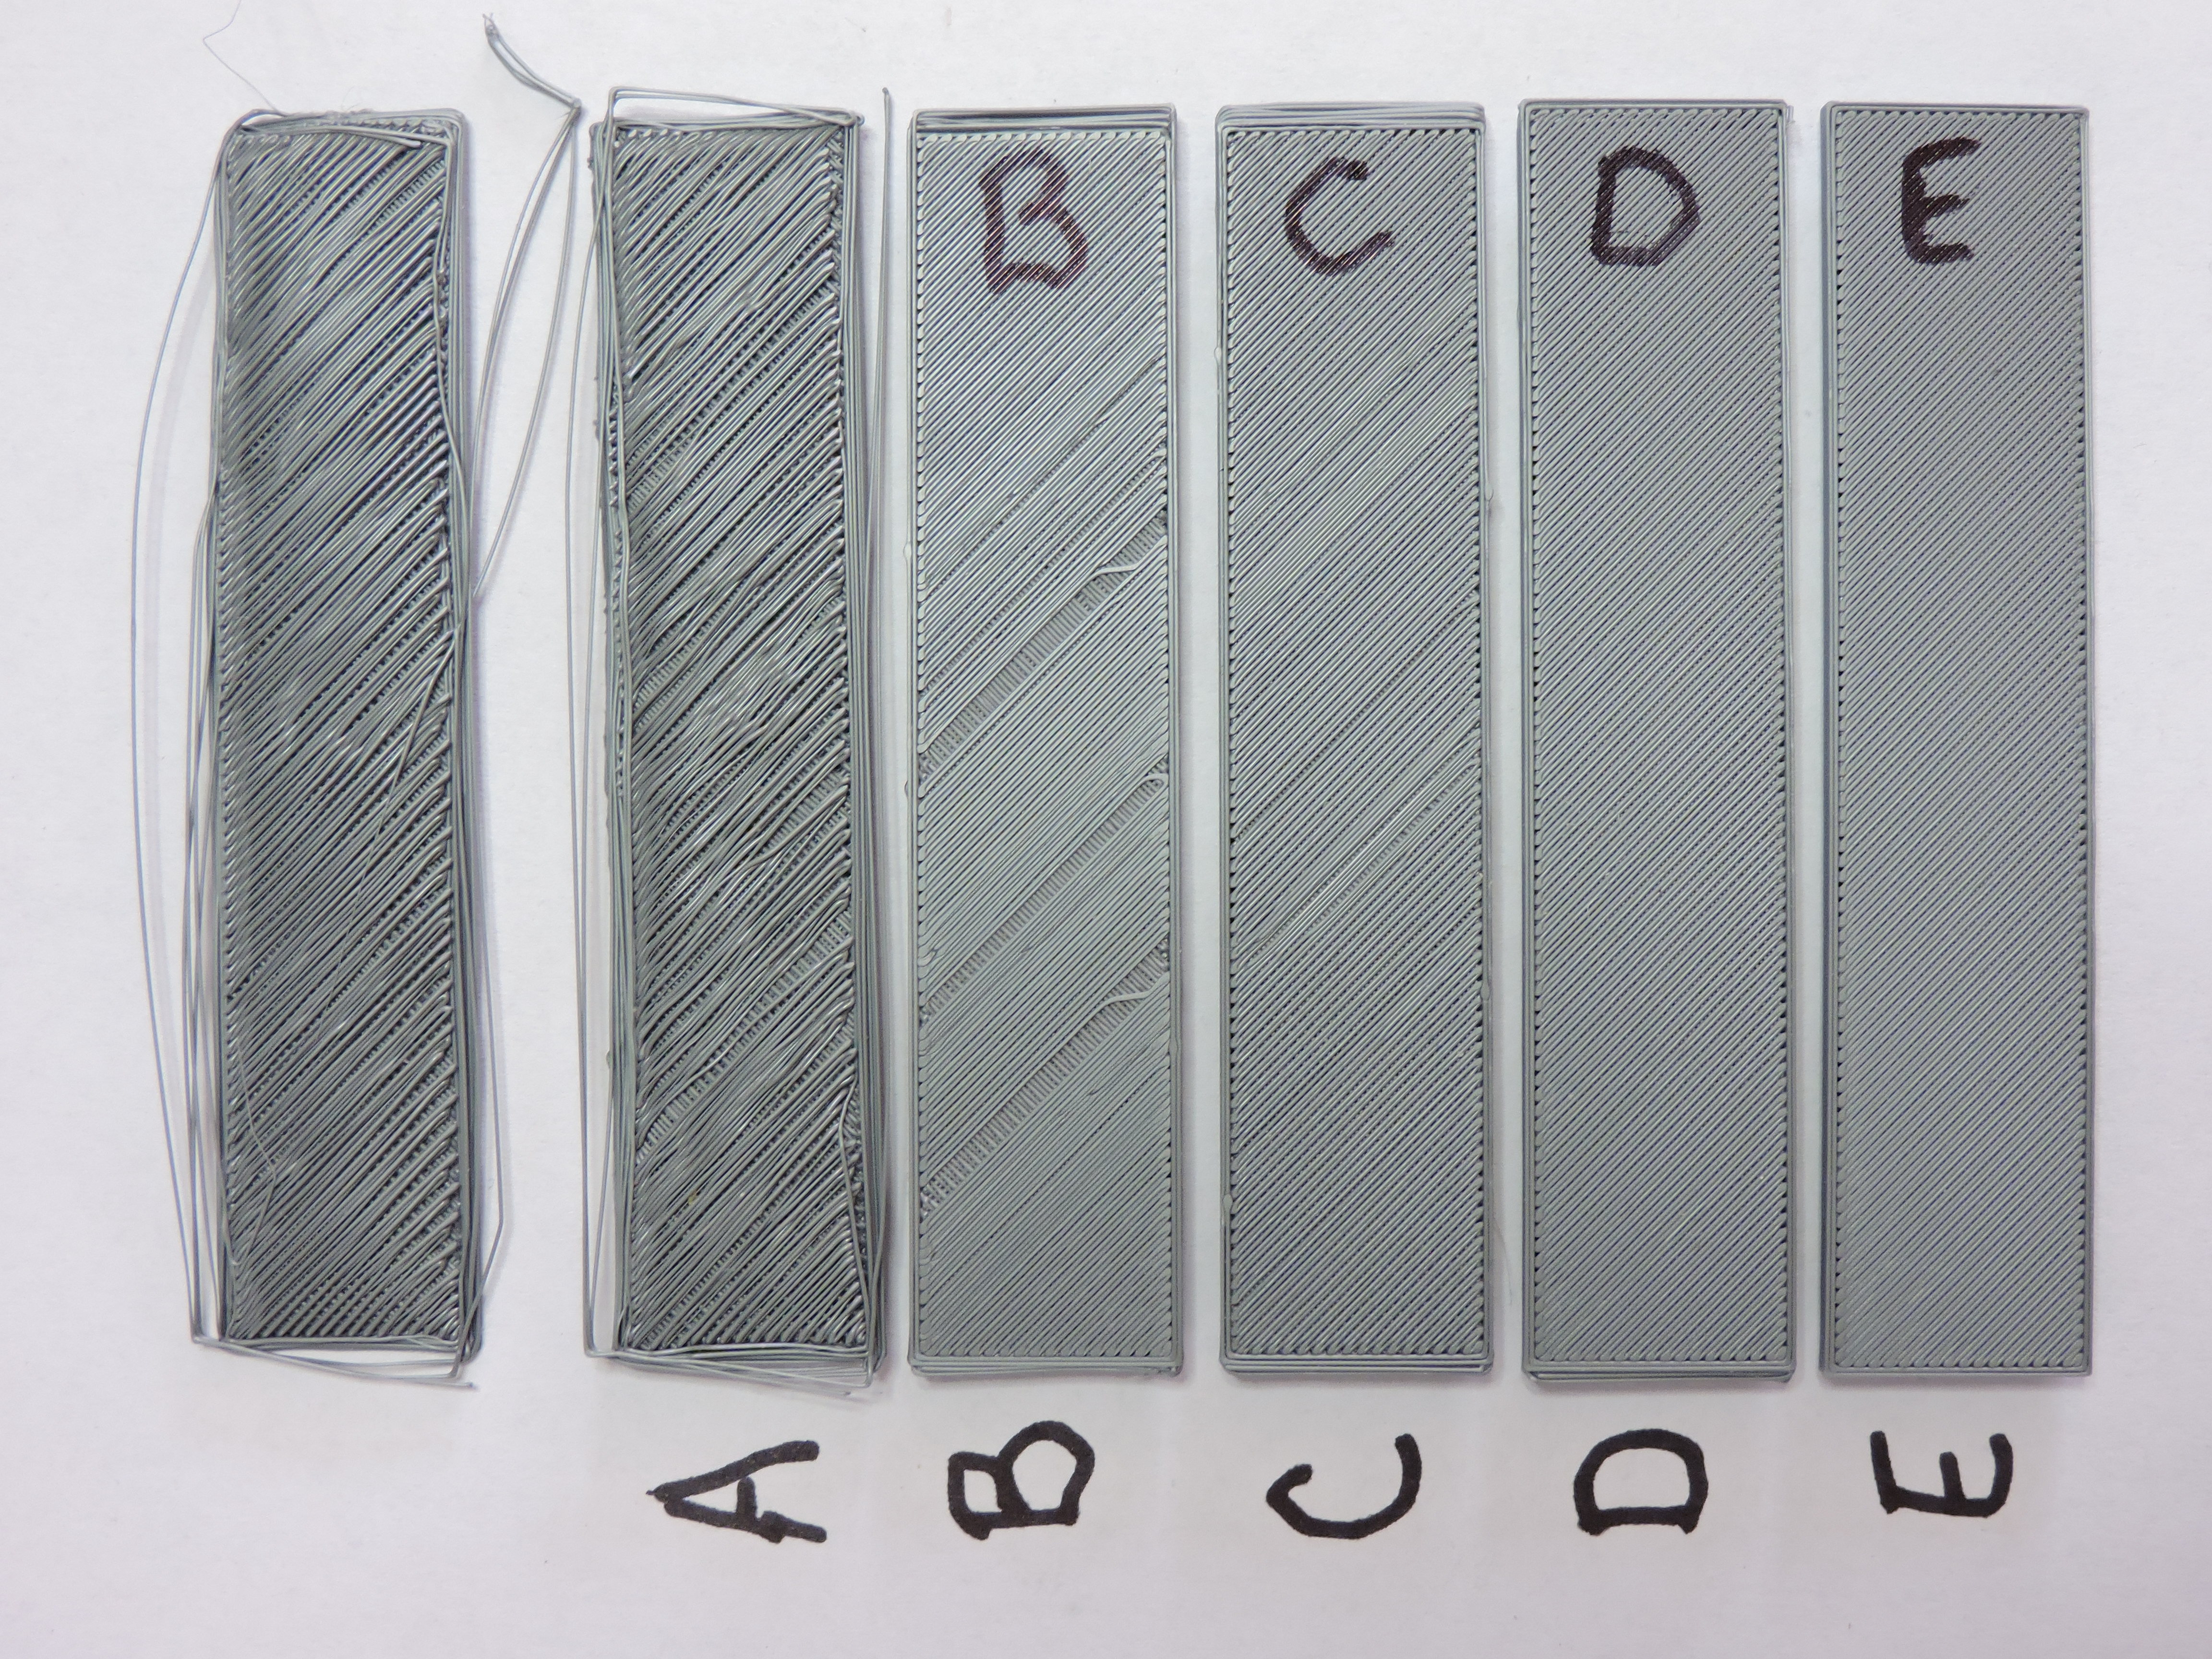
Note 2 : Two pictures accompany this solution. The first shows the front sides of print results for each diagnostic step. The second picture is the back sides. Please, refer to those pictures.
Prusa Logo - Diagnostic Steps
Prusa Logo - Diagnostic Steps
First of all, you should know that after assembling the printer, the very first use of the “Calibration – Wizard” function was completed without any problem. I launched a first impression of the «Prusia» logo.
The top test (without a letter) represents the very first impression of the Prusia I3 MKS. You must know that I did not make any Z axis first layer adjustment prior to that first print. (I know, that is crazy, but it is what it is!) So the Prusia logo took off from the surface. I pressed the emergency stop button. It is from this moment that the XYZ calibration refuses to complete itself, ending after the fourth detection of detection points.
Several calibration tests show that the PINTA detector still manages to position itself on each point. So I decide to ignore this calibration, to perform the calibration of the first layer, and to launch another «Prusia» logo print, just to see what happens.
“A” Print: First layer Z adjustment set to -0.750
- Marked improvement, poor quality.
- The observation on the back shows that the Z adjustment is not sufficient.
- Slight shifts of the layers on the X-axis.
“B” Print: First layer Z adjustment set to -0. 985
- Marked improvement, poor quality..
- Slight shifts of the layers on the X-axis, especially when filling the base of the logo.
- The reverse side shows a better adhesion of the first layer, but presents incomprehensible offsets on the X-axis.
“C” Print : tightened by half a turn, the filament idle gear tension screw. I also adjusted the height of the first layer to -1,000.
- This is the worst result so far, but I think it’s only circumstantial; the last adjustments are certainly in question to create this excessive offset of the X-axis. There must be something else, something that manifests itself at random.
“D” Print: Tightened the X-Axis Belt
- Noticeable improvement. No offset of the first layer (see the reverse side).
- Some random X offsets are still observed.
Print “E”: Tightened the gear screws on the X-axis motor shaft.
- The impression is almost perfect.
New XYZ calibration test: Positive result.
I had to readjust the first layer Z position after that calibration.
- My conclusion is that the lack of repeatability on the X-axis positioning (caused mostly by loose screws on the X motor gear) is the cause of the XYZ calibration failure.
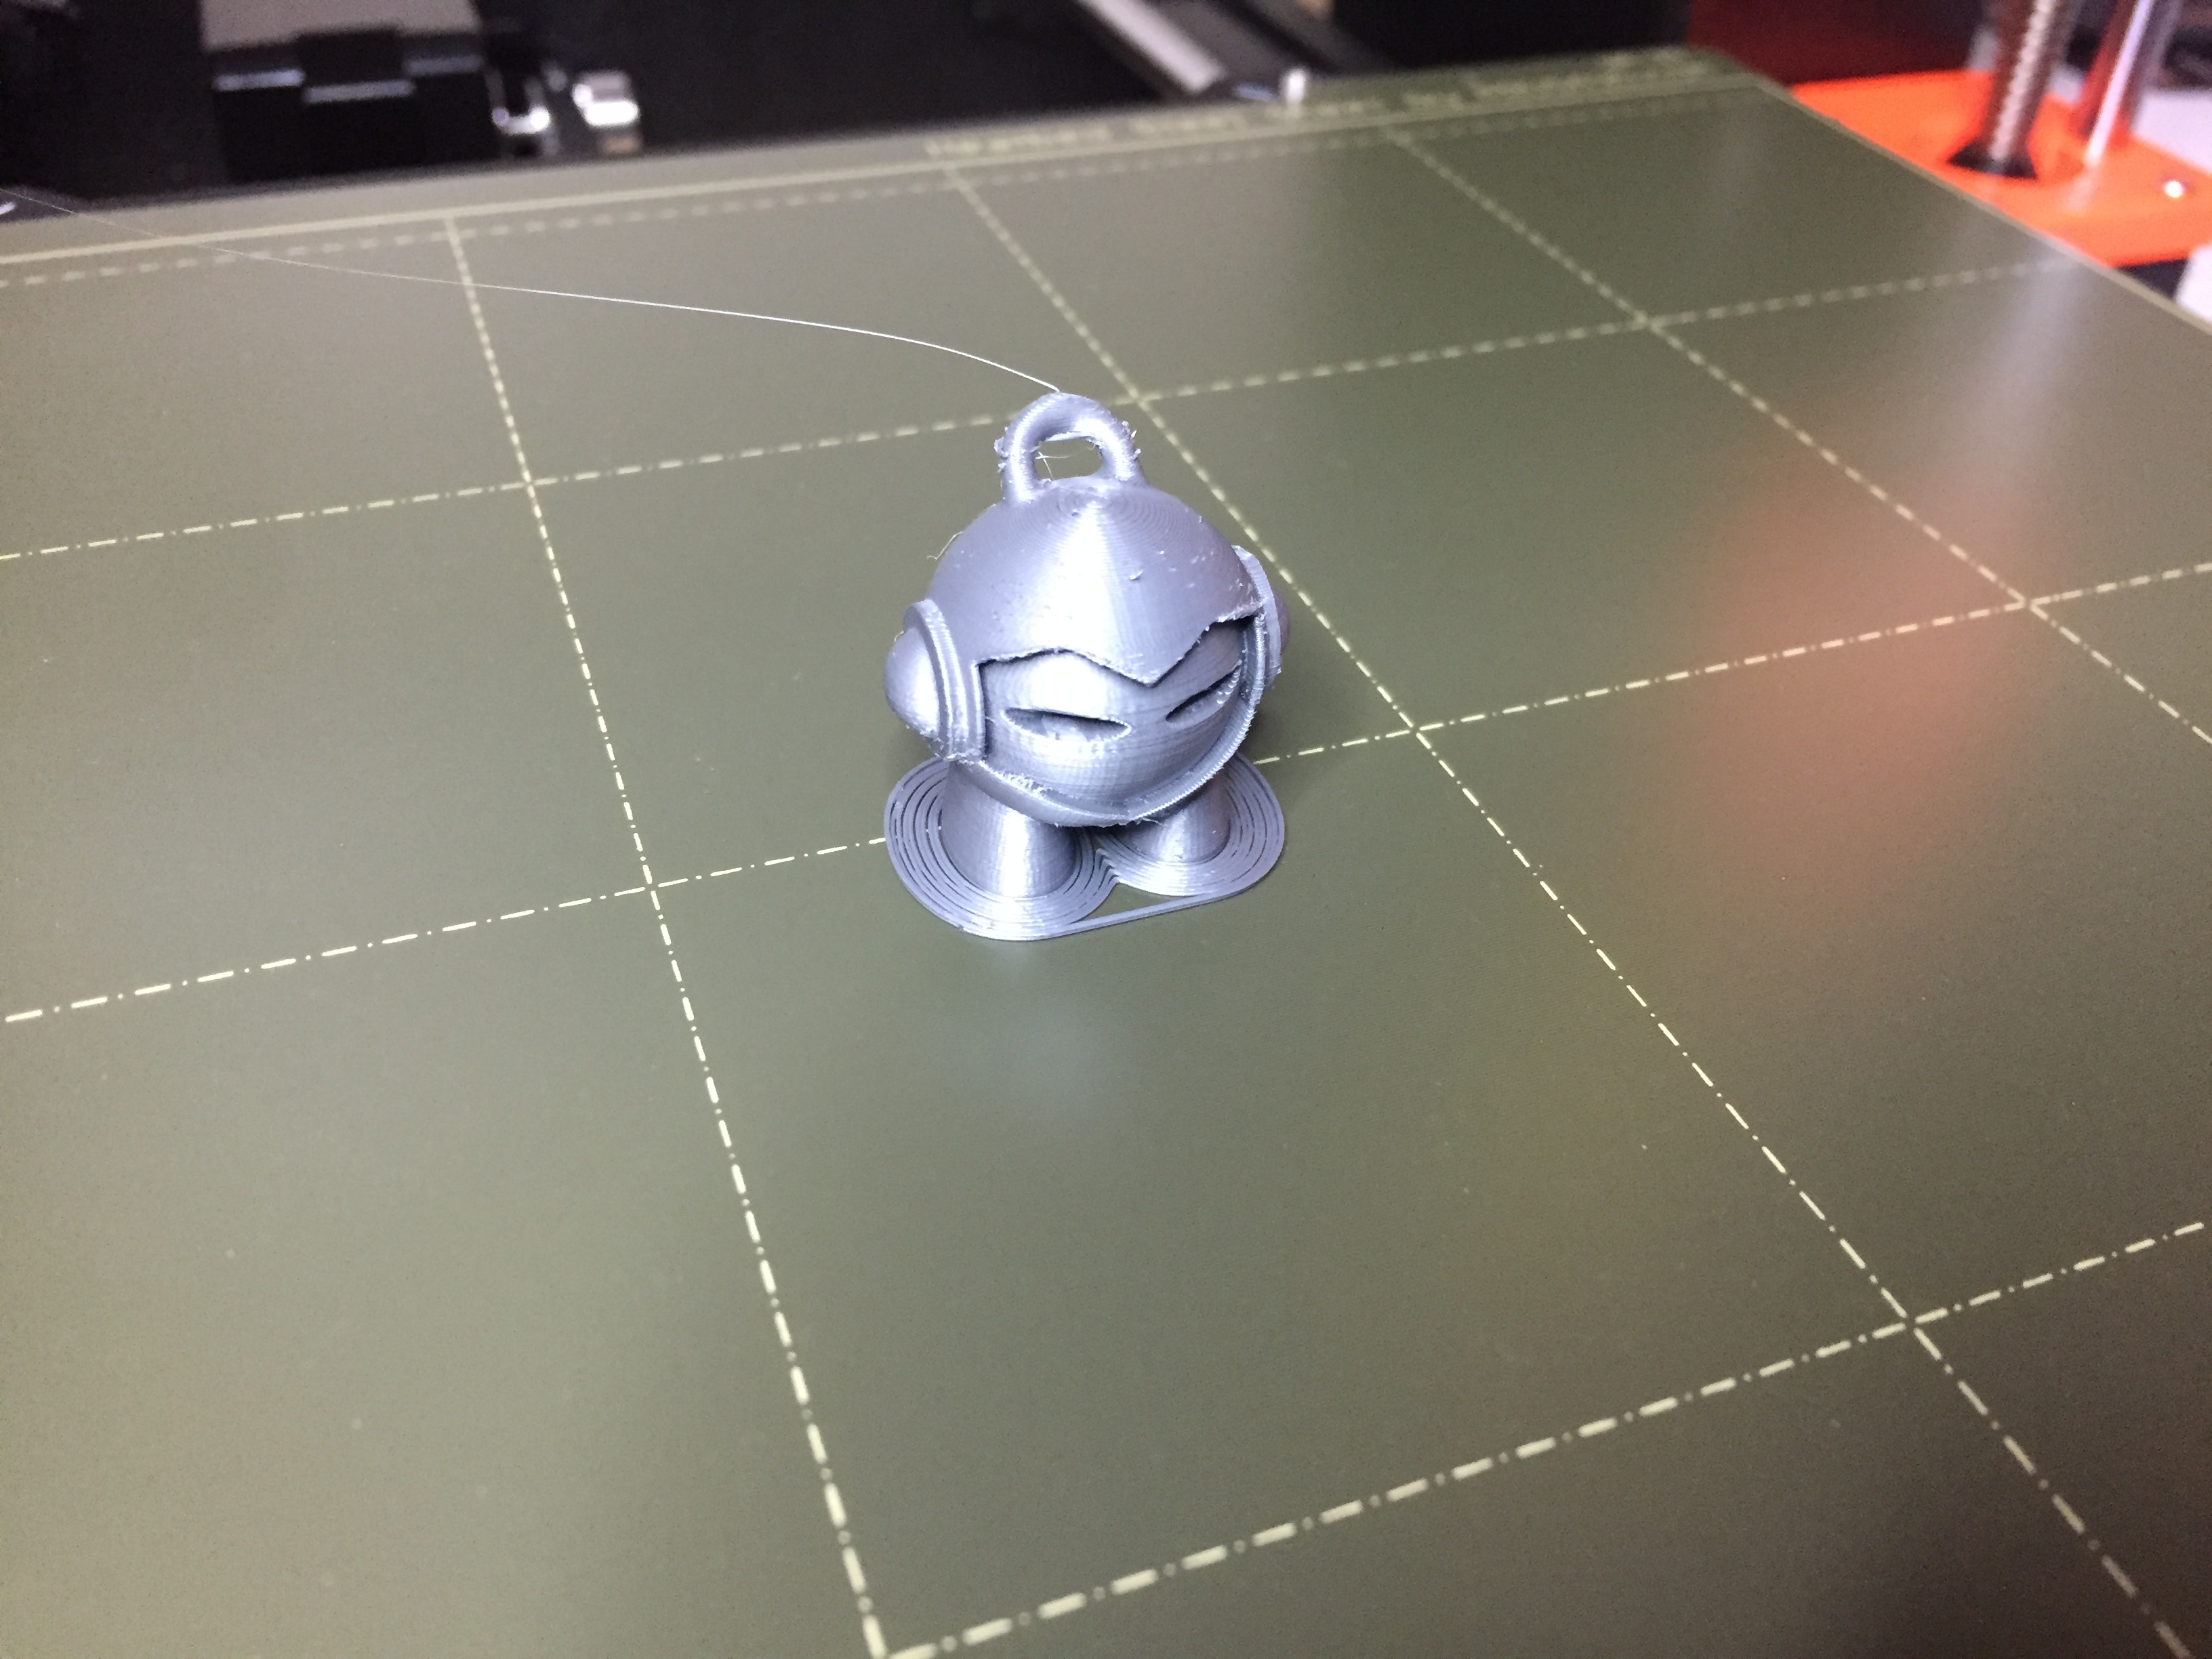
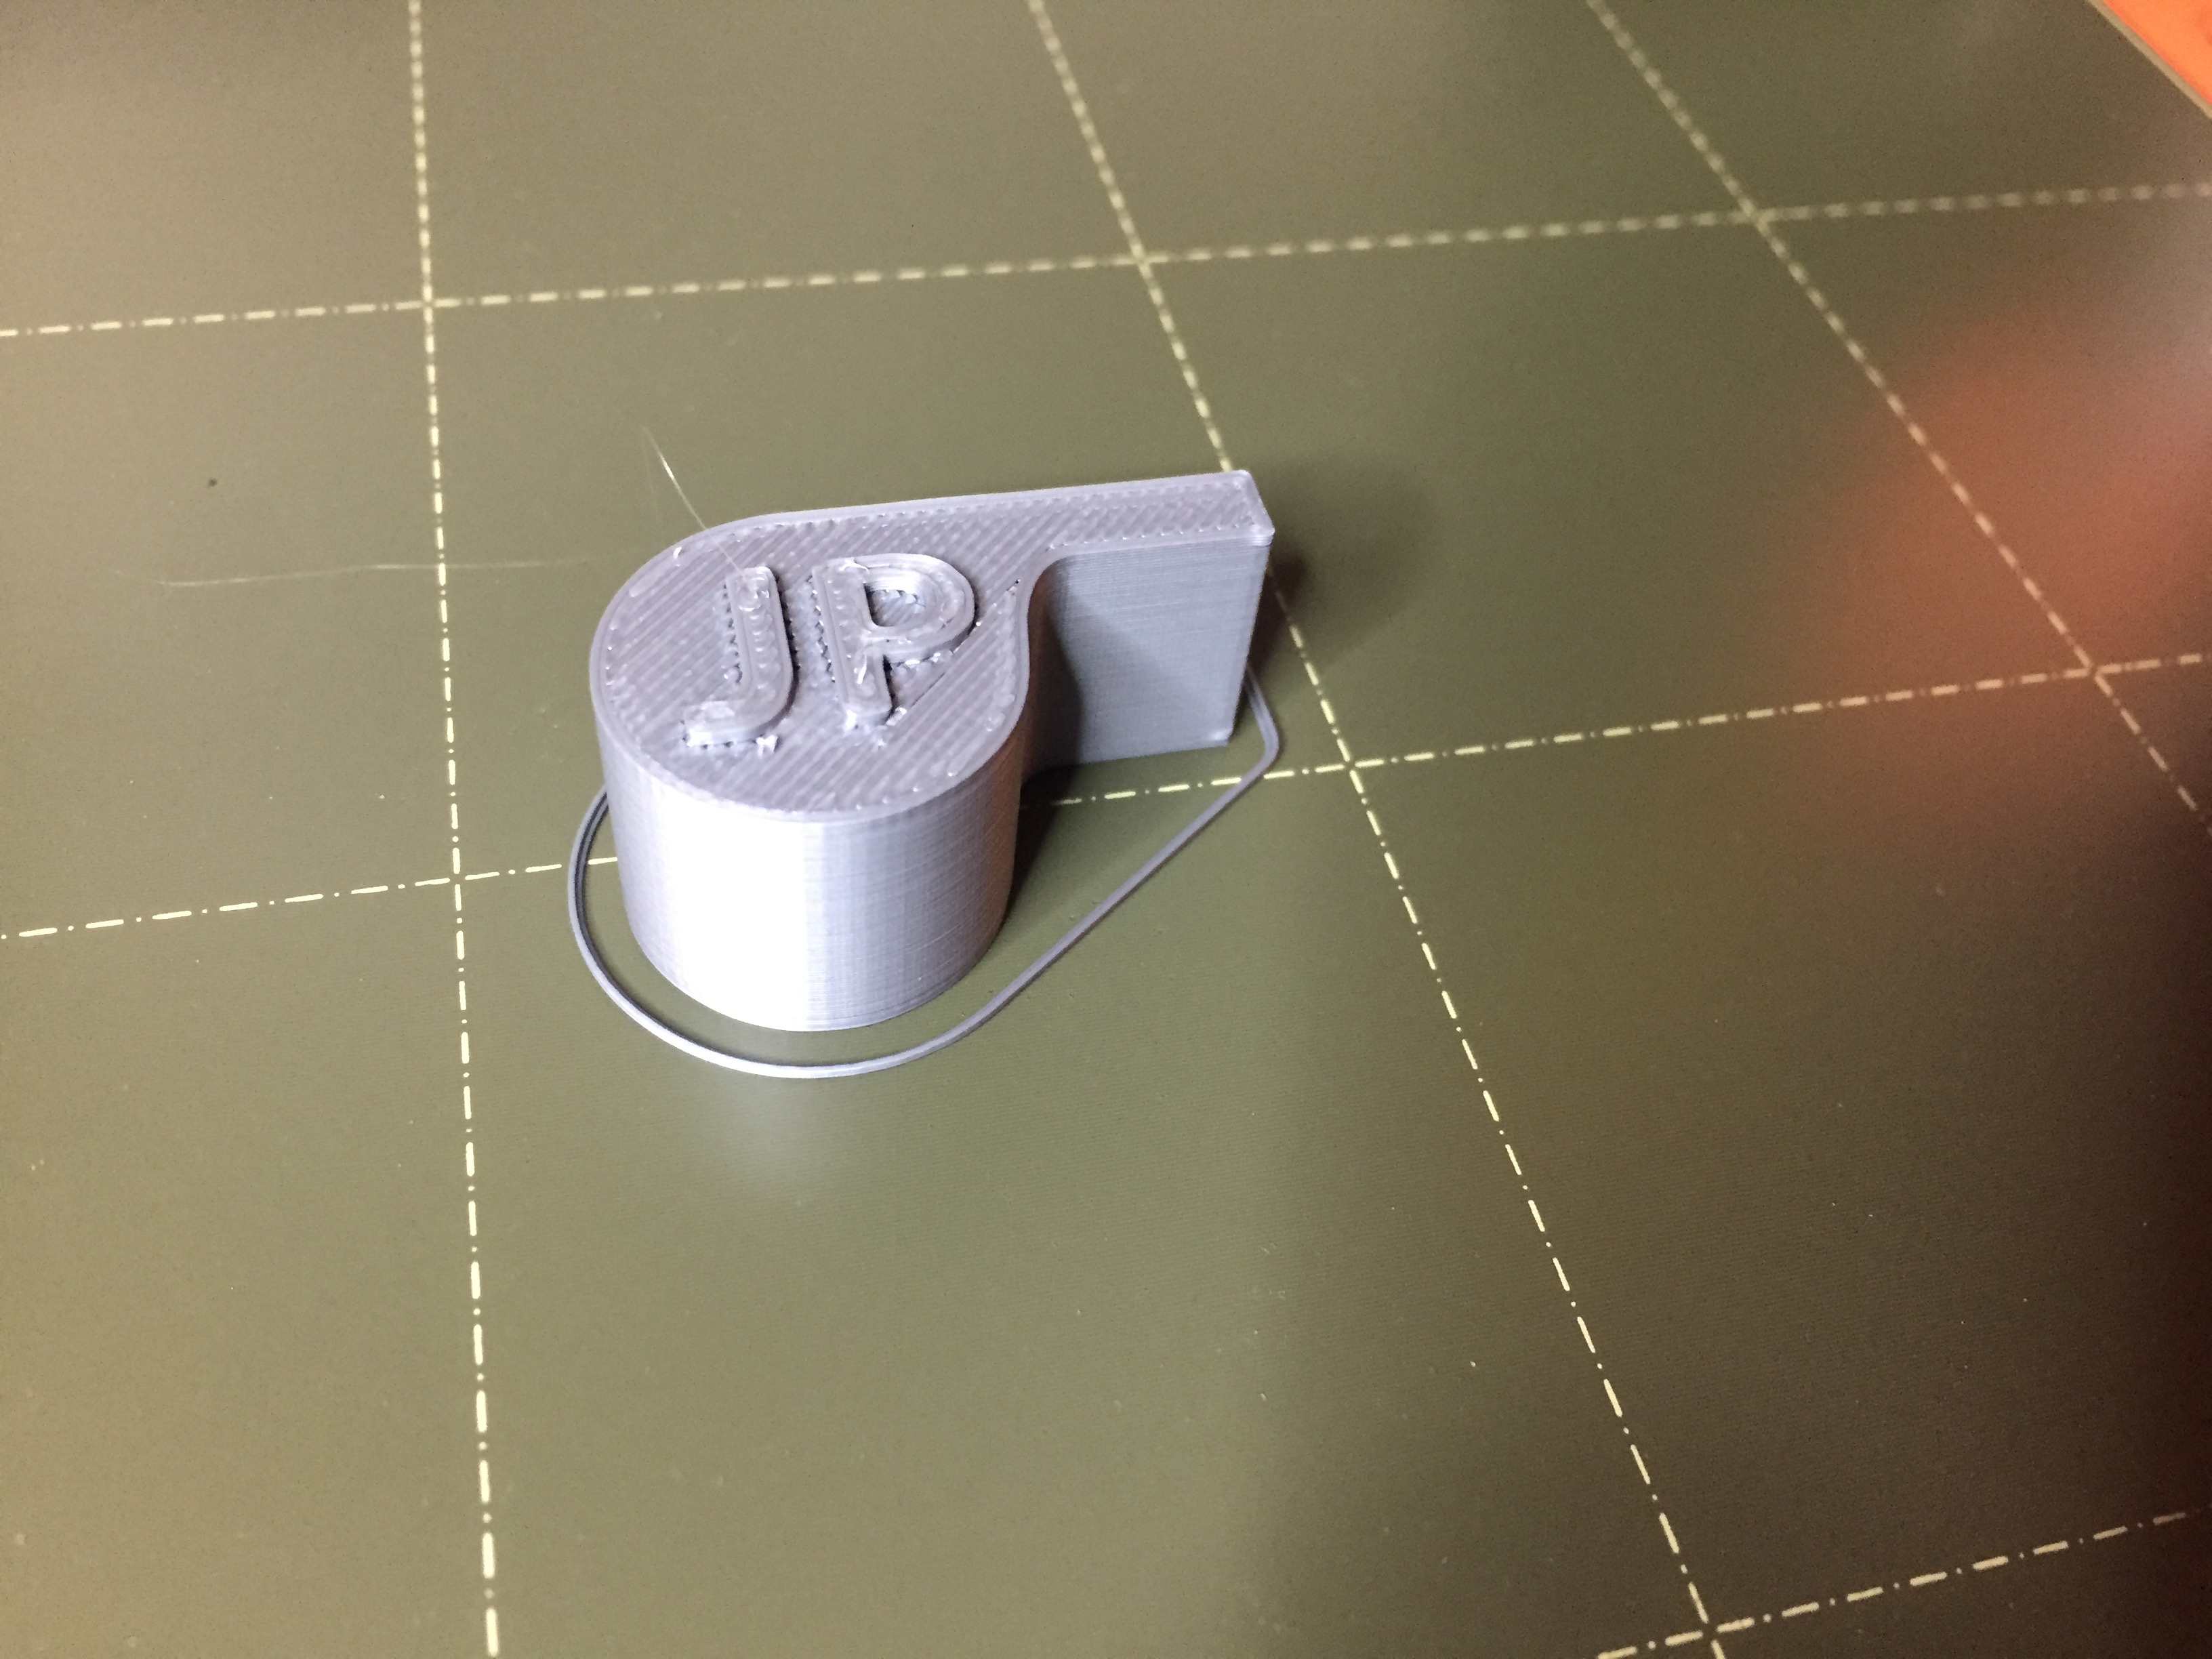
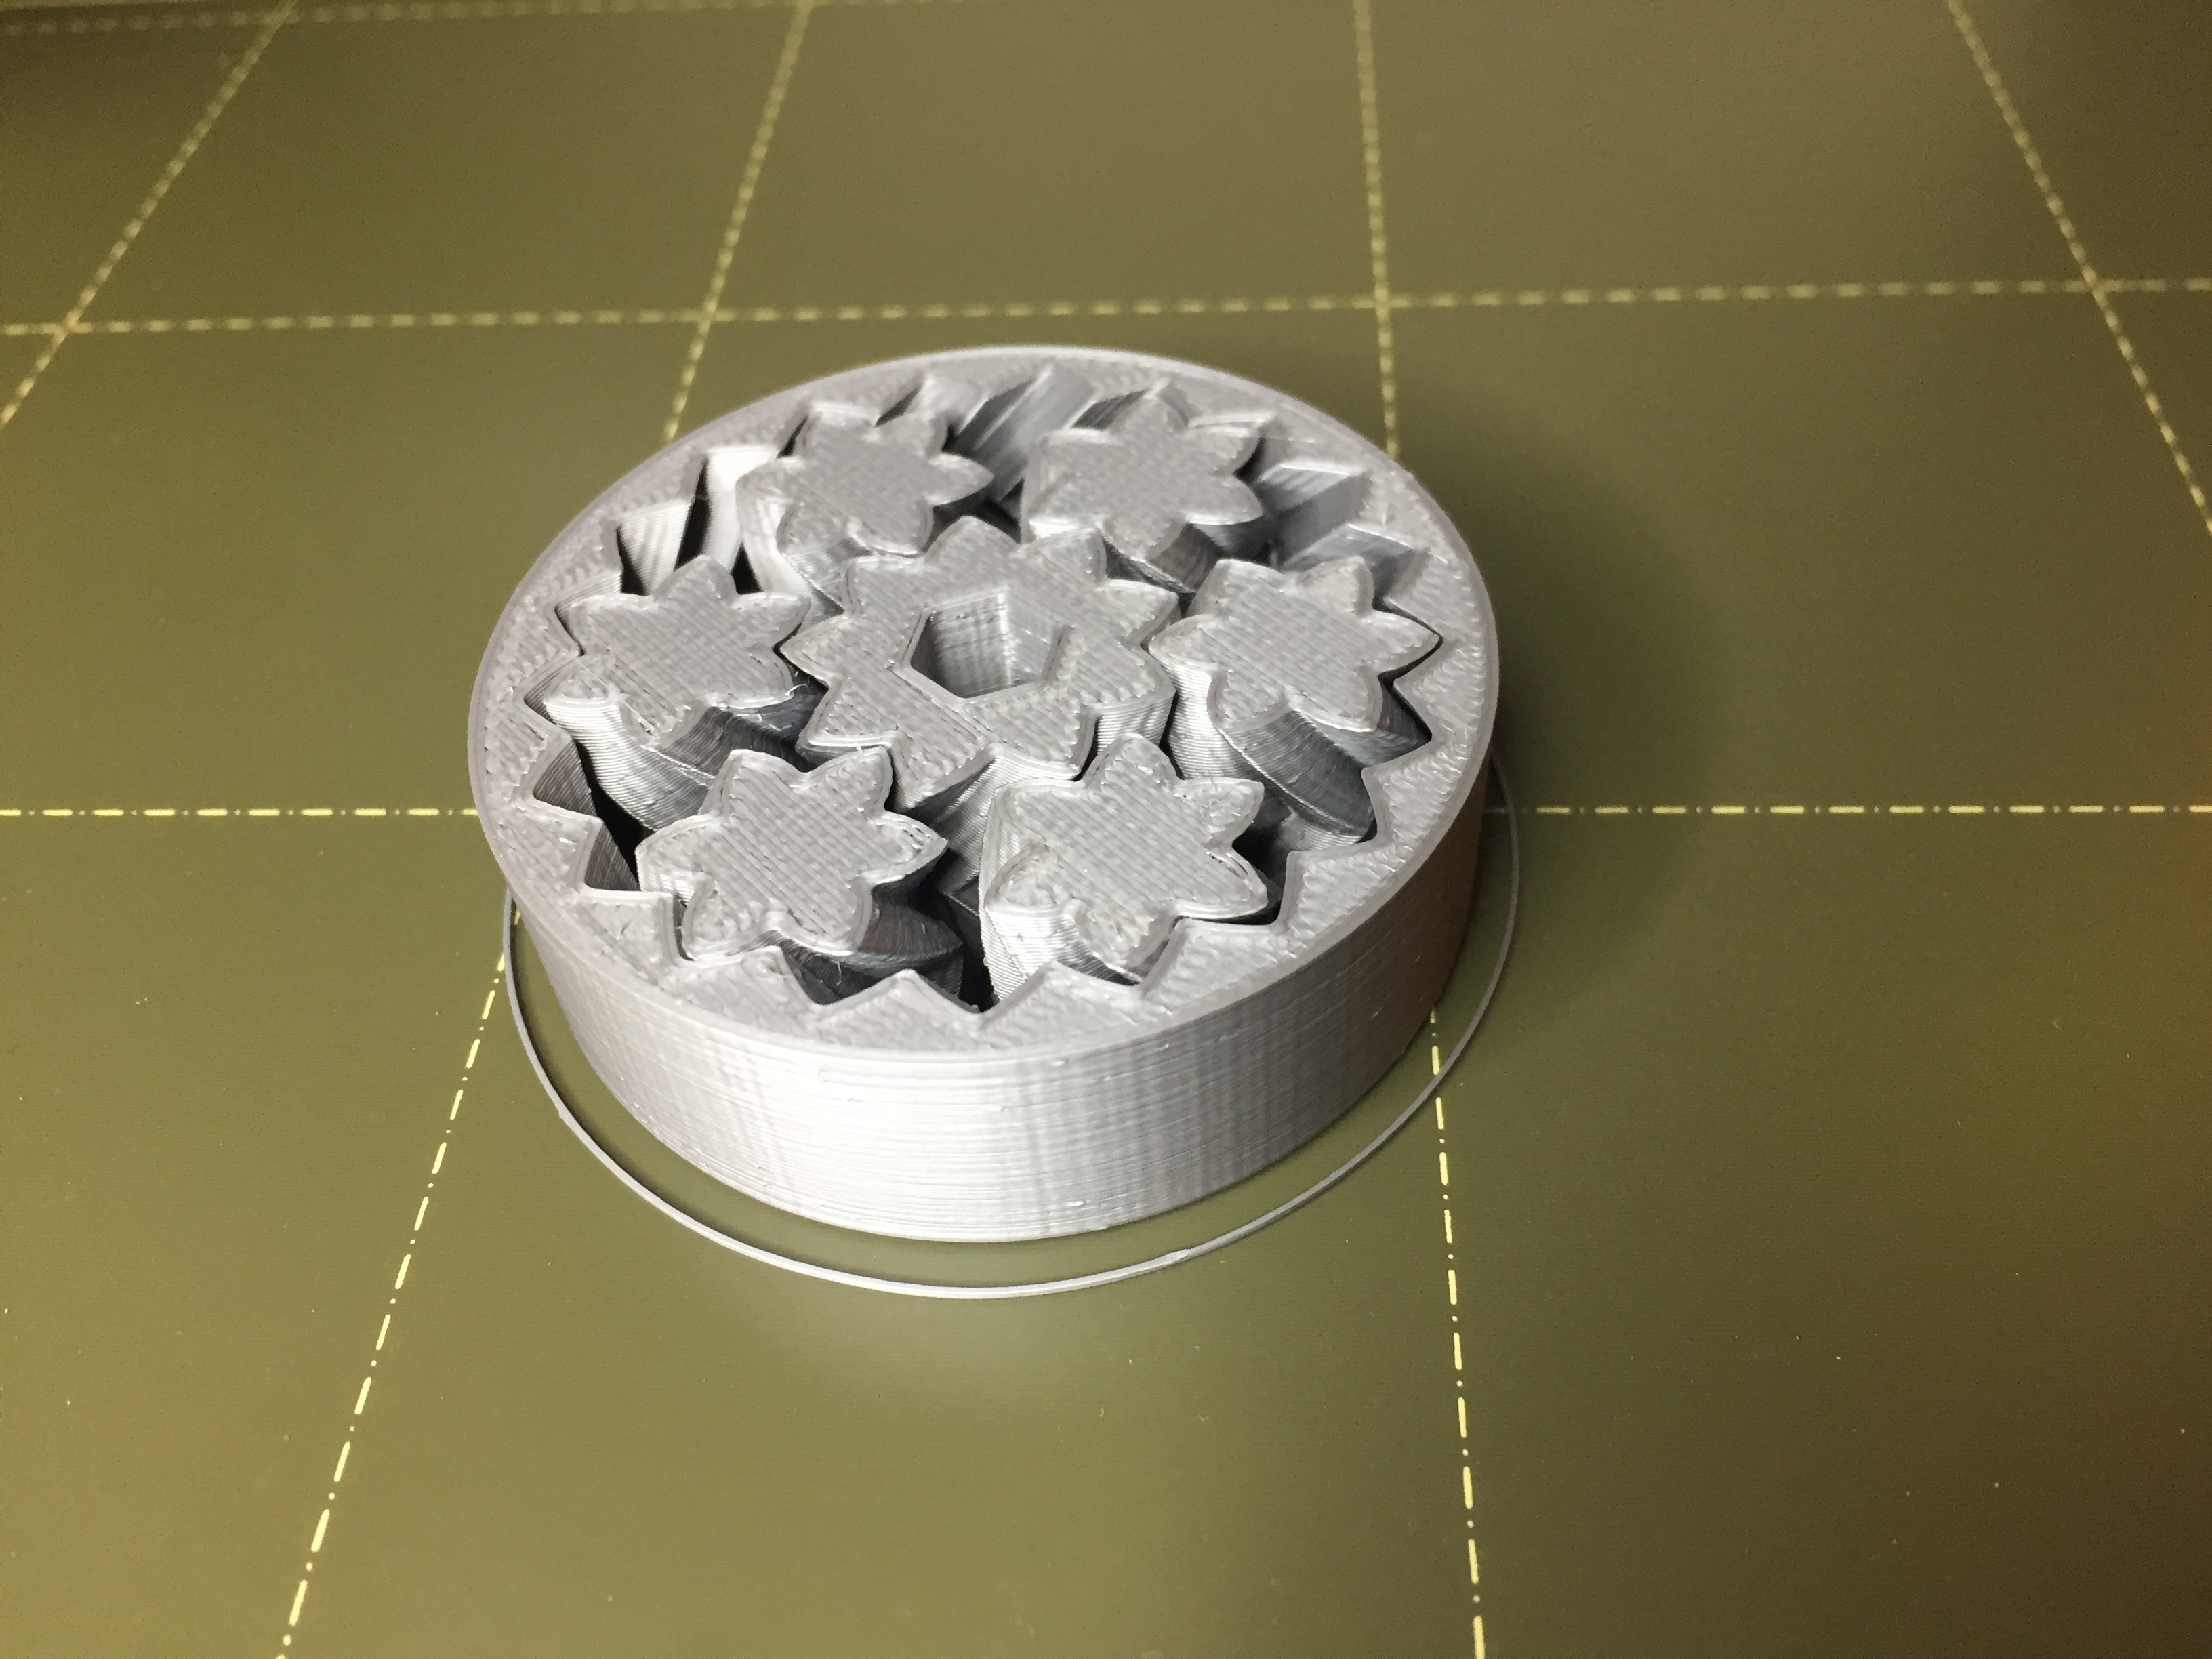
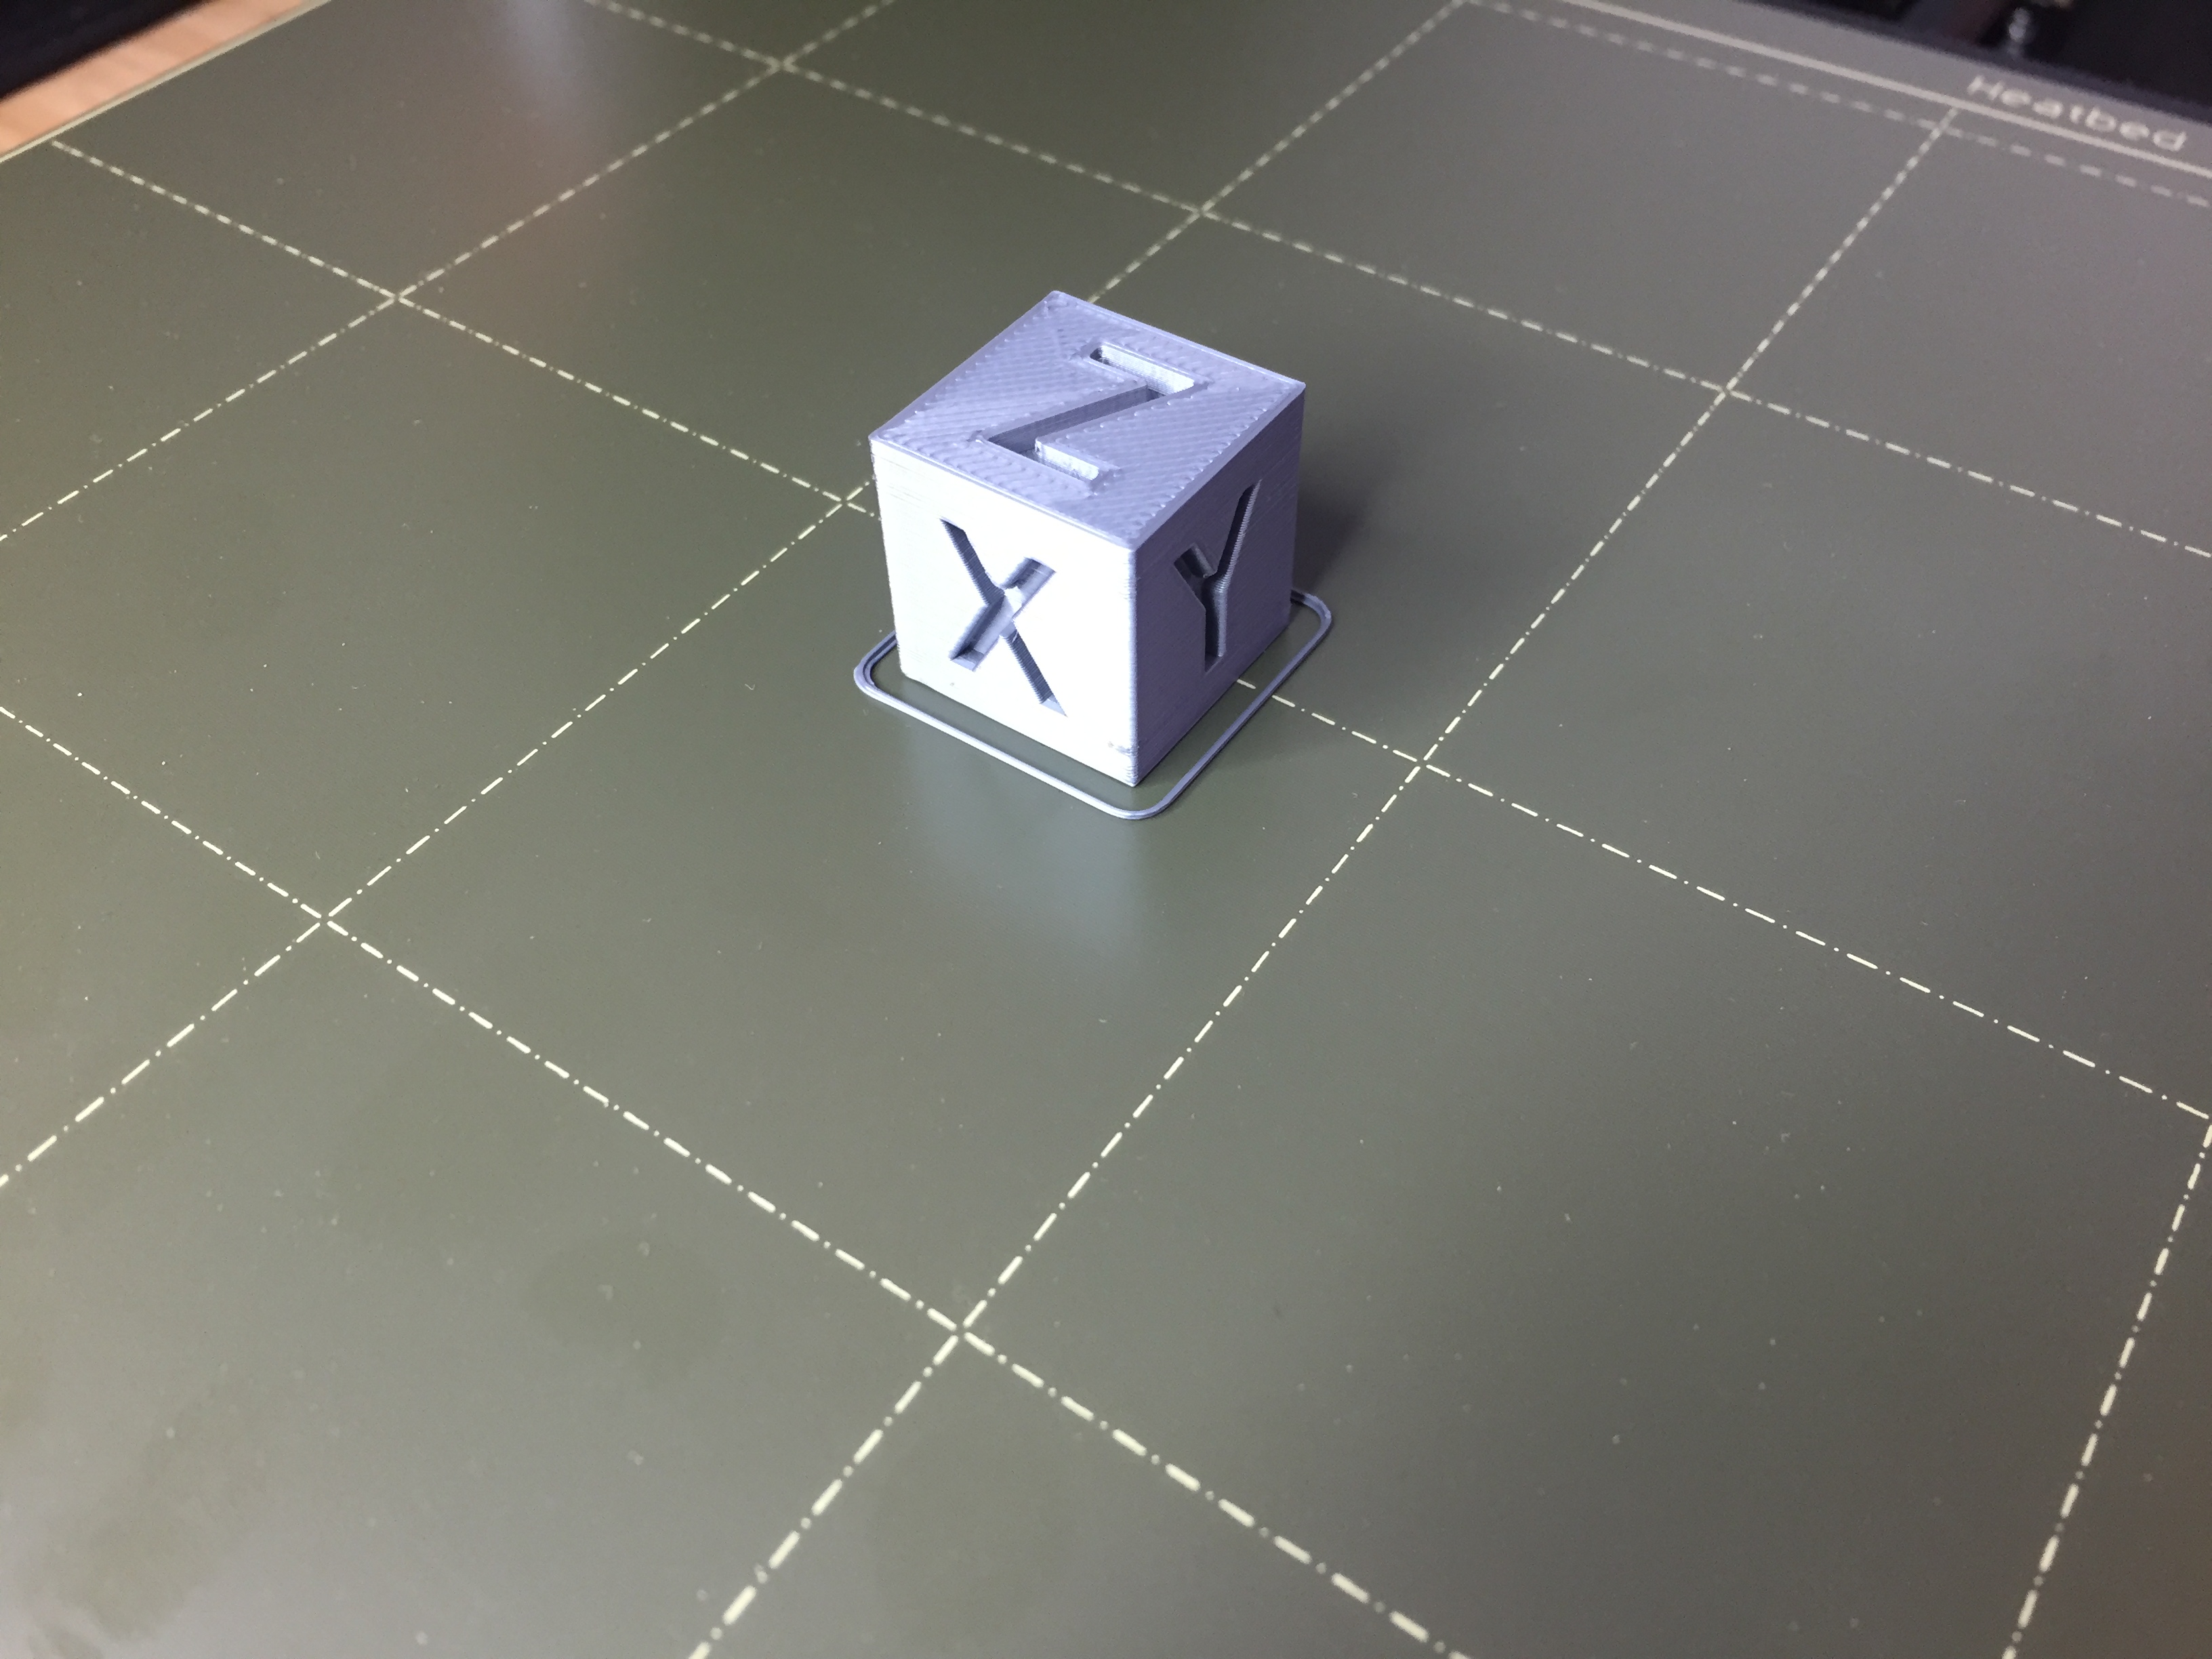
Here are some items that I printed afterwards.


RE: XYZ calibration failed. Bed calibration point was not found.
I wish to thank @r-p-caron for his analysis and The Solution. After I did so many things with hours of time spent, simply tightening the gear screws on the X-motor solved my XYZ calibration failure. One needed tightening, the other was actually loose. However, not all time wasted as I do have a cleaner, newly lubed, and PINTA-recalibrated printer as a result.
Thanks again!