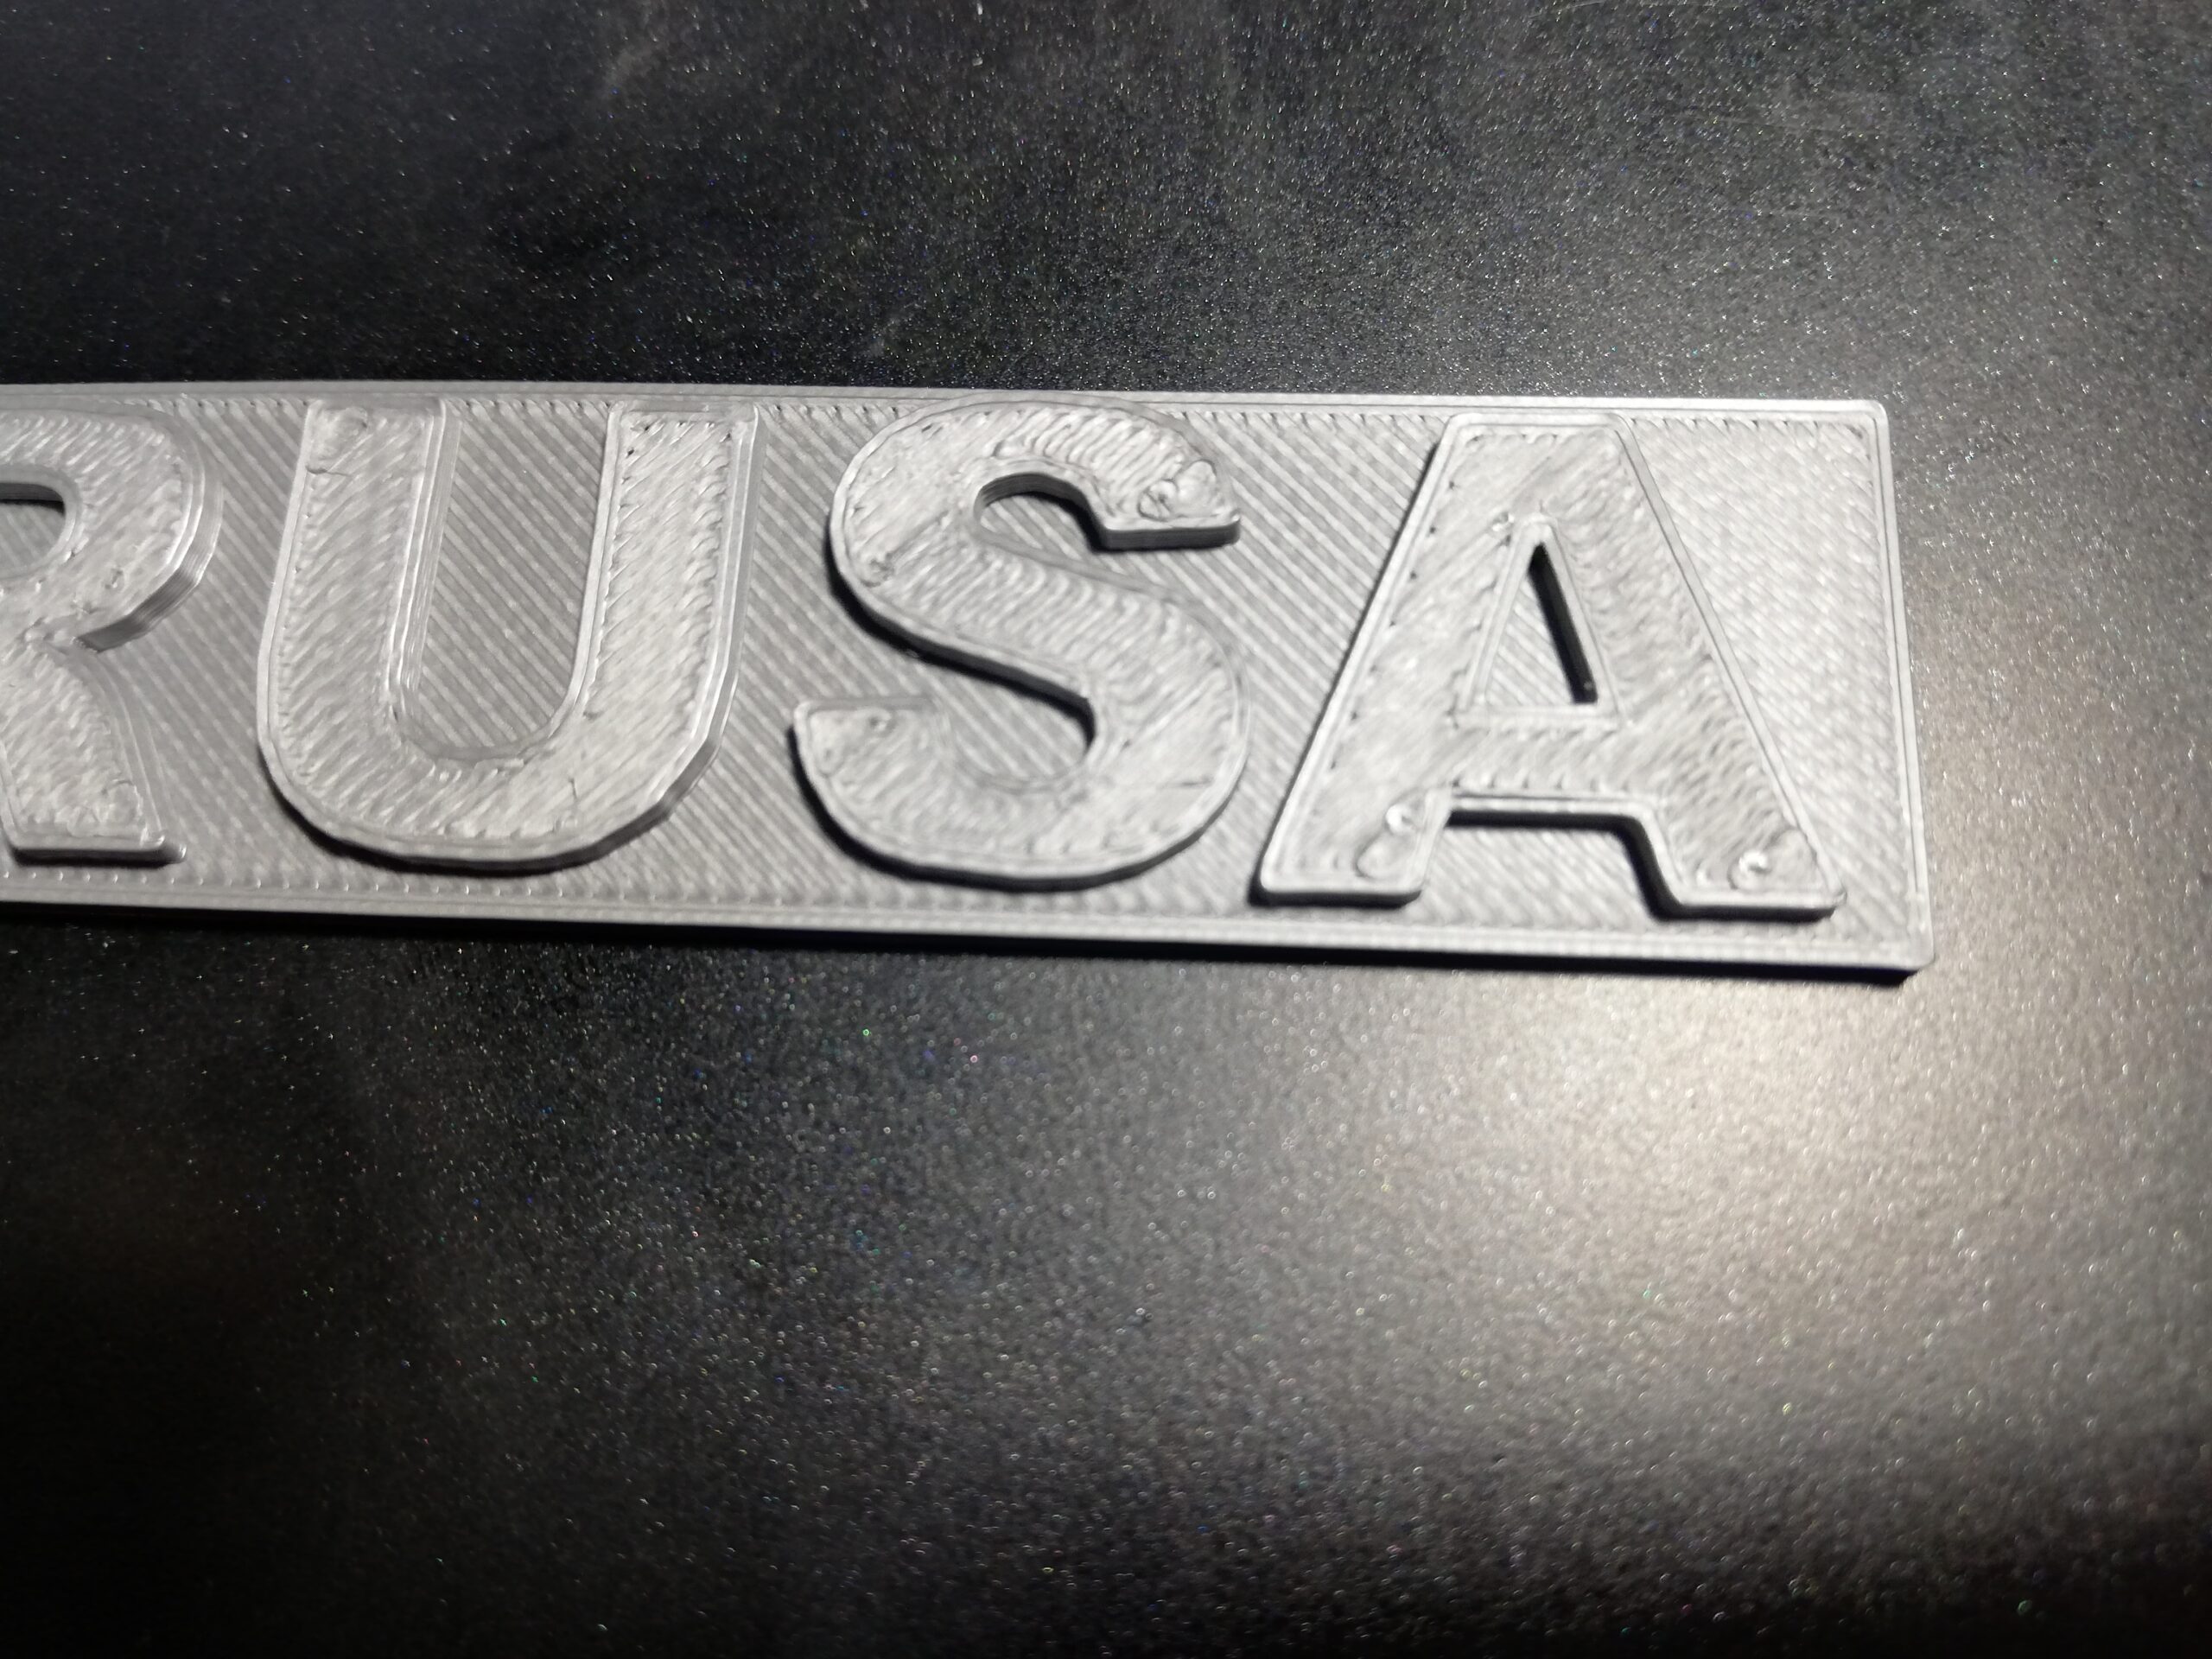
Prusa logo, my first print after building the kit, how can I improve the letters?
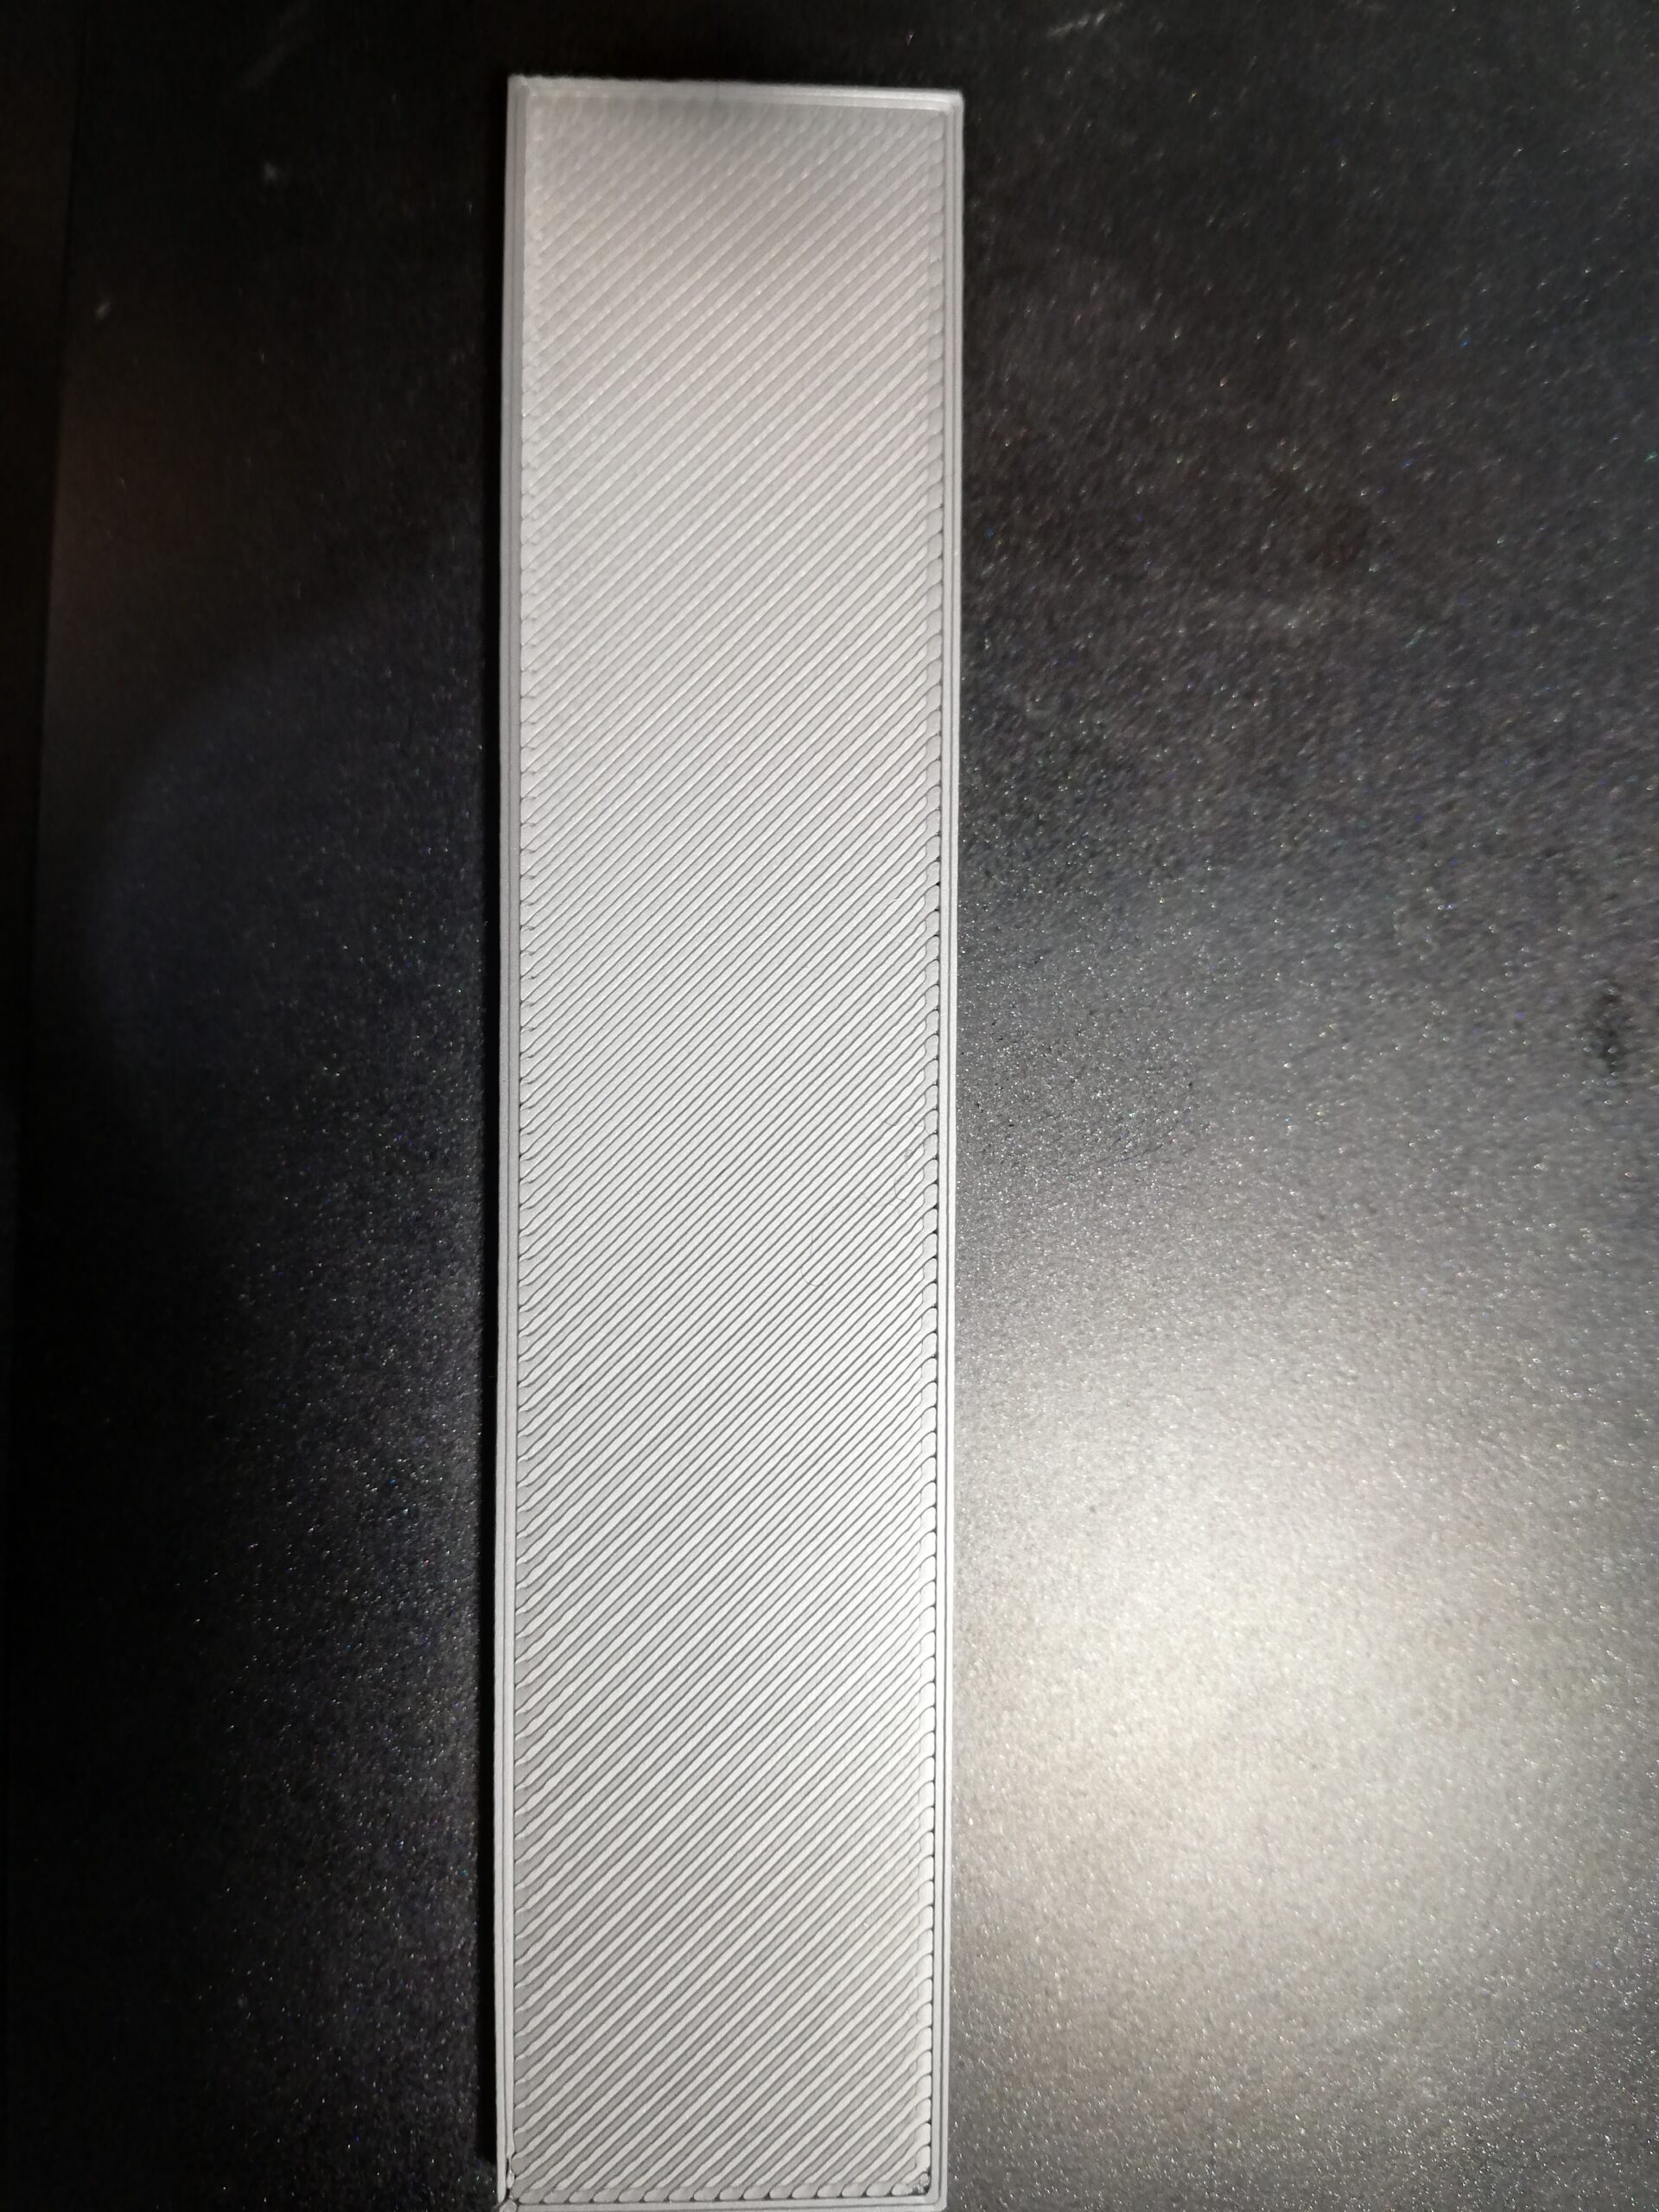
This is my first print and there are some blobs in the letters. However, my first layer here seems perfect :), the top layer below the letters seems also good!
How can I improve this, what to fix /mod here? Can it be mechanical? For example, I realized that table vibrates much more when doing the letters, also the Y-axis pulley wall touches the belt (even if I move it it returns there). Or this is something to fix by software: over-extruding or wiping?
flow rate
That is a pretty good print. I am not sure you can improve on it. You might try lowering the flow rate.
https://help.prusa3d.com/en/article/extrusion-multiplier-calibration_2257/
--------------------
Chuck H
3D Printer Review Blog
If that's the precompiled gcode then that's a great first print. The areas on the letters are where the nozzle is pausing/wiping. The pre-supplied gcode does that and its nothing mechanical to worry about. You look to have your first layer down and that's the most important thing.
You can re-slice with wipe turned off but just get slicing your own prints and working out and becoming familiar with the slicer settings.
RE: Very good 1st print result with supplied gcode °
Agreed. That's a great 1st print with the supplied gcode. Now start slicing on your own until you get results as good, and then you can worry about minor tweaks. You've got all the hard stuff done.
Do read up now on Live-Z and PEI bed cleaning. You're going to need to know how to do those soon. I've put together some notes here.
the Y-axis pulley wall touches the belt (even if I move it it returns there)
Look at step 23 on: https://help.prusa3d.com/en/guide/2-yz-axis-assembly_196824
Which way round have you mounted the pulley?
Cheerio,
pulley
That is the prusa mini... this is mk3s+ and it is mounted according to the manual
the Y-axis pulley wall touches the belt (even if I move it it returns there)
Look at step 23 on: https://help.prusa3d.com/en/guide/2-yz-axis-assembly_196824
Which way round have you mounted the pulley?
Cheerio,
That is the prusa mini... this is mk3s+ and it is mounted according to the manual
Oops! I'm getting sloppy. The MK3 eqivalent is step 28 on:
https://help.prusa3d.com/en/guide/2-y-axis-assembly_165795
Also check step 35 on the same page, you have a small degree of adjustment.
Cheerio,