Under/overextrusion, temperature?
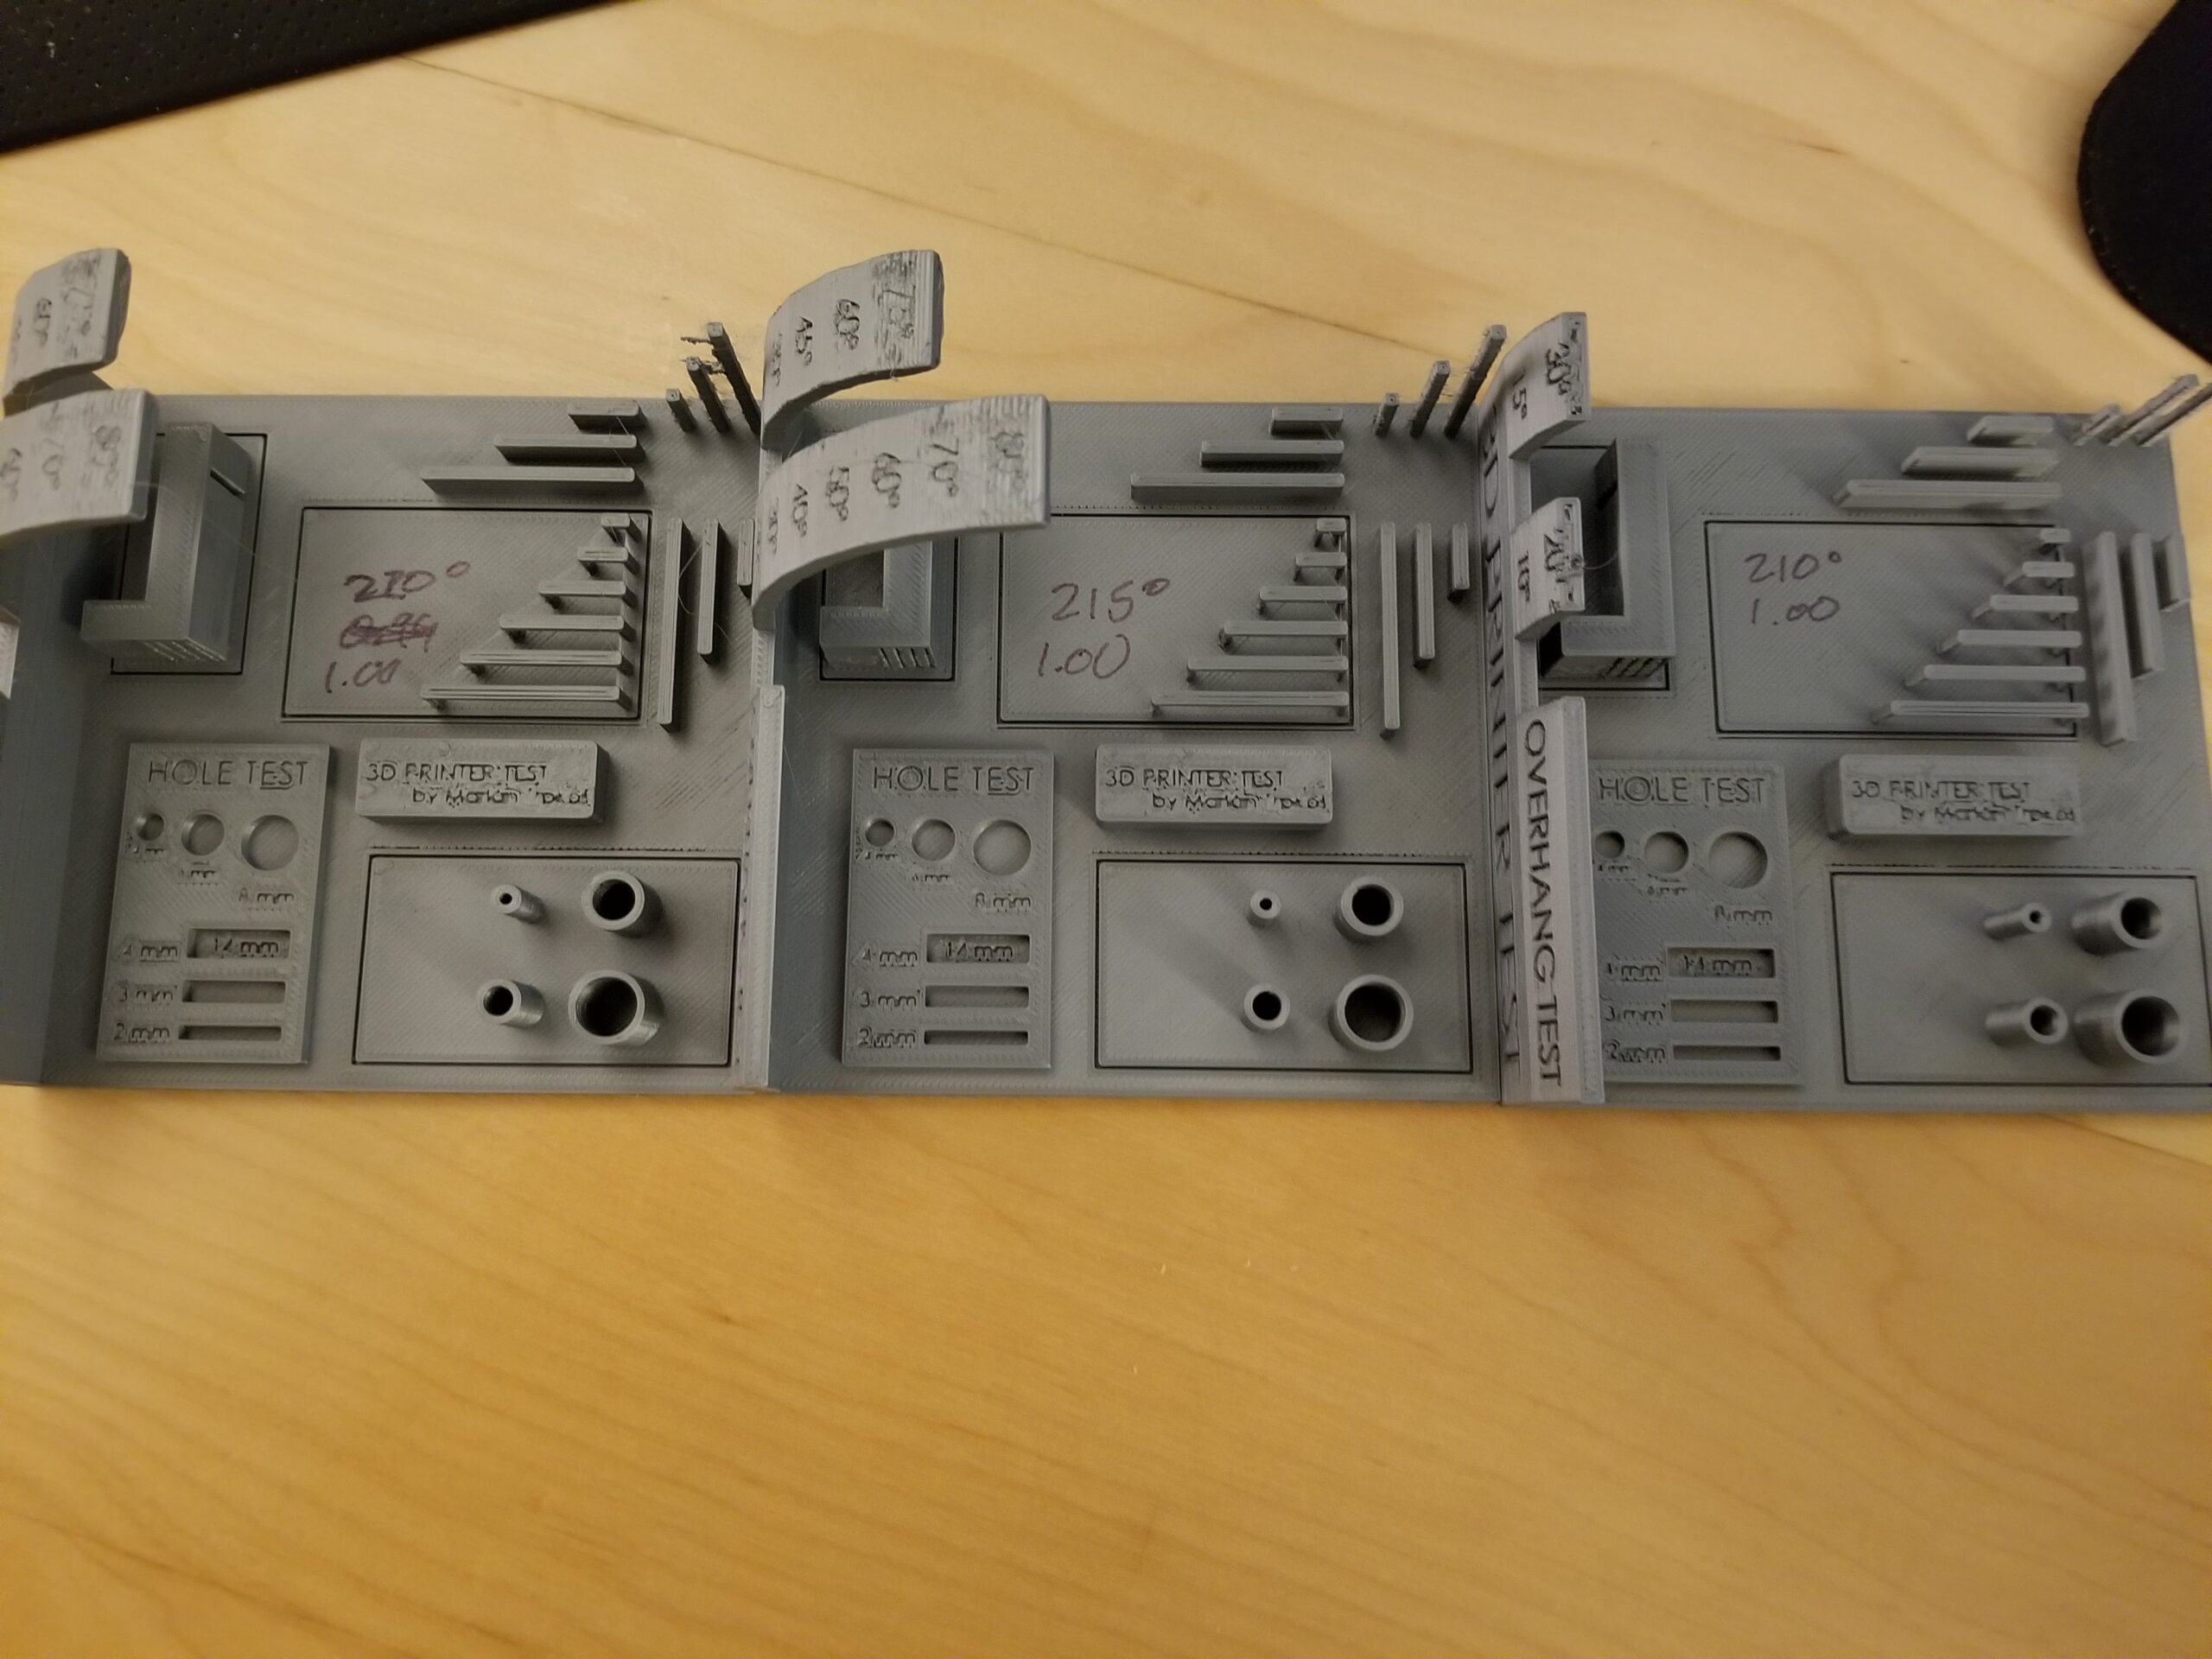
Hello, I finished my assembly a couple days ago and have been trying to fine tune my prints. For starters, I was using the supplied silver PLA and did a temperature tower, a few bridging tests, then found the all in one test: https://www.thingiverse.com/thing:2656594
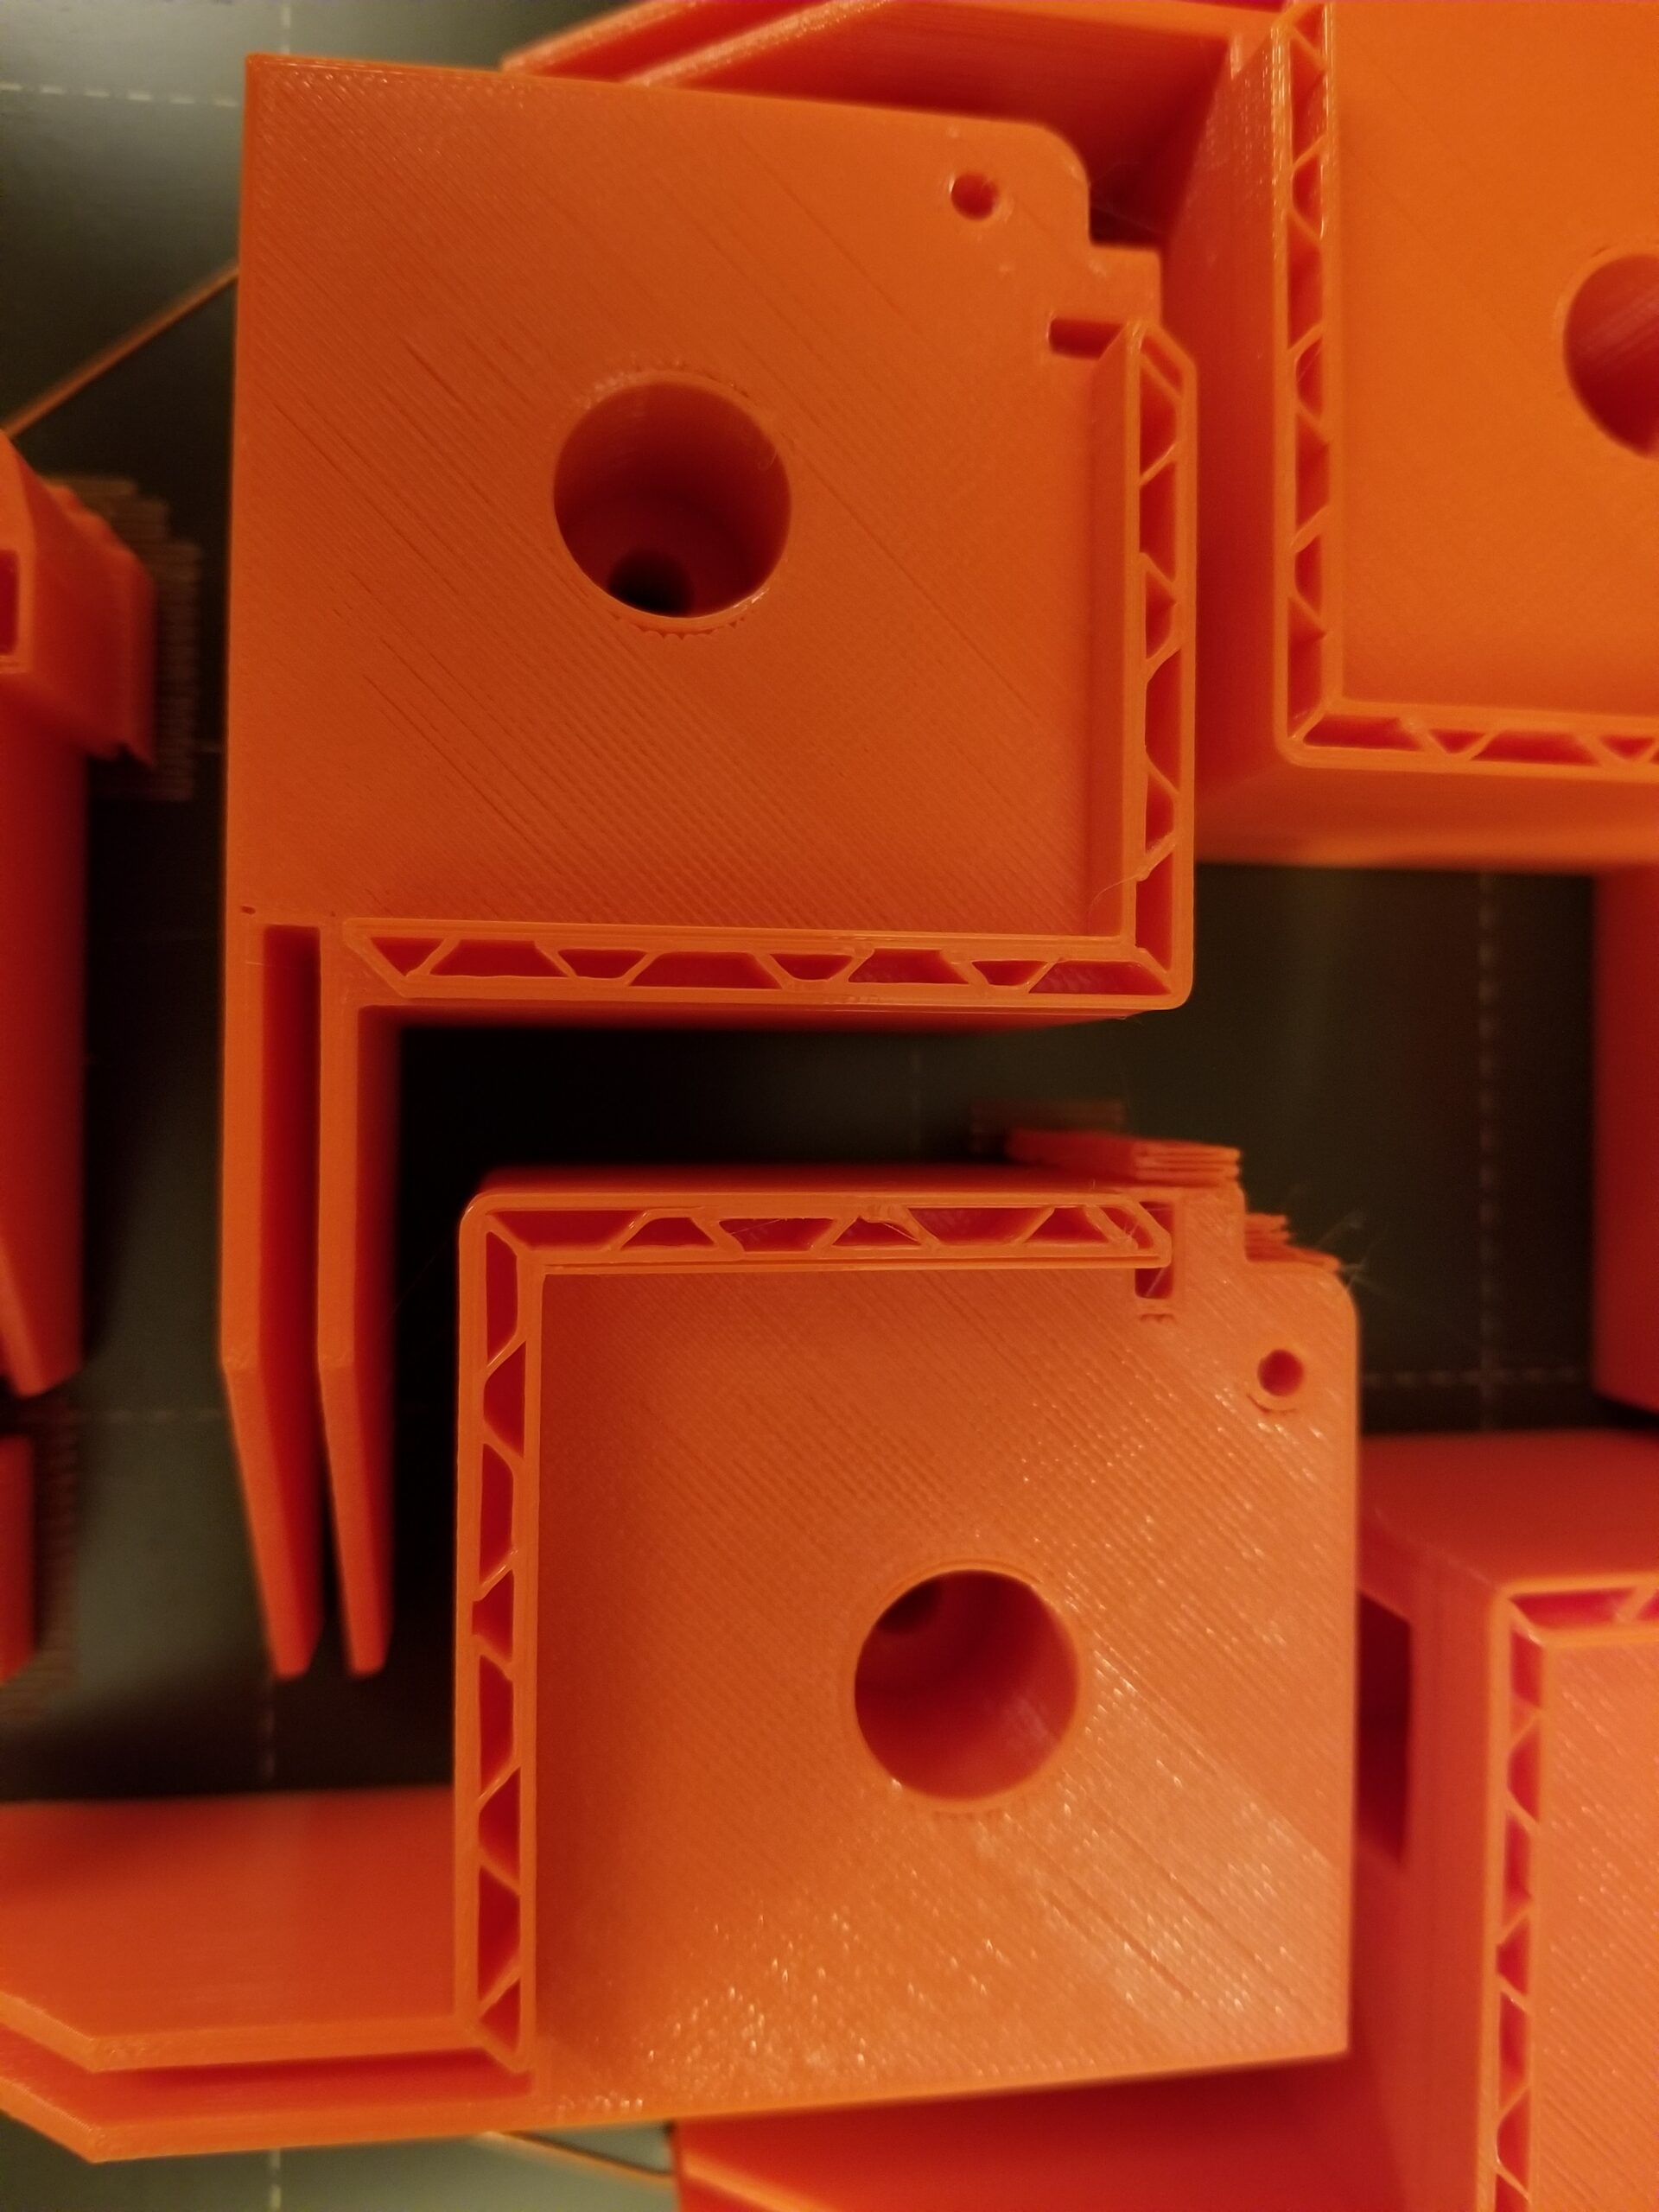
I've run it a few a temperatures (220, 215, 210) using the 0.15mm Quality settings in prusaslicer, prussament PLA as the material. At 220 I had poor bridges and stringing, and at 210 there are gaps in the top layer and a poor overall finish. 215 was a the best, but I still have a few issues. The biggest and first I need to tackle is why in some places the top horizontal layer is pulled away slightly from the perimeters, but in others it's fine. From the mushy overfilled characters I'd guess it was over-extrusion, but then why does the top layer not meet/fill to the perimeters?
I'm currently printing the IKEA Lack enclosure with Hatchbox PETG using the pre-sliced gcode. That is printing really well, except the perimeter gap issue. It is much less of a problem with the PETG, only showing up in a few minor locations.
I believe this is just a matter of fine tuning some of the settings for each filament, but I'd appreciate any advice and an expert eye on the test prints.

Using pre-sliced Gcode...
Right there - using pre-sliced Gcode - starts the chance of long discussions with almost zero chance to address issues. I'm ignoring the interesting PLA test piece here - PLA test towers IMO don't do anything for diagnosing PETG presliced Gcode issues Unless you are using the same printer as the target for the pre-sliced Gcode, there is so much that can go wrong (and again, not addressable here unless you want to get into gcode editing...).
Try slicing the problem part that is occasionally delaminating - and post the saved file that exhibits the slicing problem here - then we can help you with settings tweaks. It's an interesting delamination - but hard to explain, and almost impossible to help since you are using pre-sliced gcode.
Suggest focusing on one problem at a time rather than big all-in-one prints
You can save a lot of time and frustration by focusing on one issue at a time. Those all-in-one tests are a good "final exam" after you've got everything figured out, but take way too long to print for diagnosing anything. Try to find test prints that can be cranked out quickly (15-30 min.) and focus on a single issue at a time. Avoid twiddling a lot of settings to fix one problem that will only introduce others.
As far as different filaments, I do suggest calibrating your extrusion multiplier for different filaments to ensure your slicer settings match your real-world filament and printer. I found that single step dealt with a host of stringing issues and I didn't need to spend days chasing retraction settings.
RE: Found the problem, tuning extrusion multiplier results
Thank you both for the replies. As a bit of background I recently finished my PhD in Biophysics, specifically instrumentation for super-resolution optical microscopy, so all of the mechanics and electronics of the printer are right in my wheelhouse. It's when the plastic starts melting that I have the most to learn.
Anyway, I managed to solve the delam issue, and it was me making a stupid error and not fully tightening the X-pulley onto the motor axle. My first indication was the print I started last night failed at some point with a crash and there was a big mess of plastic near the edge of one part. It also occurred to me that the delam was happening in the same locations on the 3 all-in-one prints. I looked at everything and it was always in pos X or pos XY corner. So I checked and sure enough the set screws were just a little loose. I tightened them, reran the XYZ calibration, ran a test cube and everything looks great.
Edit: Further confirmation was that the calibration came back with XY perpendicular. Initially they were just "OK" despite a couple attempts on my part at truing the frame and mounts. I was getting really frustrated and they measured out perfectly. I should have figured it out at that point, but lesson learned.
Right there - using pre-sliced Gcode - starts the chance of long discussions with almost zero chance to address issues. I'm ignoring the interesting PLA test piece here - PLA test towers IMO don't do anything for diagnosing PETG presliced Gcode issues Unless you are using the same printer as the target for the pre-sliced Gcode, there is so much that can go wrong (and again, not addressable here unless you want to get into gcode editing...).
Try slicing the problem part that is occasionally delaminating - and post the saved file that exhibits the slicing problem here - then we can help you with settings tweaks. It's an interesting delamination - but hard to explain, and almost impossible to help since you are using pre-sliced gcode.
I understand and agree with regard to the pre-sliced g-code, and I'd never run someone else's g-code in the machine shop without a thorough examination first. I was using the code for the enclosure because I have a drafty dusty apartment and it's super humid right now, so I wanted to get that and some filament dryboxes made ASAP. I also suspected that the drafts and temp swings (we've been having summer storms) were contributing to my issues with the PLA tests. From the comments it sounded like the pre-sliced code printed great for almost everyone, so I decided to go for it in PETG, since the PLA tests showed I could at least print usable objects. I have a few mods in mind for the enclosure anyway, so if the parts are less than perfect that's OK with me, as I'll be reprinting a lot of them I would think.
You can save a lot of time and frustration by focusing on one issue at a time. Those all-in-one tests are a good "final exam" after you've got everything figured out, but take way too long to print for diagnosing anything. Try to find test prints that can be cranked out quickly (15-30 min.) and focus on a single issue at a time. Avoid twiddling a lot of settings to fix one problem that will only introduce others.
As far as different filaments, I do suggest calibrating your extrusion multiplier for different filaments to ensure your slicer settings match your real-world filament and printer. I found that single step dealt with a host of stringing issues and I didn't need to spend days chasing retraction settings.
Thank you, I went back to the default "Generic PETG" settings in PrusaSlicer and flow of 95 in firmware with a 1.0 extrusion multiplier. I'm printing my 3rd "visual method" test cube now, lowering the multiplier in steps of 0.02. The 0.98 looks pretty perfect, though, and 1.0 only slightly over. I'm going to rescue one of my micrometers from the shop and try the "precise method" later. Thanks for the suggestion and I will repeat with my other filaments. How often do you do this, every time you switch filament, every new roll, when you see a problem? Also,
extrusion multiplier (or flow) should be looked at with each new spool, unless you trust your supplier enough or it doesnt matter enough.
adjusting with the precise method i found that i had to increase extrusion multiplier with both prusament pla and petg quite a bit, which led to some other not-so-nice top surface results. you might need to reduce the infill-perimeter-overlap percentage, the standard value is pretty high.
Will try tuning overlap next
@xenon that's interesting. I've switched to a textured steel sheet and redid the live-z for the new sheet. I had it well dialed using single layer squares, but when I tried to start and actual part I had what seemed to be over-extrusion or z too low in small areas of infill. Where the nozzle is traveling 10+ mm it looks good, but when it's less than that and reversing quickly I'm getting a buildup and some blobbing. I will try adjusting the overlap percentage next. It could also explain why on my 0.98 cubes the top surface looks a bit under but the perimeter-infill intersection looks good. The 1.0 cubes look better on the surface (maybe still slightly under) but have a very slight buildup in the overlap area.
Out of curiosity, how much did you increase the multiplier and decrease the overlap for PETG? I'd like to know what ranges are reasonable
for prusament petg i had to crank it up to 1,077 to get the correct single wall thickness.
for the overlap...i've been down to -6% for test pieces, no issues with gaps. petg seems to be really squishy.
here's my test infill-perimeter-overlap-test sample part. place it so that the infill is parallel to the outer straight sections so you can compare long and short infill paths.
Extrusion multiplier was key
Just a quick follow-up. I calibrated my extrusion multiplier with the precise method and got a value of 0.978. I then checked the overlap (thanks @xenon for the test pattern) and found that with the correct extrusion multiplier ~24% was the best for the PETG I'm using. After that I was having great prints for a few days. I started with the smooth PEI and glue stick for PETG, but have since bought a textured sheet from Amazon (Ultistick) and am not enjoying it. It seems to be really uneven in thickness, because random areas will be too close or too far on the first layer. These are small areas, maybe a few cm in diameter. Too small for the mesh bed leveling I would imaging. When I put the PEI sheet back on I get a nice, even first layer after resetting LiveZ. So thinking about the Prusa but it's double the cost of most when you add in shipping.
Ultistik
So sorry about your experience with the Ultistik. For better or worse, I have tagged build plates to filaments. Smooth = PLA, Satin = PET-G, Ultistik = TPU, Buildtak Nylon+ = Nylon. Not sure how to purpose the Prusa Textured.
My Ultistik (gold color) looks mighty fine on the bed level analyzer thingie of Octoprint. I'm very happy with mine. Many spools of happiness.
I would buy the Ultistik again, but in black as the gold reflects light too much, making it hard to dial in live-z. My eyes are ooooold, and tired. My understanding is that the only difference between the colors is the color.
And if your live-z ain't dialed in, your experience will suffer. Seems like you might be clued into that though.
And, sometimes QC is less than desirable. Might just be a bad Ultistik.
Don’t trust forum advice.
Probably got a bad plate
I bought the black Ultistik because it seemed to have the best reviews on Amazon, for what that's worth. I will say that some areas on the plate work really well and give an excellent finished texture. The texture isn't very even across the plate, though, and as I said before it's just not flat. I probably got a bad one that slipped past QC. In light of the positive reviews I may contact them and see about an exchange. I almost never do that, but for some reason I'm motivated this time.
If I do buy a Prusa sheet I'll be getting both the textured and satin, and probably a bunch of other stuff to justify the shipping.