First Prints With Stringy Edges / Messy First Layers
Hello,
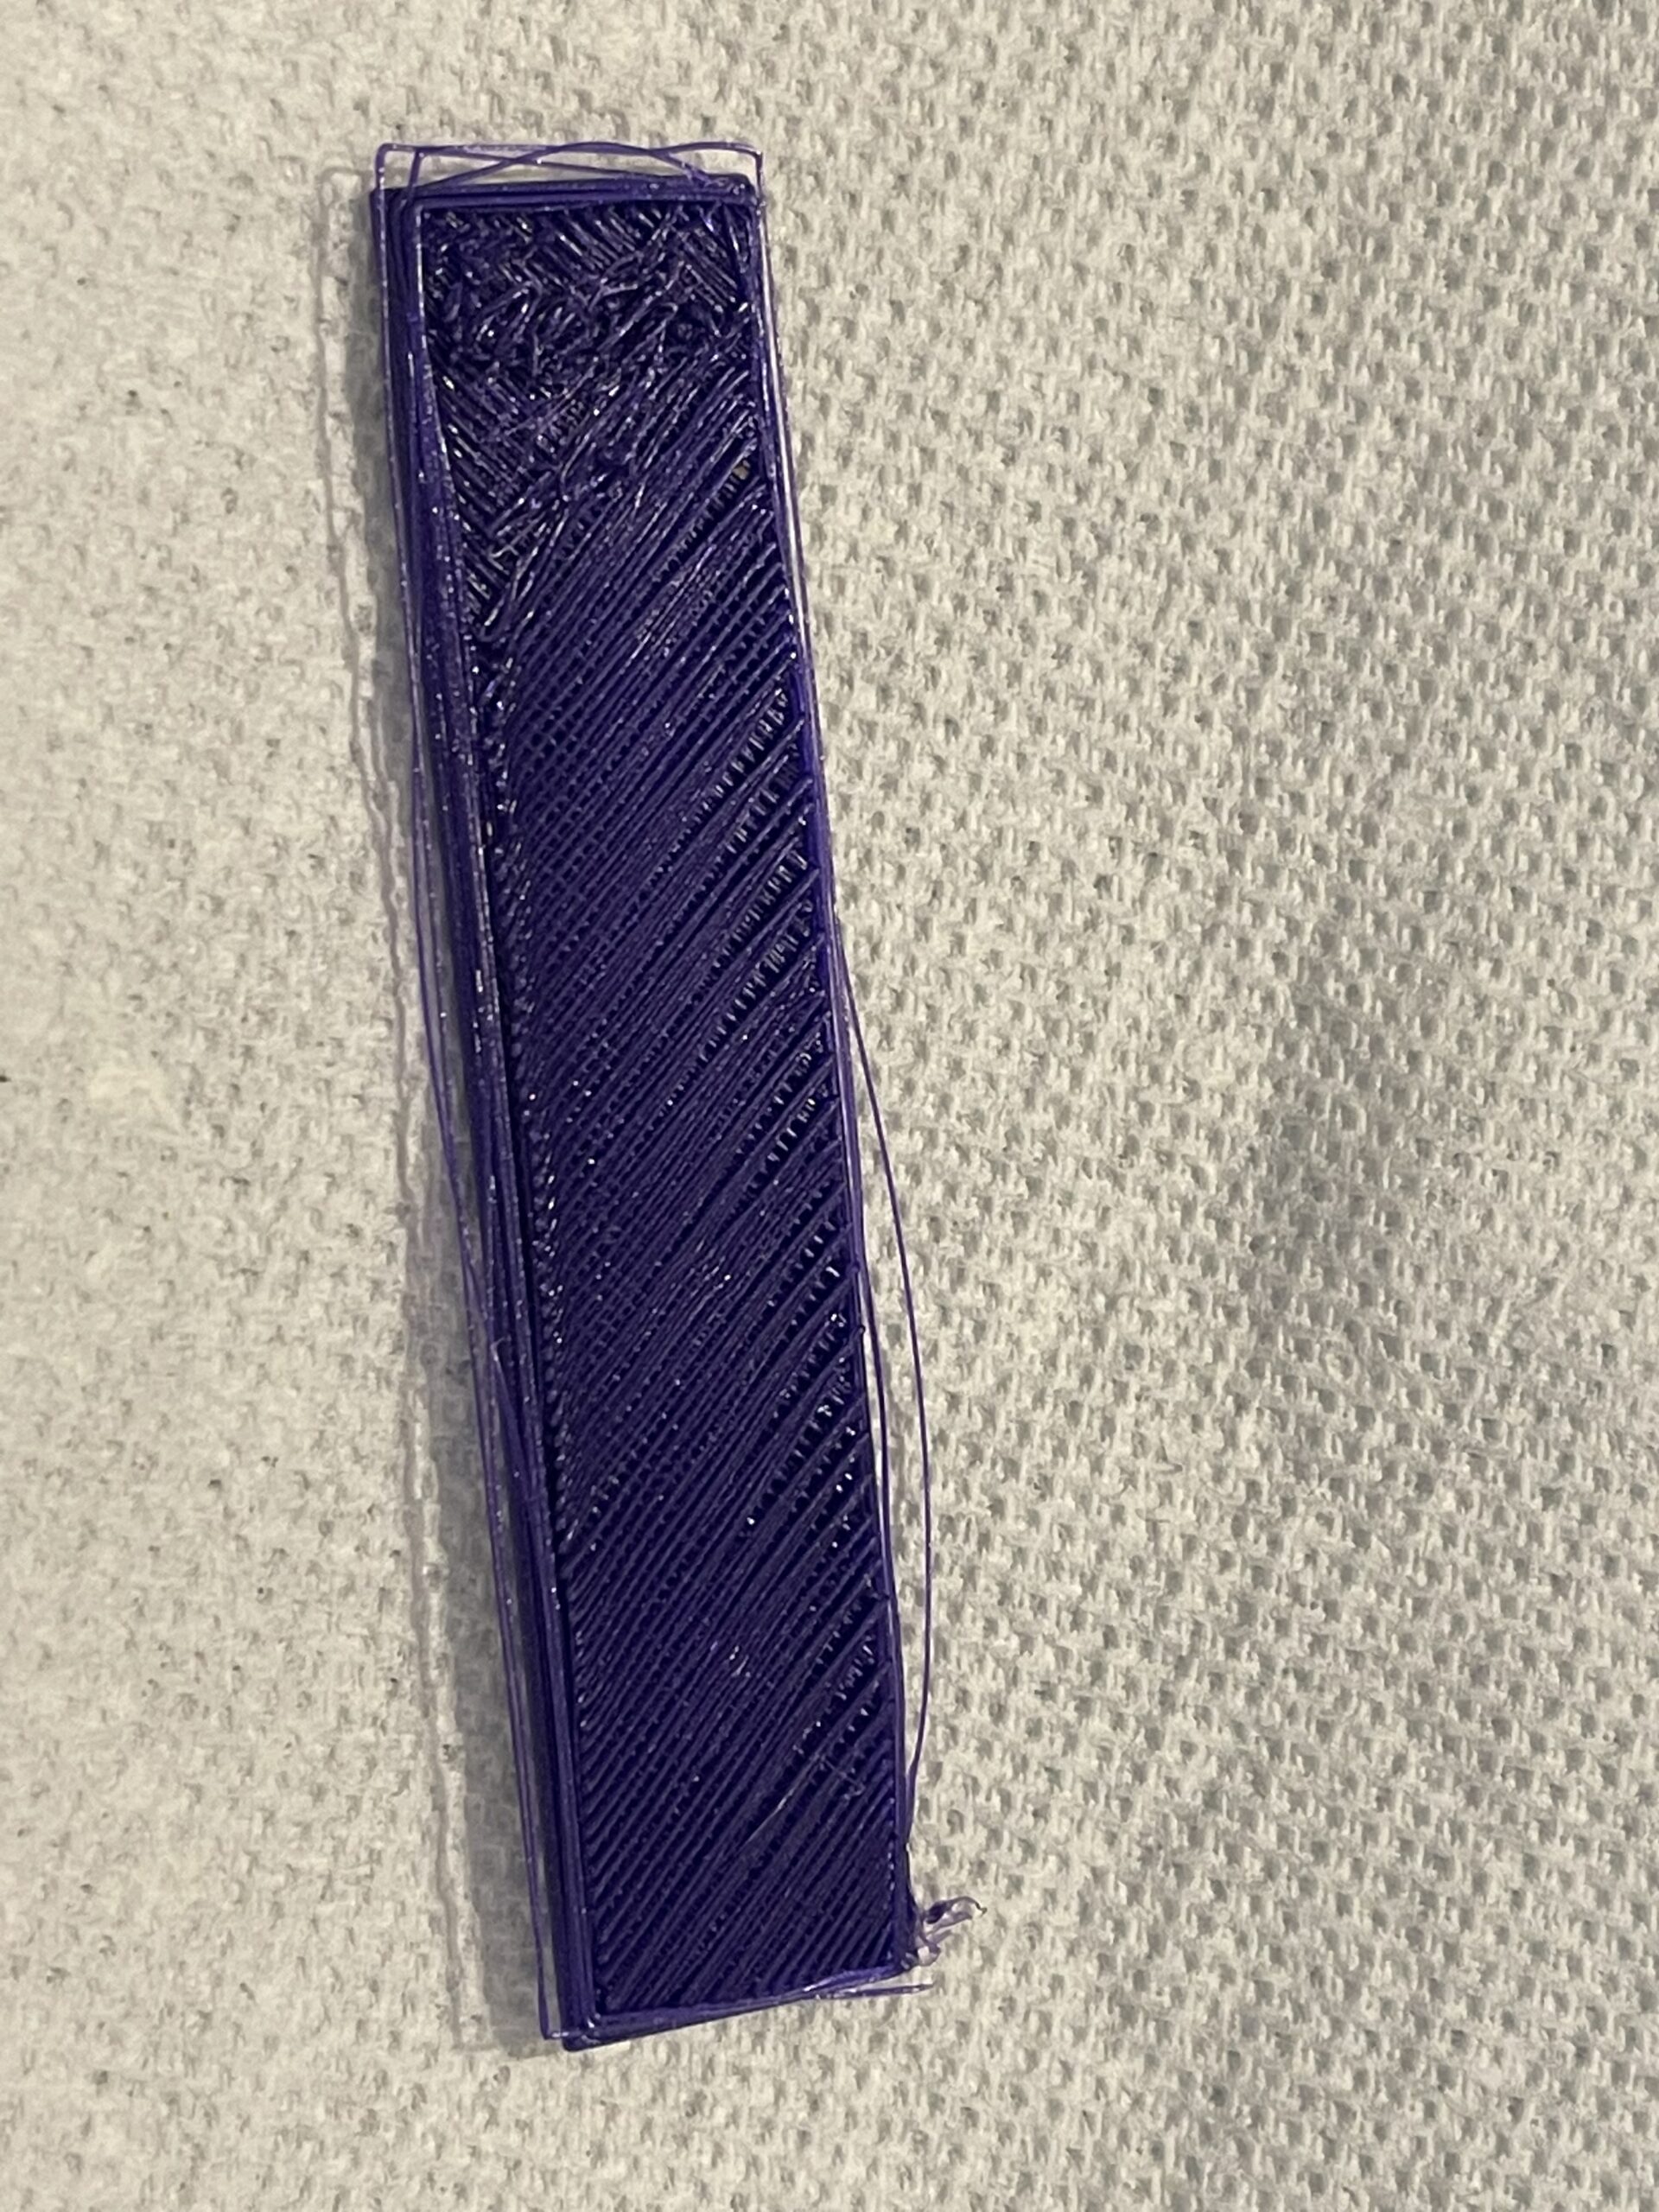
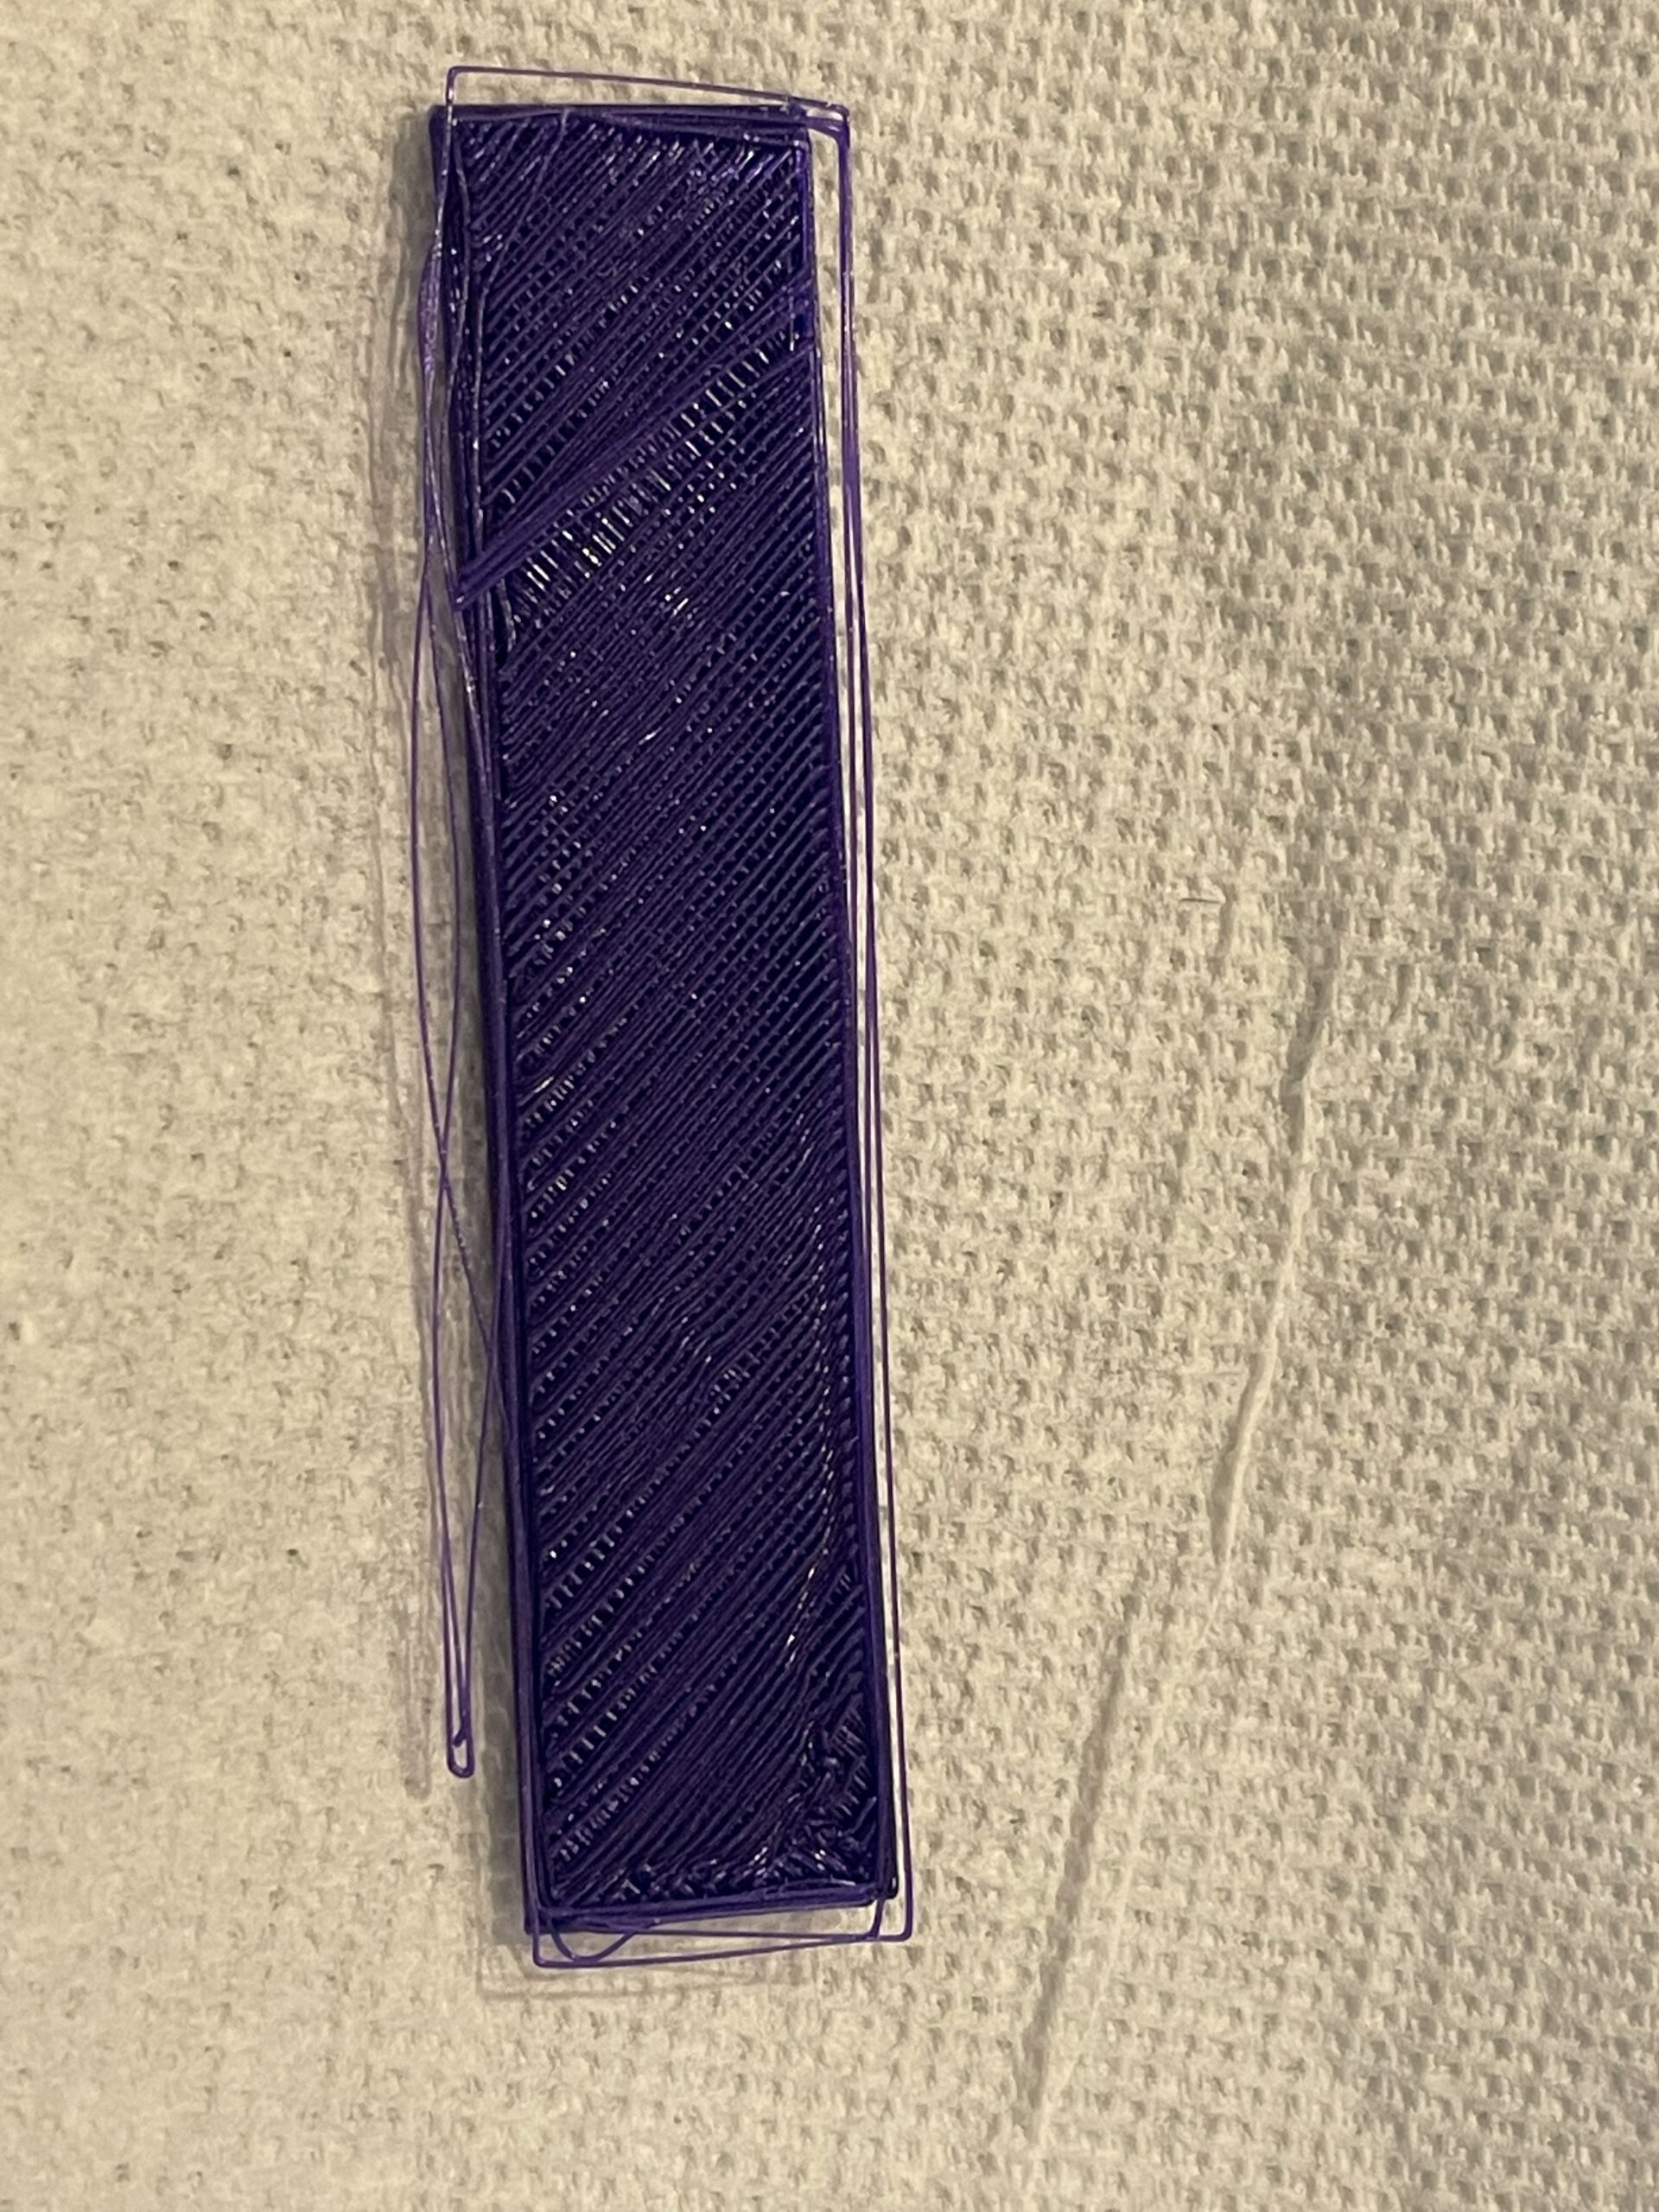
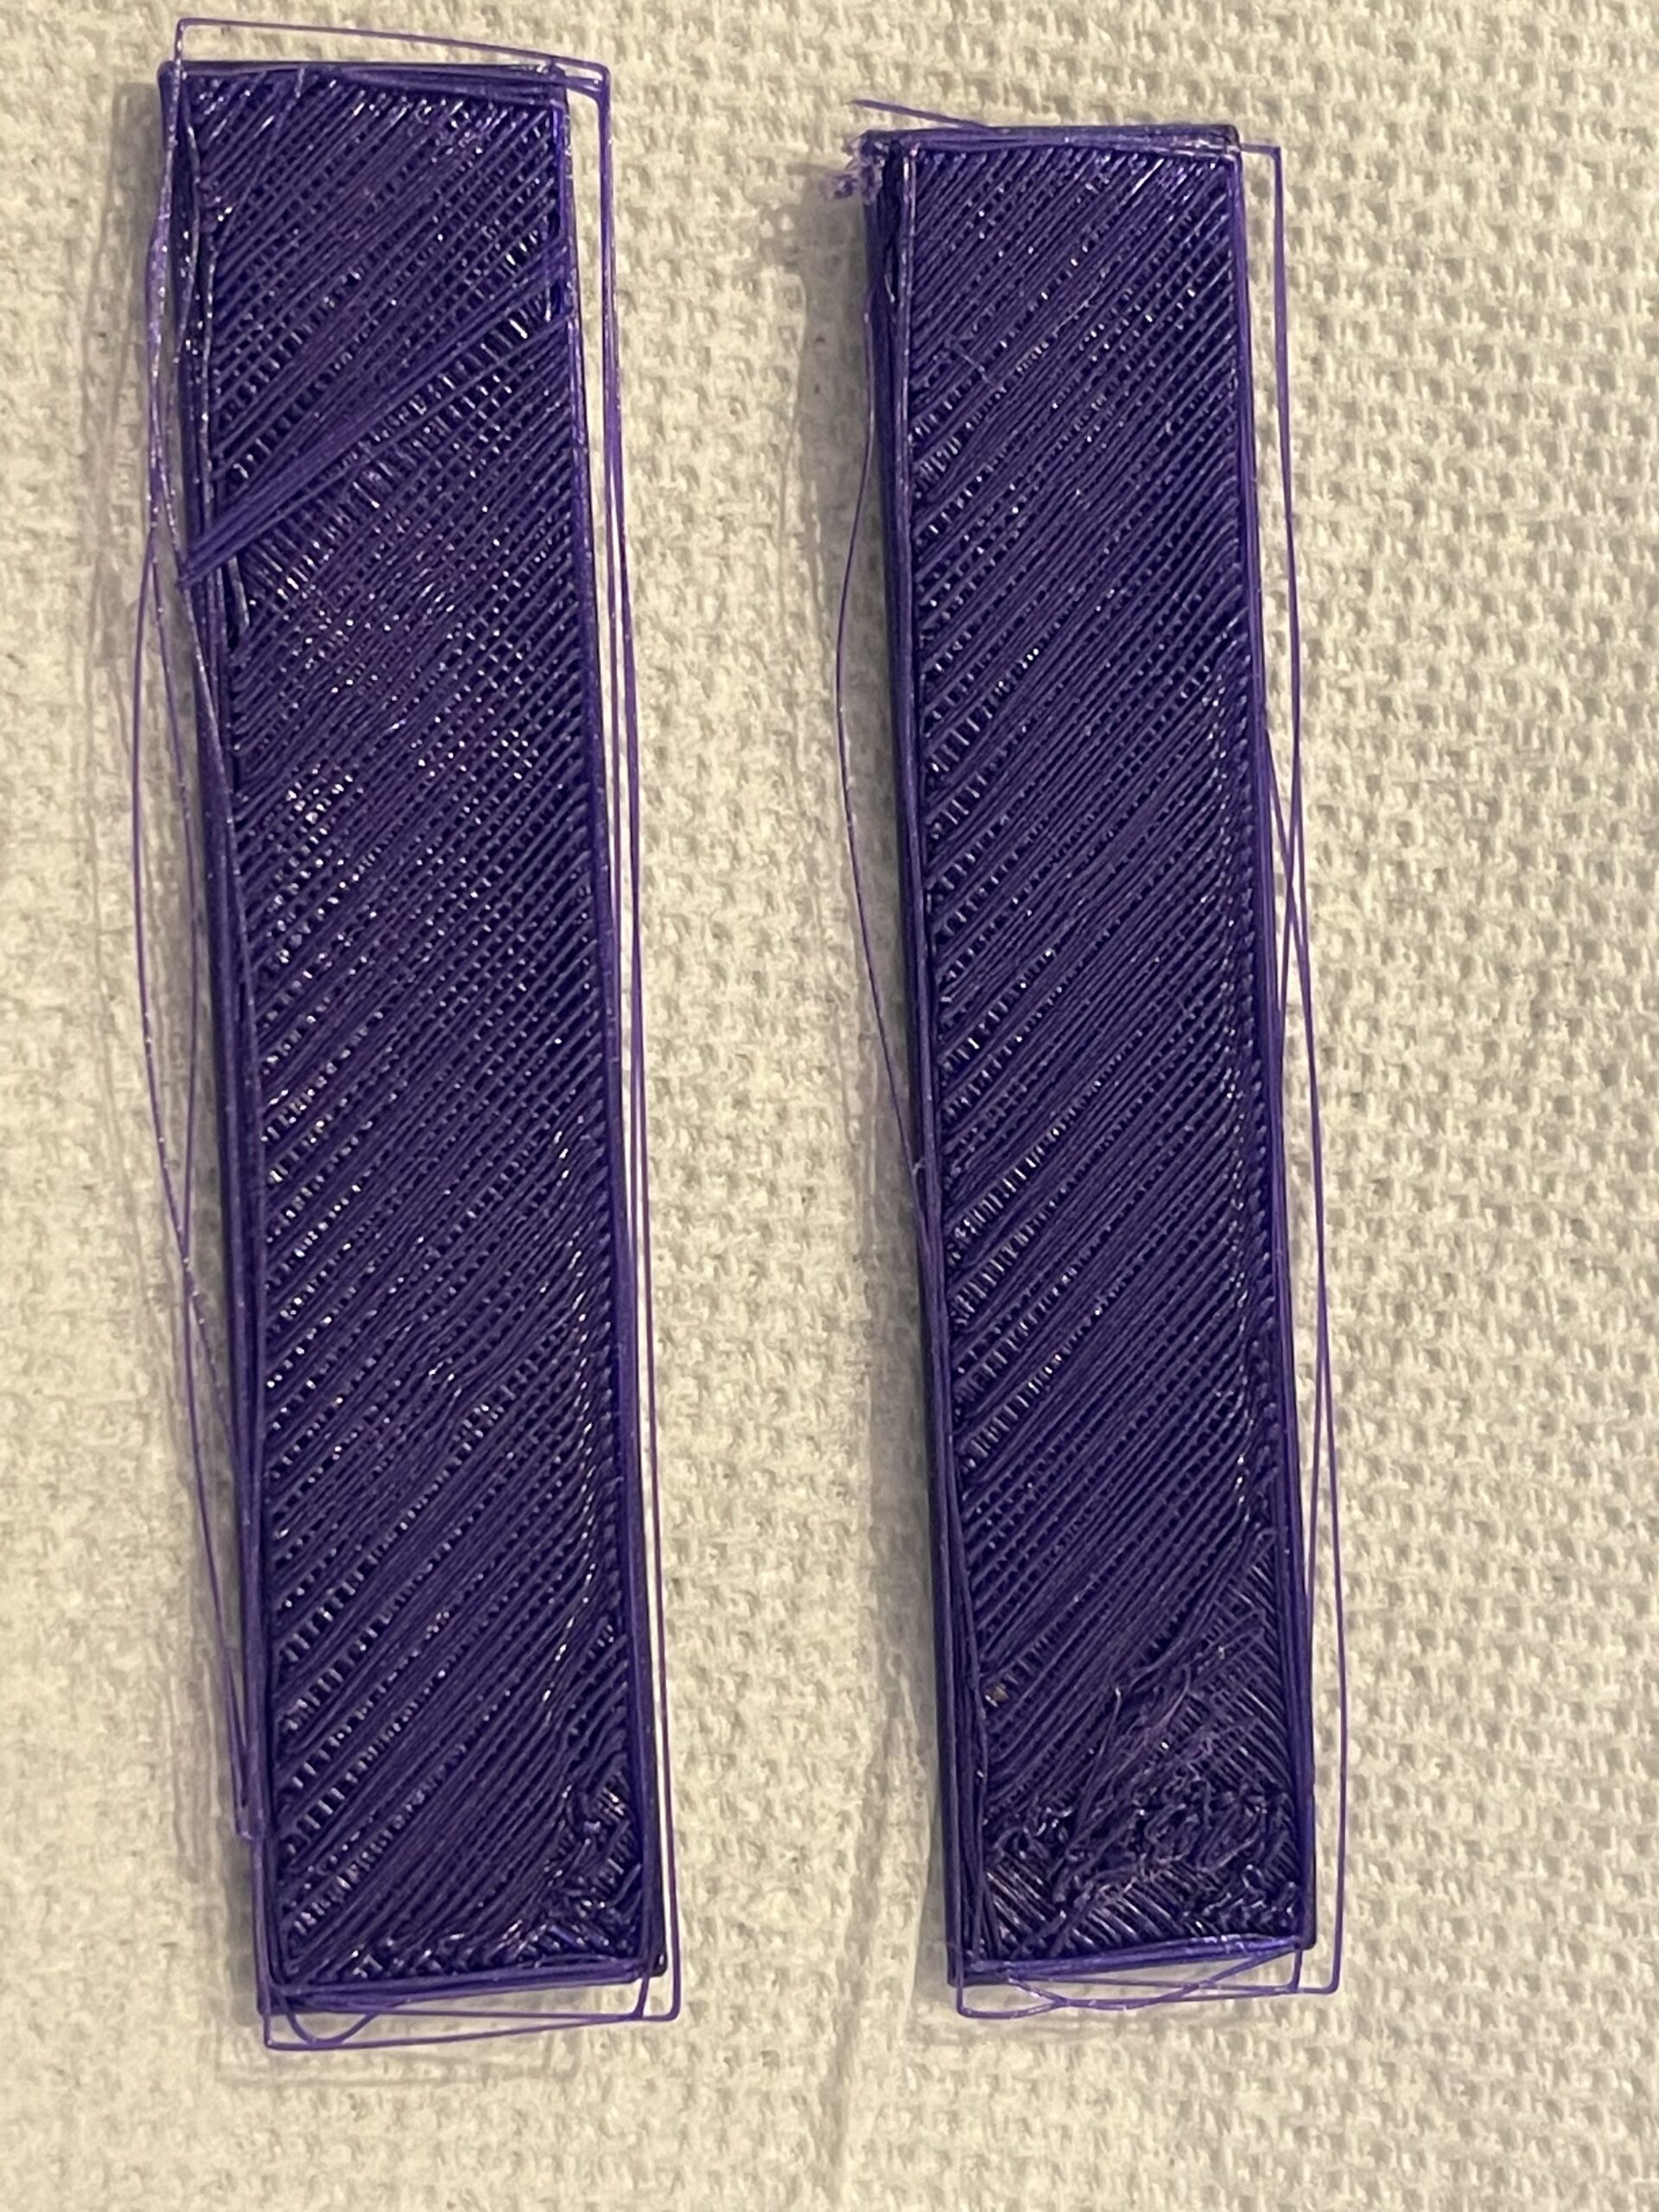
I just finished assembling my Mini+ Kit and began my first prints. As suggested in the book, I printed the PRUSA logo a couple times and they both turned out more or less the same. The sides are quite stringy with loose strands and both have a messy part on the first layer. Any thoughts or suggestions will be greatly appreciated.

Thank you
not low enough.
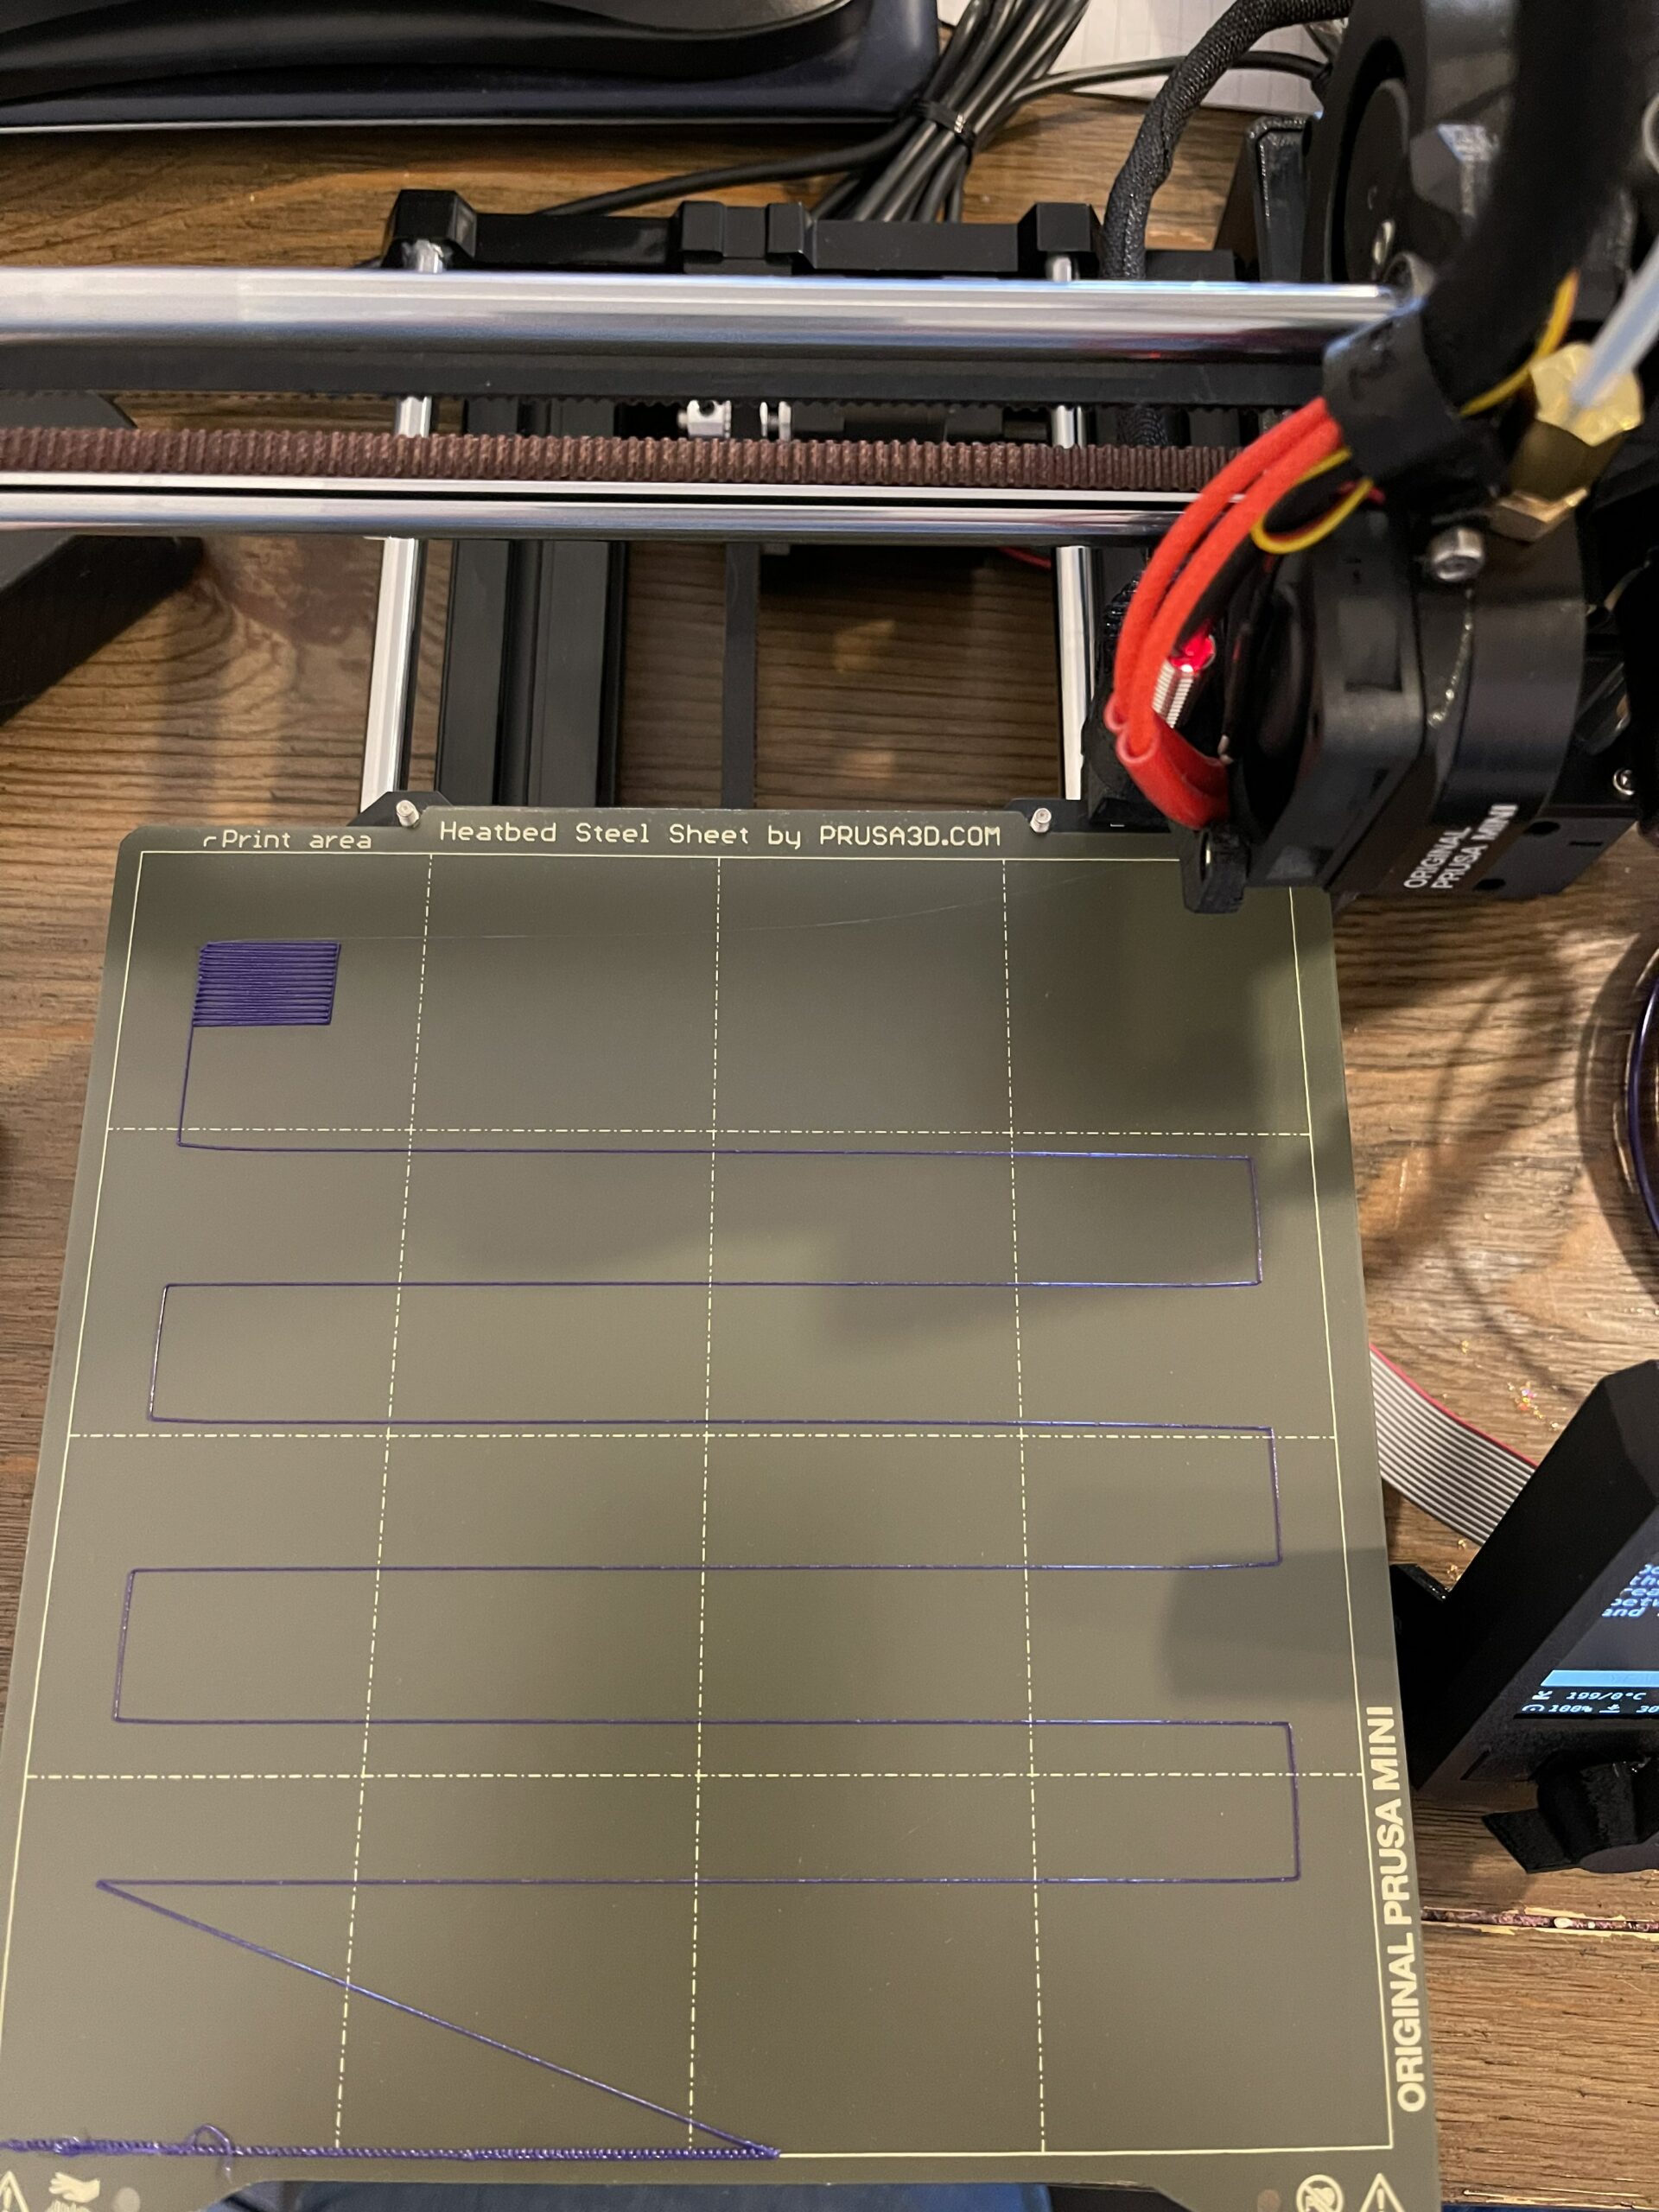
I am pretty sure you live z or z offset it not low enough. Show me the rectangle from your z calibration.
--------------------
Chuck H
3D Printer Review Blog
First Layer Calibration
It looks like you need to check your first layer calibration. See https://help.prusa3d.com/en/article/first-layer-calibration_112364
Mk3S+,SL1S
RE: First Layer Calibration
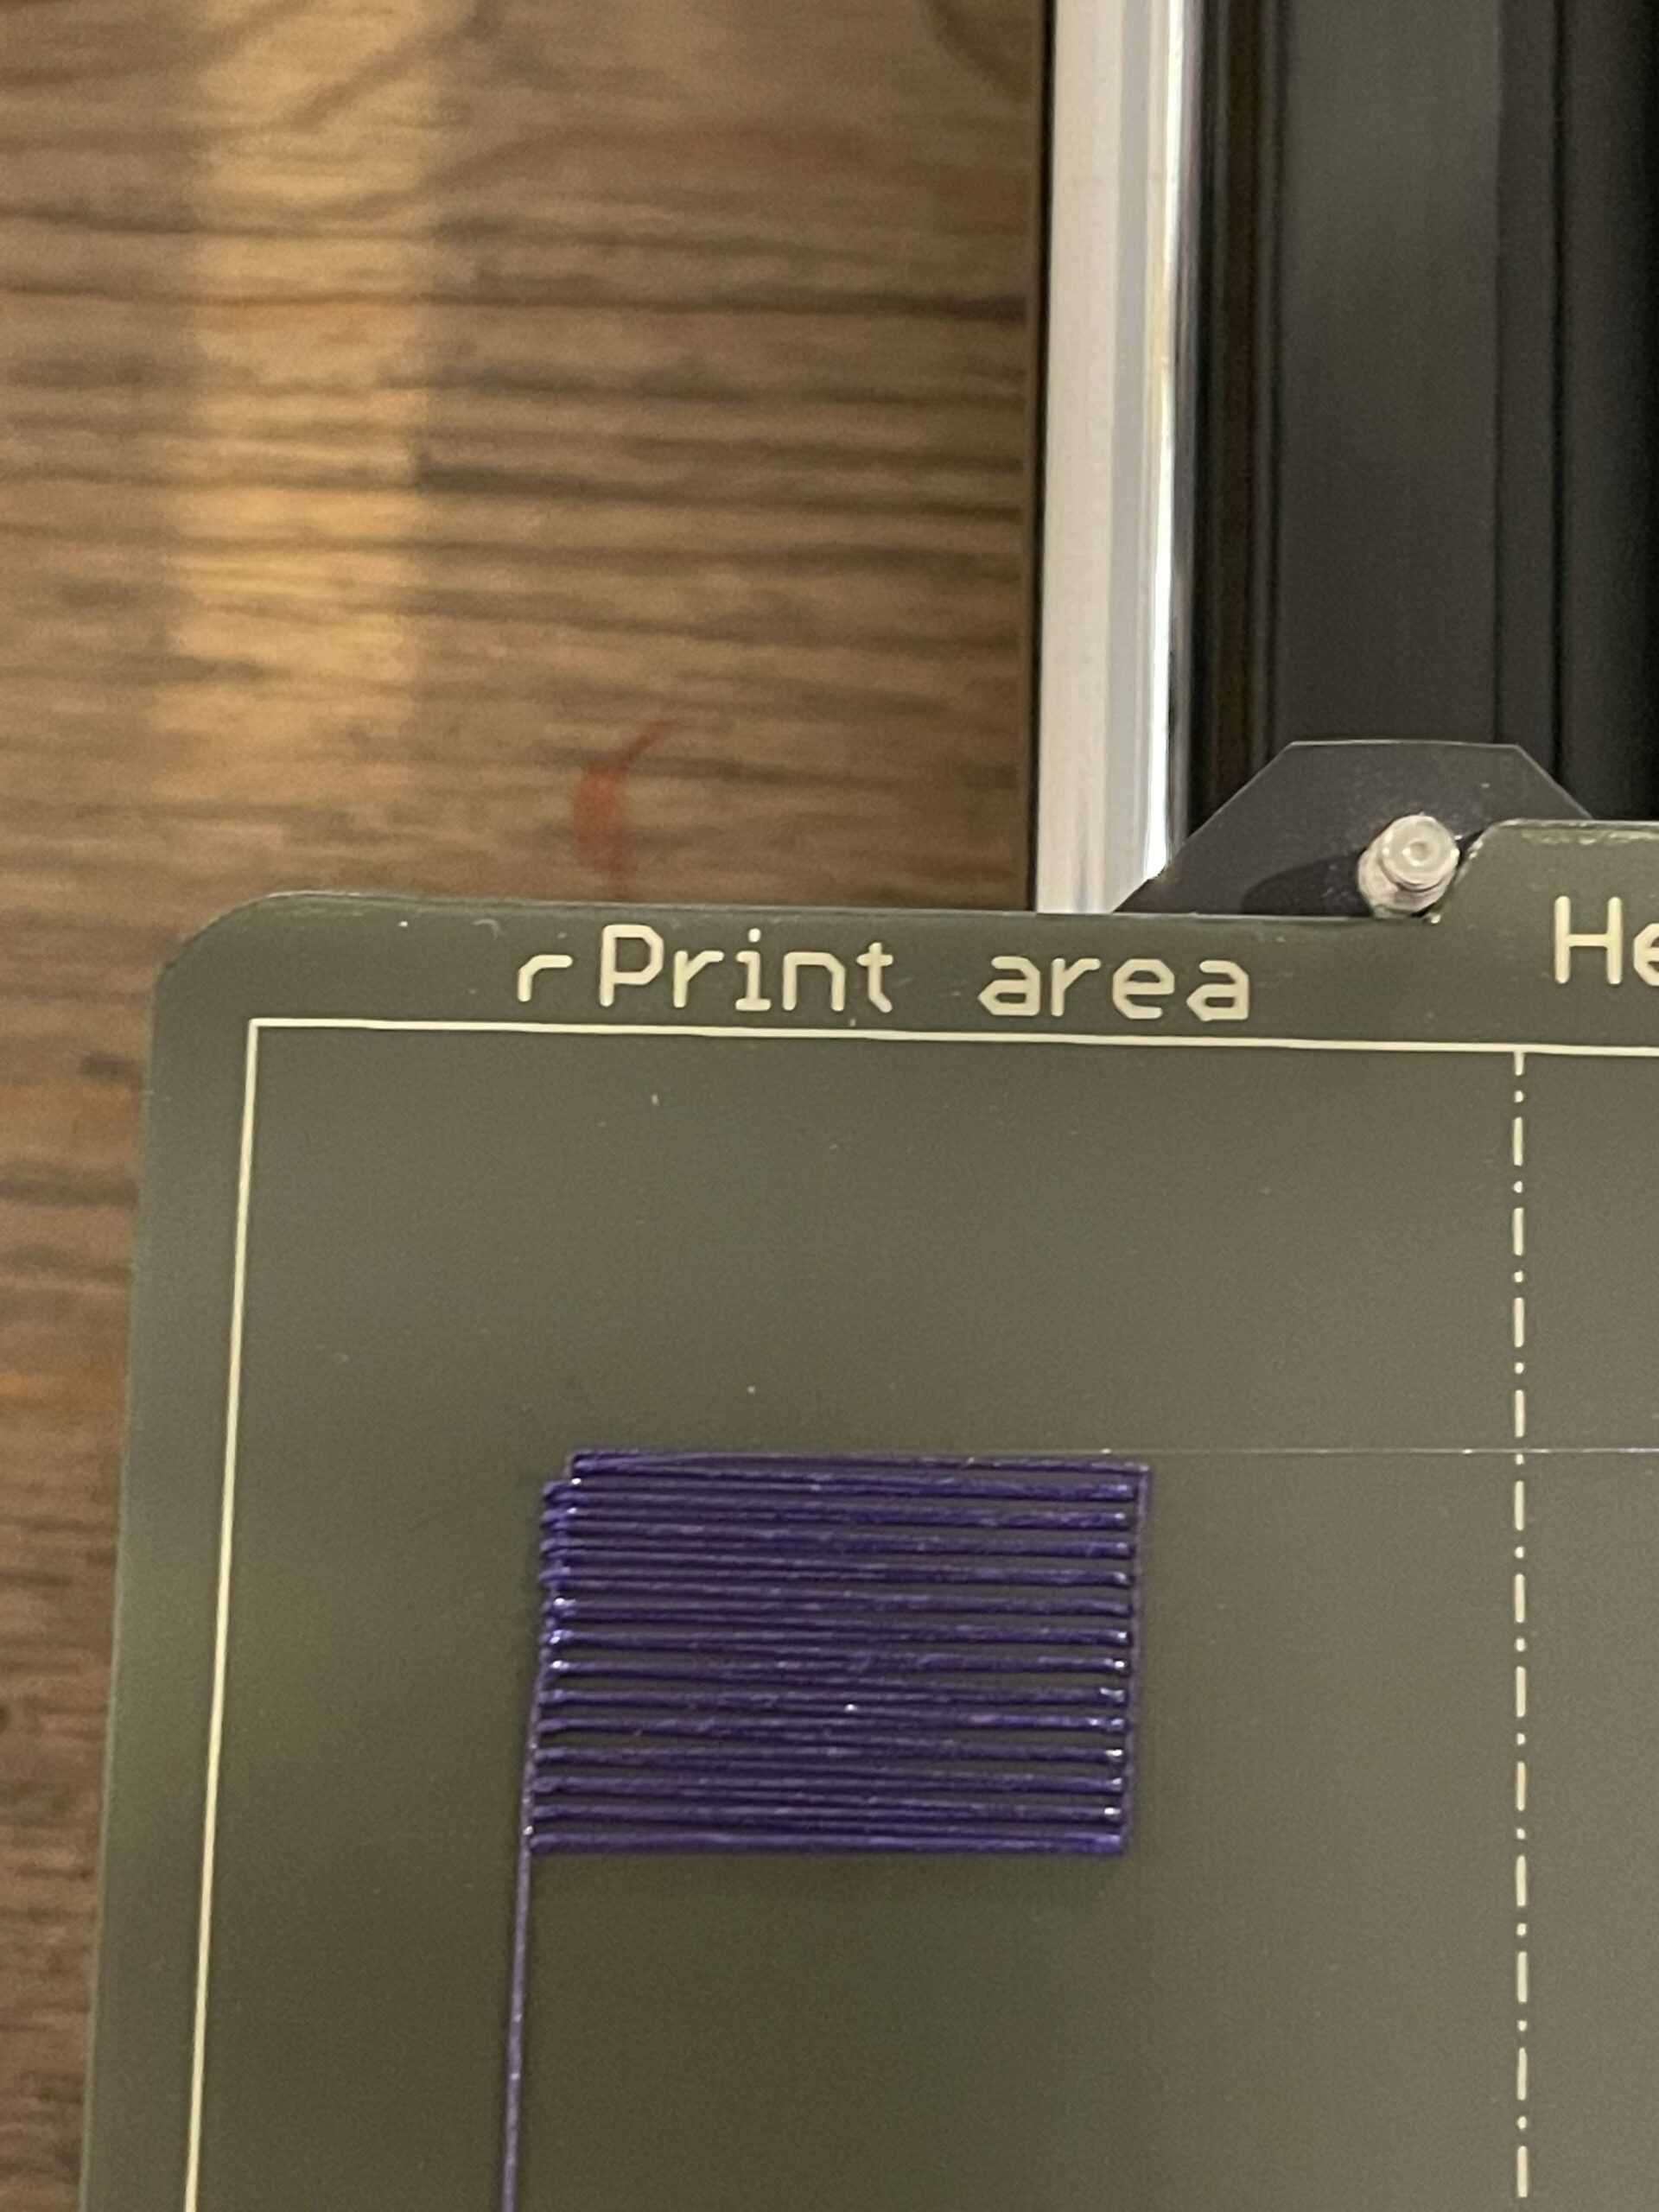
This is using -0.005 offset. I've done this step a few times already. This is probably the cleanest result.
problem
That looks ok. There definitely something wrong with the first layer and / or extrusion on that logo.
--------------------
Chuck H
3D Printer Review Blog
Your first layer Z calibration is way off -
This is using -0.005 offset.
You can go as low as -2.00 ...
At the end of the calibration you are aiming to print a single layer *sheet*. It should be possible to peel it off in one and fold it without the threads seperating. If it breaks into lines it is too high, not squished enough. If it is a single sheet but with wavy lines or drag marks on it you are too low.
Many beginners have problems with the built-in first layer calibration routine. There are alternatives, see this page by a regular poster here: http://projects.ttlexceeded.com/3dprinting_mk3_live_z_calibration.html
and look at this thread: https://forum.prusa3d.com/forum/original-prusa-i3-mk3s-mk3-assembly-and-first-prints-troubleshooting/life-adjust-z-my-way/
Cheerio,
Z Offset
Well, yeah, it looks ok. But I ended up changing the offset to -1 instead of -.005. The result was night and day. I was just being dumb during the calibration and not understanding the range and what was considered closer or farther from the sheet. Thank you for pointing me in the right direction.
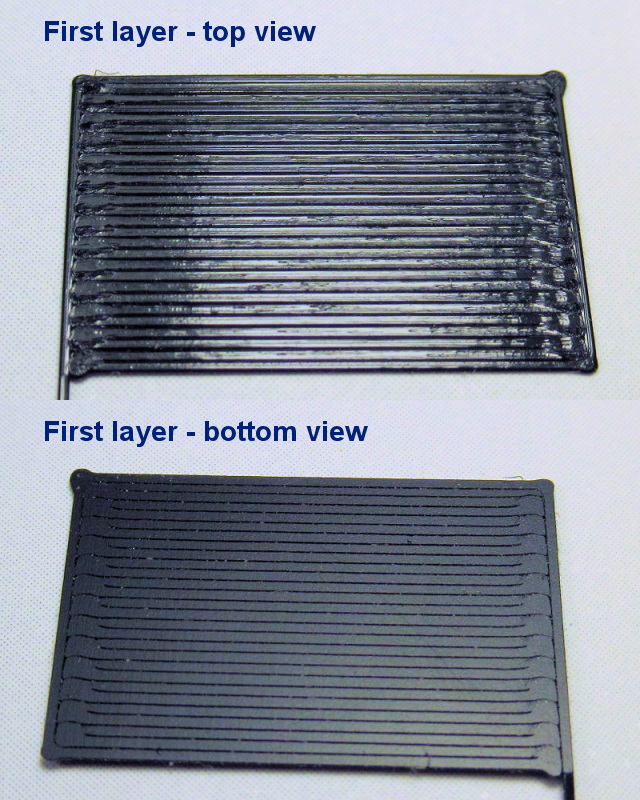
That is not good first layer at all. Tthere should be no visible gap between lines -it must look like solid flat area (you need to decrease Z-offset a lot more). First layer should look something like this:
[Mini+] [MK3S+BEAR]
not understanding the range and what was considered closer or farther from the sheet
We all have to find out for ourselves, no two printers are identical, especially if built from a kit. For the first month or so the machine will be shaking down and the calibration will drift a little towards a settled position. You will be doing this calibration again...
Cheerio,
value
The more negative the value, the closer you get to the sheet.
--------------------
Chuck H
3D Printer Review Blog