RE:
Hello all!
I've just read through this entire thread, and before diving into this process I would like to share with you my current state so that I can ask you some questions regarding the feasibility of the mod
I just installed the Z-axis support to improve Z-axis stability on cylindric prints and in the process of doing so, I tightened (really tight!) the side ZY screws (those two that go through the electronic box, just beneath the Z aluminium frame)
Imagine my surprise when I ran the mesh-bed-levelling and noticed a big skew on the ZX plane similar to what @TankerTech reported here.
Fortunately, @örkelprint replied here stating the following:
Posted by: @orkelprint
On my printer, to fix the Z-skew, the screws on the side really can not be tight.
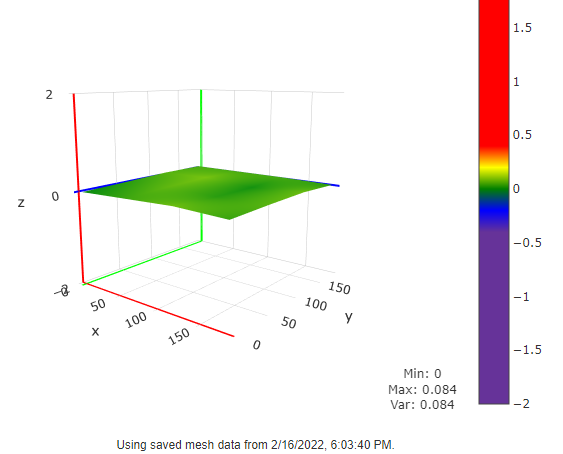
After I released the screws, my bed went back to the previous state and I believe the skews are gone, as you can see in this screenshot:
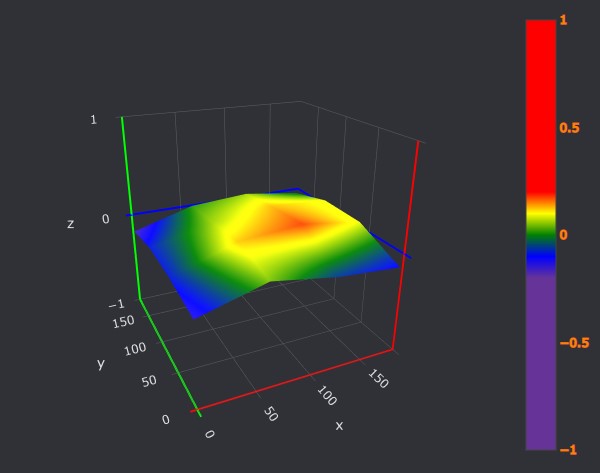
Now, in my current state the Z values are ranging from -0.129 to 0.174 making a total deviation of ~0.303.
With this in mind, I would like to ask you the following:
- Do you think my printer is squared enough to apply the mod?
- Do you notice any relevant ZX skew (or any other concern) that should be taken care before diving into the mod?
- Should I be able to reduce deviation to ~0.05?
Thanks in advance!
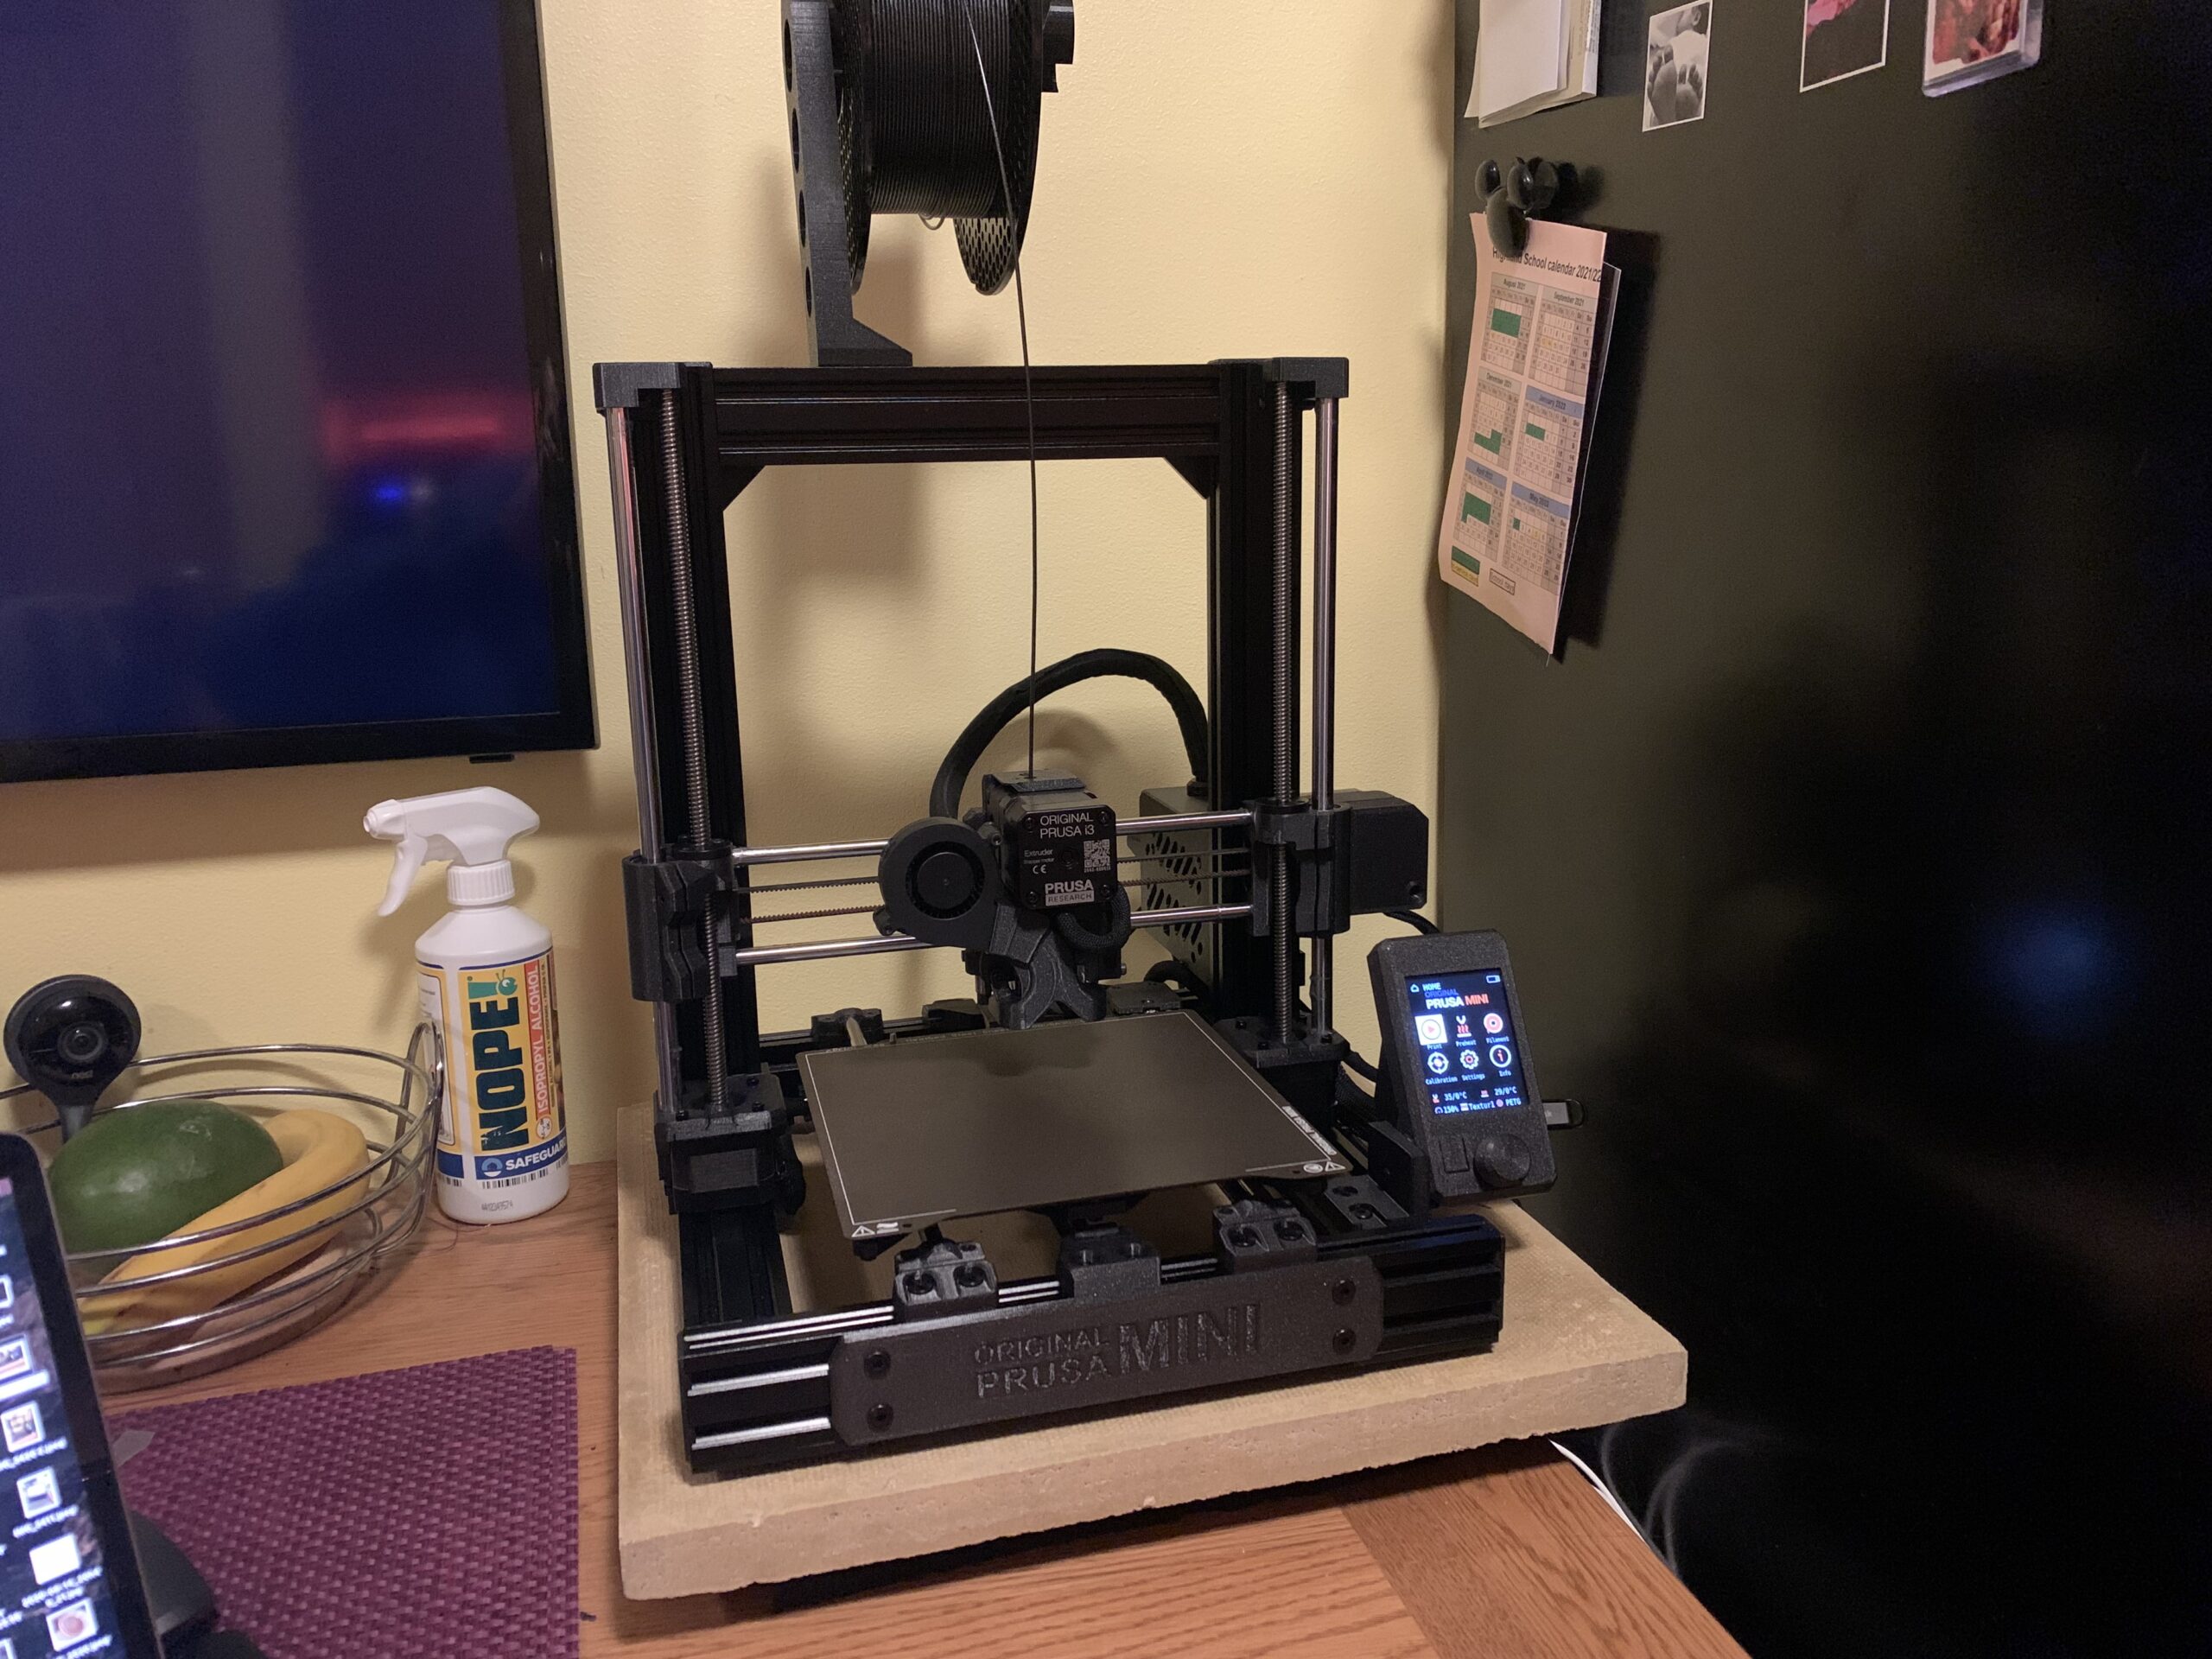
Prusa Mini+ full stock
RE:
1 Hard to say but you need to run some square tests to find out.
2 I recommend you try to remove as much skew as you can , personally I installed the Z brace and also did the shim mod - where you place shims between the control box depending on square test prints, plus the X arm bracket that I found squares the x rods better.
3 you can get it down to that and even lower but remember its based on heating the bed so you will always have some slight deviations.
I have the option in the custom llama firmware to remove skew also but havent had the need to do this because if you do all the other things right then there is no need.
just my personal opinion, others may have different results.
Thanks a lot for your reply @BrettG!
Can you explain me how can I identify, based on my picture above, the ZX skew? I mean, there are pictures out there where the skew is darn obvious and you can see the entire slope along the X axis... but on my picture I'm finding hard to identify it..
Also, what Z brace design are you using?
Prusa Mini+ full stock
RE:
1 Hard to say but you need to run some square tests to find out.
2 I recommend you try to remove as much skew as you can , personally I installed the Z brace and also did the shim mod - where you place shims between the control box depending on square test prints, plus the X arm bracket that I found squares the x rods better.
3 you can get it down to that and even lower but remember its based on heating the bed so you will always have some slight deviations.
I have the option in the custom llama firmware to remove skew also but havent had the need to do this because if you do all the other things right then there is no need.
just my personal opinion, others may have different results.
Thanks a lot for your reply @BrettG!
Can you explain me how can I identify, based on my picture above, the ZX skew? I mean, there are pictures out there where the skew is darn obvious and you can see the entire slope along the X axis... but on my picture I'm finding hard to identify it..
Also, what Z brace design are you using?
you really need to do some test prints to find out otherwise its visually hard to notice if its out of square.
follow this guide
the X bracket I use https://www.prusaprinters.org/prints/63139-mini-x-end-new-version
The Z bracket support https://www.prusaprinters.org/prints/32054-prusa-mini-z-axis-support-brace
the only issue with this bracket ideally, is to print it on a printer that's not skewed.
I used my mk3s+ for all my mini parts, I know this option isn't available for everyone.
You may not need to do any of these options its just the route I went down and did on the multiple mini's I own which I found out to be all skewed with uneven beds.
RE: Prusa Mini Silicone Bed Leveling Mod
maybe this thread is going off track from the silicon mod to how you go about sorting out the skew which is in another thread on these forums.
btw here is the shim mod I also did https://www.thingiverse.com/thing:4378040
RE: Prusa Mini Silicone Bed Leveling Mod
Thank for your reply.
I don't think its deviating from the silicon mod - I think more people will benefit from this knowledge, especially for understanding what needs to be done before applying this mod.
I still would like to know other's opinions regarding the current state of the printer...especially if it requires additional calibration before going into the silicon mod.
Prusa Mini+ full stock
RE:
Hey fellow MINI owners, I think i need to chirp in about how your wonderful silicone bed mod affects our printers, especially mine.
Prior of using your mod, I was able to get my bed my bed to have almost 0.05 variance by using some kapton tape on top of the PCB heater, as the kapton tape's thickness is around 0.04 to 0.05, I think I might give it a go and I did it by putting the tape in the area that is lower than the measured height (I used octoprint bed visualizer back then) and it works great, but the problem with that method that I think is happening is the heating of the bed is not as uniform as normally would be, and i know it's because of the tapes.
So, after researching your mod on github and here, I was thinking to get the mod working as soon as possible, so after buying the parts listed on the BOM like the M3 x 16 Torx Screws (I recommend an M3 x 18 for easier assembly), the M3 nylon lock nuts and the M3x8 high-temp silicone tube (I use a SAMCO radiator hose 3mm ID, 8mm OD). Total cost for me is around 4-5 USD, including shipping.
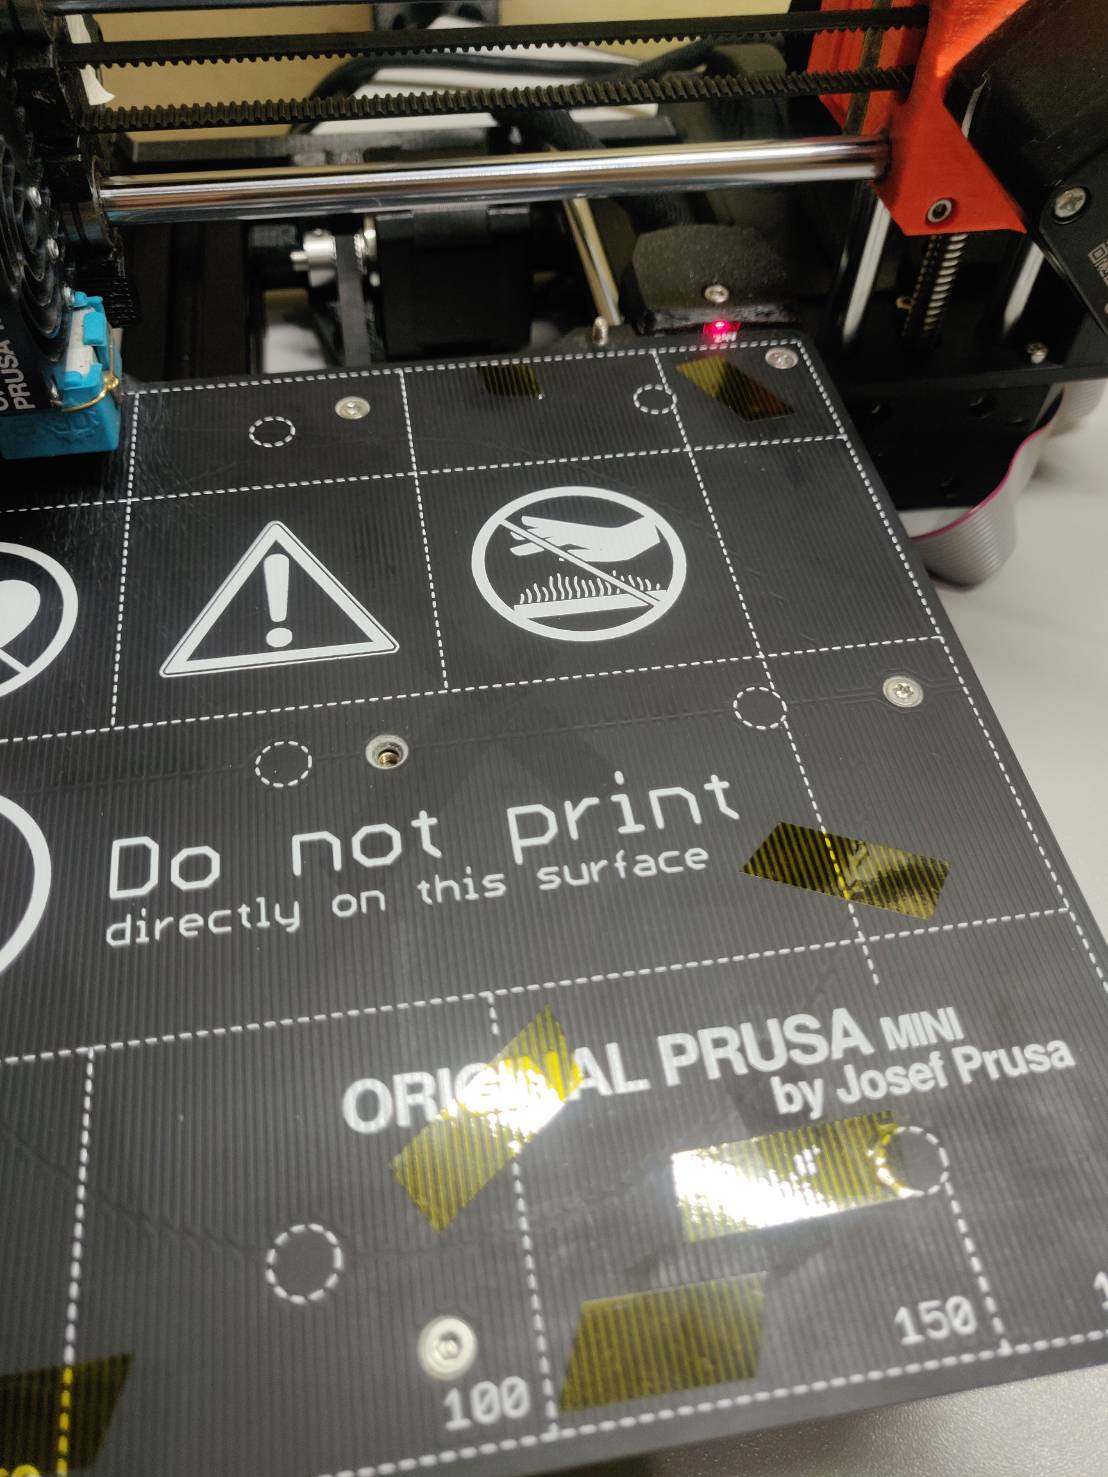
Some tips regarding the rear low profile locknut as i don't have a low profile locknut, i just sand it down around 1mm or so to prevent it from crashing to the Y motor mount and it works great. Also i do not put the middle center screw cause if i put the screw back, my bed would bow downwards and it cause me a ton of headaches leveling each of the other 8 screws so i just remove it and on my MINI, it doesn't cause any difference whatsoever, actually it makes it even better for not having a fixed reference point. (i have some pictures to show it) and also I made another jig with the cut length of 8mm instead of 10mm for the silicone tube as my 10mm tube doesn't play well with the length of the M3x16 screw.
Other thing that i notice is, for me actually i kinda went OCD and just re-tune my PID for my bed and it gives a slightly different values from the last one, so i think that's okay.
Assembly is not that bad, took me around 3 hours with the tuning and everything and i finnaly get the bed with around 0.05 variance throughout the entire bed, there are some places where the screw are hard to adjust so i used my old method with a small kapton tape to raise it up a little bit and it still works miles better than before.
BUT, i have to admit that tuning the mesh that i do not use the octoprint plugin instead i use Klipper's bed mesh control to tune my bed leveling and i have to say it works miles better than octoprint and i also use the FluiddPi as the main OS instead of OctoPi, (i'll show you some of my settings and screenshots of the web interface)
Sorry if this is out of topic, but Klipper on a MINI is like amazing, compeletely transform the MINI to a whole new level, especially if you already tune the Pressure Advance and Input Shaper, the results is just like i said, beyond amazing. I can get like two times the old speed which is a default Prusa Profile with even more amazing quality AND no ghosting due to Input Shaper and I swear on my MINI, the linear advance is kinda odd and misbehaved to the point that i didn't notice any difference whatsoever if i change the LA value and with Klipper, i can see the actual change of the Pressure Advance value and it actually makes a difference in oozing and the overall smoothness of the prints that i got. I definitely recommend anyone to go with Klipper and i'm actually using the reference from matthewlloyd's github for installing Klipper for the MINI, hats of to him for providing the firmware already pre-configured for the configurations and actually porting the firmware.
Prior using Klipper, i was thinking about purchasing the SuperPINDA probe because mine is the yellow dumb one and the offset always changes when i'm printing PLA and then switching to PETG and vice versa, but with Klipper and this silicone bed mod, I don't think i need to purchase the new SuperPINDA because i do not see any difference whatsoever in the offset, even when the bed is at different temperature and the first layer always sticks to the bed flawelessly. Maybe it is just me or i don't know why but the Klipper + this mod makes a huge significant difference in my first layer. Can't recommend this enough.
All this are based on my experience, some of the methods might/might not work on yours but the idea of having a flat bed is perfect, i can finally have a sequential print on each corners of the bed and not worrying of those lifting up like before or you can have a normal print but with almost 100% certainty that the first layer just sticks. Absolutely great.
I'll attach some of my pictures and screenshots regarding my configurations.
and also, here's the github link in case anyone's interested in getting Klipper for your machine (watch the youtube from keenzcustoms) : https://github.com/matthewlloyd/klipper
 Kapton tape for lyfe[/caption]
 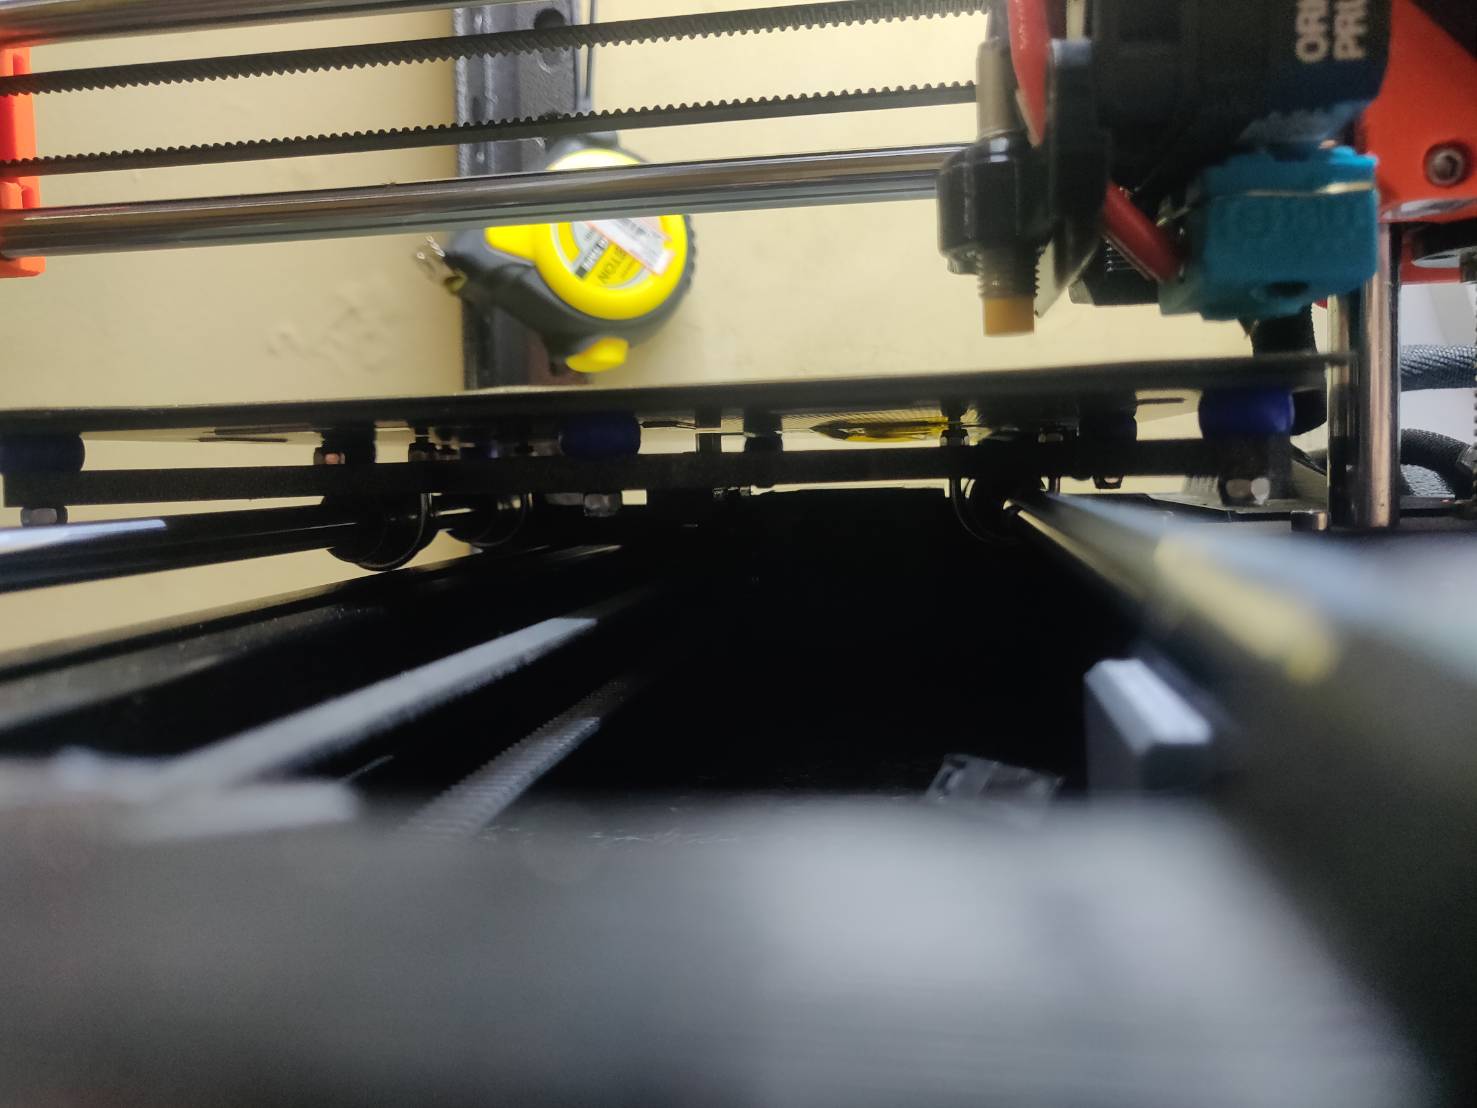 Notice that i do not put the center screw
 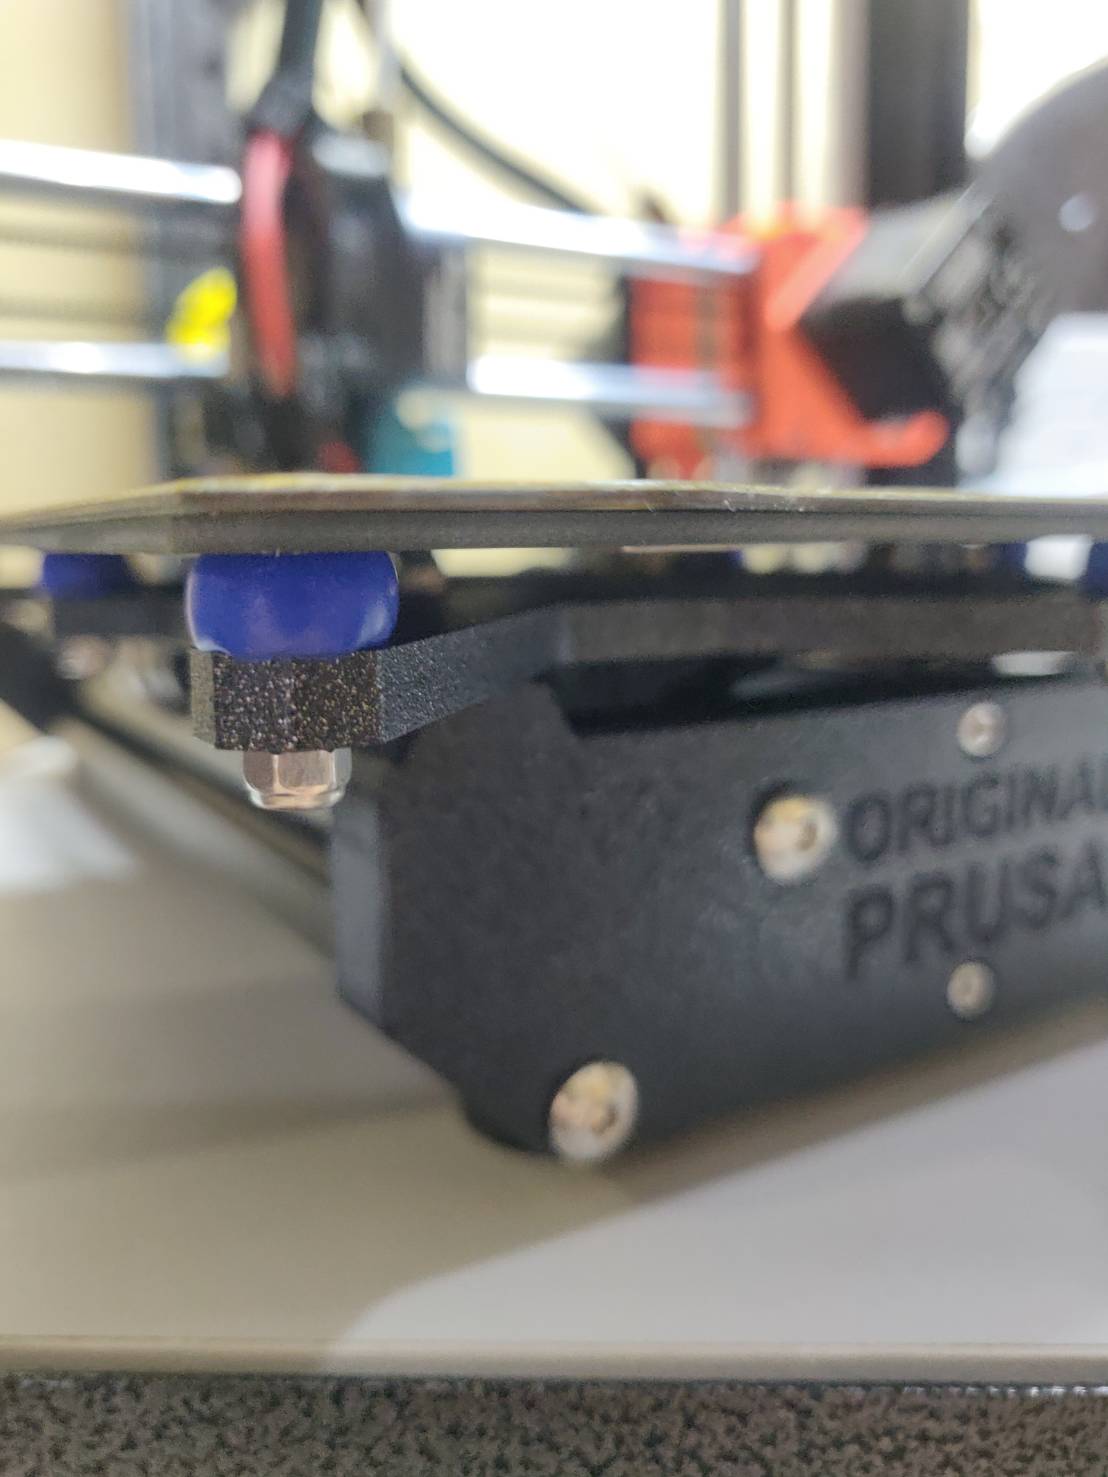 My 3mm ID, 8mm OD silicone radiator hose
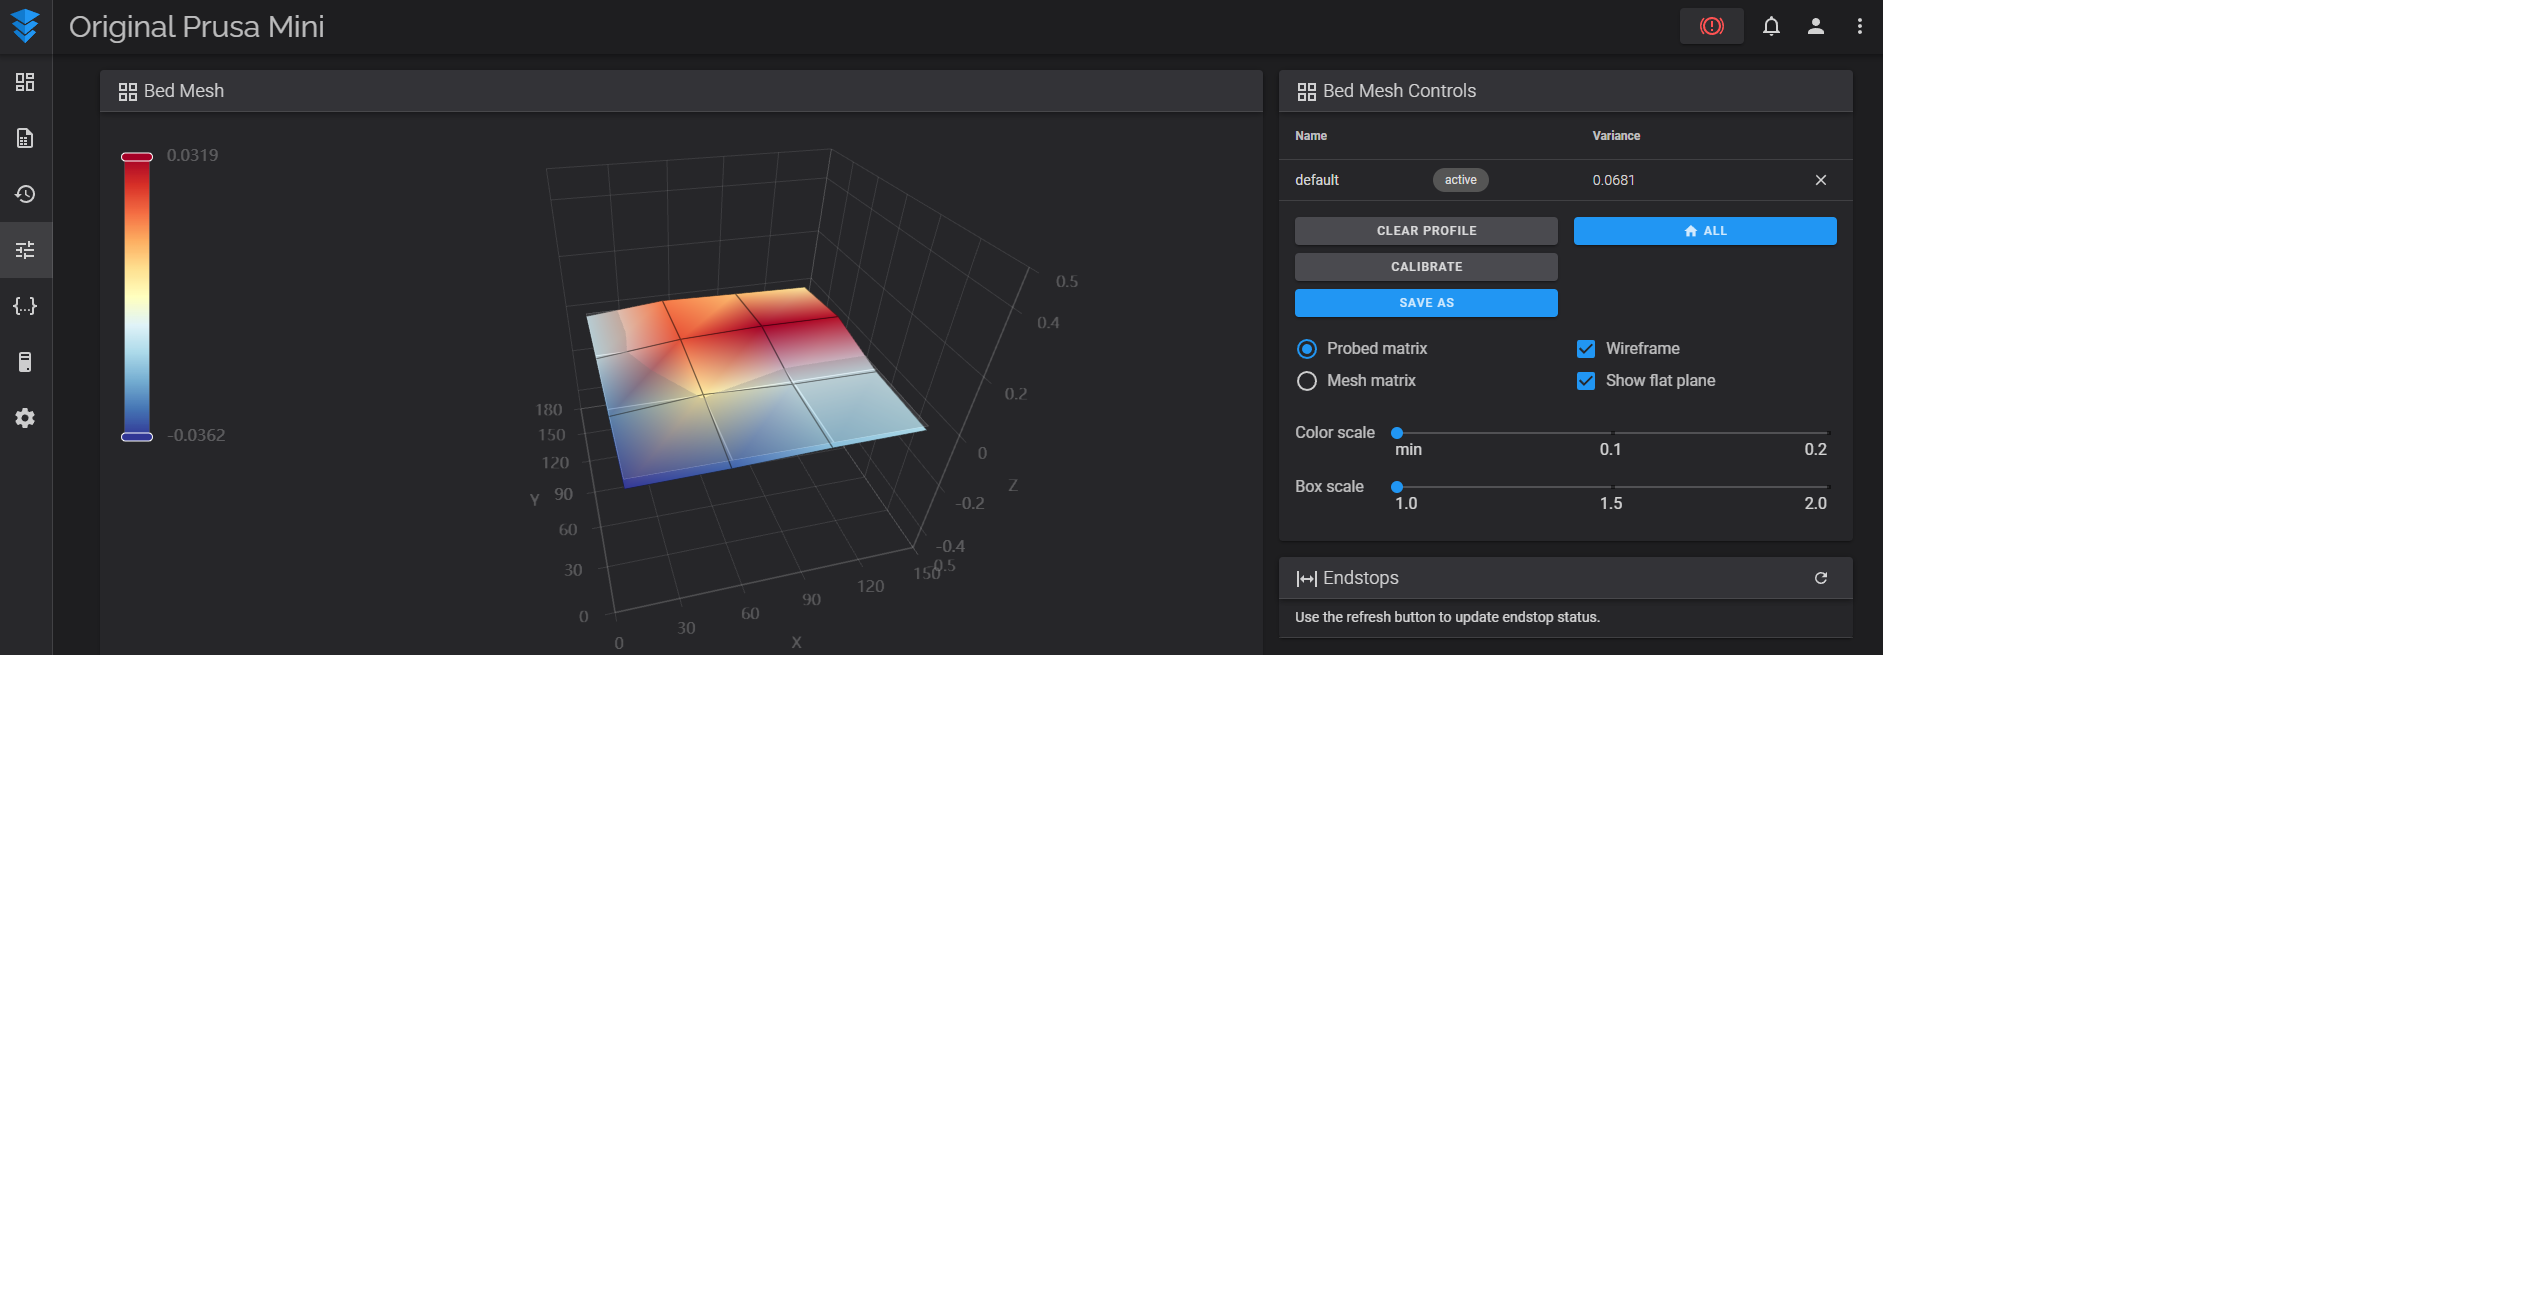 Notice the Variance, Highest Point and the Lowest Point
RE: Prusa Mini Silicone Bed Leveling Mod
Done the mod tonight as was having a little issues with stuff sticking at the extreme edges of my bed, it seems to have helped 🙂
before:
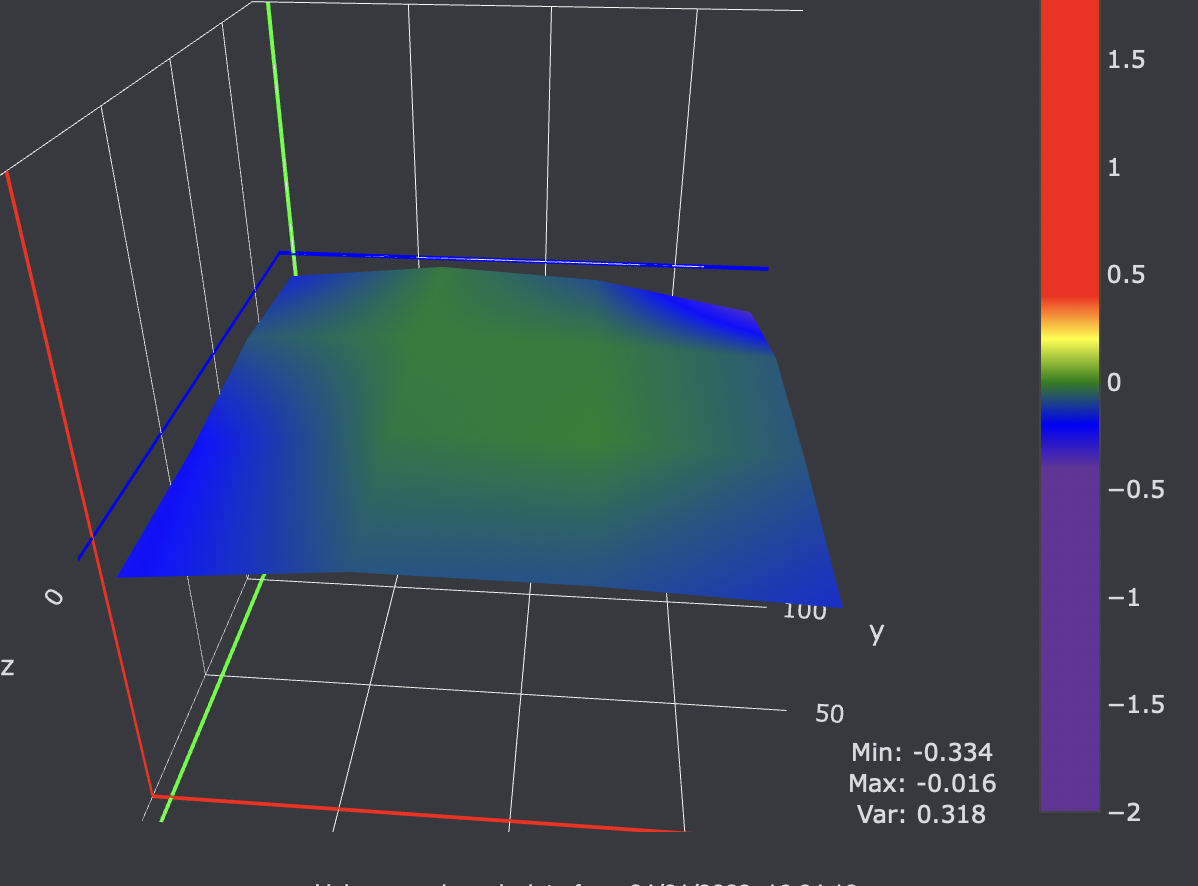
after: (I couldn't be bothered doing anymore as without adjusting the results kept coming back slightly different after a certain point)
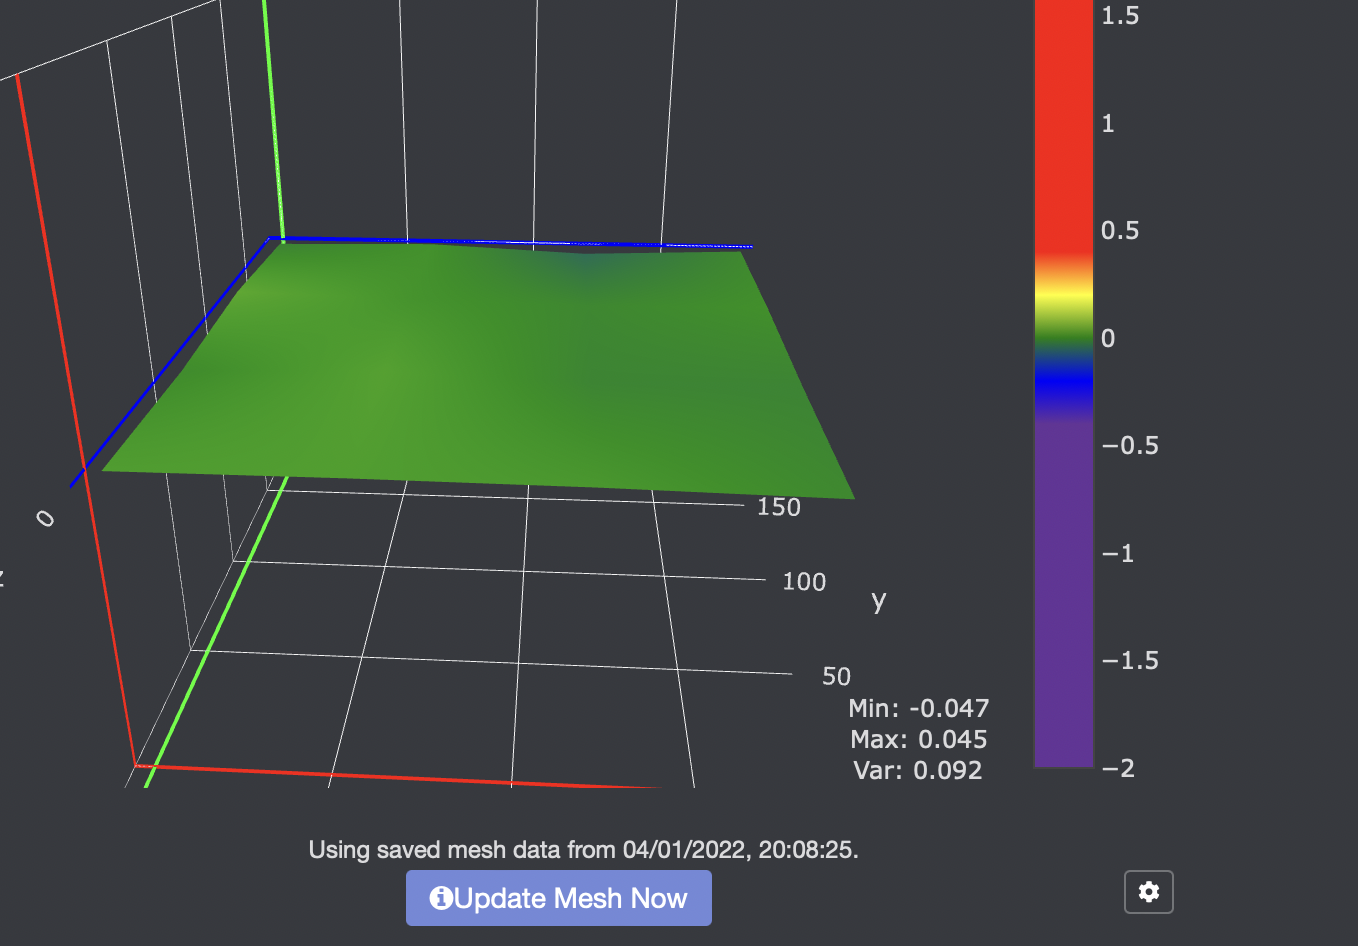
I went for black silicon for the stealth look 🤣
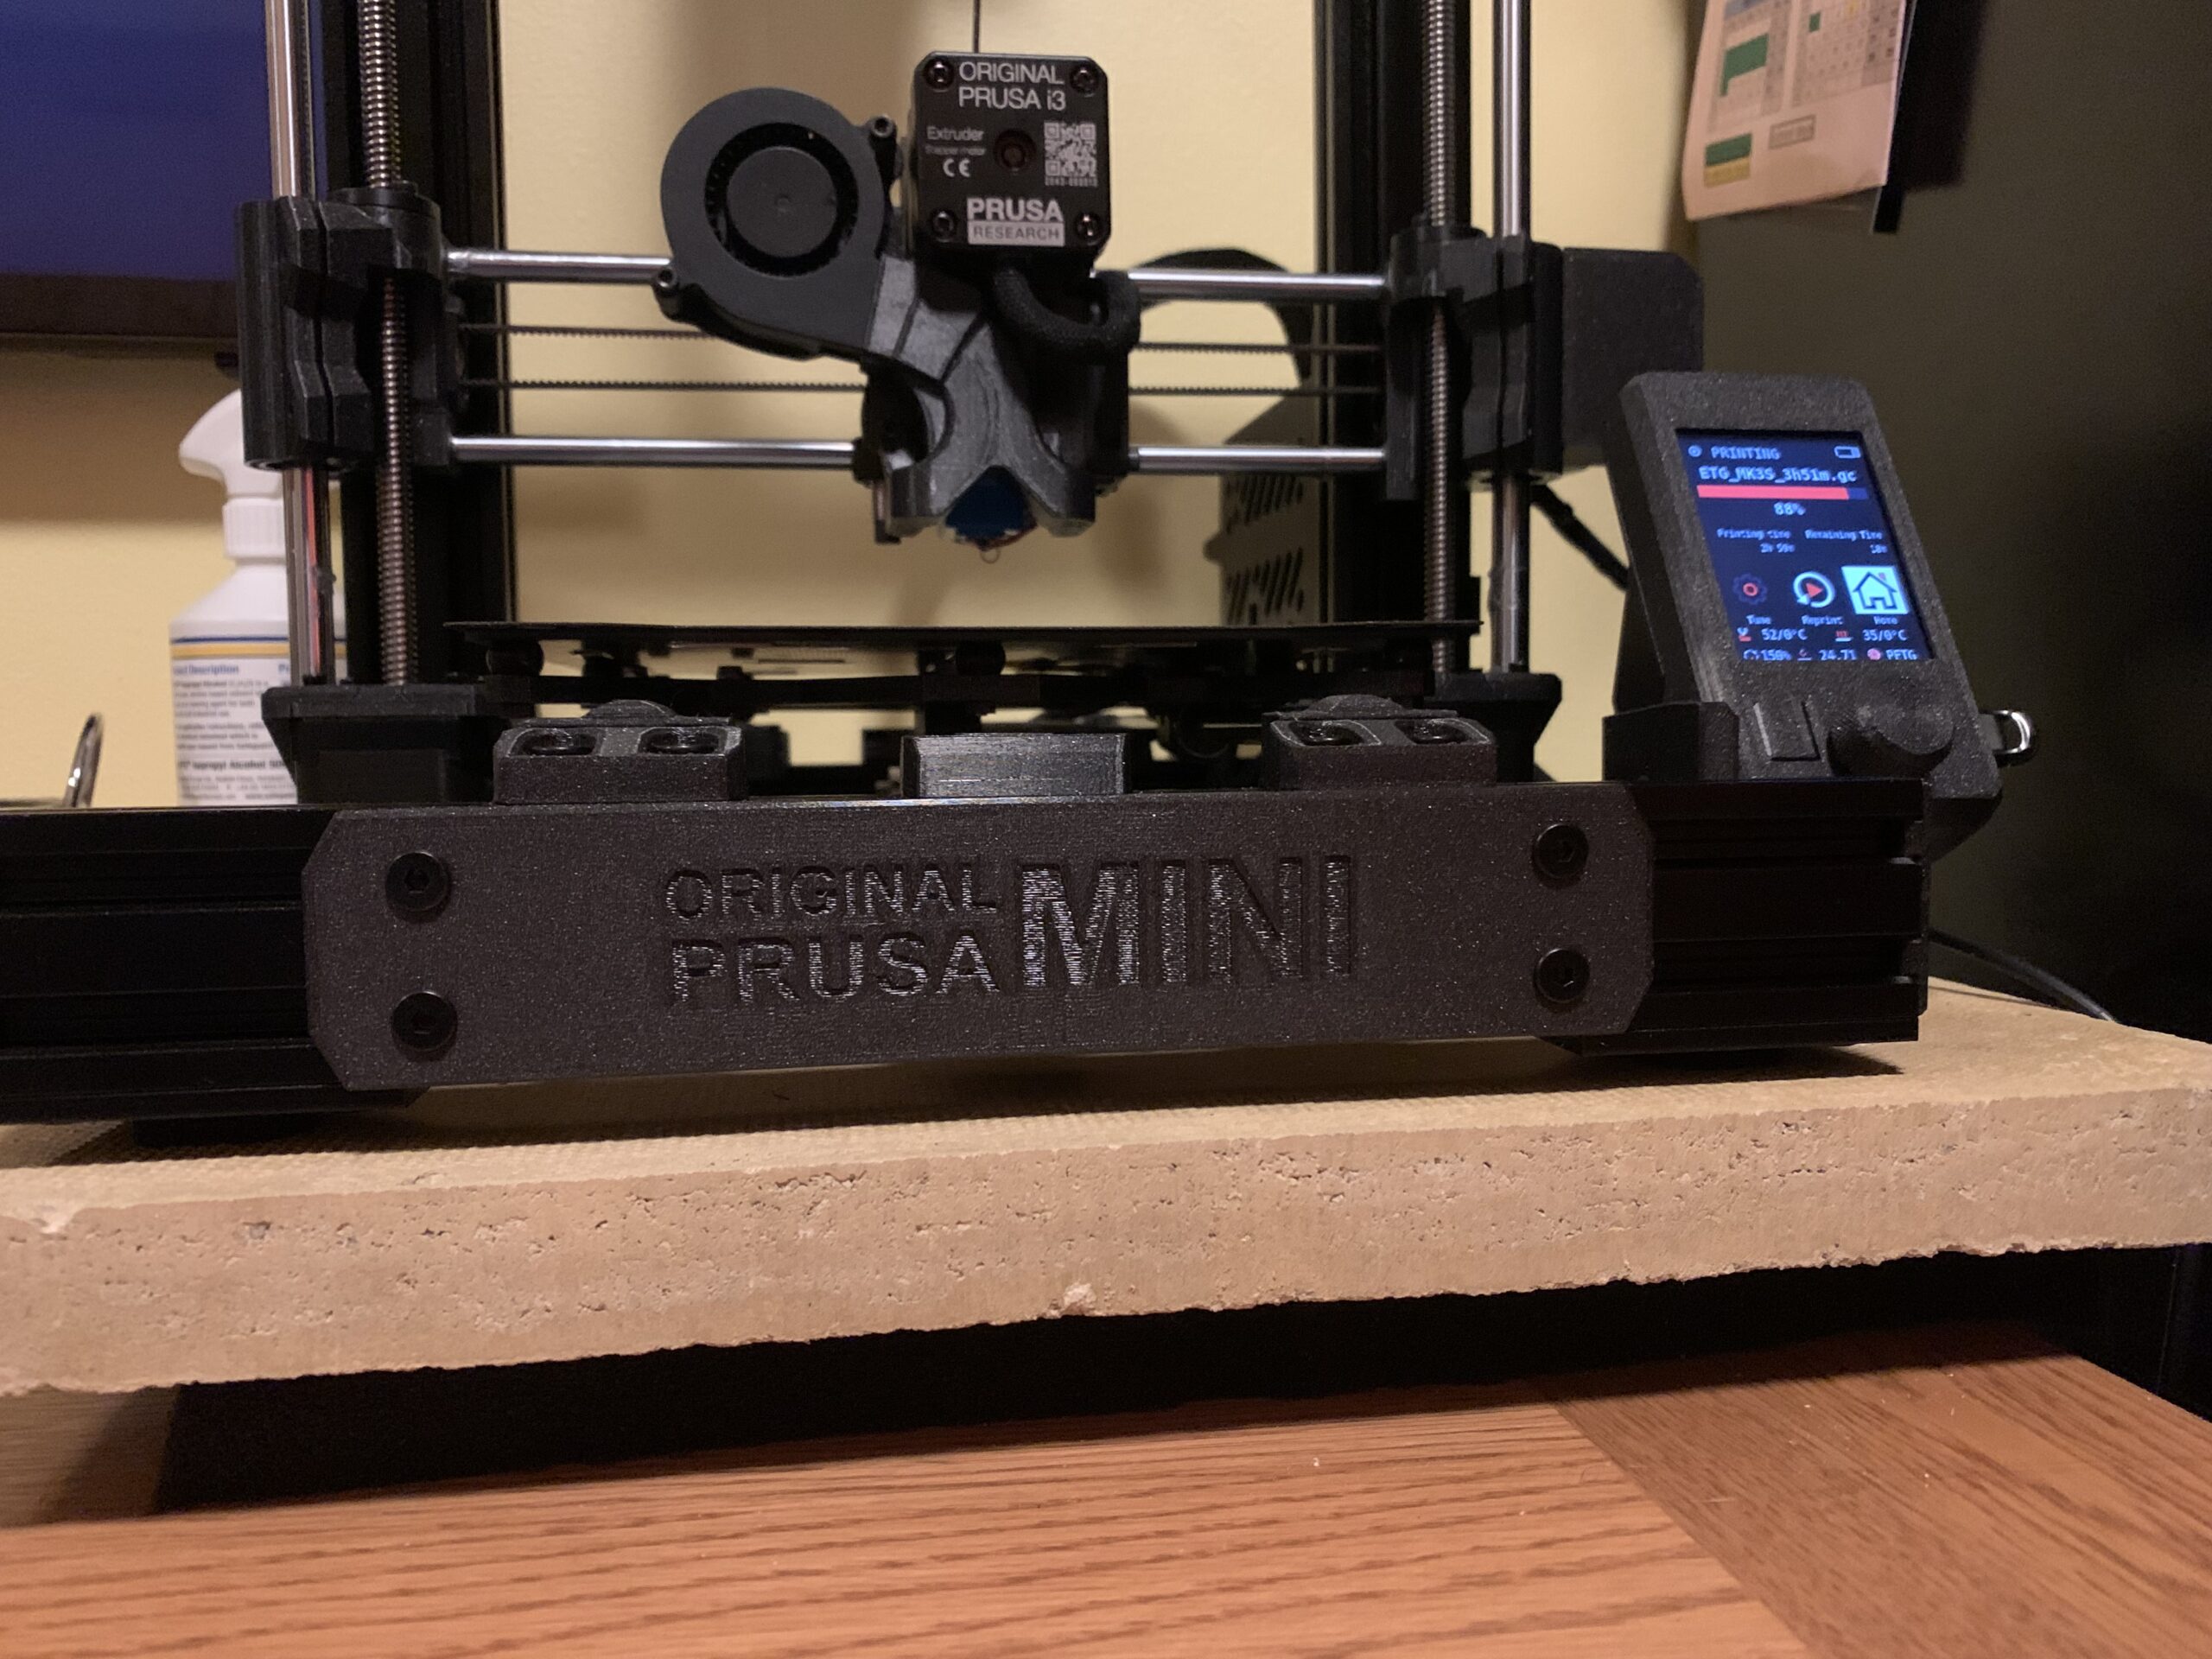
On my newly converted mini bear 😍
RE: Prusa Mini Silicone Bed Leveling Mod
Love that! Bear mod is on my list for this year.
RE: Prusa Mini Silicone Bed Leveling Mod
Thanks man
I love it 🙂
I was having a bit of issues with stringing but it was down to a clone v6 i got sold, swapped it for a dragon hotend and it's printing beautiful now 😋
RE: Prusa Mini Silicone Bed Leveling Mod
scrap that comment, it is still stringing like crazy...
RE: Prusa Mini Silicone Bed Leveling Mod
Hi,
My prusa mini had some pretty horrific corners and I was only ever able to print things with a small footprint, anything that went remotely close to the edges would fail. Turned out that one corner was very high and two others very low. No amount of adjustments and seemed to help. THIS MOD FIXED IT. After following the instructions, my heatbed went from 0.7 variance to 0.08, so thank you very much!
RE: Prusa Mini Silicone Bed Leveling Mod
Just finally did the mod on my mini. Looks good to me !
RE: Prusa Mini Silicone Bed Leveling Mod
Change the Z values from +-2mm to +-0.2mm. This way you will see deviations in a more detailed way.
wbr,
Karl
Statt zu klagen, dass wir nicht alles haben, was wir wollen, sollten wir lieber dankbar sein, dass wir nicht alles bekommen, was wir verdienen.
RE: Prusa Mini Silicone Bed Leveling Mod
Benji and Paul_GD! Thank you very much for this wonderful mod 🙂
I did get my bed from around 0,5 mm variance to ~0,07mm, and now I am getting nice first layers on big prints.
From my experience everything under 0,1mm is in a very good range - since we talk about a tenth of a milimeter
I did put quite some time in the pre-calibration process - and highly recommend this kind of preparation, I think I did check all the boxes except for the shim mod, in case I find out to be skewed - I would start from here again.
I did use the 8 M3x16 flat head countersunk Torx screws with a silicone tube 3mm ID 7mm OD.
If you scale the cutting jig for thin blades to 88% of its original size it fits perfectly for the 7mm OD and the amount the jig gets shorter was perfect for me.
With a jig only scaled to 88% in its length, the silicone spacers were too long - too annoying to compress.
This mod makes me very happy - big thank you to everyone who is contributing! 😀
RE: Prusa Mini Silicone Bed Leveling Mod
question- will this plugin for OctoPrint work for the Mini ? It seems to be built for the MK3s
https://github.com/scottrini/OctoPrint-PrusaLevelingGuide
RE:
I don't think that will work, they have different numbers of mesh points I think?
EDIT: It looks like they added support at some point? https://github.com/scottrini/OctoPrint-PrusaLevelingGuide/releases/tag/1.0.13
Proceed with caution!
RE: Prusa Mini Silicone Bed Leveling Mod
agreed. I see in the configuration the commands are different
I don't think that will work, they have different numbers of mesh points I think?
EDIT: It looks like they added support at some point? https://github.com/scottrini/OctoPrint-PrusaLevelingGuide/releases/tag/1.0.13
Proceed with caution!
RE: Prusa Mini Silicone Bed Leveling Mod
I couldn't get this plugin to work on my MINI. I'm using Bed Visualizer successfully though it requires copying/pasting the results from the Terminal tab into the website to get the correction values.
Here is my settings for collection with this plugin:
; Hotter Temps (PETG)
M104 S230 ; set extruder temp for bed leveling
M140 S85   ; set bed temp
M109 R230 ; wait for bed leveling temp
M190 S85   ; wait for bed temp

G28            ; home all without mesh bed level
@BEDLEVELVISUALIZER ; instruct plugin to start recording responses from printer.
G29           ; mesh bed leveling

G1 Z200   ; home Z axis
G28 X       ; home X axis
M18          ; Move Freely
MINI+ with FW:4.3.3, Bondtech IFS Extruder, drilled out PC4-M8 couplers, 1 piece Capricorn bowden.
RE: Prusa Mini Silicone Bed Leveling Mod
Hello all,
firstly I have to say thanks for such a brilliant idea!
I am having issues with leveling the bed to near perfect as center left side of the bed has a bump (looking at the visualization it seems like a bump between those two bolts). The Github page is telling me to tenstion the bolt further and further and when I do that it gets tiny bit better each time I turn the screw the required number of degrees, but I am at the point where the heatbed is bending (see video). Any thoughts?