Small feature shrinkage with Polymaker PC-max
I don't a lot of experience printing with PC, but generally got it to print without significant issues. Although I've typically not needed the dimensions to be very precise. However, I'm trying to print the part with the narrow tube for this item: https://makerworld.com/en/models/1719764-creality-spacepi-x4-ptfe-fitting-fix#profileId-1825334 and it comes out way too narrow and I can't get the filament through it (it's a filament guide). The part looks like this (top portion is threaded):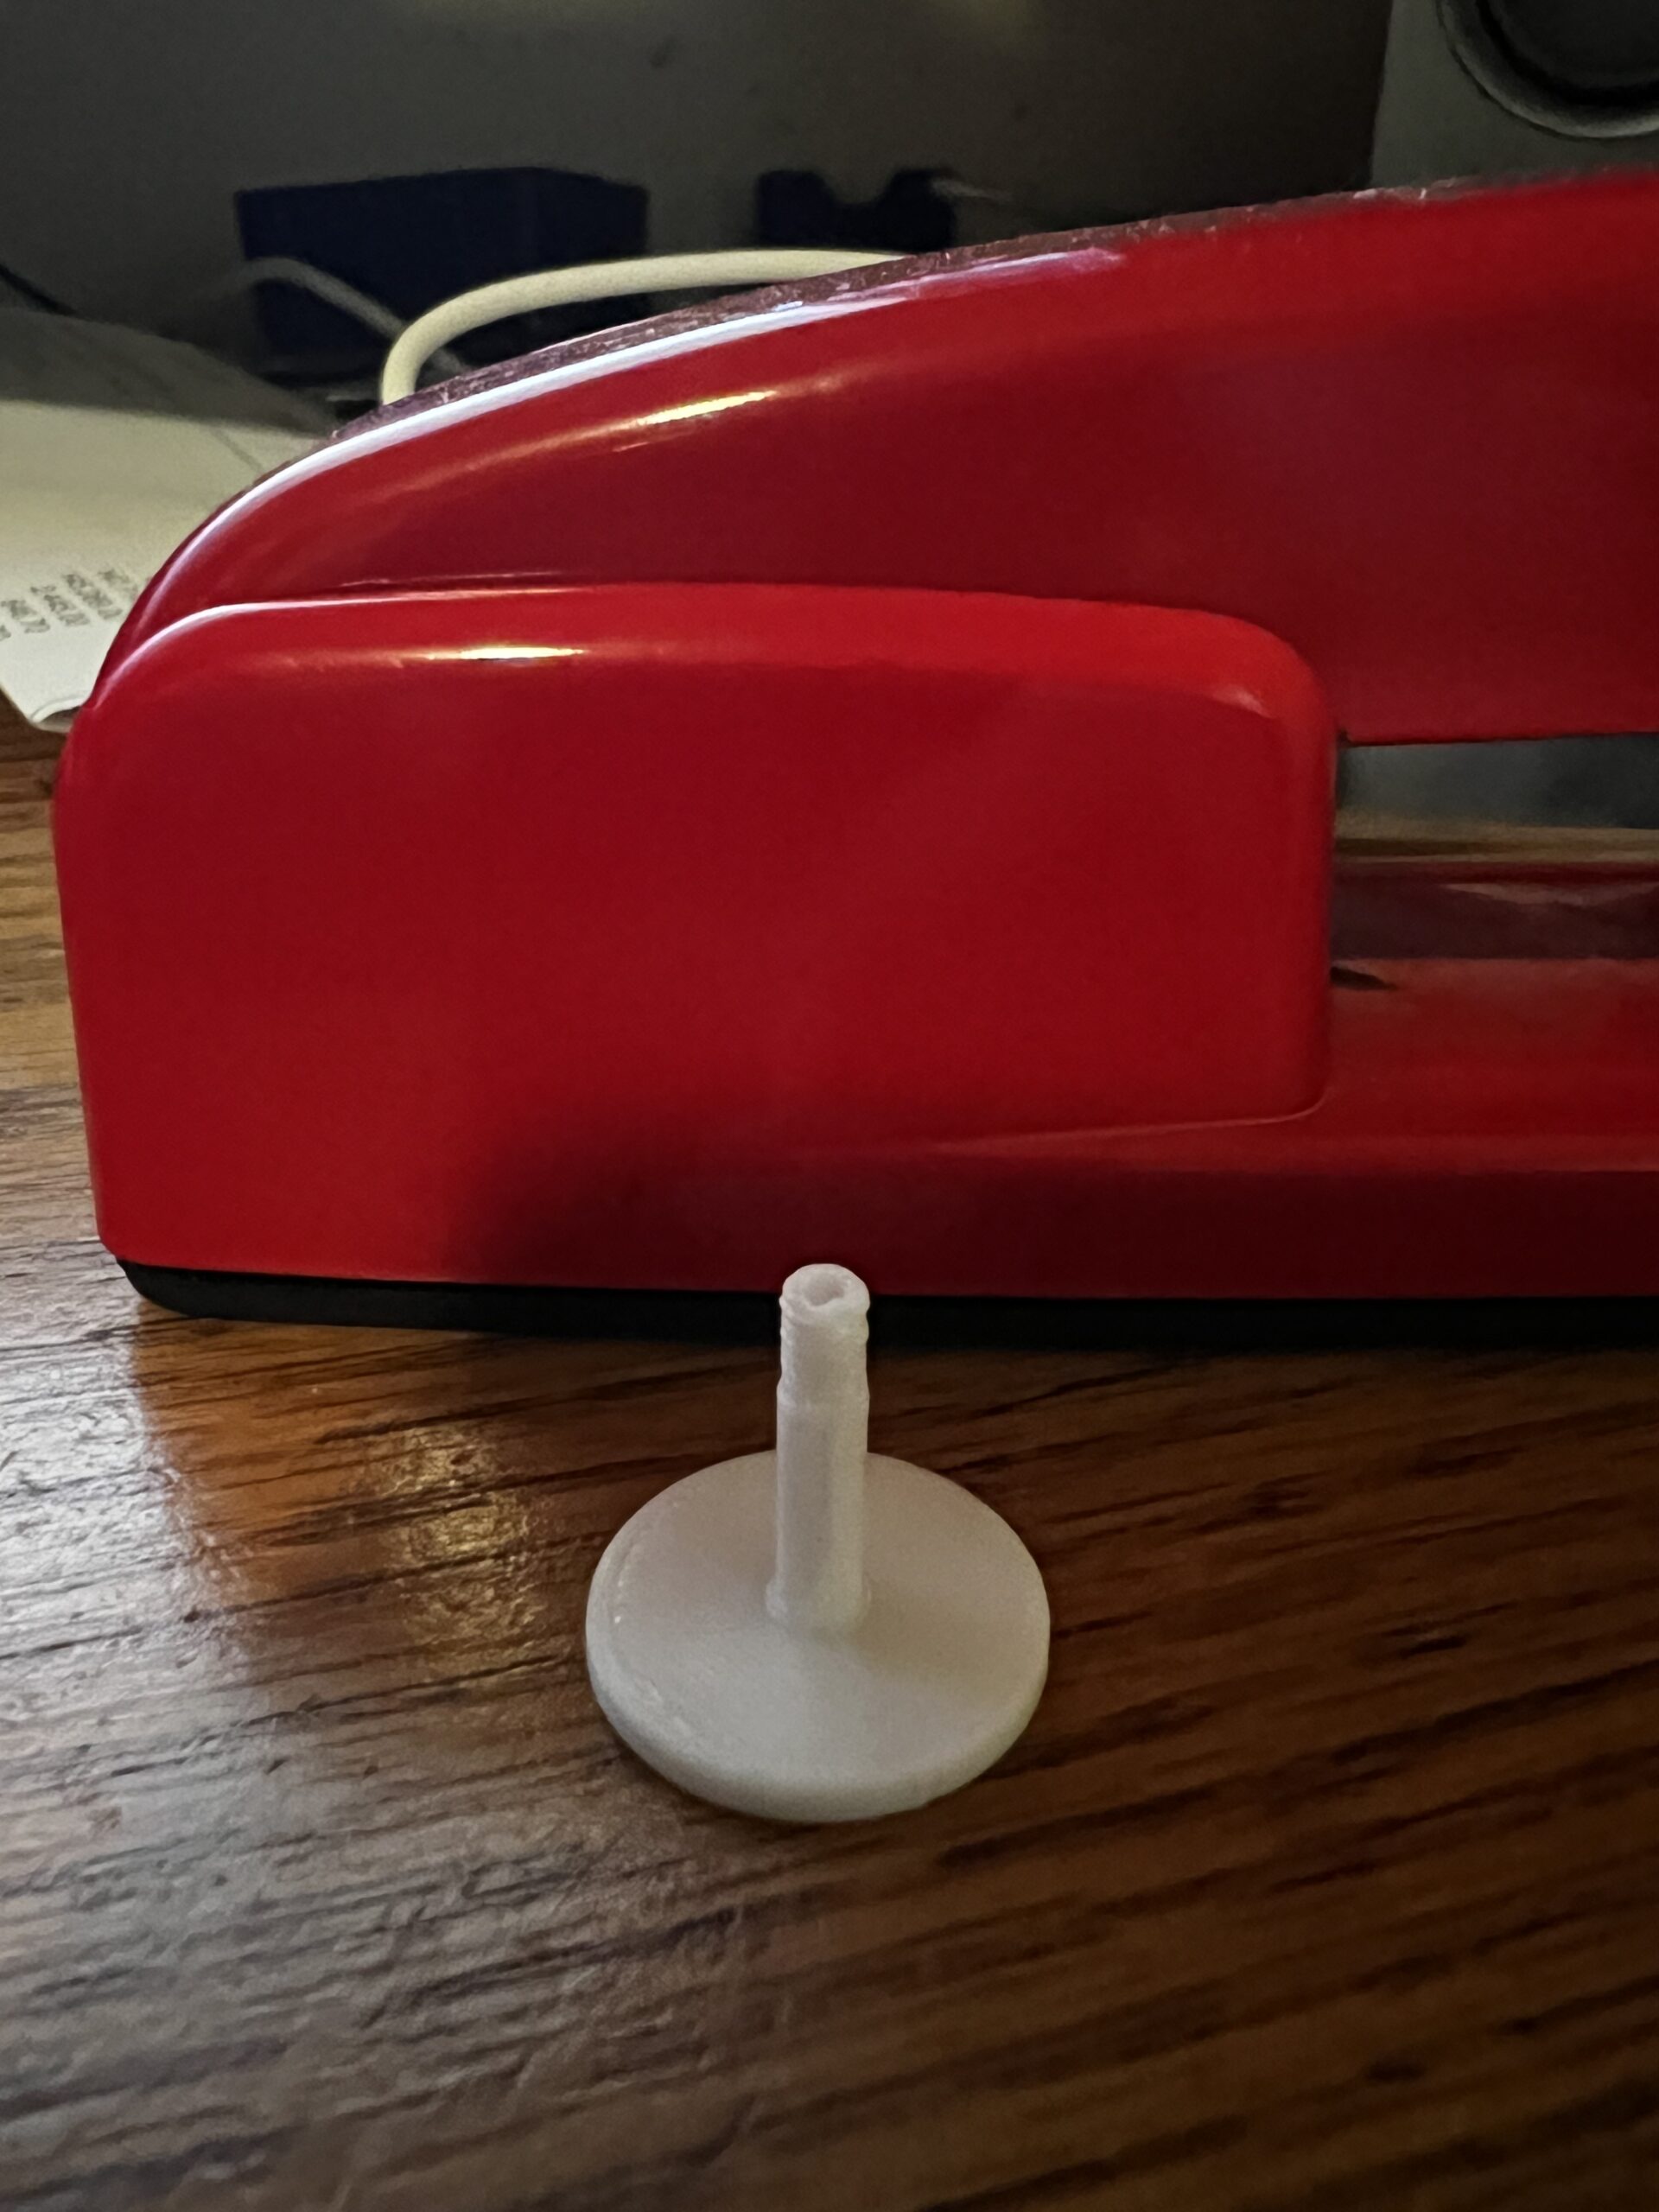
The default PC-max profile in Prusa slicer already has 0.18% shrinkage compensation. However, when I measure the outer diameter of the tube in the slicer, it measures around 3.9mm, but on the printed part is comes out 3.6mm. That's 7.5% shrinkage!!!
If I measure the diameter of the flat disk connected to the tube, it measures 20mm in the slicer and 19.81mm on printed part. That's ~0.95% shrinkage, which on top of the existing 0.18% compensation, makes for a total shrinkage of 1.18%. A bit on the high side, but not completely unexpected based on what I see online for PC shrinkage (0.5-0.8%). However, the tube shrinkage of 7.5% is clearly due to another root cause. Any advice on how to make the tube come out closer to original dimensions? Should I slow down the print speed? Change print temperature? Anything else?
Thanks
RE: Small feature shrinkage with Polymaker PC-max
PC filaments generally have around .5-.7% shrinkage. Also, this is the wrong type of object for measuring XY shrinkage, to get a more accurate measurement try something large like a flat 100x100x5mm cube. I measure shrinkage using Califlower Calibration Tool Mk2
What you're seeing on the tube probably isn't material shrinkage, at that diameter the layers may simply not be cooling fast enough between passes. When the printer laps back around before the previous layer has set, the walls distort inward. The smaller the perimeter, the worse it gets.
One thing to try: add a second sacrificial object next to it to give each layer more time to cool before it moves on to the next one.
RE: Small feature shrinkage with Polymaker PC-max
Thanks. I actually figured out that the issue was due to the Arachne perimeter generator. It seems that Arachne doesn't do well with small holes and features. I re-printed using the "Classic" setting and the tube diameter came out at 3.87mm (0.7% shrinkage of 3.9mm original dimension), which is a huge improvement of the 7.5% shrinkage Arachne was giving me. So the lesson seems to be "don't use Arachne if you care about precise dimensions of small features."
Having said this, I still can't get the thread at the top of the tube to print correctly. It comes out blobby and pinches off the opening at the top. However, that's a separate issue.
RE: Small feature shrinkage with Polymaker PC-max
If you are printing a thread at the end of a part, use a variable layer height in the slicer and set the layer height at the thread location to the lowest possible.
RE: Small feature shrinkage with Polymaker PC-max
So the lesson seems to be "don't use Arachne if you care about precise dimensions of small features."
That really depends on the type of material but generally I agree that arachne can cause issues when you don't care about detail or thin walls.
RE: Small feature shrinkage with Polymaker PC-max
If you are printing a thread at the end of a part, use a variable layer height in the slicer and set the layer height at the thread location to the lowest possible.
Thanks. I was already using 0.08mm layer height to print this part, so can’t really go any lower.
RE:
Try adding the following custom g-code at the layer where the threads start. Otherwise just add a wide cylinder next to the object to slow down layer transition
M220 S50   ; set print speed override to 50%
M106 S51   ; set fan to 20% (51/255)
RE: Small feature shrinkage with Polymaker PC-max
Try adding the following custom g-code at the layer where the threads start. Otherwise just add a wide cylinder next to the object to slow down layer transition
M220 S50   ; set print speed override to 50%
M106 S51   ; set fan to 20% (51/255)
Thanks a lot. I'll give it try later on this week.