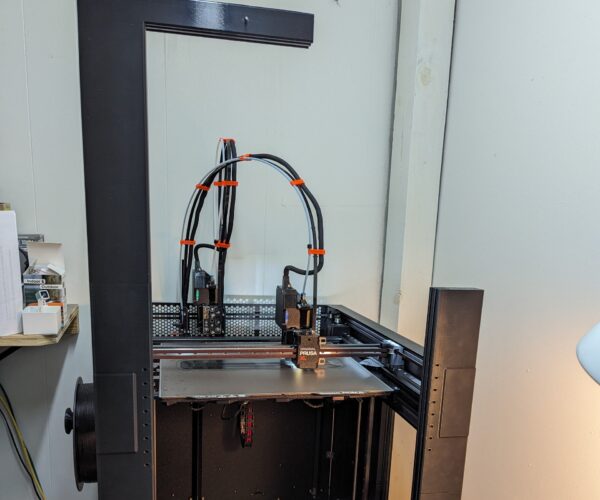
RE: Ideas to make enclosure for XL Multi Tool
Definitely not rushing you. Just acknowledging the quality fo your work.
--------------------
Chuck H
3D Printer Review Blog
RE: Ideas to make enclosure for XL Multi Tool
Thank you much!
RE: Ideas to make enclosure for XL Multi Tool
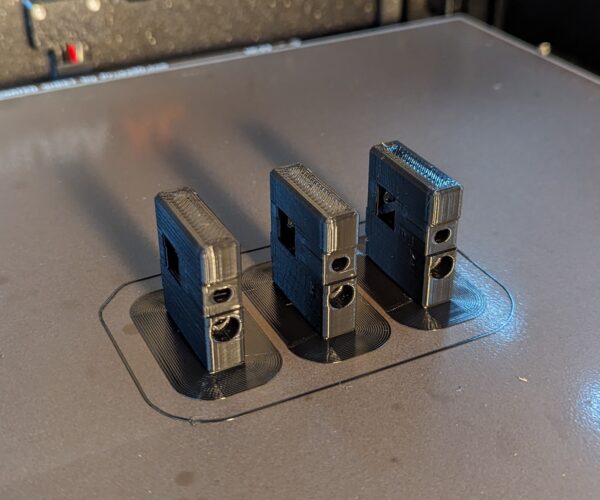
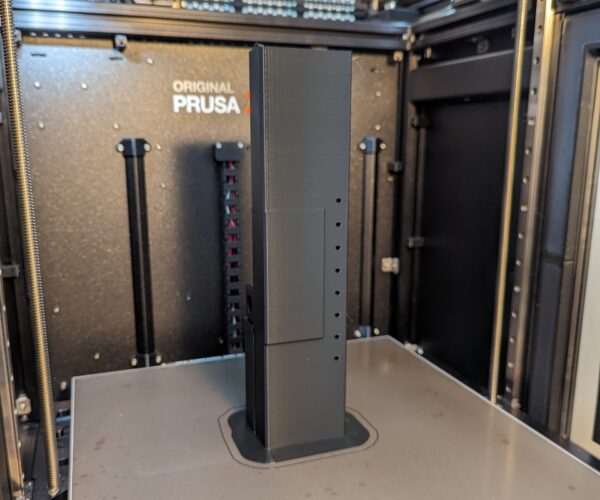
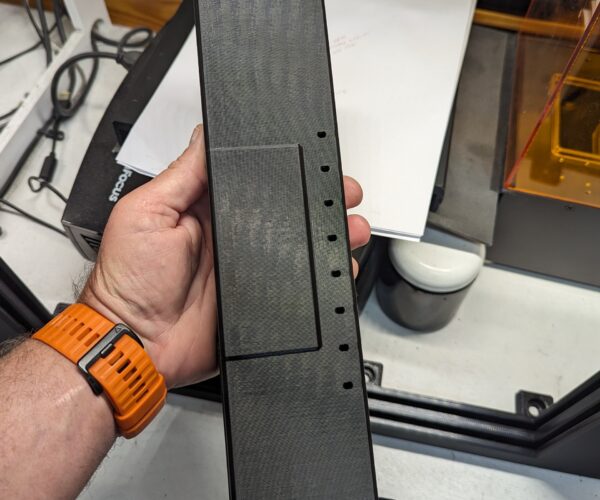
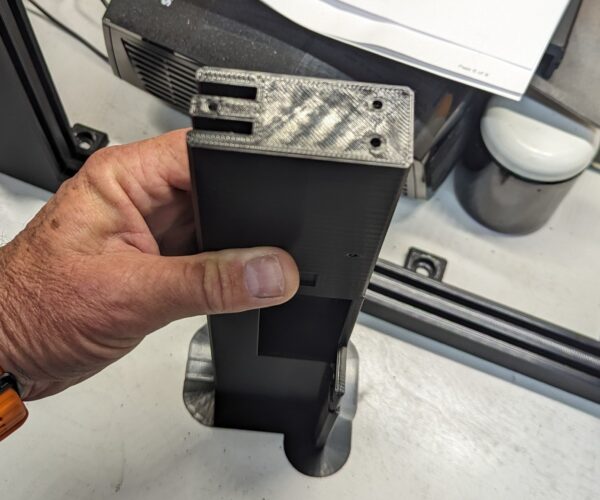
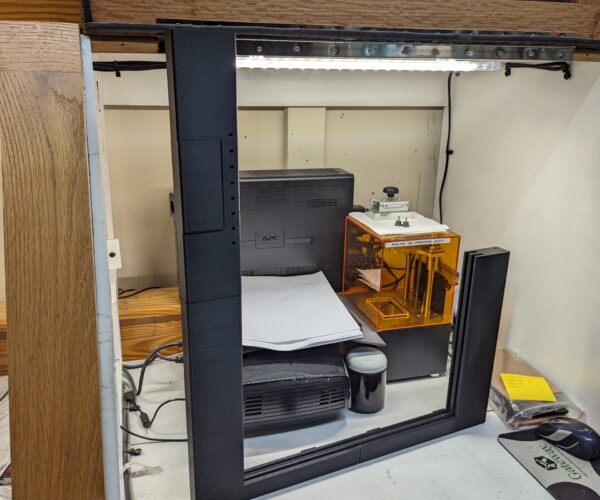
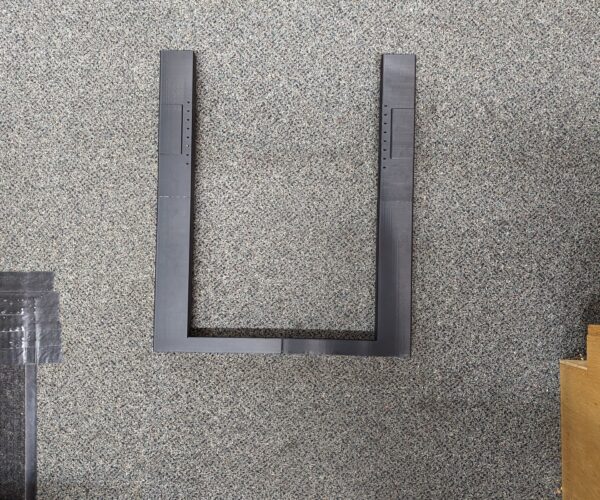
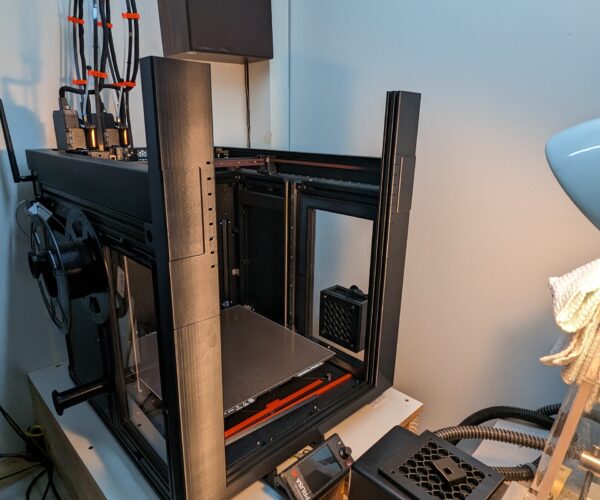
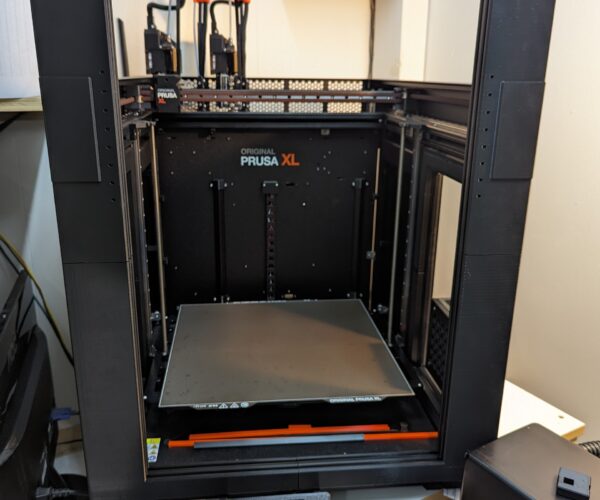
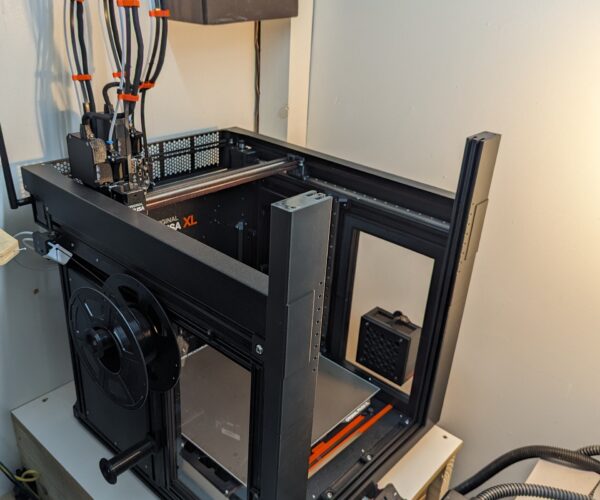
Finally was able to print another section of the front for the enclosure. There are 6 pieces for the front. Each are 310mm high. All are printed upright so the print pattern matches. As a note each section for the front takes 12-13 hours, so that's a lot of print time.
Here are some pics.
RE: Ideas to make enclosure for XL Multi Tool
Impressive work. But your framing pieces seem over-engineered. Their width will limit the view inside the cabinet.
Double grooves; are you planning on installing two sheets of acrylic?
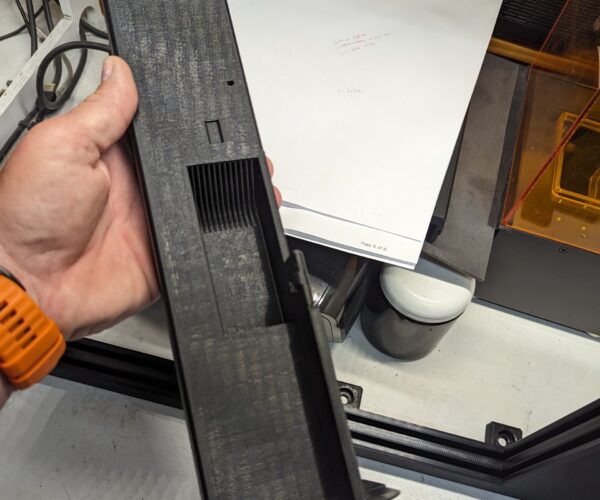
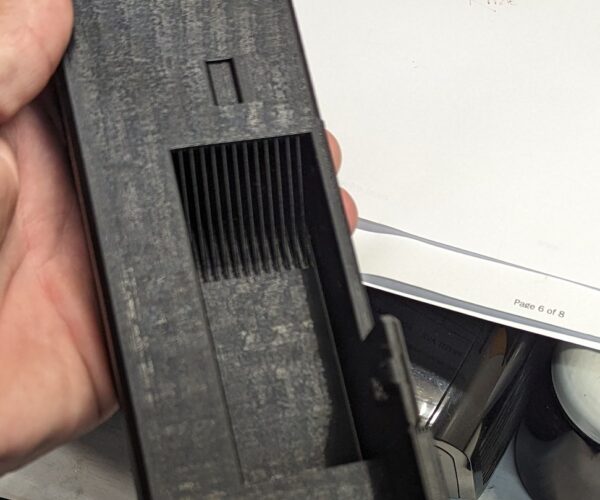
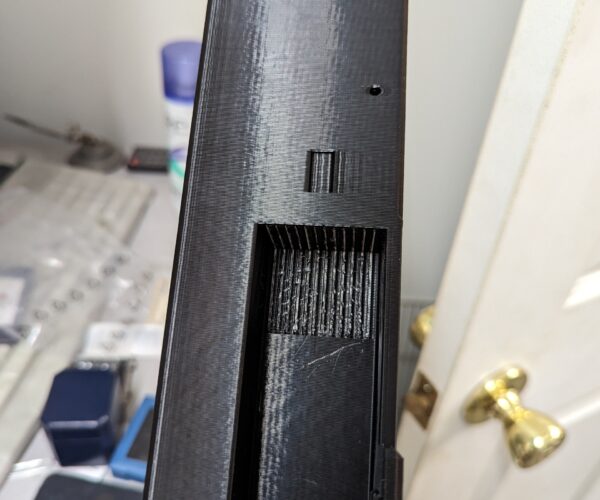
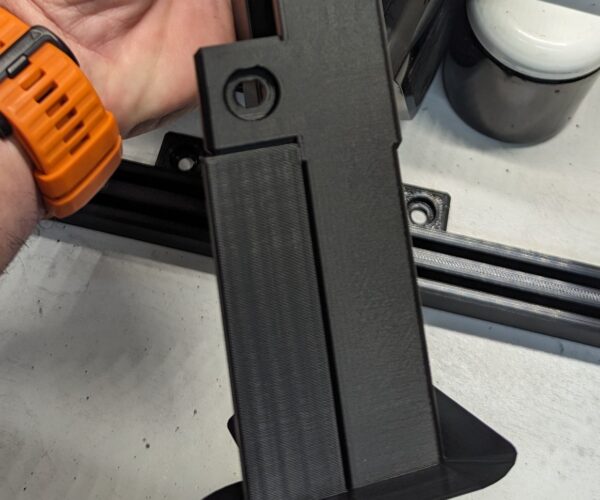
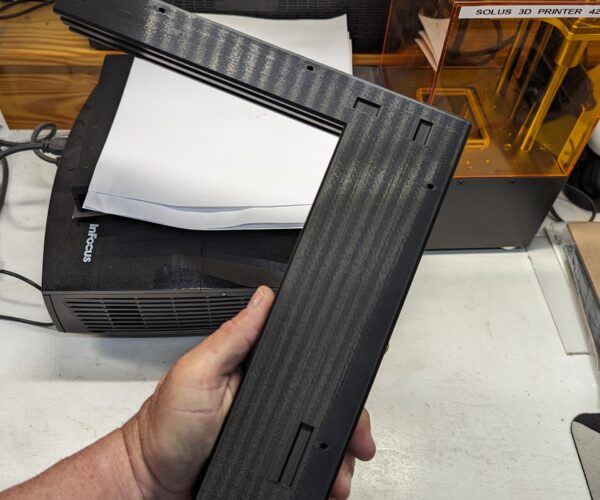
Is that a 'designed-in' printing support shown in your third picture? Clever. I may borrow that idea in the future.
RE: Ideas to make enclosure for XL Multi Tool
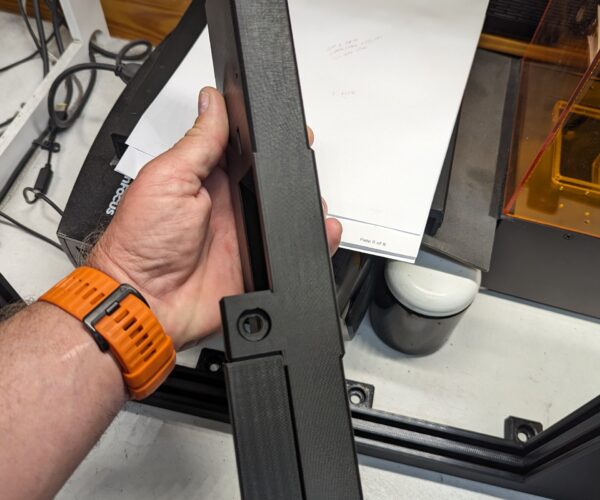
The width of the sides is needed to slide the middle section over the upper arm and include the slides for the acrylic panels. I am putting two vertical sliding panels in the front instead of doors that open so I designed the channels in the frame. You wil still have 15"x 30" of acrylic for viewing Access with no cross member in the front. Both panels will be able to slide up and down.
Since there is no cross beam in the front the width of the rails will add to the structural support.
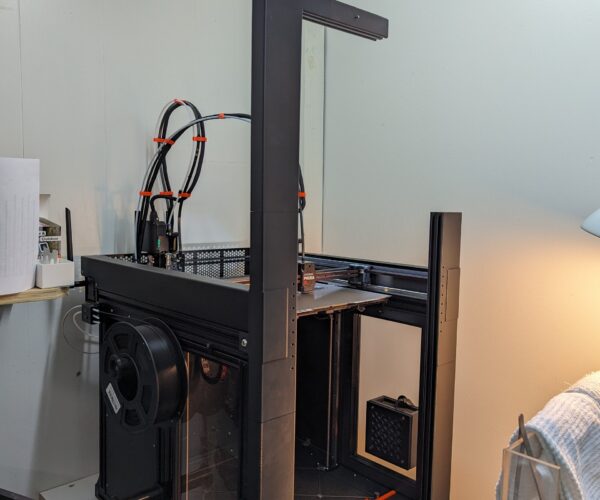
You can see all the parts except for the back in the mock up below. The upper section/hat of the enclosure will lift off in one piece for maintainance, the side panels come out and the front sliding acrylic will slide out after the top is lifted off. Even with the top/hat on the upper front acrylic panels will be able to drop down even with the lower panel and vise versa.
RE: Ideas to make enclosure for XL Multi Tool
I do all my designs and supports in Rhino. I just find it easier.
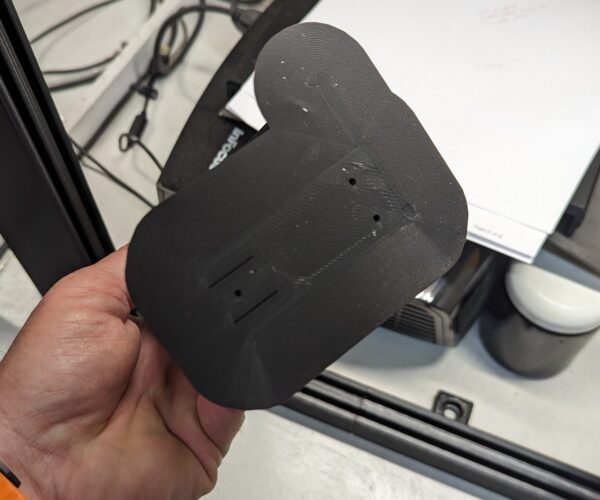
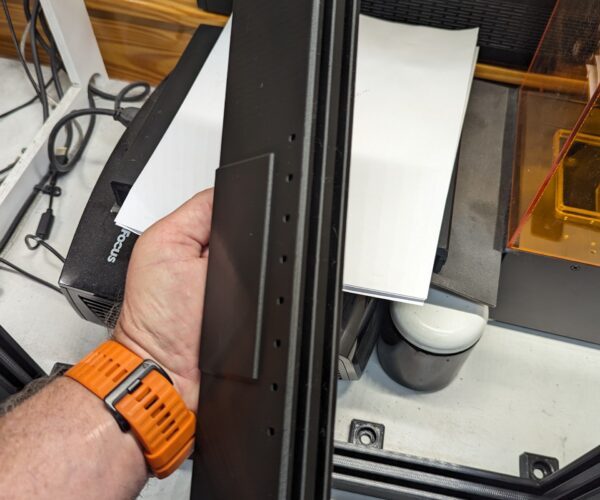
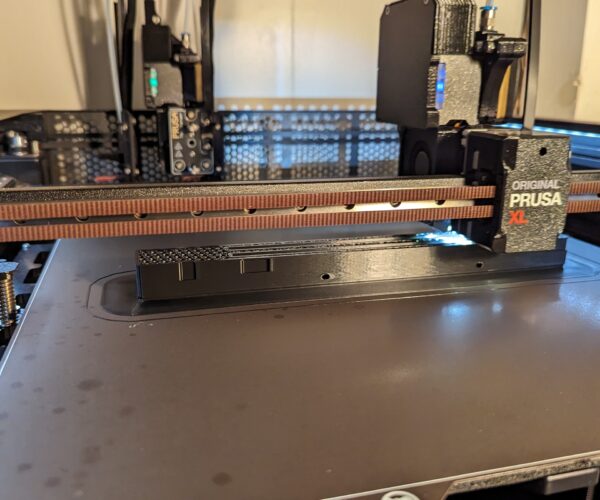
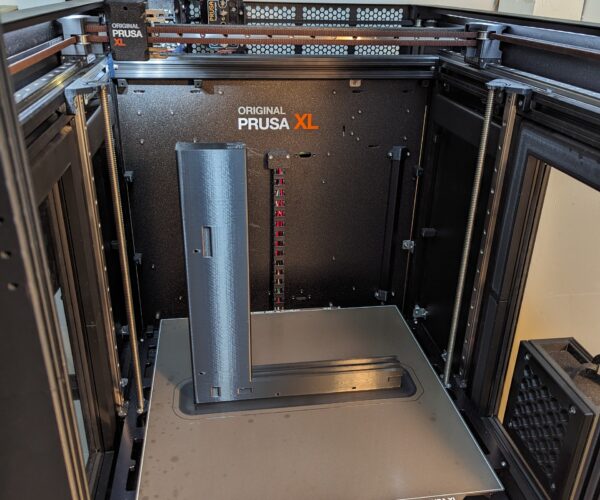
I use like to use supports that don't go down to the build plate if possible. In these pics of the middle section I used 1 mm angled supports to bridge the upper part of the opening that slide over the upper arm. They just snap off flush with the surface. Since these surfaces are not seen I am not worried about aesthetics just the fit of the opening.
In the photo below I just built a narrow tower. To support the overhanging mounting point. This little tower does not touch the upright frame. It is close 2/10 of a mm but does not touch. The only contact is under the overhanging mounting point. And then very minimal contact.
RE: Ideas to make enclosure for XL Multi Tool
Ah, like a double-hung window.
RE: Ideas to make enclosure for XL Multi Tool
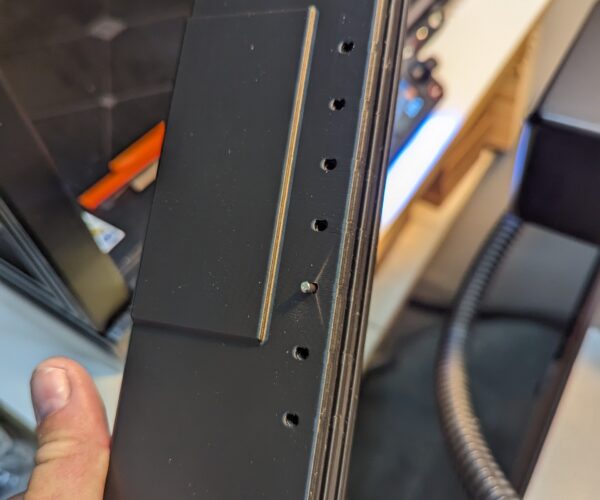
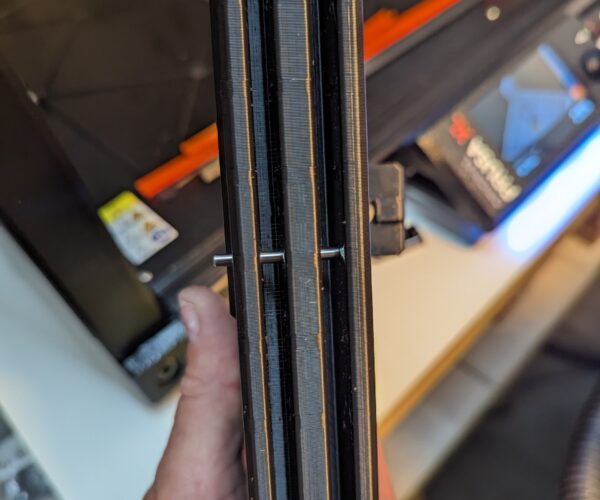
For the sliding panels I have allowed 130mm of travel in the middle for the upper and lower panel. Mainly for venting if needed. If you take out the pin on each side you can lower the upper panel all the way down or lift the lower panel and the way up. I left enough room in the channel for printed friction pieces that fit on the acrylic. That way the panels won't move without a little assistance.
You can see a temporary pin in place and the channels.
RE:
That's right! I don't like swinging doors if possible. Plus I am a little tight for space. The front of XL is pretty close to my CNC.
RE:
Alright the enclosure is really coming together. The most critical 4 parts are installed! Everything worked really well. The only little glitch was that I made the holes for the 8mm screws exactly the right size. Why is this a issue? With such tight tolerances if you are off 1 or 2 mms you have to open the hole up a little. That is ok on this prototype enclosure but when I do the final parts I will make the holes slotted for a little more forgiveness. I will tell you this enclosure really stiffens the entire frame work. I made sure not to over tighten the contact points. A little side note. The front lower t slot bar was not exactly square, it was very close but off 1-2 mm off of square. Another reason for making the anchor point holes slotted instead of round.
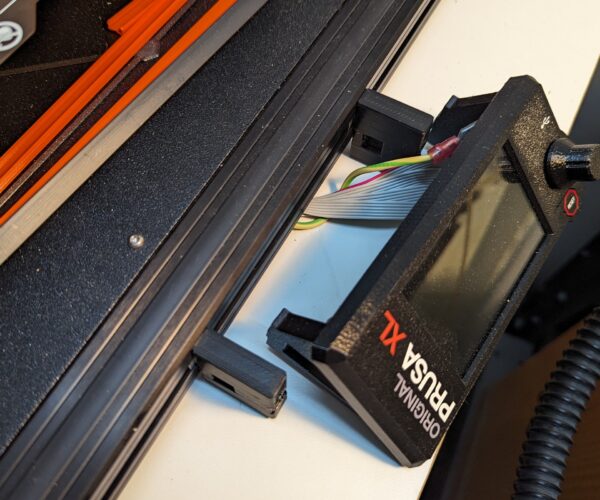
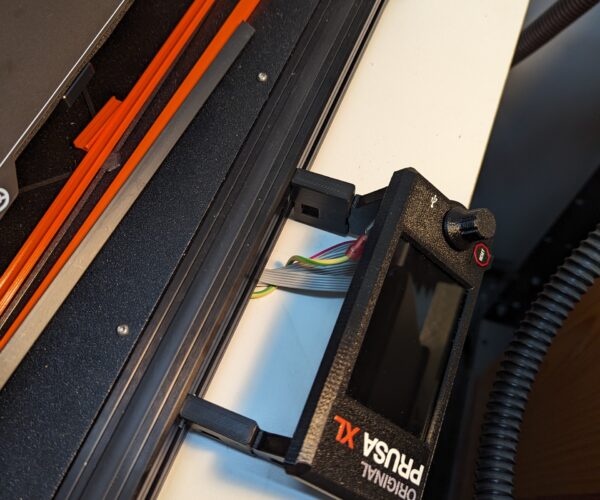
I also moved the the LCD out 30mm, down 10mm and to the left approximately 25mm. I had to move it out to keep the bottom of the enclosure flat. There is plenty of cable and ground wire length to move the display this small amount. It was easy to do by printing the extensions which are located above in this thread.
Here are a few pics of the new Display location.
Below are pics of the two lower side panels and the lower 4 parts of the front installed. You can see the fit is very good.
The upper half of the enclosure will sit in top of the front two upright supports via pins and rest on the upper printer arm covers.
That's a wrap for this week!! Enjoy
RE: Ideas to make enclosure for XL Multi Tool
Good Job
RE: Ideas to make enclosure for XL Multi Tool
Good Job
Thank you. I come from Printing everything on DLP printers where you can get extremely great detail. FDM printing is a new animal to me. Everything is pretty much the same except for the super fine detail. I will use this printer for utility purposes in my shop.
I am anxious to try the smaller nozzles I ordered from Prusa. I have printed some ASA with decent results but I know with the tighter tolerances of the smaller diameter nozzles the parts will come out much better. For the enclosure project .60 is adequate.
The biggest jump was going from CNC to 3d printing. You have to change your entire mindset. If I can build it on Rhino I can 3d print it, not so much with CNC.
You have to have a Vision!
RE:
I thought I would take a few minutes to give you a filament usage list by part.
This is the prototype list and PLA usage amounts.
Left side lower panel bottom....................................................190 grams
Left side lower panel top...........................................................190 grams
Right side lower panel bottom..................................................190 grams
Right side lower panel top.........................................................190 grams
Panel locking tabs per 8 pieces.................................................. 4 grams
Front bottom right......................................................................454 grams
Front bottom left.........................................................................454 grams
Front middle right......................................................................380 grams
Front middle left.........................................................................380 grams
Front top right.............................................................................496 grams
Front top left................................................................................496 grams
Filter housing................................................................................233 grams
Filter housing door........................................................................ 42 grams
Filter housing inside....................................................................... 82 grams
LCD extensions.................................................................................27 grams
Current total PLA filament total.......................................................3808 grams
RE: Ideas to make enclosure for XL Multi Tool
The biggest jump was going from CNC to 3d printing. You have to change your entire mindset. If I can build it on Rhino I can 3d print it, not so much with CNC.
You have to have a Vision!
For me the other way round. From 3D printing to CNC. I also printed on 0.2 nozzle and 0.05mm layer height. It works great. So no fear!
But ASA without enclosure.....
RE:
Nice! I have the .40 and .30 nozzles to try. The main reason for the enclosure is for those filaments I plan to print. I am hoping to print the final new enclosure in this proto type enclosure. We will see how it holds up. All the acrylic panels except for the front have T2020 frames that come out. I am hoping that these panels will act as a heatsink for the PLA while printing the ASA enclosure. This has been a fun yet time consuming project.
RE:
Meant to mention, I started printing the upper 2 sections of the front. The print time is a little longer as these are a little more intricate than the other parts. They have more holes and locking keys for mounting the top/hat too. They will take a little over 15 hours each to print.
RE: Ideas to make enclosure for XL Multi Tool
Looking forward to input shaper on the xl
RE:
A little printing video.
RE:
Here are a few pics of last nights print. This is the upper left front corner part. In the picks you can see the alignment pockets that will aid in aligning the top section of enclosure for assembly. You can also see the mounting holes for mounting the back/top of the enclosure.
The front upper left and right parts just slide down on the lower fixed front parts for easy removal of the top part and the front acrylic panels of the enclosure.
I am currently printing the upper right corner part which will be the last piece of the front!! Then on to the back frames that will hold the T2020 with acrylic panels.
