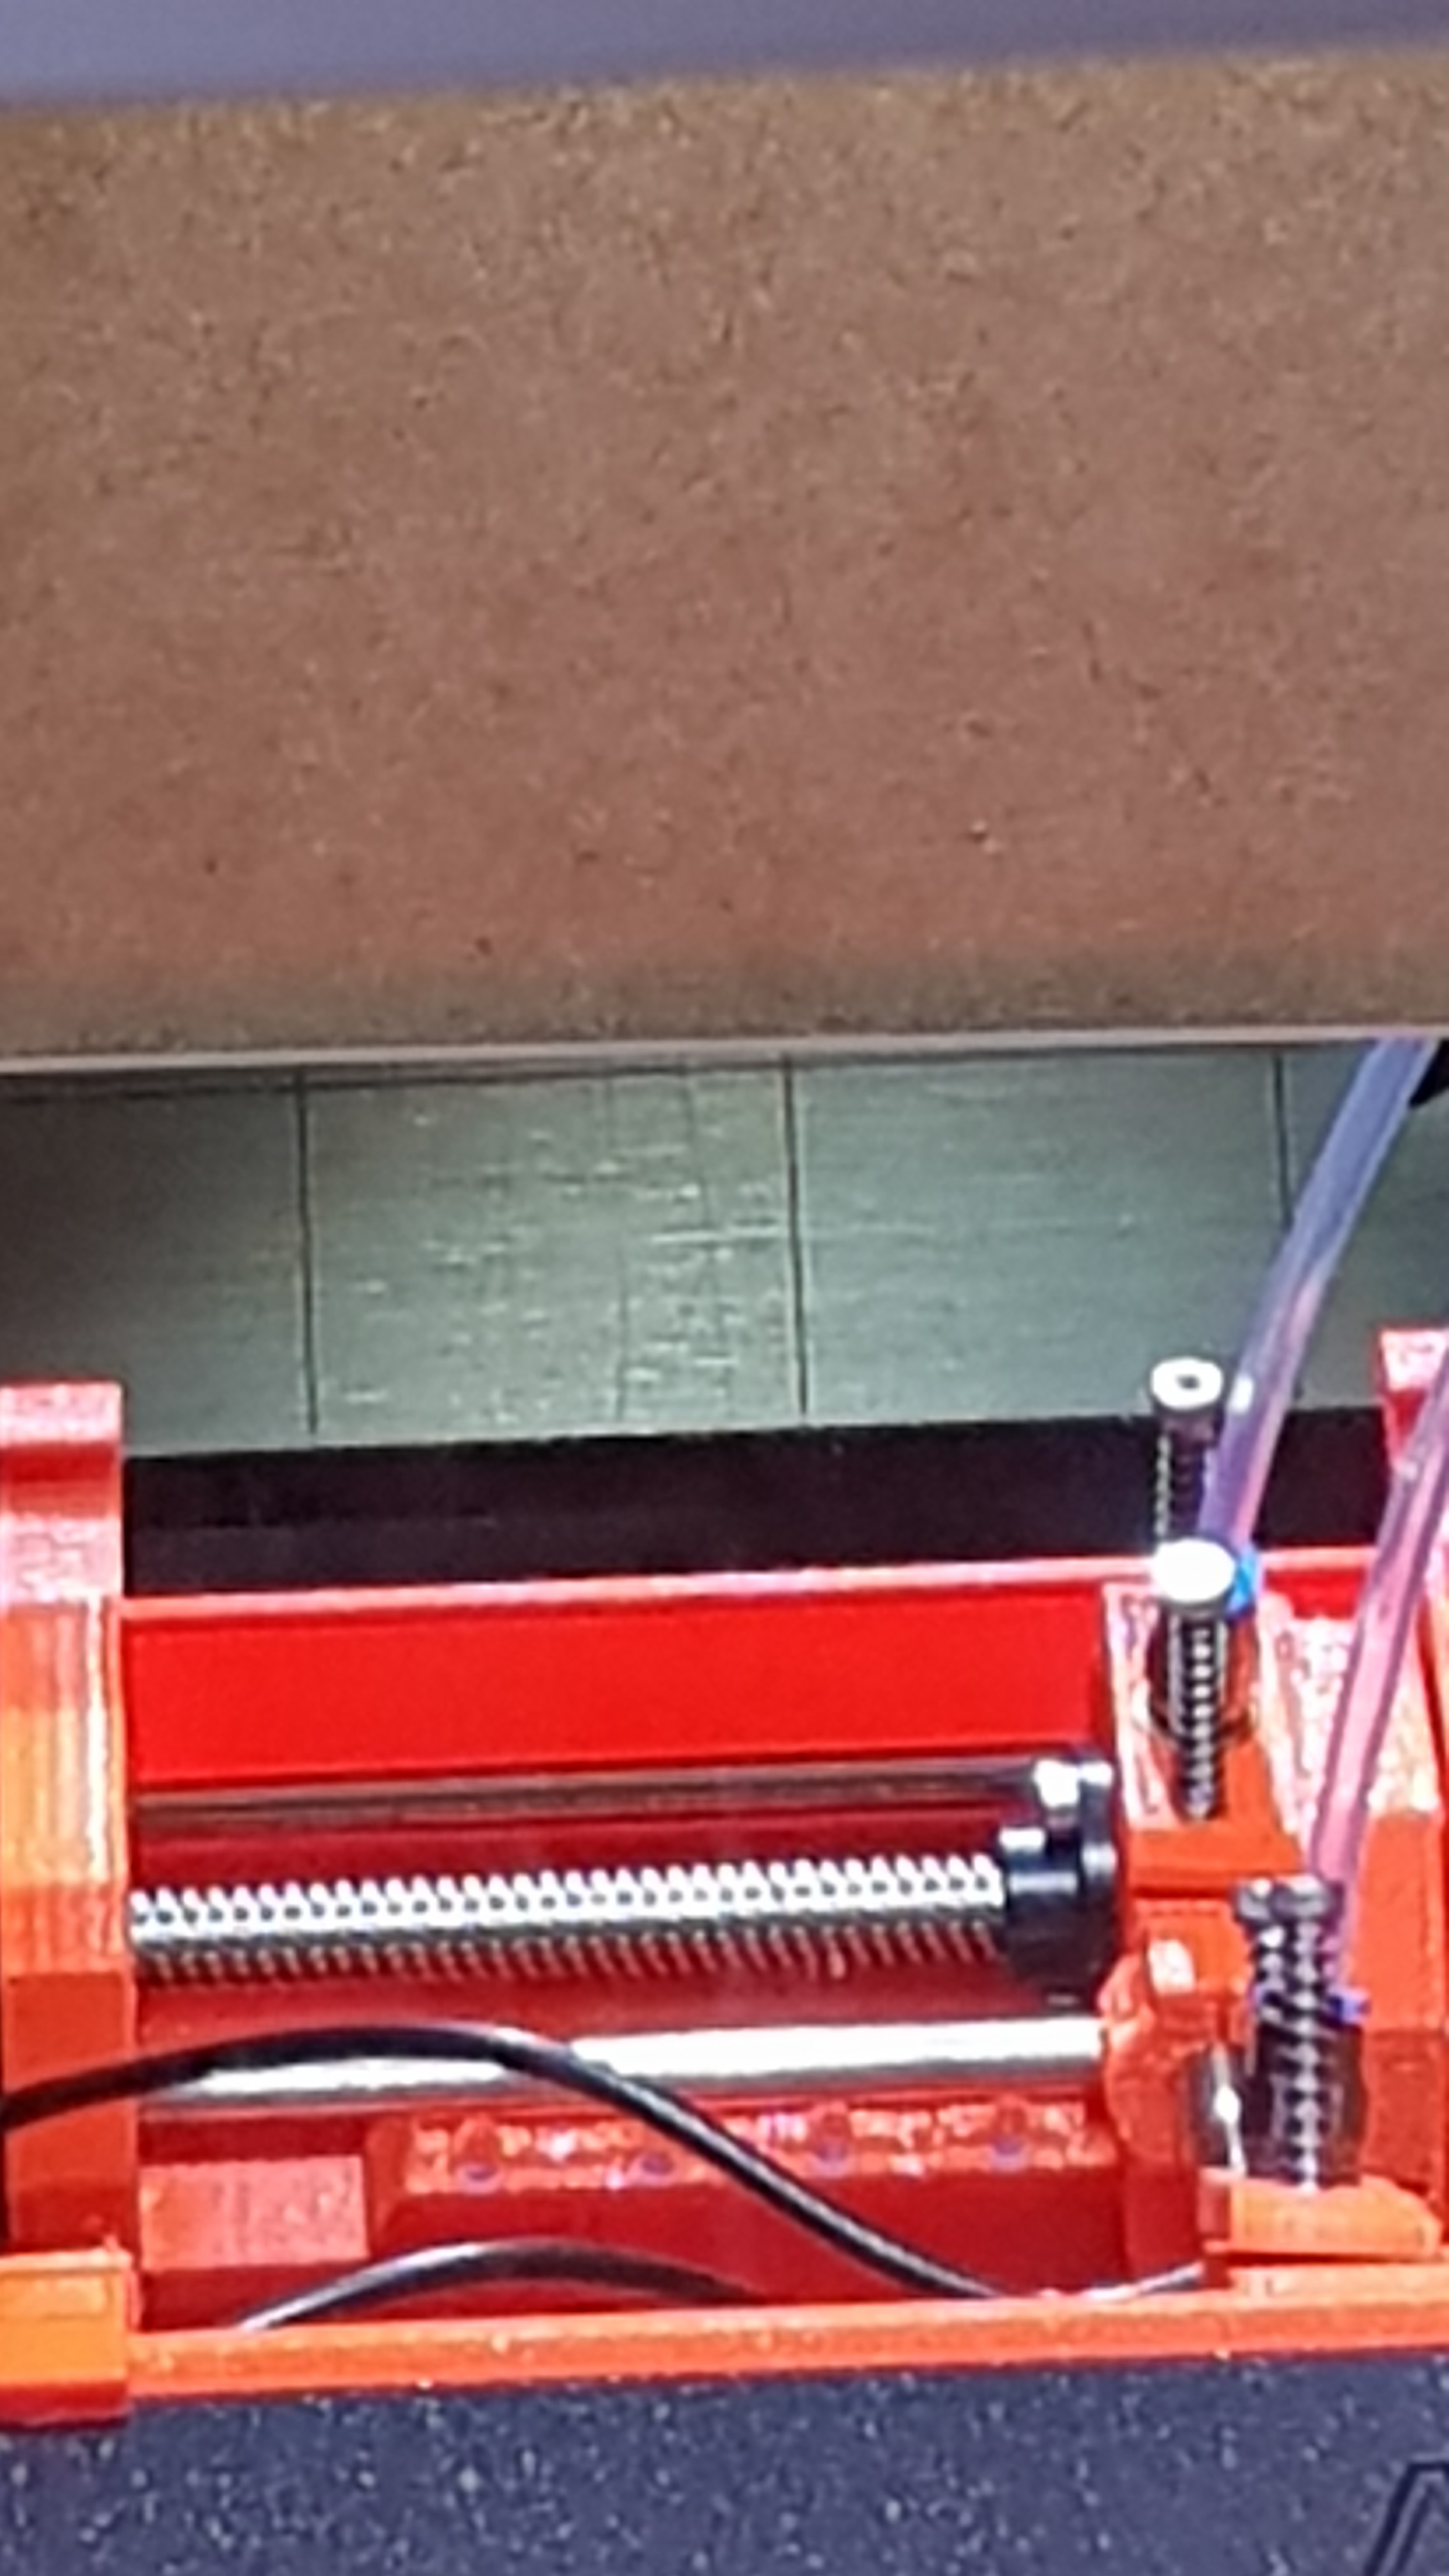
Re: solution for IKEA Lack tables & MK3 & MMU
And for access at MMU2 switchs ?
And to see leds red/green ?
Re: solution for IKEA Lack tables & MK3 & MMU
my way 😀
Re: solution for IKEA Lack tables & MK3 & MMU
Is there enough clearance for the ptfe tube when near max z-height? I’m struggling getting enough clearance in my enclosure design.
Re: solution for IKEA Lack tables & MK3 & MMU
my way 😀
Hi Tom,
I haven't done the enclosure because I was waiting for the MMU part but as I see you have "upgraded" your enclosure by extending the lenght of the table stand and review the height of the Plexi?
I saw also you dissambled the commande led unit.
hope to see a clear tuto about this in the next weeks 🙂
Re: solution for IKEA Lack tables & MK3 & MMU
Tom, what did you use to raise your table up?
Re: solution for IKEA Lack tables & MK3 & MMU
Hi here is my solution.
Re: solution for IKEA Lack tables & MK3 & MMU
Hi here is my solution.
Peter, your "MyMiniFactory" link is not working; best to just paste the link directly 😉
Peter
Please note: I do not have any affiliation with Prusa Research. Any advices given are offered in good faith. It is your responsibility to ensure that by following my advice you do not suffer or cause injury, damage…
Re: solution for IKEA Lack tables & MK3 & MMU
Hi here is my solution.
Peter, your "MyMiniFactory" link is not working; best to just paste the link directly 😉
Peter
Repaired. Thanks.
Re: solution for IKEA Lack tables & MK3 & MMU
I just cut a hole at the top. Easy access to the MMU2 😉 and I had/have to access it a lot.
Often linked posts:
Going small with MMU2
Real Multi Material
My prints on Instagram
Re: solution for IKEA Lack tables & MK3 & MMU
my way 😀
Tom,
this looks really great. Can you please share the supports for the tube?
Thank you,
Christian
Re: solution for IKEA Lack tables & MK3 & MMU
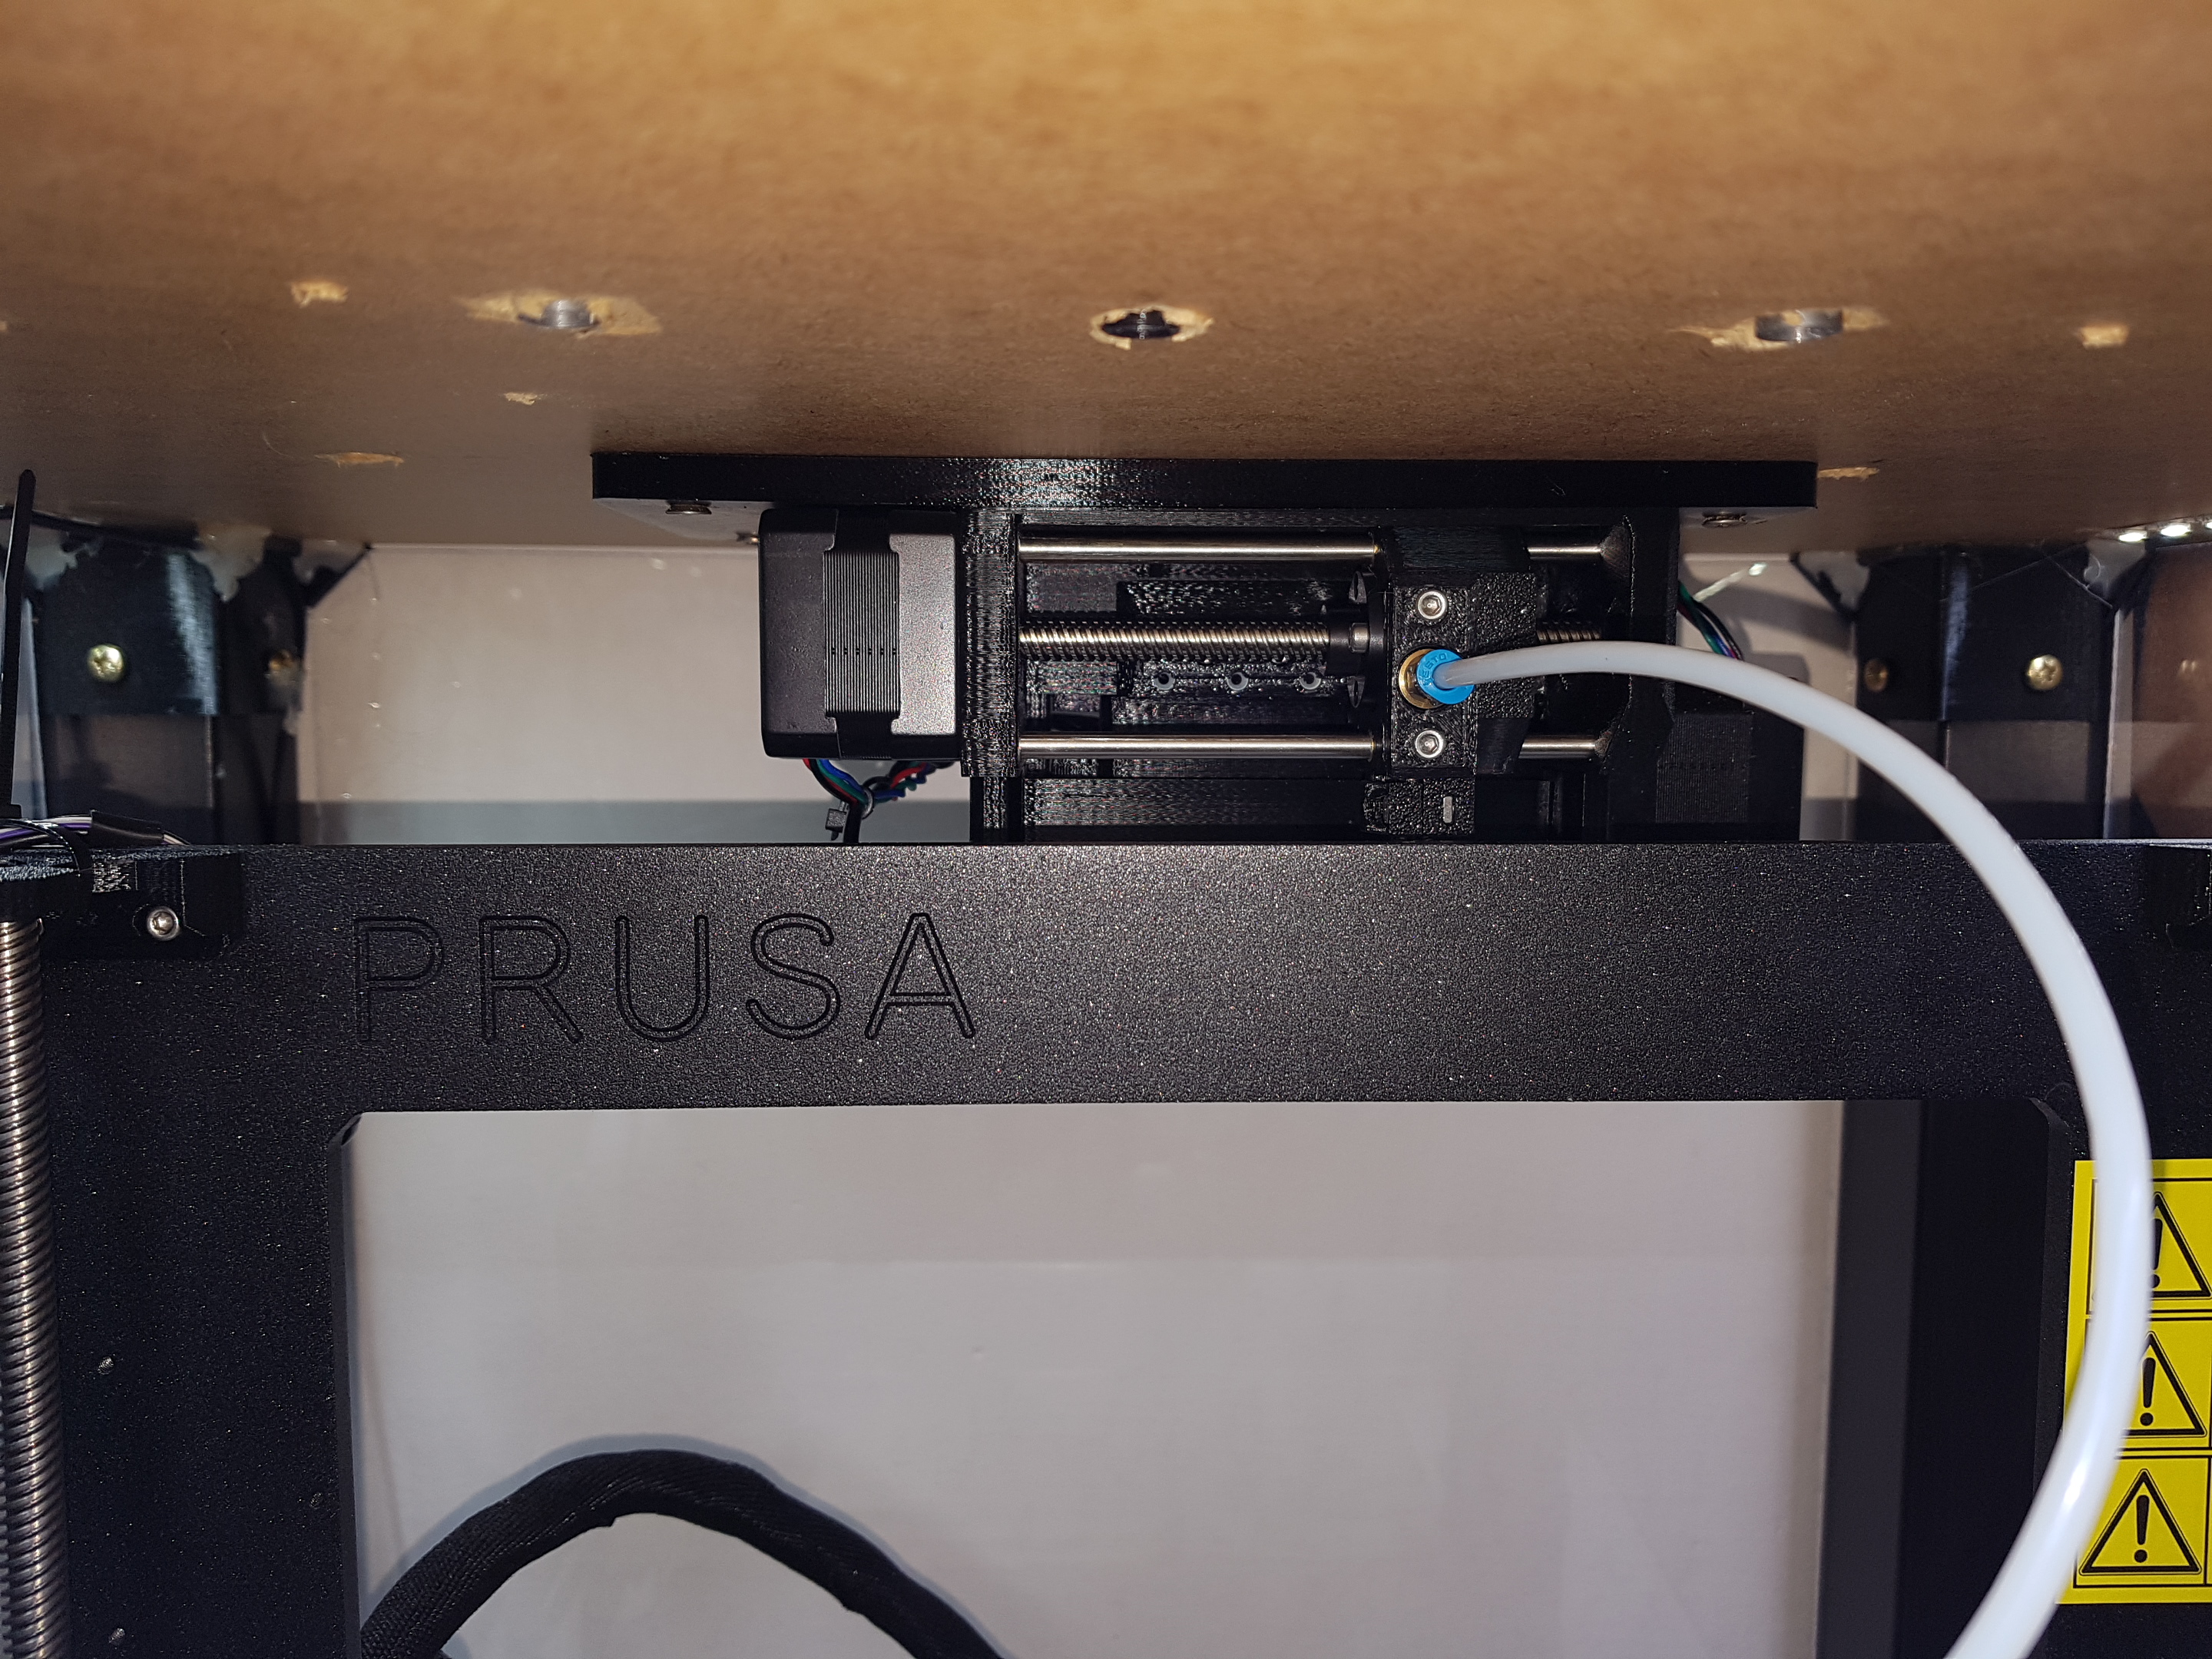
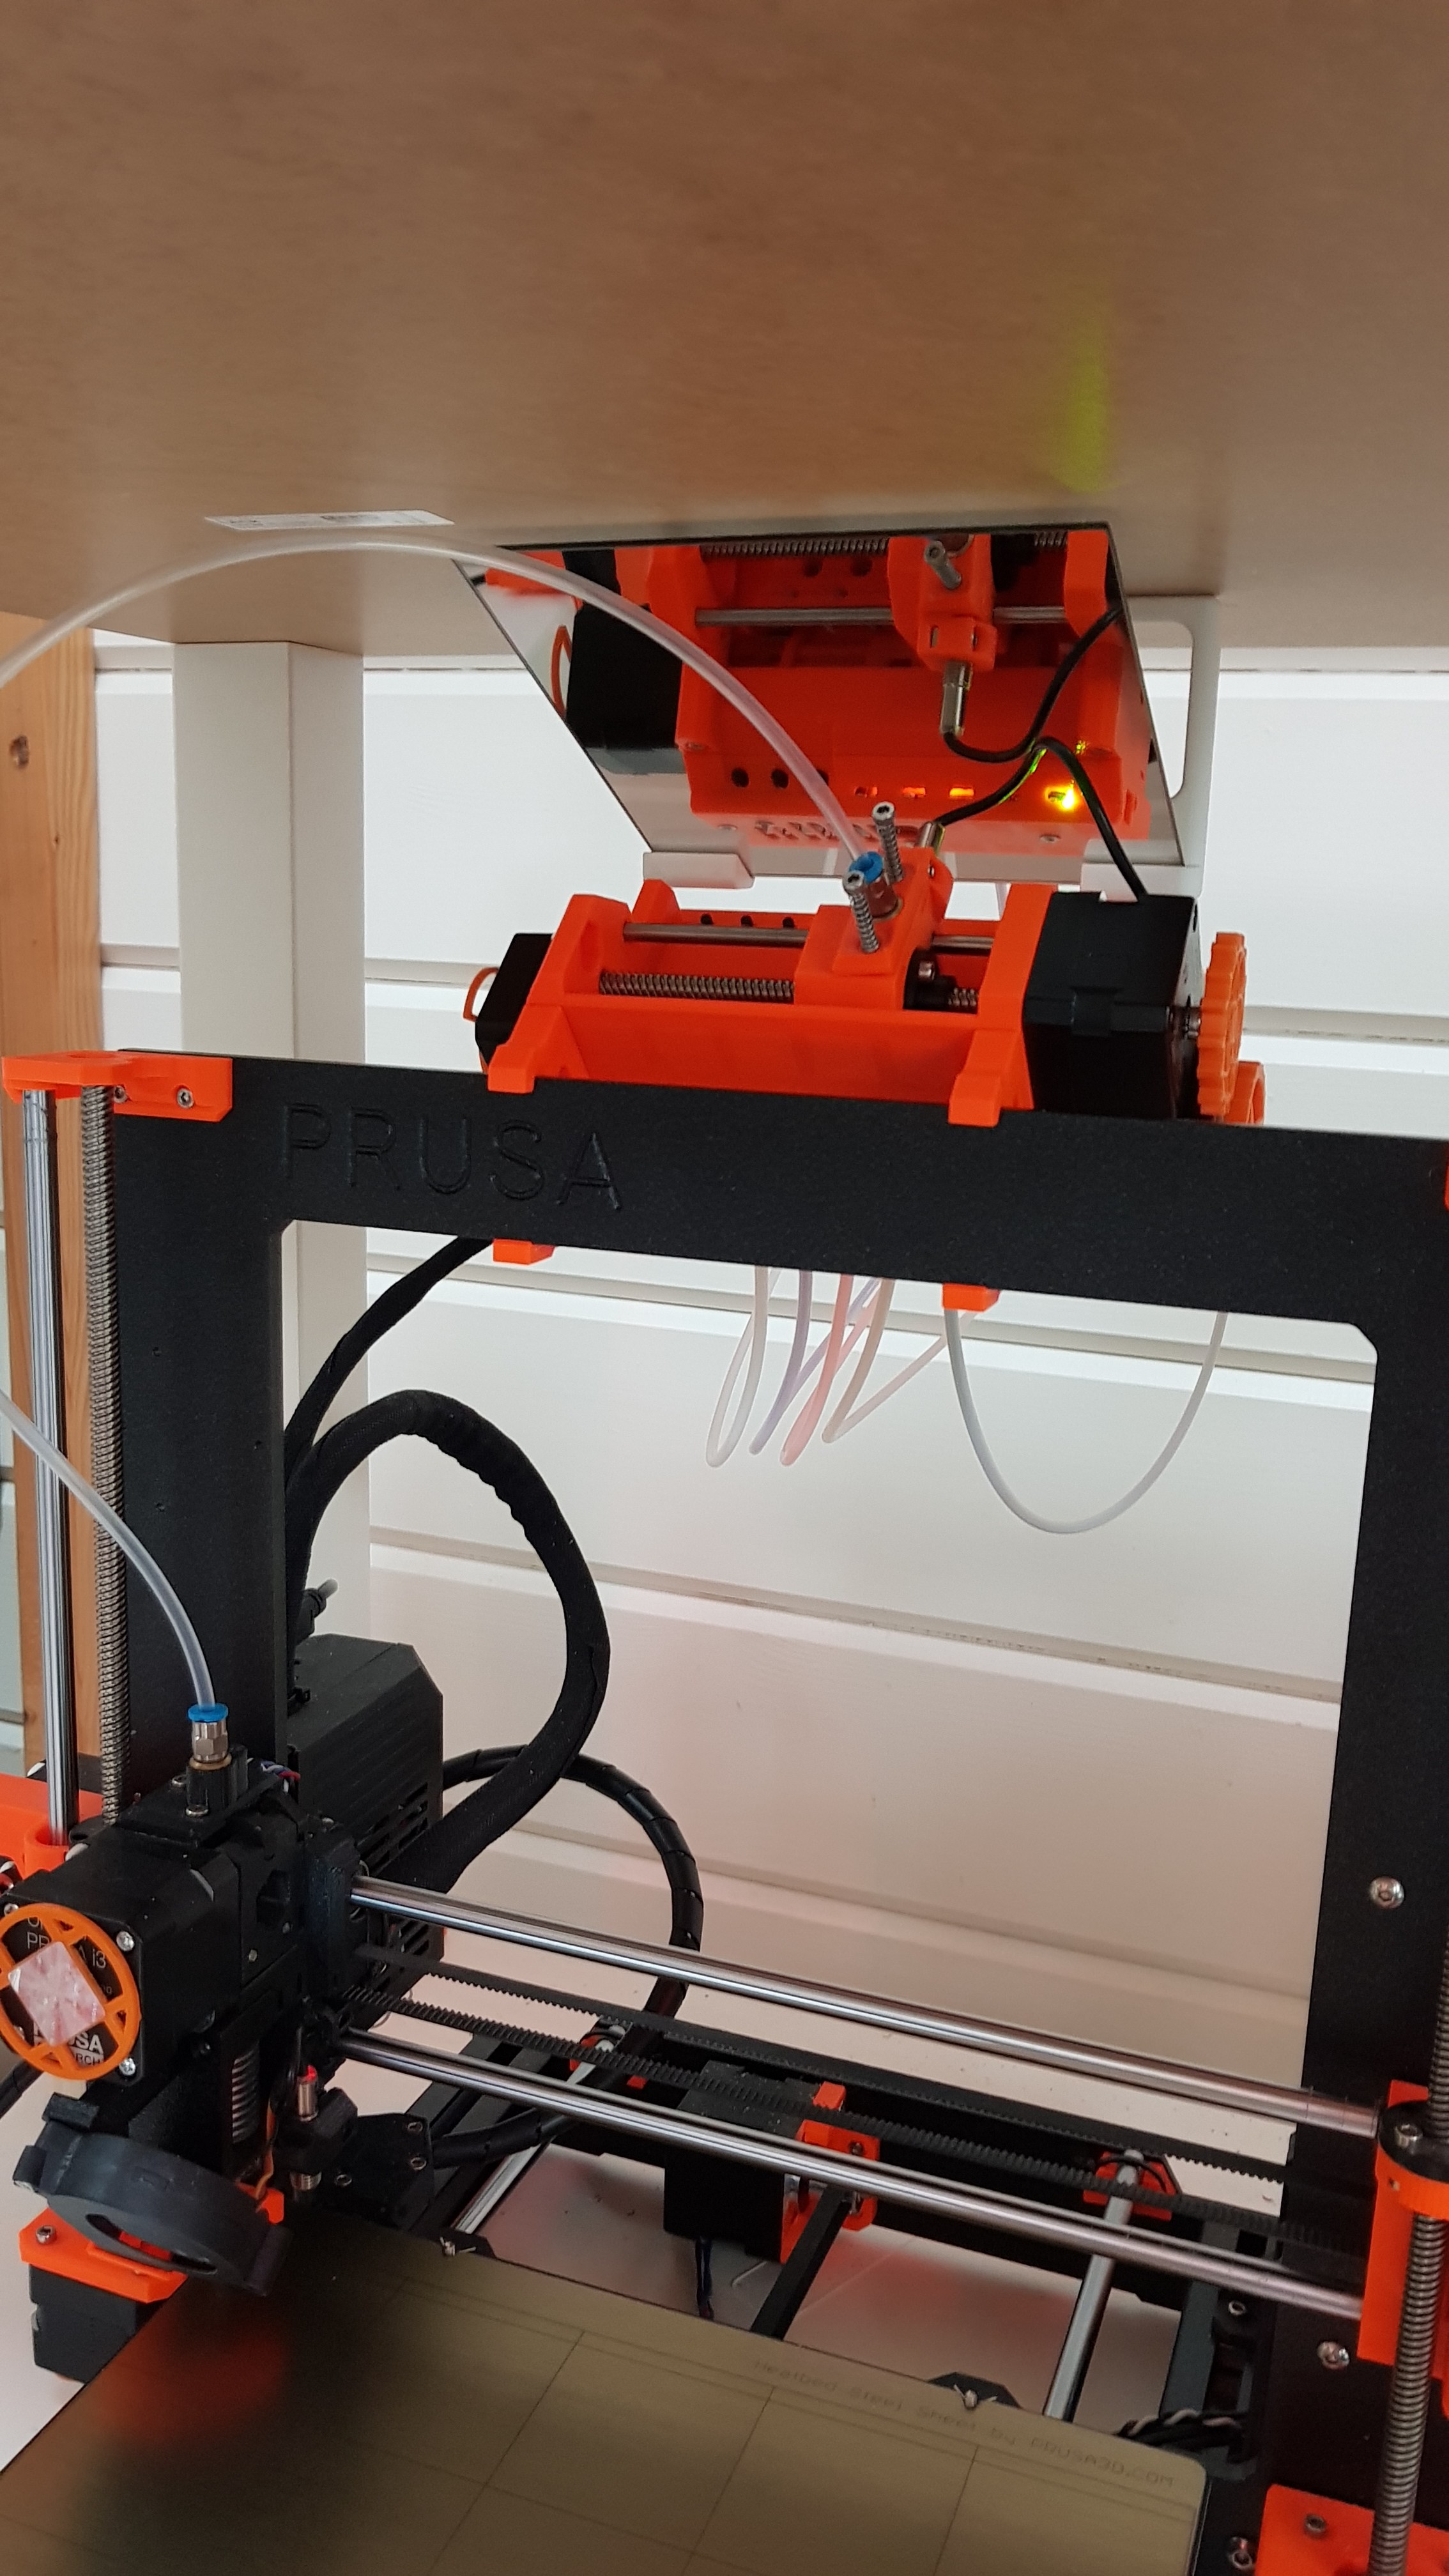
A mirror above the MMU2 under the LACK table allows easy overview of the filament loading.
I had trouble seeing the PTFE tubes, for e.g. manually inserting a filament to change colours of a multi material print. I needed this when loading more then 5 colours. If you can separate colour usage in the Z direction, then using two or more colors is not a problem, provided you swap them mid-print.
Also for inspecting it is good to see the MMU2 from above:
This is now the view from the front of the Lack cabinet, you can clearly see the PTFE tubes:
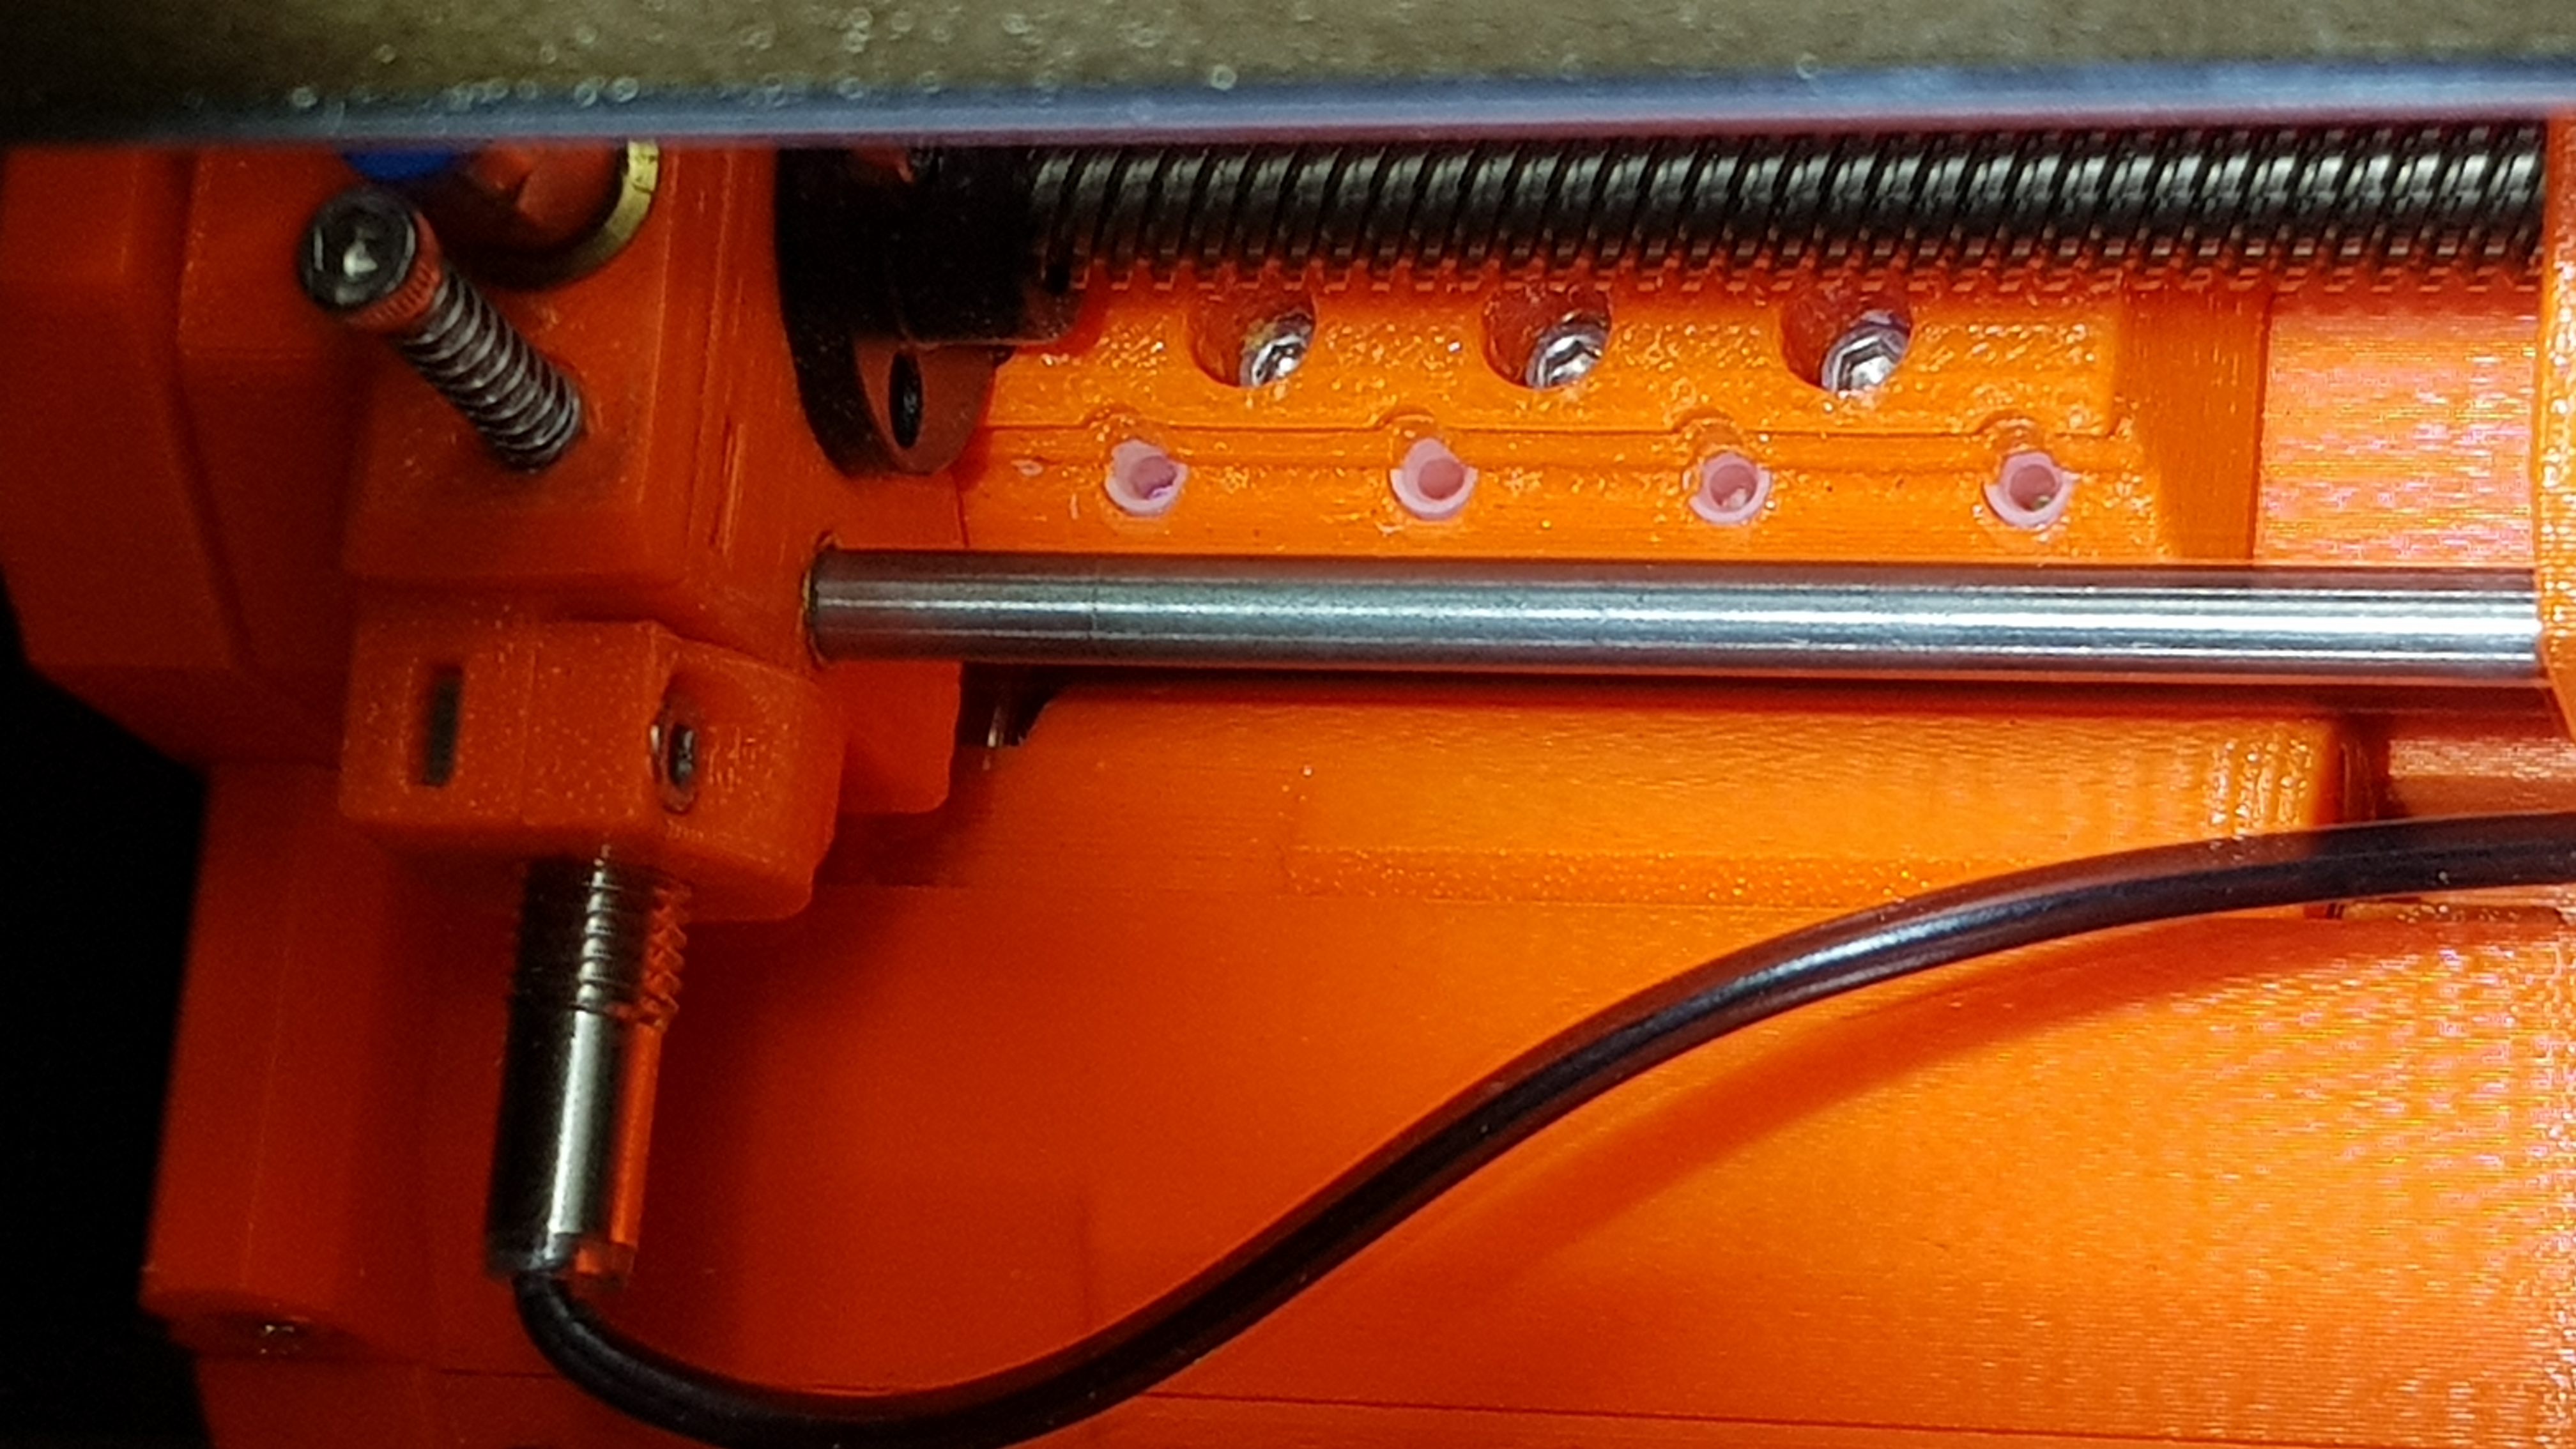
Finally a second mirror in front of the unit allow inspection from above: while I insert filament:
This view is shown here, obviously the topic of interest is a bit "further away":
Re: solution for IKEA Lack tables & MK3 & MMU
The second view, from the top this time, looking at both mirrors...
I used cheap 150x150x1.7 mm mirror tiles, they were 4 for 2 Euro.
My Lack has10CM feet extension.
The mirror holders are printed. Find them here at Thingiverse: https://www.thingiverse.com/thing:3339816
Re: solution for IKEA Lack tables & MK3 & MMU
Is there enough clearance for the ptfe tube when near max z-height? I’m struggling getting enough clearance in my enclosure design.
Well, I have 10cm extra feed in additiion to the LACK legs and I have a longer PTFE tube, so it bends forward at high Z values. I finally planne to mount the MMU on top of the LACK table, which is why I am working with longer PTFE tube. I did modify the firmware (and made it available by putting a pull request to MMU sw 1.03) because the unloading did not take into account the (longer) length properly. Also I increased speed for loading/unloading, so theextra length is hardly noticeable.
RE: solution for IKEA Lack tables & MK3 & MMU
I have a different approach for a LACK enclosure with the MMU. I posted details on the MK3 forum page here: https://forum.prusa3d.com/forum/original-prusa-i3-mk3s-mk3-user-mods-octoprint-enclosures-nozzles-.../official-3d-printer-enclosure-from-prusa-research/paged/6/#post-138633
Only now do I realize I probably should have posted it here in the MMU forum.
It mounts the MMU on the top, side of the enclosure for easy access from the enclosure front to clear jams, etc.

RE: solution for IKEA Lack tables & MK3 & MMU
Did a big rig that I wanted everything in. But when the rig was finished I immediately noticed that it was not optimal for the room so I made it smaller and only for the printer. More pictures soon.
Prusa MK3S MMU2S
RE: solution for IKEA Lack tables & MK3 & MMU
Did a big rig that I wanted everything in. But when the rig was finished I immediately noticed that it was not optimal for the room so I made it smaller and only for the printer. More pictures soon.


Prusa MK3S MMU2S
RE: solution for IKEA Lack tables & MK3 & MMU
Well, and that's my way. 🙂
I have two MK3S MMU2S (at work and at home):

They look similar because they benefit from each other's developments.
Both uses 8mm plexiglass. The black one has only a front and back door, but the top is detachable.
The white one is not detachable, but has doors at every side. Reason: 8mm plexi is astonishing heavy. 😳
The spools are in a self made drawer. They sit on printed rollers with bearers inside, held by metal rods.
The tubes go to drill holes between printer and glass of the rear side.
The black one has a ceiling height of 55cm. It's the absolute minimum if you decide to leave the MMU2 at the intended position.
The tube touches the ceiling slightly at the top most position of the extruder.


