RE: MMU2S filament tips on unload
I don't think this will help a lot of people but I want to share my experience.
My situation:
A colleage has a MK2S en he bought a MK2S to MK2.5 upgrade kit and a MMU2 in 2017! He could not print his upgrade parts succesfully so he left it to gather dust. I offered to help him out and so my journey began 🙂
MK2S to MK2.5 upgrade:
Piece of cake! I printed the parts on my MK3S, followed the guide and BAM a huge upgrade if you ask me. Seeing a MK2S made me realize just how much the Prusa has grown 🙂
MMU2:
assembling the kit itself, no problem. But TONS of loading issues. I have spent a LOT of hours troubleshooting, but I'm gonna give you the bottomline fixes:
* 50mm PTFE tube!
- so the MK2S and the MK2.5 need a upgraded (conical) 50mm PTFE tube. I had a lot of loading issues where the extruder would start skipping right after it cought the filament. There was a huge misunderstanding when Prusa send me un upgraded PTFE tube with my order for the MMU2 -> MK2.5 power cable. I thought he thats nice that they sent me the conical PTFE tube. But as it turns out the PTFE tube was for the MK2.5S/MK3/s etc. The diffrence? about 6mm. the one thet sent was 44,3mm instead of 50mm. I can tell from experience those 6mm are vital. No loading fails after i used a 50mm version.
* calibrate bowden tube
- I had no MMU2 experience what so ever. So I did not know you needed to calibrate the bowden lengt. Mind you this is not needed if you have a S verseion for your printer since there is a filament sensor in the extruder. But this is a MK2.5 which has no such thing so you have to do this for yourself. Without calibration you have a lot of problems handing over the filament from the MMU2 motors to the MK2.5 extruder motor. In my case resulting in overfeeding, which causes a lot of grinding and noice.
* thermal paste
So if you have a printer that is 5 years old it is a good thing to reaply thermal paste on the heat break (only the part that goes into the heat sink). It is a cheap fix and helps againts fat tips.
* New heat break!!
So after tackling almost anything I still had loading issues. Looking closely at the feeding procedure I guessed it was failing around the heat break. The tips I got were B E A utifull. But if you measure a beatufull tip it is still just over 2mm (2,04 - 2,09 in my case). This goes through the bowden tube since is is slightly flexible but not through the old heat break which is an unforgiving 2mm precise! After reading a lot and talking to Prussa support a lot I now know for sure that it is vital to buy a new heat break which is modified to have a 2,2mm opening instead of a 2mm from the standard E3D. That extra 0.2mm makes all the diffrence in the world! loading is now consistent. where before even nice tips on my Prusament gave trouble.
My case is somewhat strange and talking to support resulted in a lot of miscommunicating only because of the fact that I have old stuff from 2017 and support just assumes you have newer parts even though I stressed enough about which system I had.
TL;DR:
I you have an old setup (MK2.5) make sure to:
- Buy or make a new conical 50mm PTFE tube
- calibrate MMU2 bowden tube lengt
- buy a new (with 2.2mm opening) heat break if you have a old one (with 2mm opening)
- apply thermal paste on the thread that goed in the heat sink on a new one or reaply thermal paste if you had the correct one.
RE: MMU2S filament tips on unload
Hi all,
Key things:
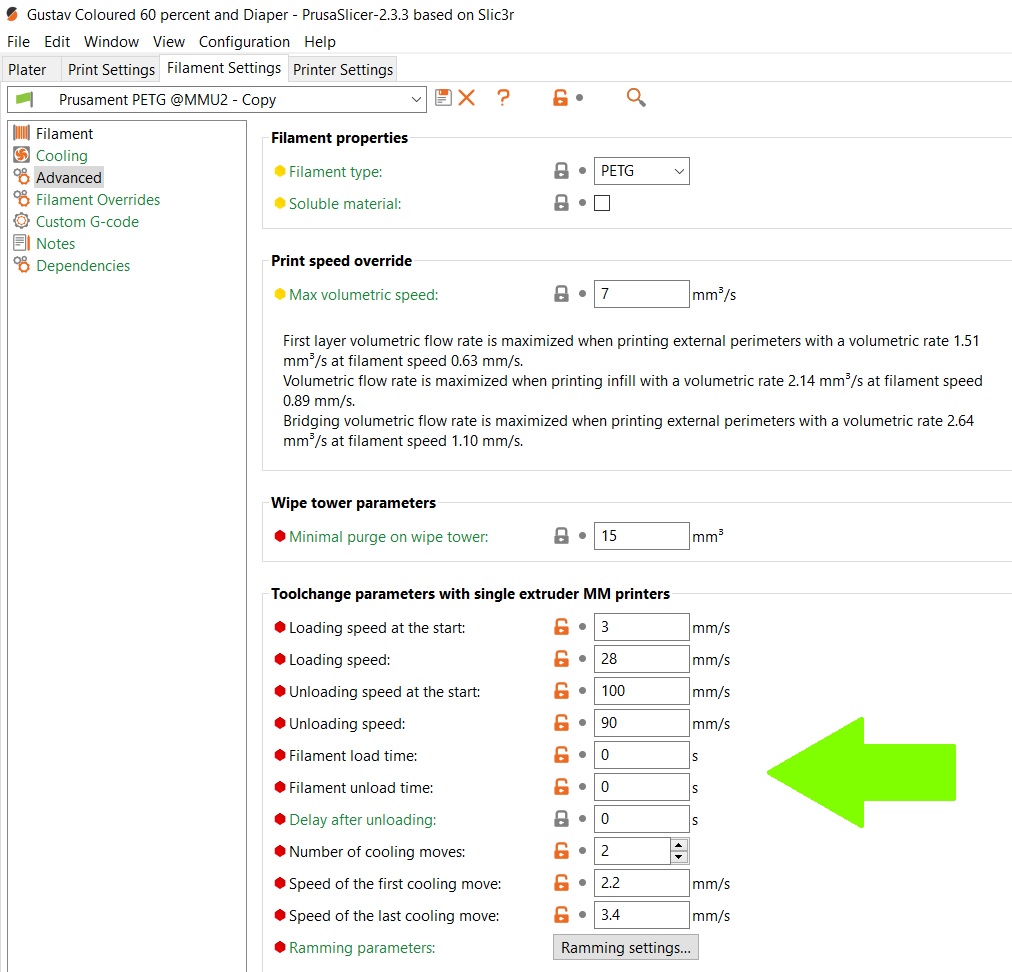
Filament Settings > Advanced > Toolchange parameters with single extruder MM printers:
Unloading speed at the start: 140mm/s (Rip that filament out of the hot end fast)
Unloading speed: 90mm/s (Rip that filament out of the hot end fast)(Increased cooling moves/ramming)
Number of cooling moves: 3 (or 4 for BVOH)
Speed of the first cooling move: 20mm/s
Speed of the last cooling move: 10 mm/s
Ramming parameters: Total ramming time(s): 4.50Filament Temps: In general, I use lower temps on all filaments as suggested as well (LSL of spec limits of each filament). I tried doing this without the above settings but my prints still resulted in absolute failure. For extra adhesion on the first layer, I violate the spec limits (80C bed temp for first layer) and have almost eliminated all adhesion issues.
...
My printer is now a "Set it and forget it" machine. I don't worry about coming back to failed tool changes, filament grinding, or anything else. I nearly gave up on the MMU2s... this set of settings saved it for me.
Just thought I'd post this in case others had the same issues as I have. If anyone needs to know more detailed settings let me know.. I know I was fairly general in the description.
I really don't understand why the settings provided by @mzol are not more widely advertised. They basically do the trick. Slicing a model, printing it. The "fire and forget" way.
Many thanks for these, @mzol! You deserve more than a free beer from me if you ever come south of France!
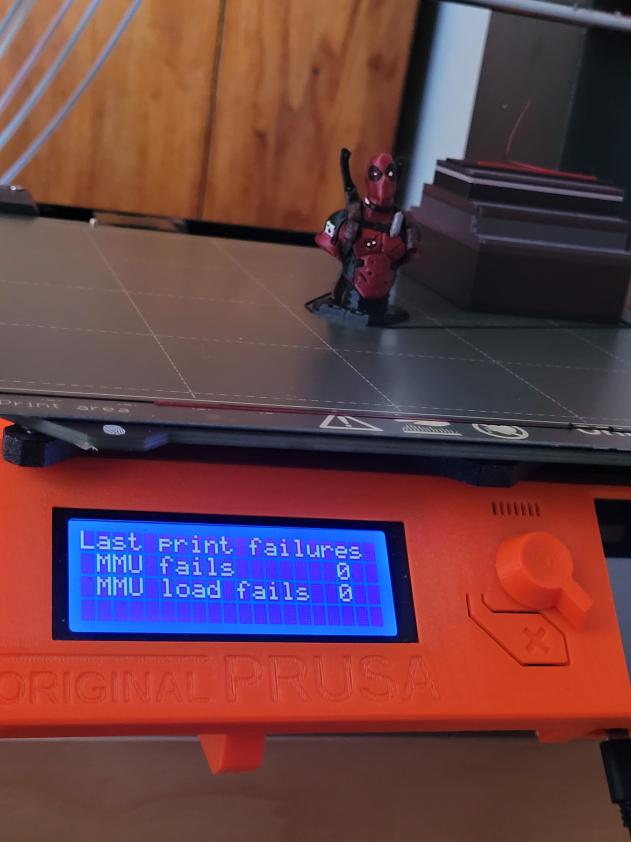
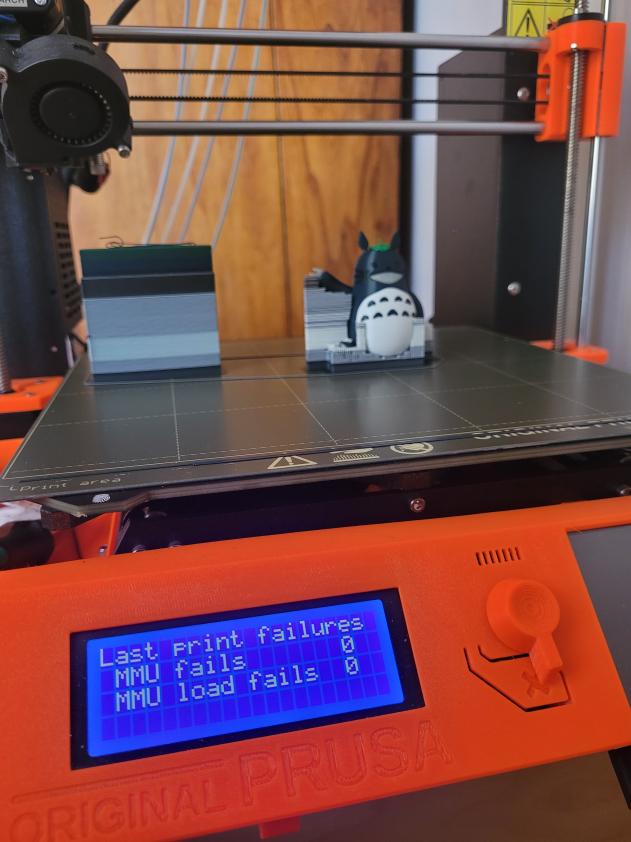


Everyone struggling with their MMU2S unit: keep fighting. I got my unit less than three weeks ago. No mod. I just got temporarily rid of the buffer, gave "room" on the floor to the rolls of filament and that's pretty all:
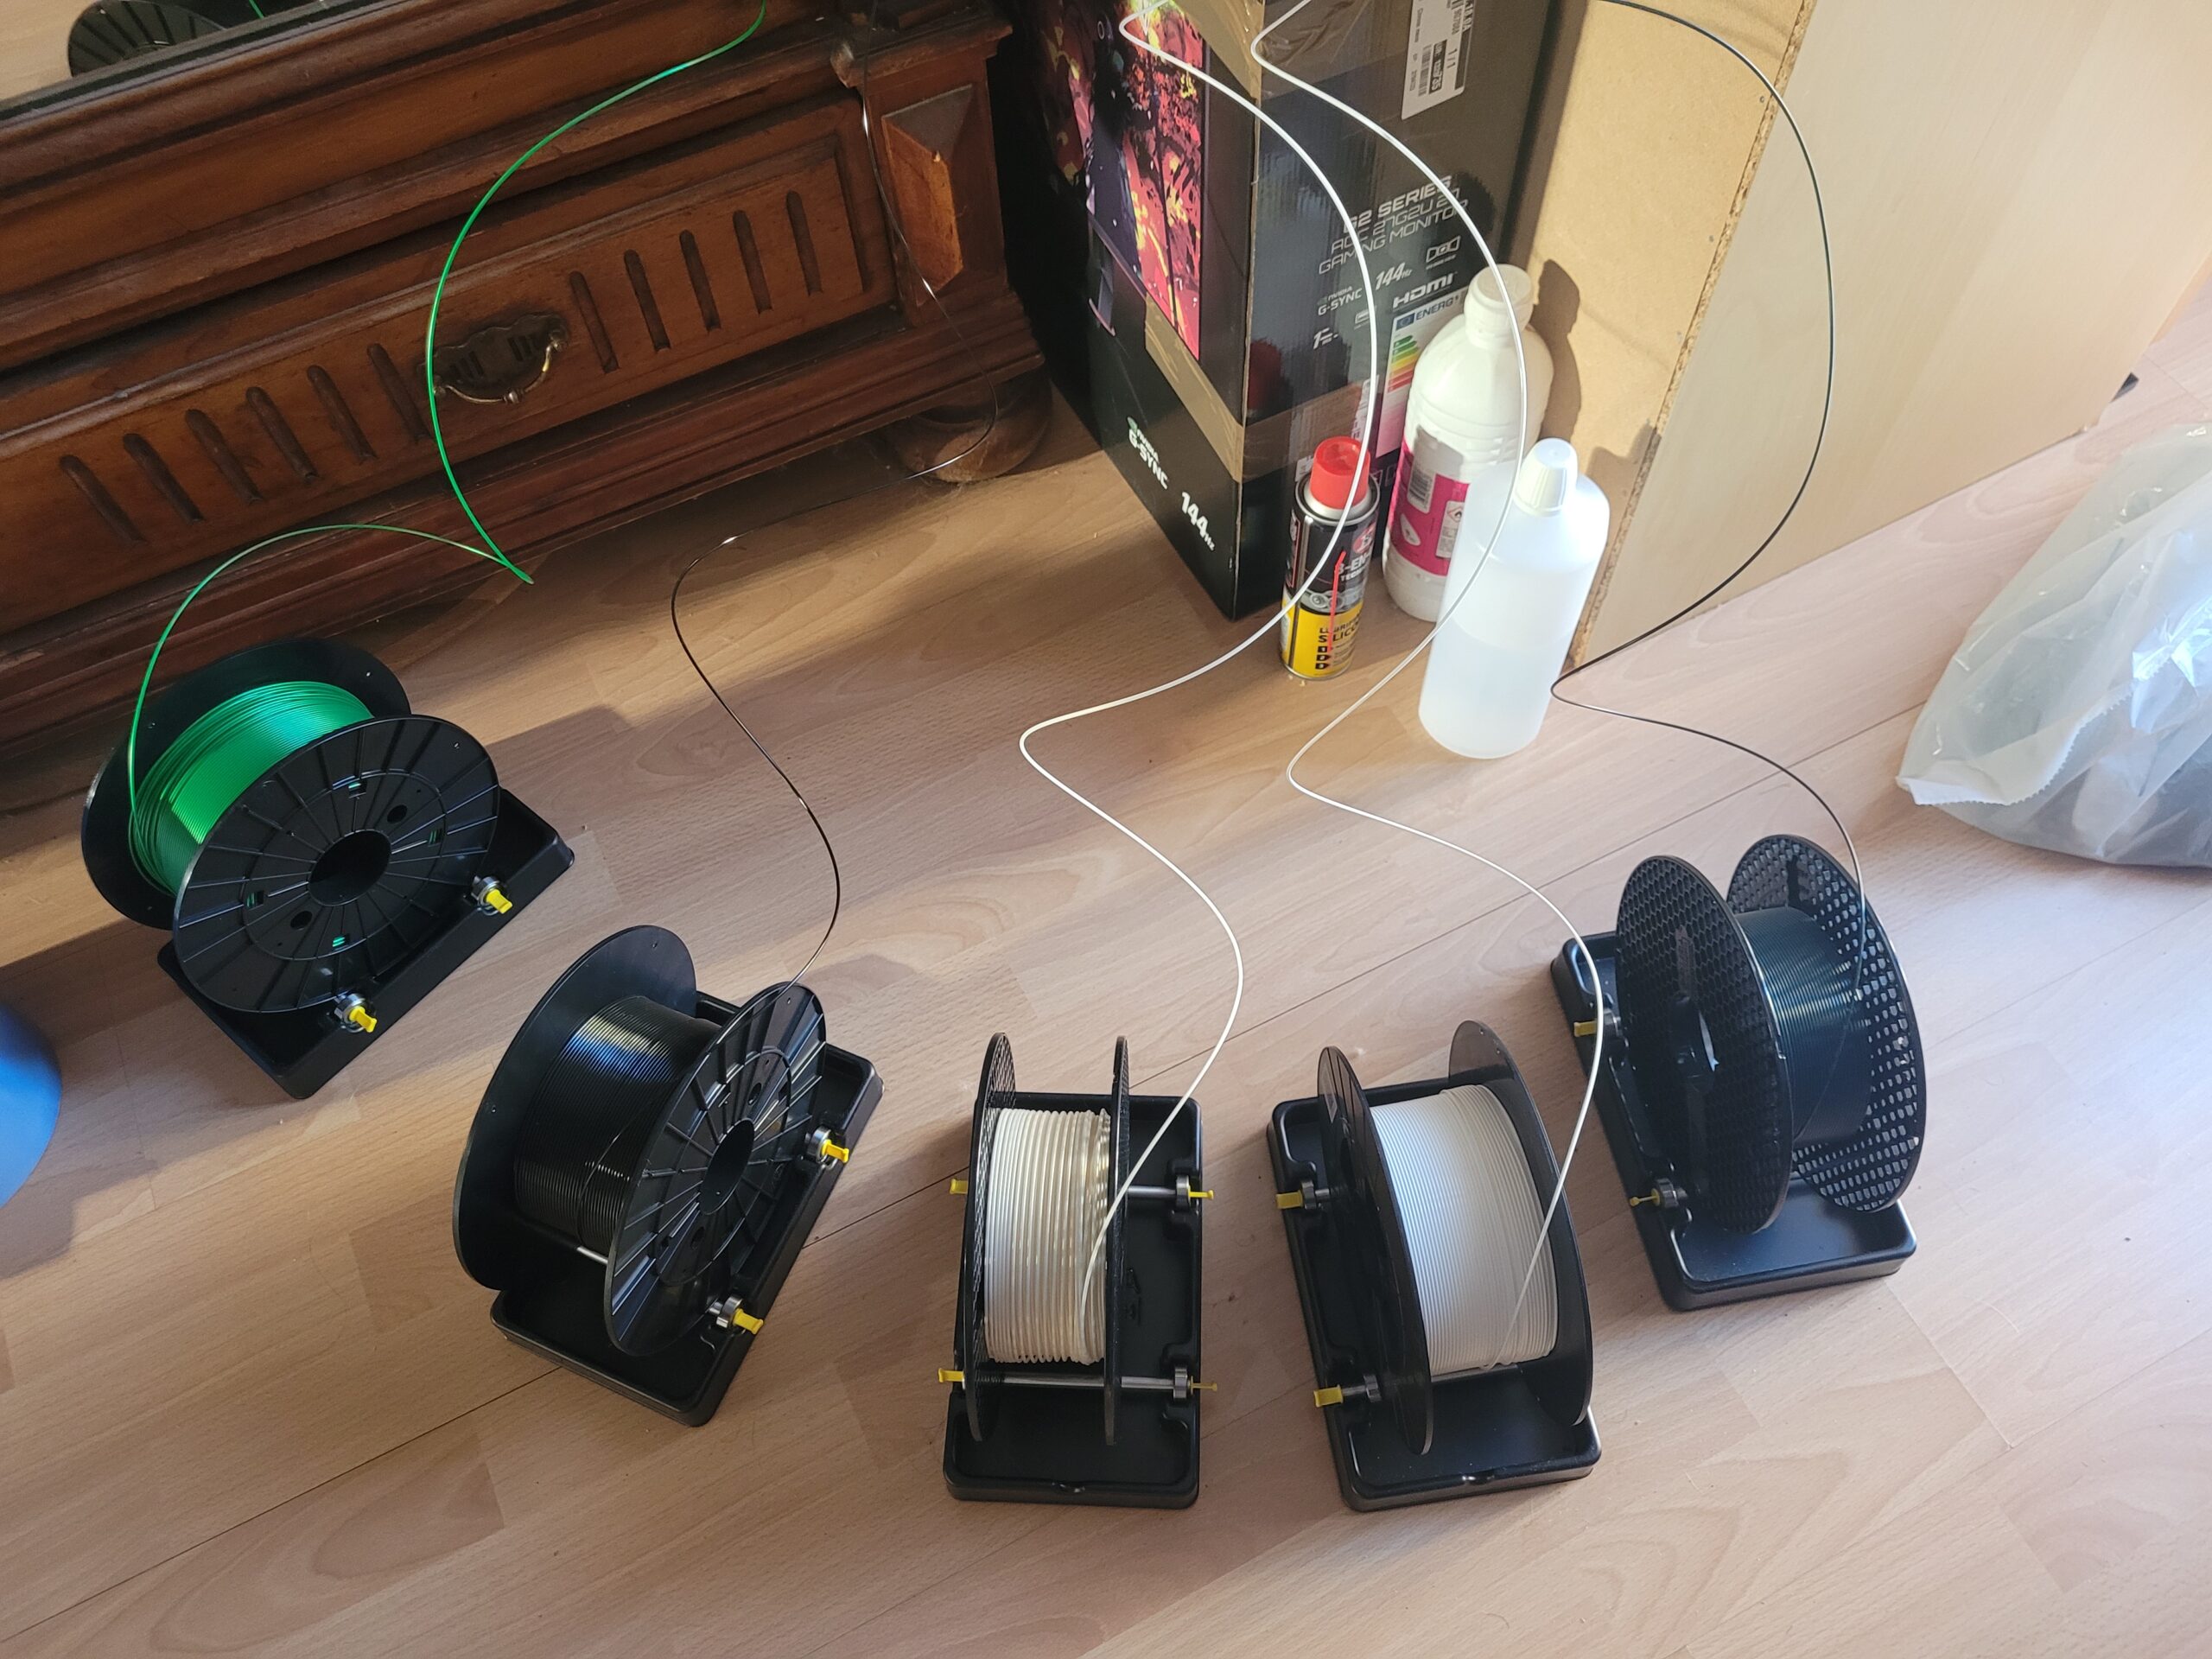
Don't give up! This piece of harware is worthy!
Anycubic Photon Mono X 6k et Wash&Cure Plus, Bambulab X1c avec AMS
RE: MMU2S filament tips on unload
Absolutely agree! Decided to spend the weekend as a masochist setting up the MMU2S , and was ready to throw the whole machine out the window before I found this thread last night. Even ordered about 1000 meters of 3mm ID PTFE tube ... but maybe I dont need them. In the middle of a larger test print now with 500 filament changes, and midway everything has worked ... Now Im probably jinxing it.
@mzol ... you are the man!!! As @olivier-saraja wrote back in December ... beers on me if you pass through Copenhagen 😊
I might also add ... about the extruder becoming incredibly warm. Mine did too... to a degree where I had crashes on every print about an hour into the prints.
Thankfully Prusa implemented software controll of the voltage to the motors, so I solved this by tuning it down a little in my start gcode profile in the slicer. I have been running this setting since this summer and have never had a problem with it. Just turning it down to 400 from 430 did the trick.
Like this:
instead of
```
{if print_settings_id=~/.*(DETAIL @MK3|QUALITY @MK3|SOLUBLE).*/}M907 E430 ; set extruder motor current{endif}
{if print_settings_id=~/.*(SPEED @MK3|DRAFT @MK3).*/}M907 E538 ; set extruder motor current{endif}
```
I have it like this
```
{if print_settings_id=~/.*(DETAIL @MK3|QUALITY @MK3|SOLUBLE).*/}M907 E400 ; set extruder motor current{endif}
{if print_settings_id=~/.*(SPEED @MK3|DRAFT @MK3).*/}M907 E450 ; set extruder motor current{endif}
```
I really don't understand why the settings provided by @mzol are not more widely advertised. They basically do the trick. Slicing a model, printing it. The "fire and forget" way.
Many thanks for these, @mzol! You deserve more than a free beer from me if you ever come south of France!
RE: MMU2S filament tips on unload
Up until a week ago, my filament tips were always spot on, with little-to-no stringing. Then I started to have consistent issues with the tips being too large and stringy. I wasn't able to correct it via temp or ramming settings (not that I knew enough about ramming settings to do anything more that guess). I was taking another look at those Prusaslicer settings today, and noticed again that the greyed settings which should indicate defaults were significantly different than what the mouse-over tool tips stated the defaults were. Confusing! Because I had nothing to loose, I changed each of the settings to what the tool tips stated were default, sliced a multicolour model and sent it to the Mk3S+. The result? No stringing and filament tips (Prusament and two other brands) measuring a very respectable and useable 1.87mm-ish millimetres. Total Print time reduced from 28 hours to 20. Go figure.
So many of those parameters are different. It makes me wonder why. The filament presets have only 1 cooling move and multiple moves decelerate instead of accelerate as they do in the default settings. Why? It's curious. I know that Prusa refines the profiles every so often. They may be refining the profiles for specific filaments and not the defaults.
I believe the load time and unload time are there just for accurate time calculations. Changing them to zero would only cause the print time to be under-estimated, and this under-estimation error would be huge on a small part that has a lot of tool changes. It really does take 15 seconds to load a filament and 12 seconds to unload.
RE: MMU2S filament tips on unload
Hi Nikolai
Do you mean unloading speed at the start or just unload speed
RE: MMU2S filament tips on unload
Do you mean unloading speed at the start or just unload speed
Hi. Please be more specific what you're referring to. This thread is pretty old and couple pages long.
Often linked posts:
Going small with MMU2
Real Multi Material
My prints on Instagram
RE: MMU2S filament tips on unload
Wow!!! I have been struggling for the past two weeks now
I tried these settings and it is printing a three color piece with 250 changes. So far zero issues!!
I had this kind of succes before but eventually the nozzle would clog.
so far I’m very happy with these setting . My suggestion would be to make this the default in prusa slicer.
RE: MMU2S filament tips on unload
I am referring to the @mzol settings.
RE: MMU2S filament tips on unload
Yeah, this is why I thought important to point this out.
Anycubic Photon Mono X 6k et Wash&Cure Plus, Bambulab X1c avec AMS
RE: MMU2S filament tips on unload
Hello, these settings are the same for PETG ?
Yeah, this is why I thought important to point this out.
RE: MMU2S filament tips on unload
This is an old thread but my experience may help others who has a setup like mine. I'm using the MMU on my Creality Ender 3 Pro with Sprite Extruder Pro on an SKR 3 EZ board and I just completed my first 0 intervention ~300 filament changes print.
The main things that helped me to achieve this (apart from fixing a couple of bugs in Marlin and successfuly making the SKR board (3.3V TTL) to communicate with the MMU board (5V TTL)) are:
- Hardware:
- PTFE Tube fix inside the extruder:
Be sure that the PTFE tube is 1.85 mm ID. - I designed a filament runout sensor that can "read" when the filament is inside the gears as in the MK3s+ extruder, I'll share the Printables/Thingiverse link later.
- I'm skipping the part that helped me to make the boards communicate as it needs a whole another post by itself.
- PTFE Tube fix inside the extruder:
- Software:
- Marlin:
- Fixed ~3 bugs in Marlin that prevented a succesful communication between Marlin firmware and MMU, they are merged to the bugfix-2.1.x branch now and ready to be used.
- Marlin:
- PrusaSlicer/OrcaSlicer Settings:
- Cooling Tube Position & Length
I was entering the distances for the heat break and not the PTFE tube before it, so entering the correct distances solved the "thick tips". - Ramming sequence and cooling move adjustments
For the SUNLU PLA that I'm using the following settings are working the best:- Loading speed at start: 19 mm/s
- Loading speed: 14 mm/s
- Unloading speed at start: 200 mm/s
- Unloading speed: 90 mm/s
- Delay after load: 0 s
- Number of cooling moves: 4
- Speed of the first cooling move: 20 mm/s
- Speed of the last cooling move: 5 mm/s
- Ramming parameters:
- Total Ramming time: 5.00 s
- Ramming line width: 120%
- Ramming line spacing: 110%
- And the ramming curve is a step like curve that starts at 4 mm3/s and goes up to 12-13 mm3/s.
- Cooling Tube Position & Length
And that's all, I got my first successful print 🙂
I'm also working on porting the new MMU firmware protocol to Marlin 2.1.x: https://github.com/MarlinFirmware/Marlin/issues/26523