Bowden Tube Blower Extruder (Enclosure) Cooling
I am very happy with the changes I made after upgrading to a MK3s (A 12% INCREASE IN COOLING PERFORMANCE)), So I decided to share what I did. You can find all files here:
https://www.thingiverse.com/thing:3502557
INTRO
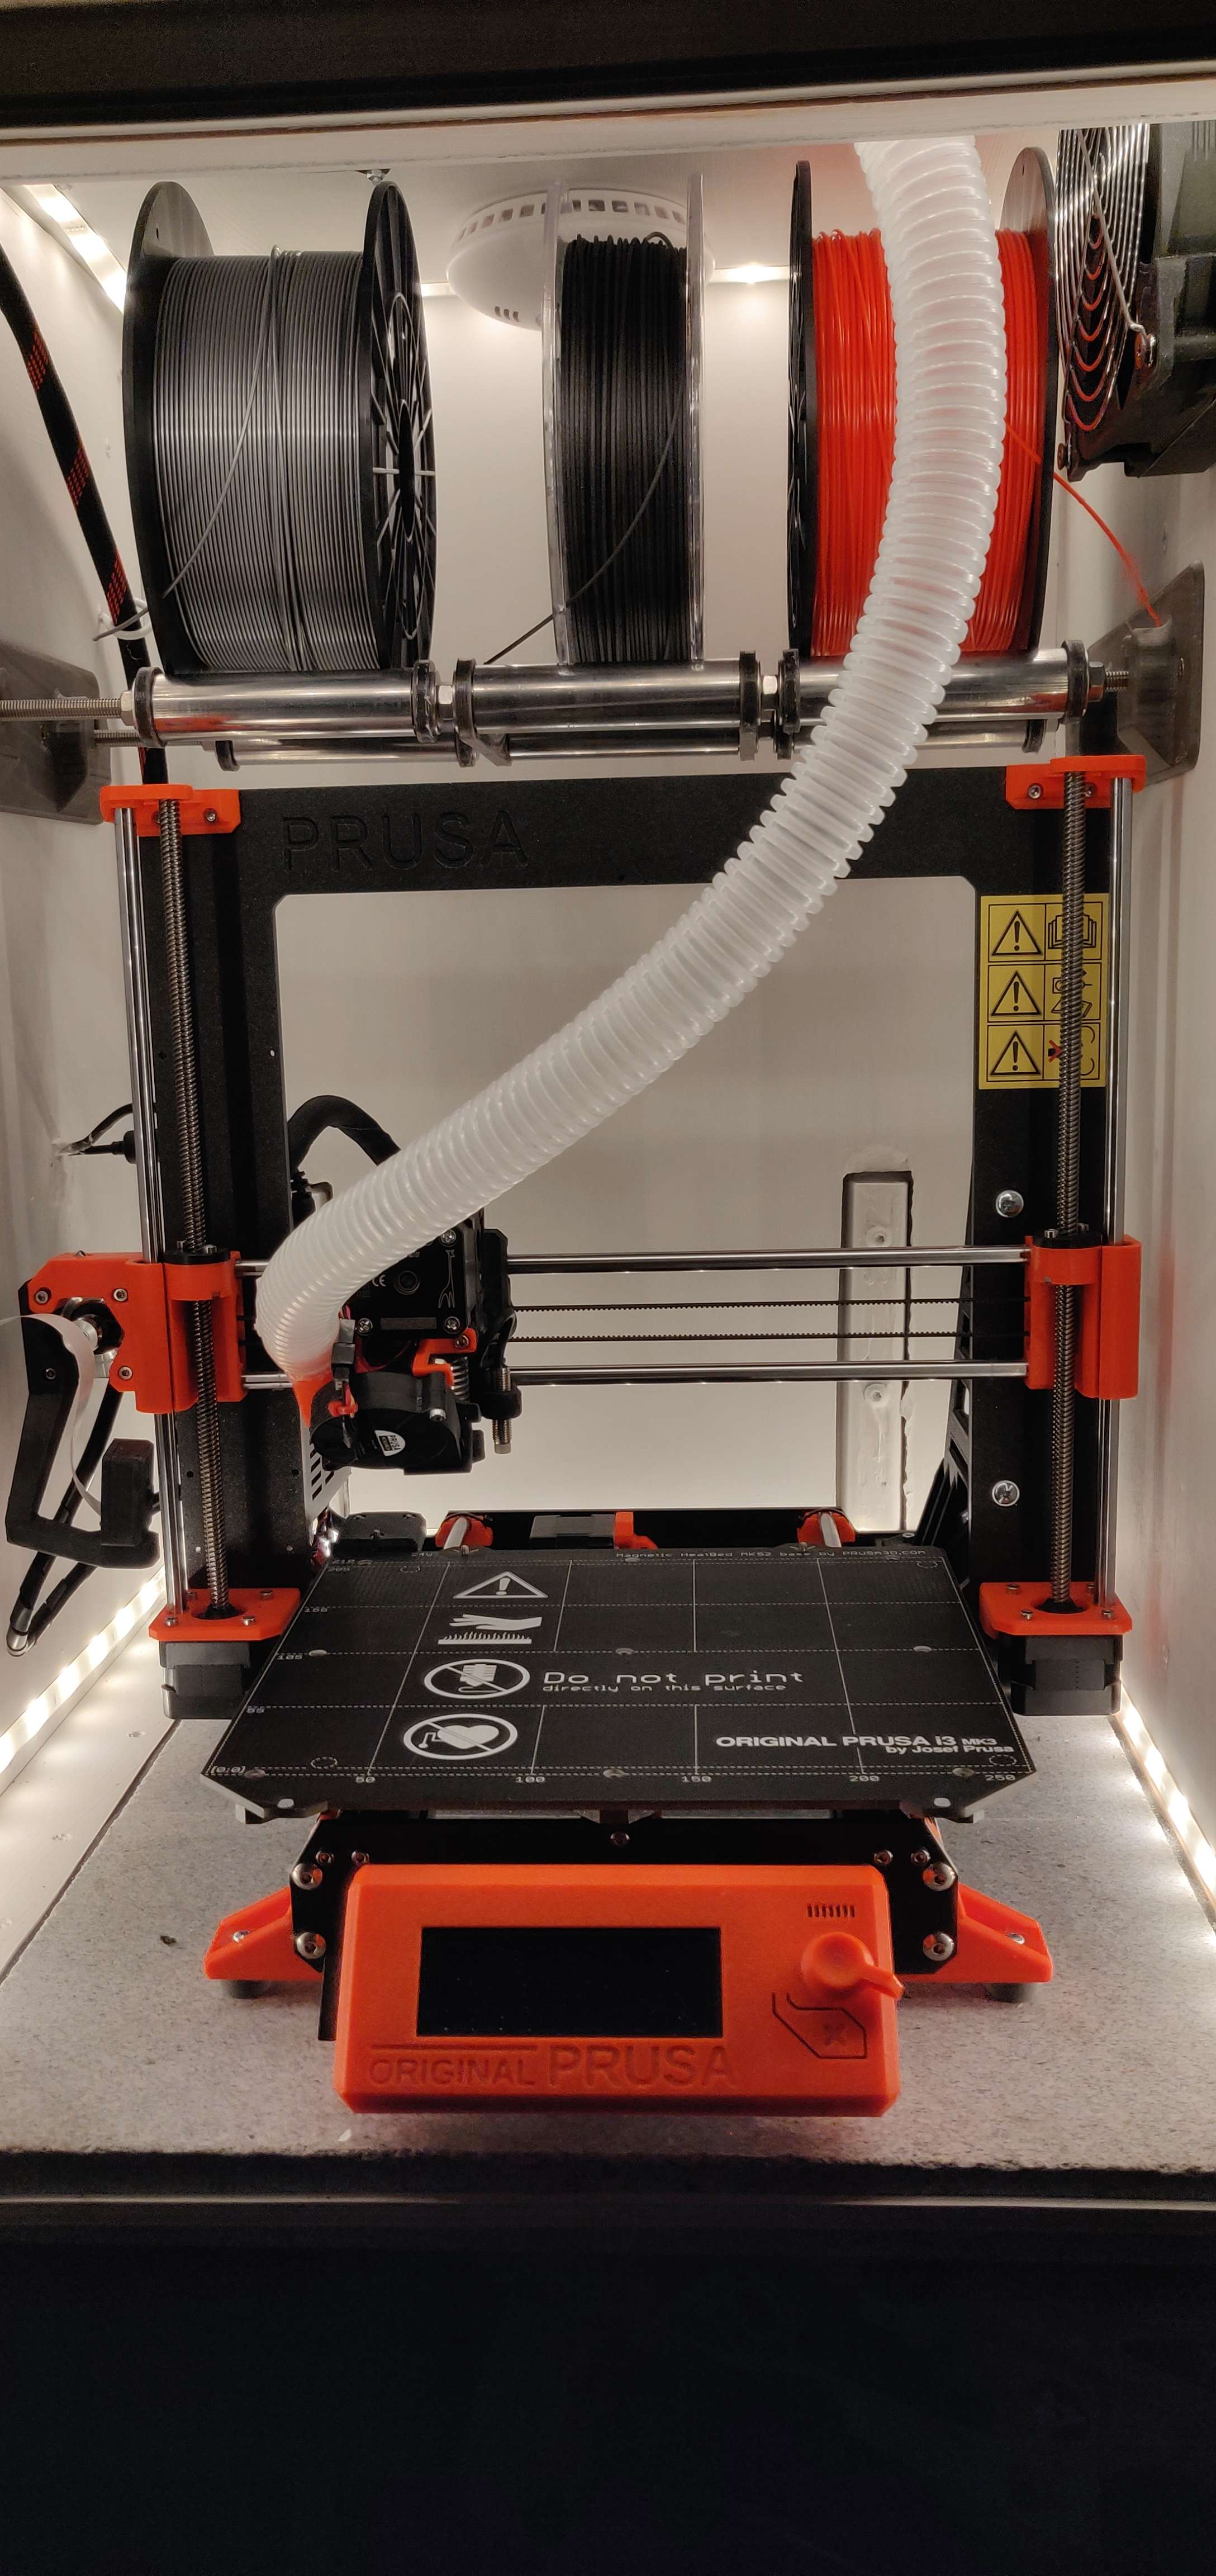
As I have an enclosure for my printer, I like to keep it closed during printing, against noise and fumes, hence the name: en-CLOSE-ure 😉 And even though I have one fan blowing in and one blowing out of the enclosure (into a vent), it gets hot inside and the extruder then gets cooled with hot air, resulting in heat-creap, resulting in a hot extruder motor, resulting in clicking and skipping of filament.
IDEA/SOLUTION
Getting cool(er) air from outside the enclosure, to cool the extruder, using a blower and a tube (aka Bowden cooling).
BLOWER VS FAN
A fan moves air, but has little pressure to blow air "through things. If you e.g. tape a funnel to a fan, you will see that very little air comes out of the funnel end. A blower delivers air with high pressure but is often very loud due to the high rotation speed. By having a large diameter blower we can afford to let is spin slower and still have enough pressure.
CONVERTING A FAN INTO A BLOWER
In order to make the blower:
- take a 12V, 12cm or 14cm fan and break off the blades - wear safety goggles!
remove the fan center motor from the fan frame
- print the bottom and top part of the blower housing
- print the rotor (in the pictures you will find 2 different rotors, the one with the curved blades is based upon a design by airflow software and generates less noise and a little more pressure. It is also very silent due to a low rotation speed.
- hot-glue the fan motor on the base
- try the position of the rotor with the top part closed before you hot-glue the rotor to the motor. It needs to be positioned carefully to prevent wobble and to prevent hitting any insides of the housing.
- close the housing after testing with with long 3mm bolts


ATTACHING THE TUBE TO THE EXTRUDER
After finding a tube that it the right size (blower side 28mm, extruder side 22mm), print the Tube Fan Adapter. The adapter has "blades" inside to guide and distribute the airflow evenly over the hot end heat-sink. Remove the 10x40x40mm extruder fan and replace it with the adapter. NO PRINTING TRAVEL WILL BE LOST in the X (or any other) axes. Mount the blower body to the enclosure ceiling after making an air inlet hole, and connect the tube to both printed parts.
OLD EXTRUDER FAN TO EINSY
We still need to keep the old extruder fan connected otherwise it will generate an error. To put it to good use, I mounted it to the Einsy board housing so that it draws air out... You can find the adapted Einsy housing here: https://www.thingiverse.com/thing:3502562
RUNNING THE BLOWER WHEN NEEDED
In order to connect the blower i bought a 24V to 12V convertor in a car parts shop. Buy a decent size (e.g. 5 Amps) one. The actual power it takes will be low, but the higher the specified Amps the better the cooling. I took the plus 5V and ground wires from the original extruder fan (keeping the extruder fan also still connected) to switch a relay. The relay then allows 24V from the power supply to reach the 24V to 12V convertor, and the 12V output needs to be connected to the printed blower.
FILAMENT ALIGNMENT AFTER UPGRADING TO MK3S EXTRUDER
After upgrading to the MK3S extruder I noticed that the extruder gear is too much in the way of the filament what results in a much higher power needed to move the filament, what then results in a hotter extruder motor. To fix this I upgraded some extruder parts to the ButterworthDesign while on top of that, redesigning the extruder cover to my own (to be found in the "upside down nozzle blower" section). The ButterworthDesign extruder can be found here: https://shop.prusa3d.com/forum/user-mods-octoprint-enclosures-nozzles--f65/modified-c1-r4-mk3s-parts-better-filament-path-and-t28334.html#p133592
PUTTING THE NOZZLE BLOWER UPSIDE DOWN
The Nozzle blower in the old setup, draws hot air from the hotbed to cool the filament. I decided to mount the nozzle blower upside down so it can use the cooler air that the printed blower is now blowing out of the extruder, To do this we need to print an updated fan shroud, an updated nozzle blower support mount and (optional) a new extruder cover. The details for this you will find here: https://www.thingiverse.com/thing:3502573
ZARIBO EXTRUDER MOTOR
And to keep things even cooler , I changed from a Prusa extruder motor to a Zaribo extruder motor. It is a one-to-one replacement, but the Zaribo motor is running cooler (see my Flir Heatcam pictures).
RESULTS
So what is the total result of this project?
In order to compare the cooling of the heat-sink of the hot-end, (you can do the same measurement:) I heated the nozzle to 290 degrees, extruder fan on, nozzle blower off and started to measure how long it took to reach certain temperatures after switching the nozzle heater off. The ambient temp in and outside the enclosure was a constant 29.9 degrees. Swapping the 10x40x40mm fan for the 20x40x40mm fan gave the same results, but when swapping the extruder fan for the printed blower solution, the 50 degrees mark was reached 73 seconds earlier (A 12% INCREASE IN COOLING PERFORMANCE). And in "real life" the performance will be higher as my enclosure typically heats up to 38-39 degrees Celcius. And my enclosure can stay - as it should - CLOSED.
PS. I tried to put some pics here, but that messed all text up. For all the files incl the "results measurements" please click the link: https://www.thingiverse.com/thing:3502557