problem with initial auto home calibration
This is my time experience with any kind of 3d printer . I was done assembling my printer making sure every thing was right the first time around.
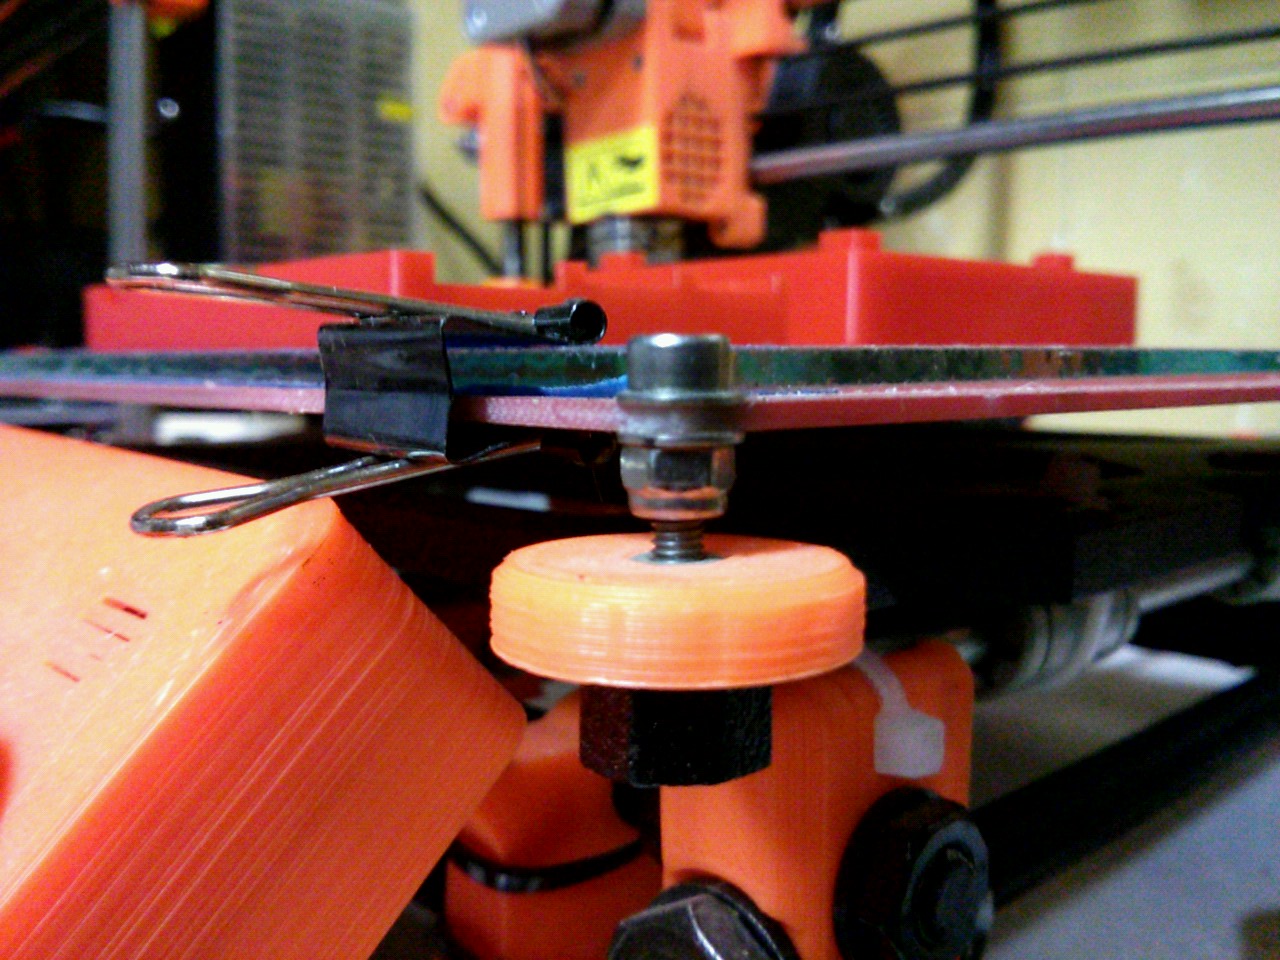
I was following the calibration procedure( STEP-3) , when i clicked the auto home, the nozzle ended up almost touching the print bed and tip ended up a lil to the outside of the print bed. (or might have just touched and made jamming noises ) at which point i was terrified by the noise and turned it off ( attached a picture of where it exactly stopped) . Once it returned to room temp i switched it on and used move axes to move it higher. Im stuck now and do not know how to calibrate my printer .
Here is what i thought was wrong:
1. The X end stop is positioned incorrectly( probably a lil loose) which resulted the tip going slightly out side the print bed, when it moved down in the Z.
To correct this if i moved the x end stop towards the center of heating bed by a few mm ( or tightening the end stop ),
but this would'nt solve the nozzle touching the print bed when it is coming down in the z direction ( even worse if i move the x end stop too much
it might pierce the glass).
Once thats solved and i get the home position right , how do i control the z direction manually in order to do the visiting card step ?( using move axes -from home position???)
2. Or do i lower my print bed( maintaining the 3 mm gap between the nuts as instructed)(section 7 ,head bed: step 11) , so that home position in z direction(nozzle tip) would'nt touch the print bed.
Really need some help , cant wait to start printing. not until this is sorted out though...
Thanks guys 🙂 🙄
Re: problem with initial auto home calibration
Hi there and welcome!
Easiest way to do this without damaging anything is to remove the glass and home the Z axis - use the "calibrate Z" option.
You then need to lower the aluminium Y carriage using the screws at the 4 corners until you can slide the glass sheet under the nozzle.
Clip the glass in place, do a preheat and then adjust the 4 screws again until the card just slips between nozzle and glass in all 4 corners.
Peter
Please note: I do not have any affiliation with Prusa Research. Any advices given are offered in good faith. It is your responsibility to ensure that by following my advice you do not suffer or cause injury, damage…
Re: problem with initial auto home calibration
Thanks for your help. I couldn't work on the printer all these days due to a knee surgery. I just started working on it again. I followed what you said, but at the lowest position of the print bed, there is not enough room to place the glass. I could home the printer with out the glass. What can I do now ??? Have attached a couple of pictures for reference as well. Thank you.
Re: problem with initial auto home calibration
Sorry to hear of your problems; I trust you are now in good health?
OK, so there a couple of things you can check or a much simpler work-around for the problem. Personally I would look for a fix, because there is obviously something wrong somewhere...
I do like to have the X axis homing just slightly left of the glass, just in case...
But first the work-around:
The Z endstop is too low; loosen the screws, try to raise and tighten the screws. Then lift the Z endstop holder upwards; put something underneath it so it can't work its way downwards.
Now, the fix.
Either the Z endstop it too low or the Y chassis is too high.
Check that the 3 bearings are properly located in the slots of the Y frame and that the Y frame is fully home in the slots of the Z frame (the nuts on the 12mm threaded rod). The Z frame should not touch the table top, only the feet at the corners of the Y frame.
Make sure the Y smooth rods are properly hime in the corner posts.
Here's a picture so you can see how the adjustment should be:
Peter
Please note: I do not have any affiliation with Prusa Research. Any advices given are offered in good faith. It is your responsibility to ensure that by following my advice you do not suffer or cause injury, damage…
Re: problem with initial auto home calibration
Hi revanth,
I believe too that the Z-frame is positioned too low.
In addition to what Peter described, I used a little trick to do that: After removing the pad under each corners, in order to be sure that the Y bed is flat square on the table, I used a small pile of some business cards under both side of the Z-frame before unscrewing a bit the 12mm nuts. Make sure the Z-4 corners are touching evenly the table and tigthen again M12 bolts.
That way, you'll ensure the Z-frame is well positioned. If it's not enough, repeat this with more business cards.
I'm like Jon Snow, I know nothing.
