Re: Problem with first layer
Patrik
The top layer of the background was also opposite. Thinking about it, I do have an earlier version on my SD card and I know that PR have since re-issued the sliced models.
Yes, you would have to raise the nozzle slightly to compensate for the extrusion adjustment.
Peter
Please note: I do not have any affiliation with Prusa Research. Any advices given are offered in good faith. It is your responsibility to ensure that by following my advice you do not suffer or cause injury, damage…
Re: Problem with first layer
Raised the nozzle a little, printed the Prusa Logo again, a bit better, although it's still scratching the layers a bit.
Tested to slice my own design with S3D and it printed nice, stuck really well to the bed but the top layer is not looking nice.
Bottom looks nice though!
Me on MyMiniFactory!
Me on Instagram
3D Printing Live Feeds
Prusa MK2 Usergroup Slack Live Chat
Unofficial live chat by users for users.
Re: Problem with first layer
Patrik
That look like over-extrusion at the tip.
Can you upload the STL file for the model; I will slice and print it and let you know how it goes
Peter
Please note: I do not have any affiliation with Prusa Research. Any advices given are offered in good faith. It is your responsibility to ensure that by following my advice you do not suffer or cause injury, damage…
Re: Problem with first layer
Patrik
That look like over-extrusion at the tip.
Can you upload the STL file for the model; I will slice and print it and let you know how it goes
Peter
here is the file!
https://drive.google.com/file/d/0B21eOSeJjbALUUpGLXA2dDlrdVk/view?usp=sharing
I'll set my Extrusion Multiplyer to 0.95 as a start then and try again?
Me on MyMiniFactory!
Me on Instagram
3D Printing Live Feeds
Prusa MK2 Usergroup Slack Live Chat
Unofficial live chat by users for users.
Re: Problem with first layer
OK, got it. Will have a look at half-time...
Peter
Please note: I do not have any affiliation with Prusa Research. Any advices given are offered in good faith. It is your responsibility to ensure that by following my advice you do not suffer or cause injury, damage…
Re: Problem with first layer
Patrik
Sliced the model (attached), but can't print for a couple of hours as the printers are busy...
Peter
Please note: I do not have any affiliation with Prusa Research. Any advices given are offered in good faith. It is your responsibility to ensure that by following my advice you do not suffer or cause injury, damage…
Re: Problem with first layer
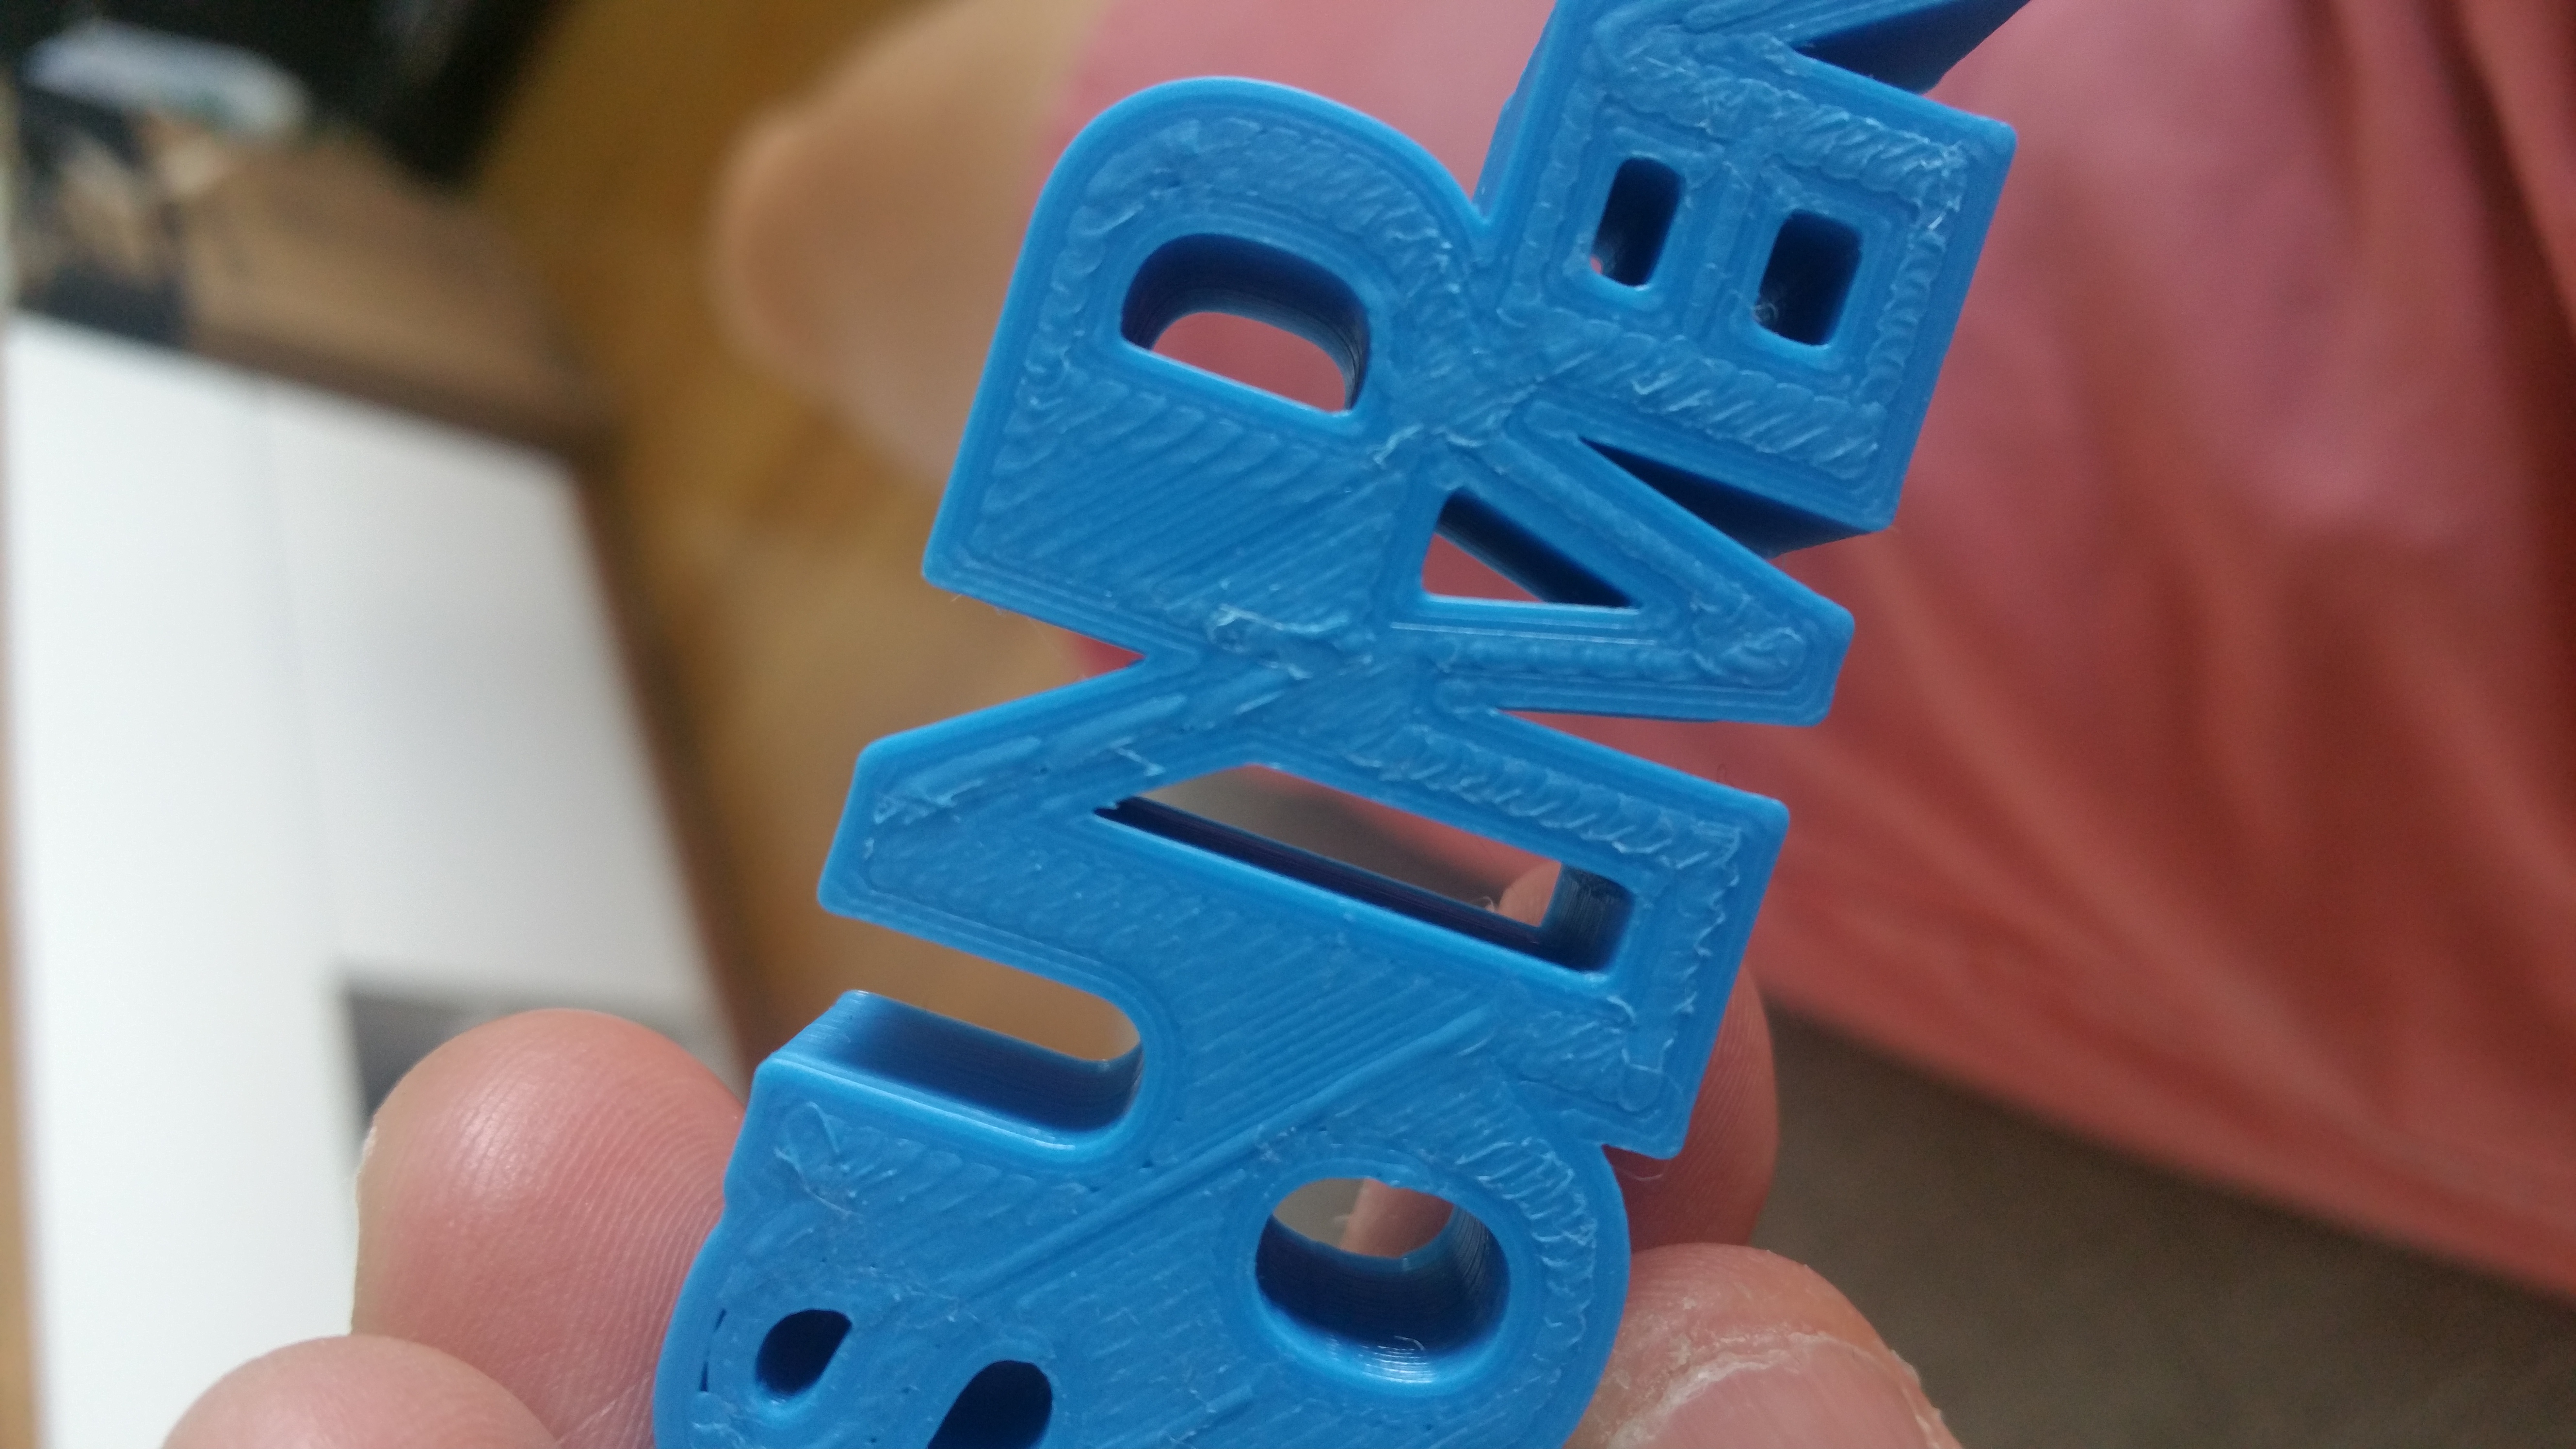
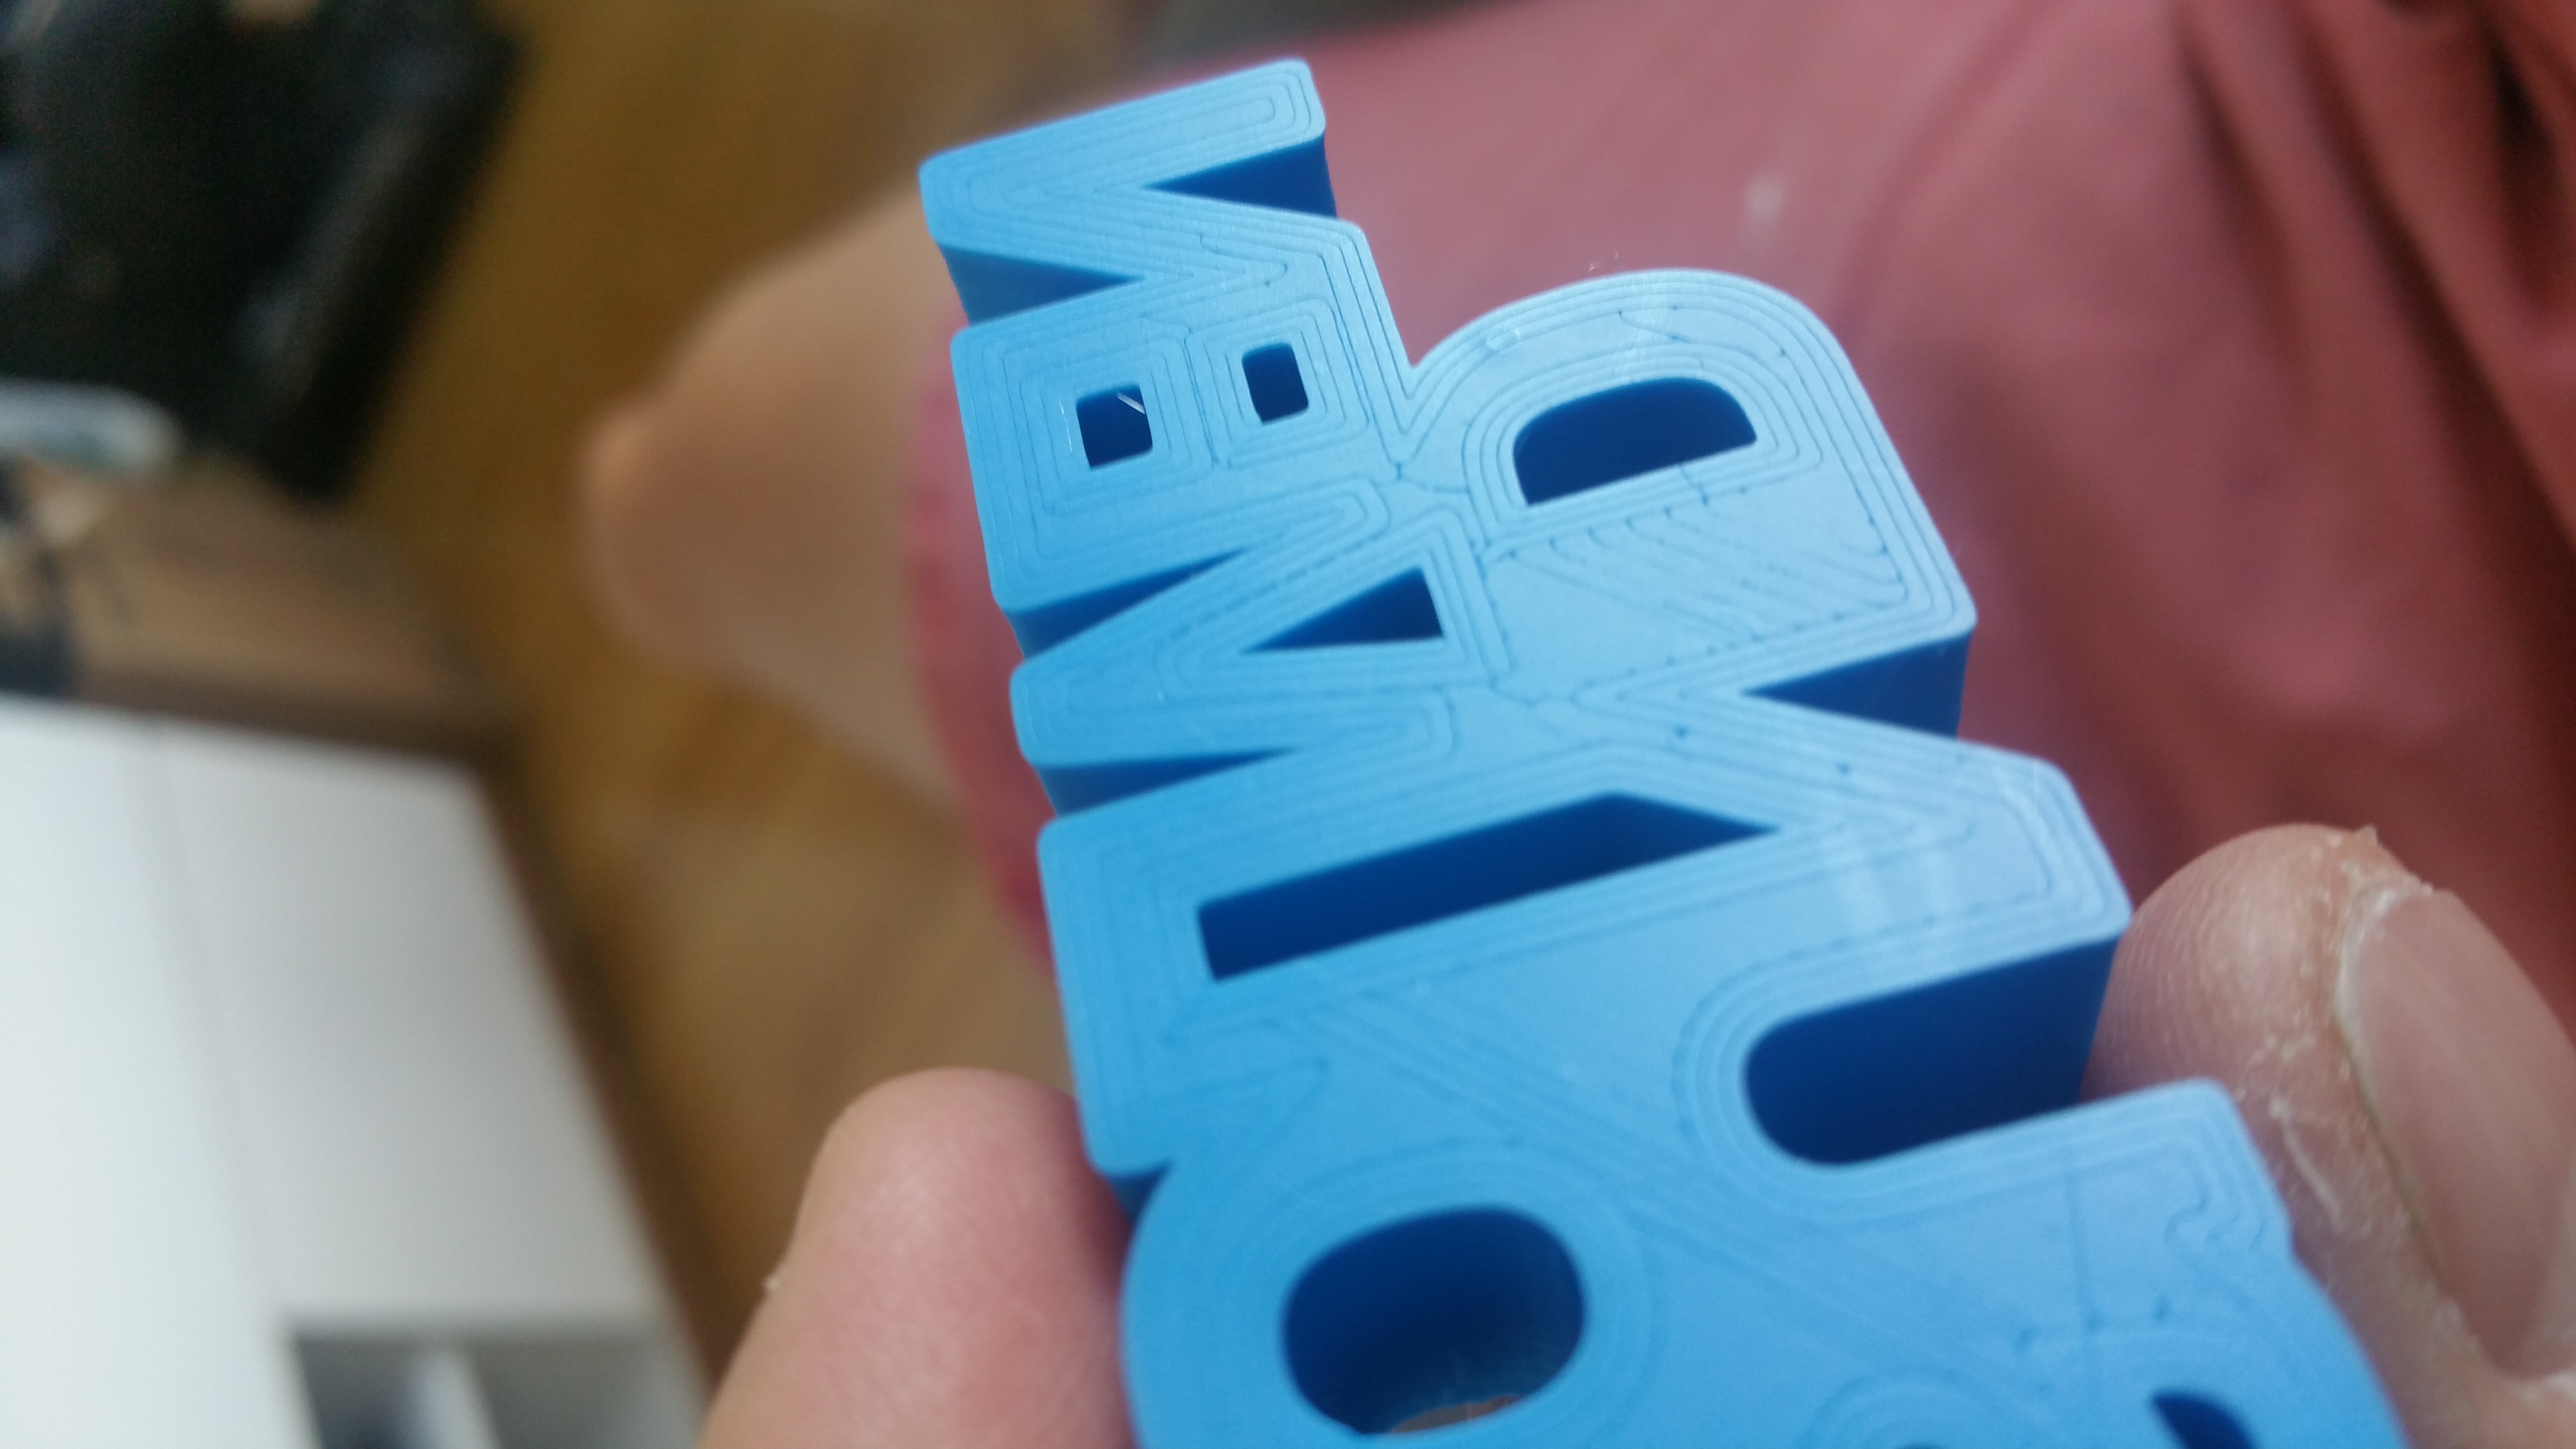
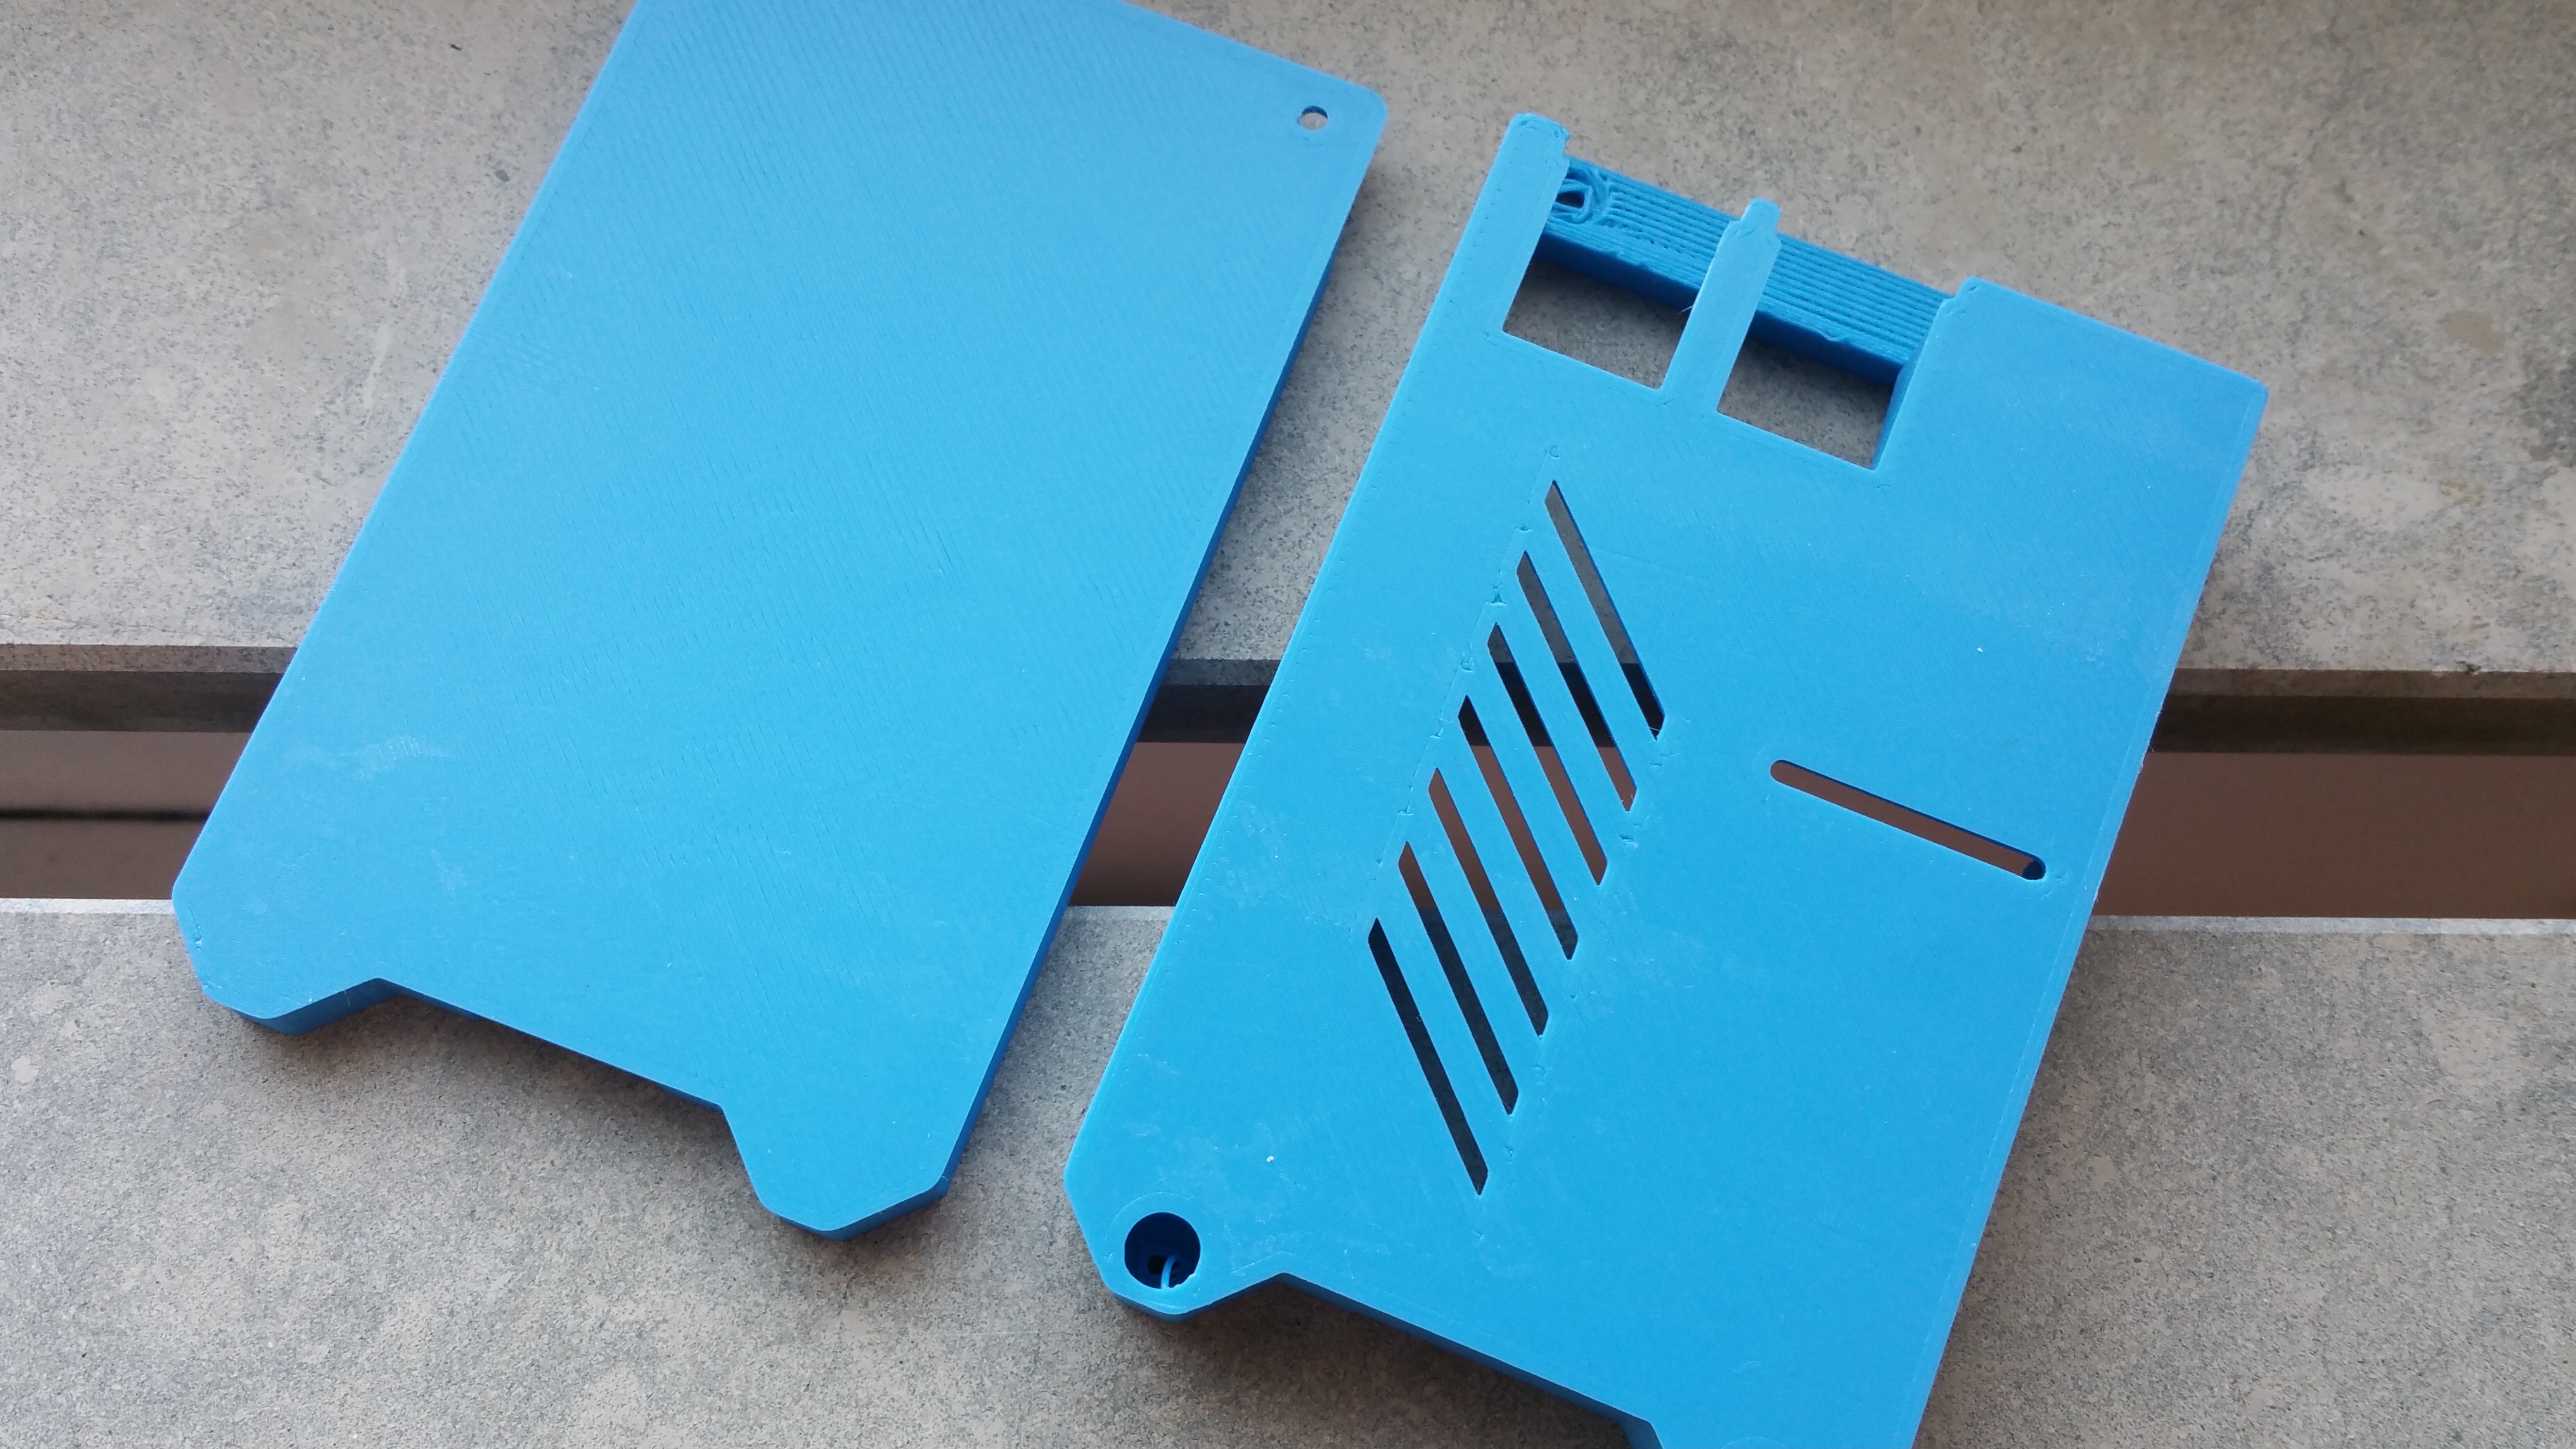
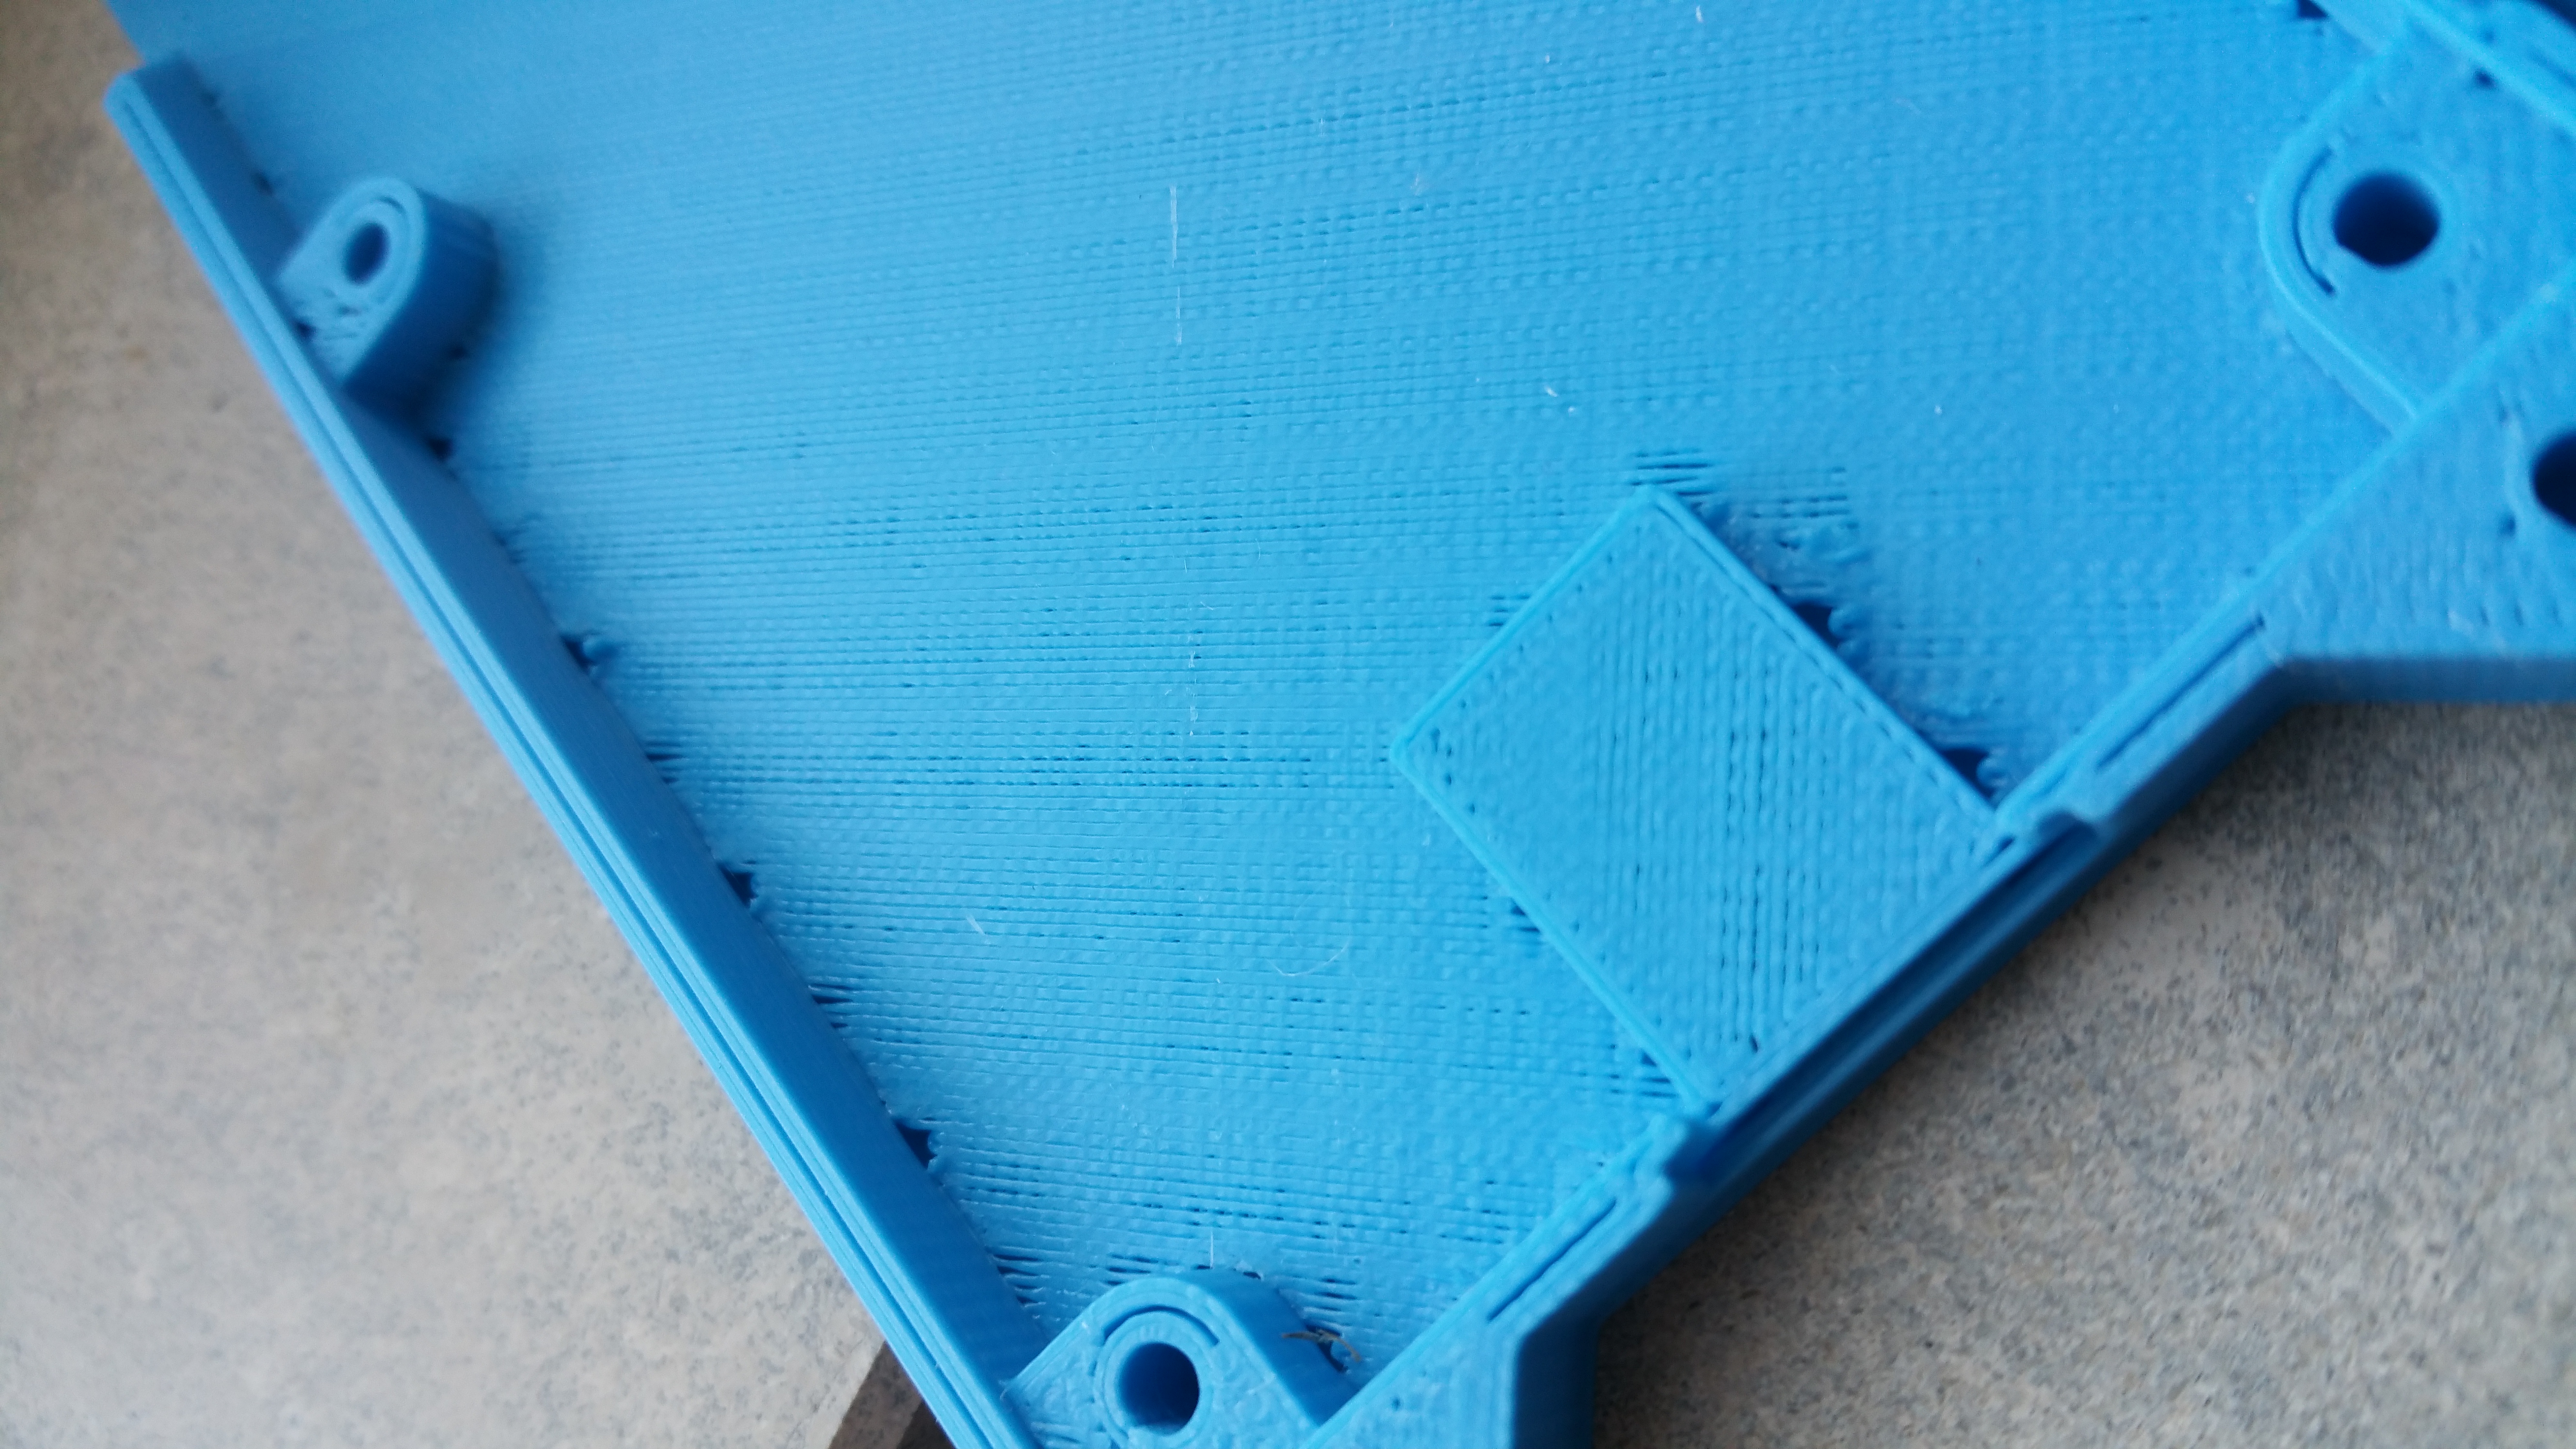
I turned down my extrusion multiplyer to 0.95, and printed a case for my new Raspberry Pie, it worked out fine, although I got some rough top layers again. Obviously there is nothing to place the plastic on in between the infill lines, so a tighter infill or one or two extra layers (only used two top layers) would probably solve this, so I'm not even sure its a "problem". Could be some smart setting available in s3d that I dont know about yet either 🙂 See the attached pictures!
Me on MyMiniFactory!
Me on Instagram
3D Printing Live Feeds
Prusa MK2 Usergroup Slack Live Chat
Unofficial live chat by users for users.
Re: Problem with first layer
Patrik,
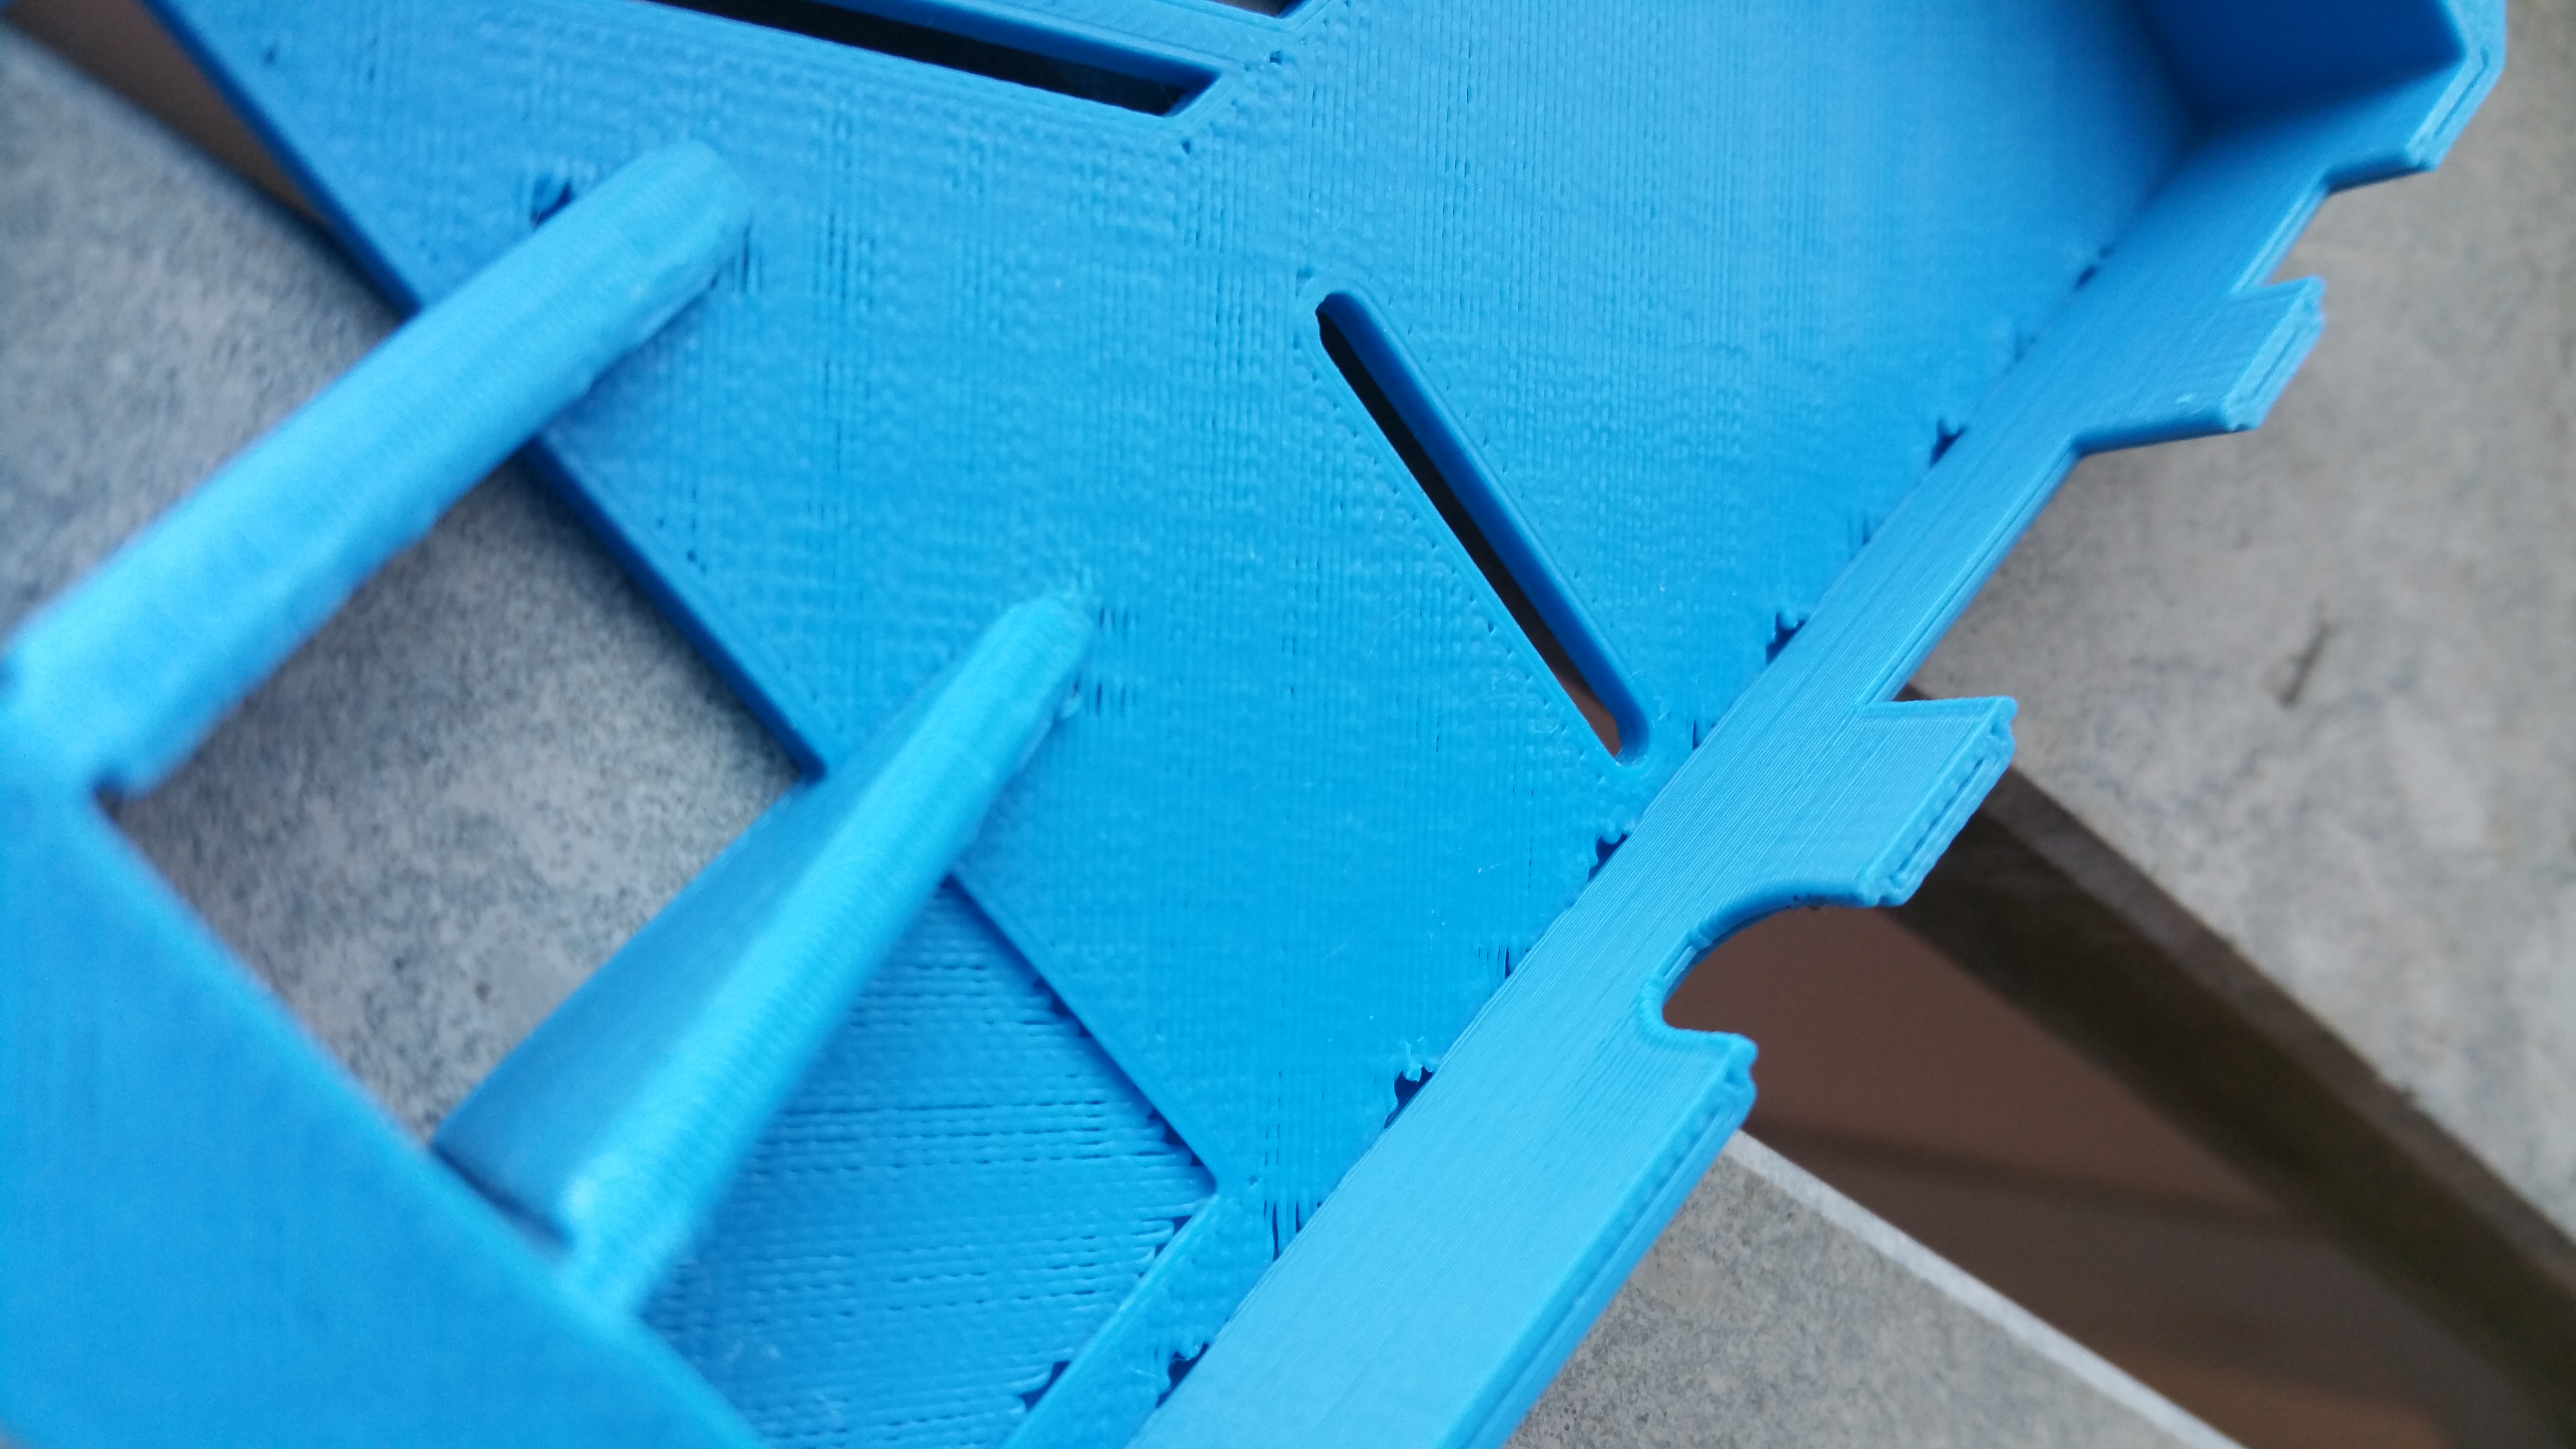
When I sliced that case with Simplify3D using the "normal" .2 mm layer height profile pre MK2 upgrade, I had the same problems with the sidewalls having no fill between the outer and inner perimeters. Adding perimeters didn't seem to help as the sidewall is to thin to support additional perimeters. Only when I used the "draft" .25mm layer height profile did it then fill in that gap. It's something in the slicer algorithm as it relates to the profile settings as you can see it in the gcode preview. Normal had a .45mm line width and draft had a .55 line width.
I didn't see the same issue with Slic3r using the "normal" profile.
Now for the potential bad news. After the upgrade, I noticed that with the increased build volume of the MK2, Hofftari's case design now gets in the way of the x axis on really big prints because it sticks out a little inside the frame. That is a problem if you do an auto home after a tall print or after running the carriage to the top to level the z axis, because it will zero the x axis first and run into the case before the zero end stop switch.
That really bummed me out when I discovered that because I really like that case design.
Roger
Re: Problem with first layer
Patrik,
When I sliced that case with Simplify3D using the "normal" .2 mm layer height profile pre MK2 upgrade, I had the same problems with the sidewalls having no fill between the outer and inner perimeters. Adding perimeters didn't seem to help as the sidewall is to thin to support additional perimeters. Only when I used the "draft" .25mm layer height profile did it then fill in that gap. It's something in the slicer algorithm as it relates to the profile settings as you can see it in the gcode preview. Normal had a .45mm line width and draft had a .55 line width.
I didn't see the same issue with Slic3r using the "normal" profile.
Now for the potential bad news. After the upgrade, I noticed that with the increased build volume of the MK2, Hofftari's case design now gets in the way of the x axis on really big prints because it sticks out a little inside the frame. That is a problem if you do an auto home after a tall print or after running the carriage to the top to level the z axis, because it will zero the x axis first and run into the case before the zero end stop relay.
That really bummed me out when I discovered that because I really like his case design.
Roger
Thanks for pointing that out Roger!
I don't think I will attach it to the frame anyway, since I need some kind of camera-mount that have to be pretty close to the case and get the camera close enough to the print bed to see that it actually prints. I'm editing the model and attaching a camera arm onto the case, and then I will probably just have it standing on the table at the side of the printer on some small Sugru rubber feets.
Me on MyMiniFactory!
Me on Instagram
3D Printing Live Feeds
Prusa MK2 Usergroup Slack Live Chat
Unofficial live chat by users for users.
Re: Problem with first layer
Hi Patrik
Printer your model last evening and it turned out fine; unfortunately, I used white filament (that was loaded already) and so you cannot see the top and bottom finishes. They were as good as anything else I have printed - more than acceptable and certainly better than your photo.
With regards to your latest model, I always find it better to print 3 top and bottom layers. The gaps at the edge joins are simply because there is nothing underneath. You can either increase the infill (significantly) or use a different slicer. KISS solves this problem by adding extra layers of 50% infill at the edges underneath where the gaps are.
Peter
Please note: I do not have any affiliation with Prusa Research. Any advices given are offered in good faith. It is your responsibility to ensure that by following my advice you do not suffer or cause injury, damage…
Re: Problem with first layer
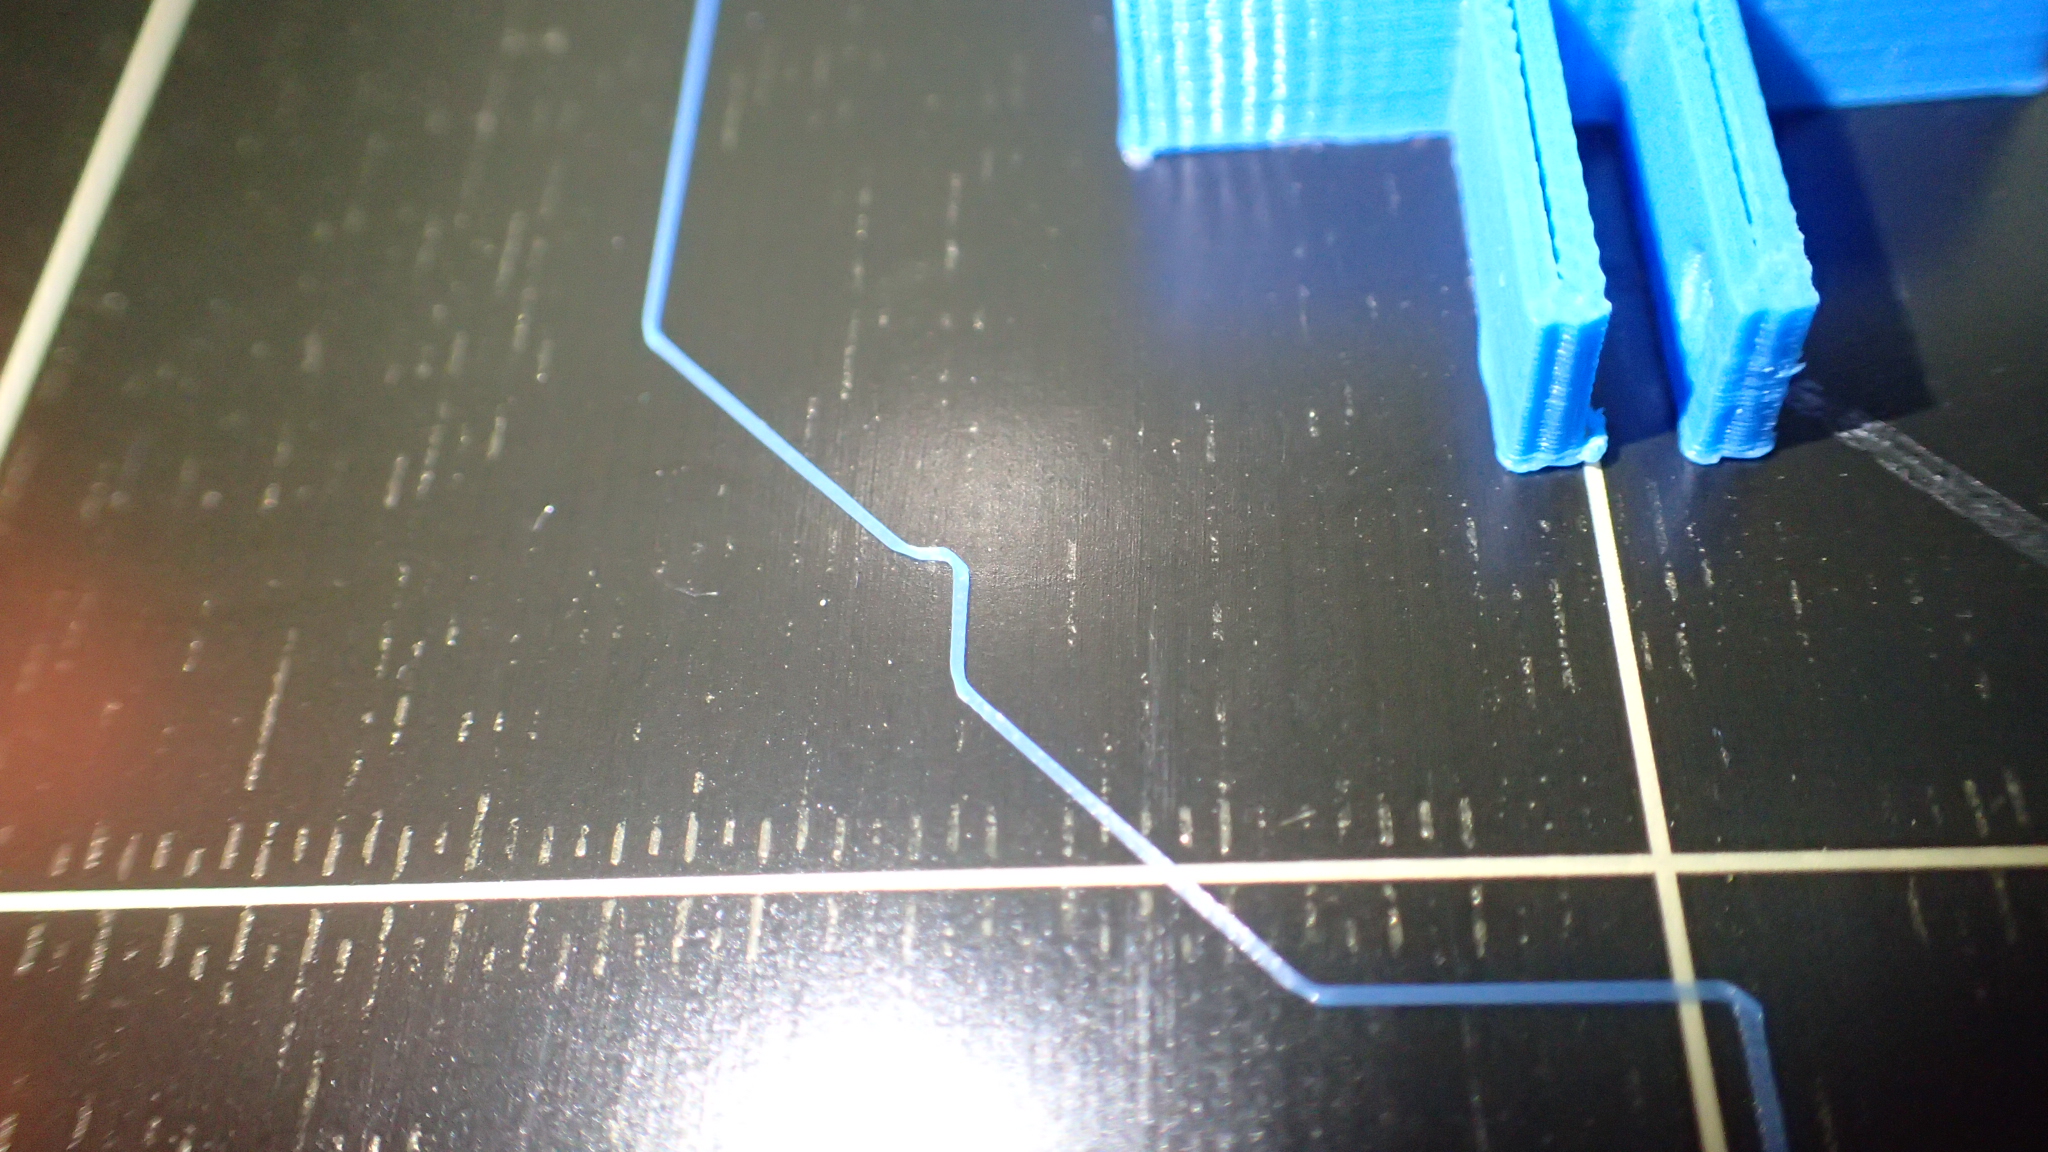
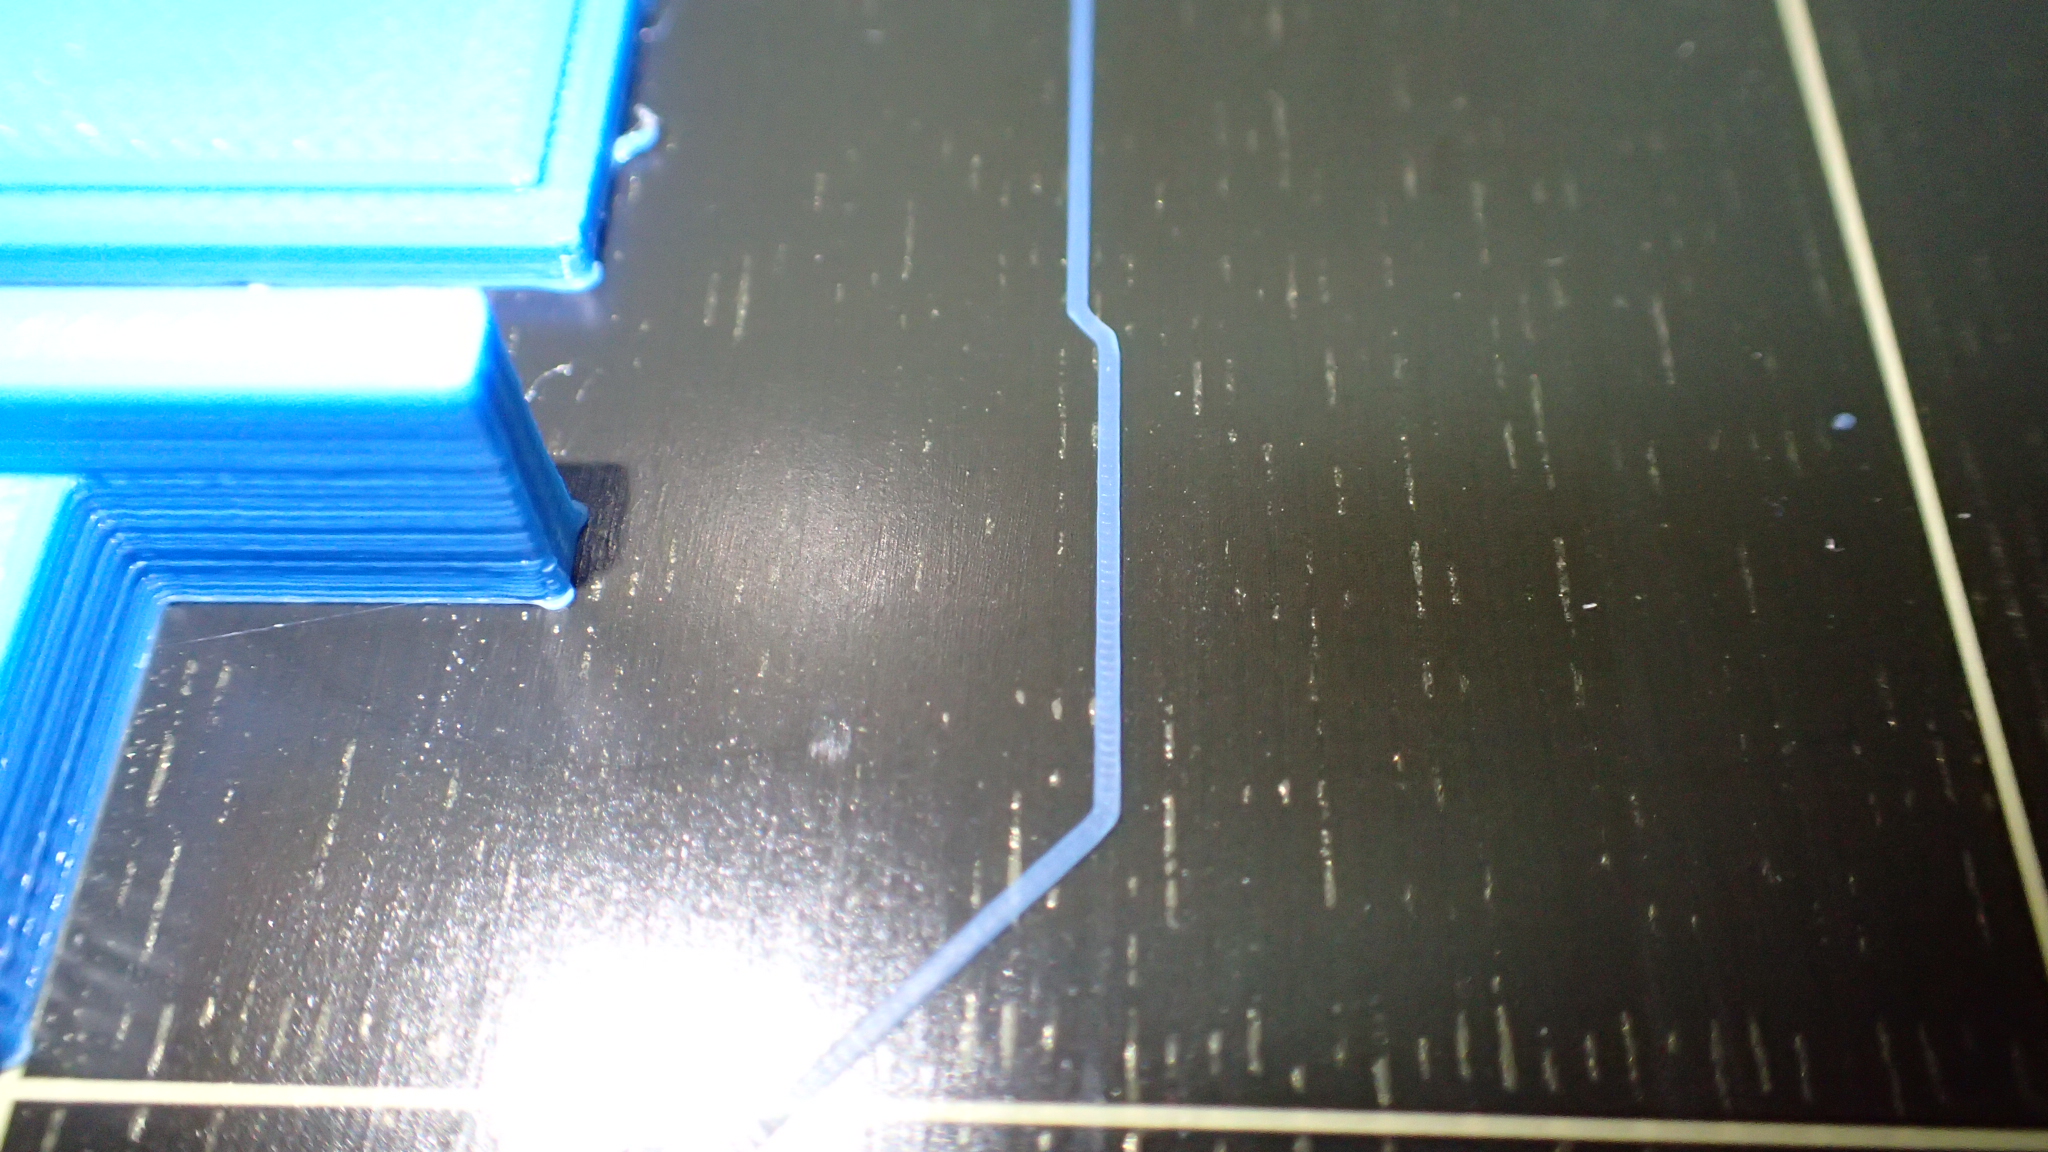
Another question regarding first layer an bed adhesion. Looking at my brim it's a visible difference in how much the filament is squeezed onto the build plate. Shouldn't the auto bed leveling fix this?
Me on MyMiniFactory!
Me on Instagram
3D Printing Live Feeds
Prusa MK2 Usergroup Slack Live Chat
Unofficial live chat by users for users.
Re: Problem with first layer
Patrik
I had exactly the same when my Y frame was not square...
The nuts on the 12mm threaded rod holding the Z frame to the Y frame. Loosen them slightly and ensure the threaded rods are pushed down into the Z frame slots as far as possible. Tighten nuts and then check all 4 feet are flat on the table.
Align the Z axis and re-calibrate Z.
Peter
Please note: I do not have any affiliation with Prusa Research. Any advices given are offered in good faith. It is your responsibility to ensure that by following my advice you do not suffer or cause injury, damage…
Re: Problem with first layer
Patrik
I had exactly the same when my Y frame was not square...
The nuts on the 12mm threaded rod holding the Z frame to the Y frame. Loosen them slightly and ensure the threaded rods are pushed down into the Z frame slots as far as possible. Tighten nuts and then check all 4 feet are flat on the table.
Align the Z axis and re-calibrate Z.
Peter
Alright, I'll see if I can check that... I know that one of the frame slots was a bit tighter than the other one, maybe I should use a file and enlarge it just a little bit to make sure that the threaded rod is fully settled in it.
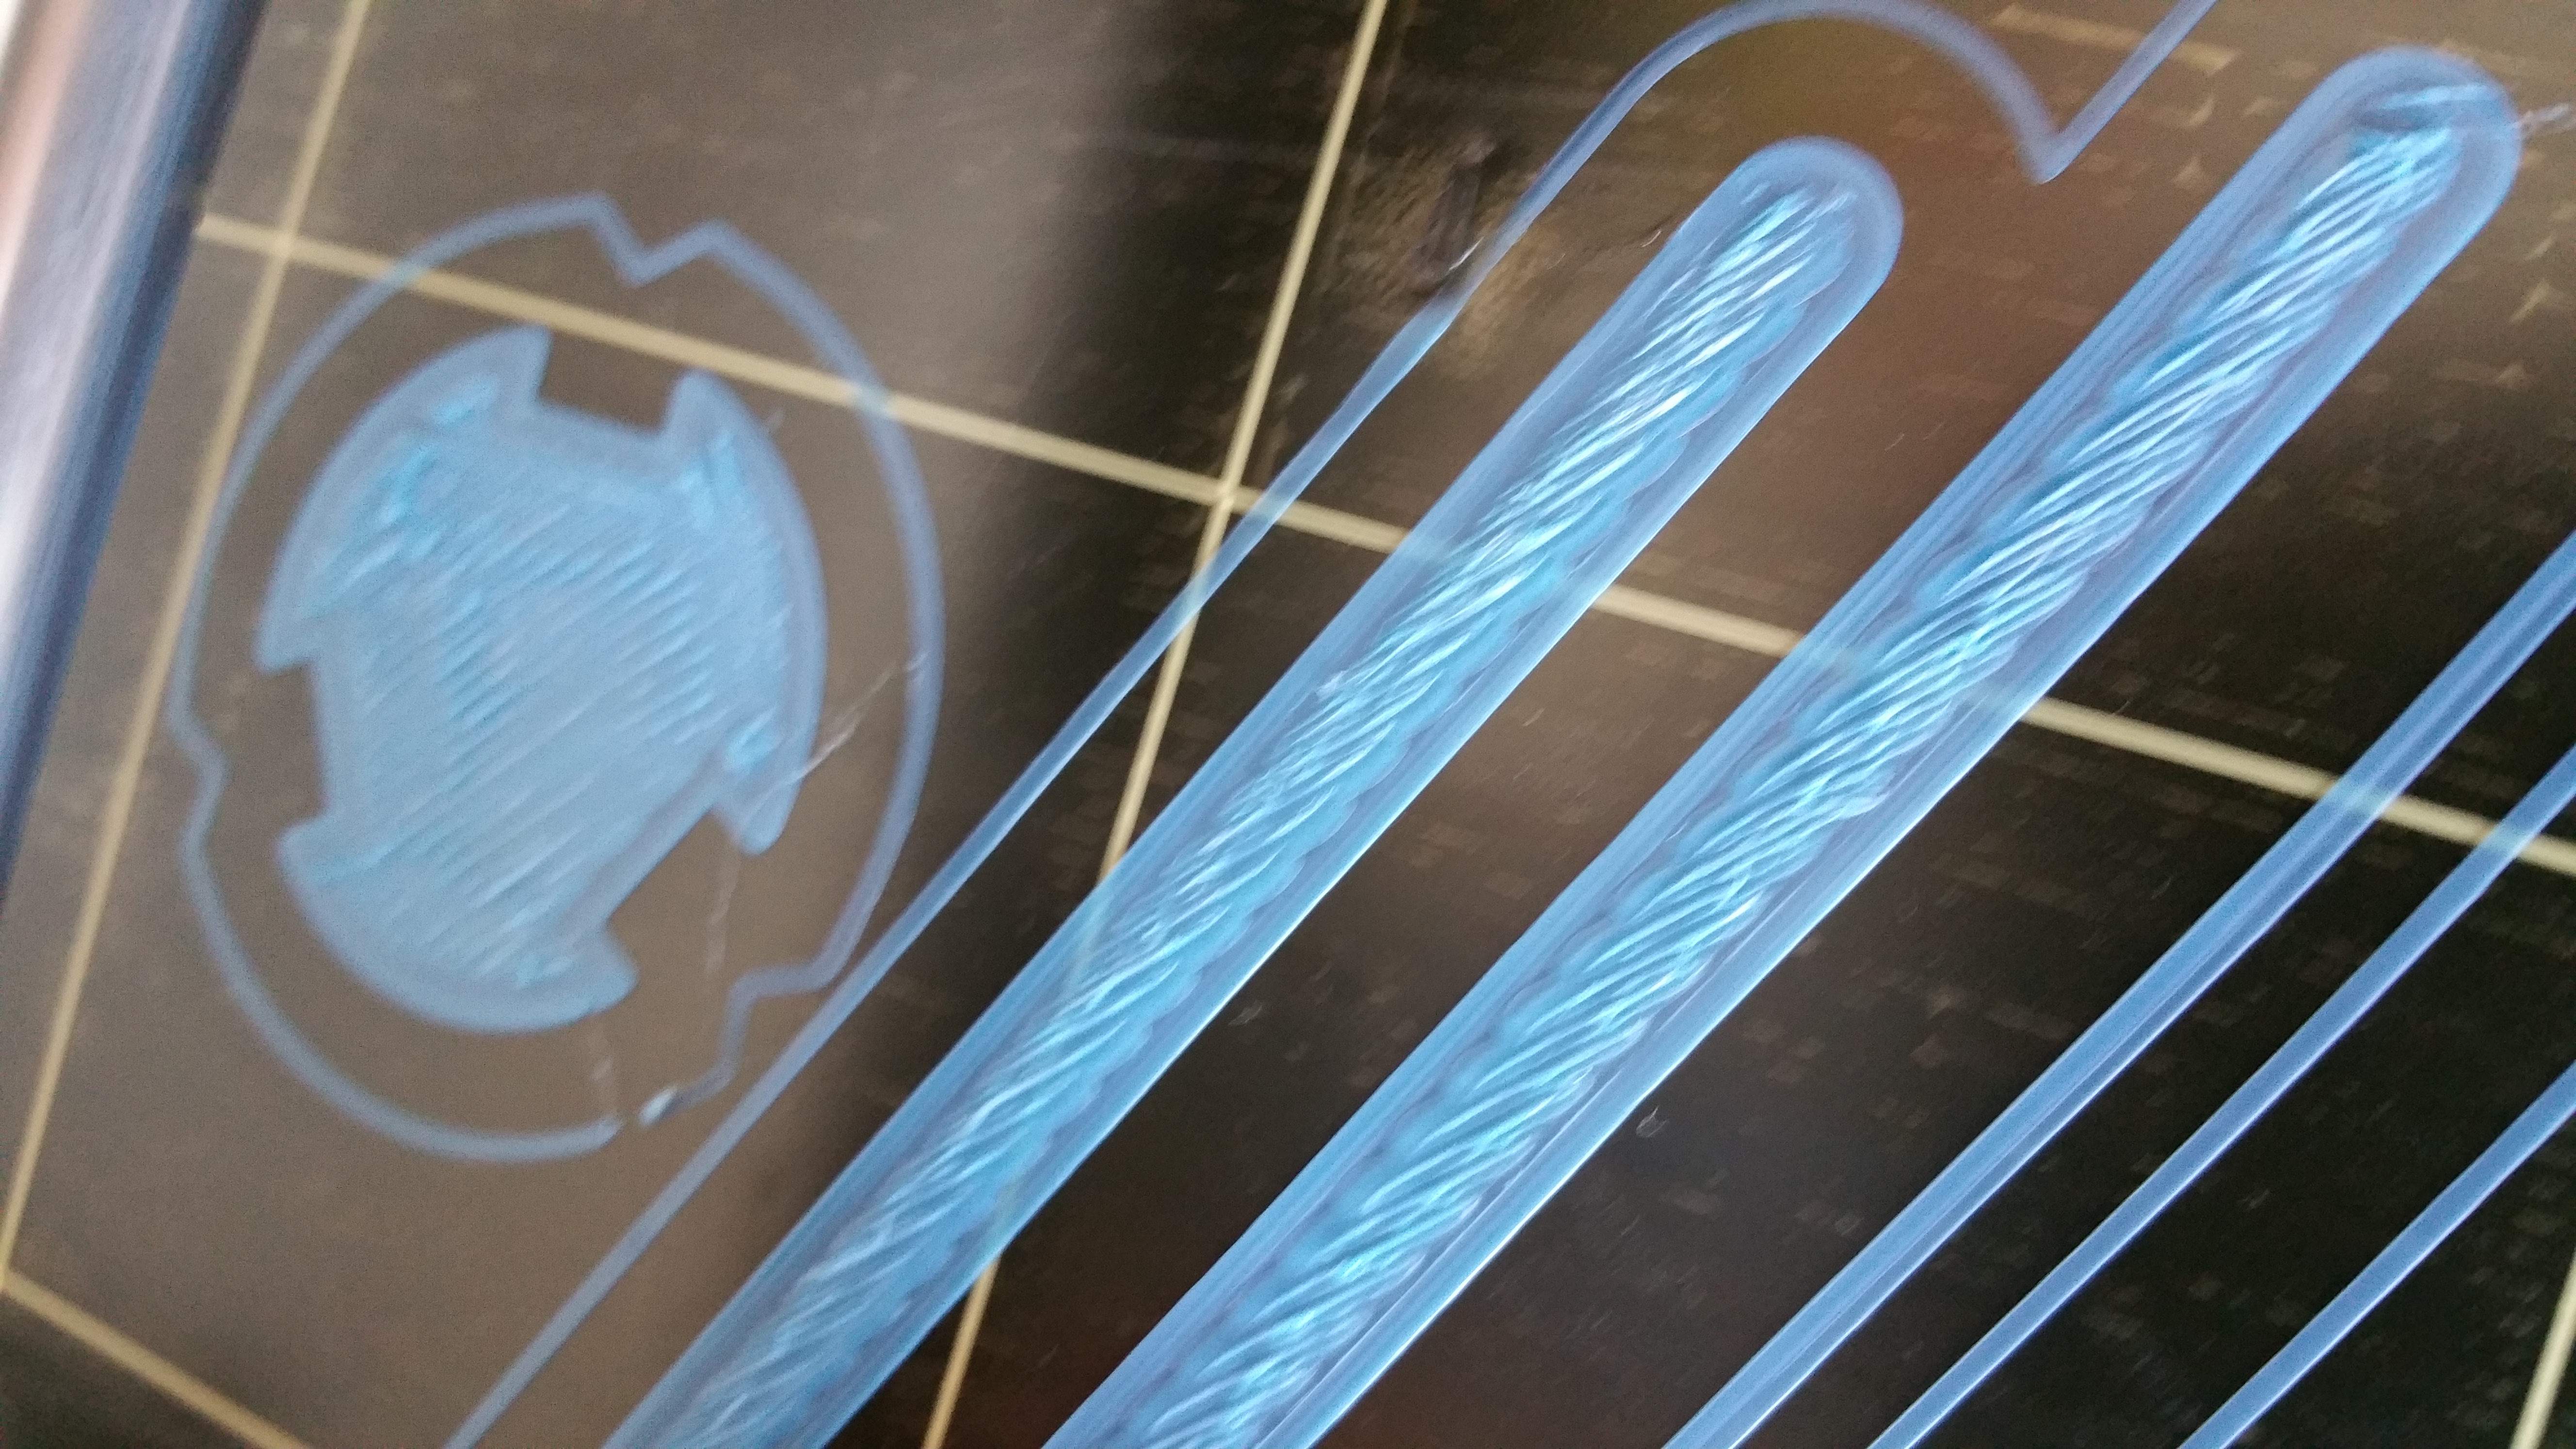
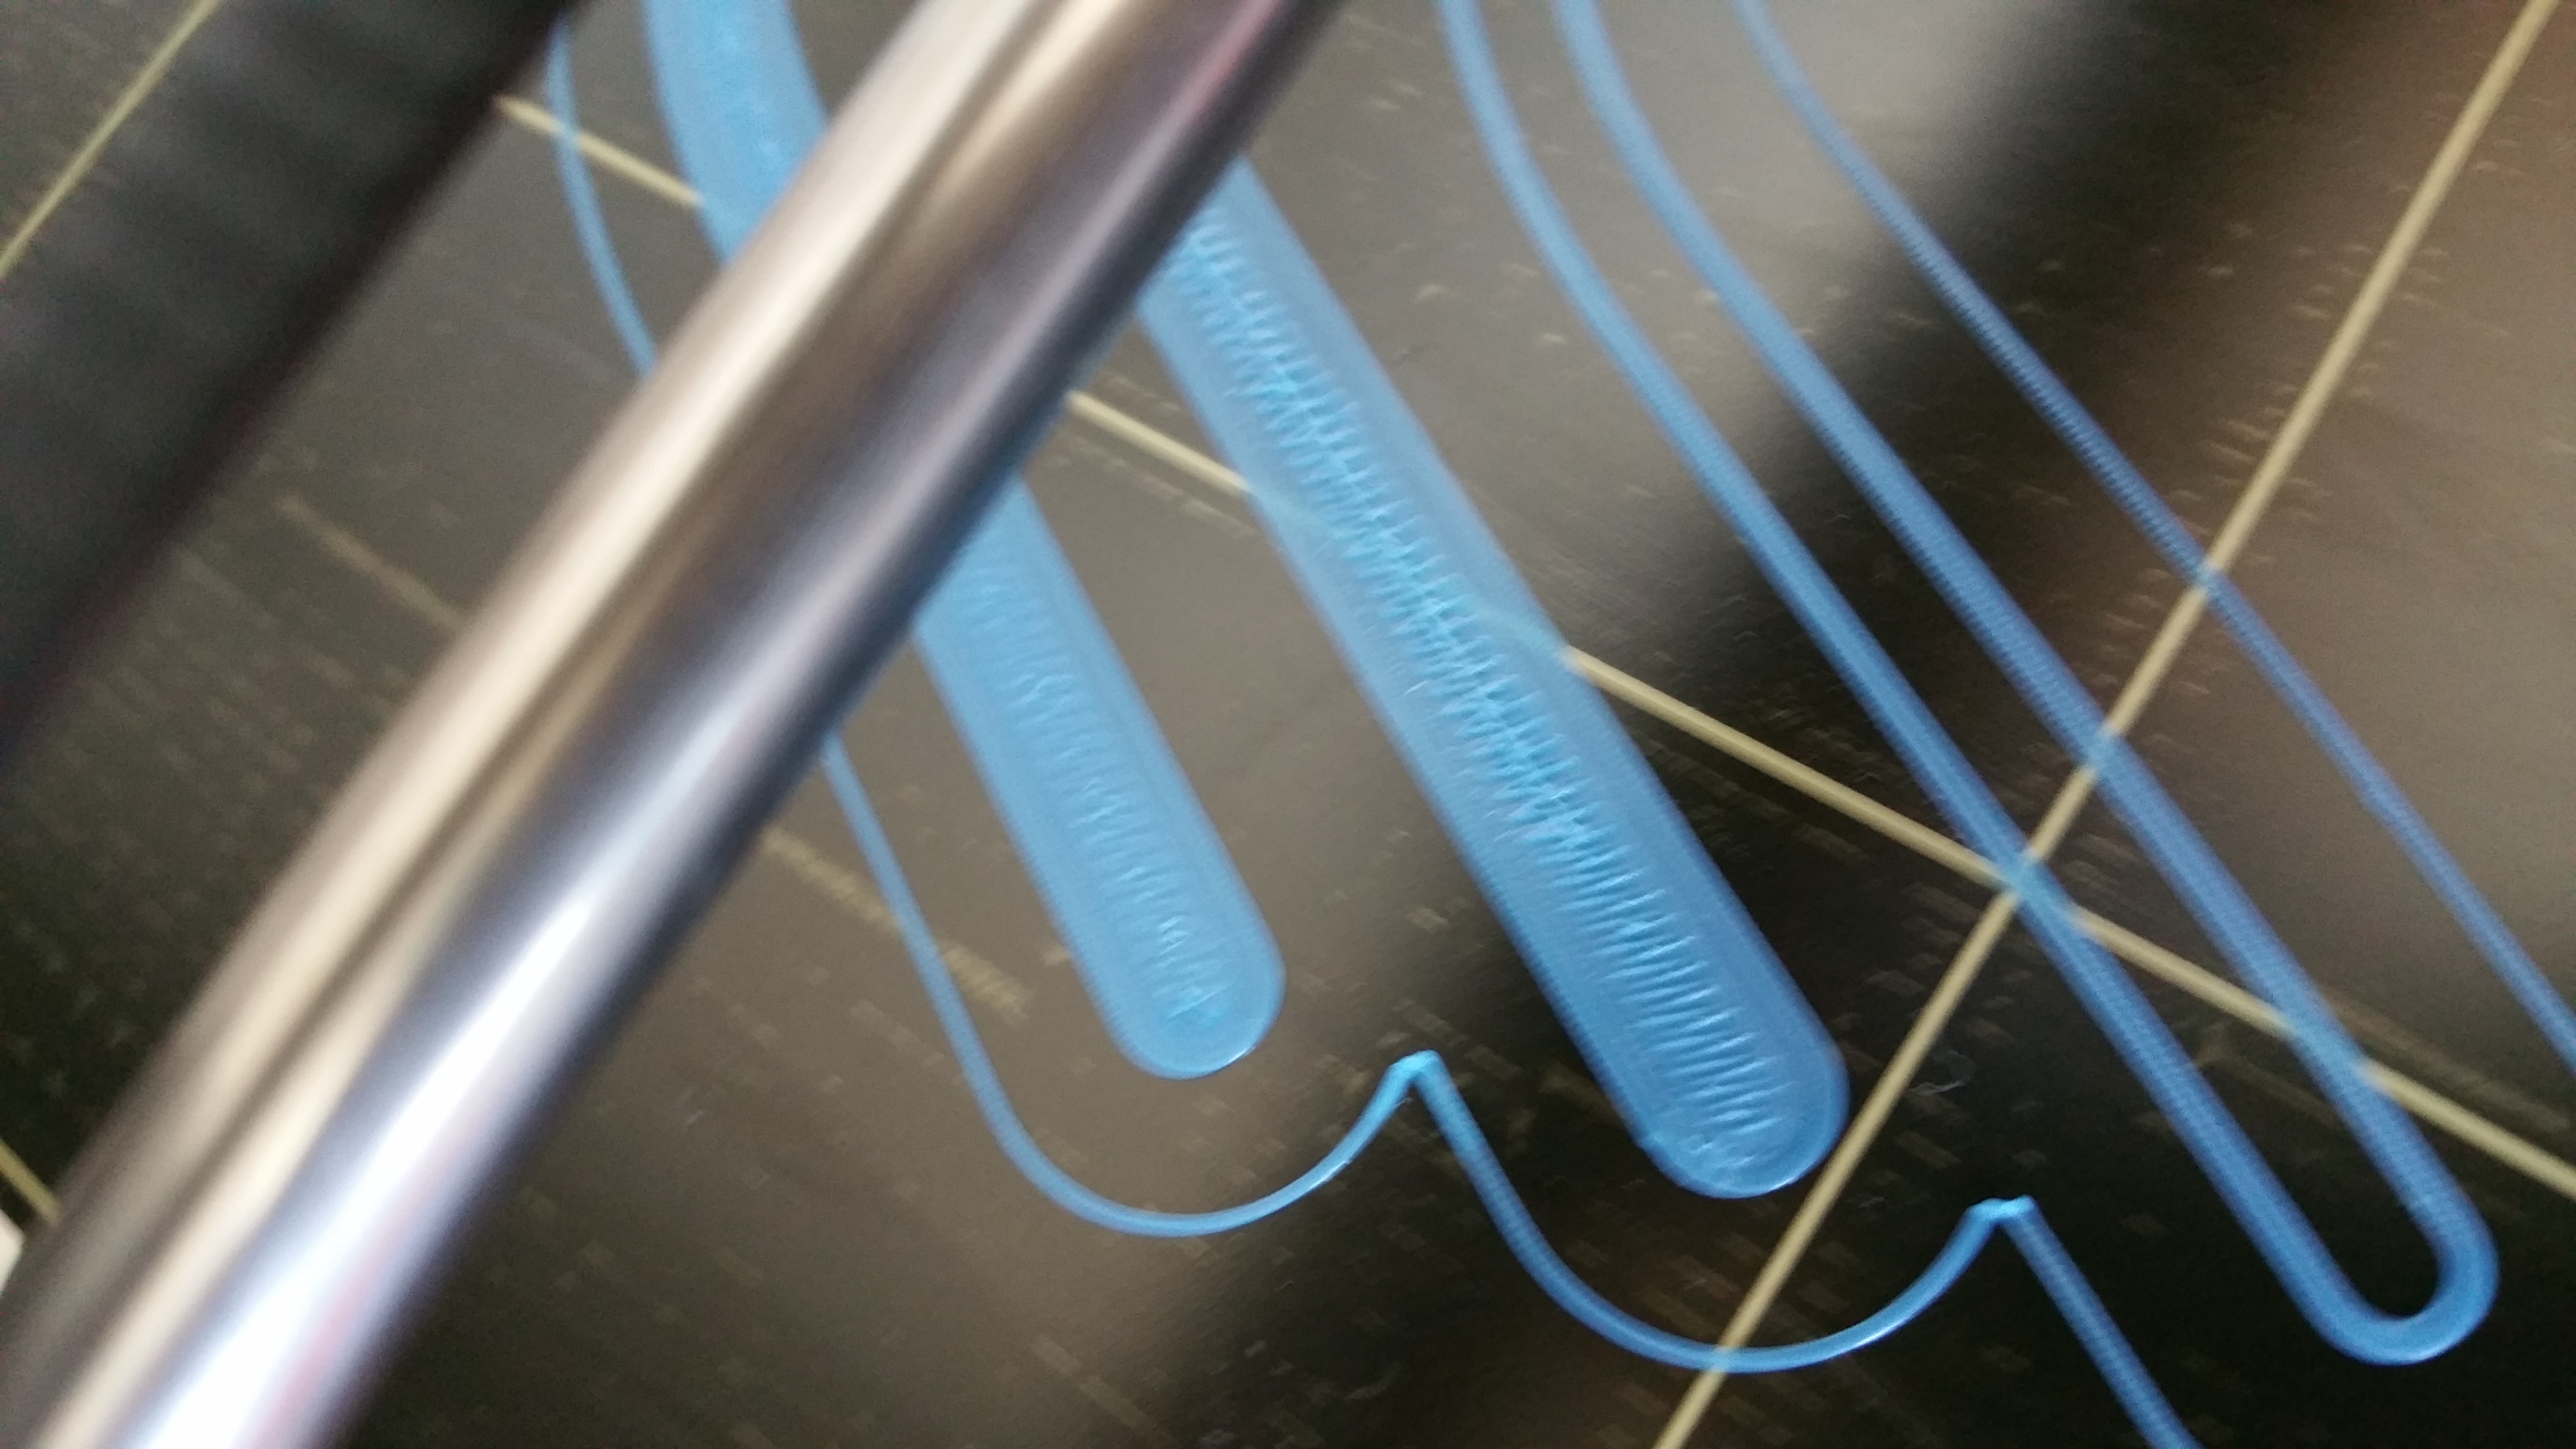
Another first layer question...
I'm having problems getting rid of this ugly things that you can see in the picture below.
I've live adjusted the Z offset from -0.290 to -0.200 but they don't dissapear. -0.2 I see visually that I cant raise the nozzle any more (I think at least).
This is printed with slow speed (40% of default speed)
Should I enable Vertical Lift by 0.2 mm?
Or maybe lower the temperature that I extrude with?
(sorry about the blurry pictures, my camera isnt charged atm...
The print can be viewed here 🙂
http://3dprint.oneaday.se/stream_simple.html
Me on MyMiniFactory!
Me on Instagram
3D Printing Live Feeds
Prusa MK2 Usergroup Slack Live Chat
Unofficial live chat by users for users.
Re: Problem with first layer
Patrik
If the Z frame did not sit properly onto the Y frame, then the Y flame has not been assembled properly - it is either too wide or too narrow.
This needs correcting otherwise you will not get good prints.
And first layer temperature should be higher. Or just use Josef's defaults.
Peter
Please note: I do not have any affiliation with Prusa Research. Any advices given are offered in good faith. It is your responsibility to ensure that by following my advice you do not suffer or cause injury, damage…
Re: Problem with first layer
Patrik
If the Z frame did not sit properly onto the Y frame, then the Y flame has not been assembled properly - it is either too wide or too narrow.
This needs correcting otherwise you will not get good prints.
And first layer temperature should be higher. Or just use Josef's defaults.
Peter
I even tried with the threaded rods loose, and one of the slots was tighter, my Y frame is properly assembled but I suspect it could be some paint or metal debris that I need to remove to get the threaded rod in there all the way down in the slot. I'll check it when the printer dosnt print anymore 🙂
Regarding first layer, how much higher? I'm already printing with the defaults that's in the S3D and Slic3er preset from Josef, 210 degrees, which I think is high for PLA, I doubt that raising the first layer temp even more would help?
Me on MyMiniFactory!
Me on Instagram
3D Printing Live Feeds
Prusa MK2 Usergroup Slack Live Chat
Unofficial live chat by users for users.
Re: Problem with first layer
Patrik
There have been issues with over-spray on the aluminium frames before, so that is quite possible.
Did you have a look at the object I sliced for you? You will note that I use 215 degrees on the first layer then reduce for subsequent layers in order to get a good adhesion.
Peter
Please note: I do not have any affiliation with Prusa Research. Any advices given are offered in good faith. It is your responsibility to ensure that by following my advice you do not suffer or cause injury, damage…
Re: Problem with first layer
Waking this up again, instead of starting a new thread 🙂
I just have one question... If I slice with 0.3mm as layer height, and set first layer height to 50%, will the extrusion change for the first layer as well then?
I'm experiencing pretty rough (on the surface) first layer, with a lot of nozzle dragging in the plastic, but Im pretty sure that my Z height of the nozzle is good, and the second layer always looks great! This is the result when printing at 0.3 and 0.2mm layer height, when I print at 0.1 its not as visible. When printing at 0.2mm I use 85% as first layer height, and when printing at 0.1 I use 150% as first layer height.
Me on MyMiniFactory!
Me on Instagram
3D Printing Live Feeds
Prusa MK2 Usergroup Slack Live Chat
Unofficial live chat by users for users.
Re: Problem with first layer
Can I get a verification that the prusa never prints a first layer with a layer height below 0.2 mm? Always when printing the first layer the Z value on the display is 0.2.
So if I print at 0.1 Layerheight, and the first layer at 150% in height (since I want to achieve 0.15mm for the first layer, it will still put down a 0.2mm first layer and the following layers at 0.1?
Me on MyMiniFactory!
Me on Instagram
3D Printing Live Feeds
Prusa MK2 Usergroup Slack Live Chat
Unofficial live chat by users for users.
Re: Problem with first layer
Patrik
Sort of.
I understand this will be changed in the next firmware release.
The current firmware will not allow the height of the first layer to go below 0.2mm To confirm this, just home the Z axis and you will see the display is showing that figure.
However, the calibration files (and other PR supplied GCode files) and the Slic3r settings files from PR all have (with one exception) a first layer height of 0.15mm
So when users calibrate the "Z live adjust" based on any GCode files from the above they actually set the nozzle gap to significantly less than 0.15mm.
However, the slicer software does not know anything about any of the above and it will slice the model as precisely as it can according to the settings in use.
So as an example, if you slice the model with 0.1mm layers the following will happen:
First layer - the printer will ignore the 0.1mm layer setting and print at its 0.2mm layer height setting (which is more like 0.1mm)
Second layer - the printer will use the 0.2mm layer height and print at that (which is still more like 0.1mm)
Third layer - the printer will correctly print at 0.3mm (but that is still more like 0.2mm)
Hopefully, the next release of firmware will have a Z_MIN of 0.15mm. The value cannot be lower than that as nozzle heat can damage the PEI sheet.
Peter
Please note: I do not have any affiliation with Prusa Research. Any advices given are offered in good faith. It is your responsibility to ensure that by following my advice you do not suffer or cause injury, damage…
Re: Problem with first layer
OK, so always setting the first layer height to 0.2mm in the slicer software would make sense atm? No matter if I slice the rest of the layers at 0.05 or 0.3?
Whats happening with the extrusion flow if I slice it with 0.15 as layer height in the slicer and the printer prints it at 0.2, sounds like it will result in a under extruded first layer?
Me on MyMiniFactory!
Me on Instagram
3D Printing Live Feeds
Prusa MK2 Usergroup Slack Live Chat
Unofficial live chat by users for users.