Low spots on the bed.
Hey is anyone else having the issue where there is an area that you just cant print on because the bed dips there? It is extremely frustrating when printing large parts. because it will lift at that area, and wont stick. I couldn't find any solution anywhere. Any one have any advice on this would be great.
Best Answer by GKMAKEIT:
I had issues on all three of my mk3/s with large parts. The corners coming off the build plate and warping on the outer edges of my parts.
First make sure you tightened the 9 heat bed screws in the order called out in the assembly manual.
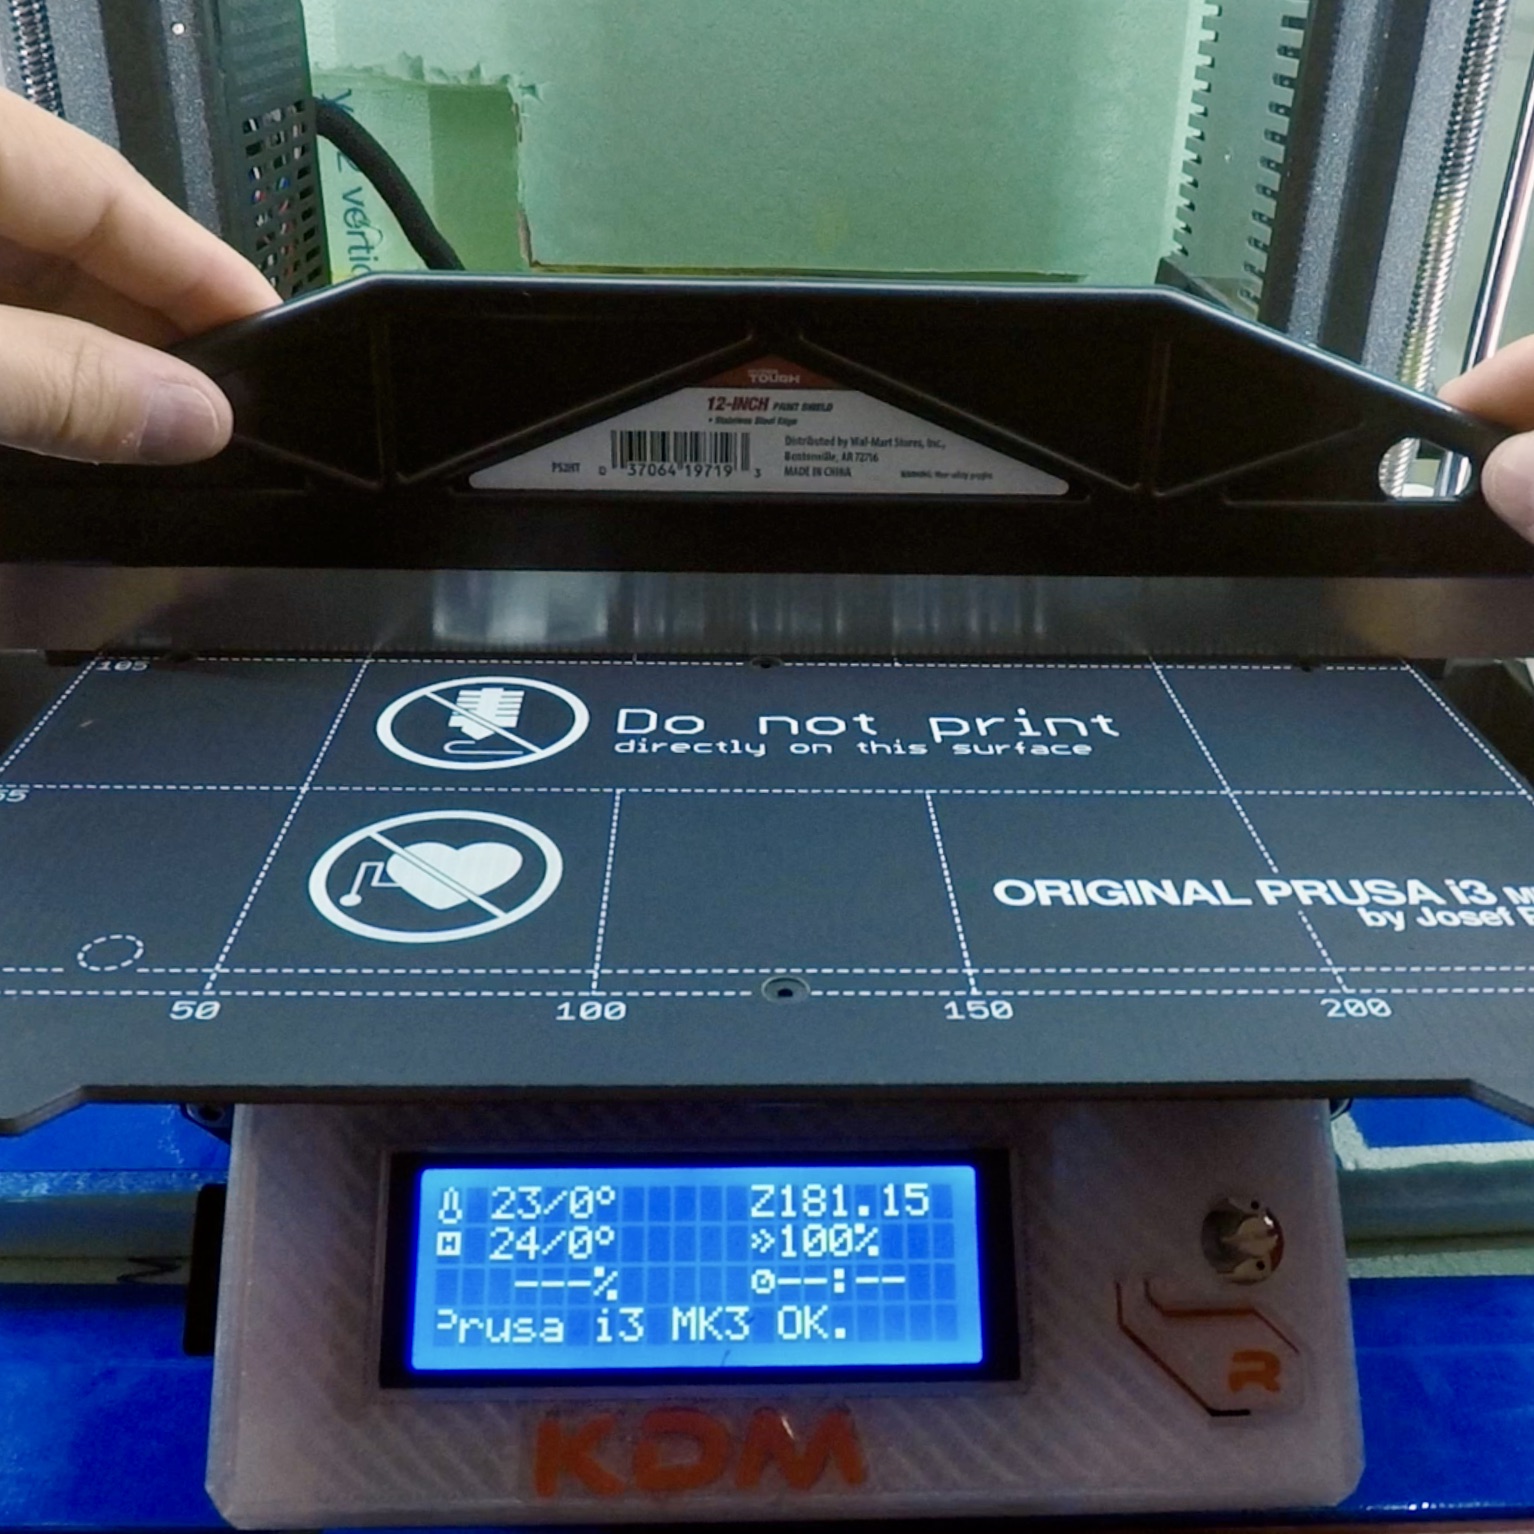
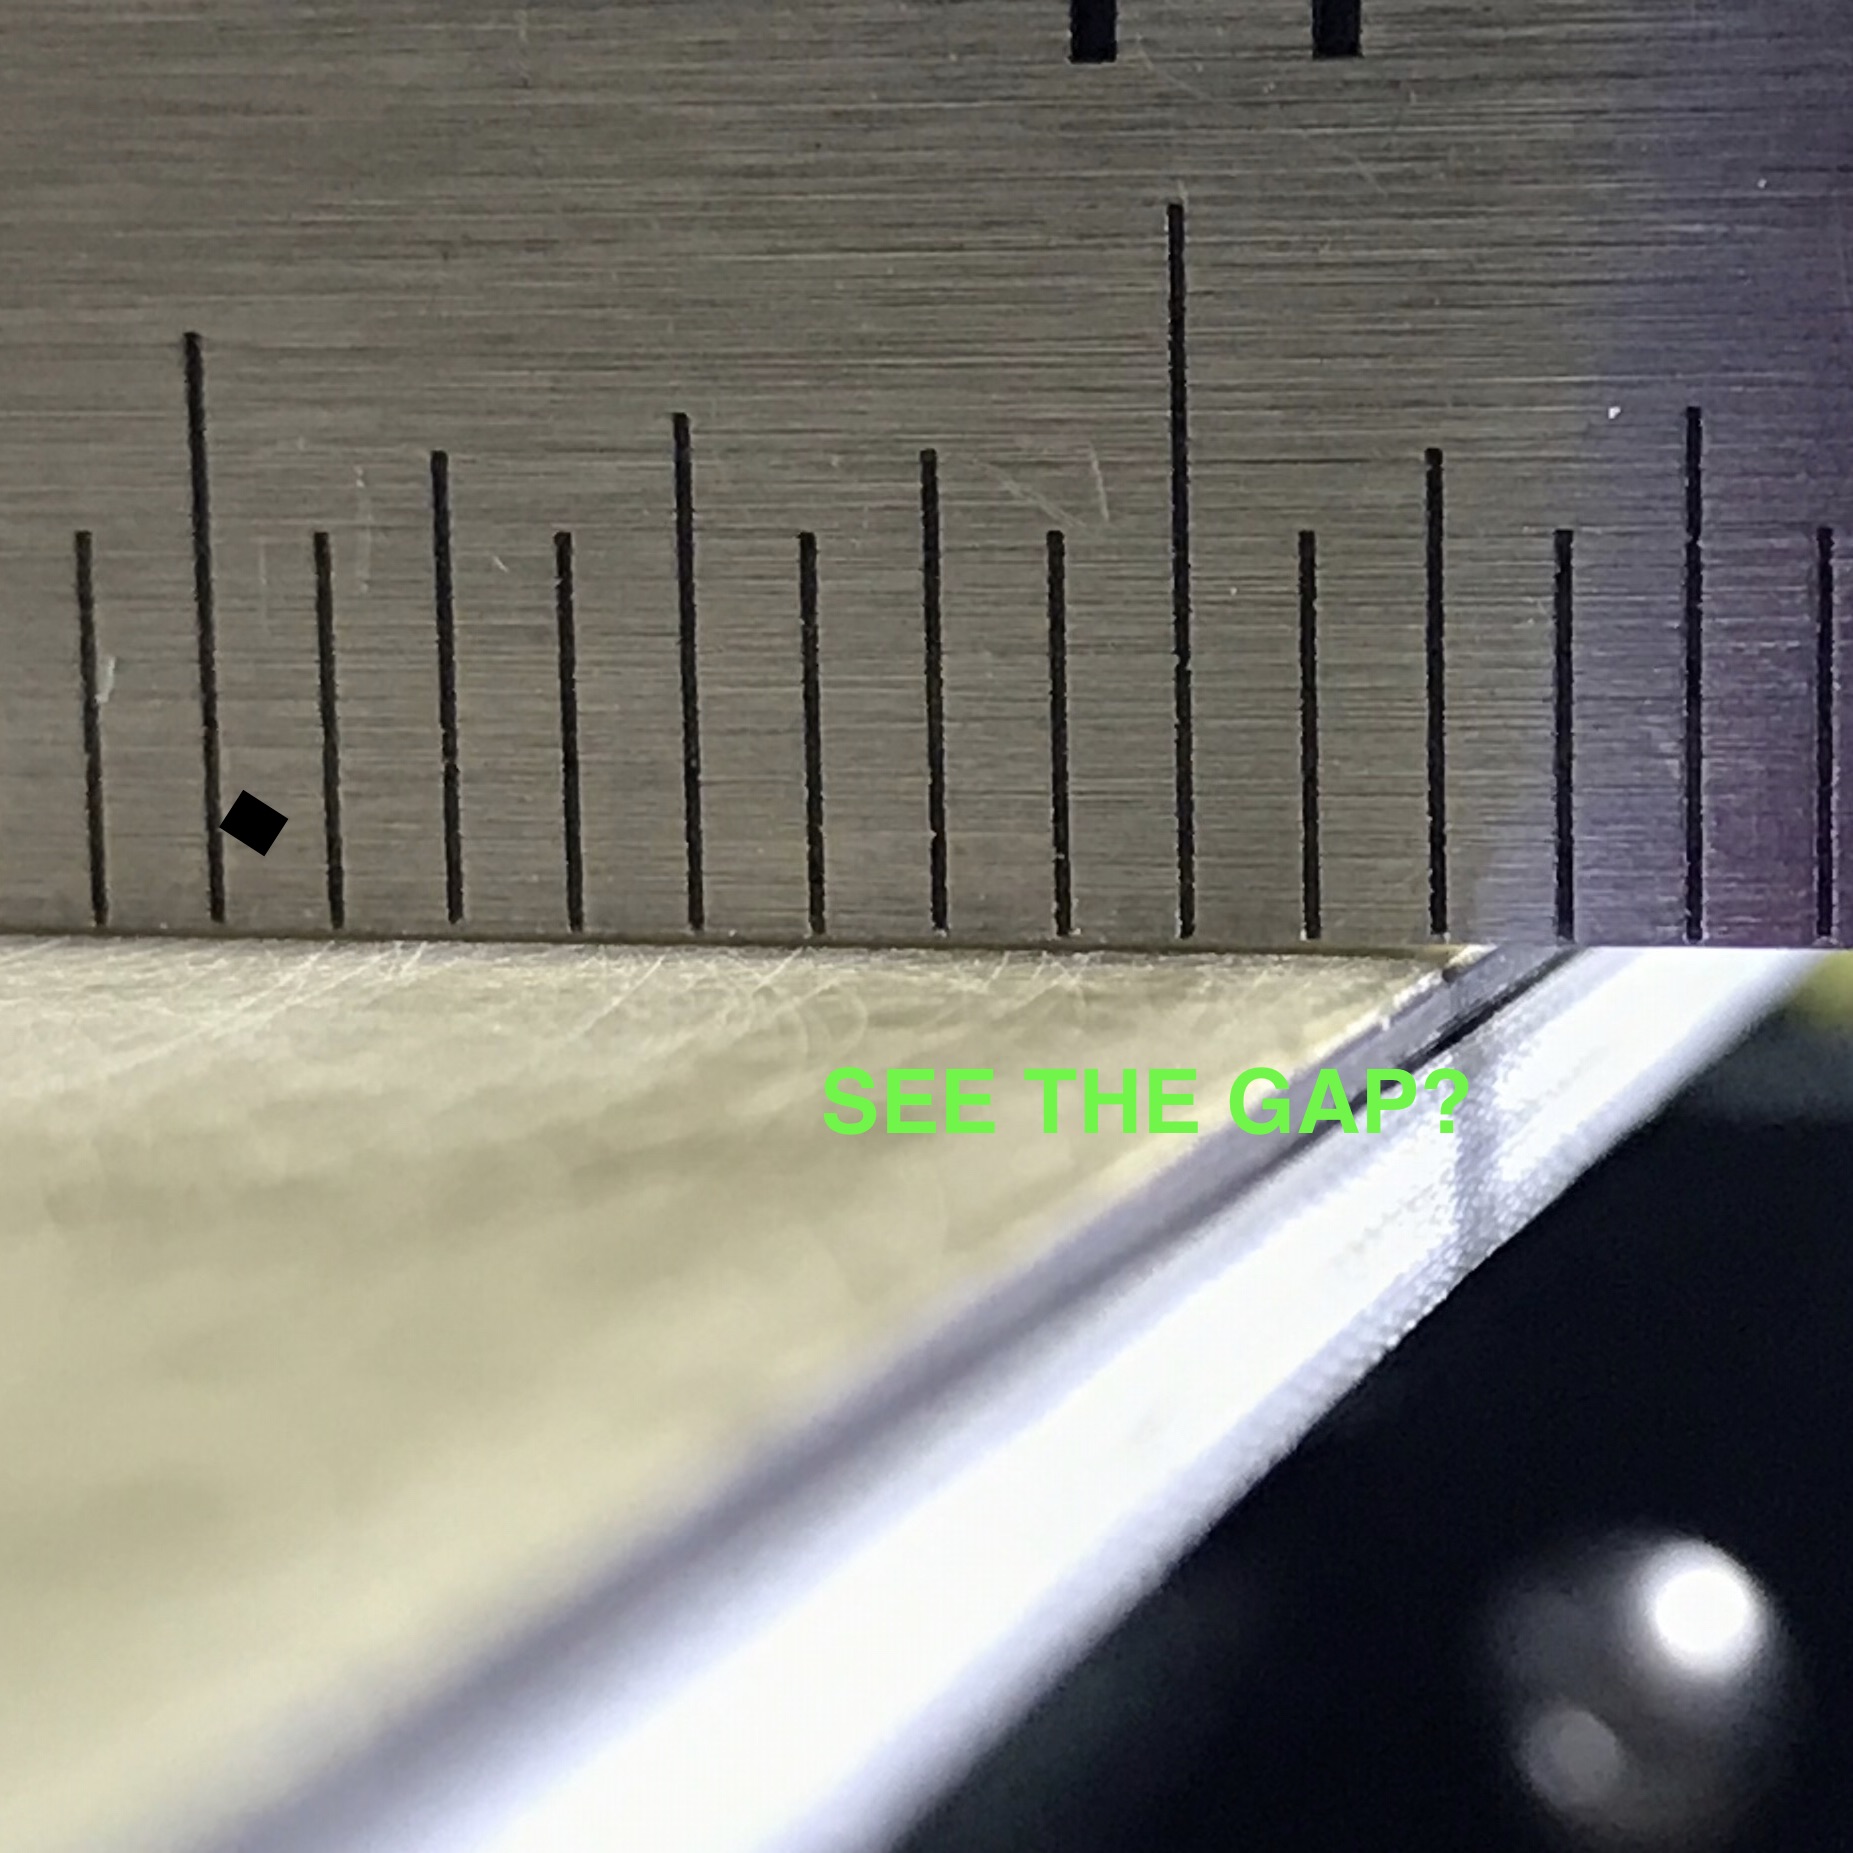
Next use a straight edge directly on your heat bed and look for any high or low spots then turn your heat bed on to printing temperature and when it's up to temperature check again with the straight edge. Check across the X axis on the front, middle and back. Check across the Y axis on the left, middle and right.
You might want to check out my recent youtube video might not be exactly what's wrong with yours, but will give you some things to consider. Also in the description of the video I have a link where you can pick up a inexpensive straight edge if you need one.
Let me know what you figure out, glad to help if I can.
RE: Low spots on the bed.
Hi Jonas,
you don't give us a lot to go on...
Are you using PLA?
Are you using 7x7 Mesh Bed Levelling if not, you can turn it on via the LCD menus'
how did you do your first layer calibration? did you use a non prusa process like 'Life Adjust Z My Way' from Jeff Jordan?
there are three files in a Zip file at the bottom of the first post on this page >>> https://forum.prusa3d.com/forum/original-prusa-i3-mk3s-mk3-assembly-and-first-prints-troubleshooting/life-adjust-z-my-way/
are you using the smooth stickered build plate or the textured powder coated build plate? or something else?
Have you made sure that the build plate is scrupulously clean I wash my build plates with Dish Soap and water (using a clean dishwashing sponge, then rinse them with hot water and dry immediately with plain paper towels. making sure to handle them via the edges so I don't get any finger grease on the printing surface!

regards Joan
I try to make safe suggestions,You should understand the context and ensure you are happy that they are safe before attempting to apply my suggestions, what you do, is YOUR responsibility.Location Halifax UK
RE: Low spots on the bed.
@joantabb
I am using 7x7 calibration on a smooth texture bed with PLA.
Sorry for the little info. What happens is that, lets say i print a 6"X 6" cube. when it gets to that certain spot on the bed the nozzle will for some reason lift up way to high for the filament to stick ( its on the left center). I can see it visually, i don't know yet if the nozzle rises or the bed dips, i want to take a indicator across it sometime yet.
It prints really well till it gets to that area then the nozzle is just to far up.
RE: Low spots on the bed.
@jonas-e2
Hi Jonas,
that is very odd...
Have you tried re setting the X axis by driving it up tot he top of the frame, using the LCD Knob to adjust the Z height...
when the printer is on, but Idle, press and hold the knob, and you should get an option to move the Z axis after about three seconds.
turn the knob until either you run out of adjustment or the X axis end pieces both rattle against the Z axis top brackets, if you run out of adjustment, press the reset button and wait for the LCD to reset, then try the above procedure again to ensure that both Z motors ram the X end pieces into the Z axis top brackets, thus making sure that the X axis is level...
then re try printing...
regards Joan
I try to make safe suggestions,You should understand the context and ensure you are happy that they are safe before attempting to apply my suggestions, what you do, is YOUR responsibility.Location Halifax UK
RE: Low spots on the bed.
I had issues on all three of my mk3/s with large parts. The corners coming off the build plate and warping on the outer edges of my parts.
First make sure you tightened the 9 heat bed screws in the order called out in the assembly manual.
Next use a straight edge directly on your heat bed and look for any high or low spots then turn your heat bed on to printing temperature and when it's up to temperature check again with the straight edge. Check across the X axis on the front, middle and back. Check across the Y axis on the left, middle and right.
You might want to check out my recent youtube video might not be exactly what's wrong with yours, but will give you some things to consider. Also in the description of the video I have a link where you can pick up a inexpensive straight edge if you need one.
Let me know what you figure out, glad to help if I can.
RE: Low spots on the bed.
@gkmakeit @joantabb Hey you guys are great! I had it in my agenda to unmount and remount that entire bed. And then check it with my indicator. Ill let you guys know how it goes. I really like that spring idea.
RE: Low spots on the bed.
@jonas-e2
many ways to go... choose your preferred and go that way carefully, if it leads to a dead end, retrace your steps and start again, be careful about only going forward, as you may have changed something in a previous deviation from standard that responds adversely when you make another change.
Good Luck, let u know what sorts your issues.
regards joan
I try to make safe suggestions,You should understand the context and ensure you are happy that they are safe before attempting to apply my suggestions, what you do, is YOUR responsibility.Location Halifax UK
RE: Low spots on the bed.
@jonas-e2
Make sure however you check the flatness of your heat bed, indicator or straight edge you do it at printing temperature. I think since the bed is held rigidly down with the 9 countersunk screws that doesn't give relief for thermal expansion or contraction of the bed.
Keep us updated.
RE: Low spots on the bed.
Would it help any to set the heat bed screws at temperature? Loosen all nine screws, bring the bed to the normal temperature you print at, let it sit for a few minutes to soak, then tighten the screws in the manual recommended sequence. Obvious caveat - don't burn yourself doing this.
RE: Low spots on the bed.
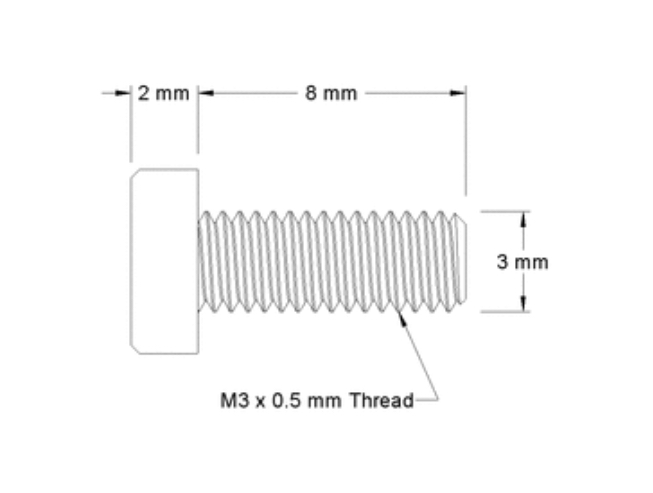
I don't think it would because countersink screw will center whatever it's holding down as you tighten (set) the screw. Thats part of the design purpose for CSK screws. I think if flat shoulder screws were used it would allow for horizontal movement for thermal expansion and contraction. That would require a heat bed with different type holes, I've thought about trying it sometime. One day I might take one of mine to my friends machine shop and modify the holes and try it.
Something like this...
RE: Low spots on the bed.
Alas to no avail. i took the bad all apart and reassemble it. It didn't make a difference. Isn't the whole mesh bed leveling supposed to take care of all of that? Im not sure what im going to do next. I did a factory reset in case there are some bugs.
RE: Low spots on the bed.
Did you check the flatness while your heat bed was at printing temperature? What was the result?
RE: Low spots on the bed.
I thought that about the mesh bed leveling as well, but I don't think it works the way I thought. I was thinking it would compensate for the low and high areas individually, but now after messing with it more I think it's just averaging the difference and compensating for it over the whole surface of the bed.
If anyone else is familiar with the way mesh bed leveling works please provide some knowledge.
RE: Low spots on the bed.
@gkmakeit
I check it and it varied about .015" to .02" across. it wasn't the best way to check it because my indicator was jumping around on that surface. but im doing some more test tonight yet.
RE: Low spots on the bed.
@das-jonas-lee-printguy
I would still suggest using a straight edge to check. Indicators are fine, but won't give your a full across the bed visual of the low or high spots.
RE: Low spots on the bed.
If you are desperate (as I was) I checked all the wrong things to no avail. The problem turned out to be the slicer. For my project the first three layers were all flat. However to PrusaSlicer some areas were External perimeter, some Solid infill, and some Top solid infill. All of these can have different parameters for how they are sliced in terms of speed, acceleration, slice directions, and extrusion.
Take a look at your sliced model (on the computer screen) and scroll to enlarge the problem area until you can see each individual line. You can also turn off the feature display so you are only looking at these features. If it is a corner there is likely a change in direction and a change in acceleration. I'd just look at it and if there is anything different about the area then change some parameters. Another solution is to use the older version (Slic3rPE) and also Cura which may well slice it differently.
In my case it turned out to be the Infill Fill Angle - default was 45 degrees and changing it to 90 degrees (or 180 degrees) cured the problem.
I've also had other weird unexplained wrinkles in the first layer of a print that turned out to be a Live Z Adjust that was too negative by 50 microns. Well Prusa does say the Z adjust can be very sensitive.
Alas - too much to print and way too many parameters to consider.