My First Build, Problems, Remedies
Hey everyone,
This printer is my very first experience with a 3D printer. I ordered the MK3 kit and was able to complete the build and calibrate the printer is about 10 hours. (it was spanned over two night after work, so give or take an hour.) Overall, the build went very smooth. I liked the fact the kit came with everything packaged in bags for the specific item that was to be built, made things go a lot faster. The biggest trouble I had was getting some of the nuts to fit into their intended places, which is to be expected with printed parts.
BEFORE RUNNING CALIBRATION I UPDATED TO NEWEST FIRMWARE. (read others having issues that was fixed with firmware updates)
During calibration I initially had some trouble but was able to quickly sort them out.
First issue was while calibrating the X Axis, printer would go across, come back to the other side and fail due to length. To fix this, I loosened the five screws on the back of the extruder housing and after that was able to pass the test no problem. (found from a problem someone else had). While searching I also found it could be due to the zip ties on the back of the housing, no the problem in my case.
Second issue was when calibrating the XYZ. The printer would fail as soon as the test began. The remedy for this was to use LIVE Z and put the Z access all the way up and bring it all the way back down. After doing this the printer started the test and completed it all the way through with no issues. While searching I also found it could be due to over tightening the U bolts holding the bottom bearings, pulley on the motor not tightened, uneven frame/bed, trapezoid nuts on Z motors being too tight... I'm sure there are countless other reasons, just trying to help others.
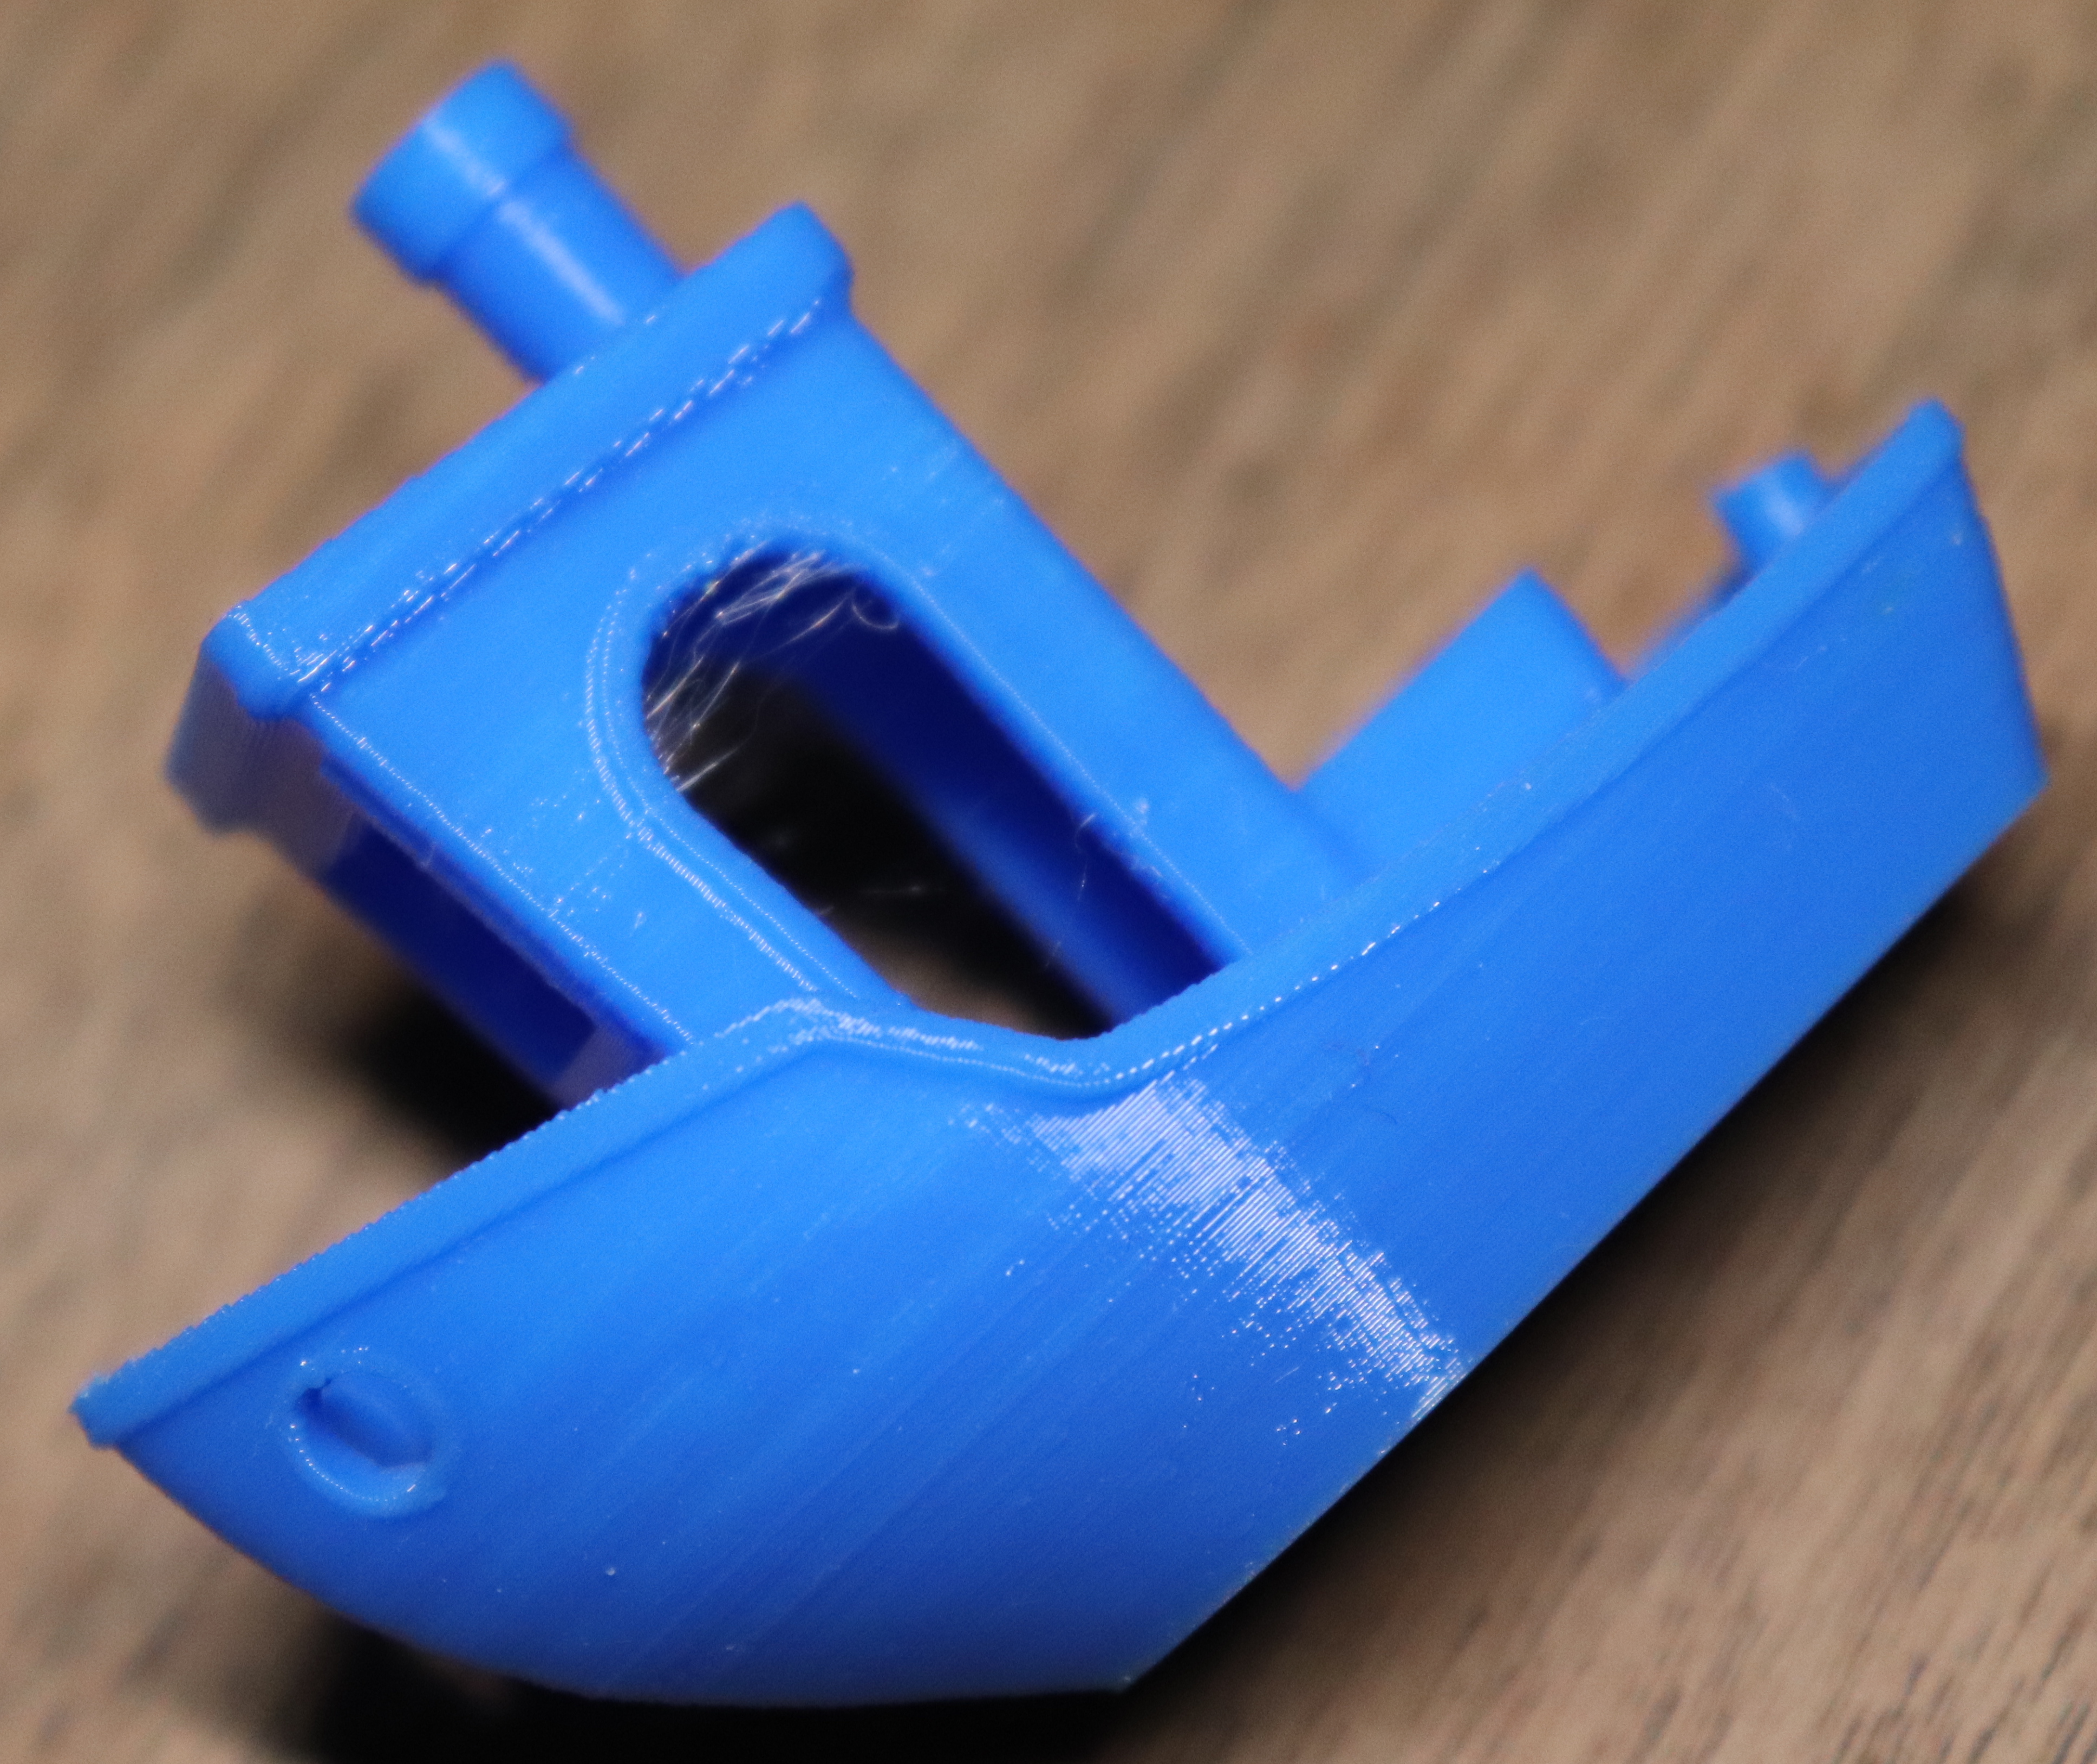
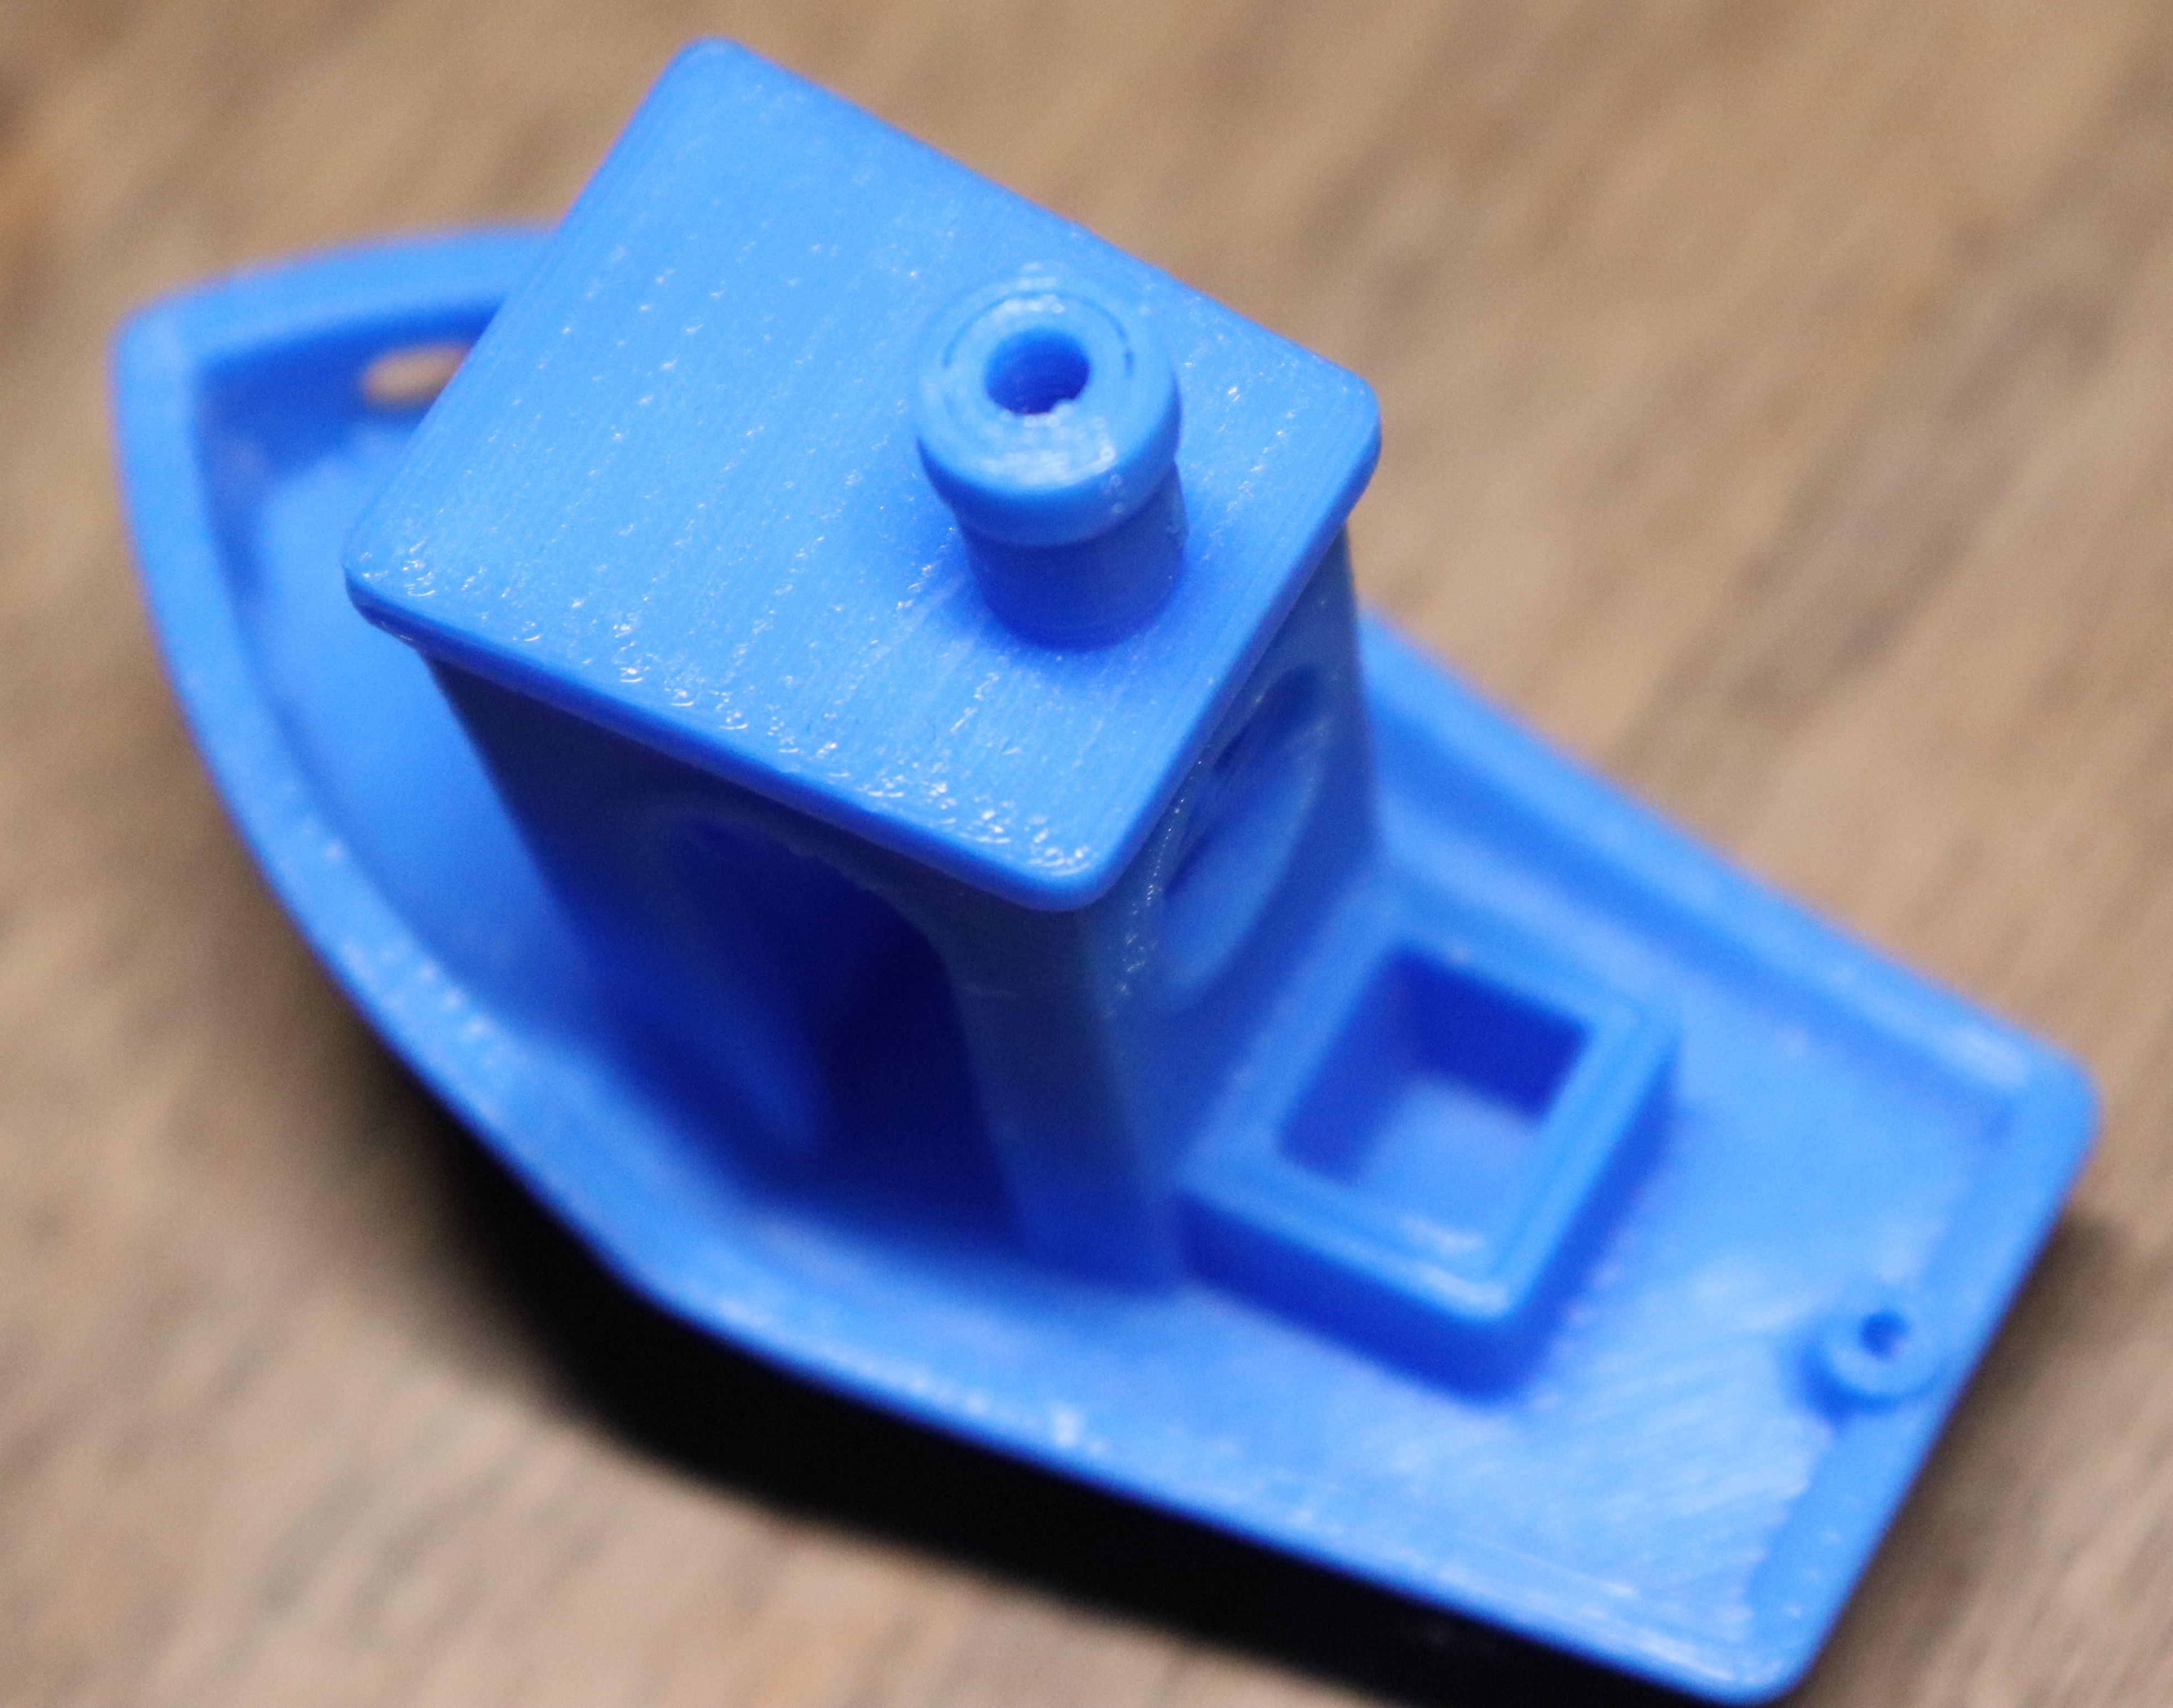
My first print was the Benchy. Took 1:58 to complete. I think it turned out very well for my first print and compared to others I have seen but, there are some small issues that will need to be fixed. If you see them and would like to give suggestions on what to do, that would be great! (need to still read up on how to adjust settings to fix imperfections.)
Re: My First Build, Problems, Remedies
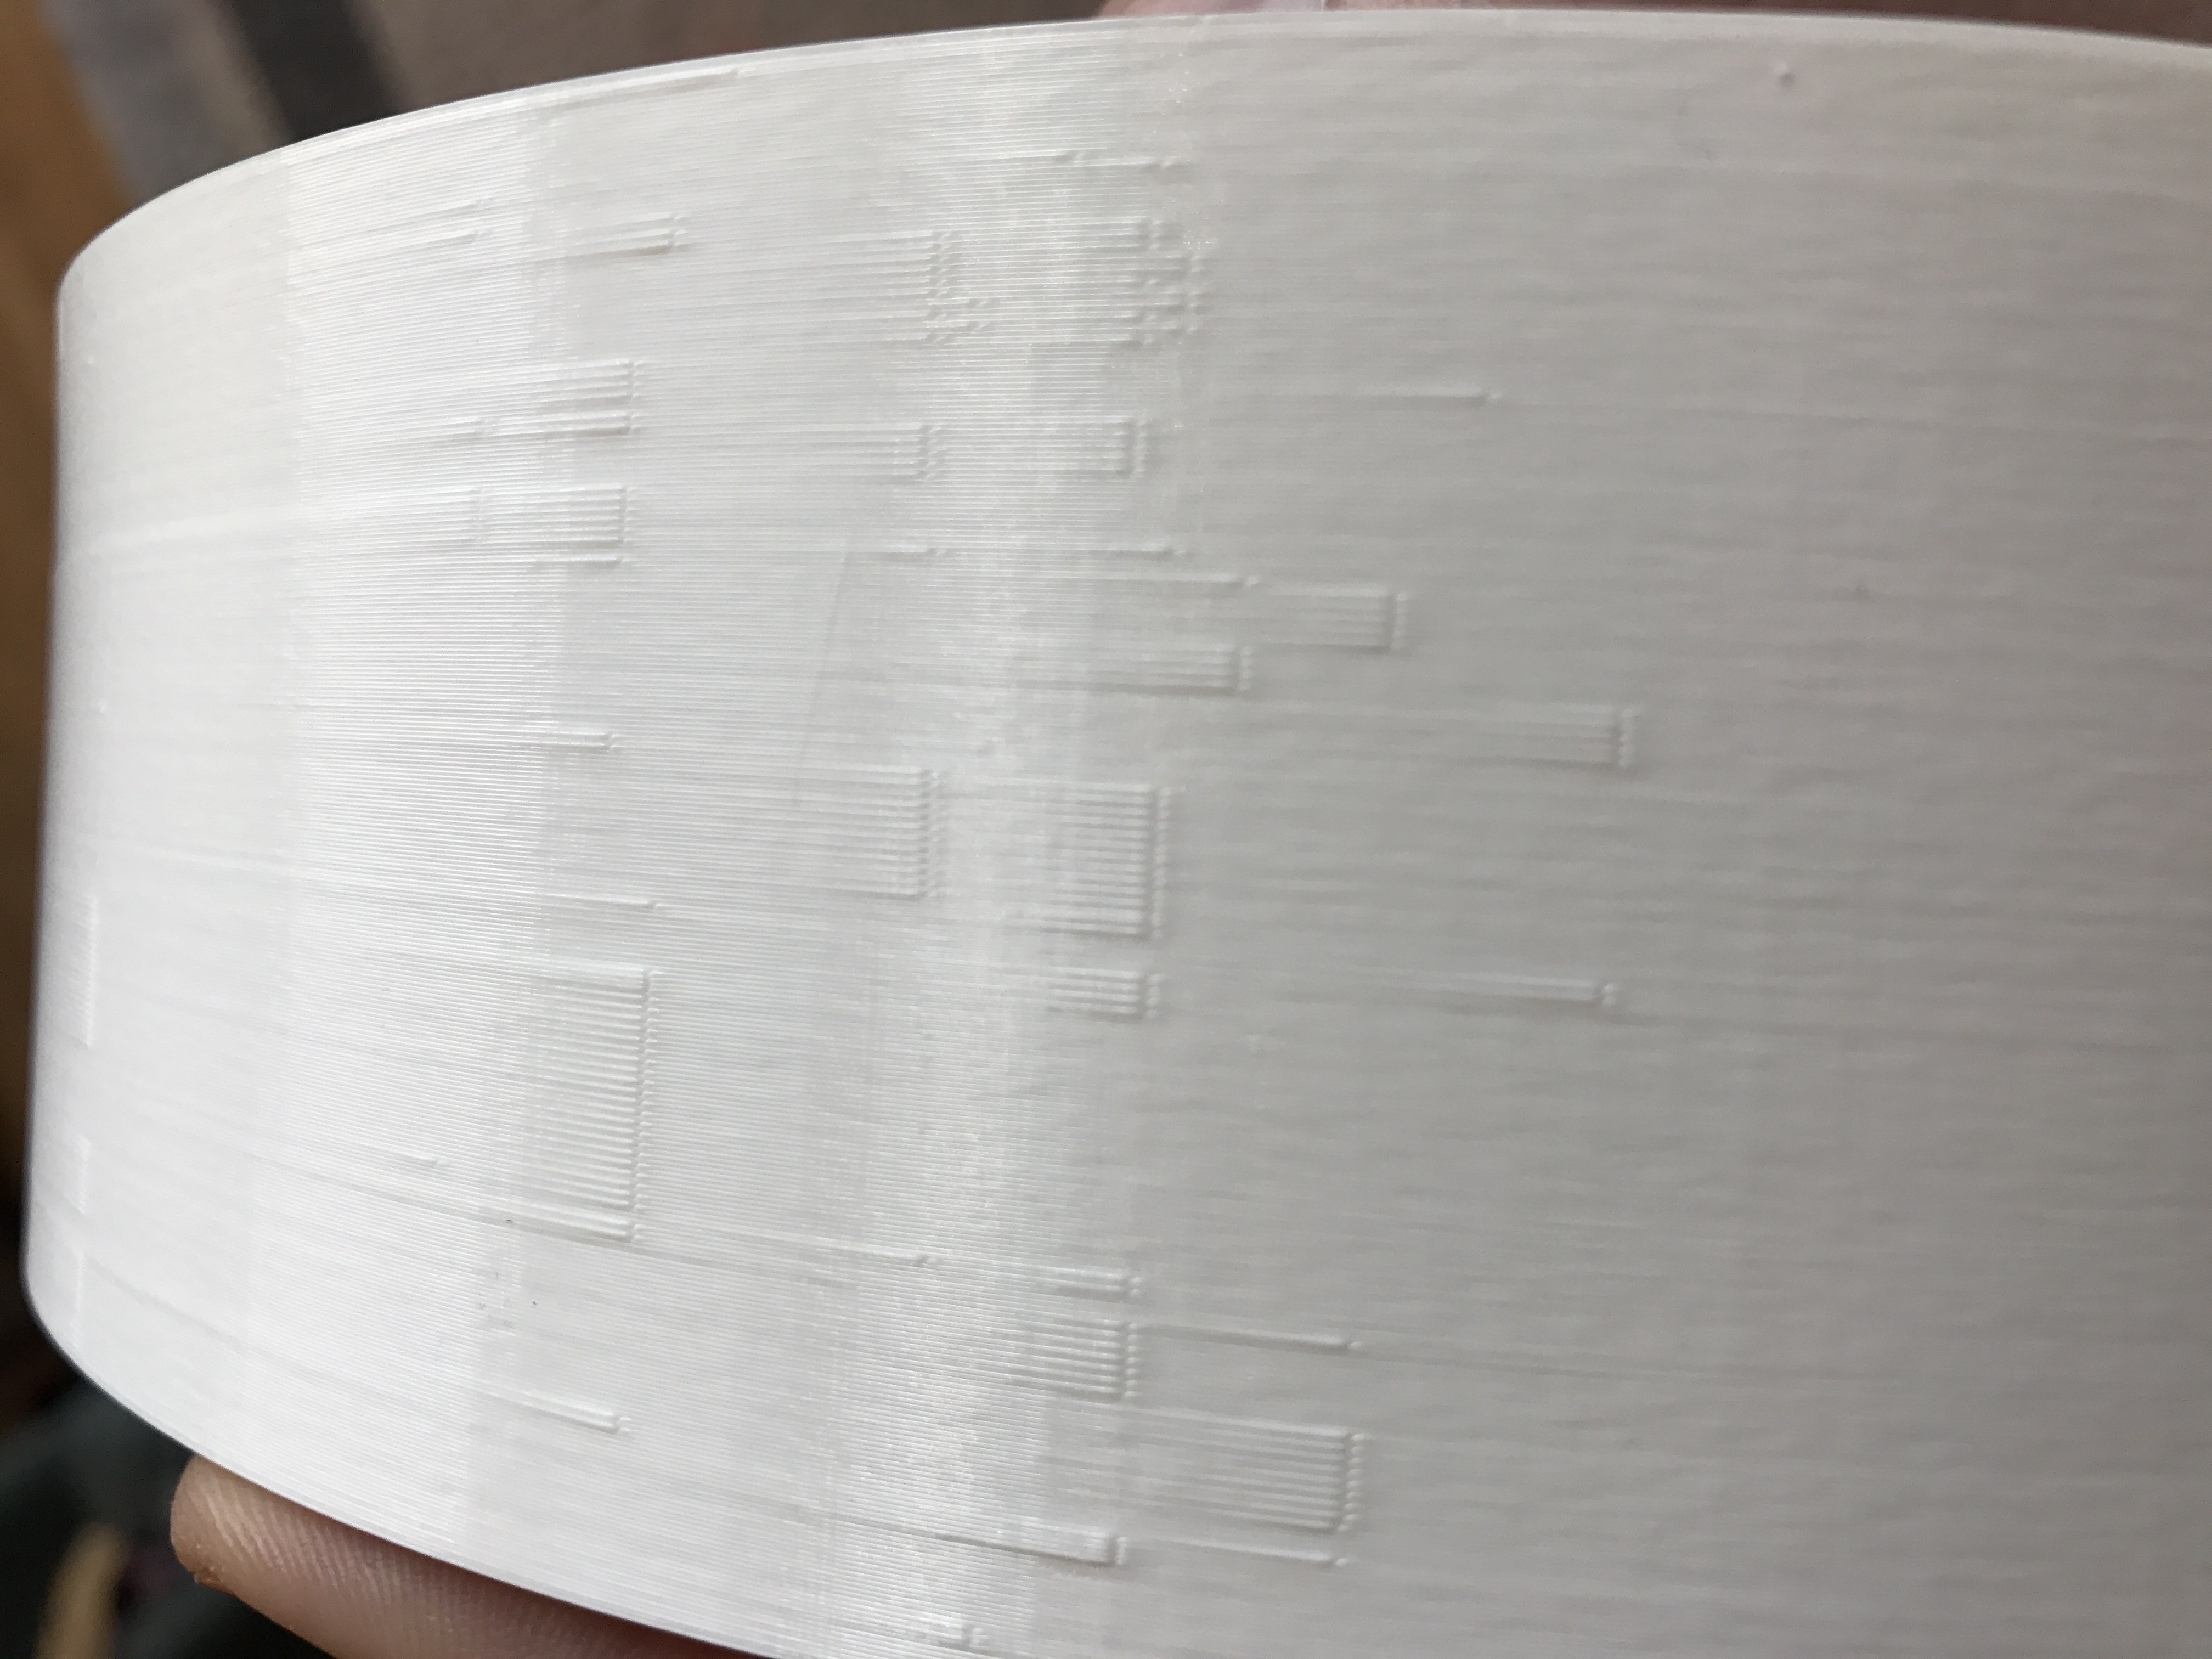
So after printing with just the Prusa Silver PLA, I decided to print with Makers Geek Raptor Black PLA. I used Prusa Control and used the PLA setting and just fined tuned the temp to 245c, since that is what is recommended on the Makers Geek Filament. My first prints were solid objects so the extruder didn't have to stop? When I print object like below I get lots of stringing. Printed with 0.15mm, 10% infill, 245c H, 60c Bed.
Any suggestions? Should I make the move to slicer or is there other settings I can play with in Prusa Control?
Re: My First Build, Problems, Remedies
The temperature sounds high... try printing cooler
Regards Joan
I try to make safe suggestions,You should understand the context and ensure you are happy that they are safe before attempting to apply my suggestions, what you do, is YOUR responsibility.Location Halifax UK
Re: My First Build, Problems, Remedies
The temp is too high or you need to do a ton of tuning on retraction. I'm running maker geeks PLA at 200c with good results. I run their crystal series around 235 because it prints more translucent at that temp.
Re: My First Build, Problems, Remedies
I print MakerGeeks PLA at 230 with other default settings. Works great. It sounds high, but this isn't the same pla quality as hatchbox and amz3d I've used. You get some real amazing prints and beautiful effects with their filament.
With amz3d you can just use the default settings of 210 and print and be done with it. It's real shiny. The maker geeks pla has a dull glow that I love (white hot is my favorite color so far).
I'm currently printing something for a customer at 230 and the parts are coming off great. I would use slic3r and change the print settings in the filament settings since it cools down after the first layer in both slicers and you can't change the parameters in prusa control.
Re: My First Build, Problems, Remedies
Thanks for the advice. I lowered the temp to 220 and ended it with the below results.... Any more advice?
Re: My First Build, Problems, Remedies
Hi Cody,
it looked like the start of the box print was less hairy, than the previous black print
then the tangle print seems to have grey or silver filament? are both pictures from the same model?
I have never had a tangle like that, not even with flexible filament!
if both pictures are from the roll of black makergeeks PLA
I can only guess that perhaps 245C is too high, and 220C is too low.
try something in between... maybe 225C or 230C
might be time for a temperature tower
regards Joan
I try to make safe suggestions,You should understand the context and ensure you are happy that they are safe before attempting to apply my suggestions, what you do, is YOUR responsibility.Location Halifax UK
Re: My First Build, Problems, Remedies
Makergeeks PLA need to be on spot in order to perform well. I spent a lot of time to dial in on my MK2.
Best Results so far for me with Temp: 235C
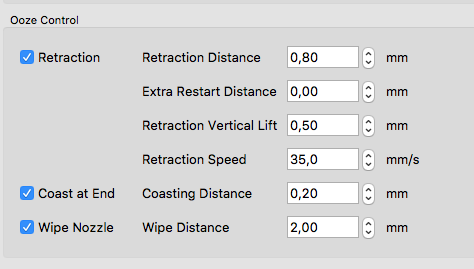
If you will get jams on some models, you have to reduce retraction so it doesn't happening too often.
But the good thing is, once you found perfect settings, you will get stiff, robust and good looking PLA parts.
Often linked posts:
Going small with MMU2
Real Multi Material
My prints on Instagram
Re: My First Build, Problems, Remedies
I happen to have a new roll of MG Raptor PLA in black as well. I just did some of the sample files that I had already done with the Prusa PLA silver filament just to compare. These are the same ones on the SD card. They were 'almost' as good as the Prusa ones I did after assembling the printer. Benchy had some layer separation on the uprights of the wheel house and the arches at the top weren't quite as clean but the hull was beautiful. I did a 20mm test cube off Thingaverse, that I had used Slic3r PE to create the gcode ( first attempt with Prusa Control was the only failed print I have had) , using standard PLA settings. With the Prusa filament I was spot on for the Z and just a hair large (0.08+/-) on the X & Y axis. The Raptor was short on the Z and still a bit long on X & Y. I had no stringing at all on any of the prints with 215/210 hot end and 60 bed temps.
Printing another test piece and will do it with both filaments to check tolerances on fit.
Just providing you with another data point since I had the exact filament that i received in late December. I have some of their Crystal PLA I will mess with over the weekend too.
Re: My First Build, Problems, Remedies
I believe raptor series PLA is technically high temp pla that should be printed hotter.
OP, looking at the picture of your extruder tells me that idler may be over tightened. The build manual says to tighten the idler until the screws are flush to the extruder body, not countersunk; section 5 step 15 of the build material.
Re: My First Build, Problems, Remedies
Update....
Thanks for the suggestions everyone. I printed a Benchy at 235C and it turn out pretty close to the Silver PLA Benchy from above but still has just as much stringing as all the other pictures. Right now I'm printing a Benchy using standard settings as suggested, we will see the results. When printing at the temperature, the filament gets stuck at the idler. Just a small kink that prevents the extruder from feeding it. Suggestions with that? ,
Best Results so far for me with Temp: 235C
If you will get jams on some models, you have to reduce retraction so it doesn't happening too often.
Will retraction help with stringing?
Just providing you with another data point since I had the exact filament that i received in late December. I have some of their Crystal PLA I will mess with over the weekend too.
Thanks, I'm starting to think there may just be something wrong with this roll haha.
OP, looking at the picture of your extruder tells me that idler may be over tightened. The build manual says to tighten the idler until the screws are flush to the extruder body, not countersunk; section 5 step 15 of the build material.
You're right, I did have it according to spec's but must have tightened it more after clearing. But, oddly the filament was coming from under the idler wheel, not from about it. Not sure how it squeezed through. I have loosened it though.
Re: My First Build, Problems, Remedies
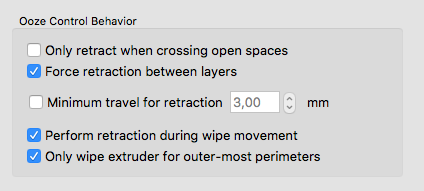
I use following settings:
If you still get a lot of stringing, check you're not over extruding. If this still doesn't work, check another MKG spool.
Often linked posts:
Going small with MMU2
Real Multi Material
My prints on Instagram
Re: My First Build, Problems, Remedies
Did you ever find a setting that worked?
I messed around a bit more today and printed a test fit piece. 230 first layer then 225, 50% honeycomb infill. This was sliced in Slic3r PE with only those changes from standard Prusa PLA settings. It was .15 layering. No stringing in the tight honeycomb or between the edges and parts. Both were side by side so the hotend was picking up to move between the two parts each layer.
The Benchy was also done by slicing with the same settings as above. I had some minor layer separation on the one I had done a few weeks ago with the standard Prusa PLA settings from the SD card. The higher temp did do better on the wheel house portion, with almost no deformation on the hull going up to the bow. No stringing anywhere on this one either.
I don't know why I would want to go any higher in temp with this particular roll. I did have a few minor strings as it did the 9 calibration points because I didn't set the initial -Z for this filament but that was it.
So far I am happy with it. I have a few small bits I want print in the next few days and if I have issues I will post up.
Chris
Re: My First Build, Problems, Remedies
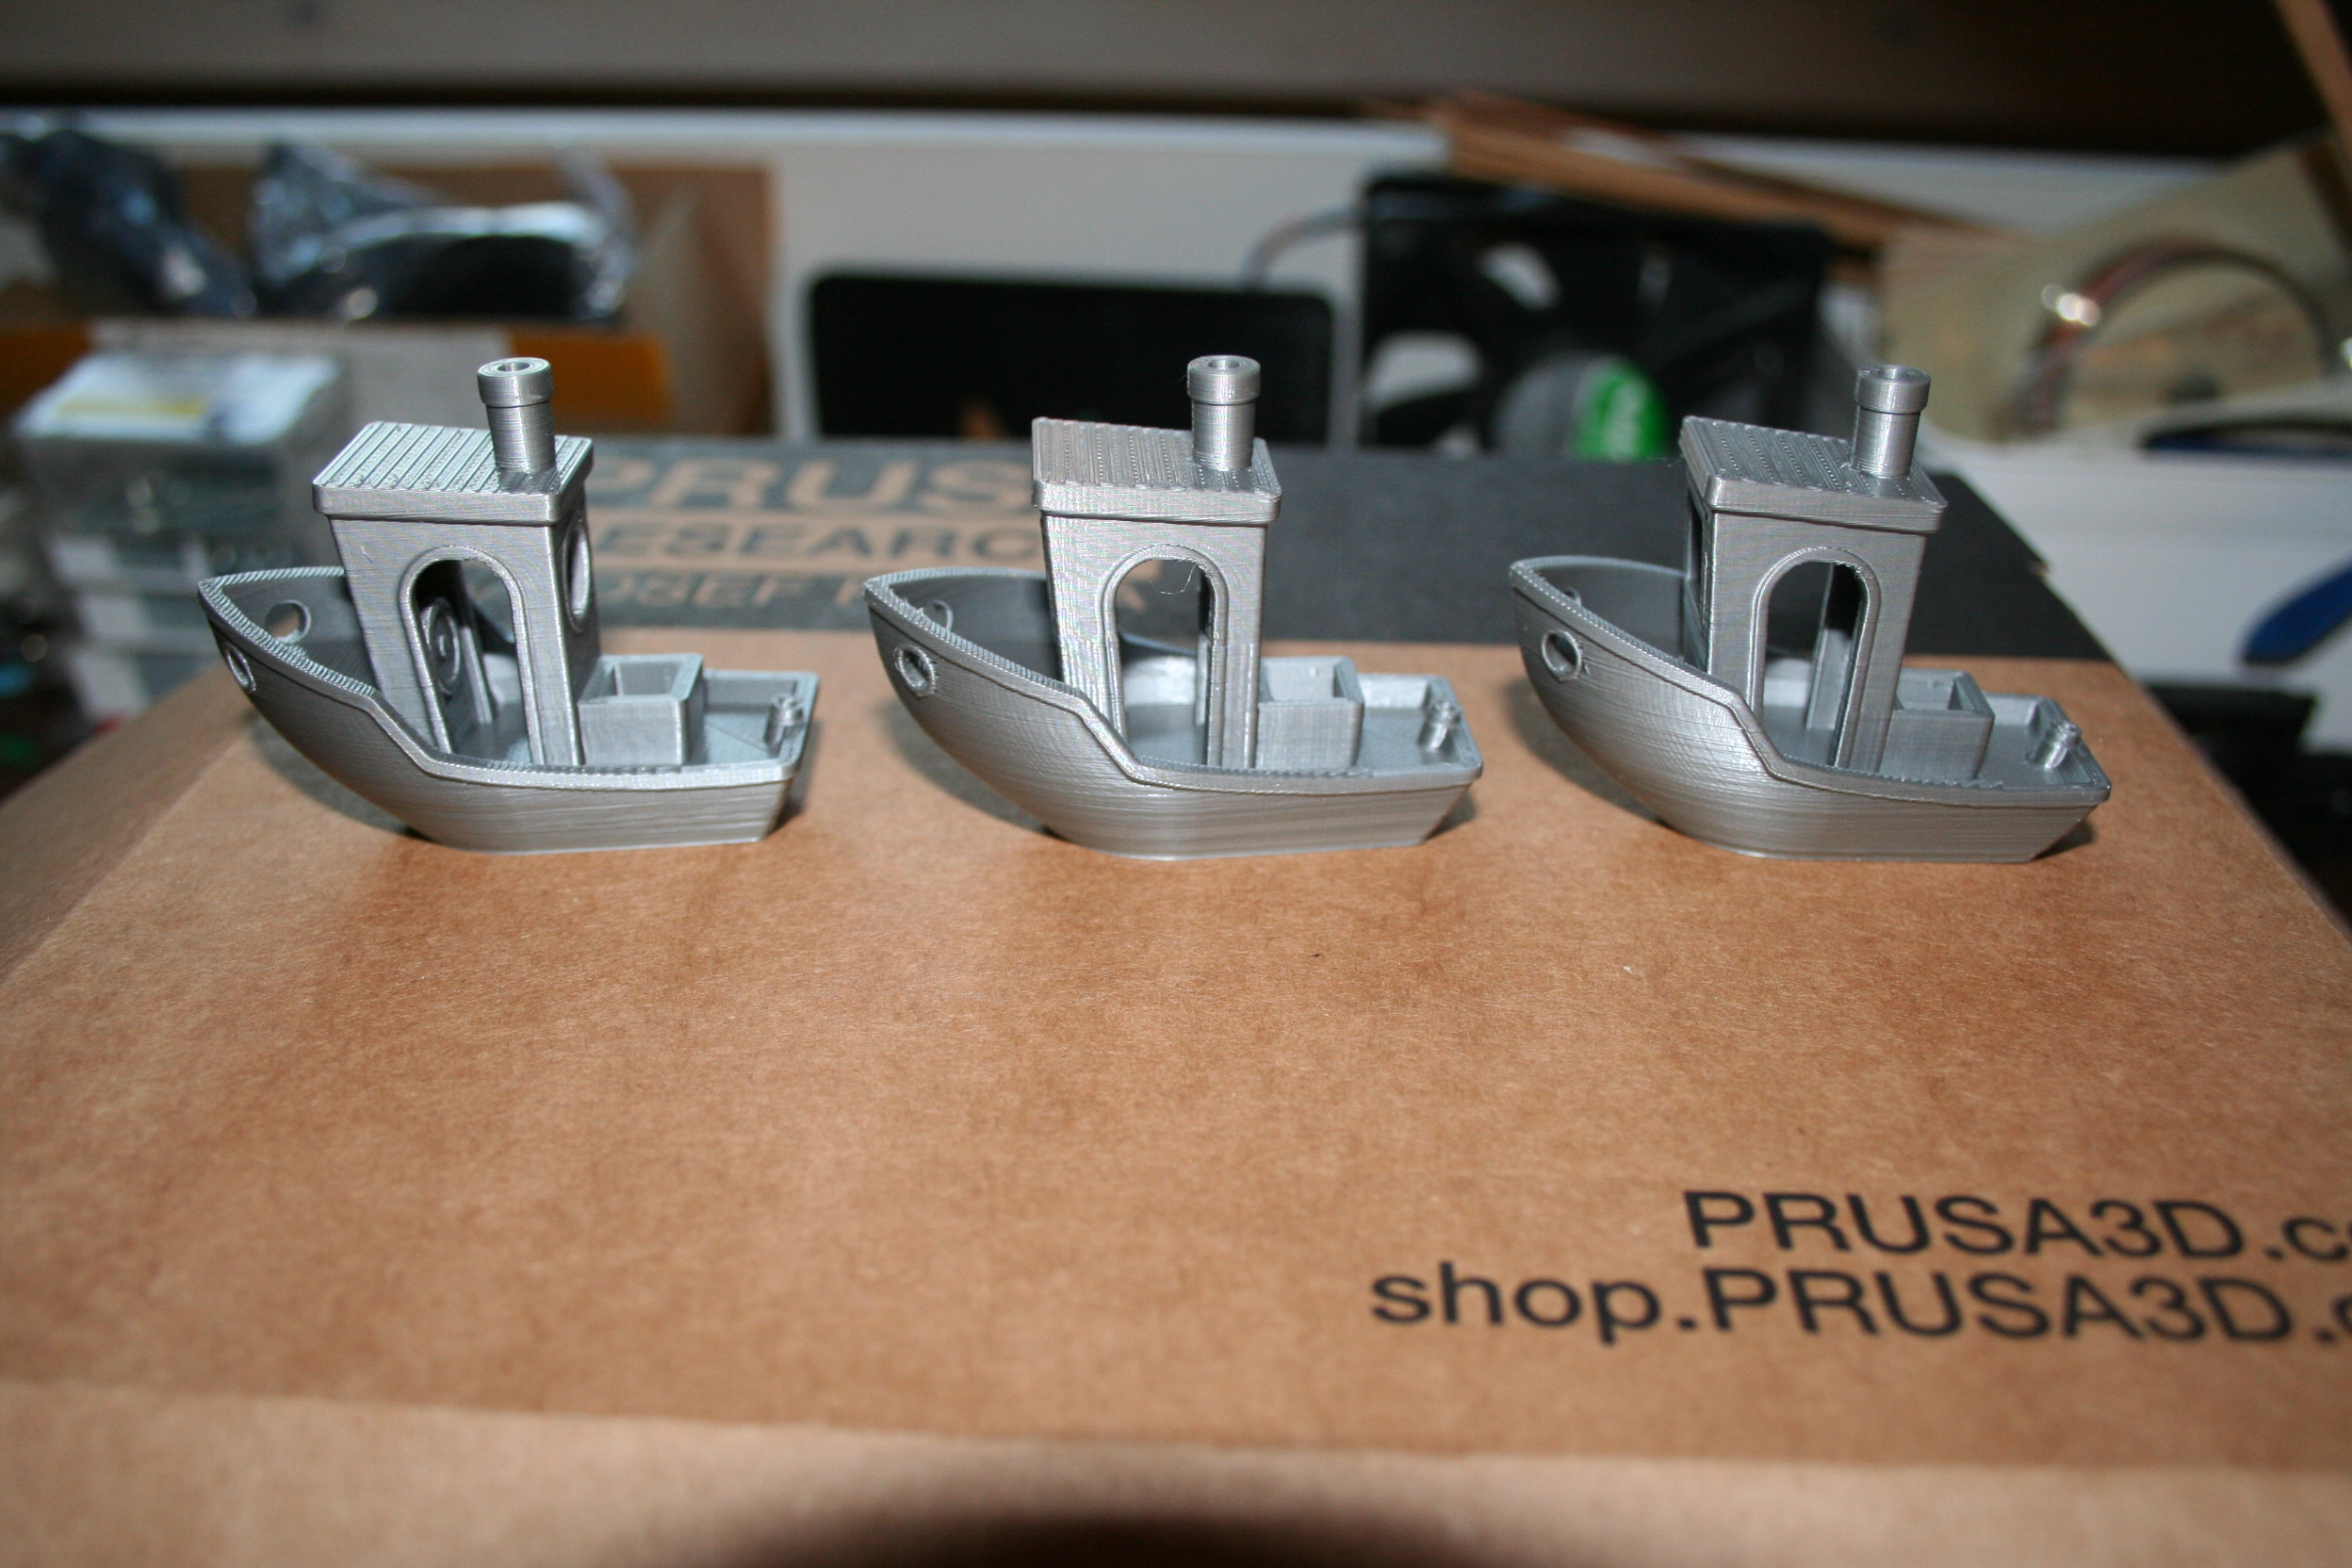
Here are my MKG Benchys at 235C with S3D and the settings above:
Often linked posts:
Going small with MMU2
Real Multi Material
My prints on Instagram
Re: My First Build, Problems, Remedies
I print Raptor almost exclusively and have found that 230-235C gives the best results on my Mk2.
Gary
MK2S & Mk3 my mini farm is alive 😆
Re: My First Build, Problems, Remedies
I haven't had a chance to look at it much. recently got a new job that is taking over much of my time.
The problem I am having now is jams with the Black. It starts to print the Benchy out pretty nice but then will jam and the filament will eventually be pushed out the side. I look everything apart and put it back together, still same results. It could be because I was trying a lower temperature. I will try 230c and see what happens. The tube that the filament gets sent through idler gears is a little melted, could that be the cause?
I will try to print the Benchy with recommended temps using slicer and see what happens.
Thanks for the help everyone!
