X-Axis layer shift only with ASA
Issue Description
- X-axis layer shifts at irregular layers
- Crashes
- Seems to only occur in ASA
 I've printed tall items in PLA with no issues AFTER experiencing these issues with ASA
Other details
- Using enclosure for ASA
- Box starts around 30 and stabilizes in mid/upper 40's
- Temp based on Einsy ambient temp reading minus about 10 degrees
- Filamentum Traffic Black ASA
- At first I thought it happened on the first layer AFTER an object finished, but I've printed multiple objects and got 10+ clean layers before seeing the shift
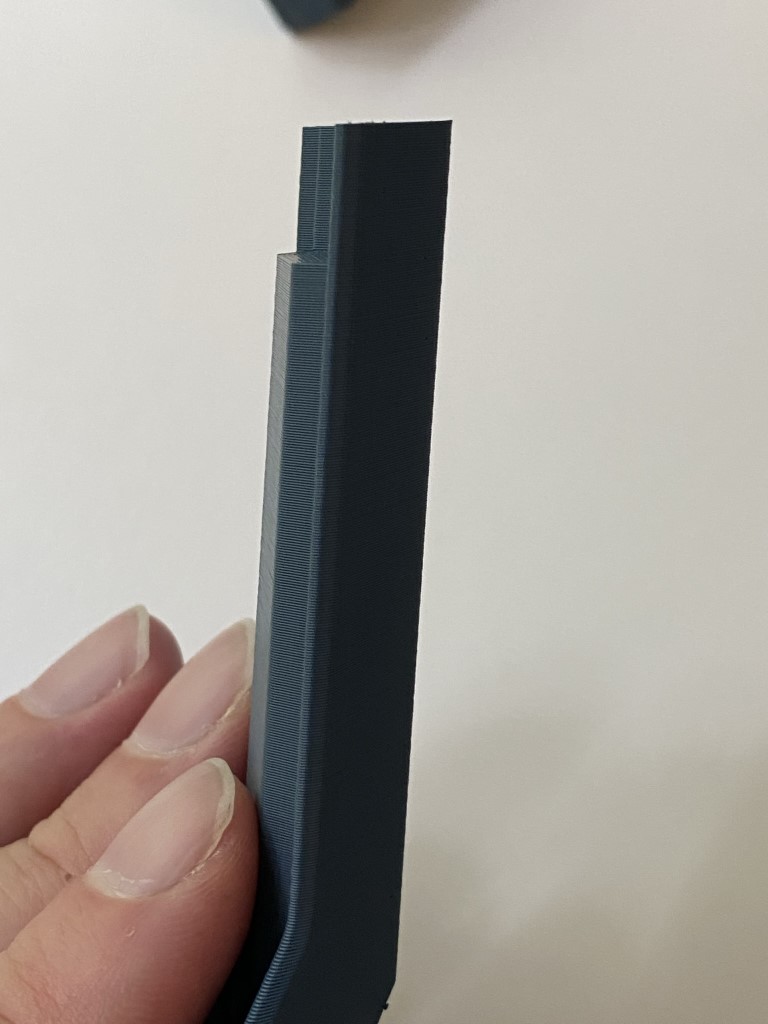
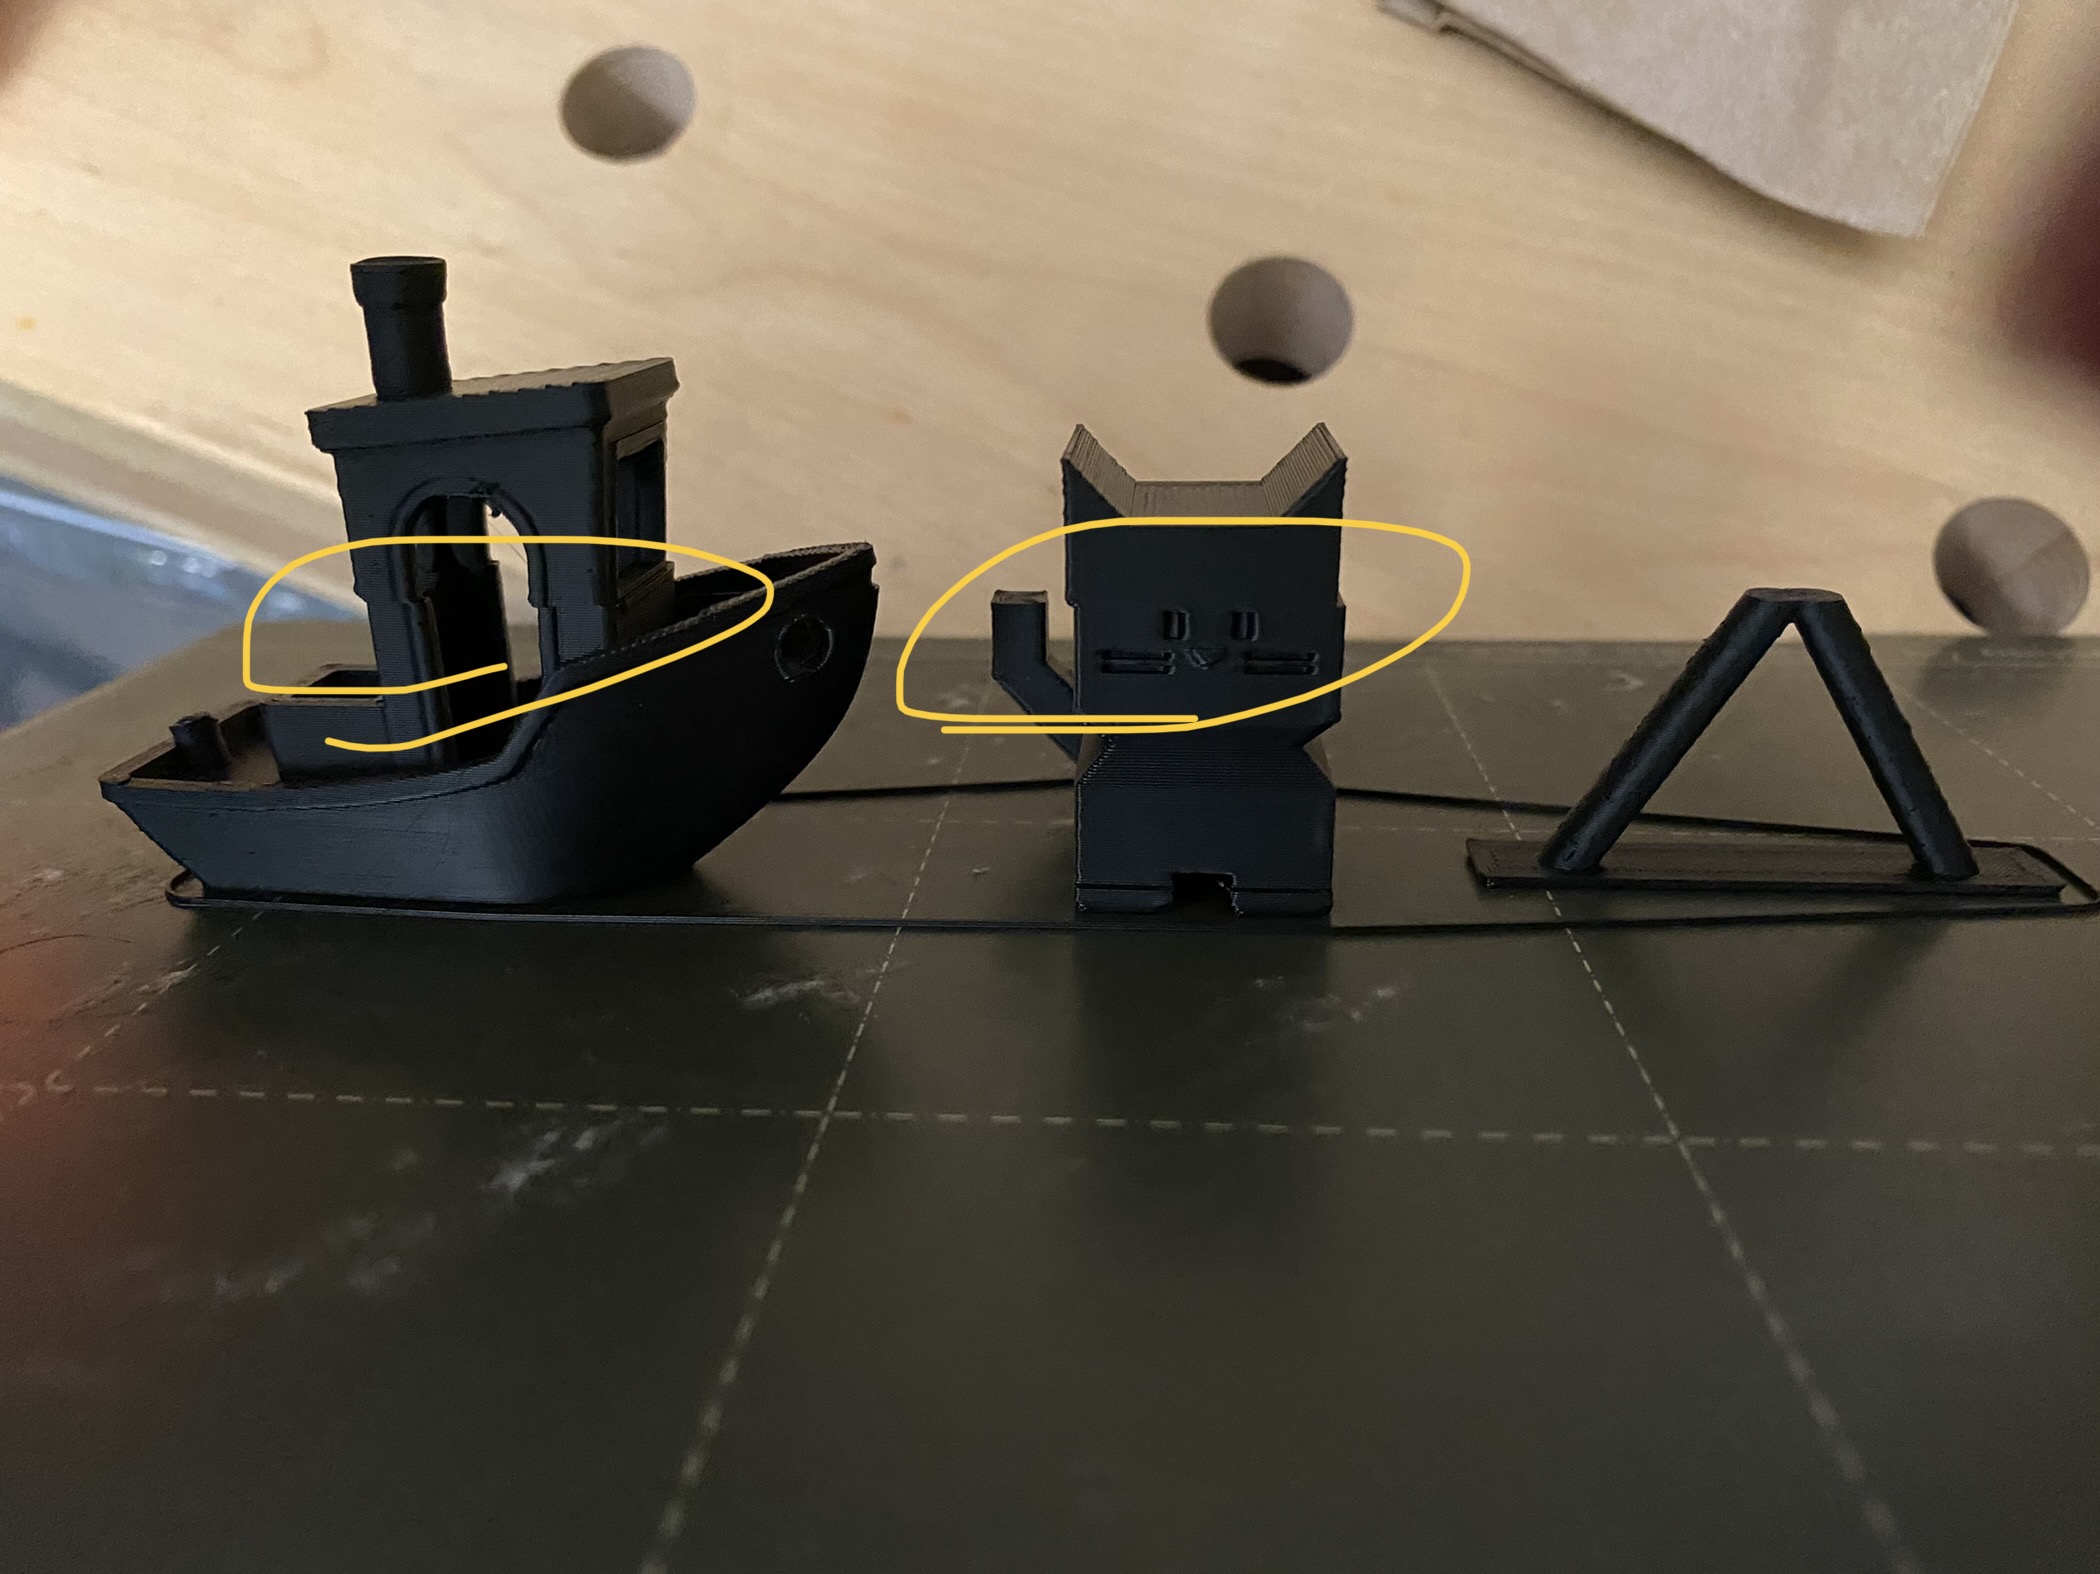
- See picture below for an example
- Sliced using Prusa Slicer Version 2.3.3+win64 and Version 2.4.0-alpha1+win64
Steps Taken to Resolve
- Checked belt tension and loosened (current status reads 238, unable to loosen further, maybe replace with longer belt?)
- Printer mode is Normal
- Ensured no obstructions on X axis
- No noticeable scratches on rods
- Grub screws seem firm and well seated on flat section of motor shaft
- I don't believe that the filament is getting caught on anything
- I have the filament on a stand directly above the printer and the filament feeds through a 5mm hole in the top of the box.
- I also added a filament guide
Links to articles researched
- https://www.help.prusa3d.com/en/article/layer-shifting_2020
- https://forum.prusa3d.com/forum/original-prusa-i3-mk3s-mk3-hardware-firmware-and-software-help/x-axis-layer-shifting-2/
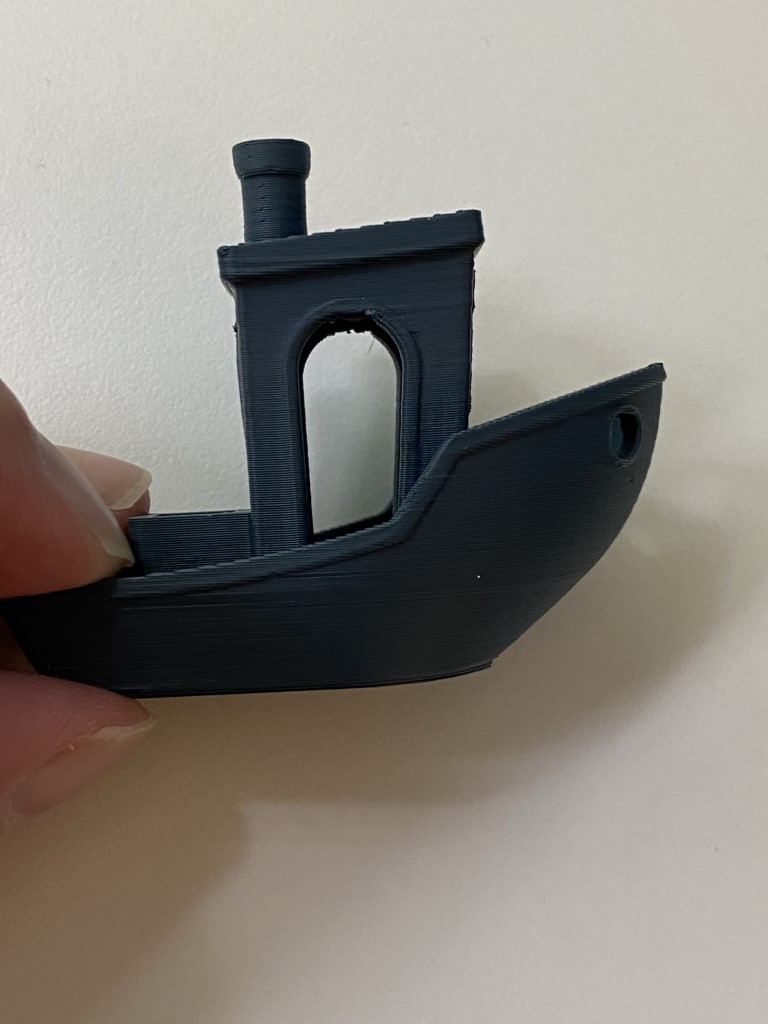
Here's the 3MF of final pics
The model is from the Prusaprinters collection.
Update after Sep 21 experiments
After some additional research I found an article on why electronics needed to be moved out of the enclosure. Specifically, that the drivers could overheat and skip. So I did another test print last night with the box partially open on top but as you can see, there were still layer shifts.

Loosen the extruder X carriage back screws
There are four screws on the extruder back - this device holds the three X rod bearings. The top ones need to be pretty loose - but should not allow the bearing to slide independent of the extruder. The bottom ones can be very loose - the bottom bearing doesn't do much other than stablize the extruder vertically (torsion twist). I'm going to guess that at higher temps your bearings are tightening up just a little too much. The plastic expands ... the bearings get squeezed, X gets a jolt.
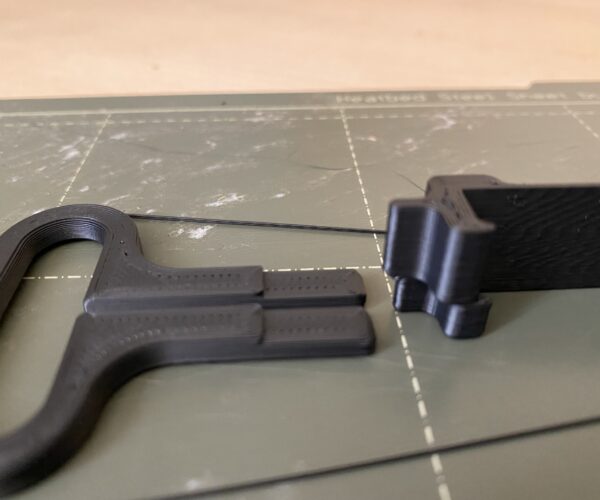
For your belt tension - stop looking at those silly drag numbers - they are not belt tightness, they are drag detected. Print yourself a belt tension gauge in prusament PETG (must be prusament PETG for the scale to be valid). THen tighten the X at about half way between too low and center of the sweet spot.
7-Oct update - progress, but not resolved
 still shifting, but less
It's been a while, but I wanted to update my status;
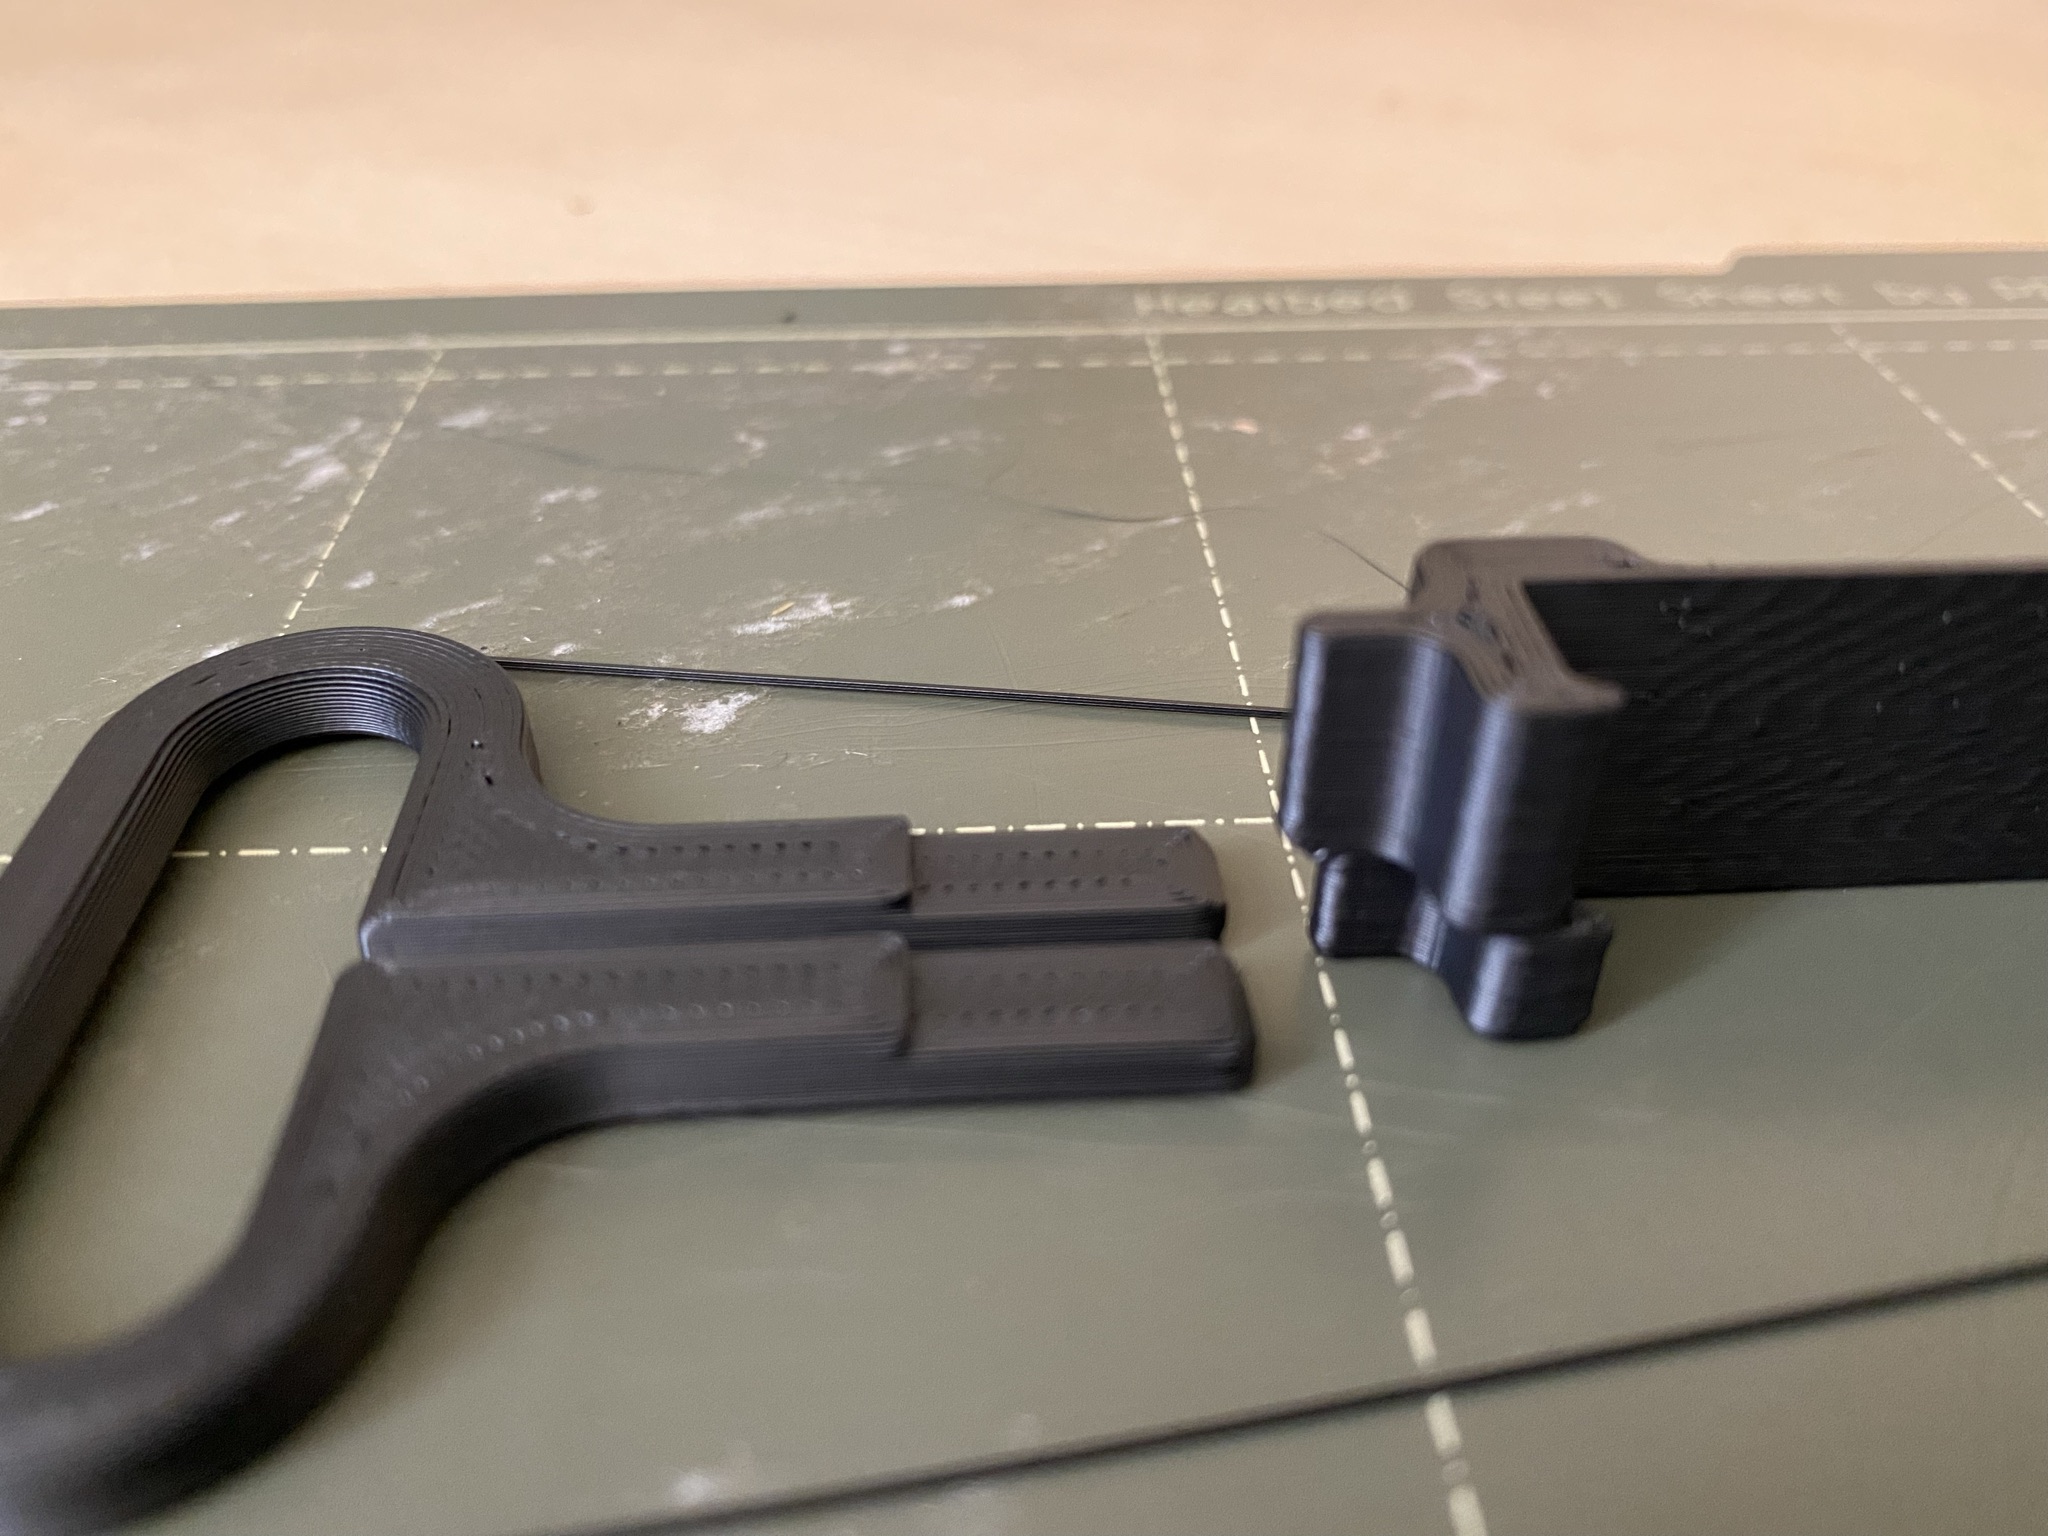
- I printed a belt tension tool (Prusament PETG Carmine Red). Even with my x-axis adjustment screw totally loose it's at the max line.
- I loosened the 4 screws on the back of the x-carriage. I started with them "snug" and backed off 1/2 turn for the top and 1 full turn on the bottom. Might go looser.
As the picture shows, I'm still occasionally getting some shift, but it's less than before, and only on some prints. Printing sequentially seems to help. Interesting note: the shift seems to only have after about 25-30 layers (5-6mm of printing). Sometimes its (much) higher, but never lower.
I'm going to test the overheating hypothesis by doing a couple of ASA prints with no box. I'll risk the warping and use a color I have plenty of extra.
Fix that belt tightness - too much overlap in the X carriage?
You got to get that belt tension down to midpoint. Disassemble X carriage until the step where you are slotting the belt into the carriage. Did you stuff too much belt in there? The Belt will fit if it wasn't trimmed and both ends overlap at least 4 nubs. If the belt was trimmed - you'll want a new one. One thought - part of the X tension is rotating the motor - multiple screws need to be loose for loosening the belt.
X carriage rebuild coming up!
Yeah, I was afraid of that. But for the parts I have coming up, I really have no other option since they are very tall.
I have a few meters of spare gates belts, so worst case I can replace the belt.
I'm probably overdue for a bit of a cleanup/maintenance cycle, but it's been printing everything else so well I haven't bothered.
One thought - part of the X tension is rotating the motor - multiple screws need to be loose for loosening the belt.
Correct. I first loosened the 3 bolts that hold the stepper motor THEN loosened the one on top at an angle.
I'll try to find a couple of hours this weekend.
Looking good! Thanks, Dan, you were right!
I was really resisting adjusting the x-carriage belt because I thought that it would take an hour or more and I'd have parts all over the place. Instead, I had to take off 4 screws and total adjustment time was less than 30 minutes. I even took 5 minutes and adjusted my y-belt since it was at the top end of the scale as well.
I had plenty of belt to work with in the carriage and only needed to loosen the belt about 1-2 teeth. I was able to use the adjustment screw to get the belt dead center in the tension tool.
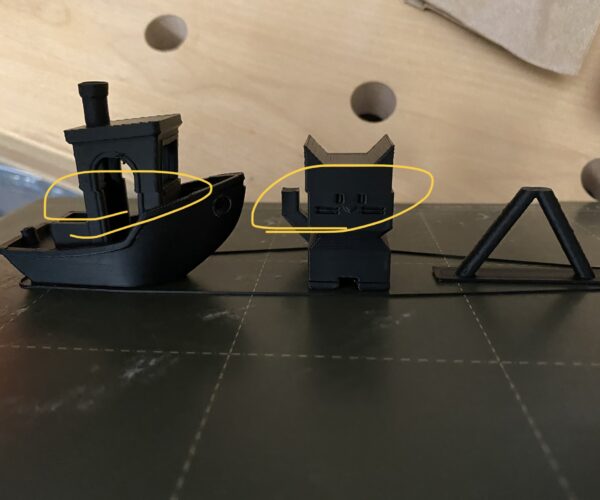
I did a benchy and a multi-part print (4 parts on the plate, with 2 being very tall) as tests and both came out looking very good!