Strange Bump-Out on printed part
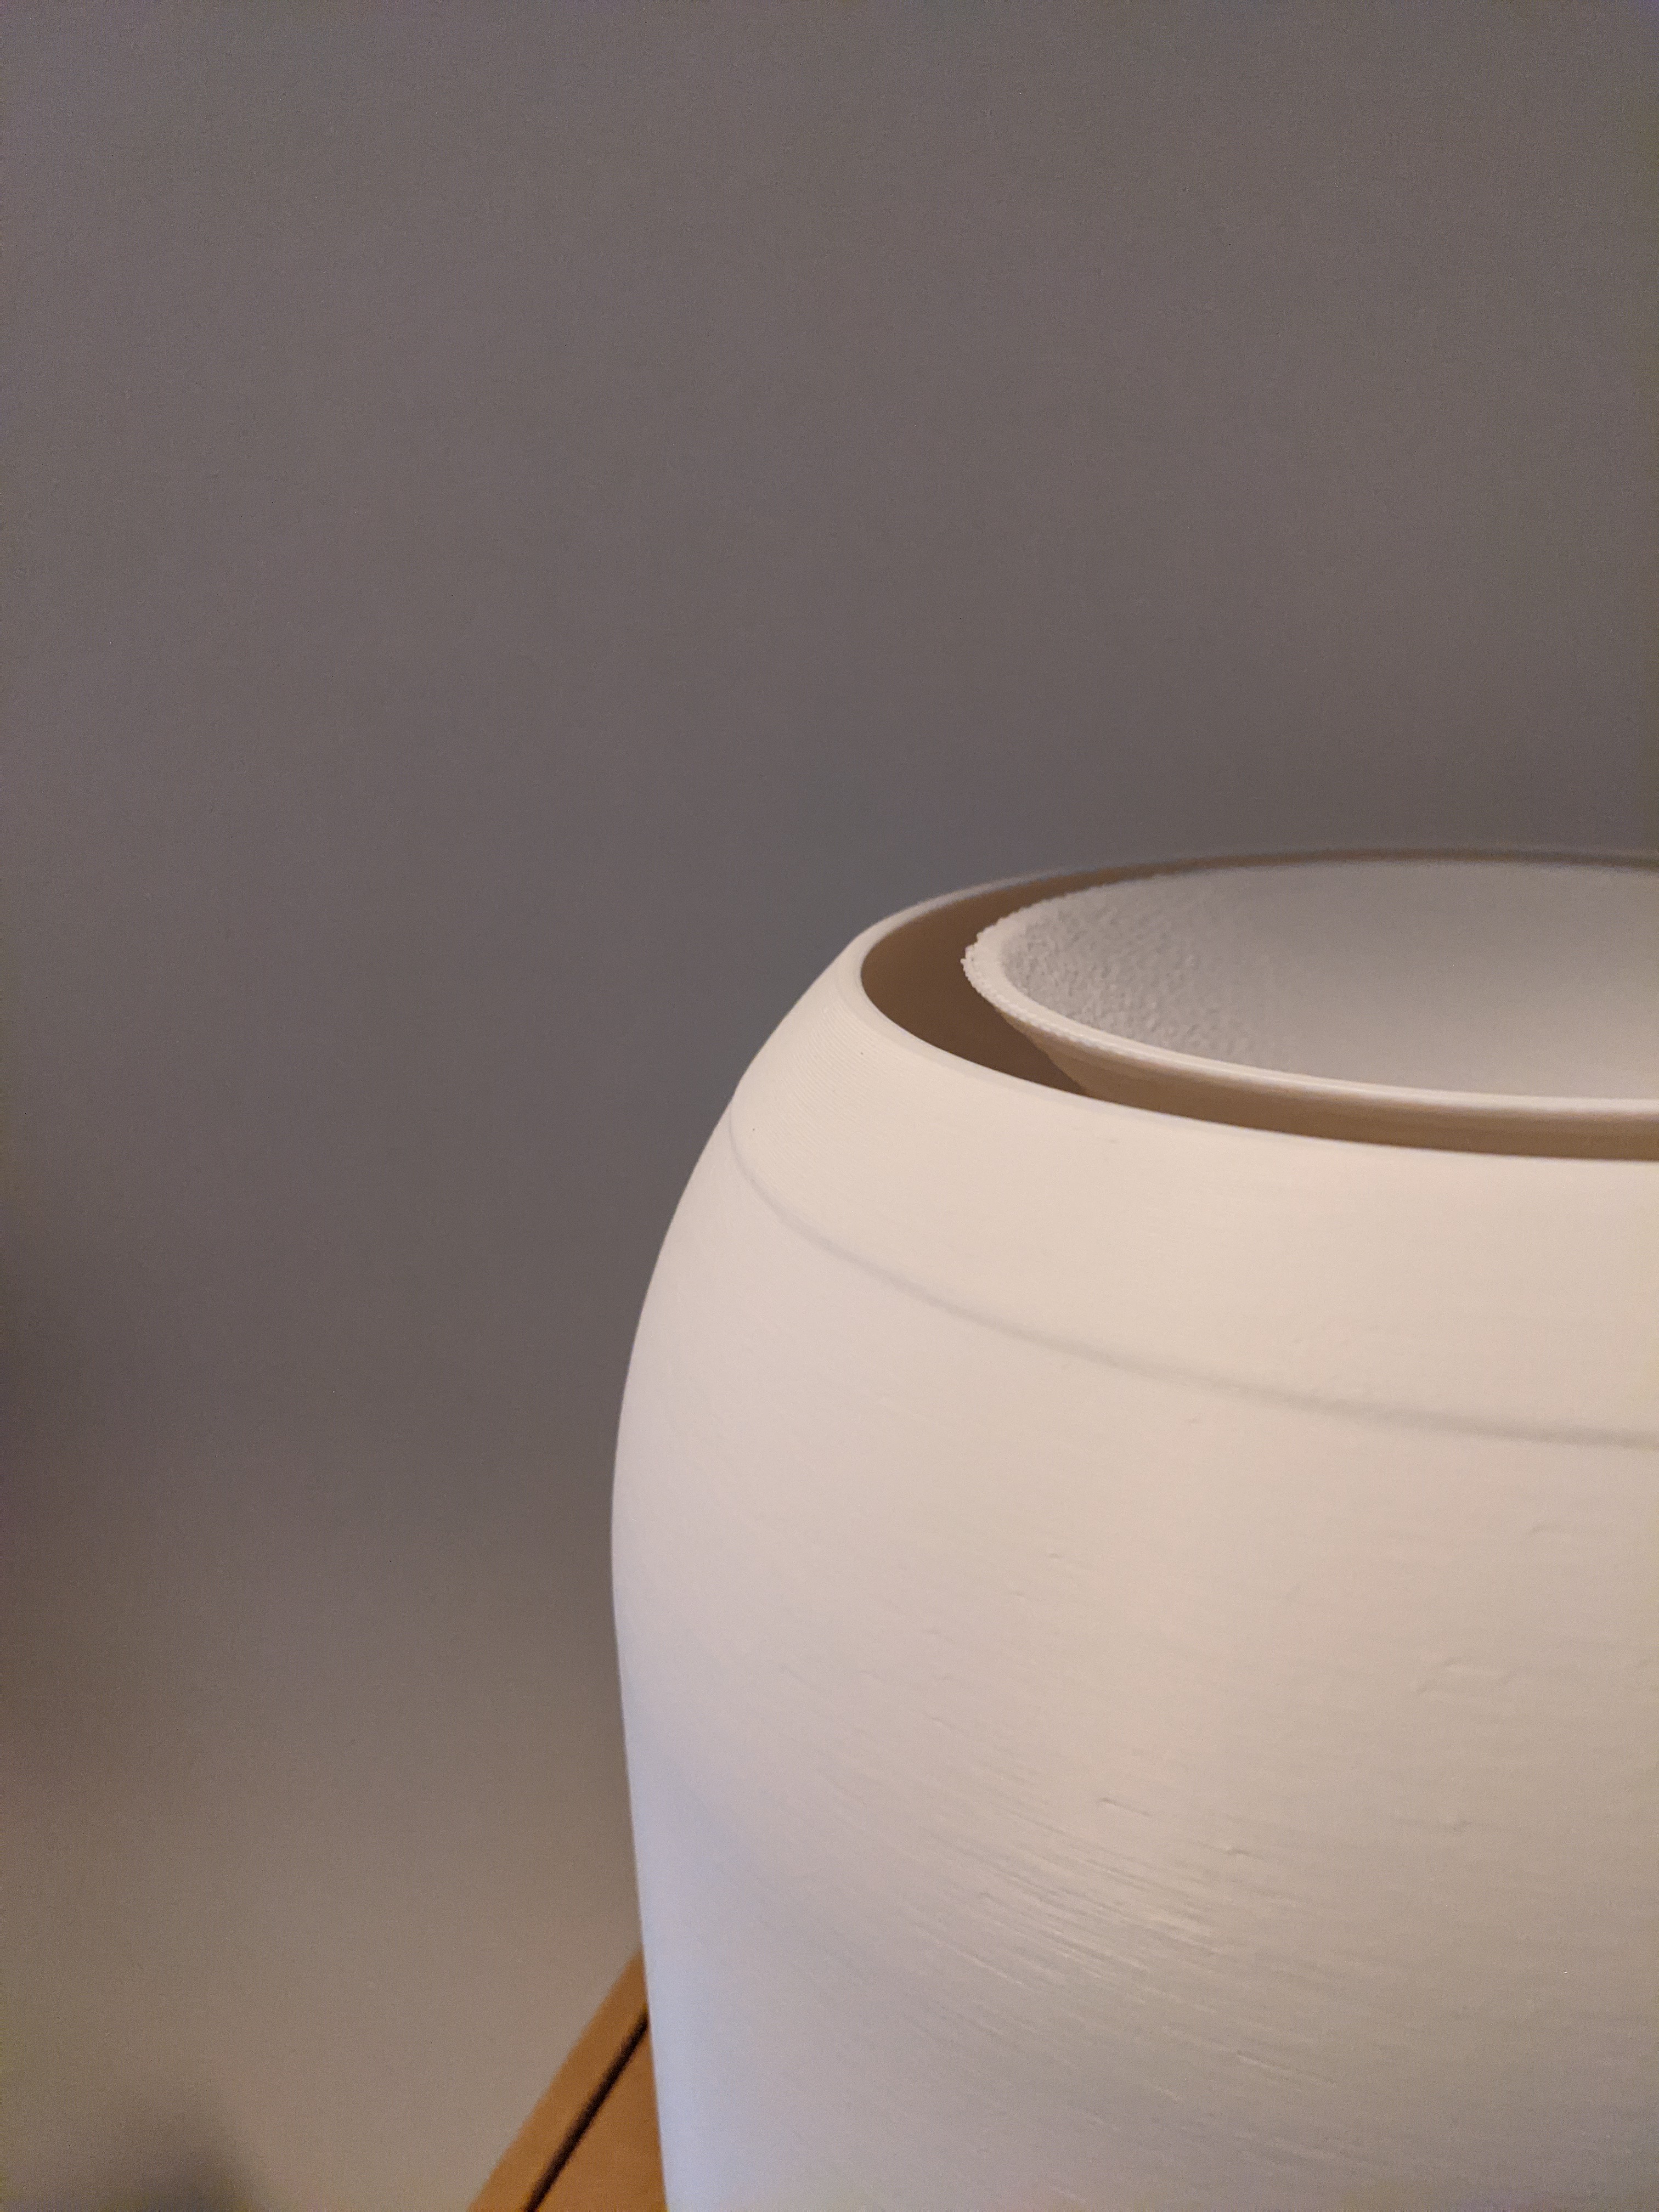
I ran a 12 hour print the other day for a pretty large part and ran into an issue I'm hoping there is a fix for. The part is designed to not exceed a 45 degree angle so I can print without supports. At the end of the print, the last ."8 of distance, the print steps up slightly rather than staying smooth like the CAD model. Any thoughts on why this is happening - it did the same thing on two different printers.
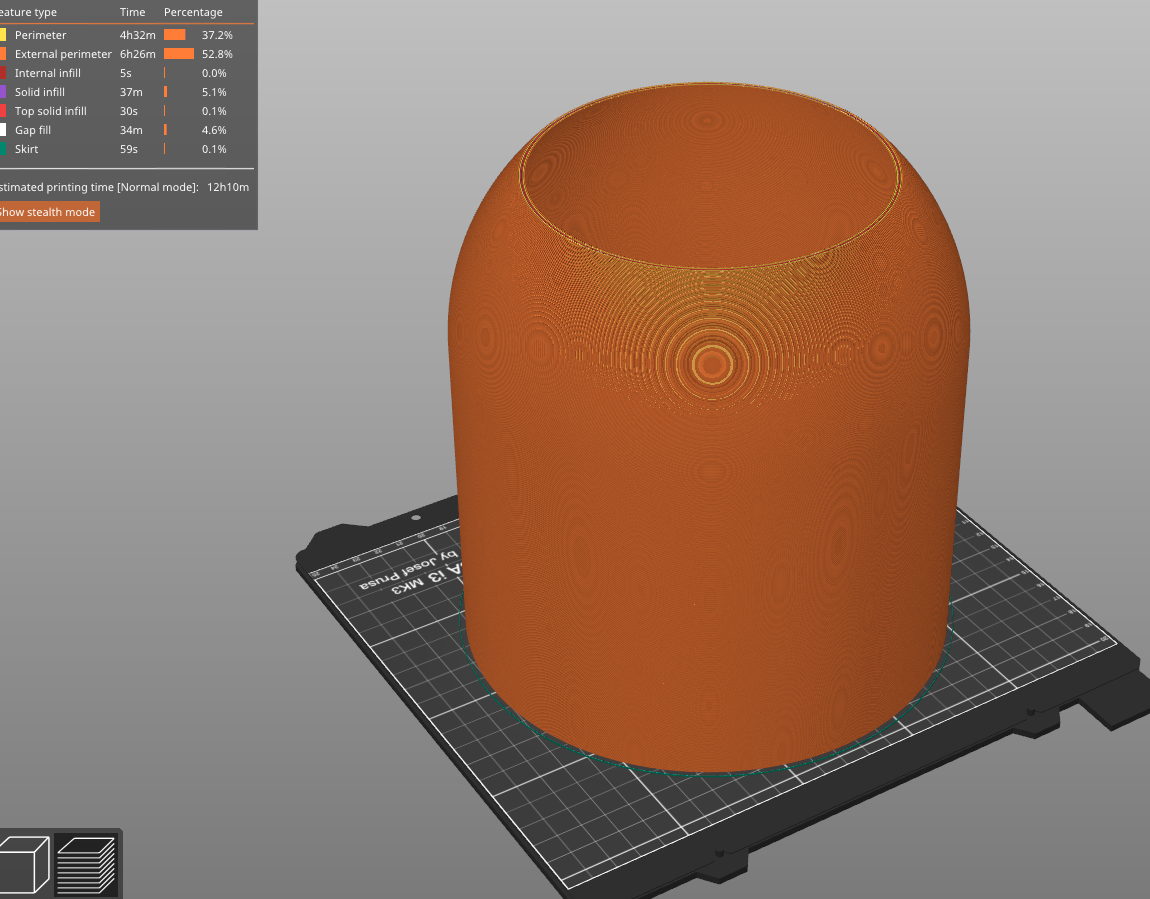
I'm using PLA (tried 2 different brands) at .3mm layer heights, 100% infill (this is for a lamp shade). The only changes I made to the .3mm Draft settings is the infill amount and set the seam to random, everything else is from the Prusa settings
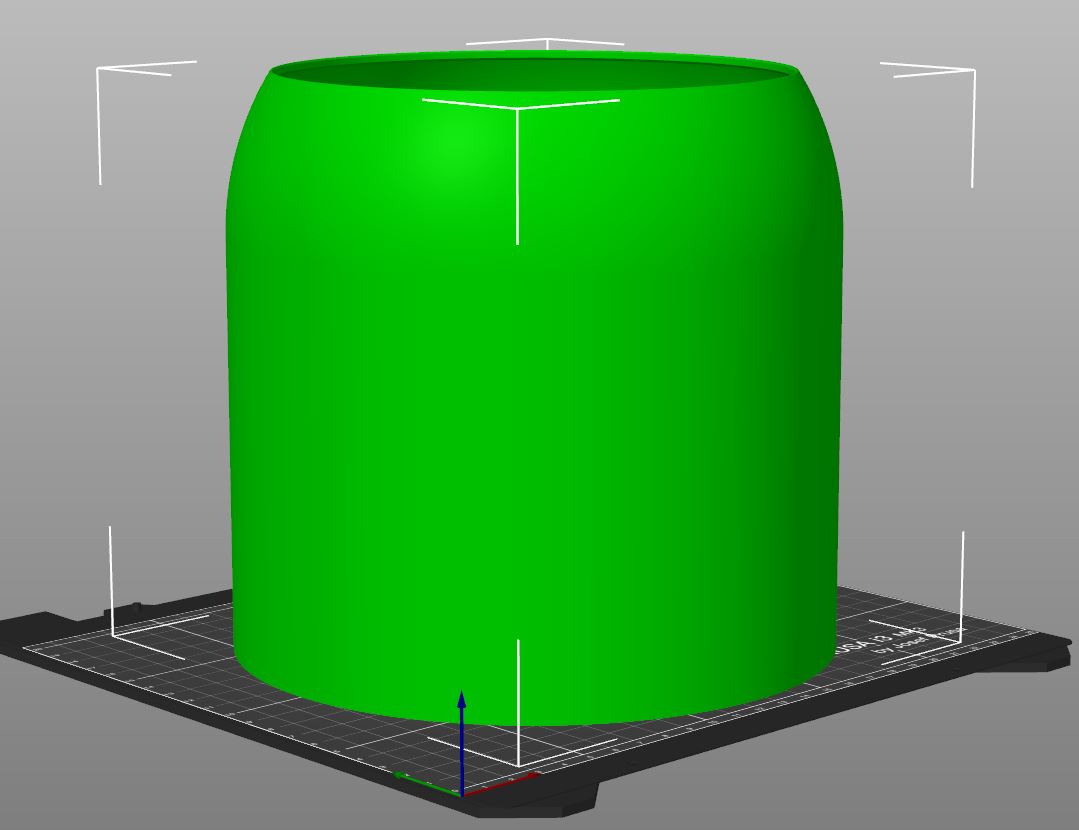
Below are pictures from PrusaSlicer and a photo of the printed part

Any advice would be appreciated, LMK if I'm leaving out any important info
RE: Strange Bump-Out on printed part
-
From solid infill to sparse
-
From sparse infill to gap fill
-
Be sure you're not just seeing the effect of minor warping. This can really throw troubleshooting off. Rotate the print and verify the problem occurs in the same place.
-
Slow down external perimeter speeds (and all speeds in general). If the nozzle is moving a bit too fast, you get slight under extrusion on some layers. These are apparent as adjacent layers print with slightly different extrusion rates. I use 25mm/s for external perimeters when appearance is important.
-
Calibrate your extrusion multiplier for each filament. Any slight over or under extrusion can produce very small but noticeable variations in layers with different features (e.g. infill, gap fill, top solid infill). The closer your slicer settings match your actual printer and filament, the more accurate the gcode will be.
-
Calibrate linear advance (LA) for each filament. LA adjusts the flow of filament to compensate for acceleration and deceleration. If it's not right, you may see artifacts even away from features such as bumps or hole on the same layer. In some cases, a hole on one wall causes imperfections on the far side of the print.
-
Add an external perimeter if vertical walls allow it. The thicker combined perimeter allows the filament flow to even out.
-
Tweak perimeter extrusion widths. The problem can appear when the slicer switches between gap fill, sparse infill, and solid or top infill. If you can find a multiple of perimeter widths that minimizes these transitions, it can work for a specific print.
-
If you are the part designer, make vertical free-standing walls thicker. IME, at 1.5mm thick, the problem is less noticeable. You can try for a multiple of extrusion widths, although be aware the PrusaSlicer does some internal calculations for overlap between extrusions that can throw you off.
RE: Strange Bump-Out on printed part
@bobstro
Great, thanks for all of the detailed information. I'll go through this and post if I find any resolutions.
RE: Strange Bump-Out on printed part
Wups - forgot a bit: