Screw thread adhesion
Hi guys,
I have been working on a model that we use for testing samples. This is what the total product looks like:
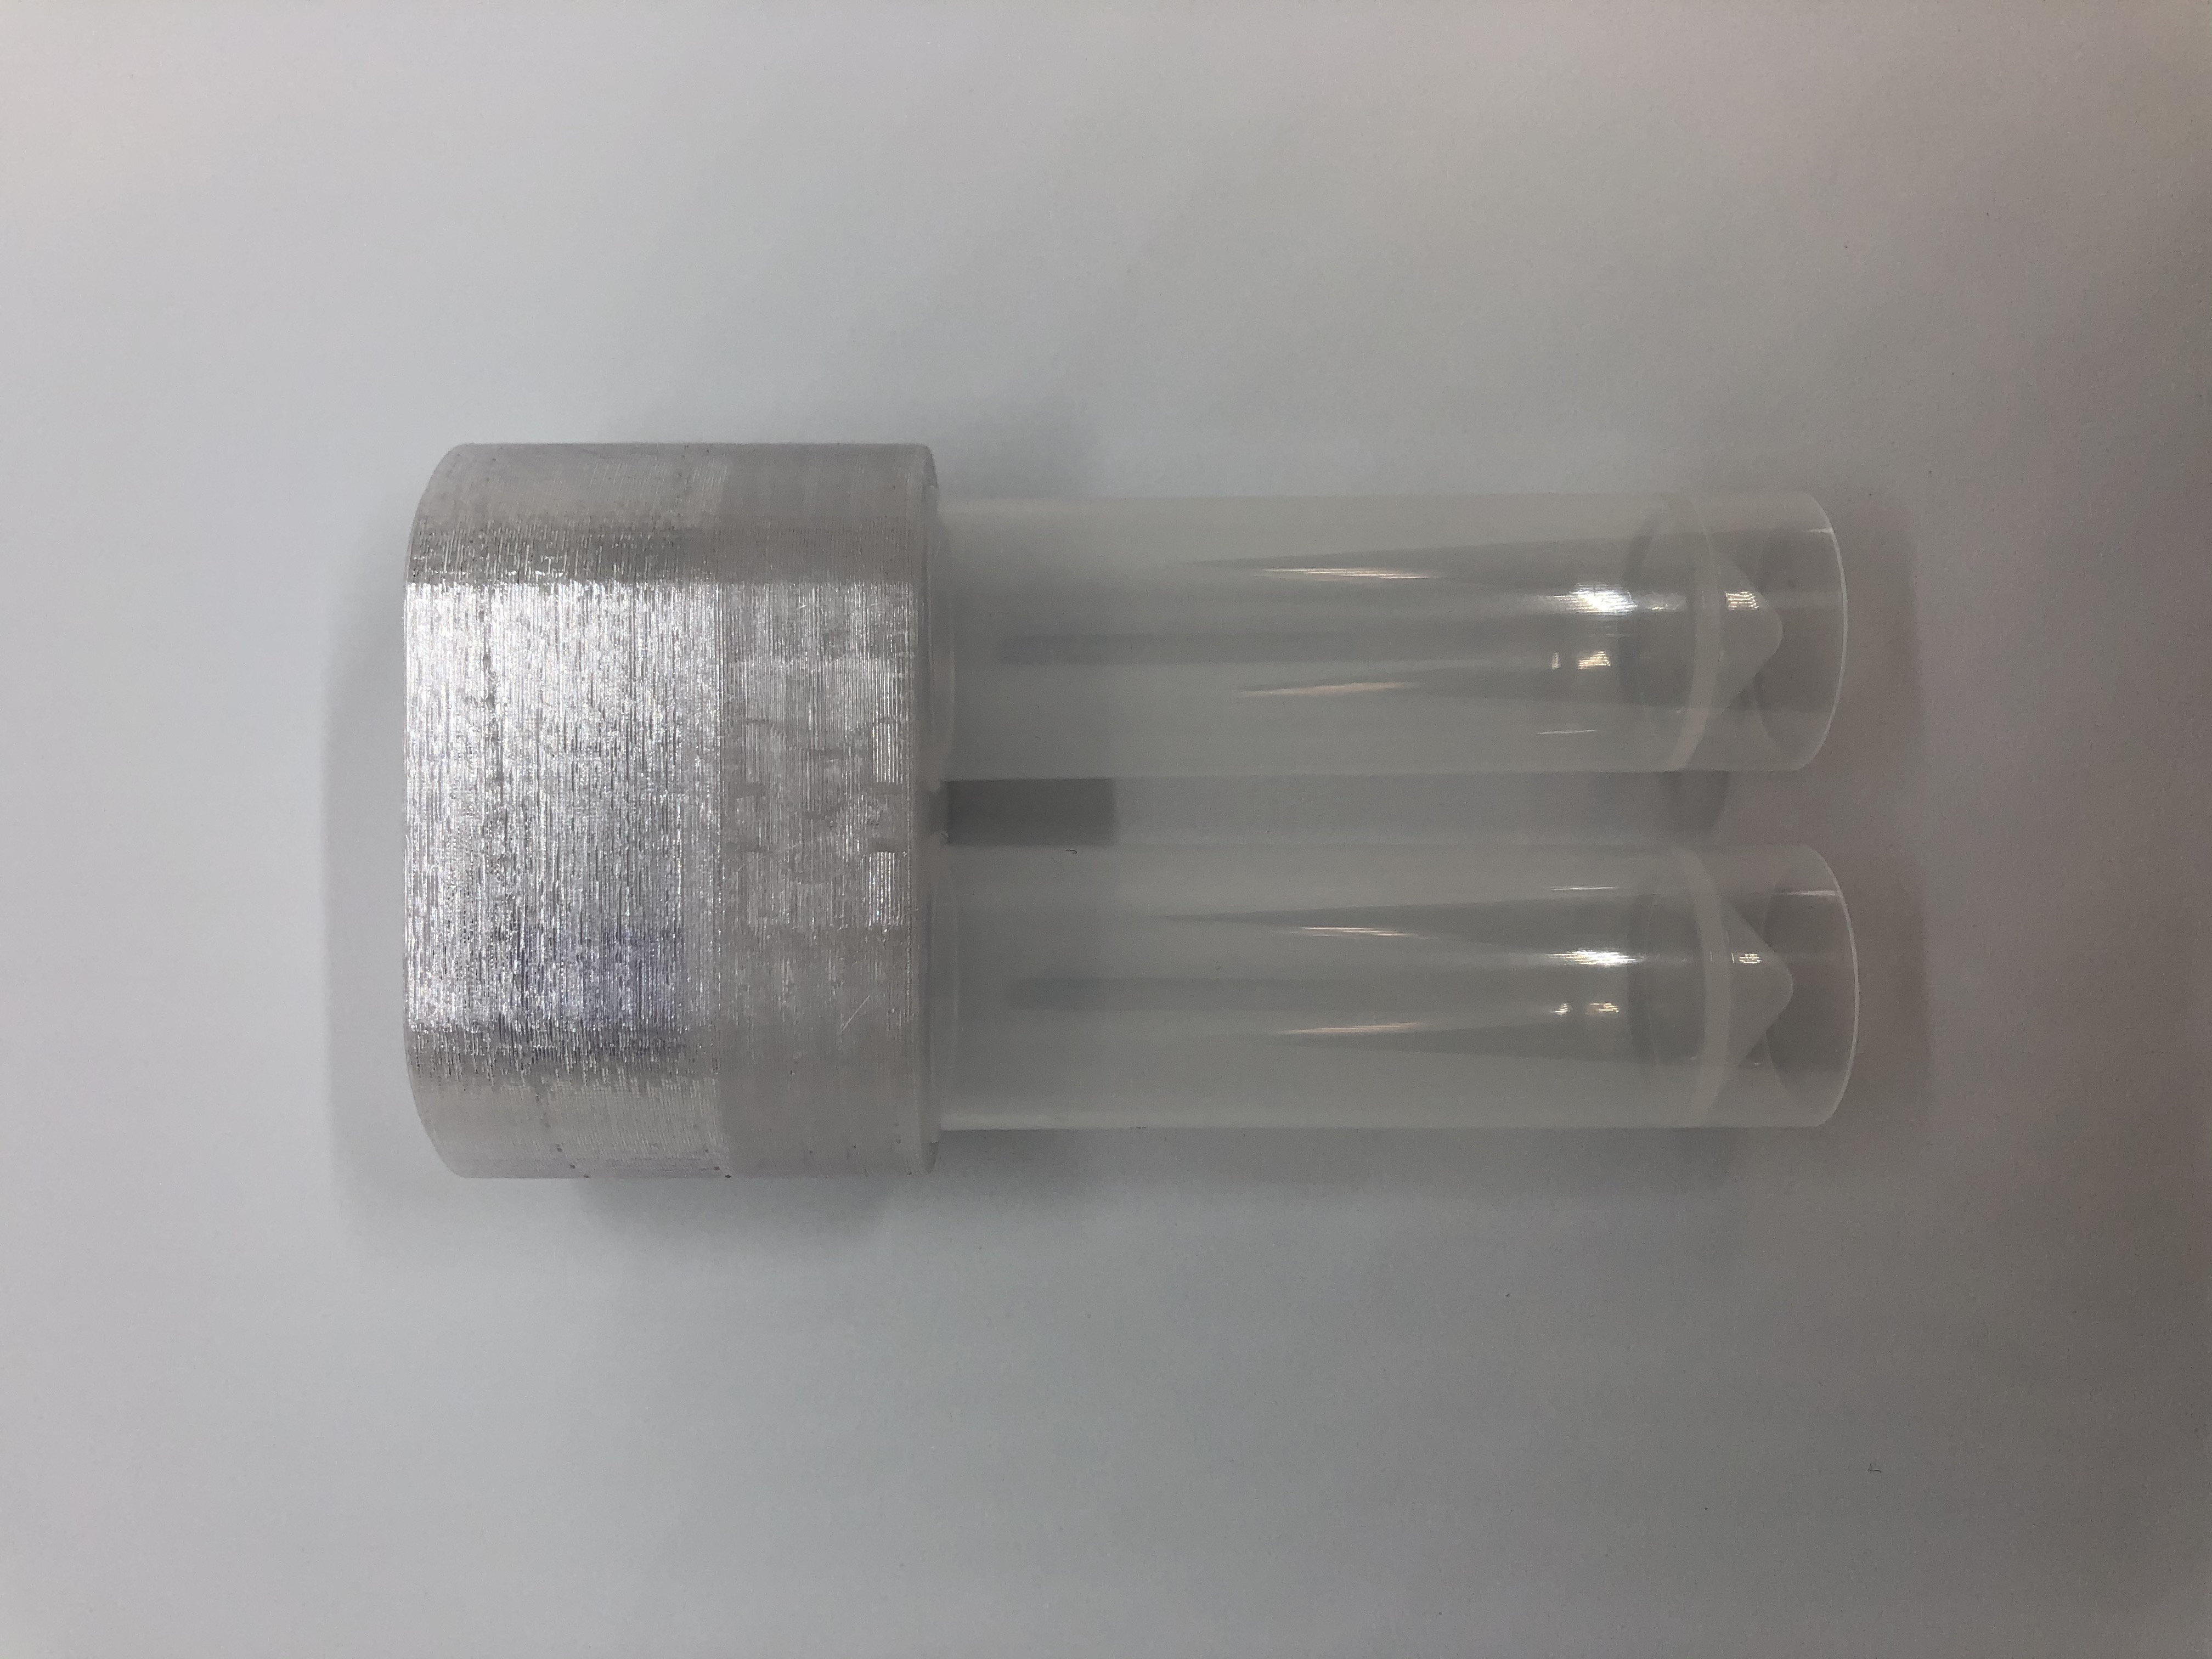
Well, to be honest it took me quite some prints to start understanding the printer, a MK3S. But learning to know the filament is the greatest challenge. This is printed with PETG transparant with a 0.6 nozzle on 250C and bed temperature of 95C. Print speed set to 95%.
There still is a thing that I can't seem to get under control:
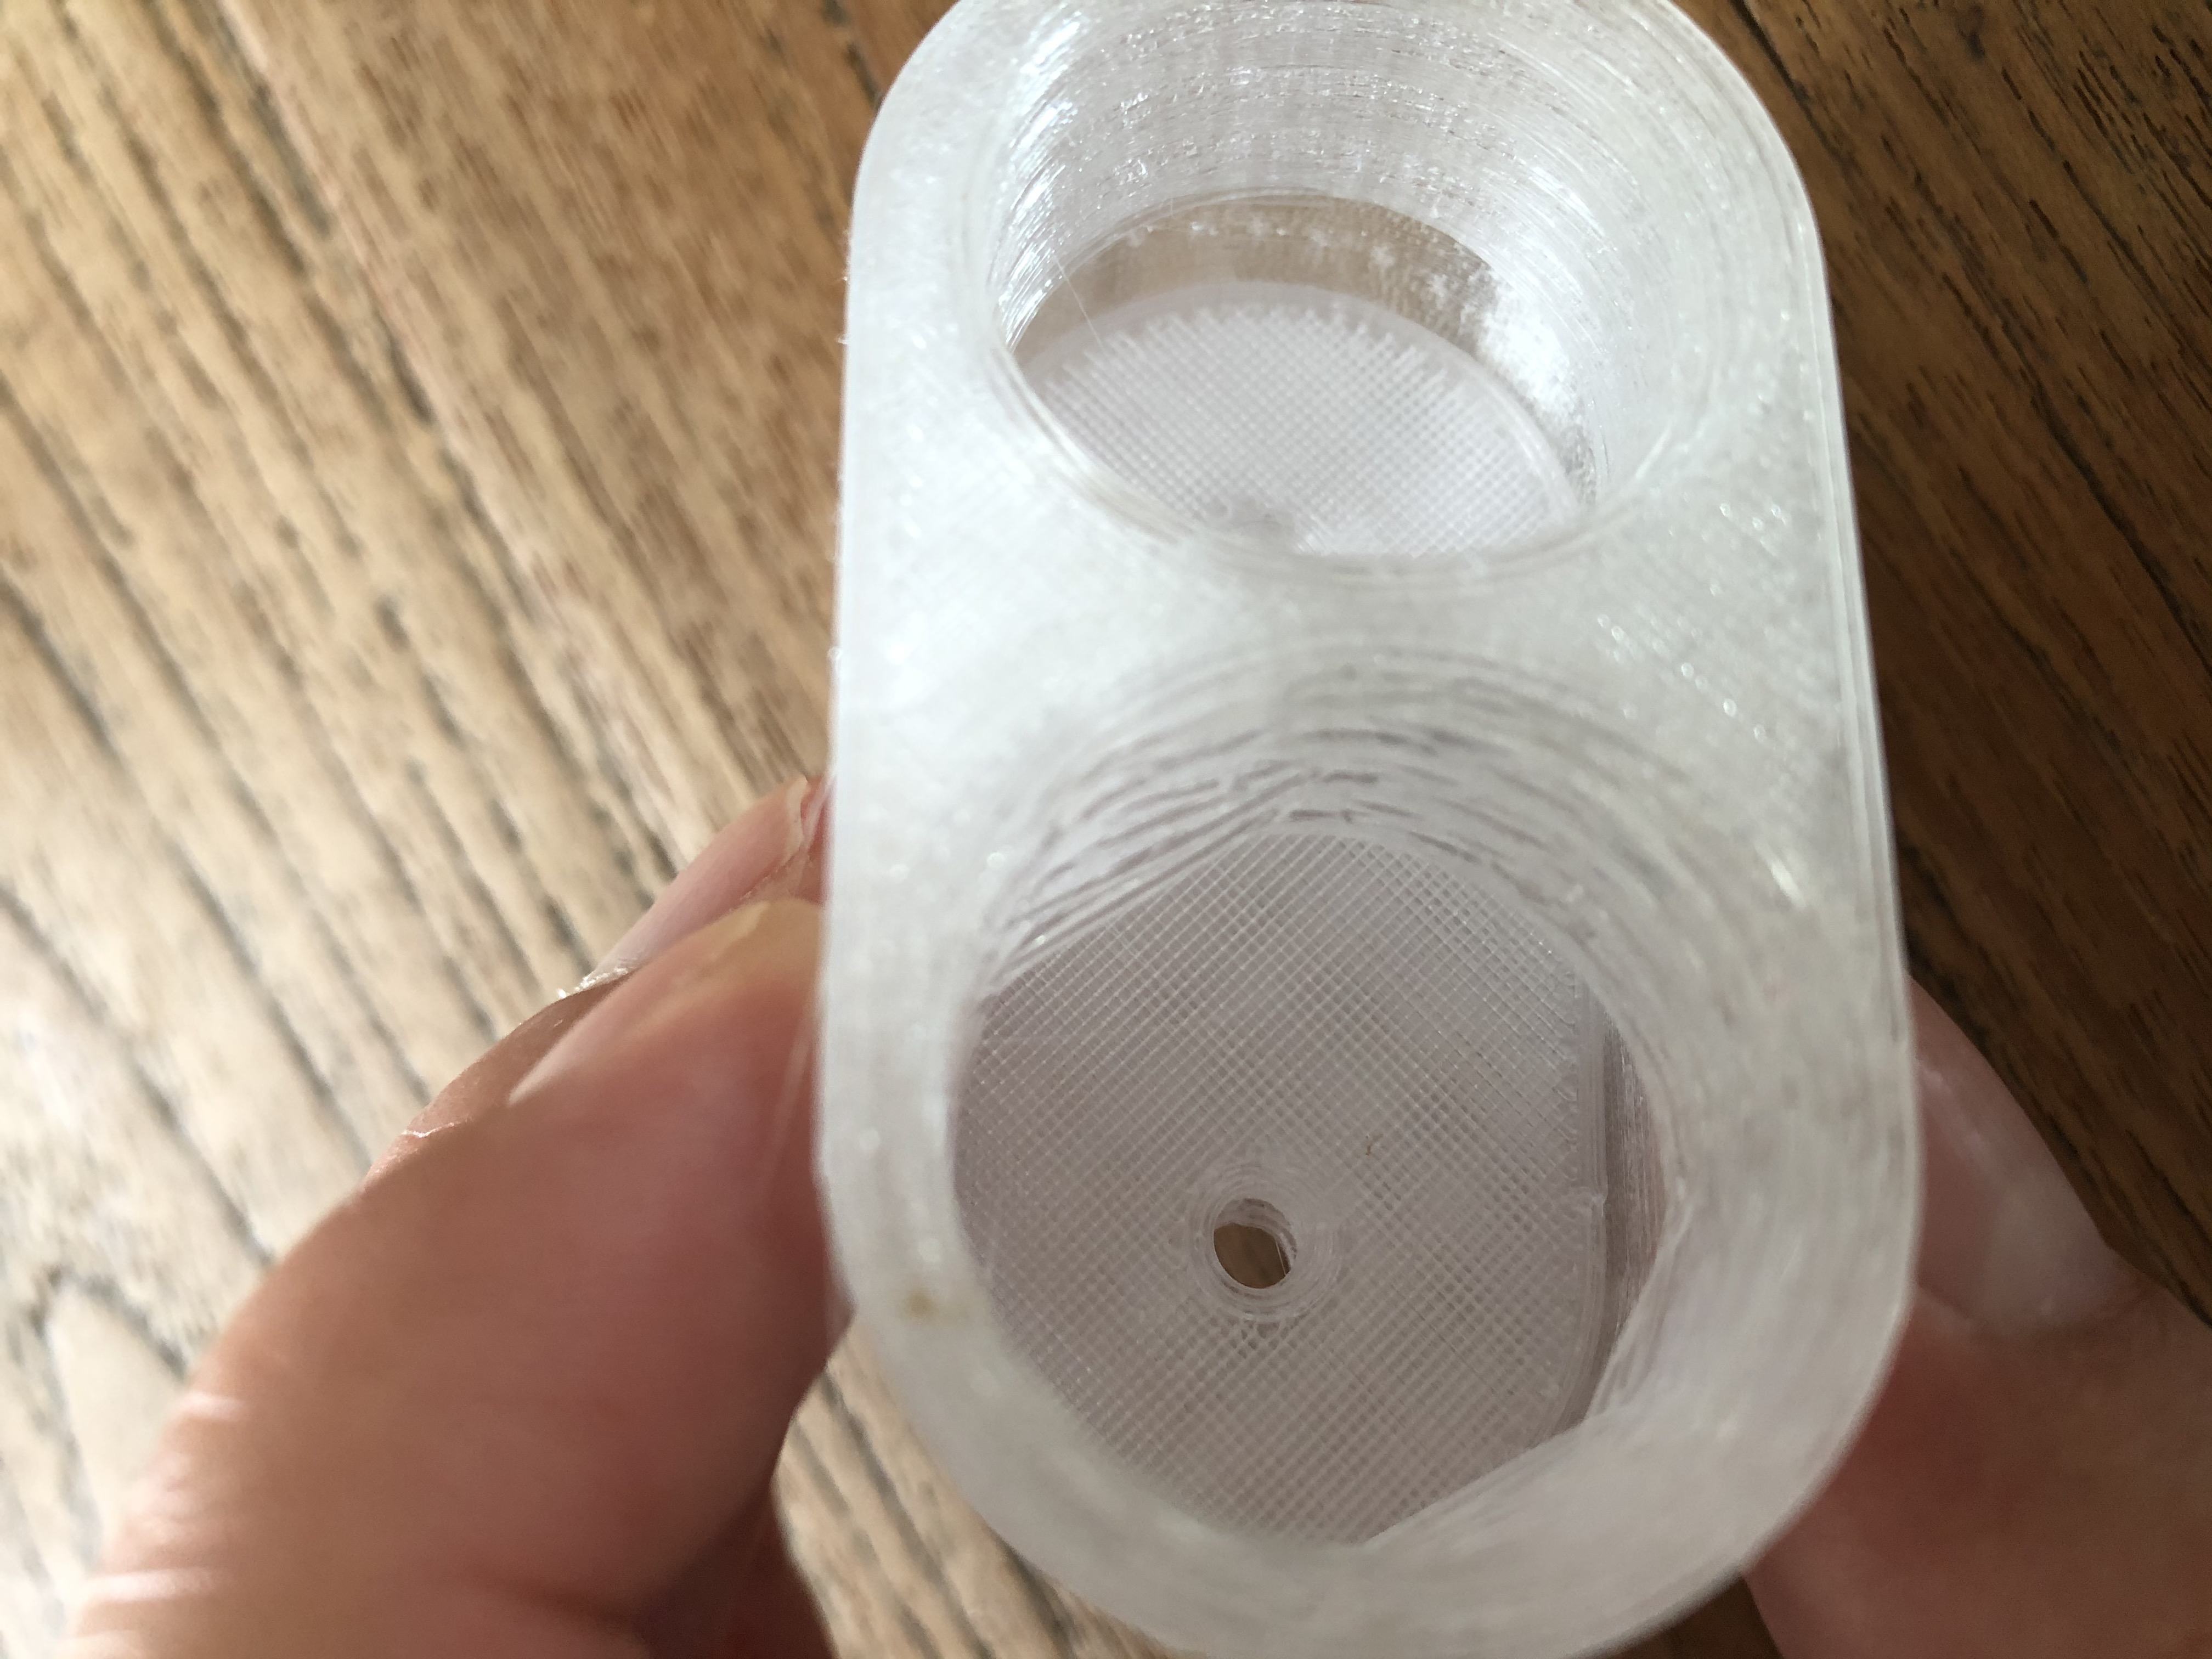
The adhesion of the filament in the screw thread isn't going well. Do you have any tips to fix this?
What I will do in the coming weeks:
- Build a enclosure for the printer;
- Build a dry box for the filament;
Thanks for your help!
Best regards,
Ferdy
RE: Screw thread adhesion
Did the filament supplier recommend bed temperature of 95C? Seems pretty hot to me.
RE: Screw thread adhesion
Thanks for the reply, no the supplier didn’t recommend that, but it was sort of a desperate move 😅.
Last night I used a different Filament, HotOrange3D black PETG. Put it for 2 hours in the oven and then run the print. Used a profile from the supplier so settings should be correct. Result..

RE: Screw thread adhesion
Problem is layers arent sticking together, could you please save your project (file>save as to save a .3mf file). Then zip that file up and attach it here. Forum needs an zip archive otherwise it wont let you attach.
With the project we can slice it using your settings, check the preview etc and even try printing it. With threads depending on their pitch they are often an overhang, so you need to look at anything that can improve overhangs. So changing layer heights, speeds etc Cooling on petg prints. Basically give us the project so we can debug easier.
I will say that doing threads with a 0.6mm nozzle is going to be a challenge unless they are large themselves.
RE: Screw thread adhesion
I don't have a .6 nozzle, but I regularly use the Reprapper transparent PETg, so if you post a .3mf file I would be happy to run a test print for you and see what happens.
RE: Screw thread adhesion
@neophyl & @jsw
This is the file, hopefully you can help me! Really great that you guys are willing to do this 👍 .
RE: Screw thread adhesion
As soon as this run of window frames is done I'll switch over to the transparent PETg for the window panes and do your print with those.
RE: Screw thread adhesion
I haven't had a lot of time to look yet but I'd try reducing your layer height down to 0.2 or even 0.15 for those threads. When at 0.3 and you look at the preview you can see some of the yellow from the inner perimeters showing through between the orange of the outer perimeters. That would indicate that its one the edge of placement for the layer below. When you drop to 0.2 its all orange with none of the inner showing. That would be my first change for a test print.
You can use a height range modifier to decrease the layer height for just the bottom of that model and go back to 0.3 for the section above it.
RE: Screw thread adhesion
Ok, here's what I got.
First of all, your project file obviously would not work with my machine, with the .06 nozzle and such so I broke out the one piece as a .STL and to save filament for this test, chopped it off and concentrated on the threads.
I sliced it at .15, actually before I read the above item, as that is what I would probably use if it were my model.
As you can see, there is some minor stringing, but nothing like is shown in the photos above. What I got is typical of the stringing I would expect on a PETg print. Otherwise it is a good print with good detail on the threads, and I'm confident that any item with the corresponding male thread would mate properly.
I would suggest using a smaller nozzle. This was printed with the common .04 size. Then slice at .15 or so. I wouldn't even bother with a modifier.
I would also slice the components separately, and use a draft shield (as I did) if you don't have the machine in an enclosure.

RE: Screw thread adhesion
@jsw and @neophyl
Thanks so much for the test run, and that is the result I'm looking for. Also great feedback! A couple of hours ago I started a print with the 0.6 nozzle and a 0.15 layer height, the problem now only occured in the first layer, the rest was smooth.
So as you suggested, I have now changed the nozzle to a 0.4mm and set the layer height to 0.20mm. Hopefully this will work because I'm also looking for a bit speed. This will be a production process for the coming months untill we have raised enough to go moulding. If this doesn't work, will have to go for 0.15mm.
Also I have most of the materials to build a enclosure, only need to print some parts.
But first, let's see what this print does. And from there I can work on optimizing the total print. There are a few more challenges down the road, so more to come 🤣 .
RE: Screw thread adhesion
For threads, even coarse ones, I've found that the finer you can go, the better.
Some time ago I did a print of what is essentially a plastic model of a drill press vise, and I ended up reprinting two pieces at 0.1mm which really smoothed out the action of the threads.
RE: Screw thread adhesion
Well, had a good night sleep over this subject. Have do a few steps back. So I ordered new filament, now Prusament. Also will make a box to store the Prusament dry, and also print from there. Also ordered the last materials needed to build a enclosure.
Will go from there with the highest detail setting, and then do different test runs to see what suits best. Will keep you updated guys 👍