Need help with Colorfabb Copperfill
Does anyone have Slic3r settings for this filament? I tried using it yesterday for the first time and almost destroyed my extruder in the process. Being new to this filament, I read about it briefly, decided I new what I was doing, and set the temps 5 degrees higher due to my hardened steel nozzle and set the speeds nice and slow. It put a first layer down beautifully, so I walked away for a bit. I came back a half hour later to a clicking extruder and a print that was starting to show gaps. I tried to raise the temperature a bit and slow it down more, but it just got worse.
In the end, I had to stop the print and then spent about the next hour getting rid of the worst nozzle jam I've dealt with. It wasn't as bad as some I've seen on here, but it was bad enough to make me scared to try this again without some expert advice. The filament had hardened throughout the tube and hotend and felt like a concrete block.
Based on reading since then, it appears I did exactly the opposite of what I should have done. It seems I need to keep it moving quickly and to lower the temps. Otherwise, there is significant heat creep back up the filament. I see the Colorfabb site recommends 80 mm/s print speed, but I'm still new enough to not know how to translate that into the 10 different settings under "Speed for print moves" in Slic3r. Also, 80 seems really high. They also recommend retraction of 4 mm, but I found a post from a couple years ago where someone on a Prusa forum said that was way too high and to keep it to 0.8.
I've looked at the Slic3r Colorfabb Brass Bronze settings. As far as I can tell, the only things changed are a lower temp by 5 degrees and a max volumetric value of 10. Everything else looks identical to standard PLA.
Help?
Re: Need help with Colorfabb Copperfill
Knock the max volumetric speed back. Way back to see if it works, then tweak up and observe.
Re: Need help with Colorfabb Copperfill
So wouldn’t that slow it down which seemed to cause my initial problem? Or do I misunderstand the volumetric speed?
Re: Need help with Colorfabb Copperfill
So wouldn’t that slow it down which seemed to cause my initial problem? Or do I misunderstand the volumetric speed?
Yes it might slow it down. No, just being slow didn't necessarily cause your original problem.
I obviously can't say with 100% certainty what your issues is, but in general, your problem sounds like a typical problem where you're trying to feed too much filament for the E3D V6 extruder to handle at any given time. You get extruder skips, under-extrusion and jams and a host of other problems.
The E3D V6 hotend can process roughly 11.5mm^3/s of material at max, but different materials have different consistencies. Look in your Filament Settings->Advanced tab for different filaments, and you'll see a variety of settings for Max volumetric speed, from 1 for Colorfabb XT-CF20 to 8 for PETG to 10 for Colorfabb Bronzefill to 15 for PLA. What you want to find is the right value for your filament that won't cause problems. If you're getting skips or jams, knock it back a bit as you're likely overwhelming the extruder. Raising temps can help (to a point) as material will melt and move through the hotend more quickly.
The point of using max volumetric speed is that you can avoid trying to calculate the magic speeds to use. This is the big Slic3r advantage over most slicers. Set your speeds to what you'd like to use for different features, usually focused on finish. Then set your max volumetric speed for the material you're printing. Slice your model in Slic3rPE and save it, then open up the Preview tab and look through the View options. You can use Volumetric flow rate to confirm that Slic3rPE is keeping flow rates at or below the setting you used for your filament. You can use Speed to confirm that speeds are being restricted to the lower of the maximum speed required to keep the desired flow rate or your setting.
In other words: Using max volumetric settings avoids having to do a lot of re-calculating speeds. Keep your speeds up where you want them for finish. Slic3rPE will do the math to calculate how fast it can go. Slic3rPE will also account for your layer heights and extrusion widths. Much simpler than trying to do the math yourself for every combination of nozzle, layer height and extrusion width.
If you do want to do the calculation yourself, your maximum speed should be:
speed = flow rate/(extrusion width X layer height)
I'd start with something like 8 for flow rate (below brass fill) and work up.
If you're game, slice with your current setup, save the gcode, then look in preview to see just how fast you are actually going. On smaller prints, you usually won't get up to your set speeds due to acceleration and jerk limits. The thing about trying to fix problems with speed is that speed is an illusion. Any specific speed setting will only be meaningful for a specific extrusion width, layer height and volumetric rate, combined with limits on acceleration and jerk rates.
Be cautious trying to use settings for different printers and slicers. Many retraction settings listed are for Bowden setups, whereas the Prusa printers are direct drive. Also, many (most) other slicers require all sorts of tweaking and tuning of speeds in order to account for variances in extrusion width and layer height. Slic3r does the calculations for you. (And FWIW: Don't go down the "magic layer height" rabbit hole for other printers.)
Re: Need help with Colorfabb Copperfill
So, I just wanted to come back and say thank you. That was a very helpful explanation and I was finally able to get a print with the Copperfill. It's only a calibration cube right now, but it was more than I could do before. Much appreciated.
Tomorrow I try something bigger....
Re: Need help with Colorfabb Copperfill
So i tried a different model, specifically this one: https://www.thingiverse.com/thing:1354948
I'm having significant problems with extrusion. I ended up talking to support last night and they advised that I loosen the extruder screws, which I did. I ended up loosening them far more than I was comfortable with so they are now sticking about 2 mm out the left side of the extruder housing. The clicking did stop however.
Here is the front
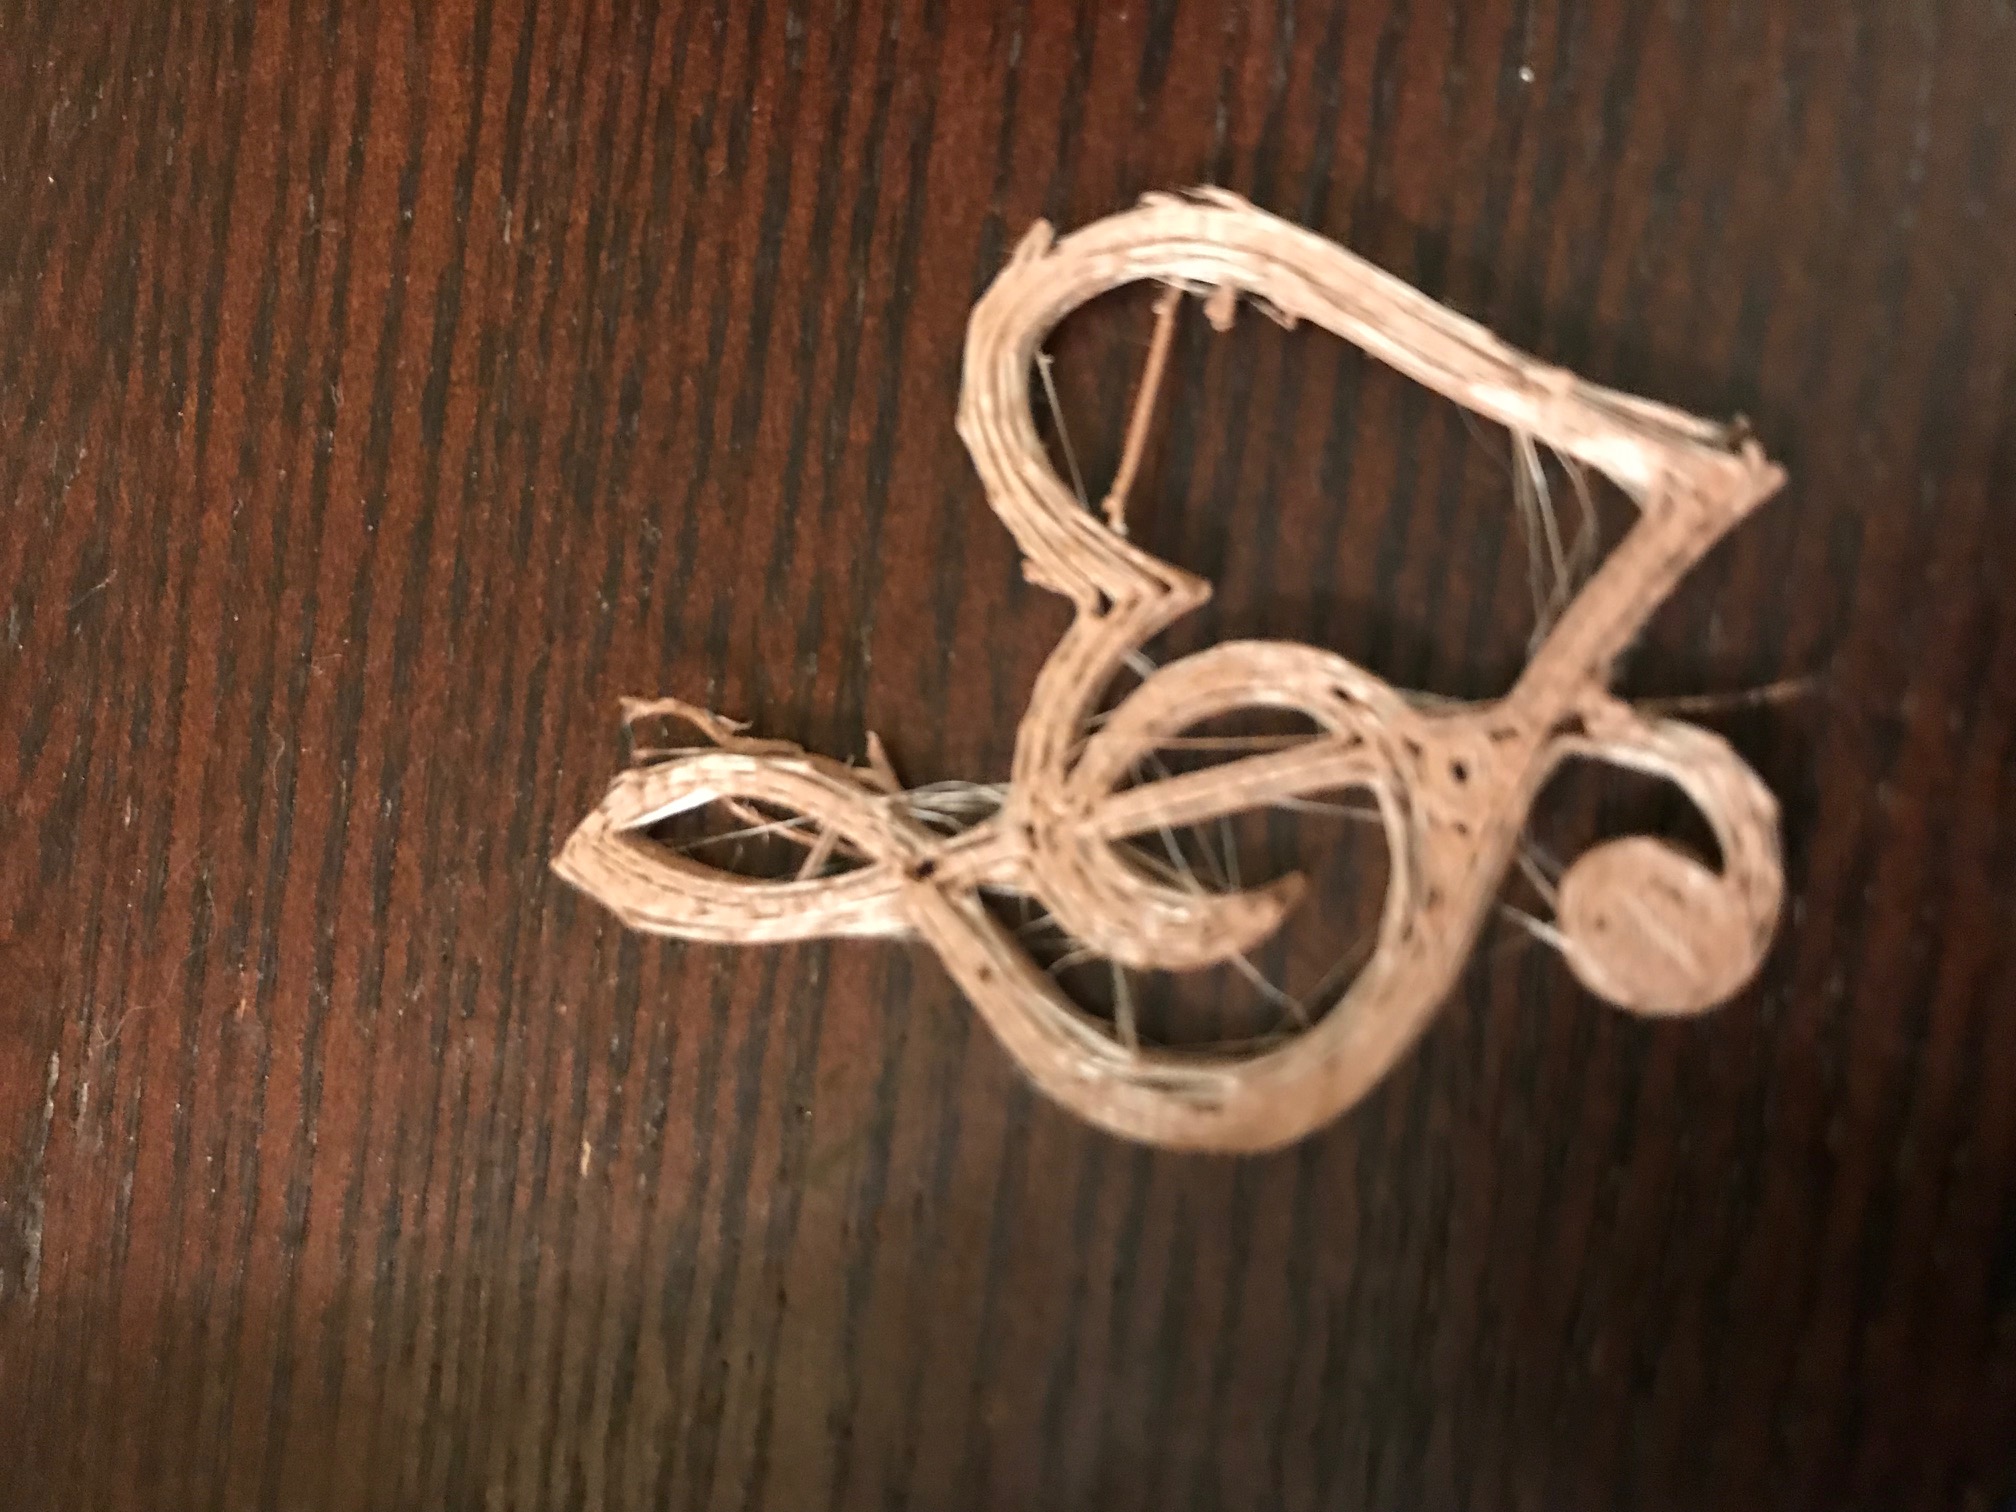
and here is the back
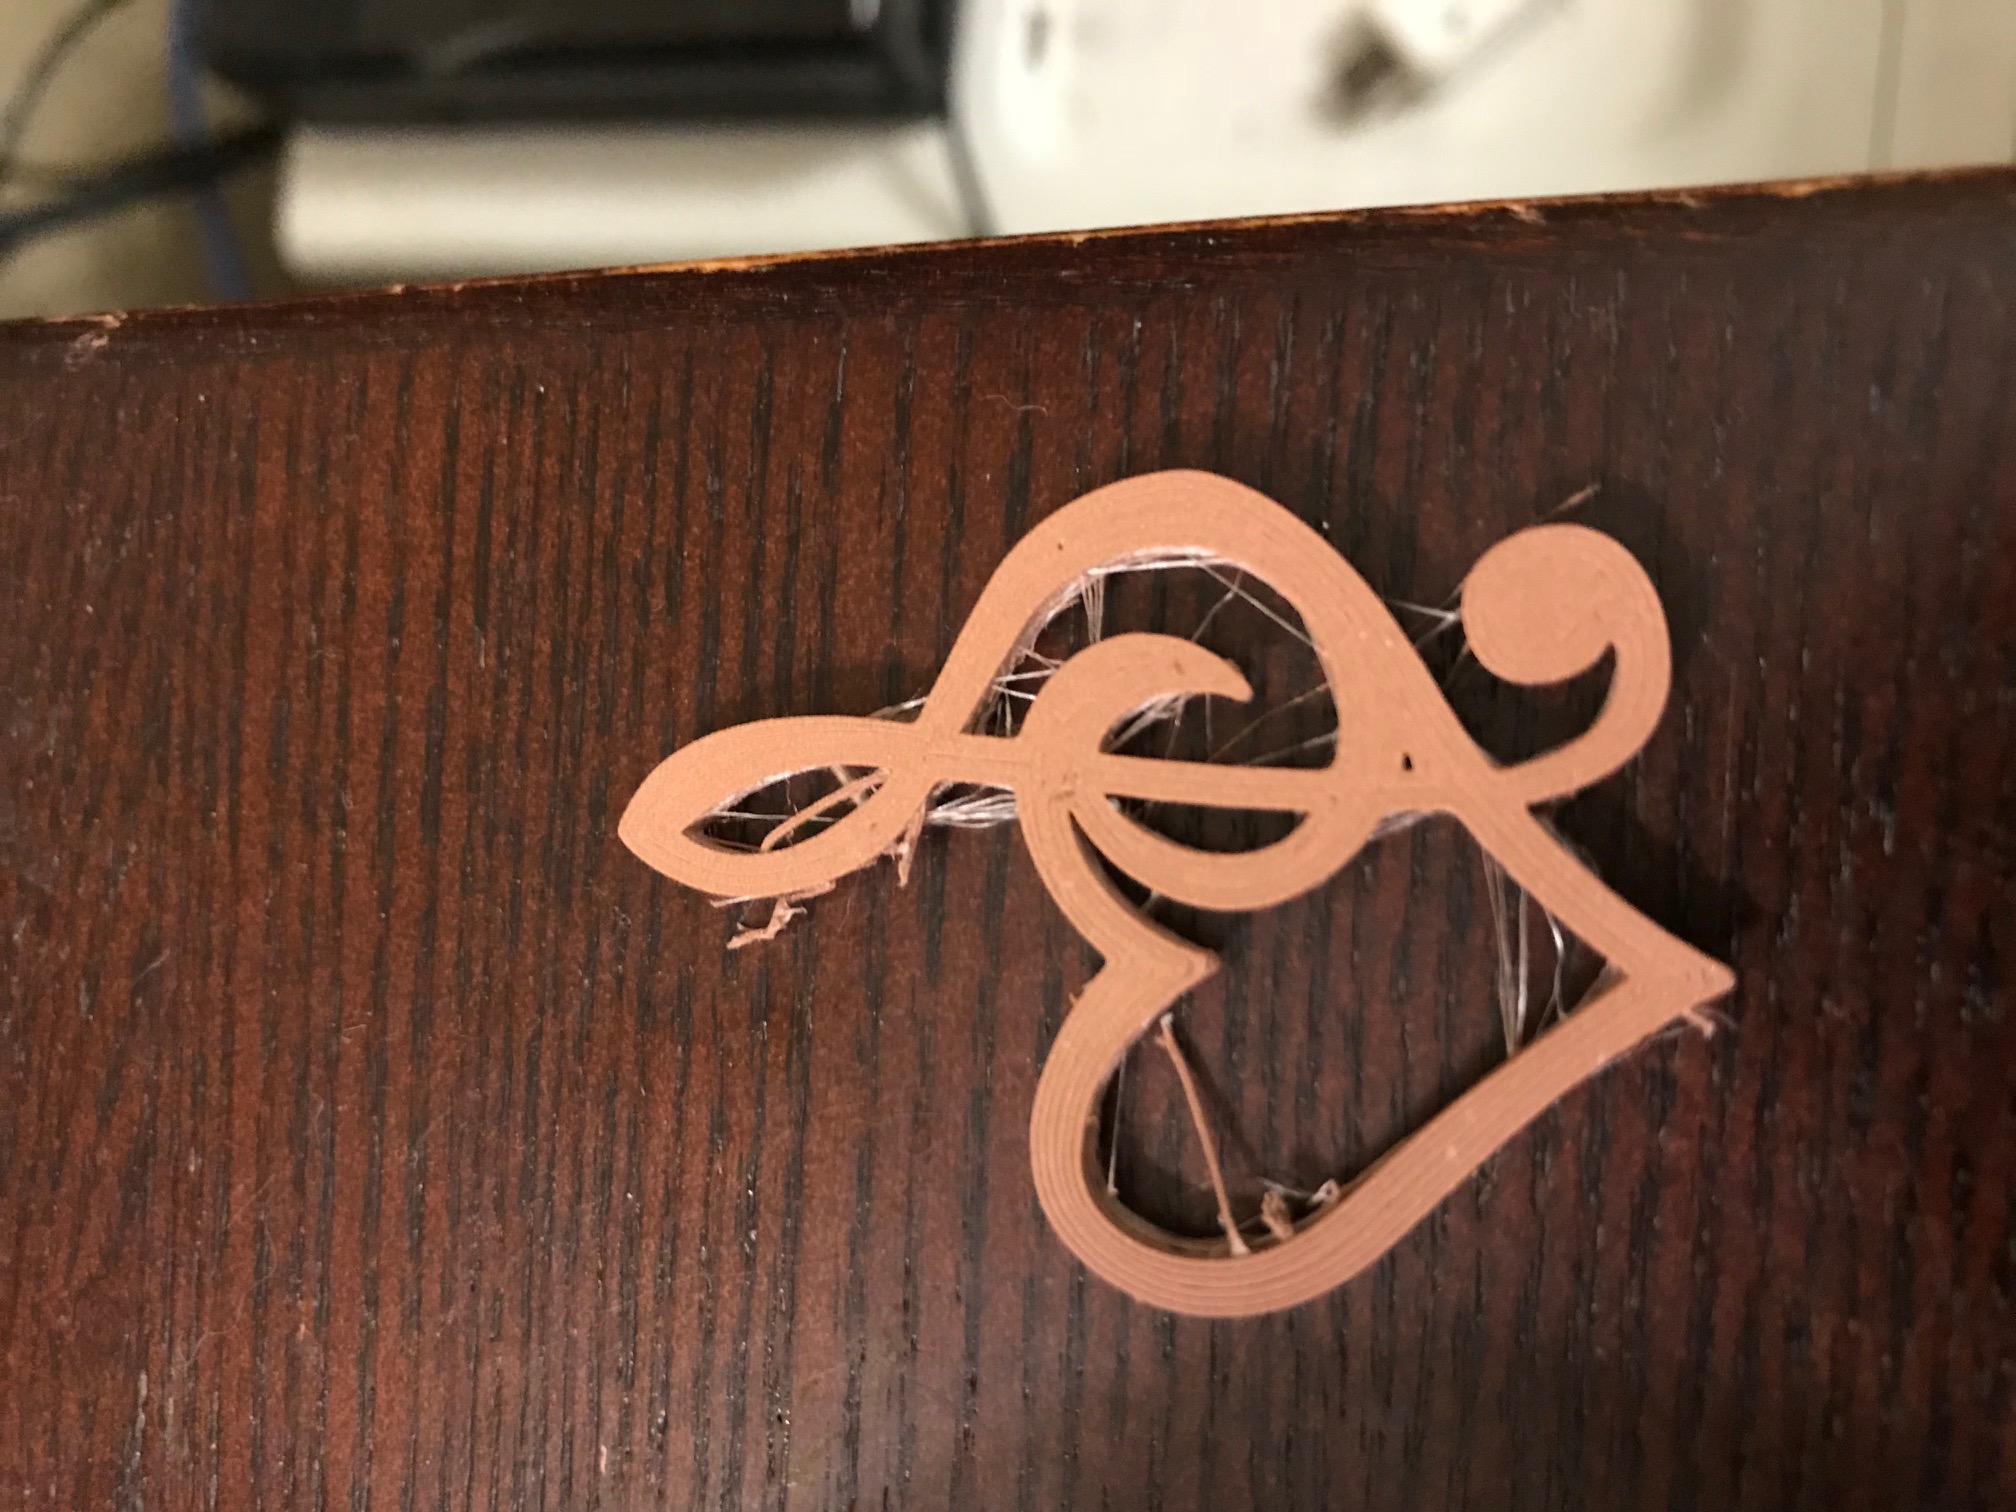
I'm pretty sure the Live Z is decent based on the back, but the front shows consistent gaps and holes. I was able to solve some of it by turning the fan off completely. The cooling fan no longer comes on at all during the print, and now I get this:

Can anyone explain what is happening here? Why would the fan coming on cause issues? And what more can I do to make this better?
Re: Need help with Colorfabb Copperfill
It looks like you're using Concentric infill for the Top/Bottom Fill pattern. I'd start by changing that to Rectilinear.
Re: Need help with Colorfabb Copperfill
Already is rectilinear grid. Honestly, I don't know I've ever used anything other than that as it was the default.
Re: Need help with Colorfabb Copperfill
I print a lot with Colorfabb special filaments like Copperfill/Woodfill/ and so on. They are easier to print with bigger nozzles (like 0,6 mm). Printing small parts with lots of details is really hard.
I'd first use something like that https://github.com/kickstarter/kickstarter-autodesk-3d for finding the perfect settings.
Re: Need help with Colorfabb Copperfill
Flaviu, would you be willing to share your configuration files? I would greatly appreciate either cura or slic3r settings.
Re: Need help with Colorfabb Copperfill
I'm afraid I am printing those materials with simplify3d. Attached the fff file.
Re: Need help with Colorfabb Copperfill
Thank you for posting these. Looks like I can still open them and read through to get most of your settings. Greatly appreciate it.
Re: Need help with Colorfabb Copperfill
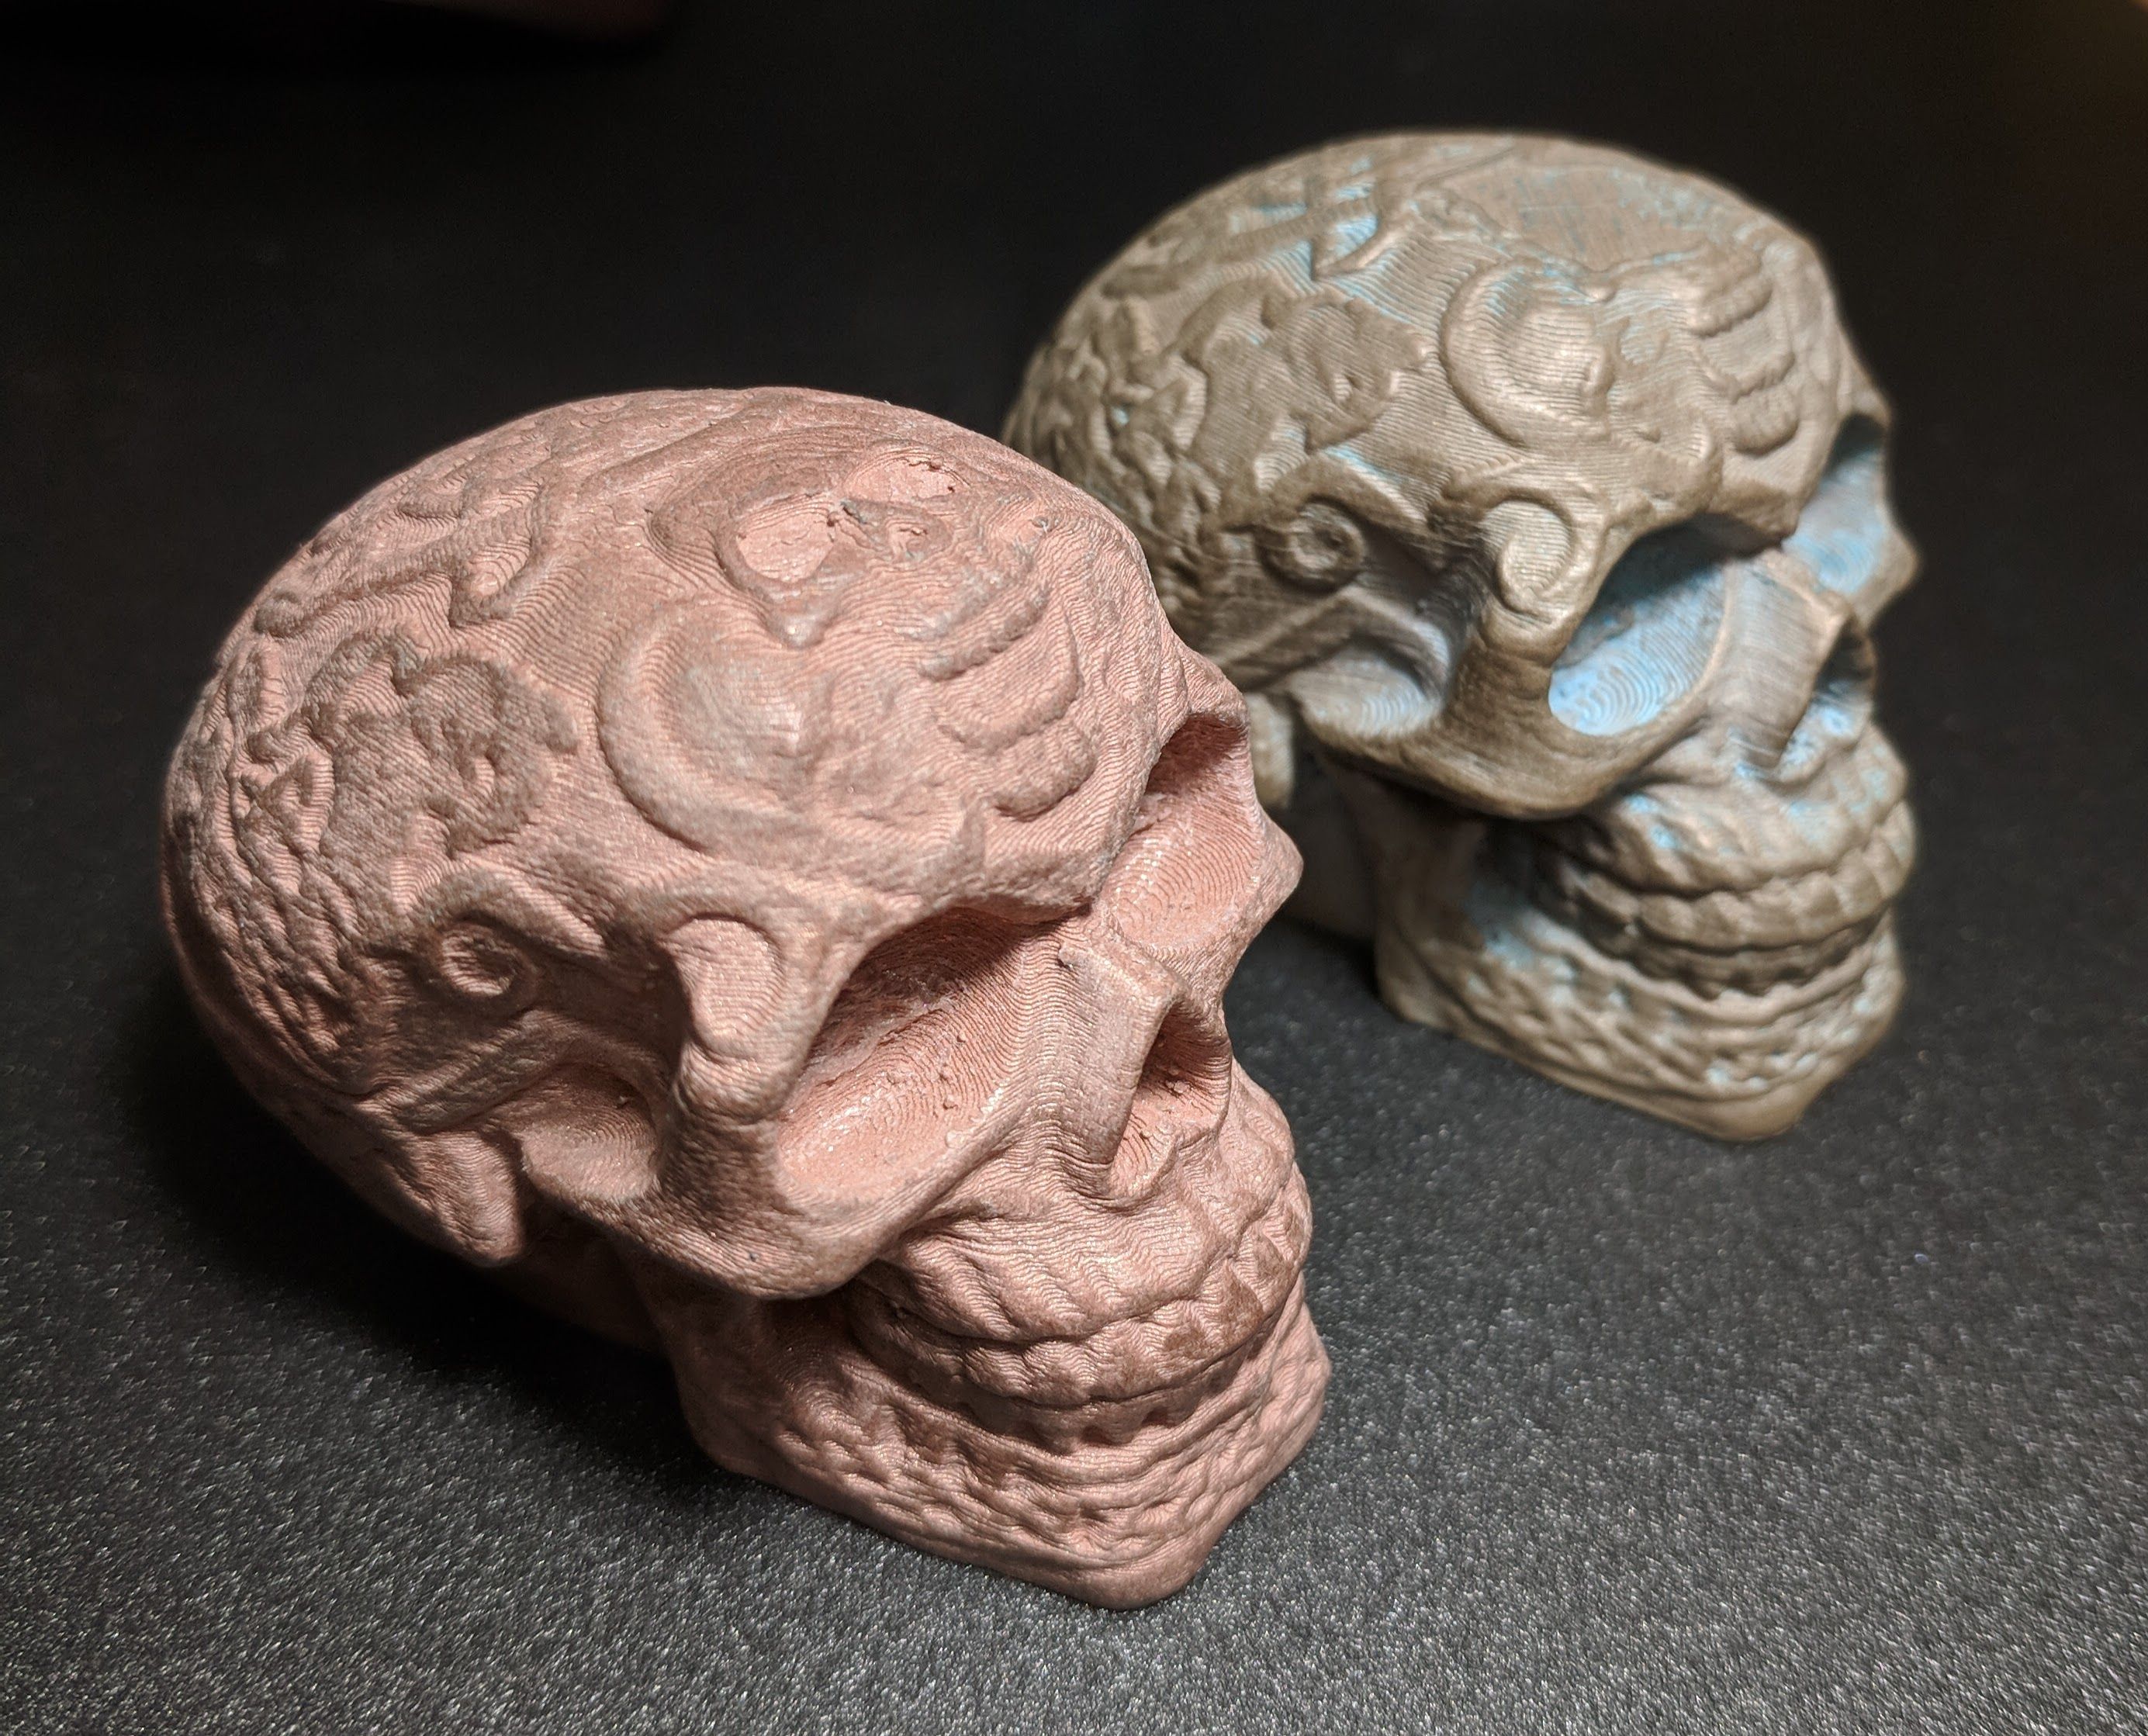
Front: Copperfill
Back: Bronzefill
Celtic Skull https://www.thingiverse.com/thing:188558
1/2 scale
Profile based on "Prusa PLA"
235°/60°
Extrusion Multiplier 1.06
100% infill
Speed 45 for ALL movements
Retraction 0
Re: Need help with Colorfabb Copperfill
Does someone have any tips on postprocessing copperfill ? I tried sandpaper and steelwool but I am not entierly happy with the results.
Re: Need help with Colorfabb Copperfill
Well the above skulls have been *slightly* buffed with a rotating steel brush and finally with 0000 (super fine) grade steel wool, works quite nicely for me. However I found that, for detailed objects, I can't expect to make the layer lines disappear completely, leave alone to make it really shiny (simply put, there's too little metal and too much plastic :lol:)
The hardness of the rotating steel brush is important though - too soft will show almost no effect, and too hard will roughen the surface instead of smoothing it. Rotating too fast will melt & ruin the surface pretty quick, too.
I put another skull in the tumbler together with a handfull of brass screws - the result was stunning: the skull appeared completely metallic and in a high gloss. Alas it didn't get polished at all, just coated with abrasion dust from those brass screws. This coat could be rubbed off quite easily - and worse: exactly the same high gloss effect could also have been obtained with materials much cheaper and easier to handle than metal filled filaments... 😆
RE: Need help with Colorfabb Copperfill
@johann-d
Looks good! I’m getting started with the Copperfill and having trouble - similar issues to @phil-s6. I was wondering if you were using a larger 0.6mm nozzle on these or the standard one?
Need help with Colorfabb Copperfill
I have some Copperfill PLA and am at my wits end trying to get this to print successfully so i hope somebody can help me please .I have a Prusa MK3S, a 0.4mm hardened steel nozzle and Prusaslicer which I have set to the Colorfabb Copperfill Filament settings recommended by Prusa . Ambient temp of around 20 deg C, no drafts and average humidity.Z calibration is all good (e.g. standard PLA gets perfect prints every time). Bed is very clean. Please see attached photo of first layer print. There are zits and blobs everywhere on the first layer and these continue to be deposited throughout the print on every layer that follows; the nozzle often gets surrounded by excess molten filament.I have found with the Colorfabb Copperfill Filament settings recommended by Prusa that the first layer perimeters do not stick to the bed and and have horrendous zits and blobs on them (far worse than in the photo) and the print eventually fails. However, turning up the nozzle temp to 235 deg C and slowing print speed by 50% helps a lot (as it was in the photo) but needed to turn the cooling fan totally off throughout the print as I was occasionally getting thermal runaway.I have tried nozzle temps ranging from 190-260 deg C, adjusting retraction up and down, adjusting z calibration, various extrusion multiplier settings....the list goes on. Hours of playing with settings and I still get zits and blobs that often mean the print fails. Any suggestions for the correct settings for this printer and filament ? Regards.