Help! Terrible top layers after taking apart hot end after heat brick leak.
Hey everyone, thank you in advance for your help.
Recently had a bad leak after changing the nozzle and I had to disassemble the entire hot end to clean it up. I managed to get everything cleaned up and the printer has stopped leaking, but now my top layers look terrible.
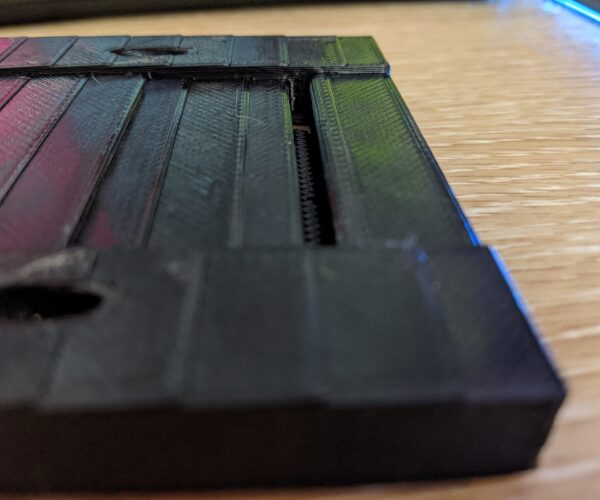
Here is a photo of the last thing I printed with a terrible top layer.
It is really bumpy and just disappointing.
Here is the last thing I printed before the leak started, and while it isn't perfect (I didn't bother to dial in the filament) the top layer is still acceptable (see below).
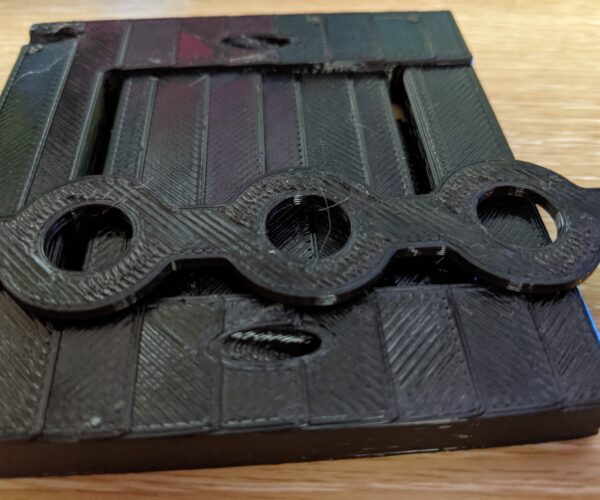
Lastly, here is them together to make it as clear as possible (below).
As you can see, the top layer has gotten terrible since the hot end was taken apart and reassembled.
Does anyone have any ideas?
Please note:
It was the same fresh roll of PETG filament that was used for both prints, just a couple days apart.
The nozzle is a Nozzle X at 0.6mm diameter.
Use a browser to post pictures. Phone posts are a challenge apparently
No photos were harmed in making this thread.
Sigh.
I can see them just fine... and I did use the browser to link them all in.
What am I doing wrong?
Looks like they're linked to a Google location so maybe an access rights issue. Easiest way to share photos here is to simply drag them into the box you're typing your text in, or use the add media button.
Formerly known on this forum as @fuchsr -- https://foxrun3d.com/
Here are the photos.... Sorry about that.
Adding them in order that they were talked about in the original post.
Photo 1 (garbage top layer)
Photo 2 (reasonable but not perfect top layer)
Picture 3 (two together)
As a quick update.... I've been working on my extrusion multiplier and it seems to be solving the problem, so maybe it was over extrusion?


