Excommunicado
Hi all,
So I've been on a bit of a John Wick kick recently and found some interesting print templates online. However I was curious as to what the best approach was in all your opinions to printing this one. https://www.thingiverse.com/thing:3840340
I'm using a Prusa I3 MK3. Thank you.
Enjoy the video.
RE: Excommunicado
@tim-m30
Thank you!
RE: Excommunicado
I don't understand how this would be used.
All of the pieces are individual objects; they don't rest on any structure.
It is called a stamp - but how do you make it into a stamp?
RE: Excommunicado
The story with that is told here: https://imgur.com/gallery/WFKL9lL
Basically somebody designed images file to make their own stamp on a website, and then someone else used those images as reference to make the build. I guess there's a way you could make it into a stamp but I confess I don't know how.
RE: Excommunicado
Thanks for the explanation!
If it were me - I would print it on a pretty thick raft - then glue that to the actual handle and pad.
Best solution would be to get the actual model file (can you do that from an STL? ) and give it a proper base.
RE: Excommunicado
I'm not in front of my home machine, but if I remember correctly.
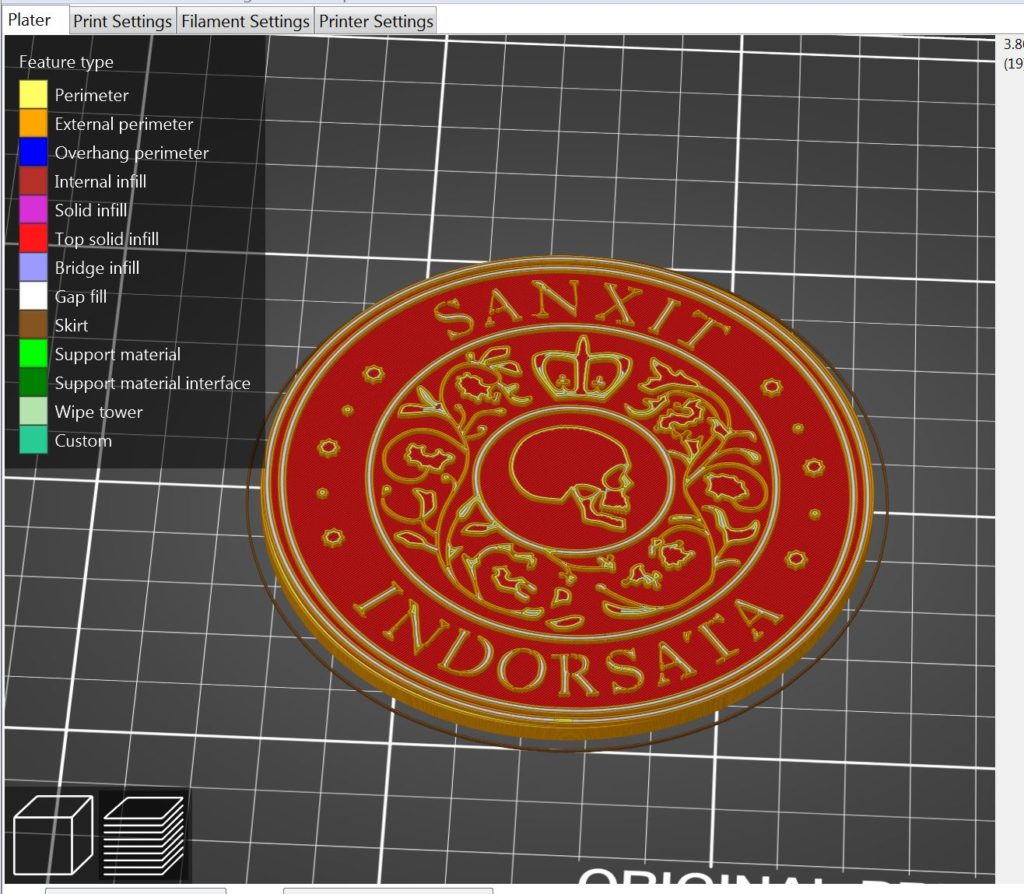
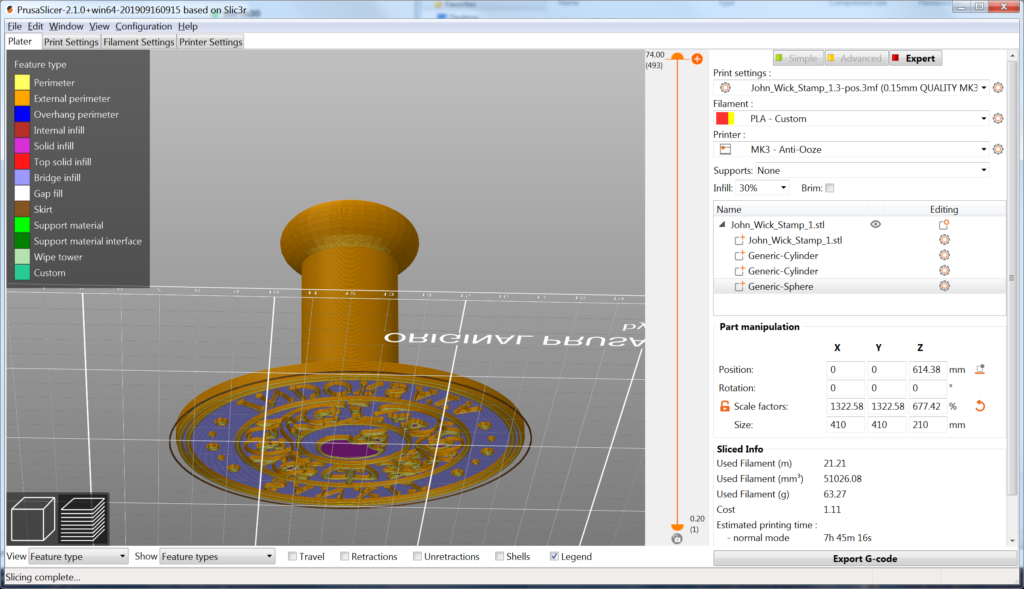
Place the stamp .stl on the bed, rotate it of necessary to be facing up to stamp, then change the height to stretch it a bit (Increase Z scale to say 8mm), add a cube modifier (I think you can use a circle as well), scale it to cover the stamp width wise but not height wise (6mm) and position it on top of the stamp flat on the bed, make it thick enough to act as a backing pad. Adjust the Z scale of the stamp if necessary so that it shows above the square backing pad.
What you should end up with is a 6mm backing with a 2mm stamp. Adjust the dimensions to suit.
Print in TPU then stick the completed stamp to a wooden block with handle to make the actual finished stamp.
Normal people believe that if it is not broke, do not fix it. Engineers believe that if it is not broke, it does not have enough features yet.
RE: Excommunicado
Dont forget to mirror it or the text will come out backwards when used as a Stamp.
RE: Excommunicado
I have to try this! Not making an actual stamp - but using modifiers.
It sounds like something I need to know how to do.
Thanks!
RE: Excommunicado
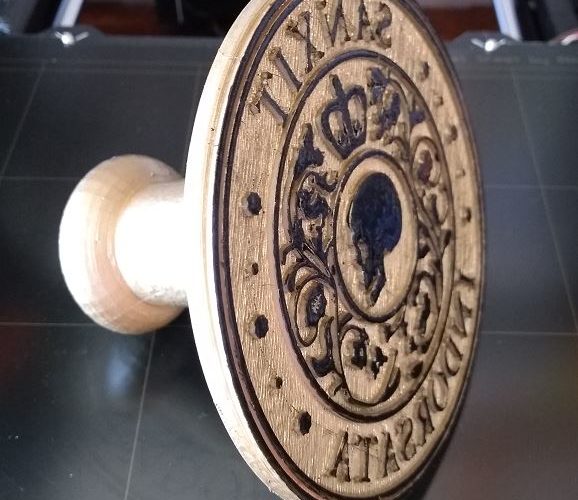
Quick and dirty version useful as an actual stamp
RE: Excommunicado
Minor hijack: (well maybe major)
I have a ball ramp with raised numbers I can't print because of a missing layer under the numbers.
Can I use a modifier embedded in the race and a bit into the numbers to make them one?
RE: Excommunicado
@robert-rmm200
Probably yes. you can add it as a modifier > part I think. It should then be part of your model when it slices.
RE: Excommunicado
Of course, if you move the modifier to the top, then it becomes a positive stamp ... no flipping needed.
RE: Excommunicado
Tim some of us are born over-achievers. Others grow into it.
You seem to be a bit of both... Good job.
(side note - my case was Add Part - not Add Modifier. And my color change at the numbers was perfect! Happy camper here.)
RE: Excommunicado
Based on my good experience printing PETG on top of NinjaFlex, another idea might be to print the stamp pattern with TPU, and then switch over to a similar printing temperature plastic for the first bridging layer. That way it gets all printed in one go.
Just make sure there are enough TPU layers to be deeper than any potential droop in the first bridging layer of hard plastic.
See my (limited) designs on:
Printables - https://www.printables.com/@Sembazuru
Thingiverse - https://www.thingiverse.com/Sembazuru/designs
RE: Excommunicado
Consider me dazzled. More dazzled then if I'd encountered the superhero known as Dazzler. Impressive work! I'll have to try it out myself.


