Curved layer
Hello there.
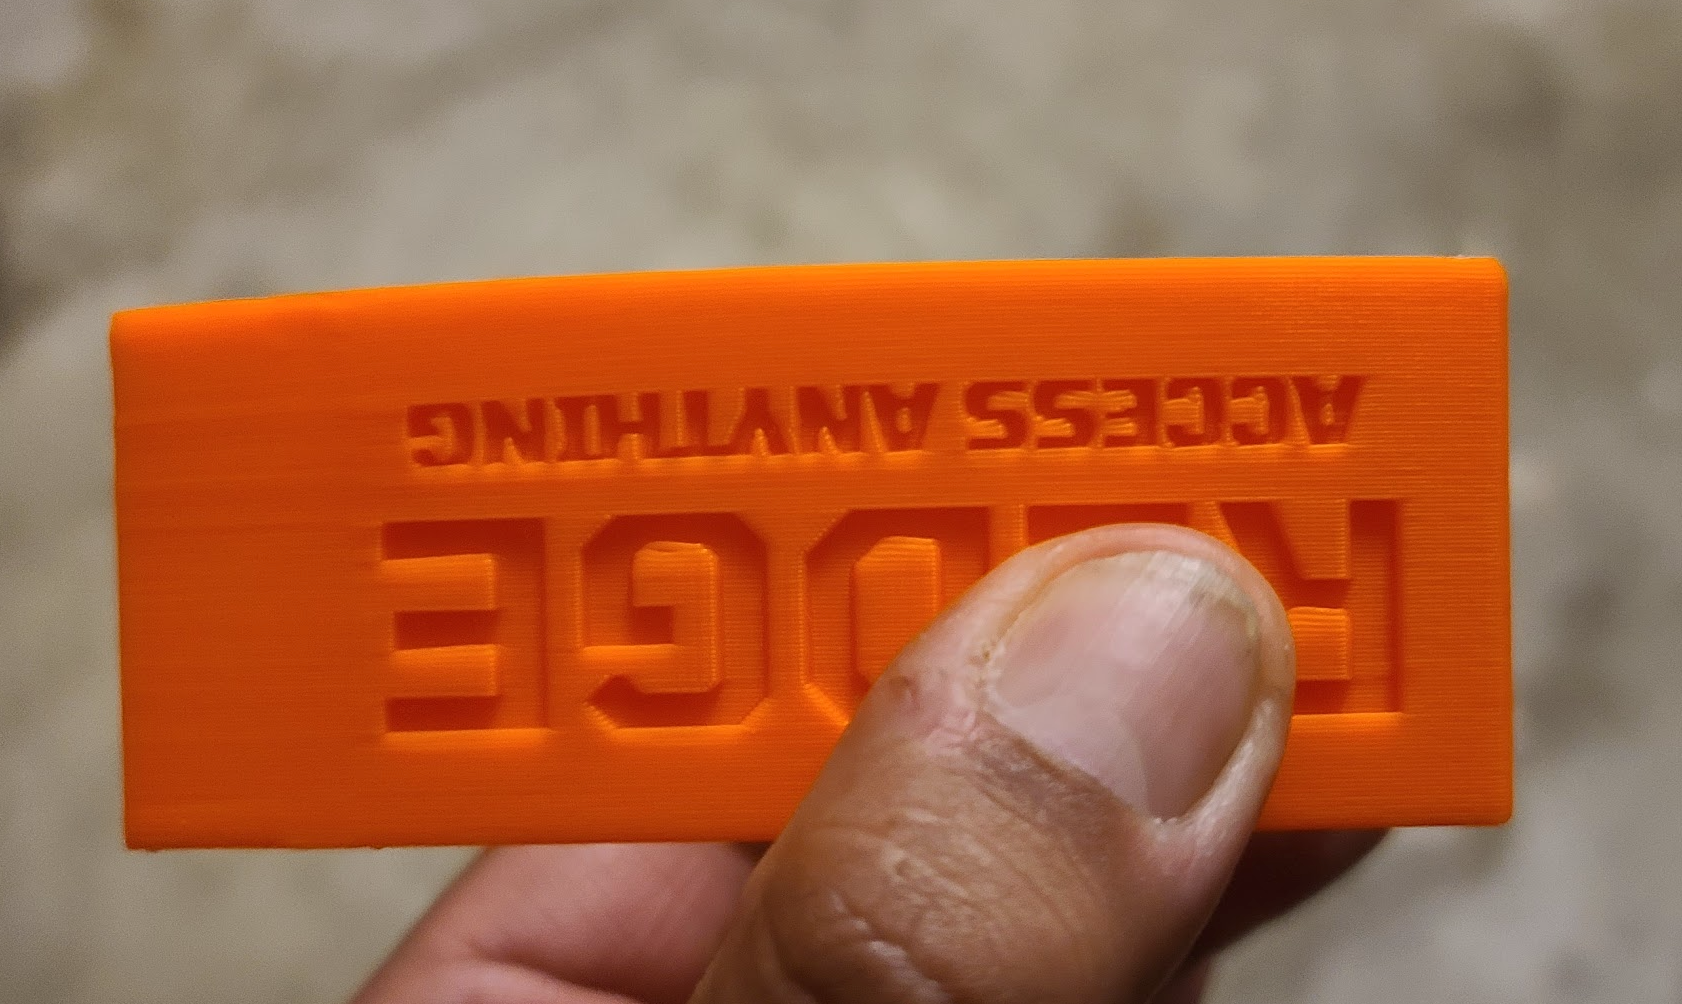
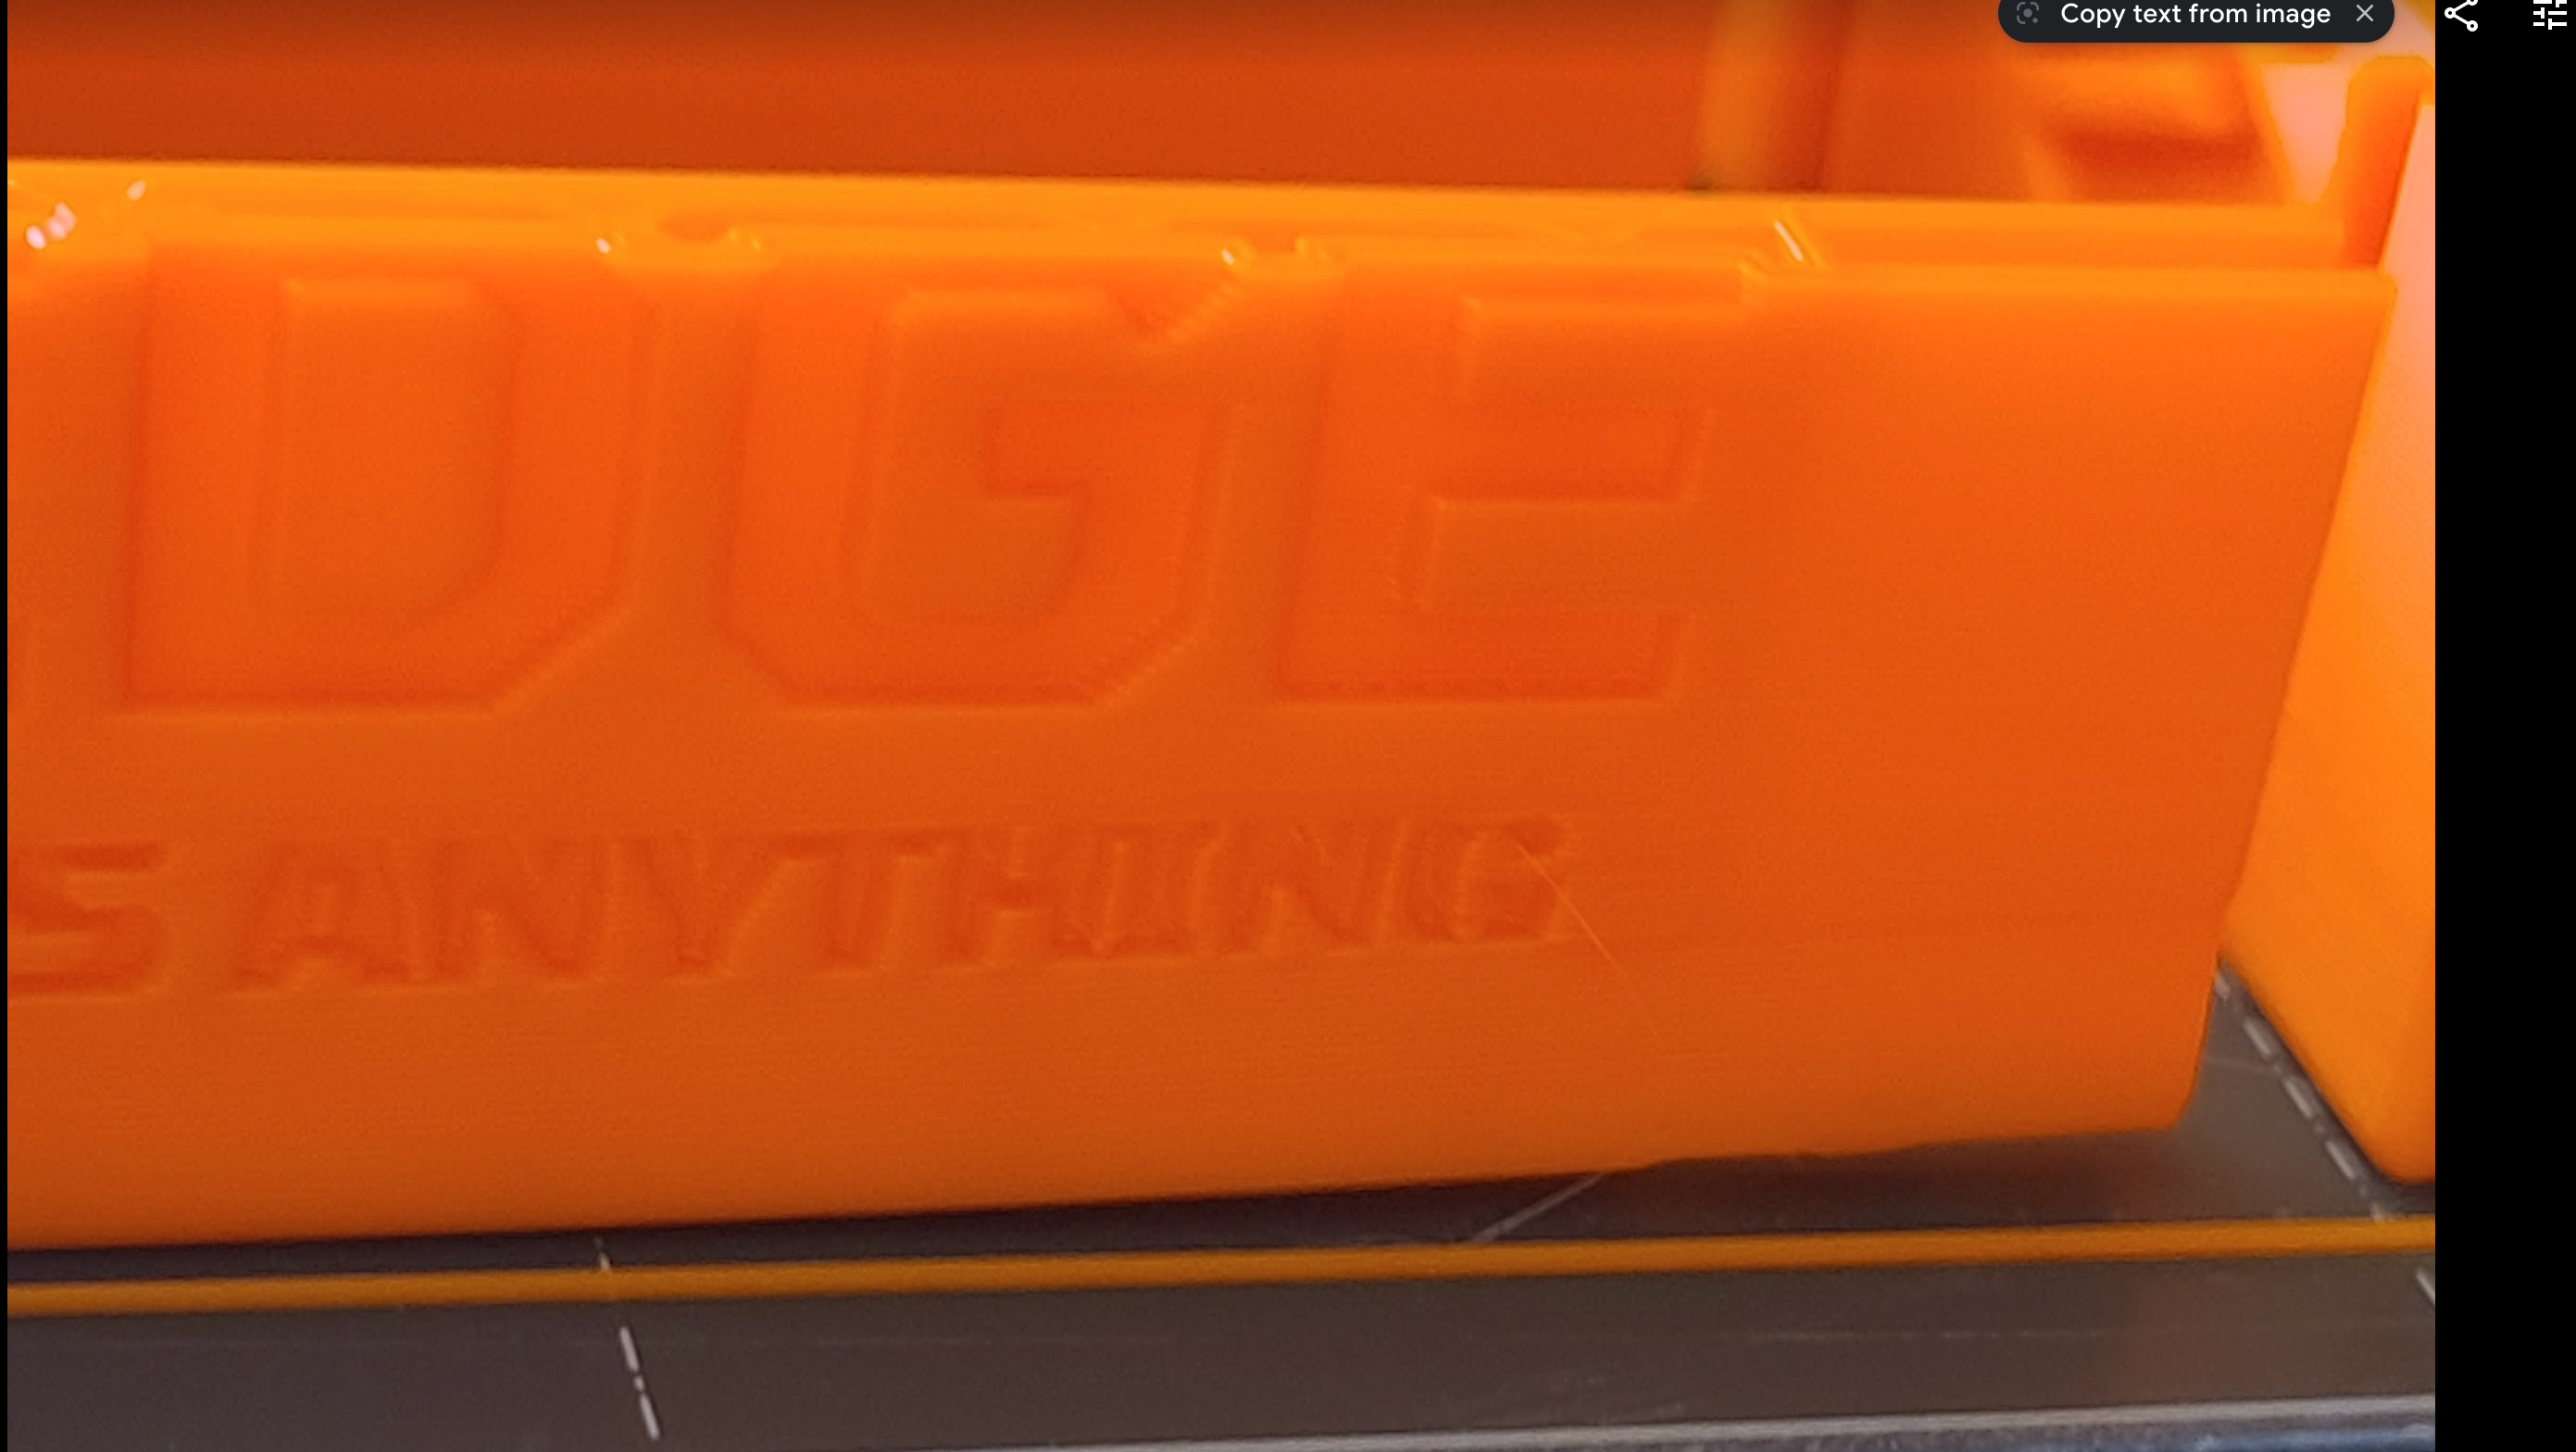
Im having some issues printing a very simple STL. For a unknown reason, it keeps adding a curve at at the side that sits on the bed.
I have tried glue stick, as I thought it was an adhesion problem, no changes at all. Change the bed level mesh to 7x7 from 3x3, no changes. Tried different slicers thinking it was a gcode issue... same result. Tried to repair STL, no changes.
Any idea or suggestion?
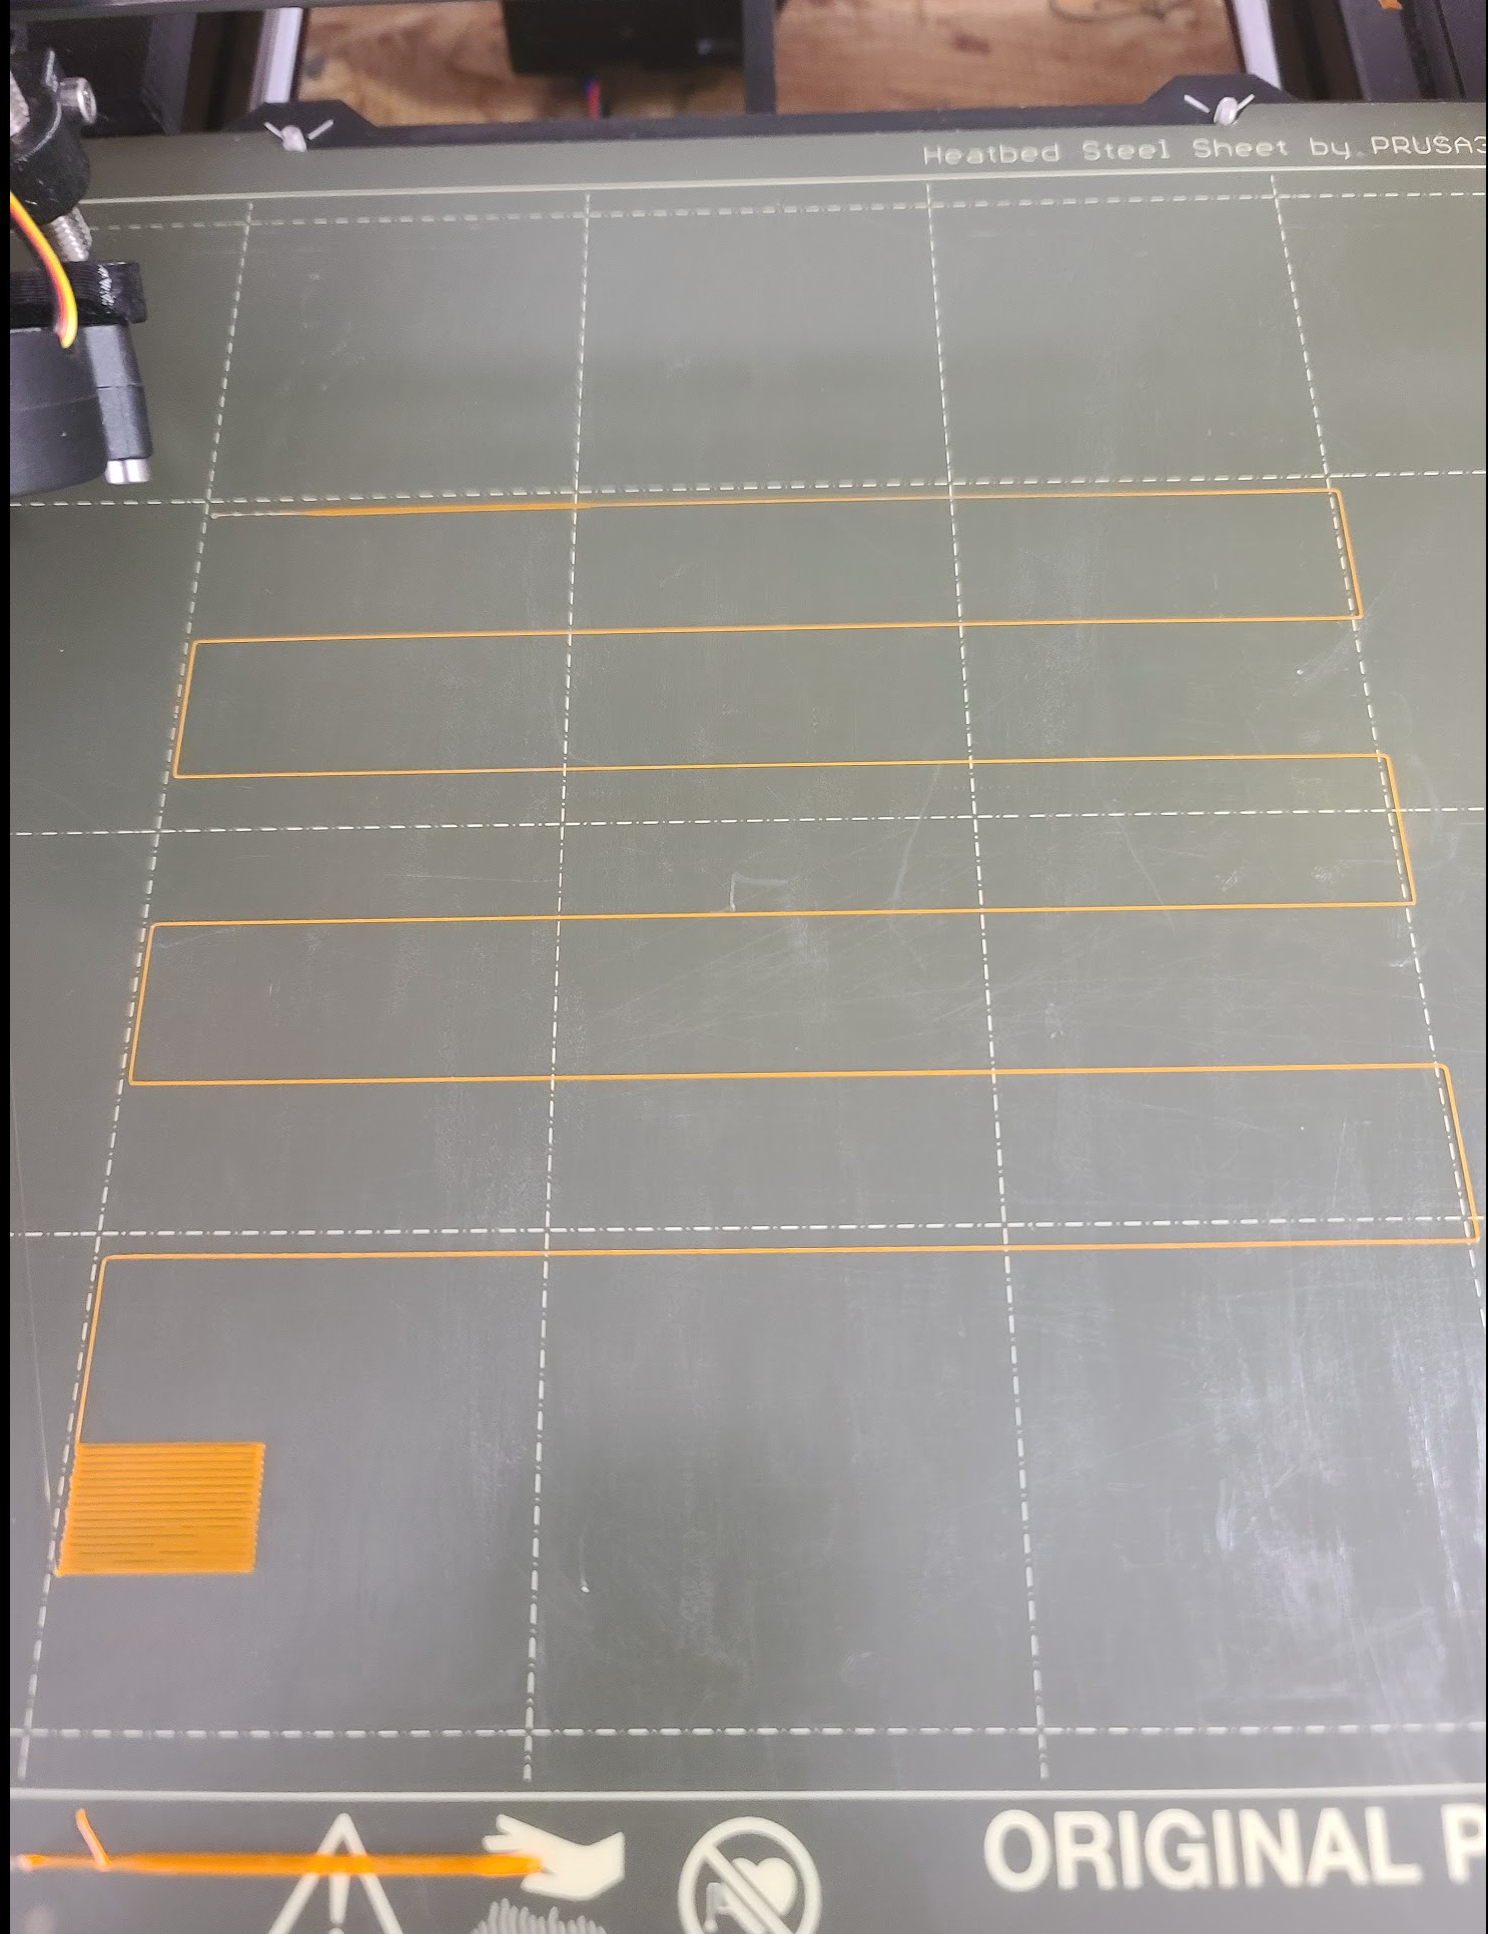
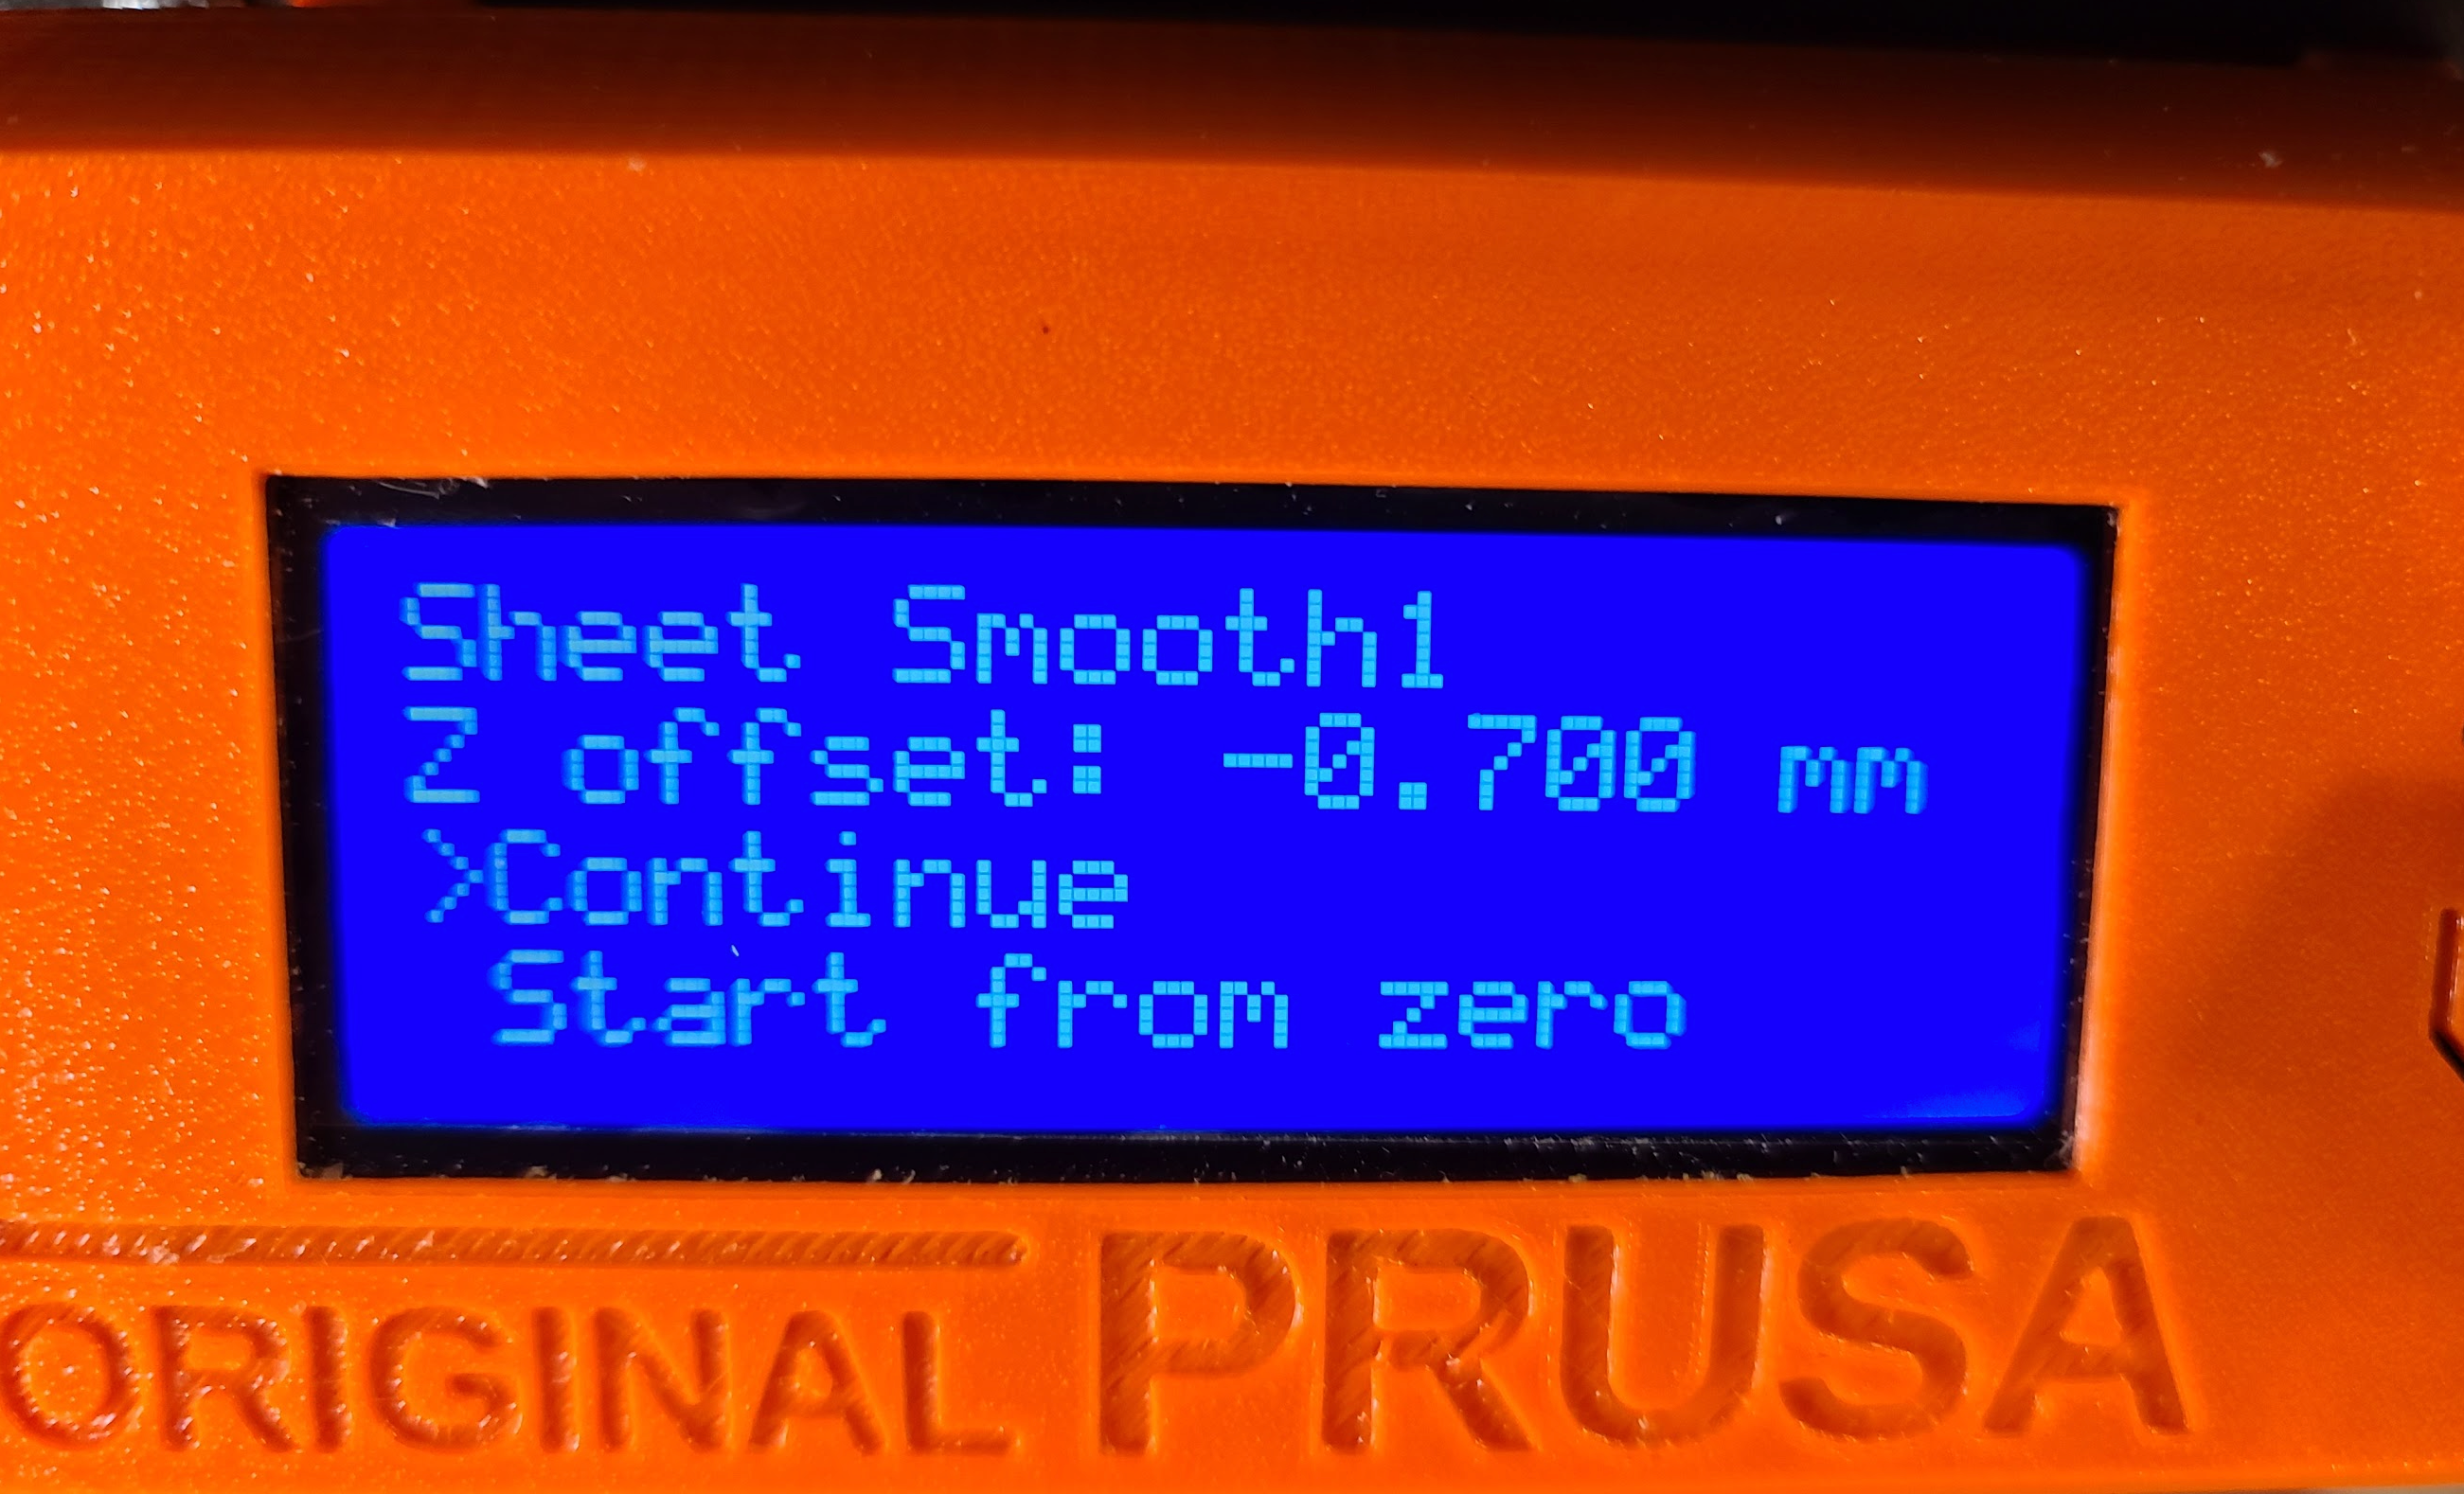
Below you can see the "curve" that I am talking about, as well my Z adjustment and a picture of my first layer.
Thanks in Advance for the help!


RE: Curved layer
Looks like warping off the bed due to either poor adhesion, or environment dropping in temperature/cold draughts.
It is very difficult to see in the photo but could be first layer. Could also be the bed needing a good clean with 99.9 IPA, or if you have printed a fair bit on it give it a clean once a week with 100% acetone.
This is always worth a try to nail the first layer life adjust Z - my way – Assembly and first prints troubleshooting – Prusa3D Forum (prusaprinters.org)
Looks like a bit of a warpy print, you could also try a 5mm brim if all else fails
Tank you very much!
RE: Curved layer
If cleaning the bed, and lowering the Live-Z doesn't help then I would definitely add a brim as that looks like classic warp. As Clarmrrsn says it is usually down to poor adhesion and the temperature where the printer is. The brim will help it to stick.
RE: Curved layer
Hard to see at that resolution as zooming in makes the image blurred but that first layer calibration doesn't look good to me. There appear to be holes but then again, hard to make out. In any case, I would forget about the built-in method and follow this approach instead: https://forum.prusa3d.com/forum/original-prusa-i3-mk3s-mk3-assembly-and-first-prints-troubleshooting/life-adjust-z-my-way/. Much easier to get Live Z right. And if Live Z isn't right, you're more likely to see warping and detached prints.
Formerly known on this forum as @fuchsr -- https://foxrun3d.com/
RE: Curved layer
start by adding a 4mm brim
RE: Curved layer
I just realized I can get a closer look at the first layer by popping out the image. Definitely no good, big holes. Before you try anything else, get Live Z right, or you’ll live a sad life full of band-aids on your printer.
Formerly known on this forum as @fuchsr -- https://foxrun3d.com/
RE: Curved layer
Thanks for the advice.
I think I got the Z on the correct setting now. See the picture attached. Looks good right? Took me a few prints to pick the best setting.
Im going to try to print it again with this new Z setting and report back.
Should I add the 4mm brim? Or just print and check?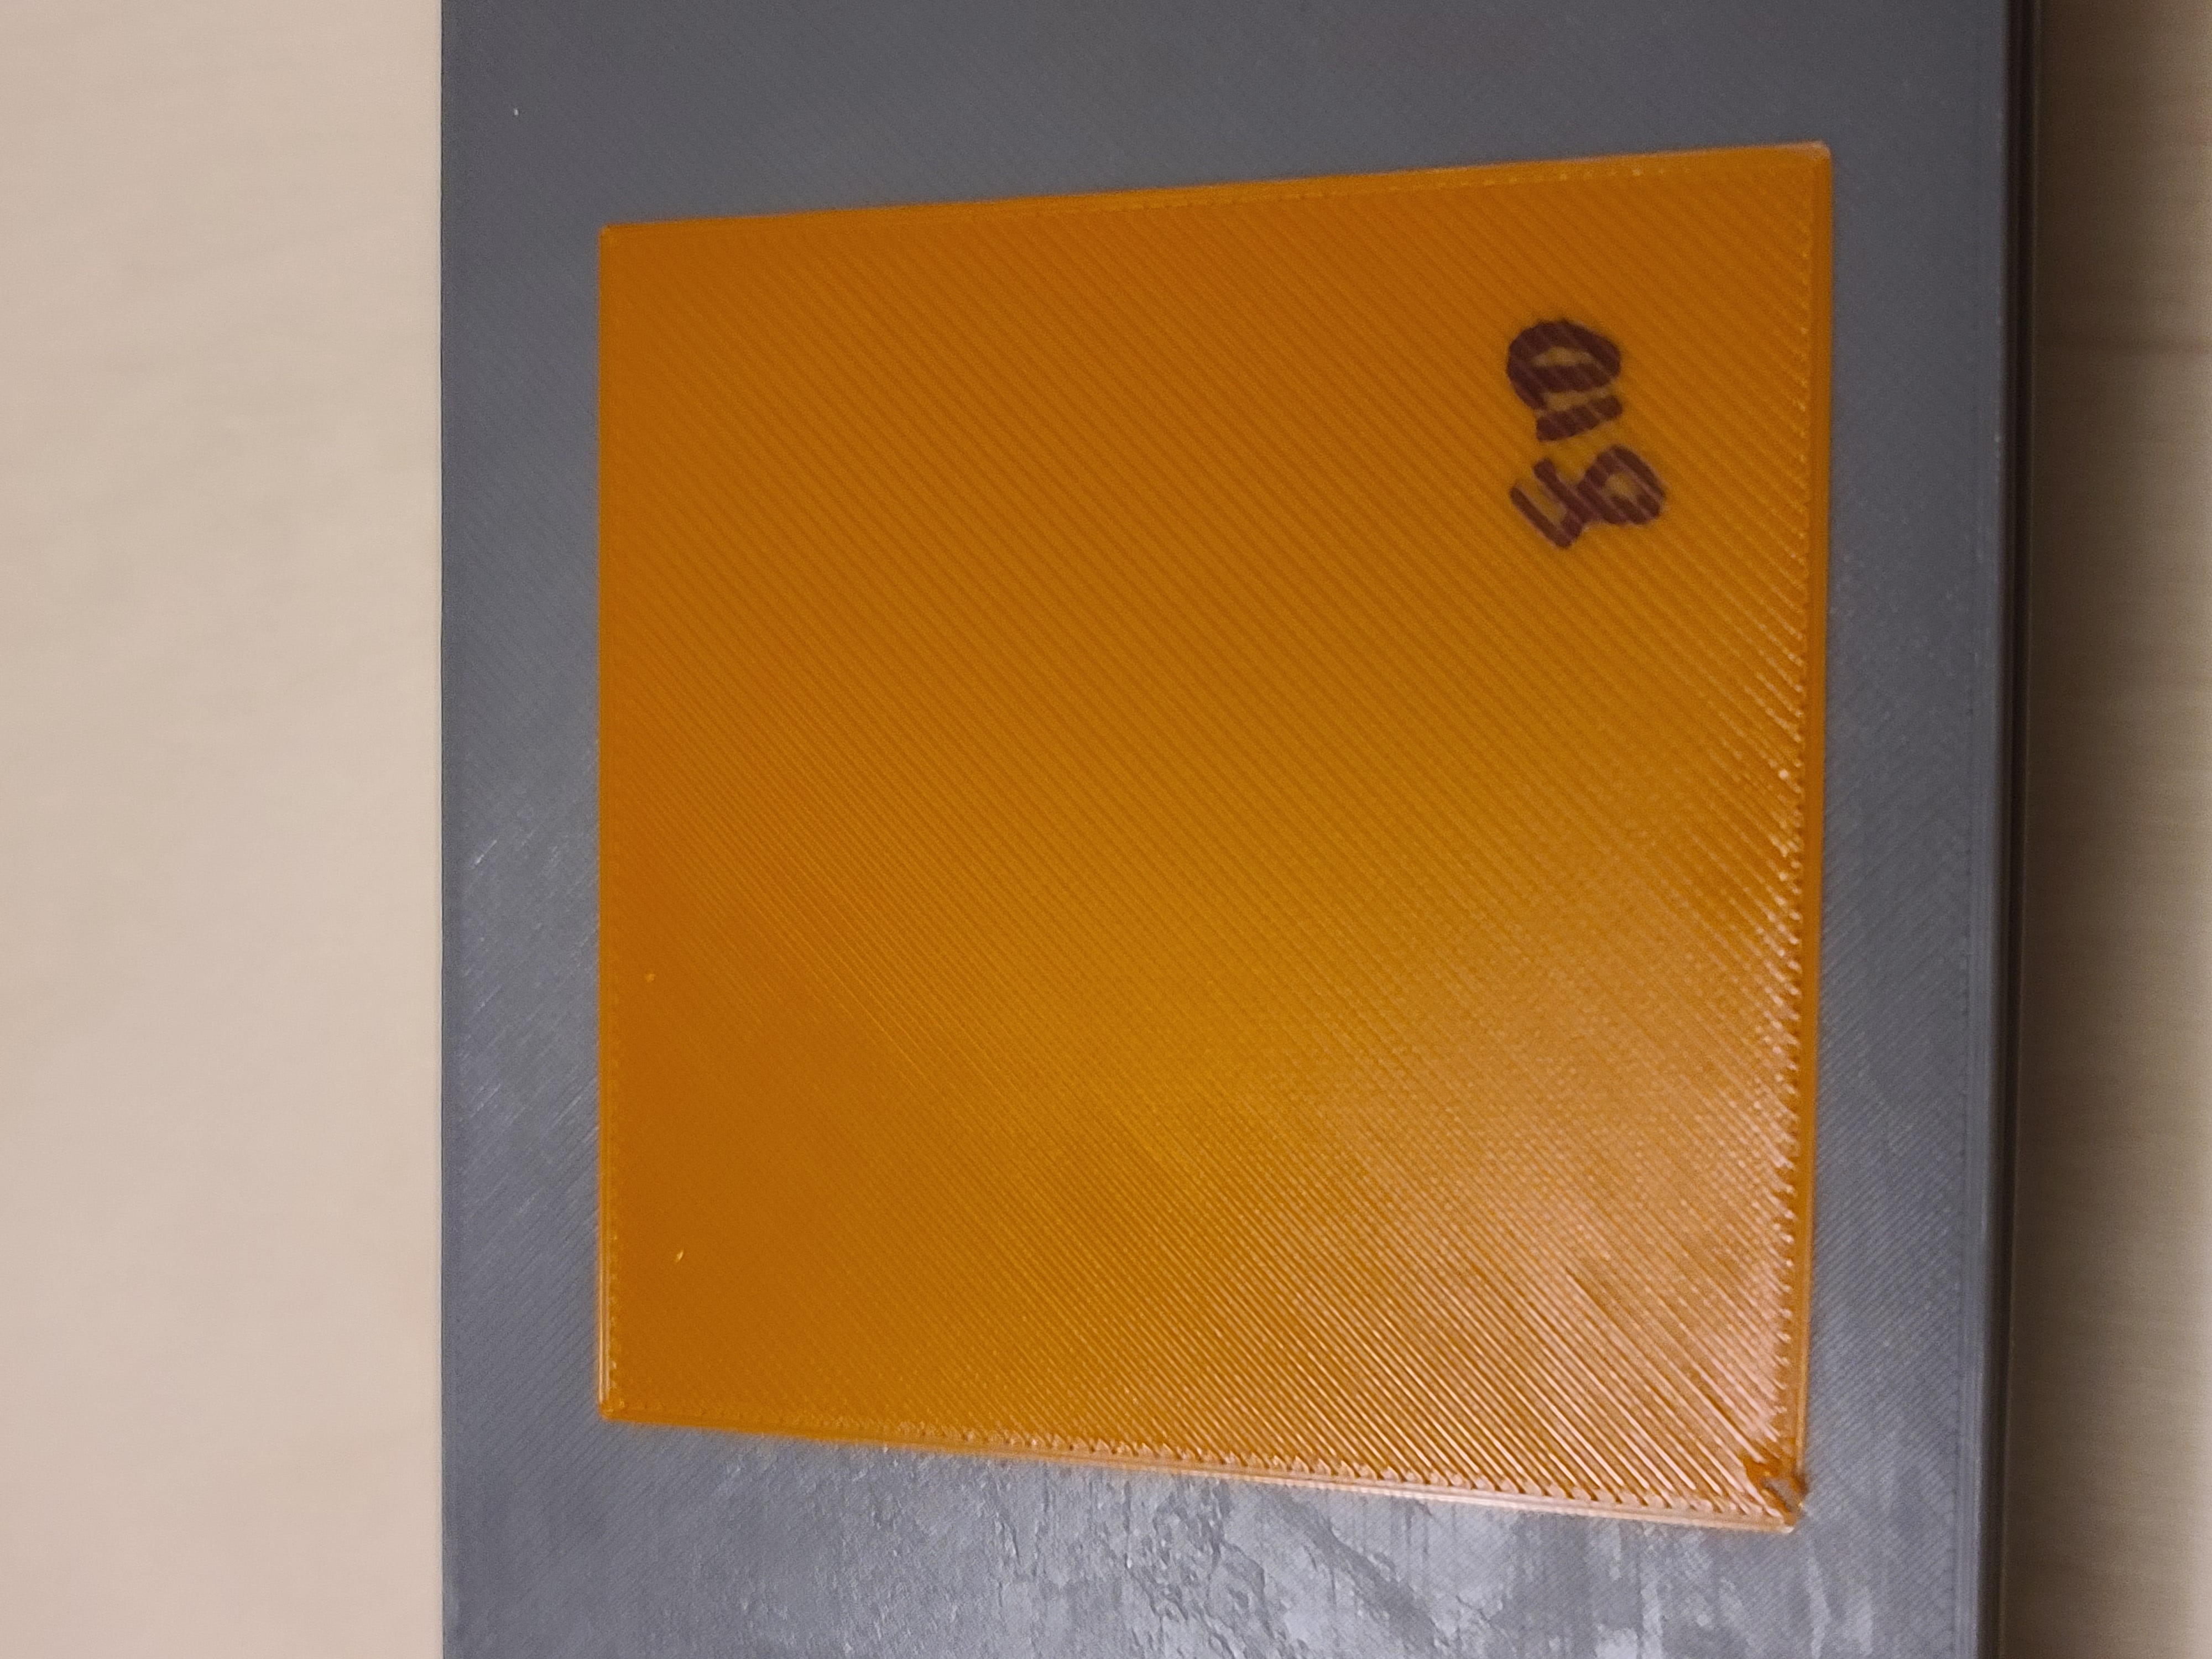
RE: Curved layer
Looks pretty good from what I can tell. I'd try first without a brim, you can always add it later. If you can only print a part of the model, that would allow you to get a quicker handle on it. You can use Prusaslicer's Cut function to trim the model down if needed.
With a clean sheet and proper Live Z, brims should be rarely needed. The most frequent use case for me are large rectangular objects with sharp corners, which are prone to warping, or objects that have very little surface contact, such as minis or statues, where small feet are the only part touching the print bed.
Formerly known on this forum as @fuchsr -- https://foxrun3d.com/
RE: Curved layer
Looks pretty good now, from what I can tell. I'd try first without a brim, you can always add it later. If you can only print a part of the model, that would allow you to get a quicker handle on it. You can use Prusaslicer's Cut function to trim the model down if needed.
With a clean sheet and proper Live Z, brims should be rarely needed. The most frequent use case for me are large rectangular objects with sharp corners, which are prone to warping, or objects that have very little surface contact, such as minis or statues, where small feet are the only part touching the print bed. There's nothing wrong with adding a brim as @dan-rogers suggested but I don't think in this case it's needed and it saves you post-processing. And as I said, easy enough to print it again with a brim, should the need arise.
Formerly known on this forum as @fuchsr -- https://foxrun3d.com/
RE: Curved layer
perfect!!
printing now....lets see if this fixed the problem.
will report back when print is completed.
RE: Curved layer
ok, quick update...
tried to print, but after cleaning the bed yesterday, and performing the Z calibration, I cannot get anything to stick to the bed anymore... have change the temperature of the nozzle and the bed, and nothing.
Should I use the glue stick? or what do you guys recommend?
RE: Curved layer
ok, washed the bed with dish soap and warm water...seems to work now... so far is looking good... will update later if issue still there or not.
RE: Curved layer
OK, seems to be a common misconception behind this. IPA doesn't remove oil and grease, it only wipes away the grime and sterilises the surface. It sometimes seems to as the physical impact of wiping the bed can remove visible particles but the bed will still be covered in a film of the oil and grease, hence the need for washing up liquid (dish soap) or something similar. Don't get me wrong, if there is only a tiny bit of grease there a quick wipe over with IPA can be enough. But if you do a lot of printing and handle the print surface a lot then it will need the washing up liquid. Oh and make sure you dry it quickly and thoroughly after washing and rinsing otherwise rust can start to form.
RE: Curved layer
Looks like warping off the bed due to either poor adhesion, or environment dropping in temperature/cold draughts.
It is very difficult to see in the photo but could be first layer. Could also be the bed needing a good clean with 99.9 IPA, or if you have printed a fair bit on it give it a clean once a week with 100% acetone.
This is always worth a try to nail the first layer life adjust Z - my way – Assembly and first prints troubleshooting – Prusa3D Forum (prusaprinters.org)
Looks like a bit of a warpy print, you could also try a 5mm brim if all else fails
Whot he said re. brim. Make it big, overall it costs nothing in either total print time or filament usage. Another thing to try is to add a draft shield.
RE: Curved layer
You can use a big brim, but it's a bit of a shame to use a brim over your entire print when you are only having problems in spot areas. In order to tack the print down, you can use a larger brim, but that wastes time putting a brim that needs to be cleaned off everywhere. For sharp angles, using "mouse ears" is often quicker and provides better adhesion. Rather than a few mm of brim everywhere, try a big 30-40mm "mouse ear" on sharp corners, edges, or thin end parts. It will improve adhesion due to a larger 1st layer surface area, reduce post-printing cleanup, and likely speed things up a bit.

To create mouse ears, right-click on a part and Add part. Create a cylinder (or any shape) the size you want, resize it to 0.2mm thick, and reposition it on the bed. Then move it to the corner or end where needed. I'll use 30-40mm ears when needed. Brims are really the training wheels of 3D printing. You can do spot applications where needed for more precision.
RE: Curved layer
@bobstro
Another thing I noticed the other day when playing about with mouse ears (That Sounds Wrong)
Once you have added the mouse ears if you don't merge them into 1 object does this mean you may get the outline of the circle on the underside of the first layer? (have not tested this thoery yet)

Image on the left is without merge after slicing looking at underside, image on the right is merged. Not sure if this would give a feint outline in the corner of the mouse ear.
Tank you very much!
RE: Curved layer
[...] Once you have added the mouse ears if you don't merge them into 1 object does this mean you may get the outline of the circle on the underside of the first layer? (have not tested this thoery yet)
If you add the ears onto an existing part, they "are one". The perimeters print around the ear and part and there's no extra extrusion. If you add parts as separate parts from the existing part, they will print with separate overlapping perimeters and you'll get double extrusion in the overlap areas. This can be good or bad depending on your problem. That area of overlap will adhere really well, but look a bit ugly. Usually, adding ears to an existing part is the right answer. It does disrupt the nice pattern of the external perimeters on the underside, so that might be a consideration if visual appearance of the 1st layer is important.
RE: Curved layer
Thank you all for the help and tips.
2 successful prints with no issues after cleaning with the dish soap.
My question is, how often is recommended to clean the bed with dish soap? after a big print? meaning a print that covers almost the whole the bed?
What do you recommend?
RE: Curved layer
@mg-2
think where you handle the build plate,
Probably around the edges.
chances are that after a wash you will get several prints out of the buildplate, as long as you don't touch the parts you are printing on...
so I would suggest wash the build plate before big prints, to clear the areas where you handle the build plate, and see how the middle area works out for smaller prints. look for items that are likely to lift... sharp corners in particular...
if the model looks pointy, give the bed a wash anyway, and consider mouse ears.... (Helper discs, targeted to re enforce the corners at risk!)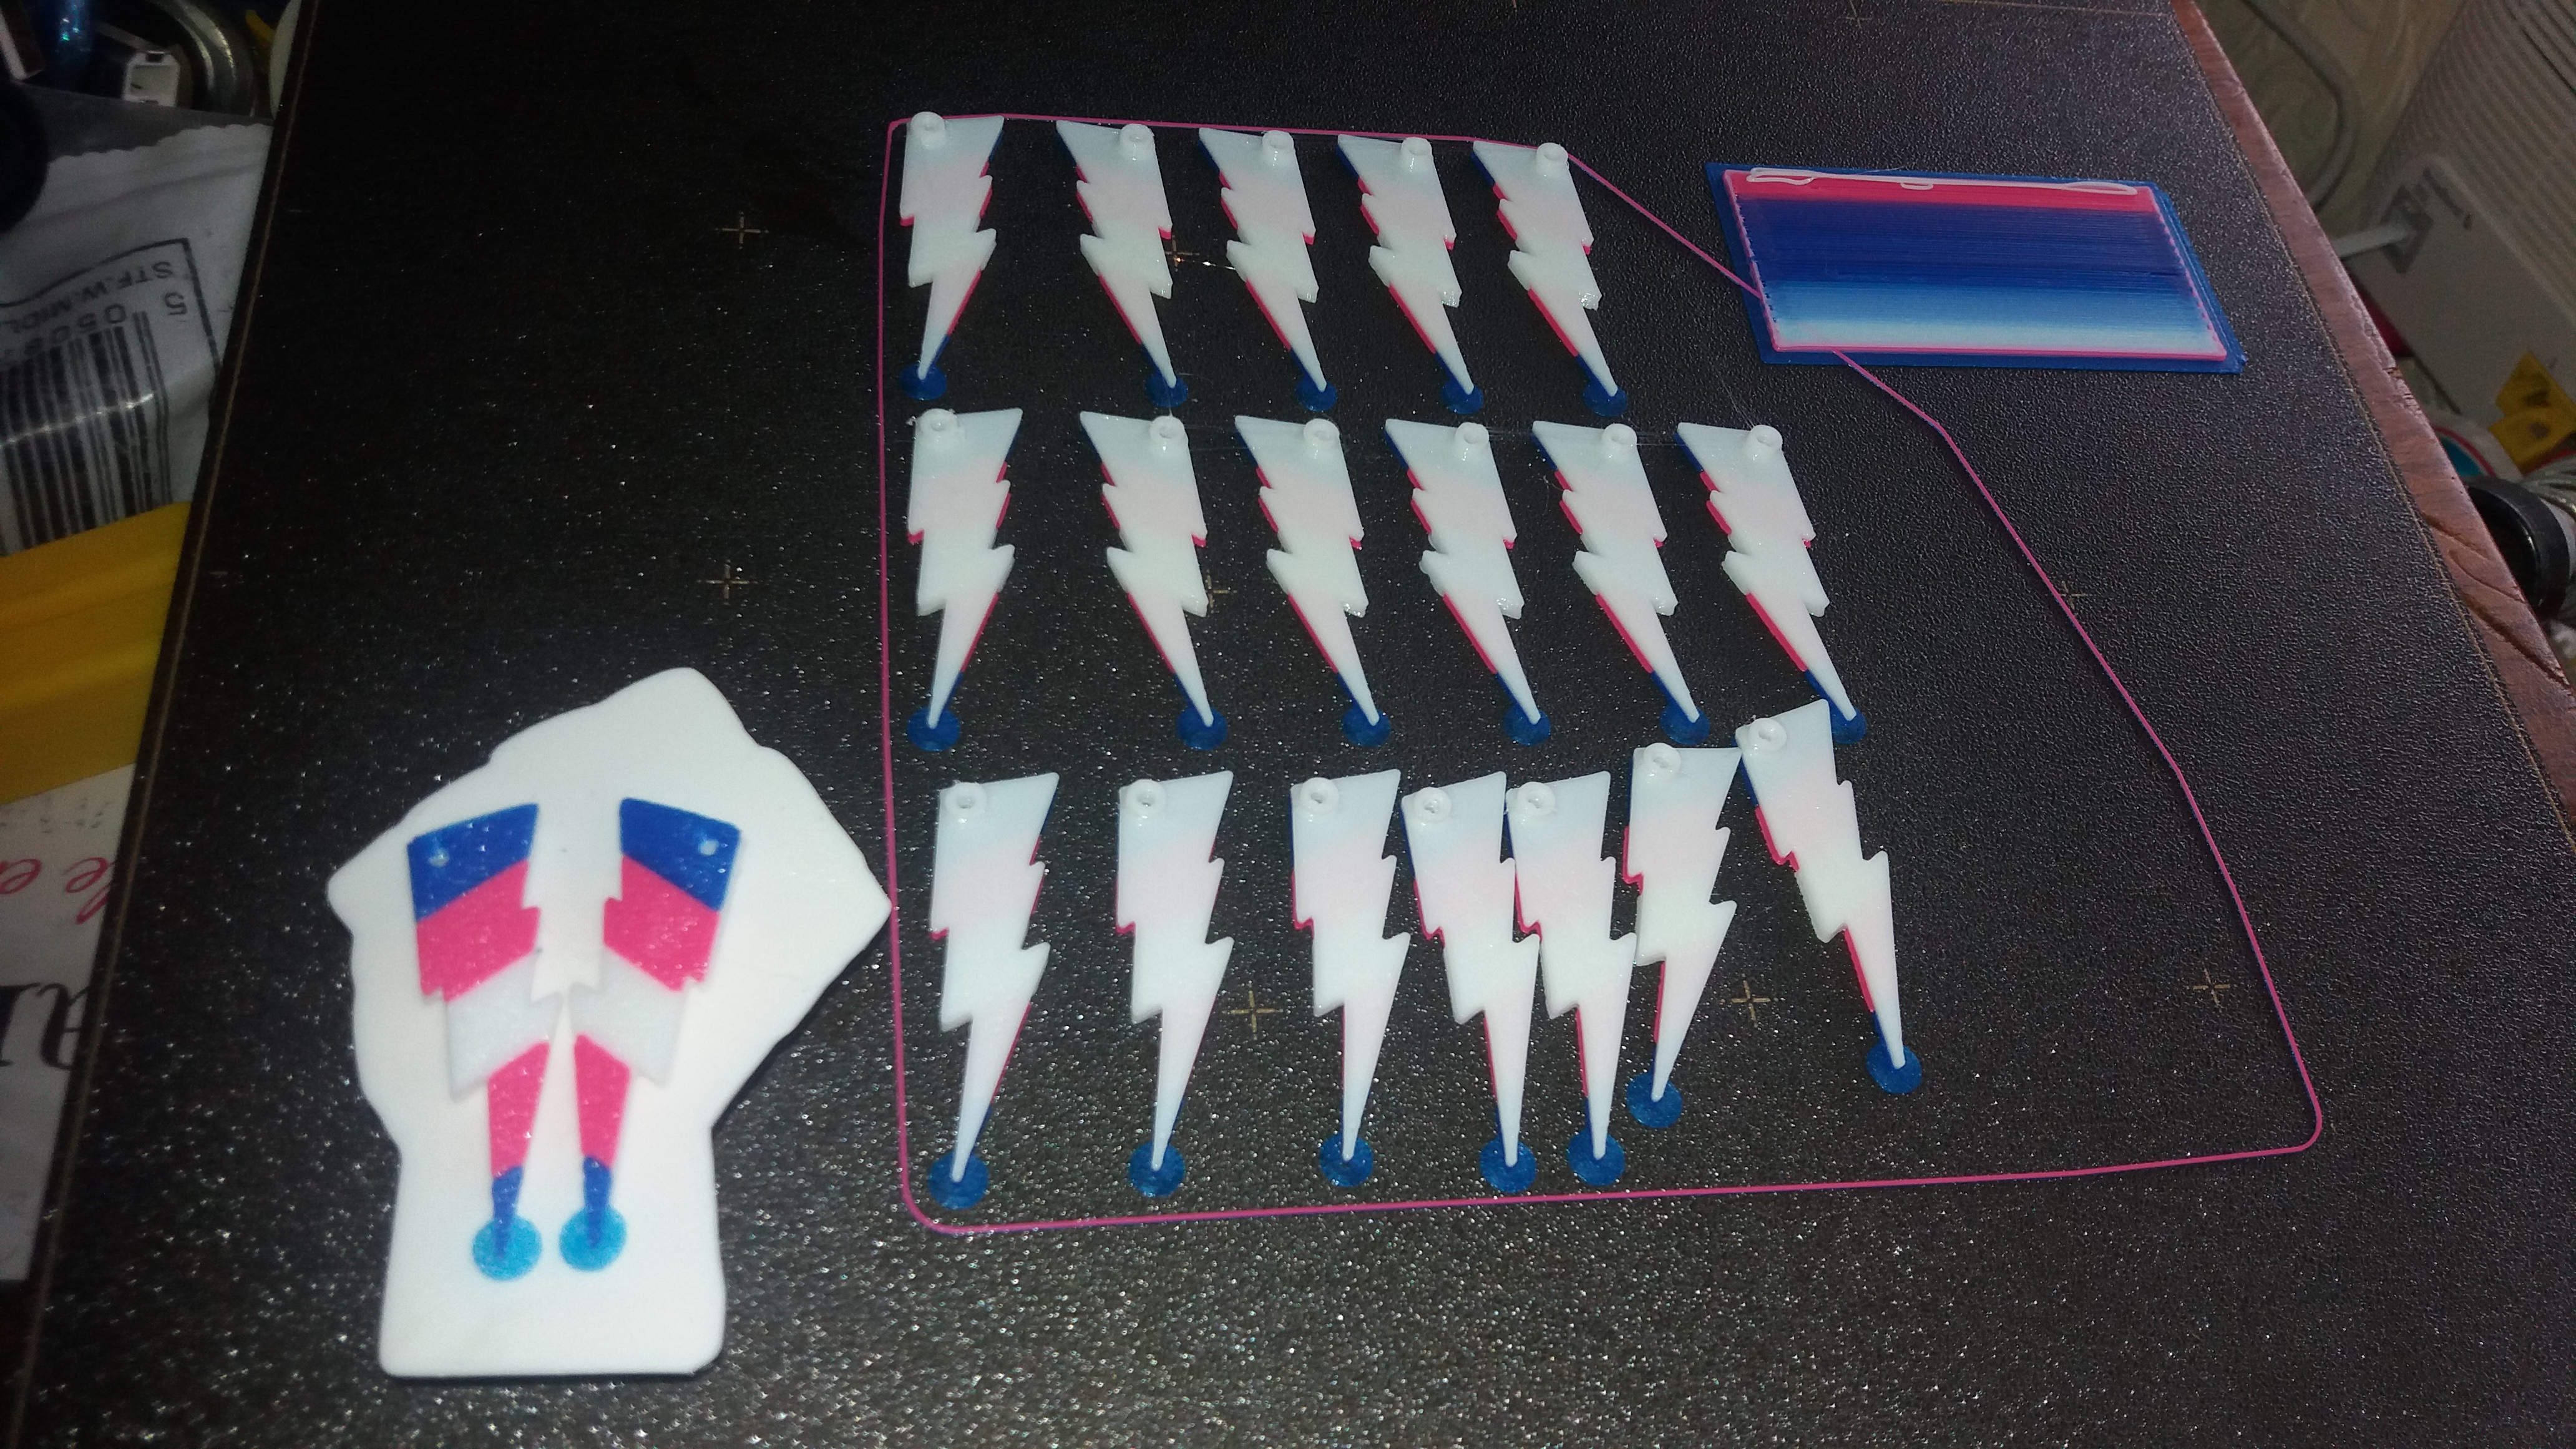
regards Joan
I try to make safe suggestions,You should understand the context and ensure you are happy that they are safe before attempting to apply my suggestions, what you do, is YOUR responsibility.Location Halifax UK
RE: Curved layer
[...] My question is, how often is recommended to clean the bed with dish soap? after a big print? meaning a print that covers almost the whole the bed?
I go with pretty much any time I'm not sure and I care. If I've let the printer sit for a bit, I'll do it before starting again. If I've washed it recently and have been careful with handling and not notice any issues, I won't worry about it. If I've been fiddling around, a wash only takes a minute. If the sink were closer I'd do it almost every print.