Bad First layer - wavy lines
The more I work with this printer, the worse my prints get. I originally could print some things fairly well. I finally did a successful print of my own model by cranking the bed up to 80 degrees. Then the first layer would stick to the bed. PLA filament.
Now I'm trying every tip on the forum - calibrated Z, slowed down the speed, and then more problems. Prints warping about an hour into the print.
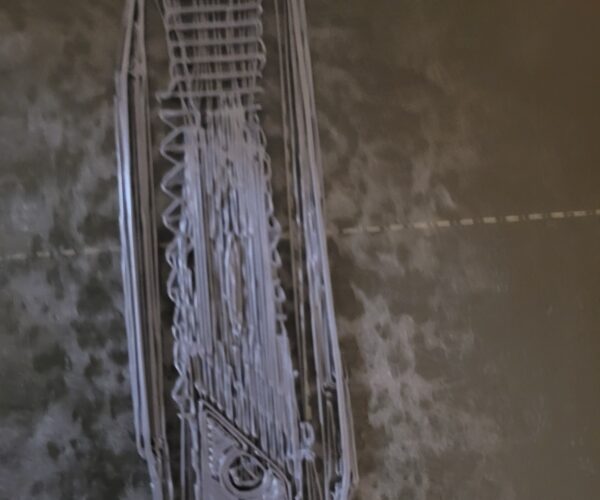
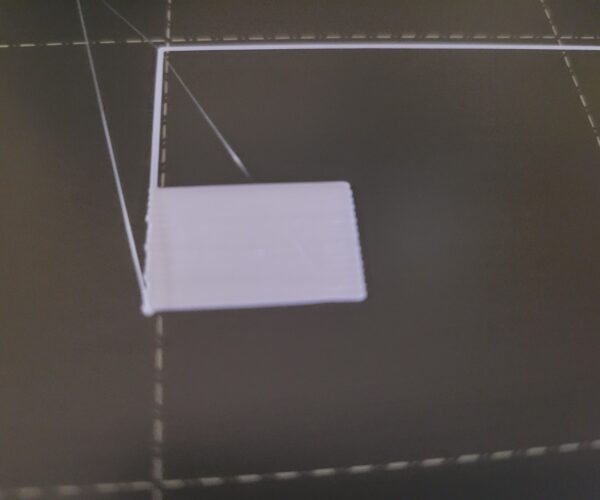
More forum suggestions, more adjustments and now my first layer sticks to the bed, but it looks awful - it looks like I'm making these lines by hand.
Now, after more hours of troubleshooting, it's never been worse. You can see by the first layer that this print is going to fail.
Any suggestions?
@kathryn007
Clean your bed with soap and Hot water, twice.
After that only touch plate on the sides
Prusa i3 MK3S+ FW 3.11.0 (kit dec -20), PrusaSlicer 2.6.1+win64, Fusion 360, Windows 10
Some folks have an easier time
Yeah, you need to go back to live Z and stay there until you get that right.
So my 1st layer calibration works fine, but then when I try to print something, the filament immediately starts looking like spaghetti.
Lower the live Z value a bit more during the actual print until you get a good result 😉
I'm not an expert. Ma parlo anche italiano 😉
re
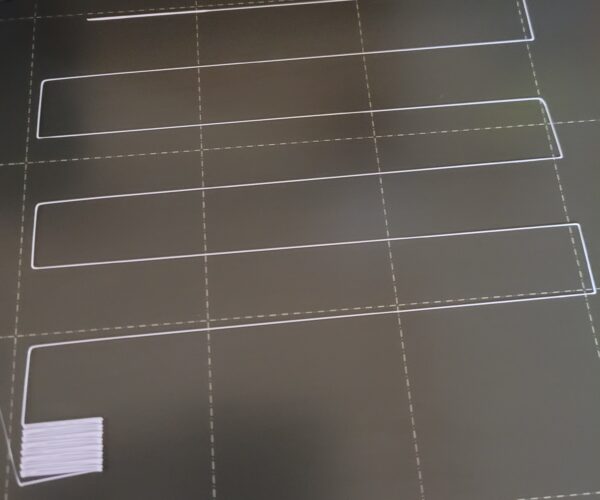
When doing first layer calibration, you are looking at the final rectangle, but you are also looking at the 90 degree angle turns on the single line. It looks like your 90 degree angle turns are a bit too rounded which also indicates the z-offset is too high.
Mk3S+,SL1S
No, that is not what fine looks like.
The extrusions are still round, and they are not squished at all. I would recommend staying in Live-Z class a while longer. Try going ten microns at a time negative (repeat until successful) until you start to see a flat sheet at the end, and the first sets of lines should not be round like that. This 100% explains why your prints are failing.
Dan put his finger on it — this is not what a good first layer looks like. Your nozzle is still too high. Take a look at https://forum.prusa3d.com/forum/original-prusa-i3-mk3s-mk3-assembly-and-first-prints-troubleshooting/life-adjust-z-my-way/ and try these 70x70 or so squares instead of that tiny square from the built-in method. The main advantage of the live z my way approach is that you can test a whole range of live z values in one go. While the article talks about 2 live z values per square, I usually try 8.
Formerly known on this forum as @fuchsr -- https://foxrun3d.com/
I will lower the nozzle
Thank you all for the help. I will lower the nozzle, there is consensus.
At certain numbers, the nozzle starts crossing over the melted filament and the flat square of the Level 1 Test gets picked up and moved off the plate.
I've heard you're supposed to use a brass brush to clean the exterior of the nozzle, so I also need to do that.
Thank you again, I'll report back. On 3D printing forums people don't always talk about what they're making. I will say that I make small 3D printed marionettes. I am using the Prusa to make a 1' puppet, after getting good results with one half that size using a Form 3. Instagram kathryn071 if you want to see pictures. The obj file is free and anyone who would like to learn the art of string puppetry is welcome to download the model for free. It's a work in progress, and I'm testing the print on filament printers and making sure the model still works.
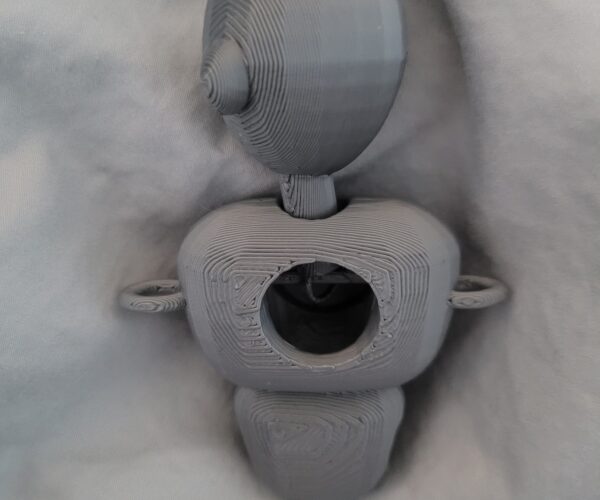
Attached is the last successful print that came out of this Prusa. The head has an opening for a skewer, and you can rotate the head left and right. You can see a bar with a loose loop inside the torso.
re
It is counter-intuitive, but often the nozzle pushes the print off the plate because the nozzle is too high. When the nozzle is too high, the lines of extrusion don't get squished down enough onto the bed and that causes the print to not adhere. When the print doesn't adhere, it can more easily get knocked off the bed by the nozzle.
Mk3S+,SL1S
RE: Bad First layer - wavy lines
Thank you all again for the help.
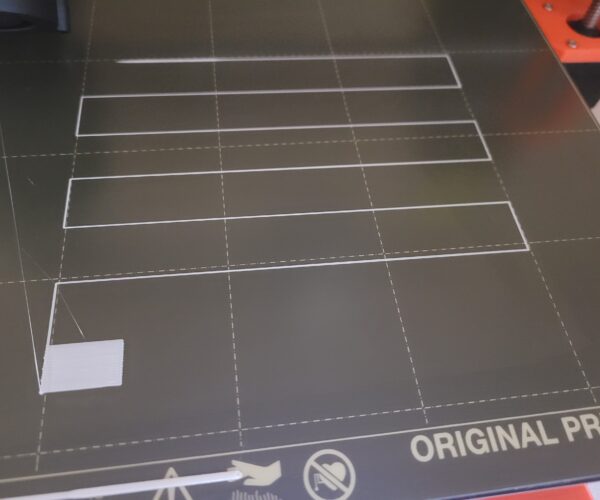
I kept doing the live z adjustment and first layer calibration. At -1.250 the square was so flat the back was shiny. When I was doing tests repeatedly, at -1.150 the square was good but the lines were breaking up. After the successful print, I ran the first layer test again and I think it worked the way it should.
So this print is good enough for me, for now. But I'm wondering if I'm too low now, and I should go back to -1.150.
Thank you all again. I made a webpage with a video of the puppet moving and a downloadable OBJ file if you'd like to make a marionette.
https://kathrynborn.com/puppet/
RE: Bad First layer - wavy lines
It is hard to see any detail with this picture. What makes you wonder if you are too low?
Mk3S+,SL1S
.
At the end of the calibration you are aiming to print a single layer *sheet*. It should be possible to peel it off in one and fold it without the threads seperating. If it breaks into lines it is too high, not squished enough. If it is a single sheet but with wavy lines or drag marks on the surface you are too low. These are not to be confused with the loose lines in your first picture.
Cheerio,
RE: Bad First layer - wavy lines
We need a better photo. I need to see the detail that shows the lines between the extrusions. Also, can you post the back of the rectangle?
--------------------
Chuck H
3D Printer Review Blog
RE: Bad First layer - wavy lines
Hi All,
Ok, I took out my 50mm macro lens and took some pictures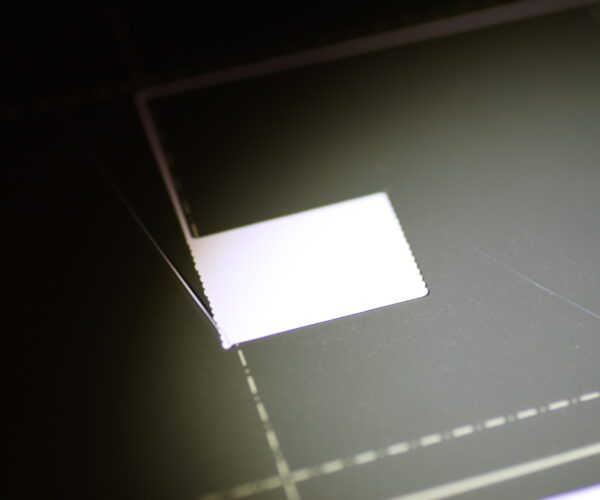
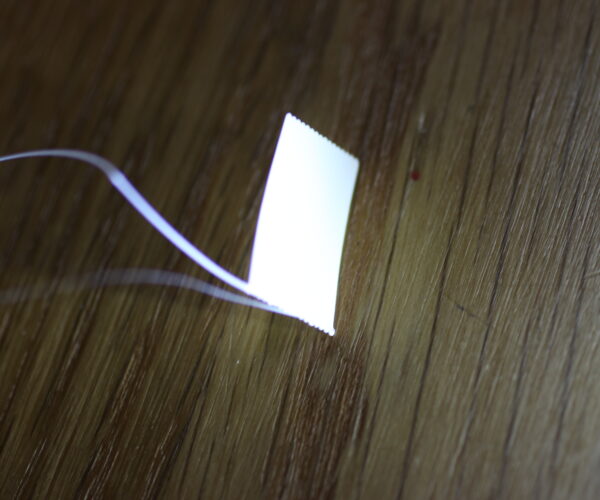
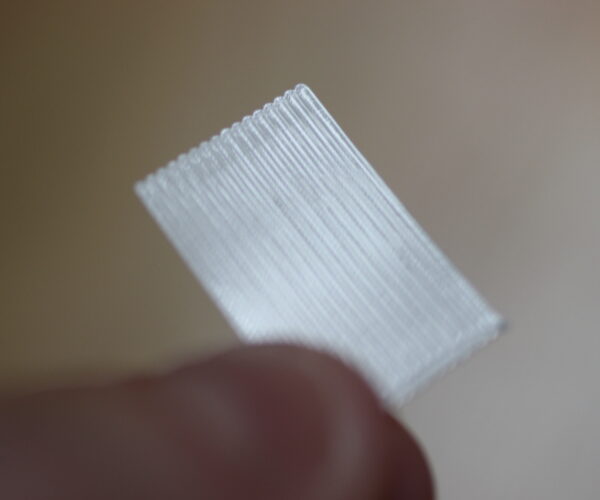
It's so smooth and there are so few lines, that you can't see lines IRL. So I think it's low enough. The backside is shiny, like mylar paper.
However, my problem today is creating supports. They're so melted and shiny that I can't pull the supports off the model. So I've been wasting time with Meshmixer and now I'm looking at custom support settings on PrusaSlicer.
So I think it's printing fine today, except the supports are soldered on
RE: Supports
For supports that are easier to remove, you can try changing your top contact z distance. The default is .2 but you can try .25 or even .3
Mk3S+,SL1S
RE: Bad First layer - wavy lines
Try these settings. Work great for me:
0.25mm z distance
3mm pattern spacing
4 interface layers
75% xy distance
0.2mm interface layer spacing
Formerly known on this forum as @fuchsr -- https://foxrun3d.com/
