Advanced bed leveling on brand new mks3+
Hello gents,
i started printing PETG 3 years ago on a cheap 3d printed which eventually fell apart so I’ve decided to buy a brand new Prusa mks3+.
I’ve read the manual, I’ve assembled it and set it up accordingly.
i ‘ve calibrated 1st layer and then I even fine tuned it following the instruction of this article, but I struggle in finding a proper setting which ensure a good bed adhesion on textured plane
next step was to implement the nylock mod and tested with g80/g81 commands that the mm on every measuring points.
all my experience comes from 3d parts printed over a glass surface covered with blue tape, and leveled manually so, to assess the issue I’ve done what follows:
1) i,ve added blu tape on PEI Plane,
2) I’ve went through g28w, g80, g81 process @Tbed = 85degC to confirm bed is leveled within +/- 0.05mm on every measured point by adjusting nylocks .
3) I’ve tuned the Z height in the middle of the heated plane with a sheet of paper between plane and nozzle
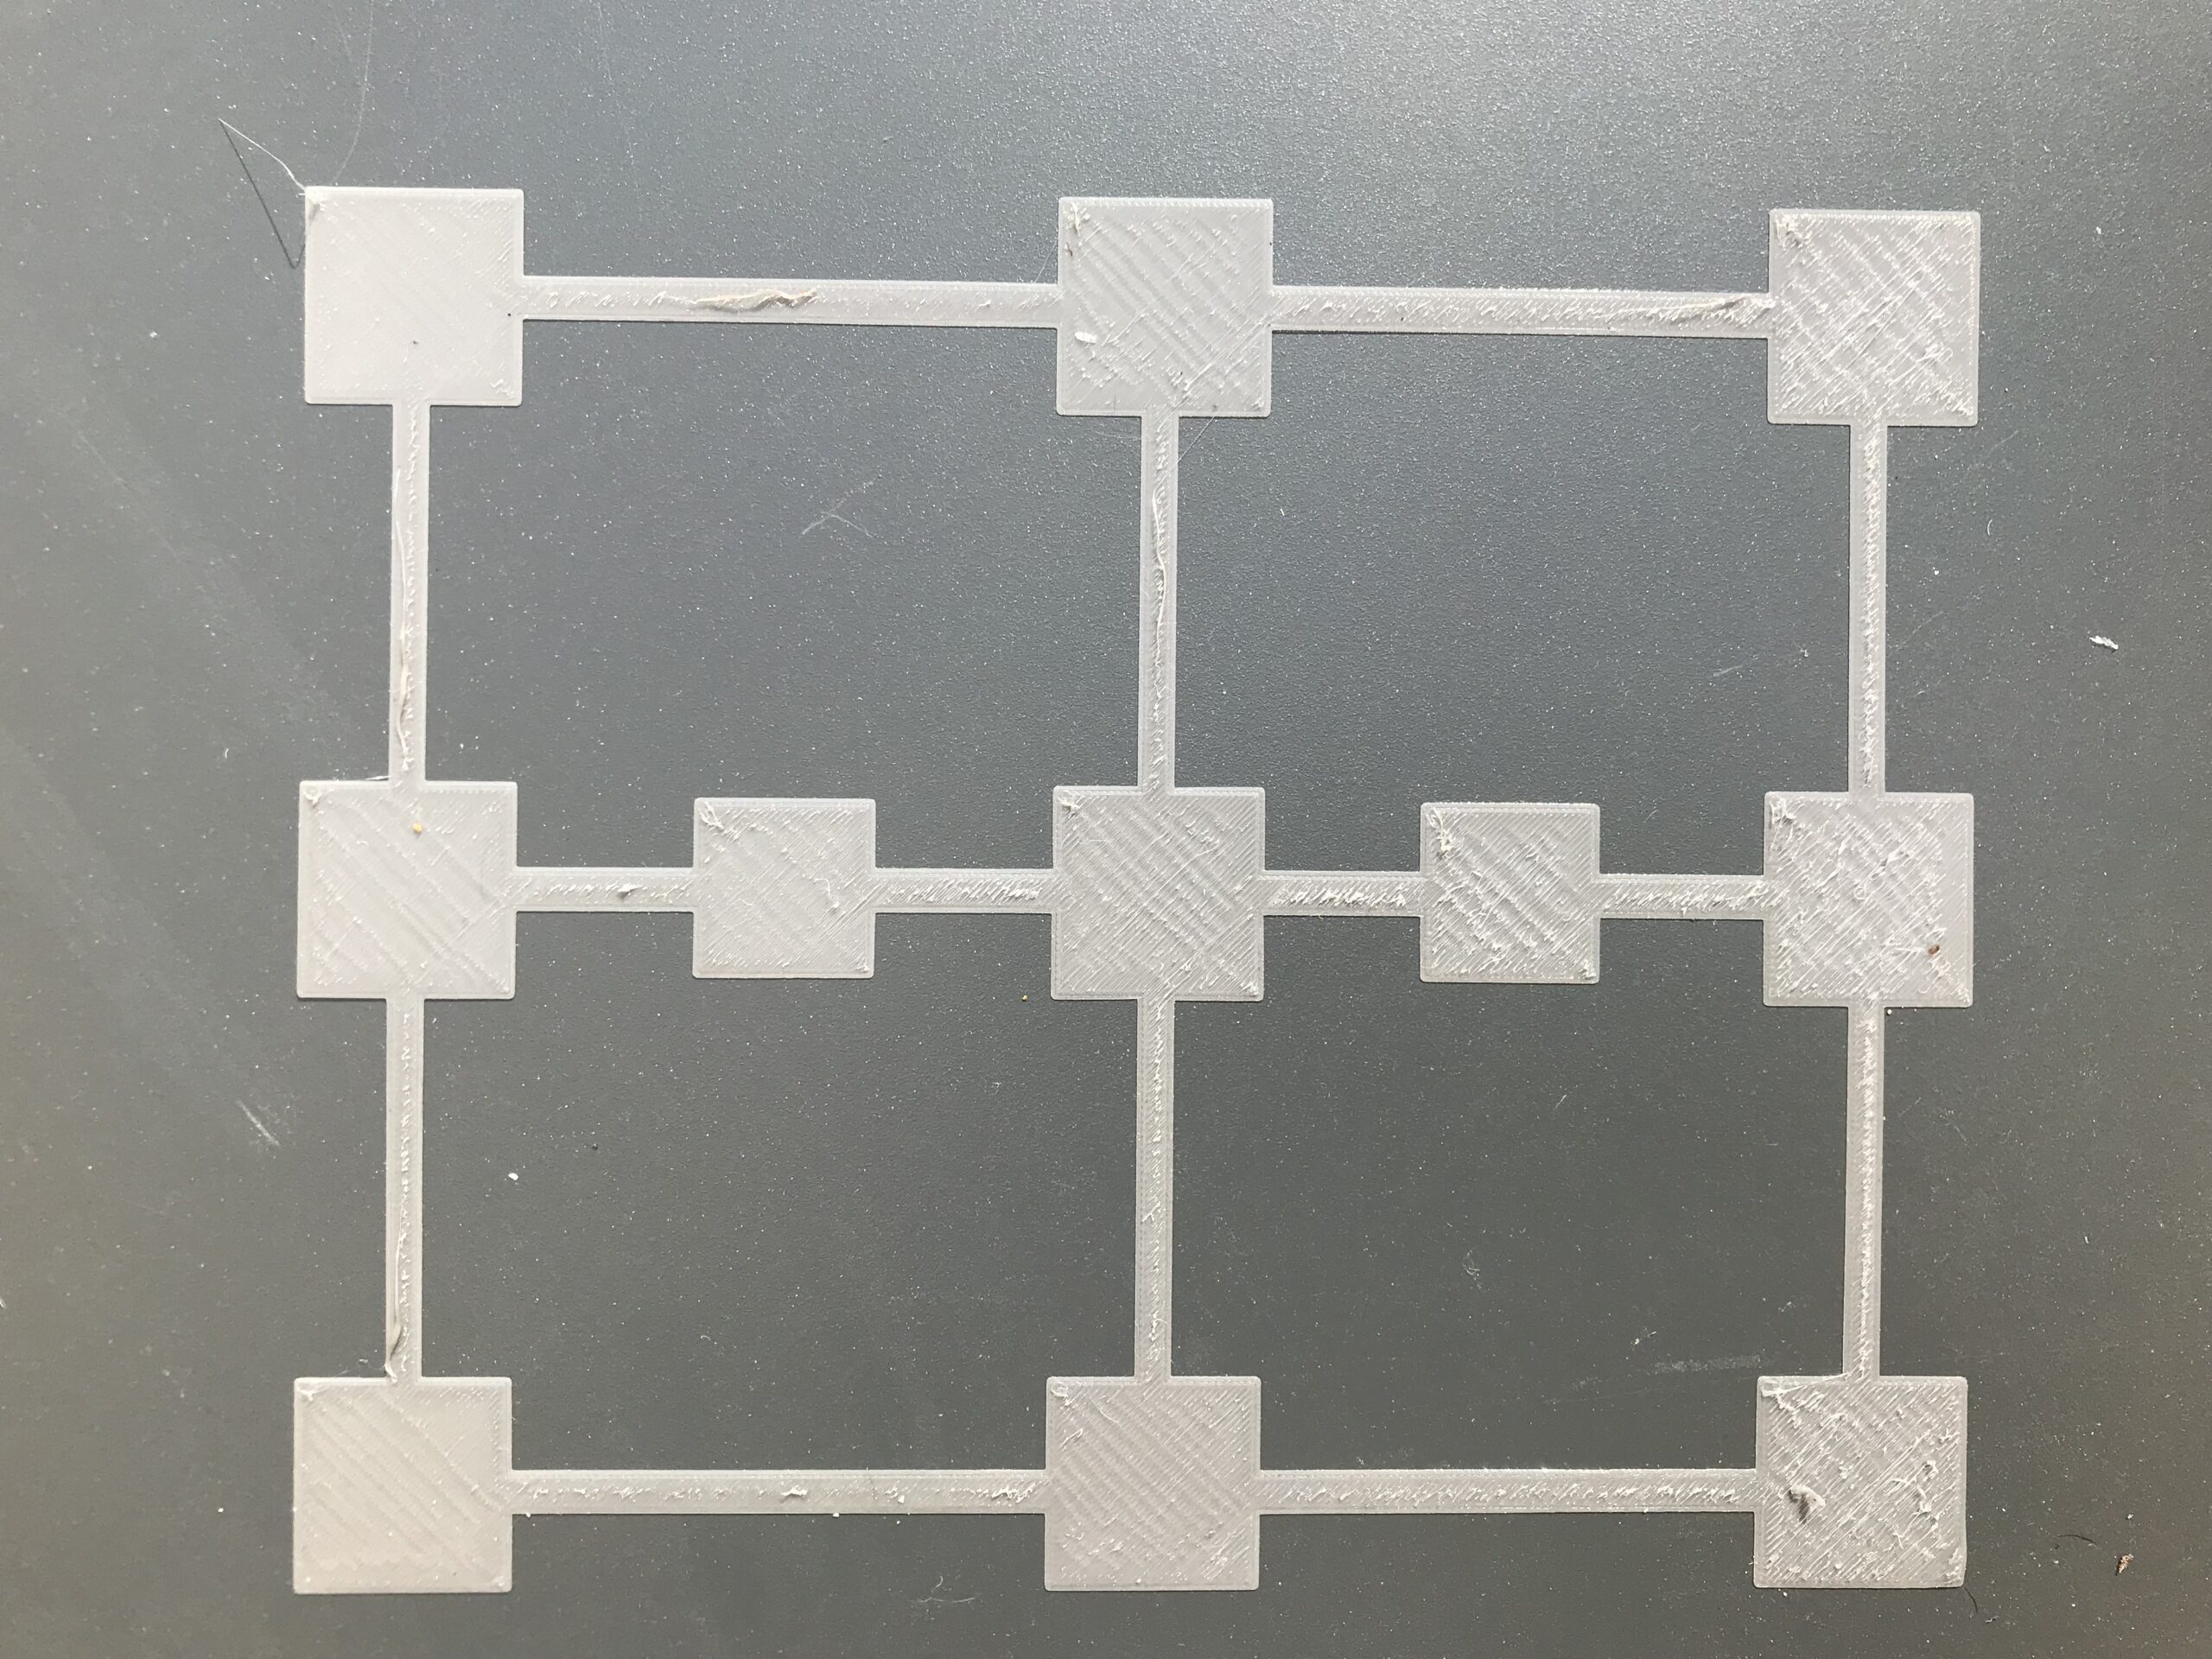
4) I’ve printed the test grid by setting layer height to 0.3mm and 1st layer speed at 12mm/s (stock profile was 20)
5) picture 1 is the result (which seems pretty good to me and part stick to blue tape very well)

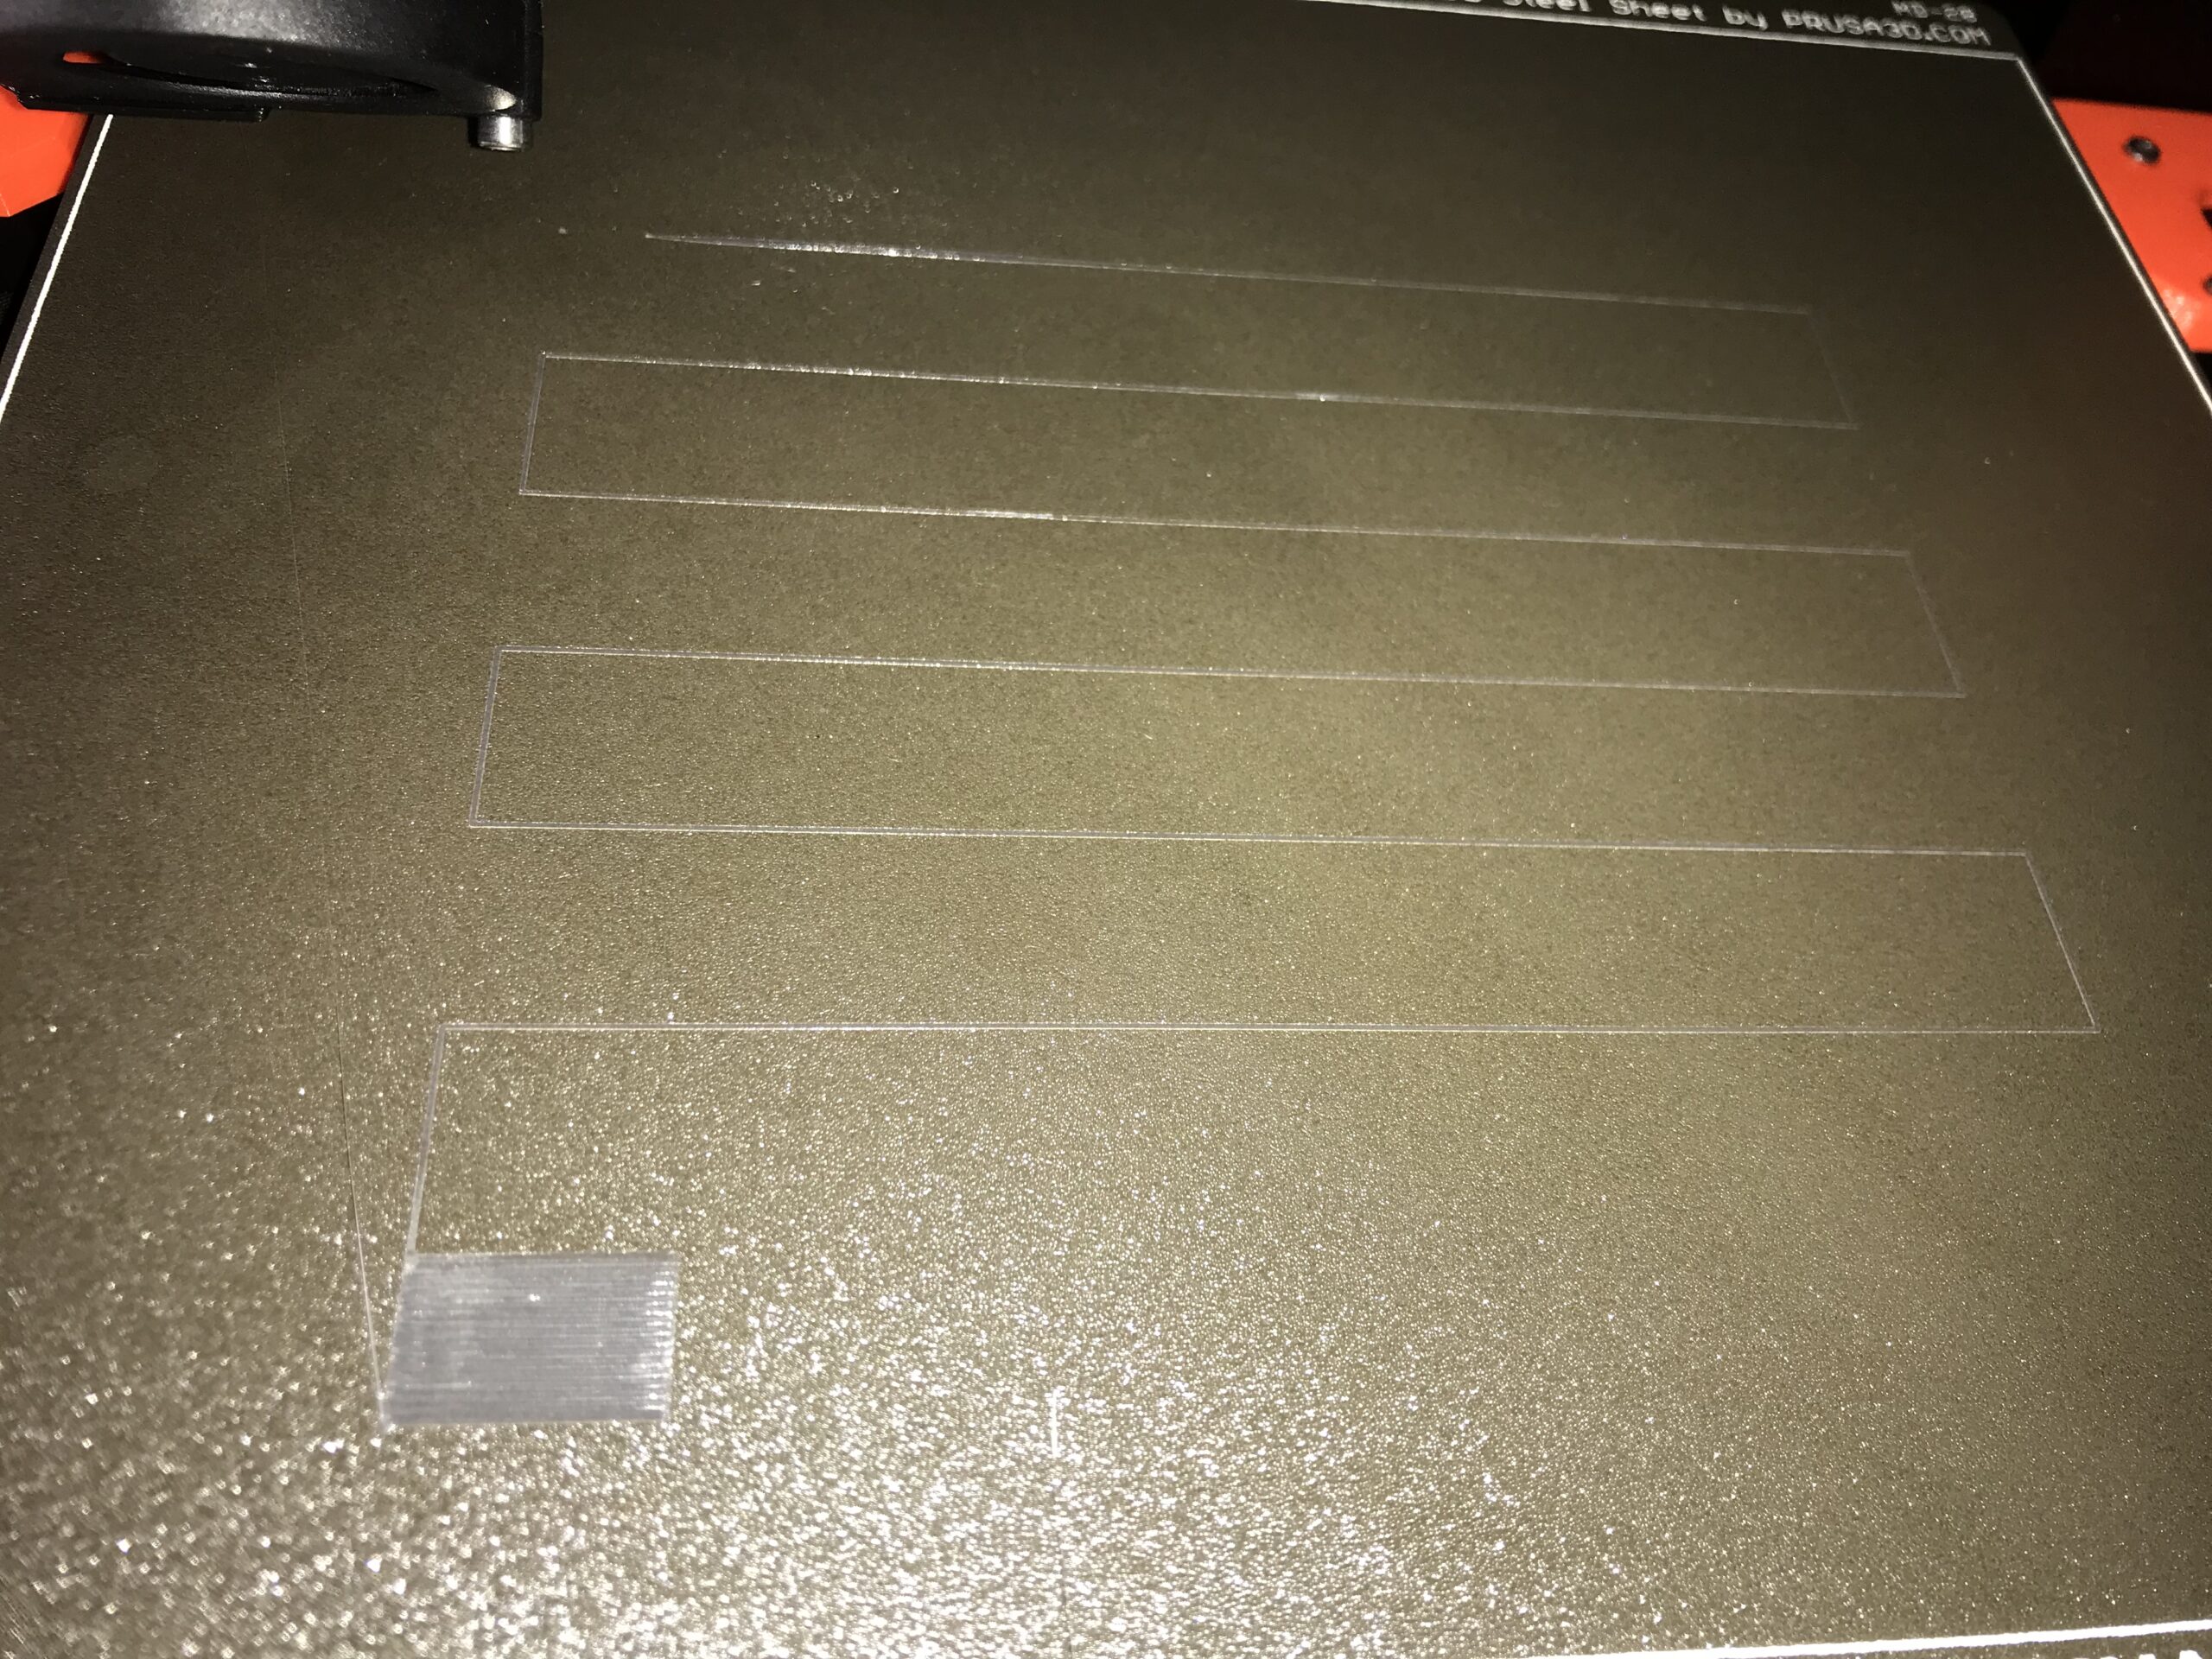
then I cleaned the textured bed plate with soap! Washed in hot water, let it dry over the night, polished again with IPA and re run the process from 2 to 5…
picture 2 is the result (pretty worse and not as sticky as the previous on PEI+ blue tape)
what am I missing? Any suggestion?
RE: Advanced bed leveling on brand new mks3+
3rd attempt with a Z height slightly increased by 20 microns..
still not satisfied… specially on the bottom right square

RE:
For any new users reading this: Don't do it this way. Instead photo your best first layer Z calibration and post it here. Definitely don't consider modifying your printer in any way before you have it printing well. And don't put anything on the print sheet for PLA. With PETG and the *smooth* sheet you do need either window cleaner or well diluted gluestick to prevent the filament sticking too well.
@tammeo, Remove tape, thoroughly clean the print sheet and return the first layer to 0.2mm then run the built-in first layer Z calibration and show us the result on the print sheet. If it seems reasonable try a simple, functional print - not a test piece, show us the result including the bottom. Once we have the first approximation we can decide whether any more levelling is needed.
Cheerio,
RE: Advanced bed leveling on brand new mks3+
Nice to know I'm the "example not to follow",
so here's the side A of the story:
before doing what I've previously explained, I've calibrated the 1st layer of my brand new and 100% genuine Prusa Mk3s+ by following the instruction on the display for the PETG and, according to the results I've set up the Zadjust to the value of -1.365mm

then I've printed a catapult (a little present for my child) and I've notice a first layer with some "plowing lines" (yellow arrows) very similar to the one i've seen during the calibration process. the whole part wasn't so hard to detach from the bed and I've noticed also a warp on the fron right corner...

despite those few concerns, the overall print quality was awesome to me so I moved to print another toy: a 3D-printable wind-up car gift card which comes in a sort of blistered design ready to be assembled
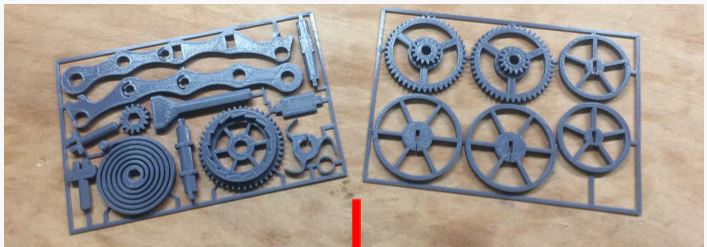
during the first attempt I've noticed that the 1st layer of the gear mesh detached from the bed and was removed by the sweeping nozzle.
I halted the print , re tuned the first layer ( according to manual) and restart a new print... same results. over and over for at least 5 times.
then I decided to move the nozzle manually (via pronterface) in 9 position and record the value of the z adjust required to apply enough pressure to hold in place a sheet of paper between the heated bed and the nozzle.
the records (whith a level of uncertainty) differs (from the center of the bed) from 0.080mm to 0.310 to form a saddle shape (with the center poin in the lowest position)
I read a lot of forum, I tryied to unscrew and screw again the bolts on a pre heated bed (following the order described in the manual) just to keep failing at every print.
so I started to look at the advanced bed levelling to better understand how to compensate for the bed shape:
1) first attempt at Z = -1.475 mm despite the std calibrated values of -1.365mm)
then i repeated the test by decreasing the Z adj. from -1.425 to -1.365 in steps of 0.025 taking care not to damage the bed nor to create blob of melted PETG around nozzle.
what I discovered:
1) the less the distance (betweeen bed and nozzle) the better the perimeter but worst result in square filling.
2) the less the distance the better the filling but perimeter won't stick and are dragged around by the nozzle
3) the plane is very far from being flat
4) the super pinda is not able to "compensate" as I expected.
the best result obtained was with a -1.365 (the same distance as the initial calibration) but with the following compensating factors:
right = +20 microns
left = +15 microns
front = +7 microns
rear = +7 microns
long story short: i wasn0t able to find a correlation between my measurement (with the paper sheet between bed and nozzle) and the compensation in z so I lost my patience and did what I already told you in the first post (nylock mod + PEI experiment w/ blue tape)
once again, I don't know if I'm the one to blame for all the test I made so far, I don't know If i was supposed to contact the assistance far earlier than what I did, and I don't even care about, the only fact is that so far I can tell:
1) the printer was properly installed and calibrated
2) the 1st layer is far from being perfect with textured bed
3) the 1st layer is very close to perfection with PEI + blue tape.
now, any help is appreciated to move forward and try to solve the issue.
after 5 attempt I succeeded in printing the whole pattern without
after 3/4 days of failed attempt I then decided to do what I did on my first post.
RE: Advanced bed leveling on brand new mks3+
last two lines of the previous post were from a draft reply, just don't mind at those two 😉
run the built-in first layer Z calibration and show us the result -on the print sheet-
It's harder to tell after the square has been removed and we can't see the zigzag corners; your -1.375 looks close.
There are signs that your print sheet is not clean, the underside of your model is picking up discolouration from somewhere, PETG should need nothing added to a textured sheet.
Cheerio,
RE: Advanced bed leveling on brand new mks3+


here the pictures you’ve requested
There are signs that your print sheet is not clean, the underside of your model is picking up discolouration from somewhere, PETG should need nothing added to a textured sheet.
If yo are referring to the brownish area they are on a 45deg plane and were left by the nozzle which released a blob o material at 10mm of height in Z.
nothing to do with the cleanliness of my bed which had been cleaned with IPA just before the print. Also no additives applied on the bed.
You are a fraction low, a little too much squish.
Cheerio,
RE: Advanced bed leveling on brand new mks3+
thank you @Diem for your reply,
last quick one from my side:
taking into account what I've told you, looking at the pictures I've posted and knowing the PETG will detach if I increase the distance between bed and nozzle (it happened 100% of the time in the latest print attempt) what's your suggestion other than the one you've already provided? and how can you explain that with PEI + blue tape on similar setting I'll have no issues?
regards,
Matteo
RE: Advanced bed leveling on brand new mks3+
I want to see the bottom please
You have returned the first layer to 0.2mm?
If so a really thorough cleaning of the print sheet may help; IPA is not enough, use soap and *HOT* water.
Cheerio,
RE: Advanced bed leveling on brand new mks3+
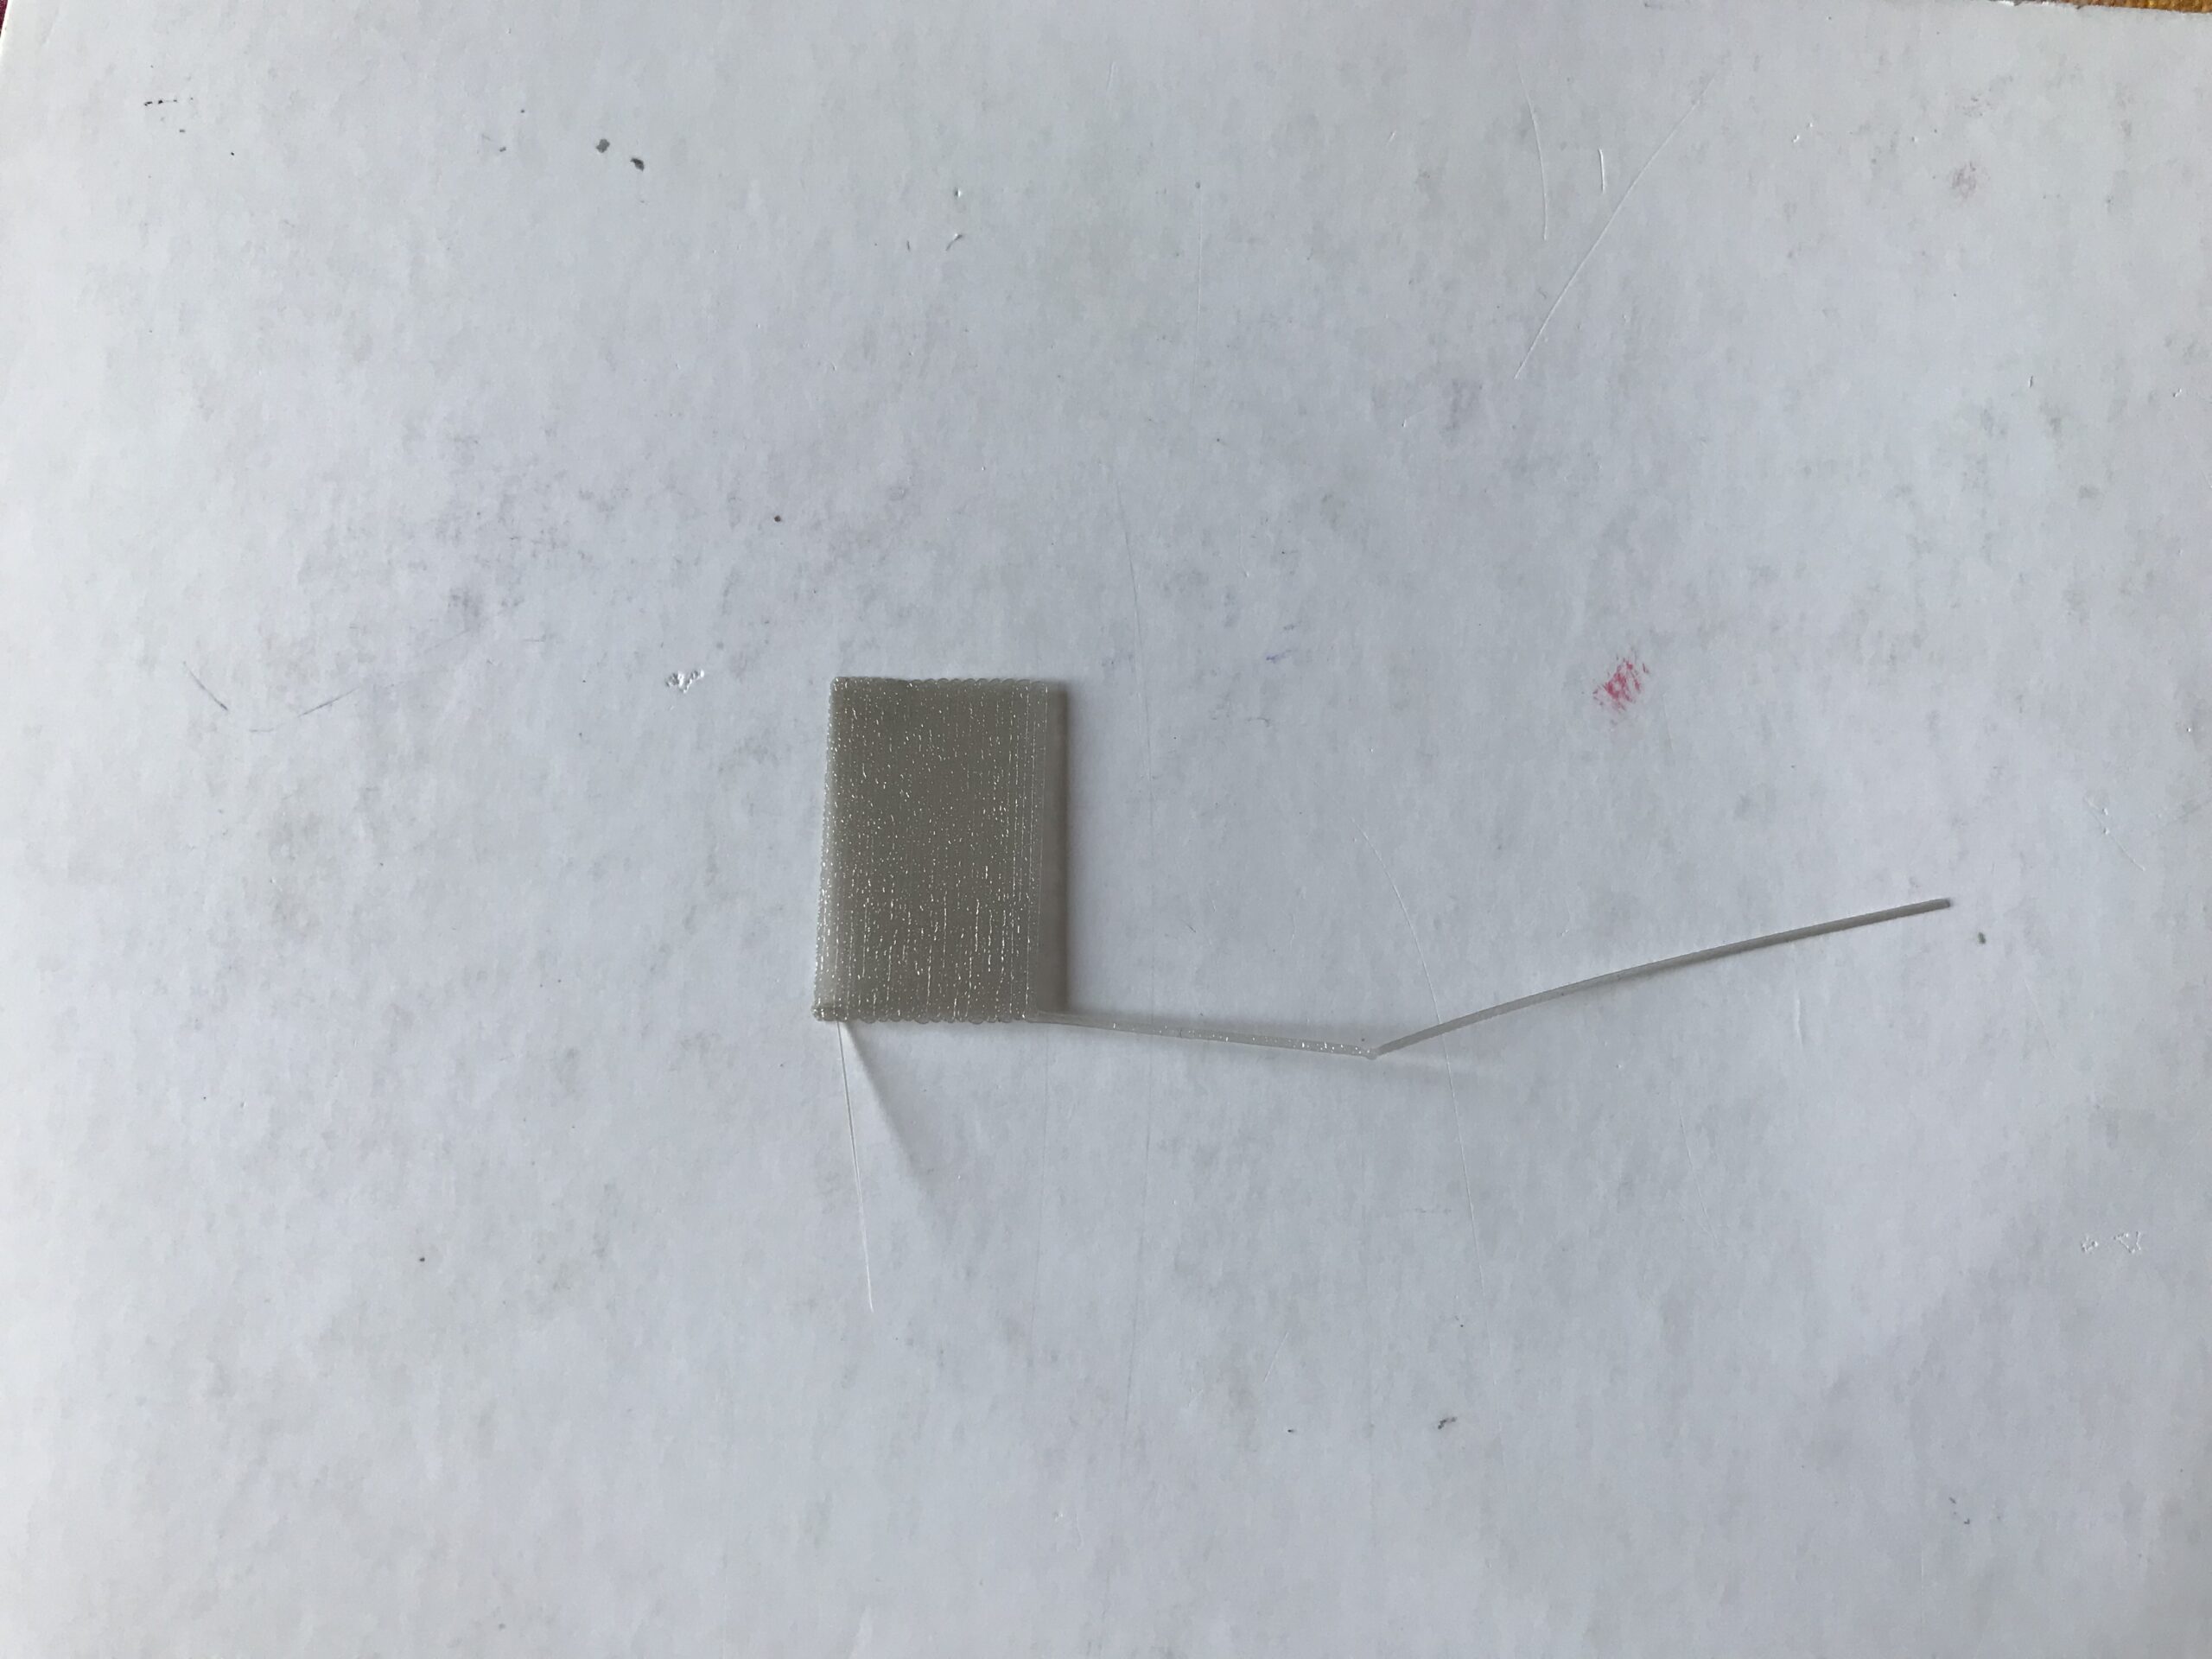
Here it is
I want to see the bottom please
RE: Advanced bed leveling on brand new mks3+
You have returned the first layer to 0.2mm?
If so a really thorough cleaning of the print sheet may help; IPA is not enough, use soap and *HOT* water.
Cheerio,
No to the first one, I used to print with first layer at 0.3mm and I see no reason in printing at 0.2mm
anyway it is not too squished ..look at the picture: it is exactly what it should be 😉
for the bed: I already washed the bed with hot water and soap

RE: Advanced bed leveling on brand new mks3+
With all the info I’ve provided, can we go back to the initial topic?
how should I adjust my setting with the textured bed in order to have the same quality of the smooth bed + blue tape?
smooth + blue tape here:
textured bed here:
it is exactly what it should be
Of course it is, that's how much plastic you extruded.
can we go back to the initial topic?
I'm going to assume you built it in the same way as you attempt to use and trouble shoot it - and give up here.
Cheerio,