3D Benchy - how to get sufficient adhesion or better overhang without a collision
Hello,
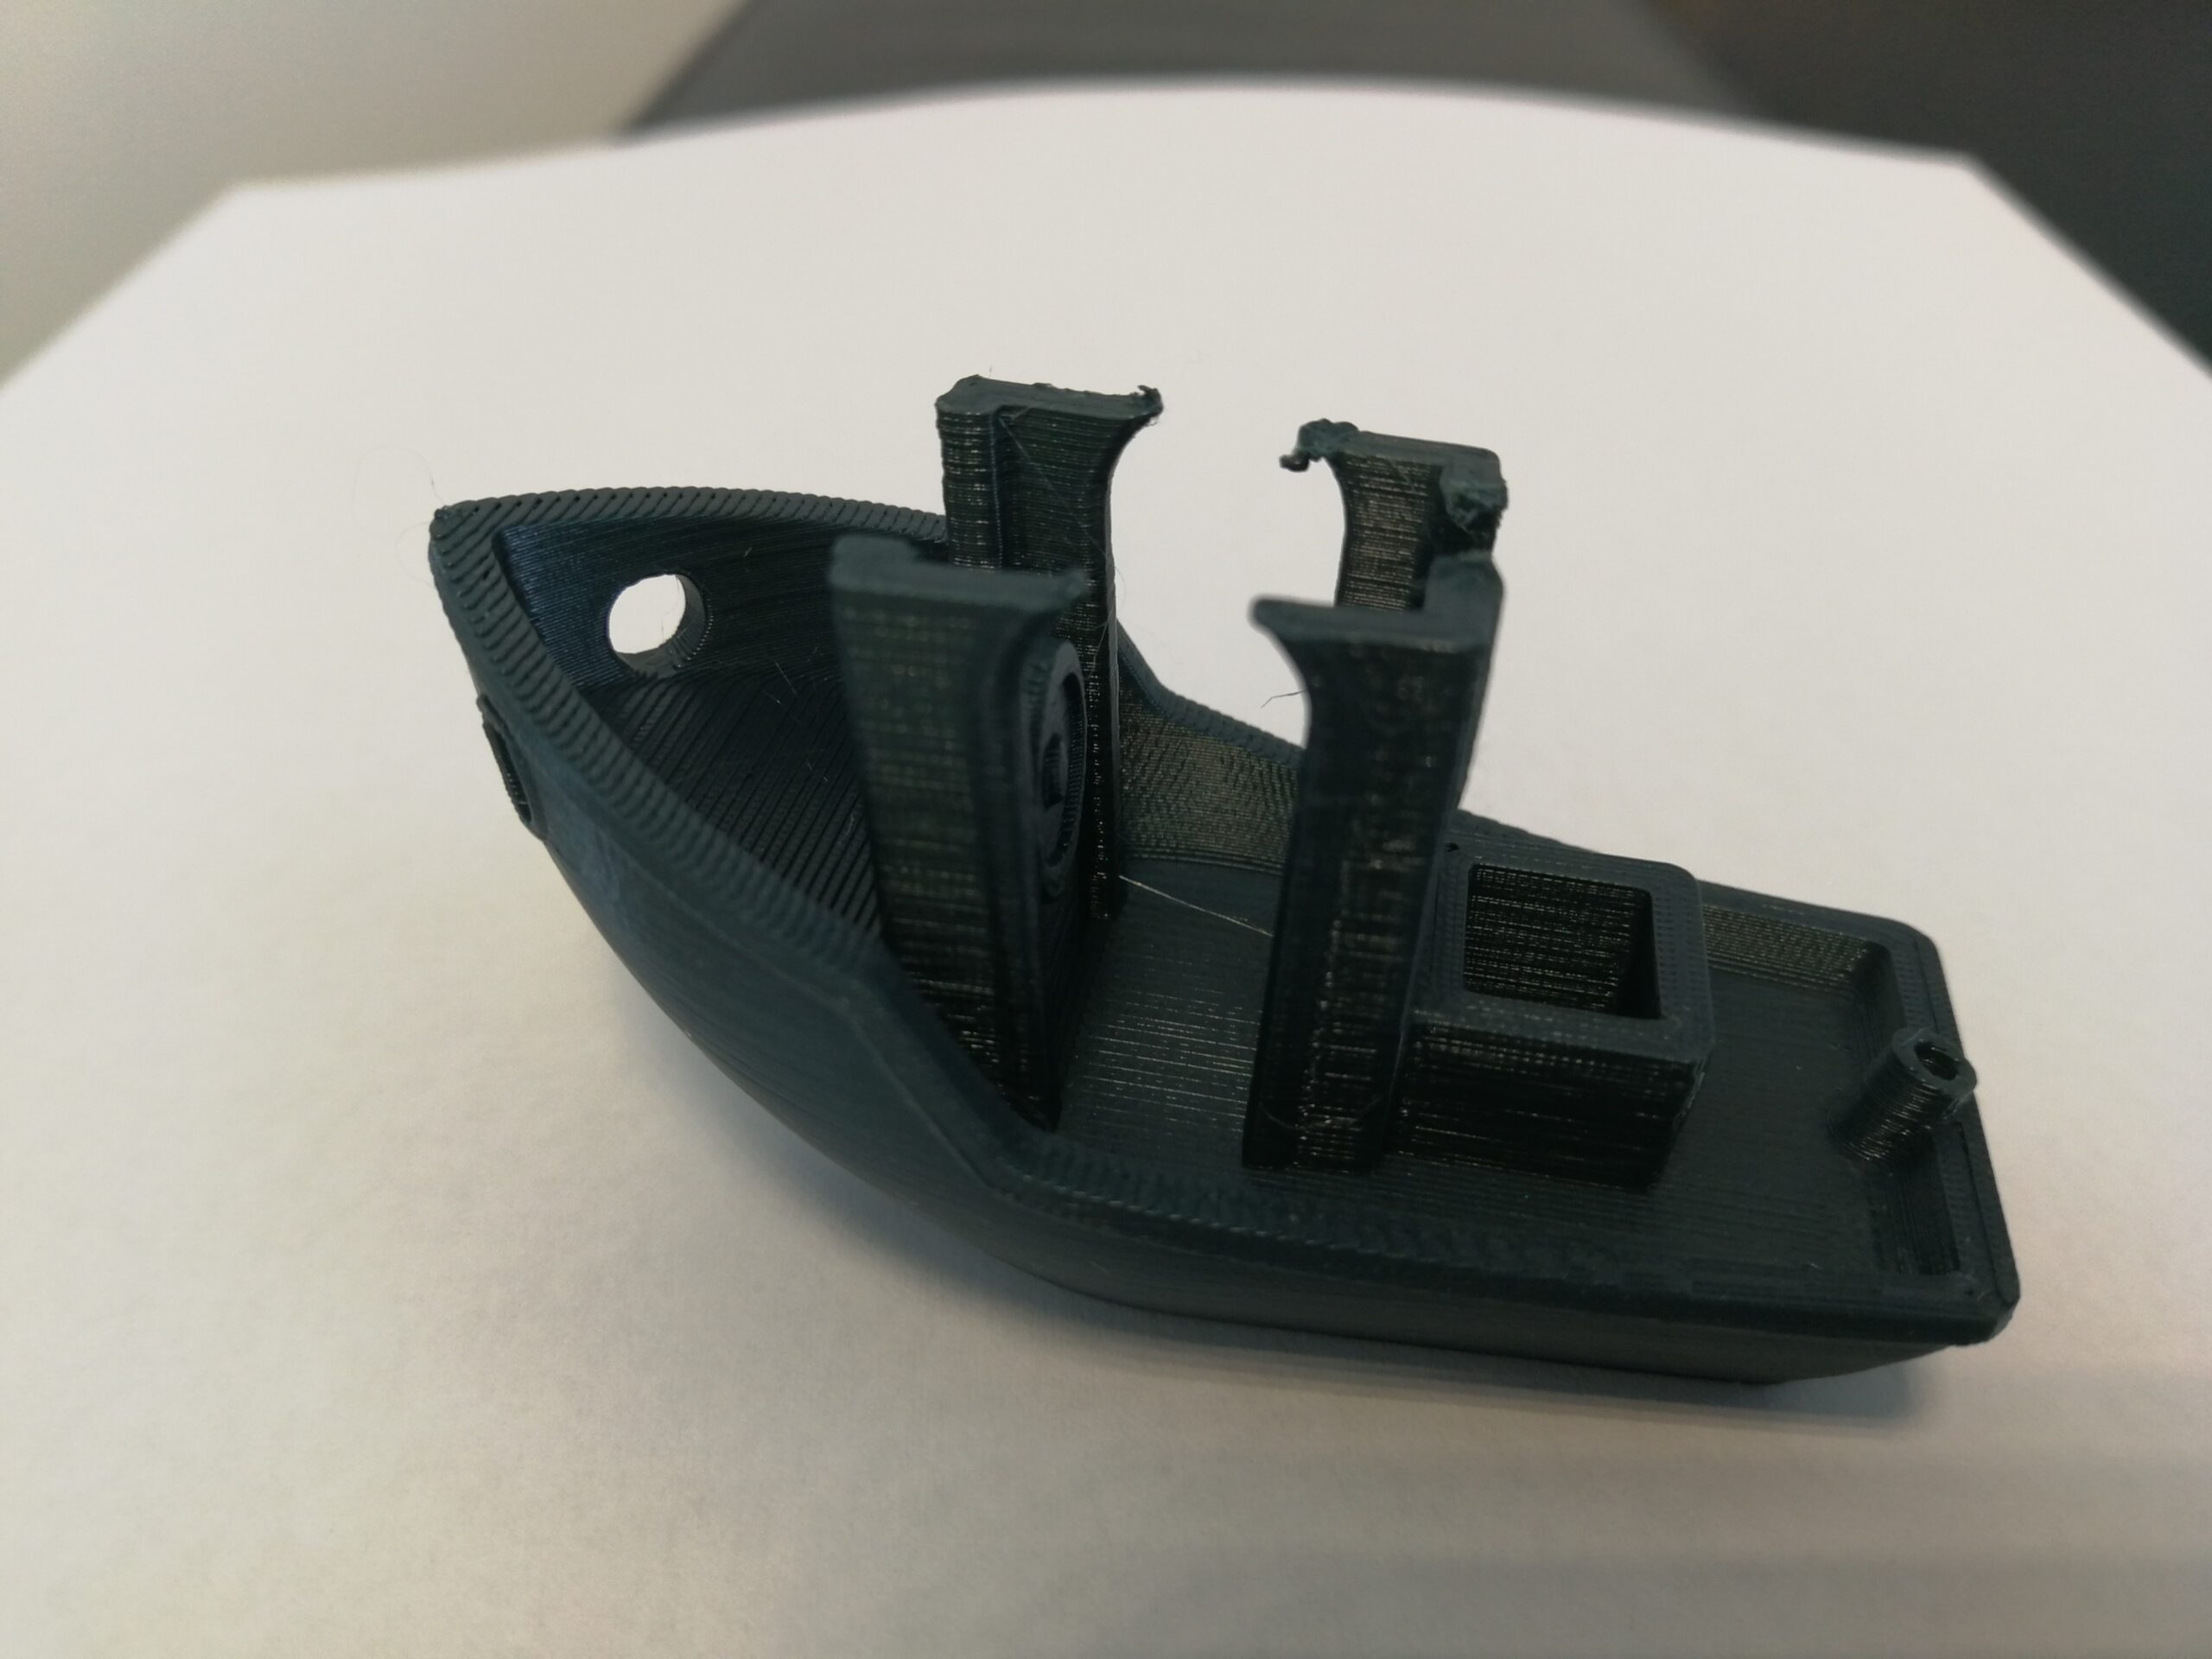
I have a popular problem with Benchy 3D model, while printing the overhangs of the roof, the entire model is break free from the print bed.
I have read a lot of threads dealing with this problem but haven't found a detailed solution to the problem.
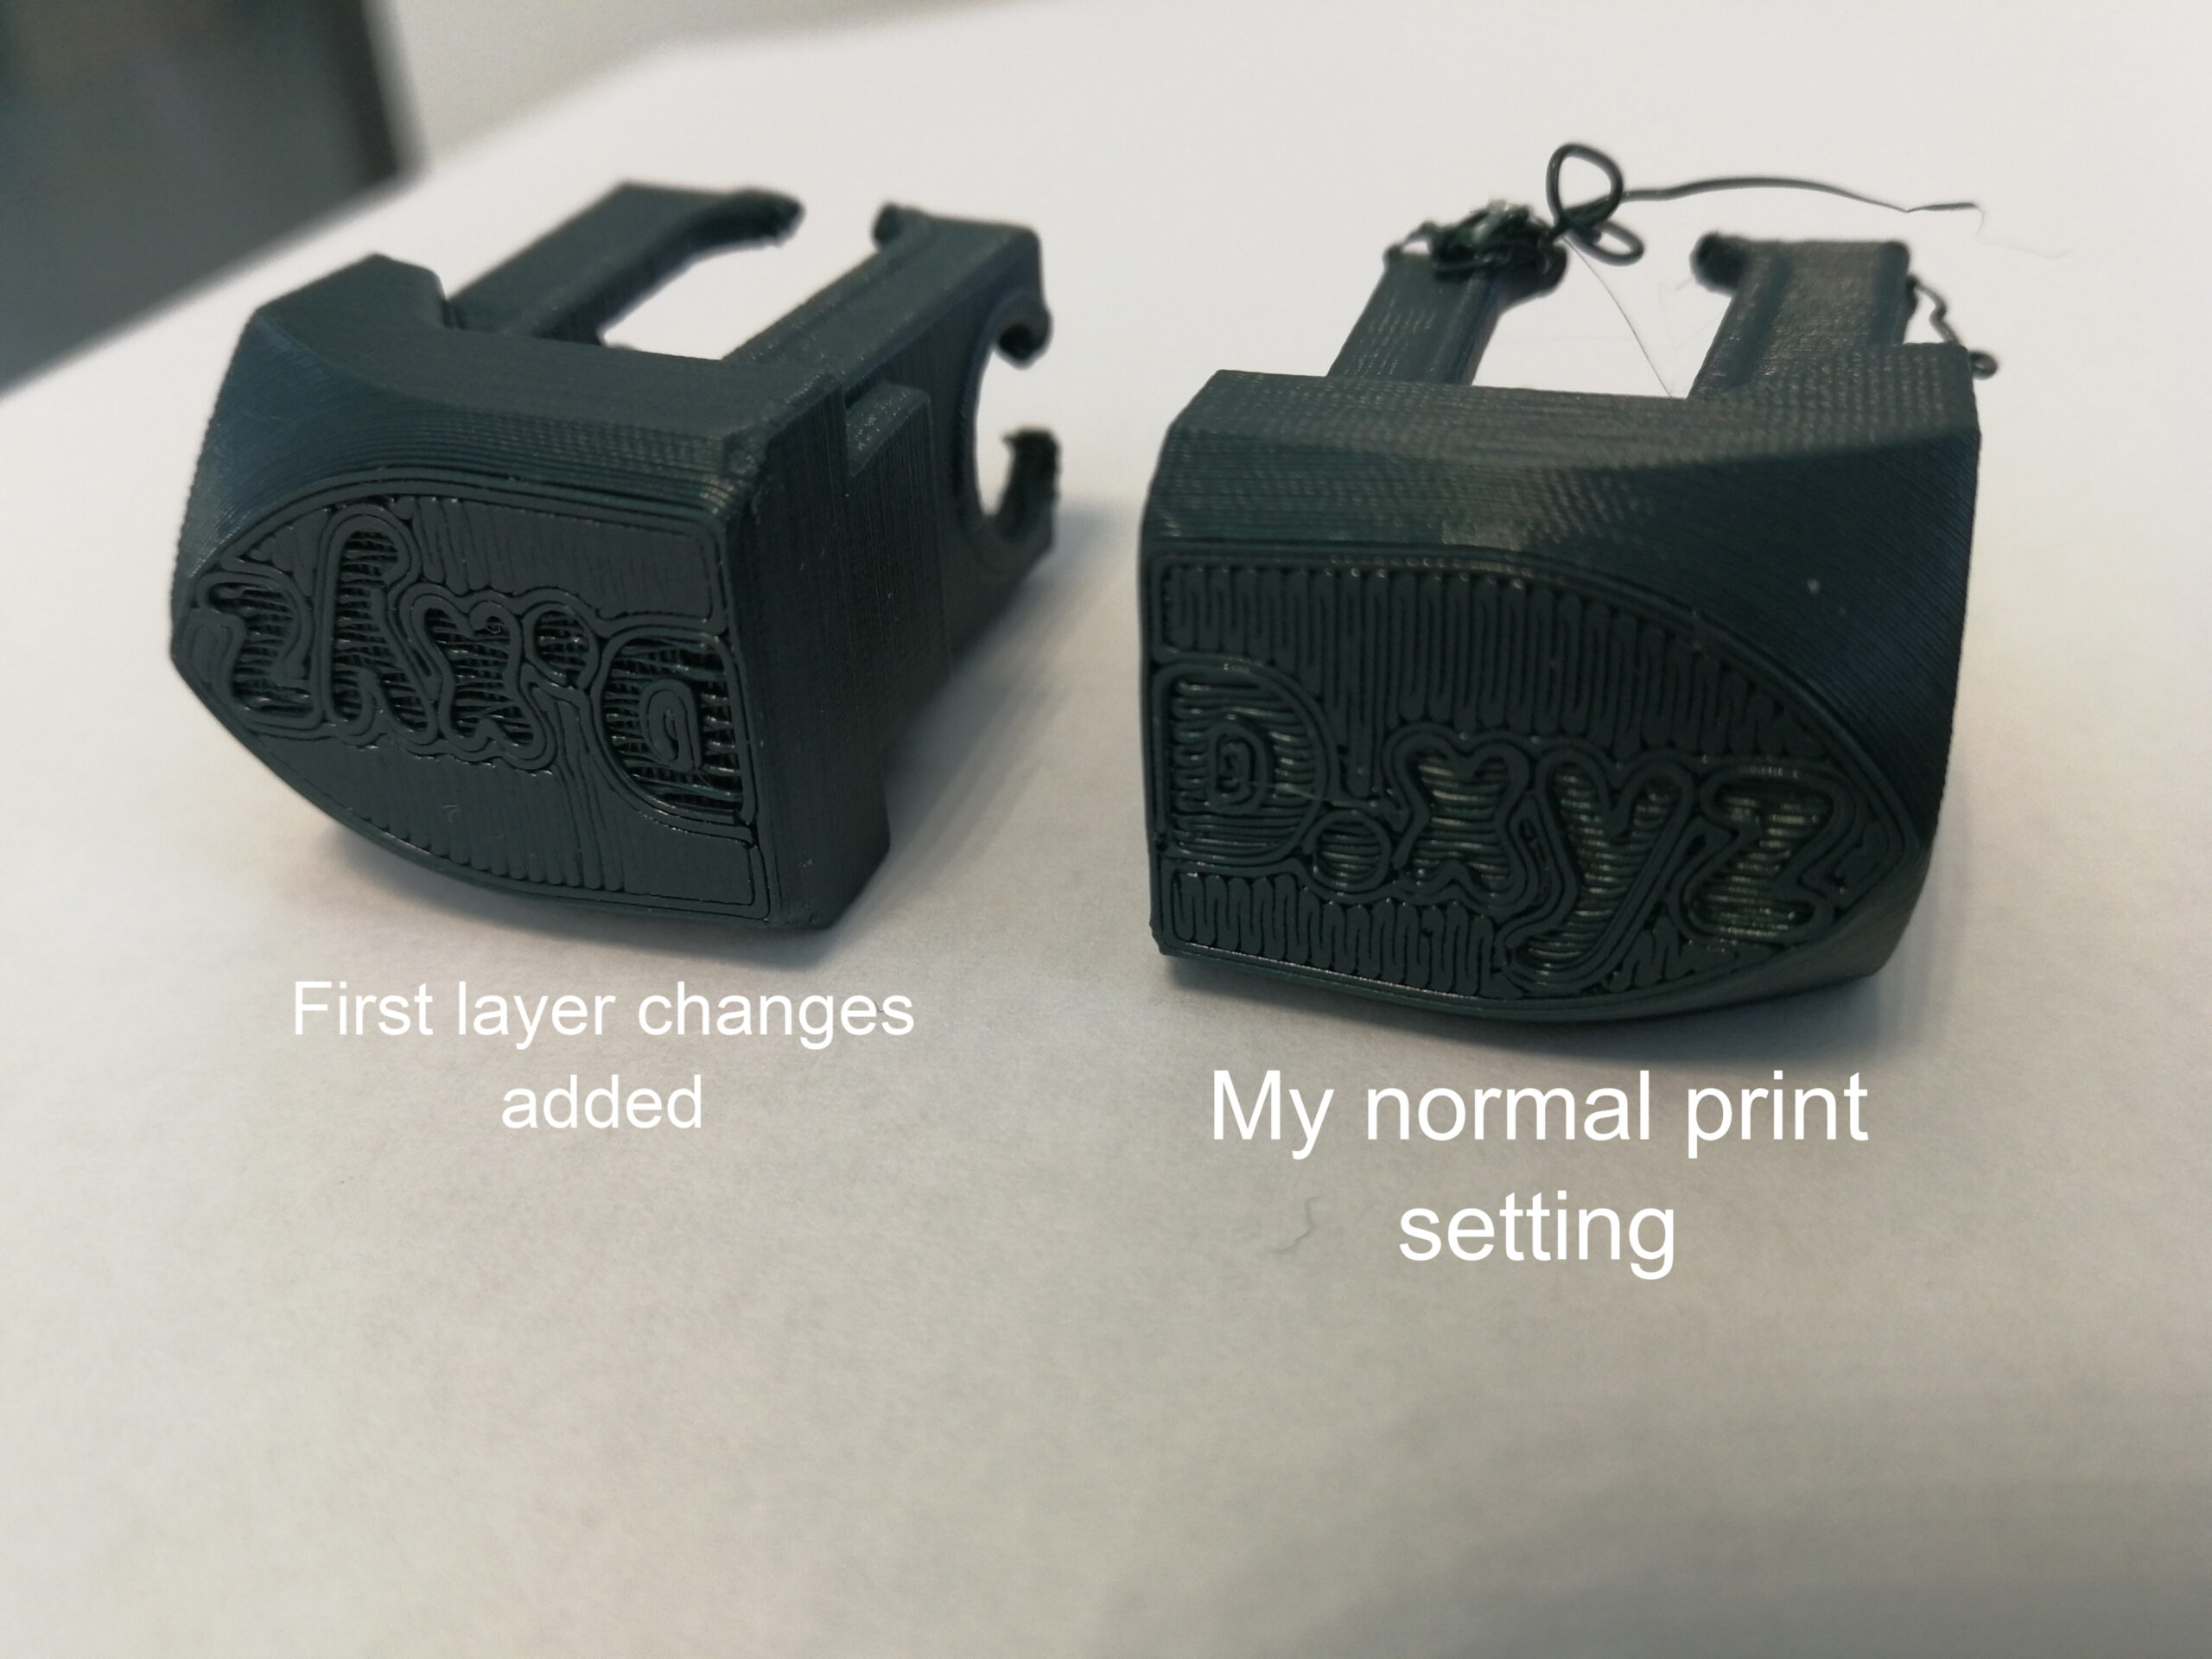
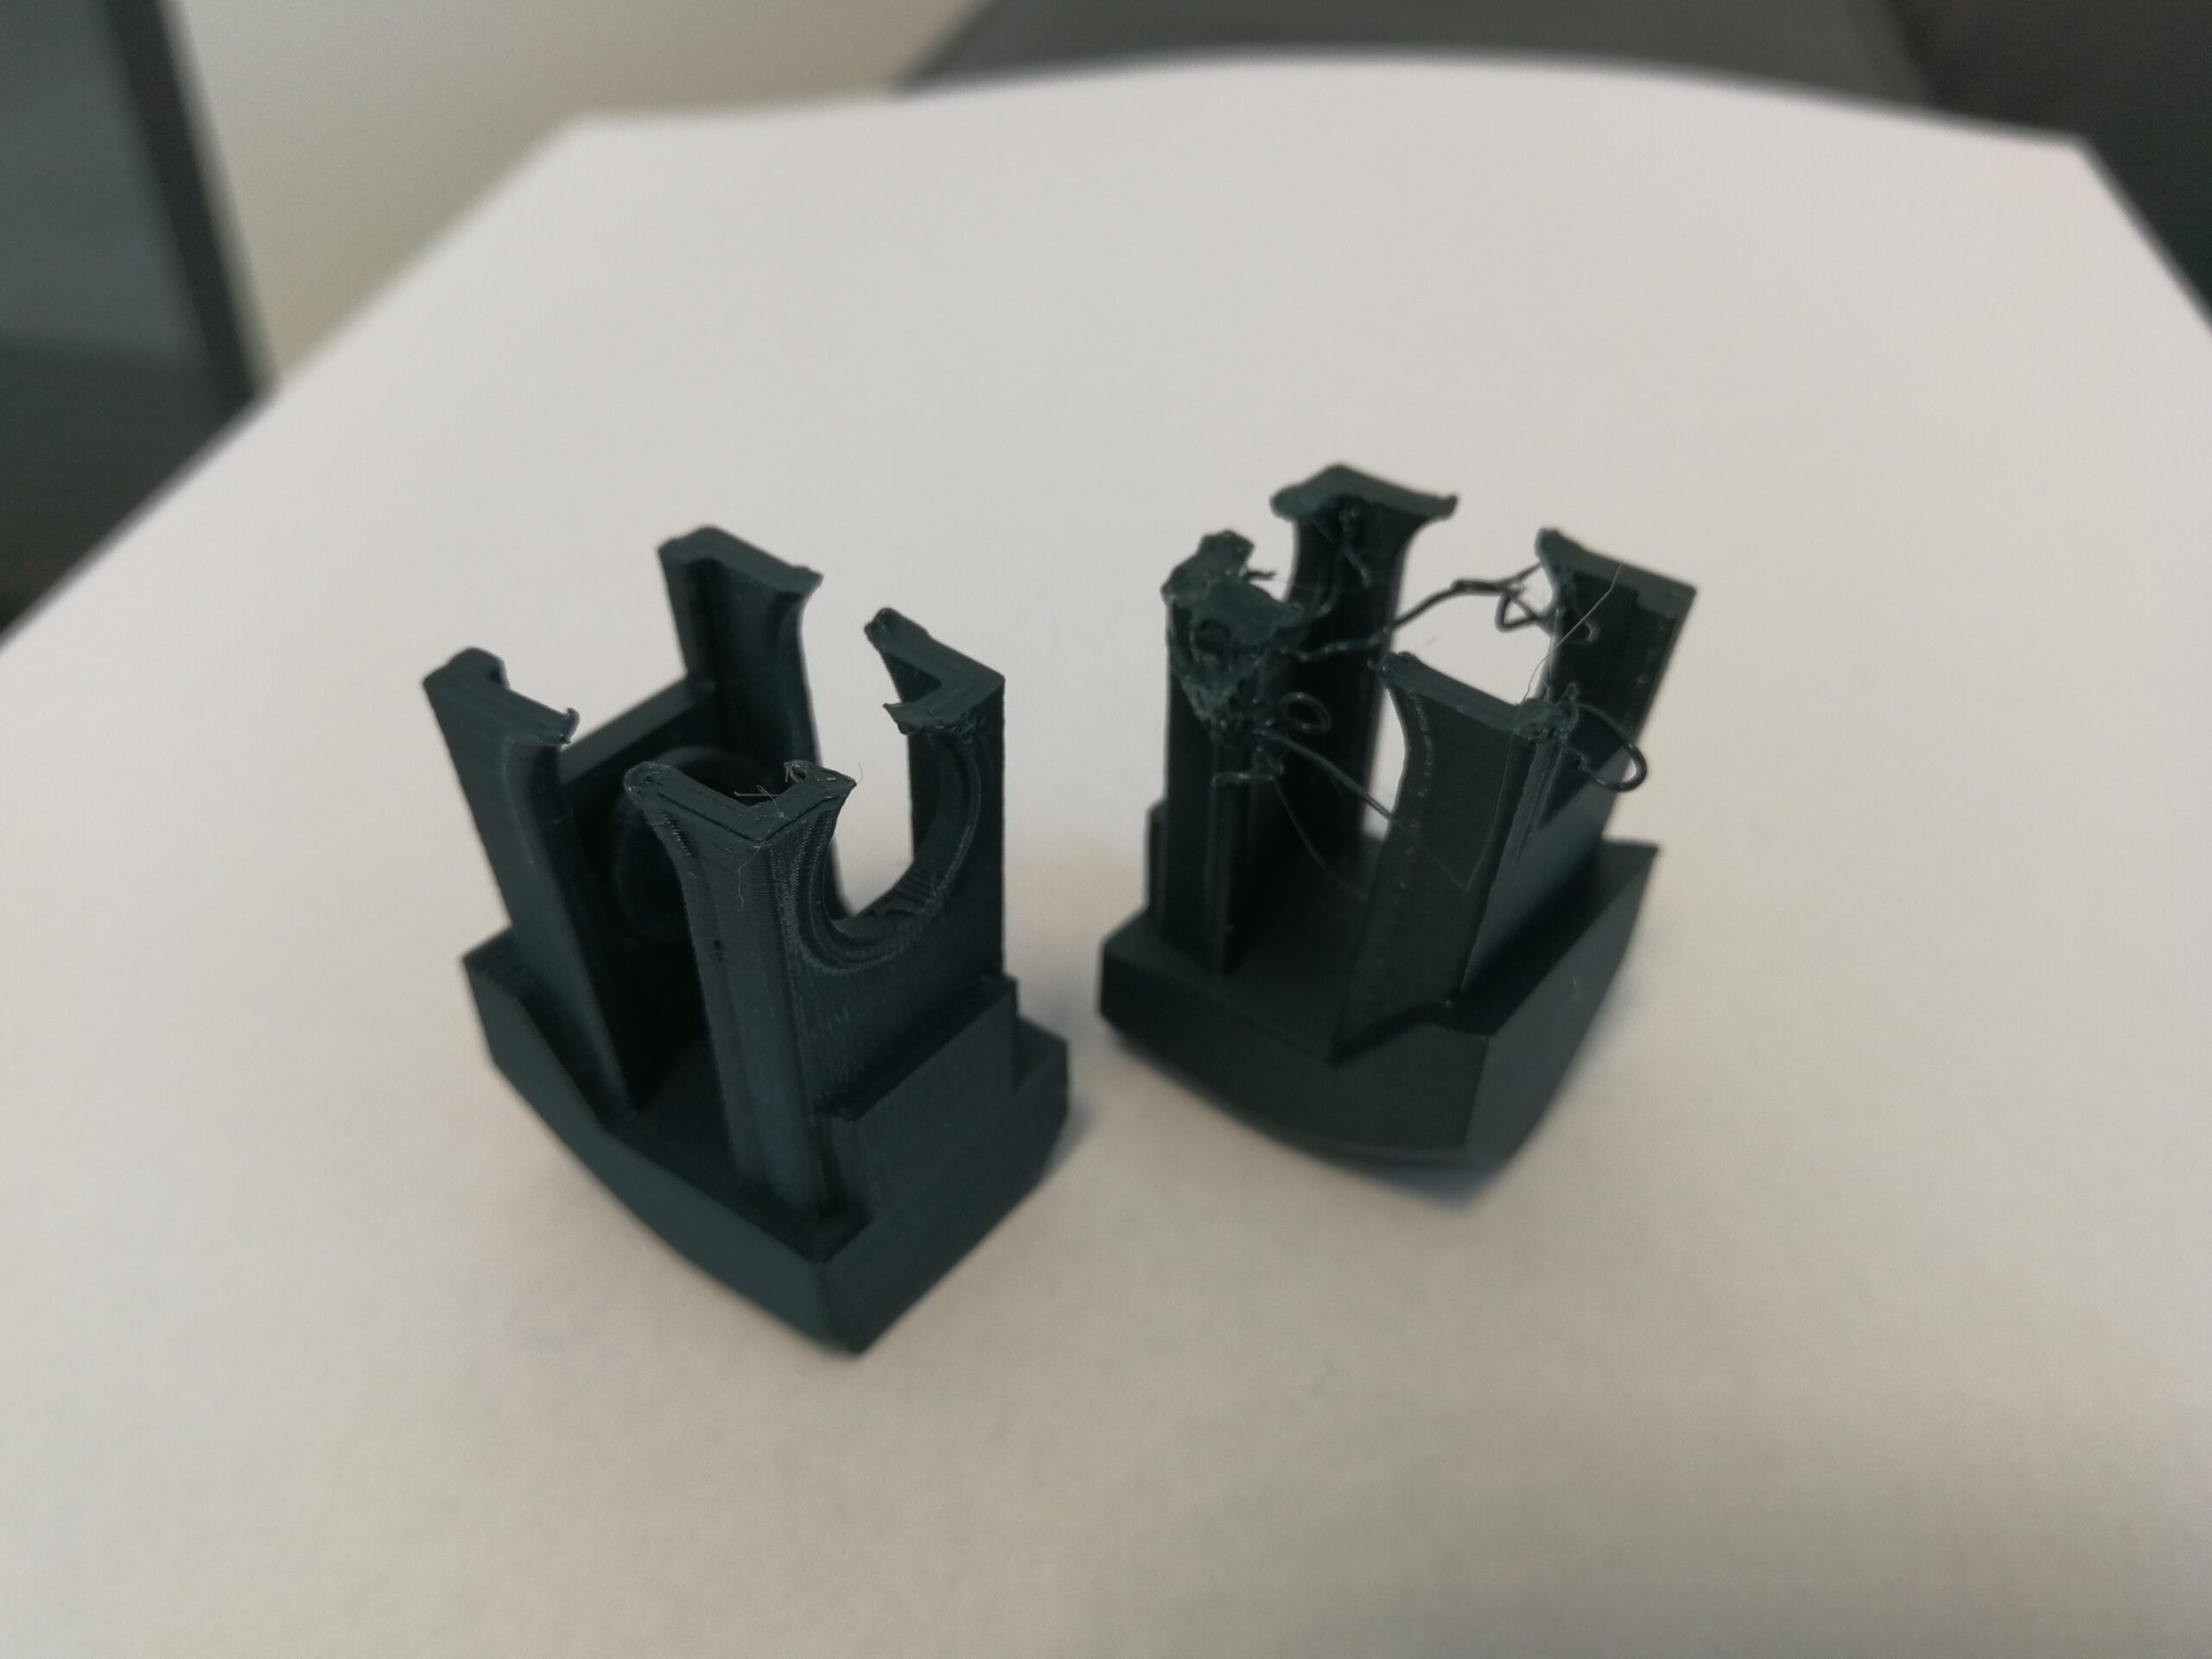
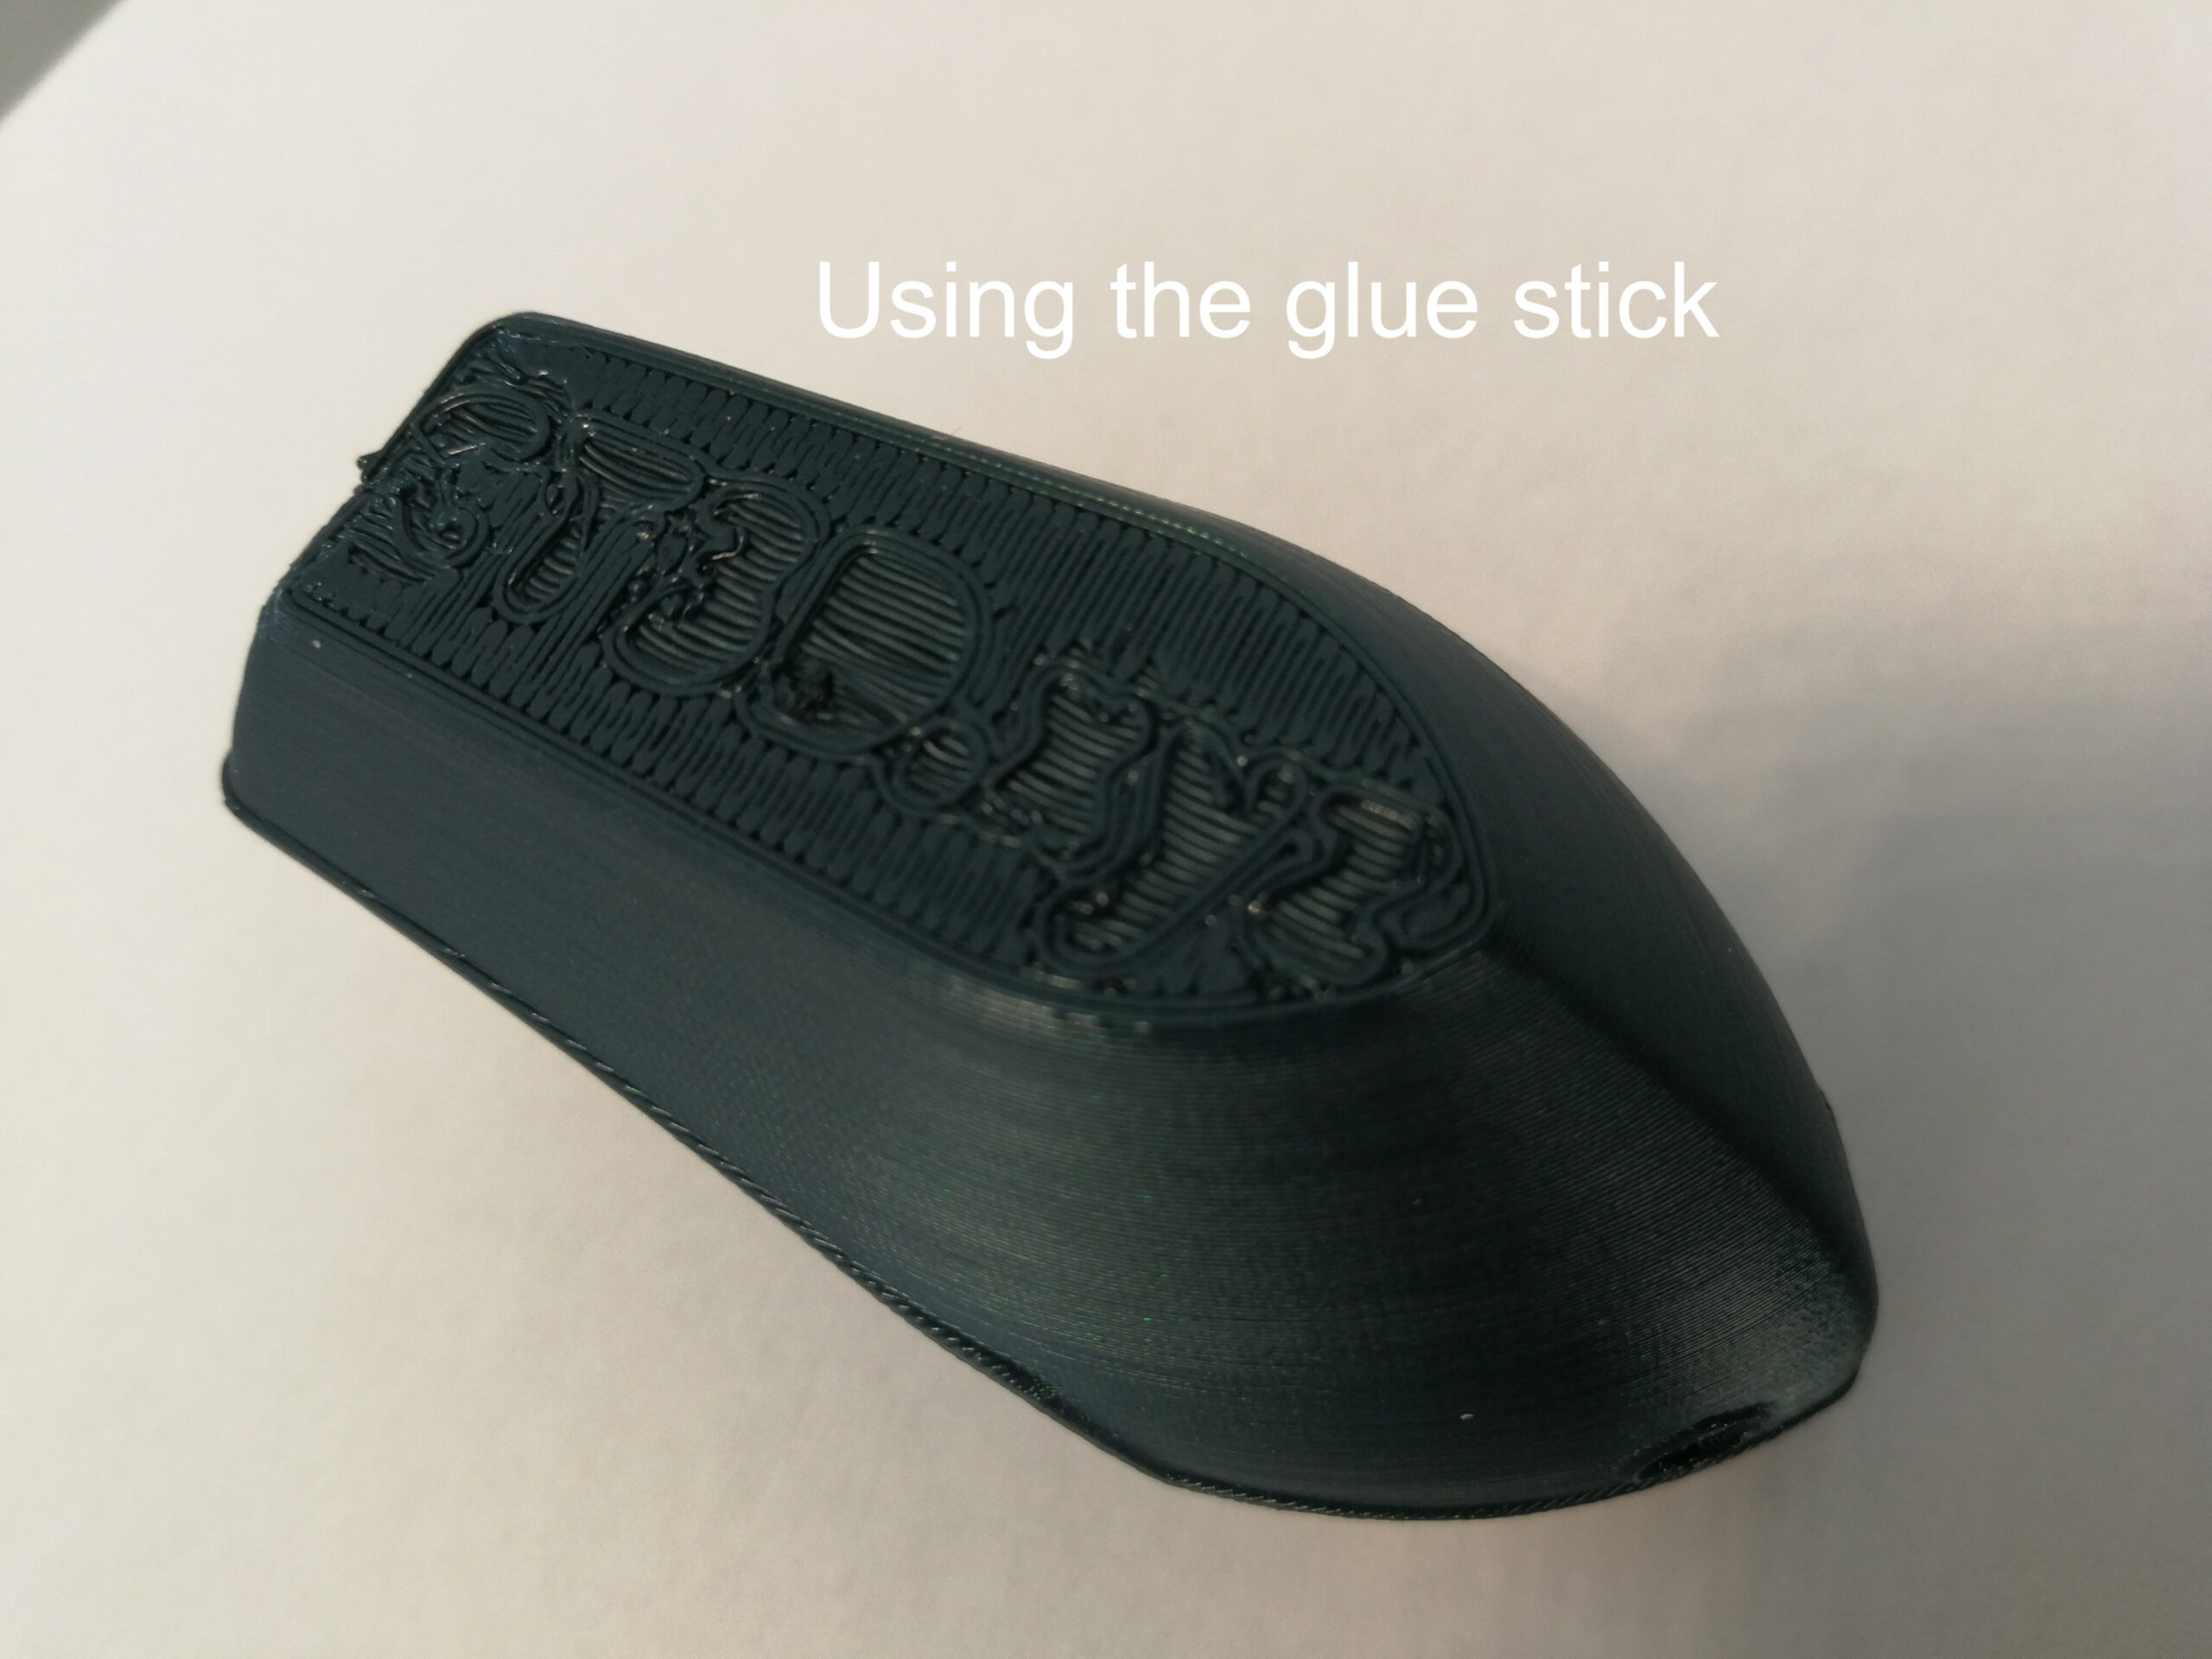
I made my first print attempts on a ready G-code file from "Prusa prints base", after a few failures and reading about the adhesion problems of this model, i tried to use the glue stick for the first time. The glue only made the first layer worse (photos).
Then, to save time printing test models, i cut off the unimportant parts of the "Benchy". I decided that the model printing settings from the model database on the Prusa website is already the best polished version for the printer, so i imported the settings from the original g-code file to the prusaslicer. At this point, i was very surprised because, according to PrusaSlicer, the imported settings are for ABS material, not PLA - as it is stated on the website. That's why i used the PrusaSlicer settings for the Prusament PLA that i am using. Unfortunately, the effect was the same.
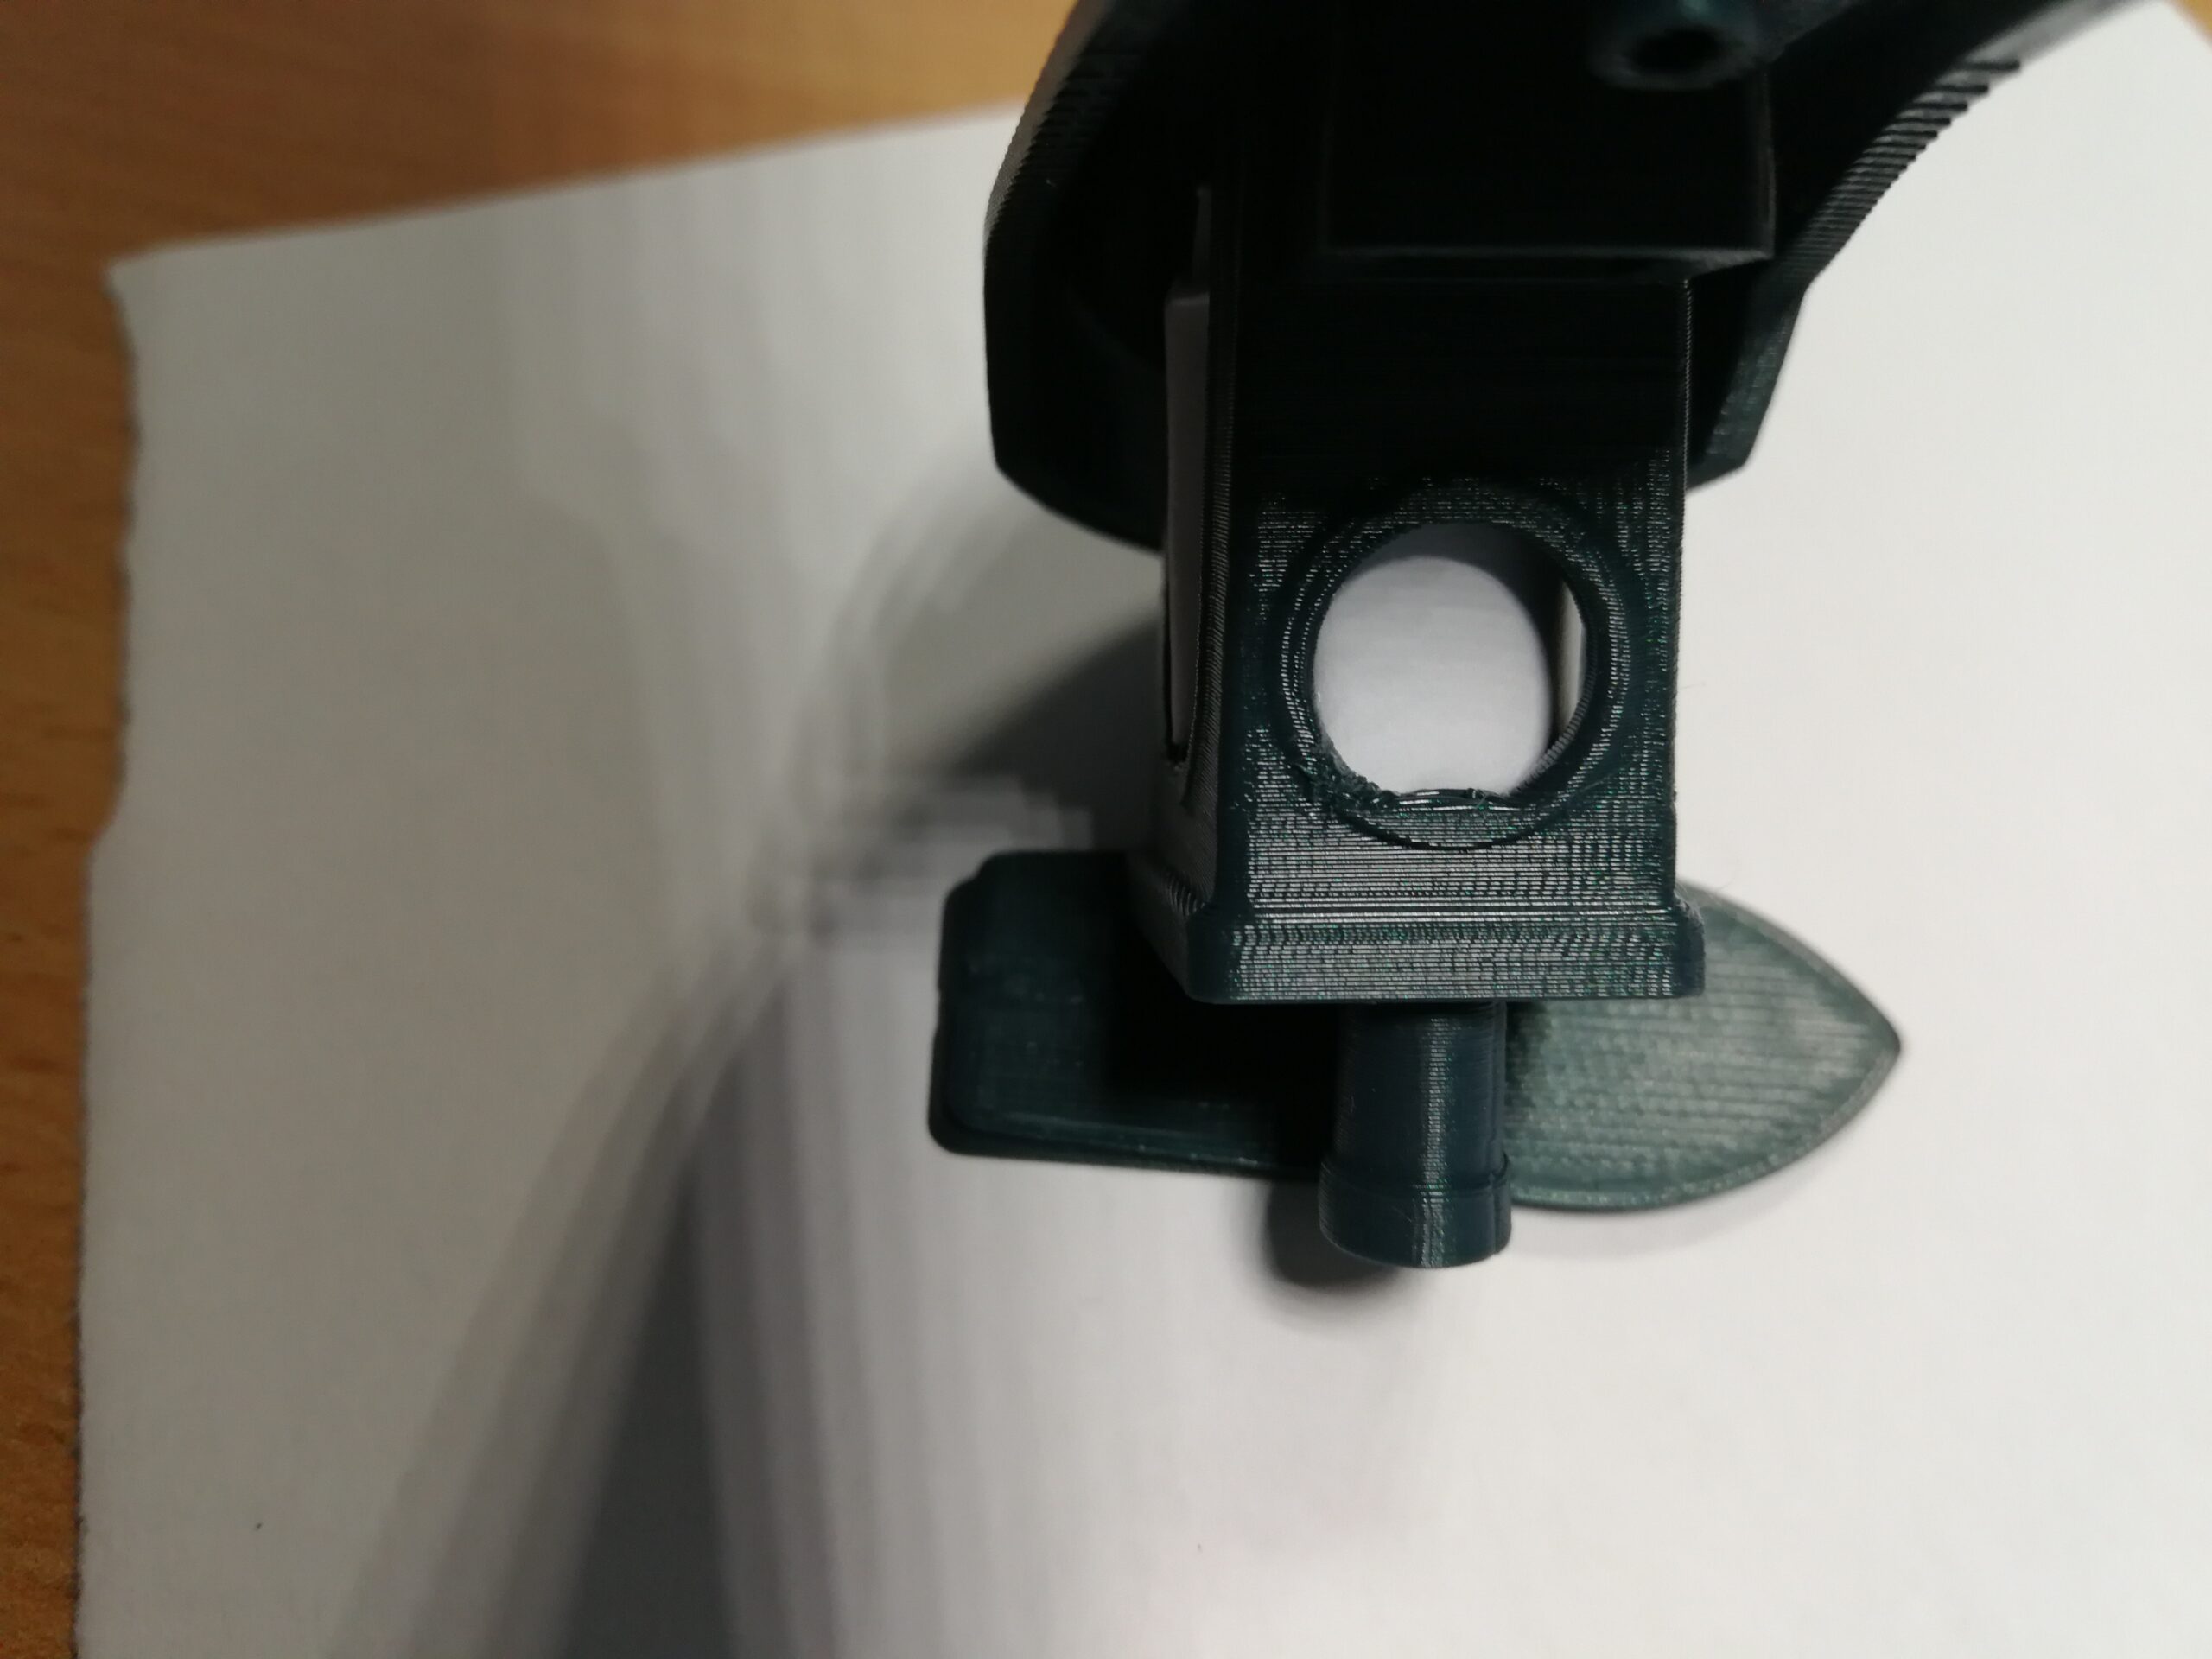
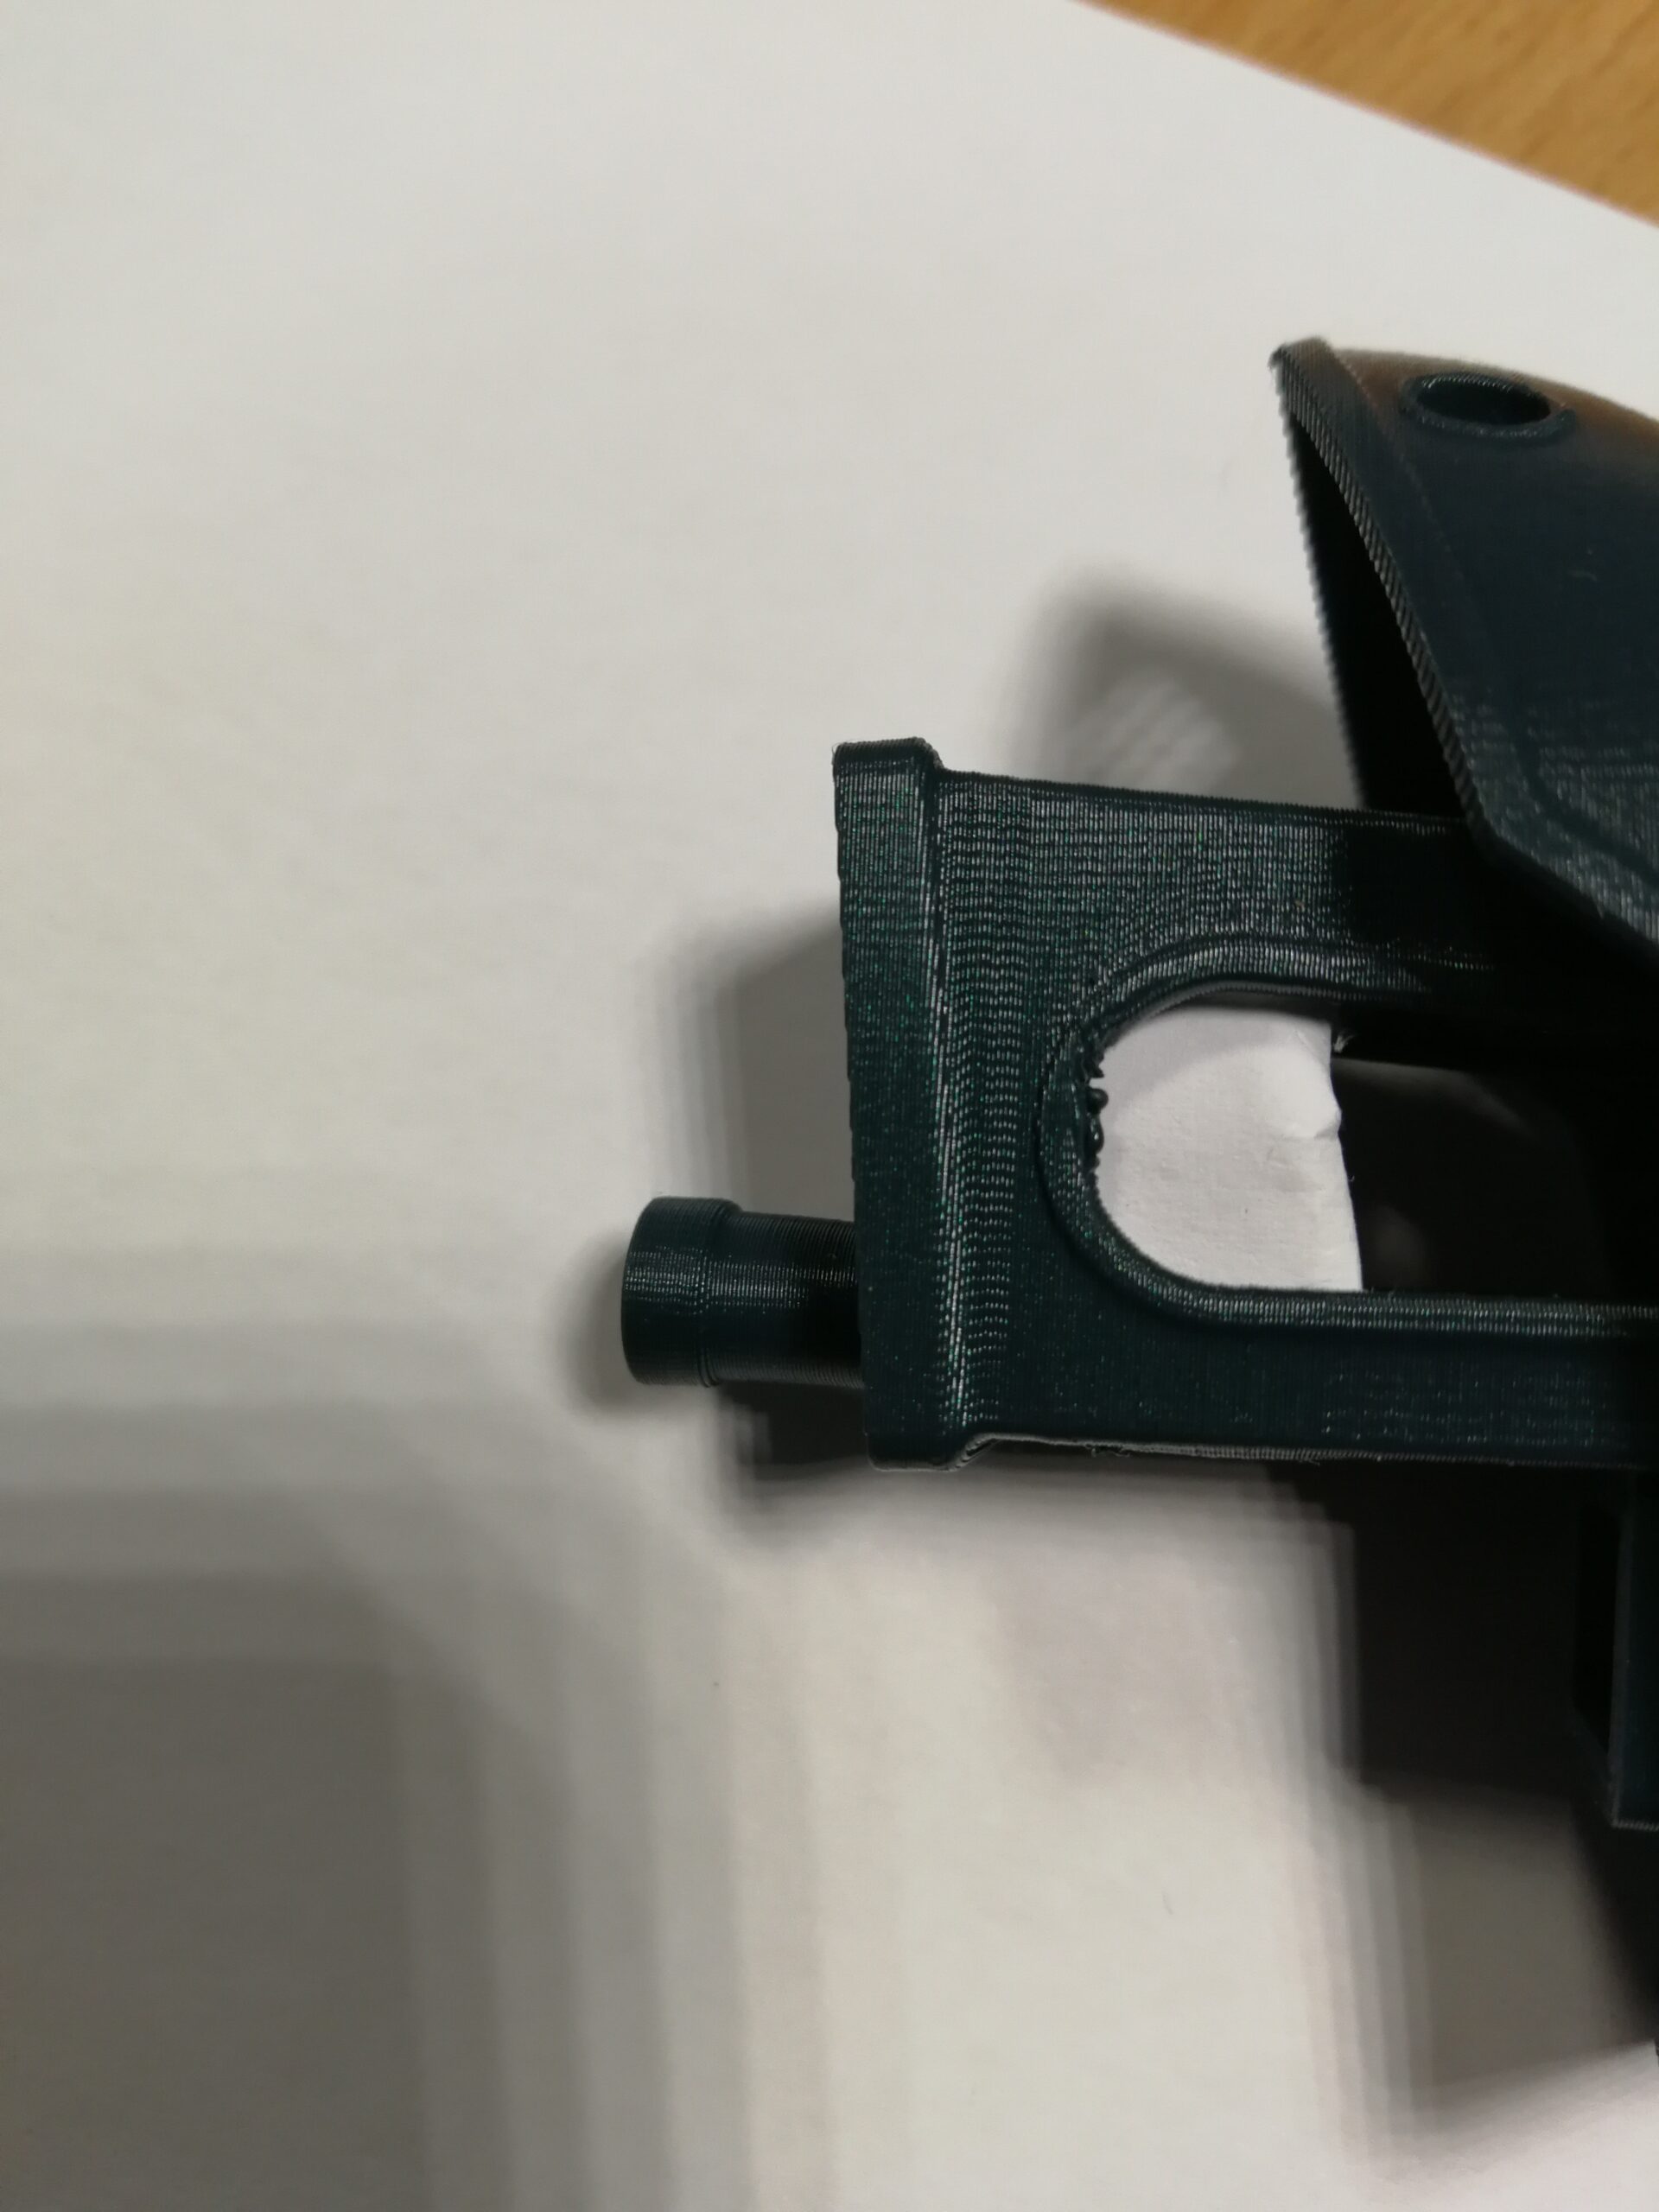
In the next try, i changed the first layer settings and the intensity of the cooling fan according to the directions from one thread. The model also break free, but there is a difference in the first layers. And here i do not know if it is worse or better? (photos)
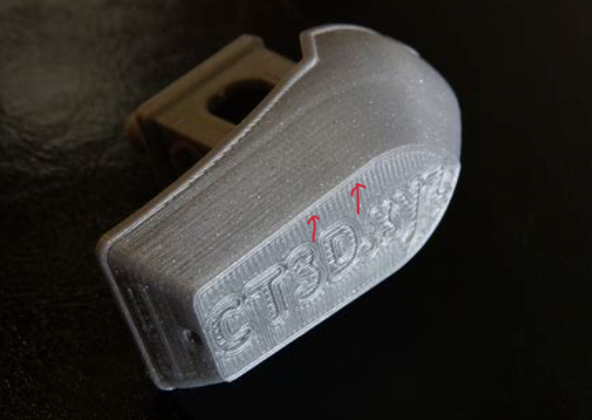
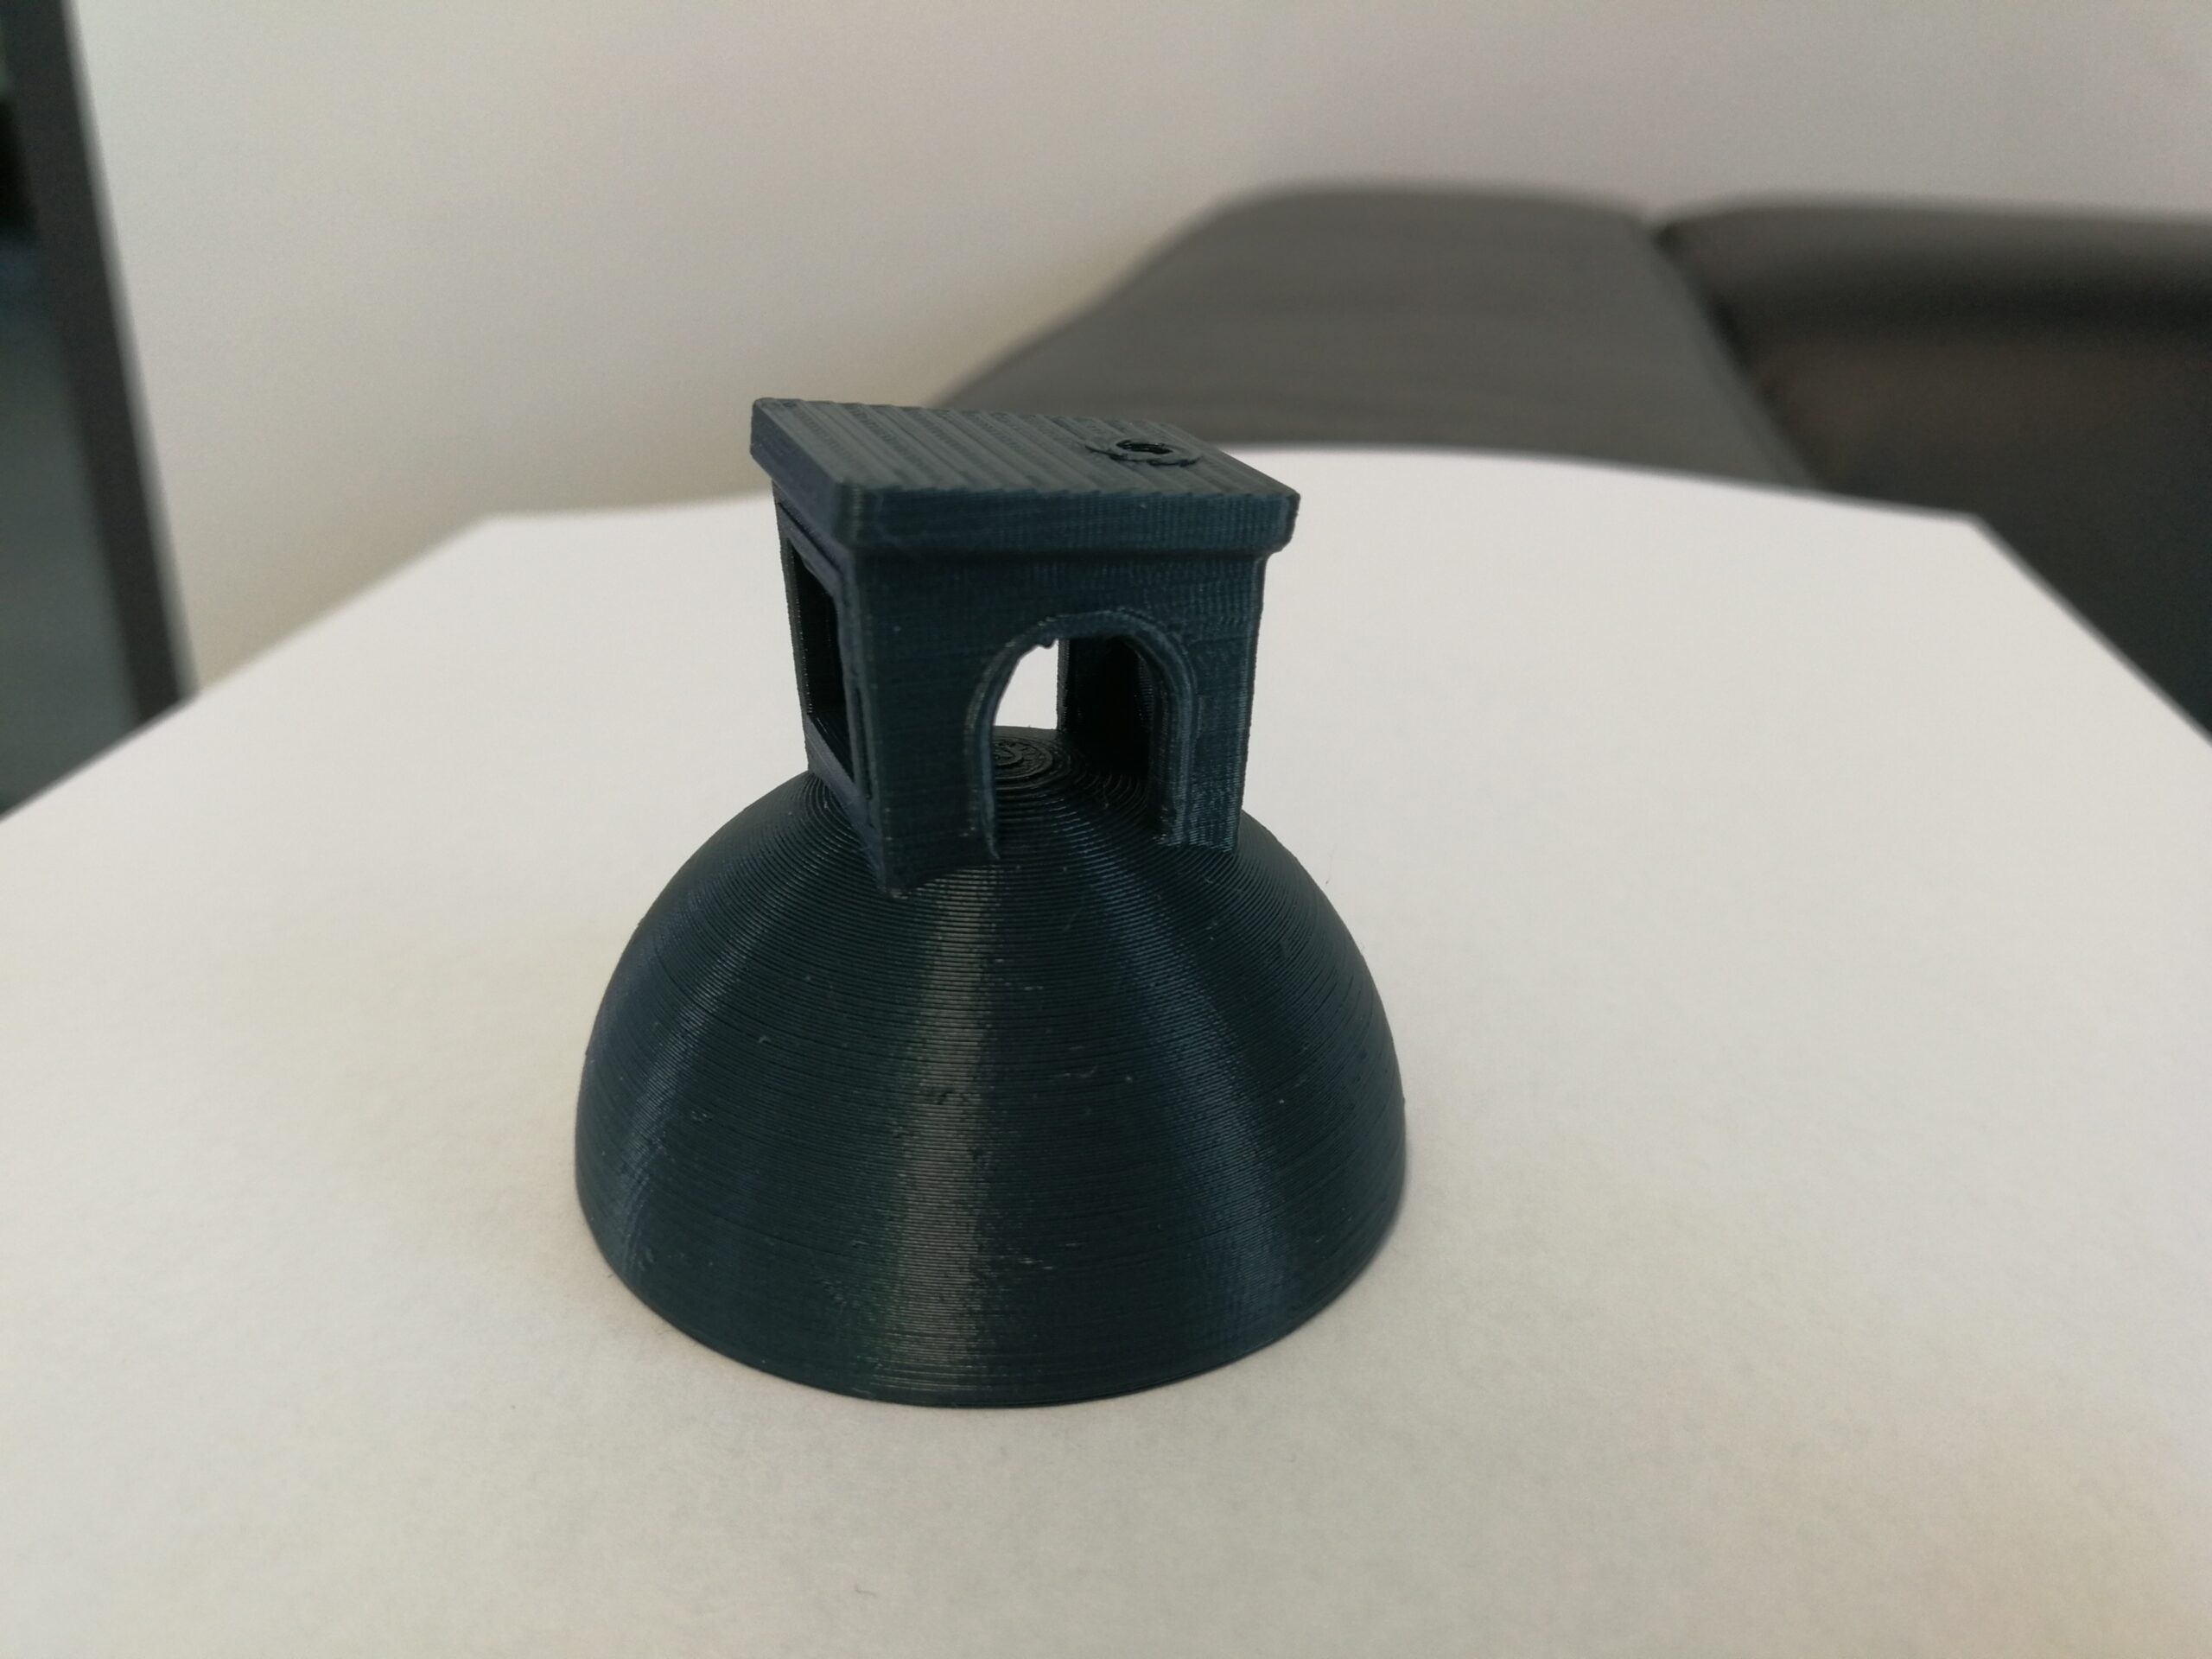
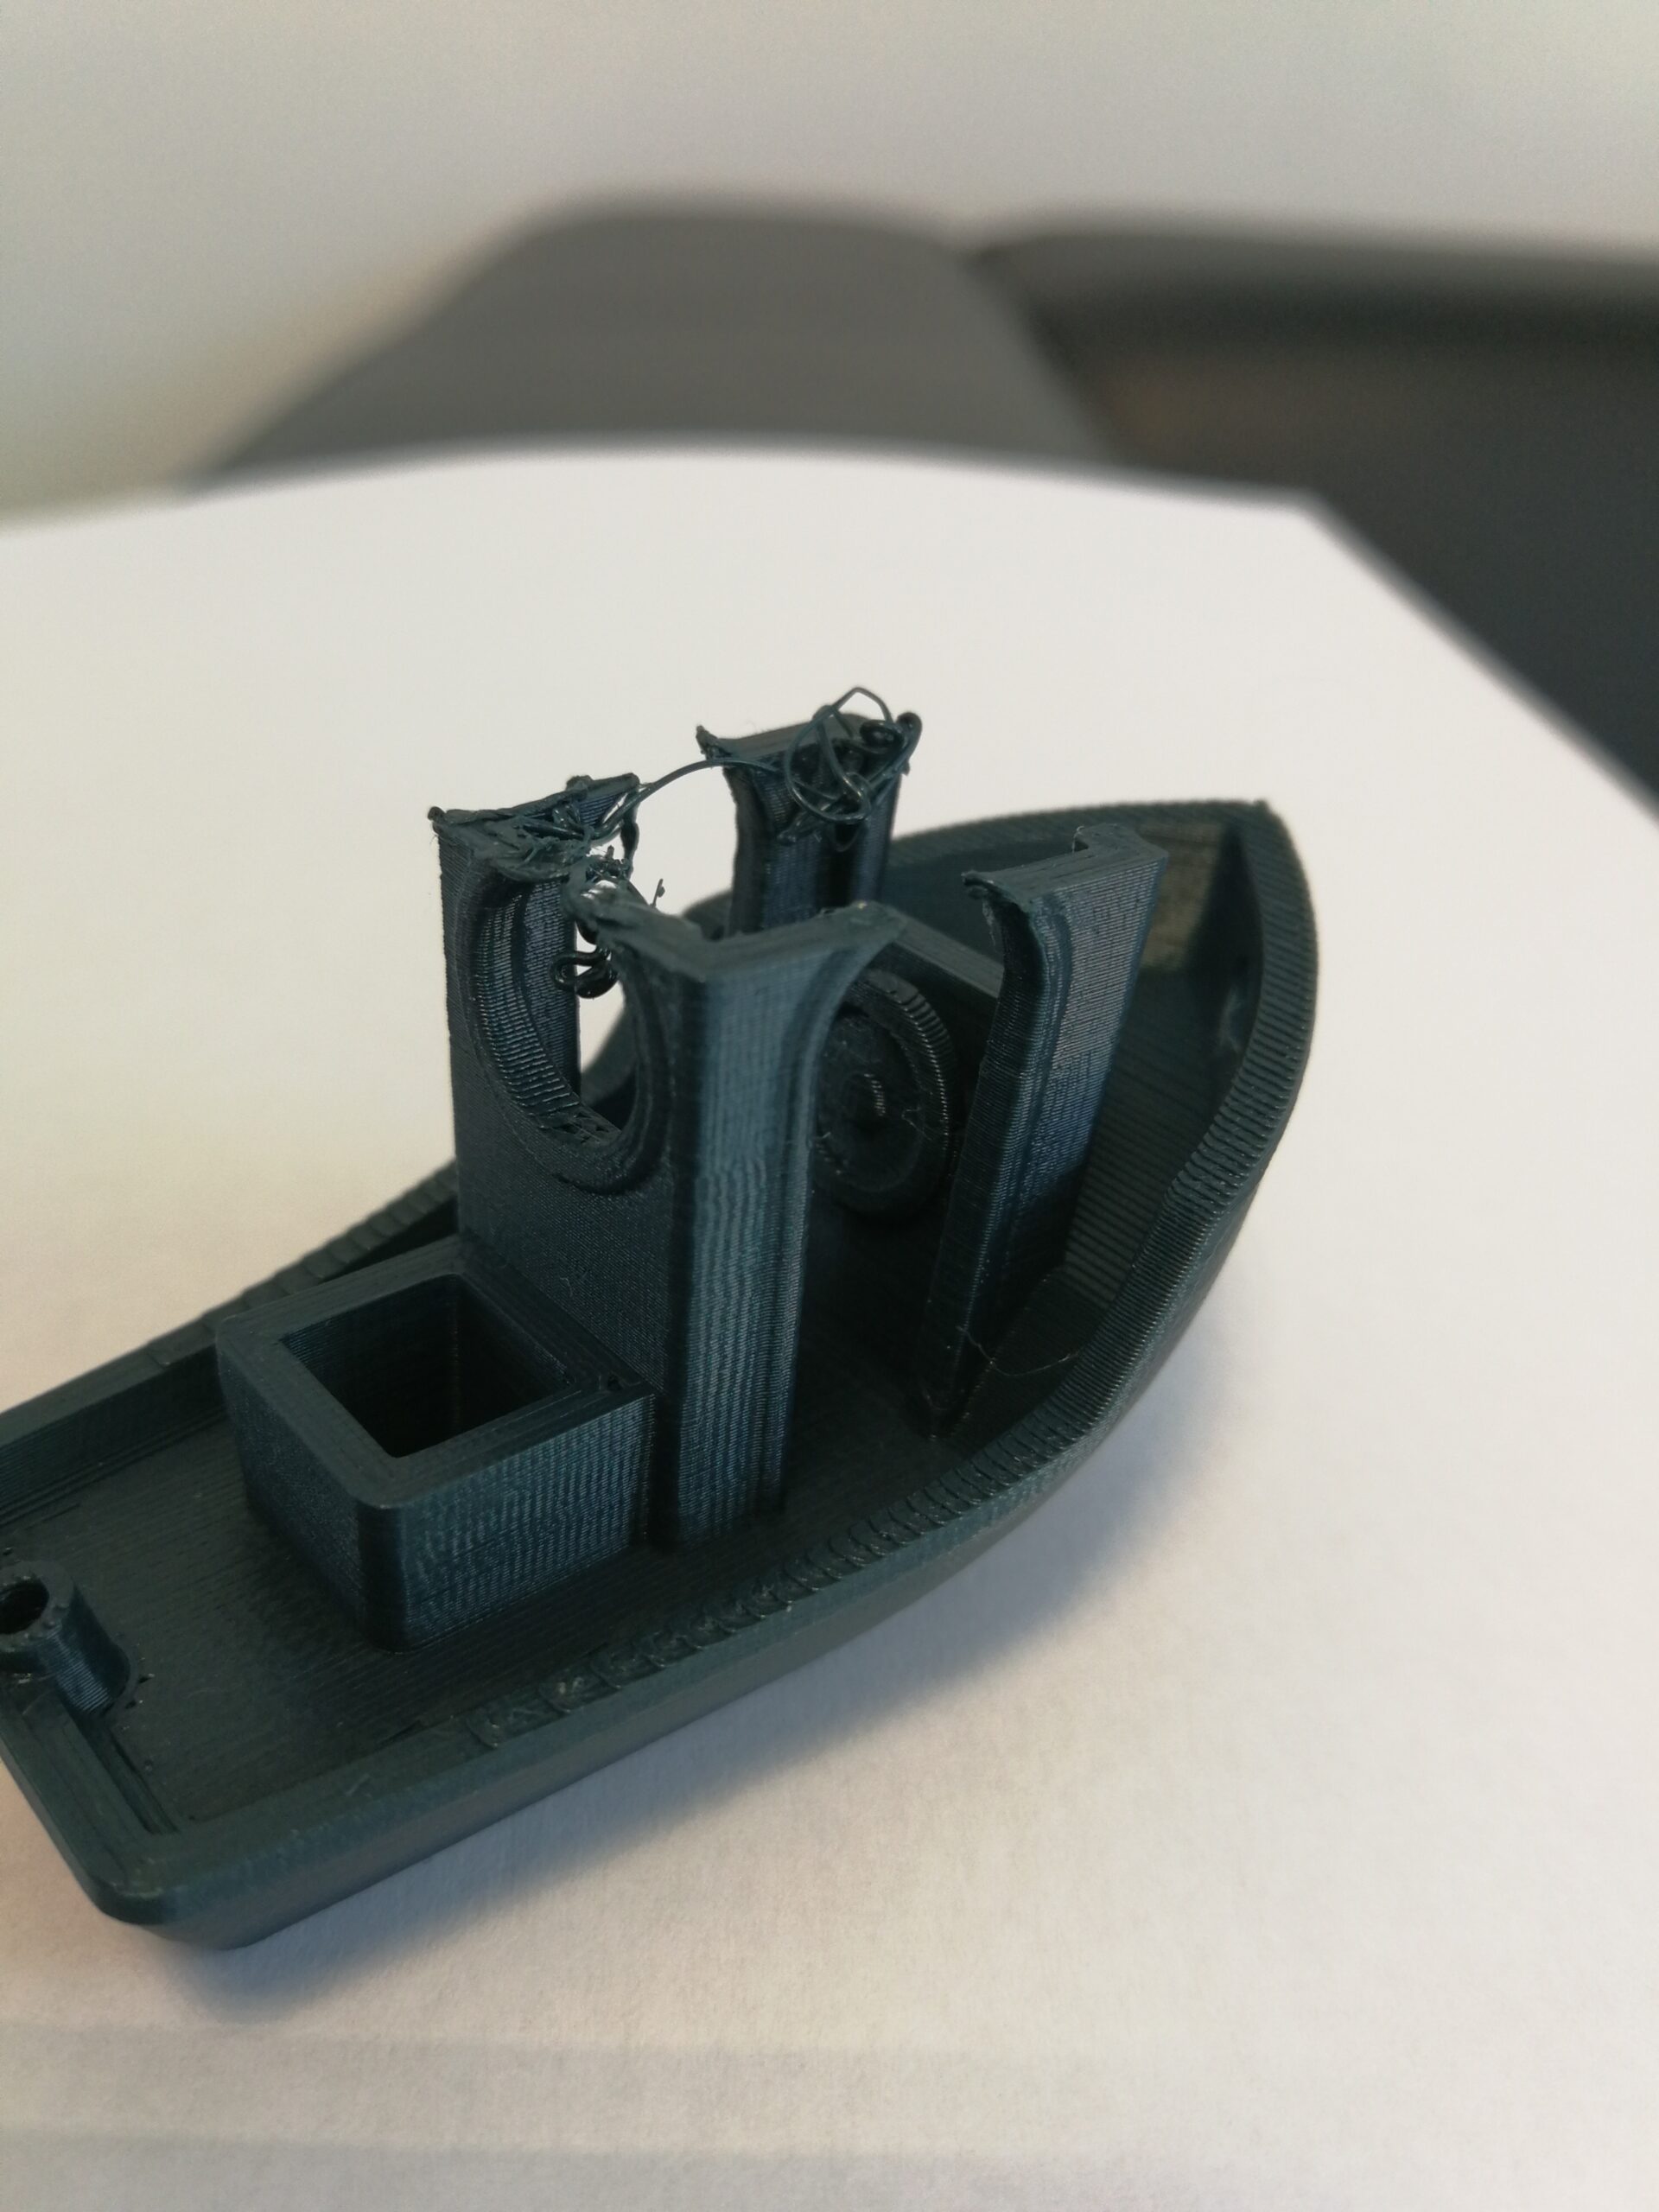
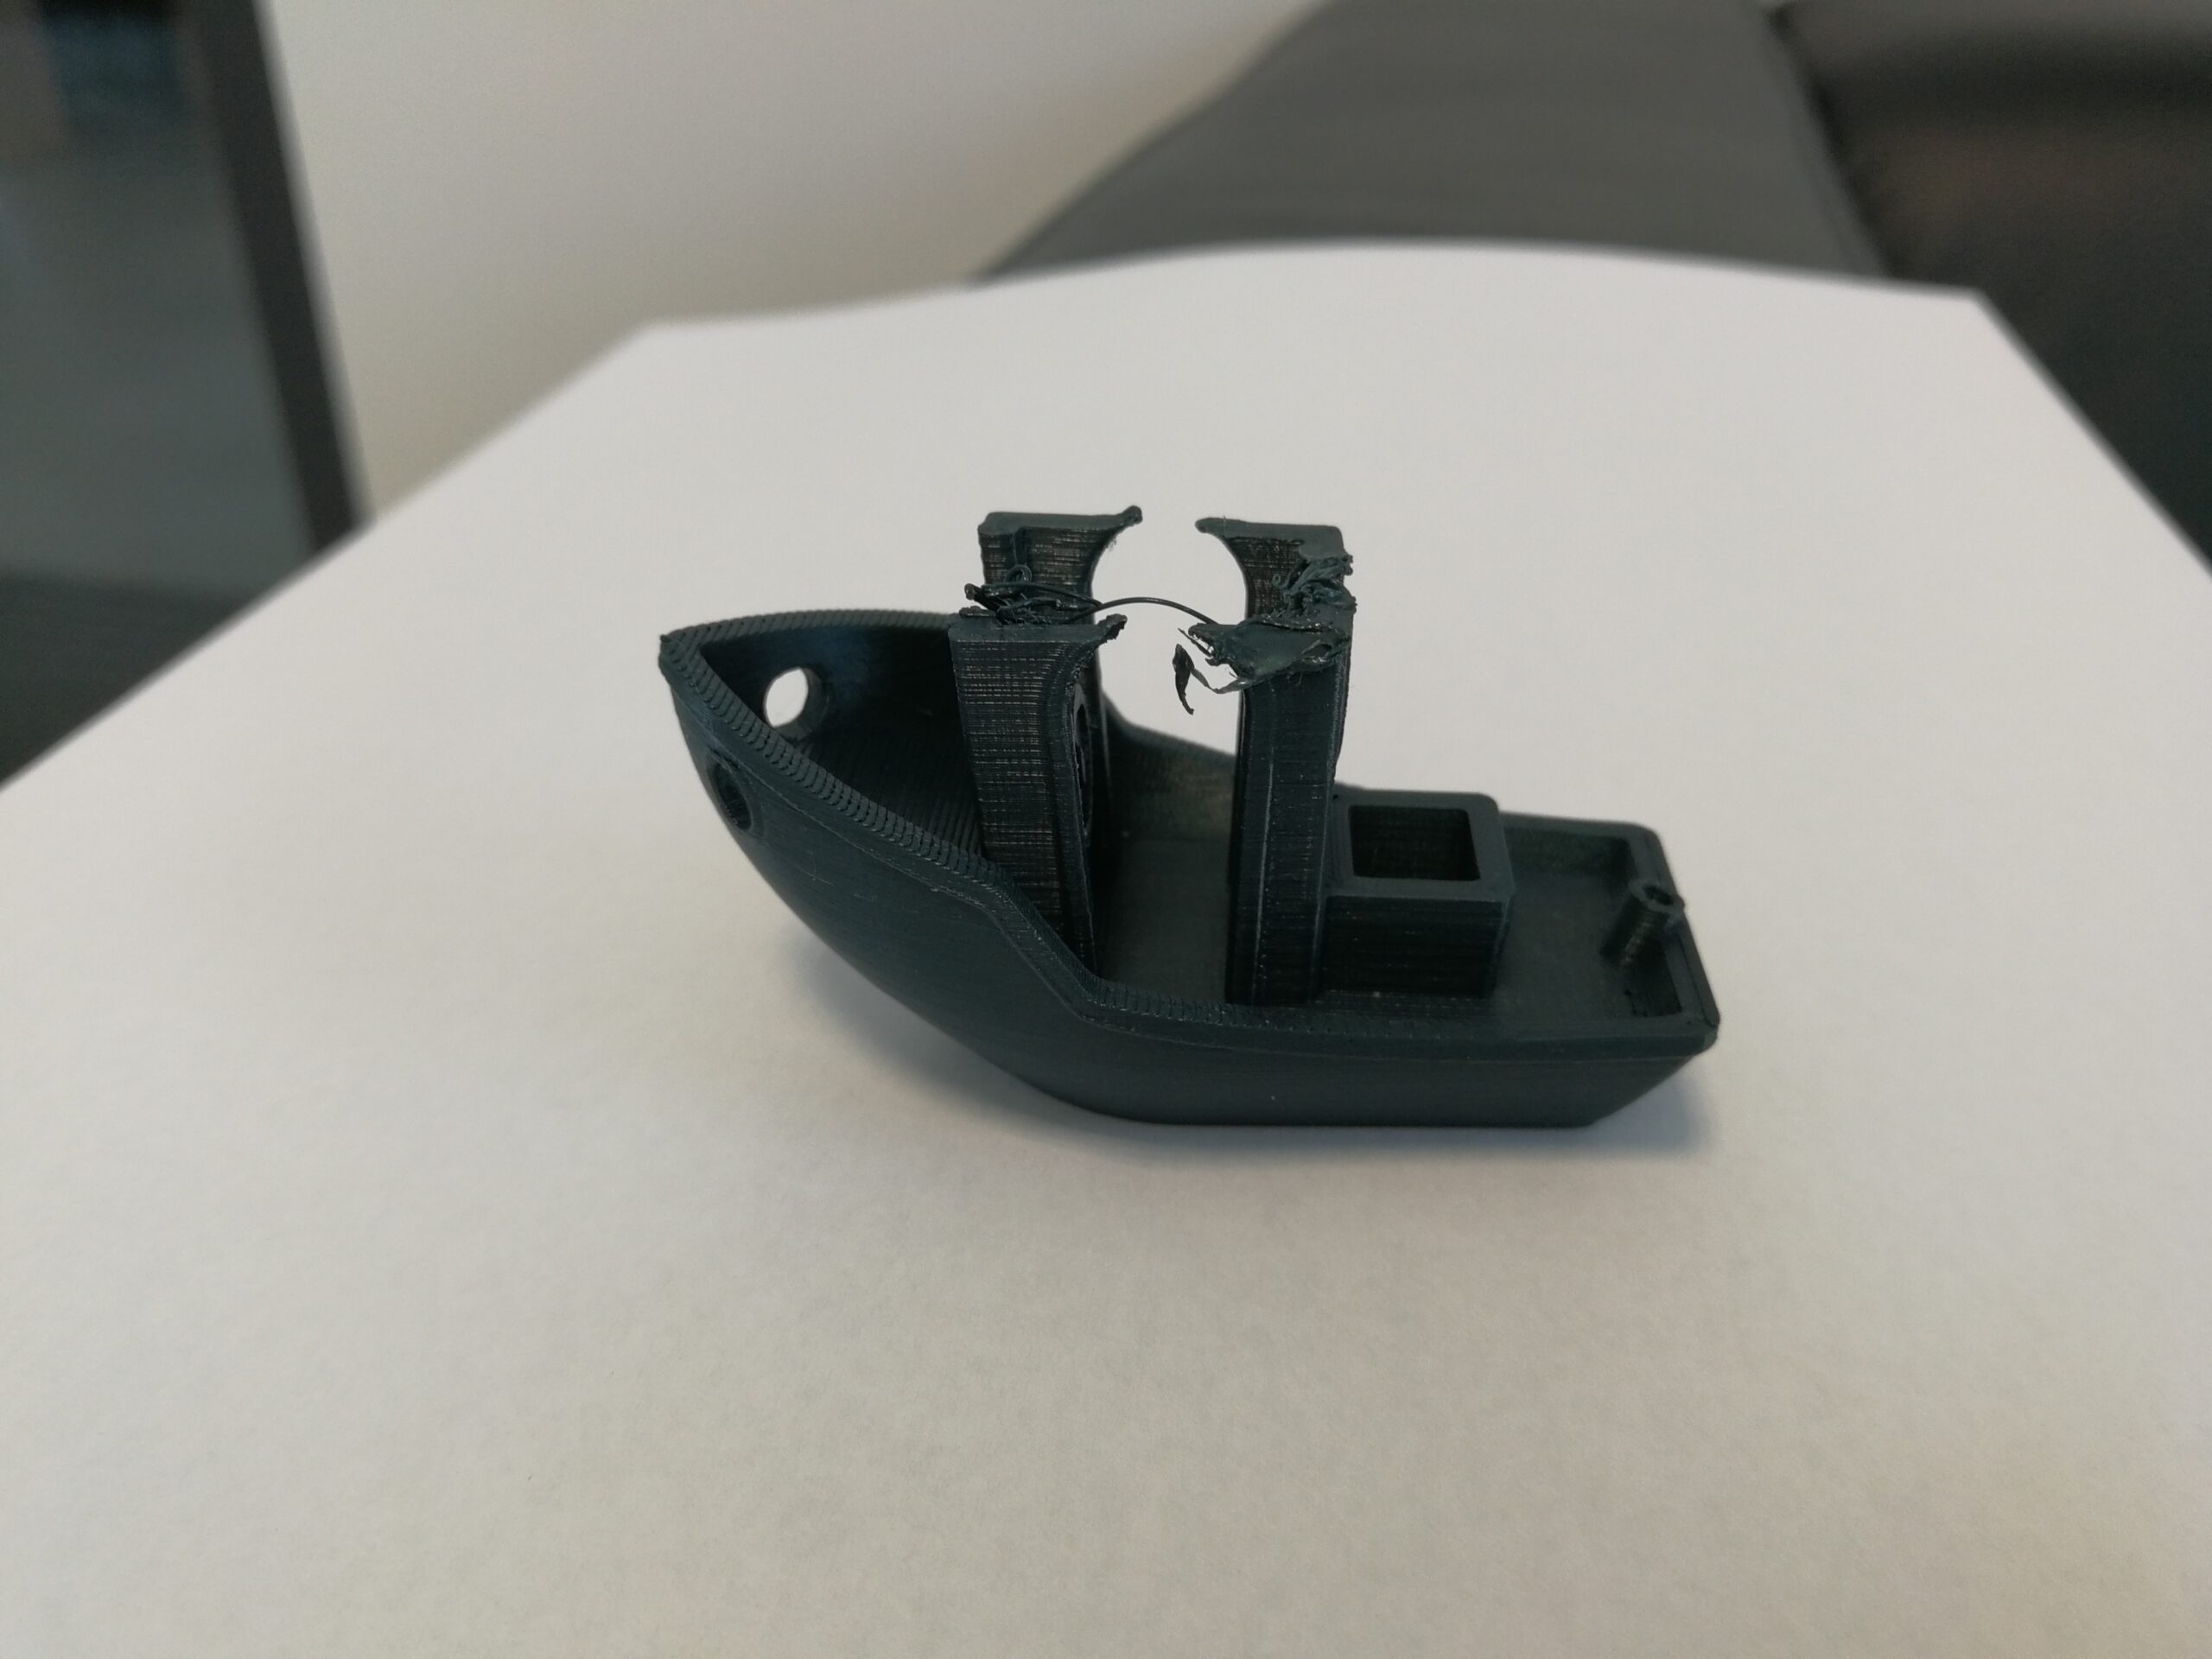
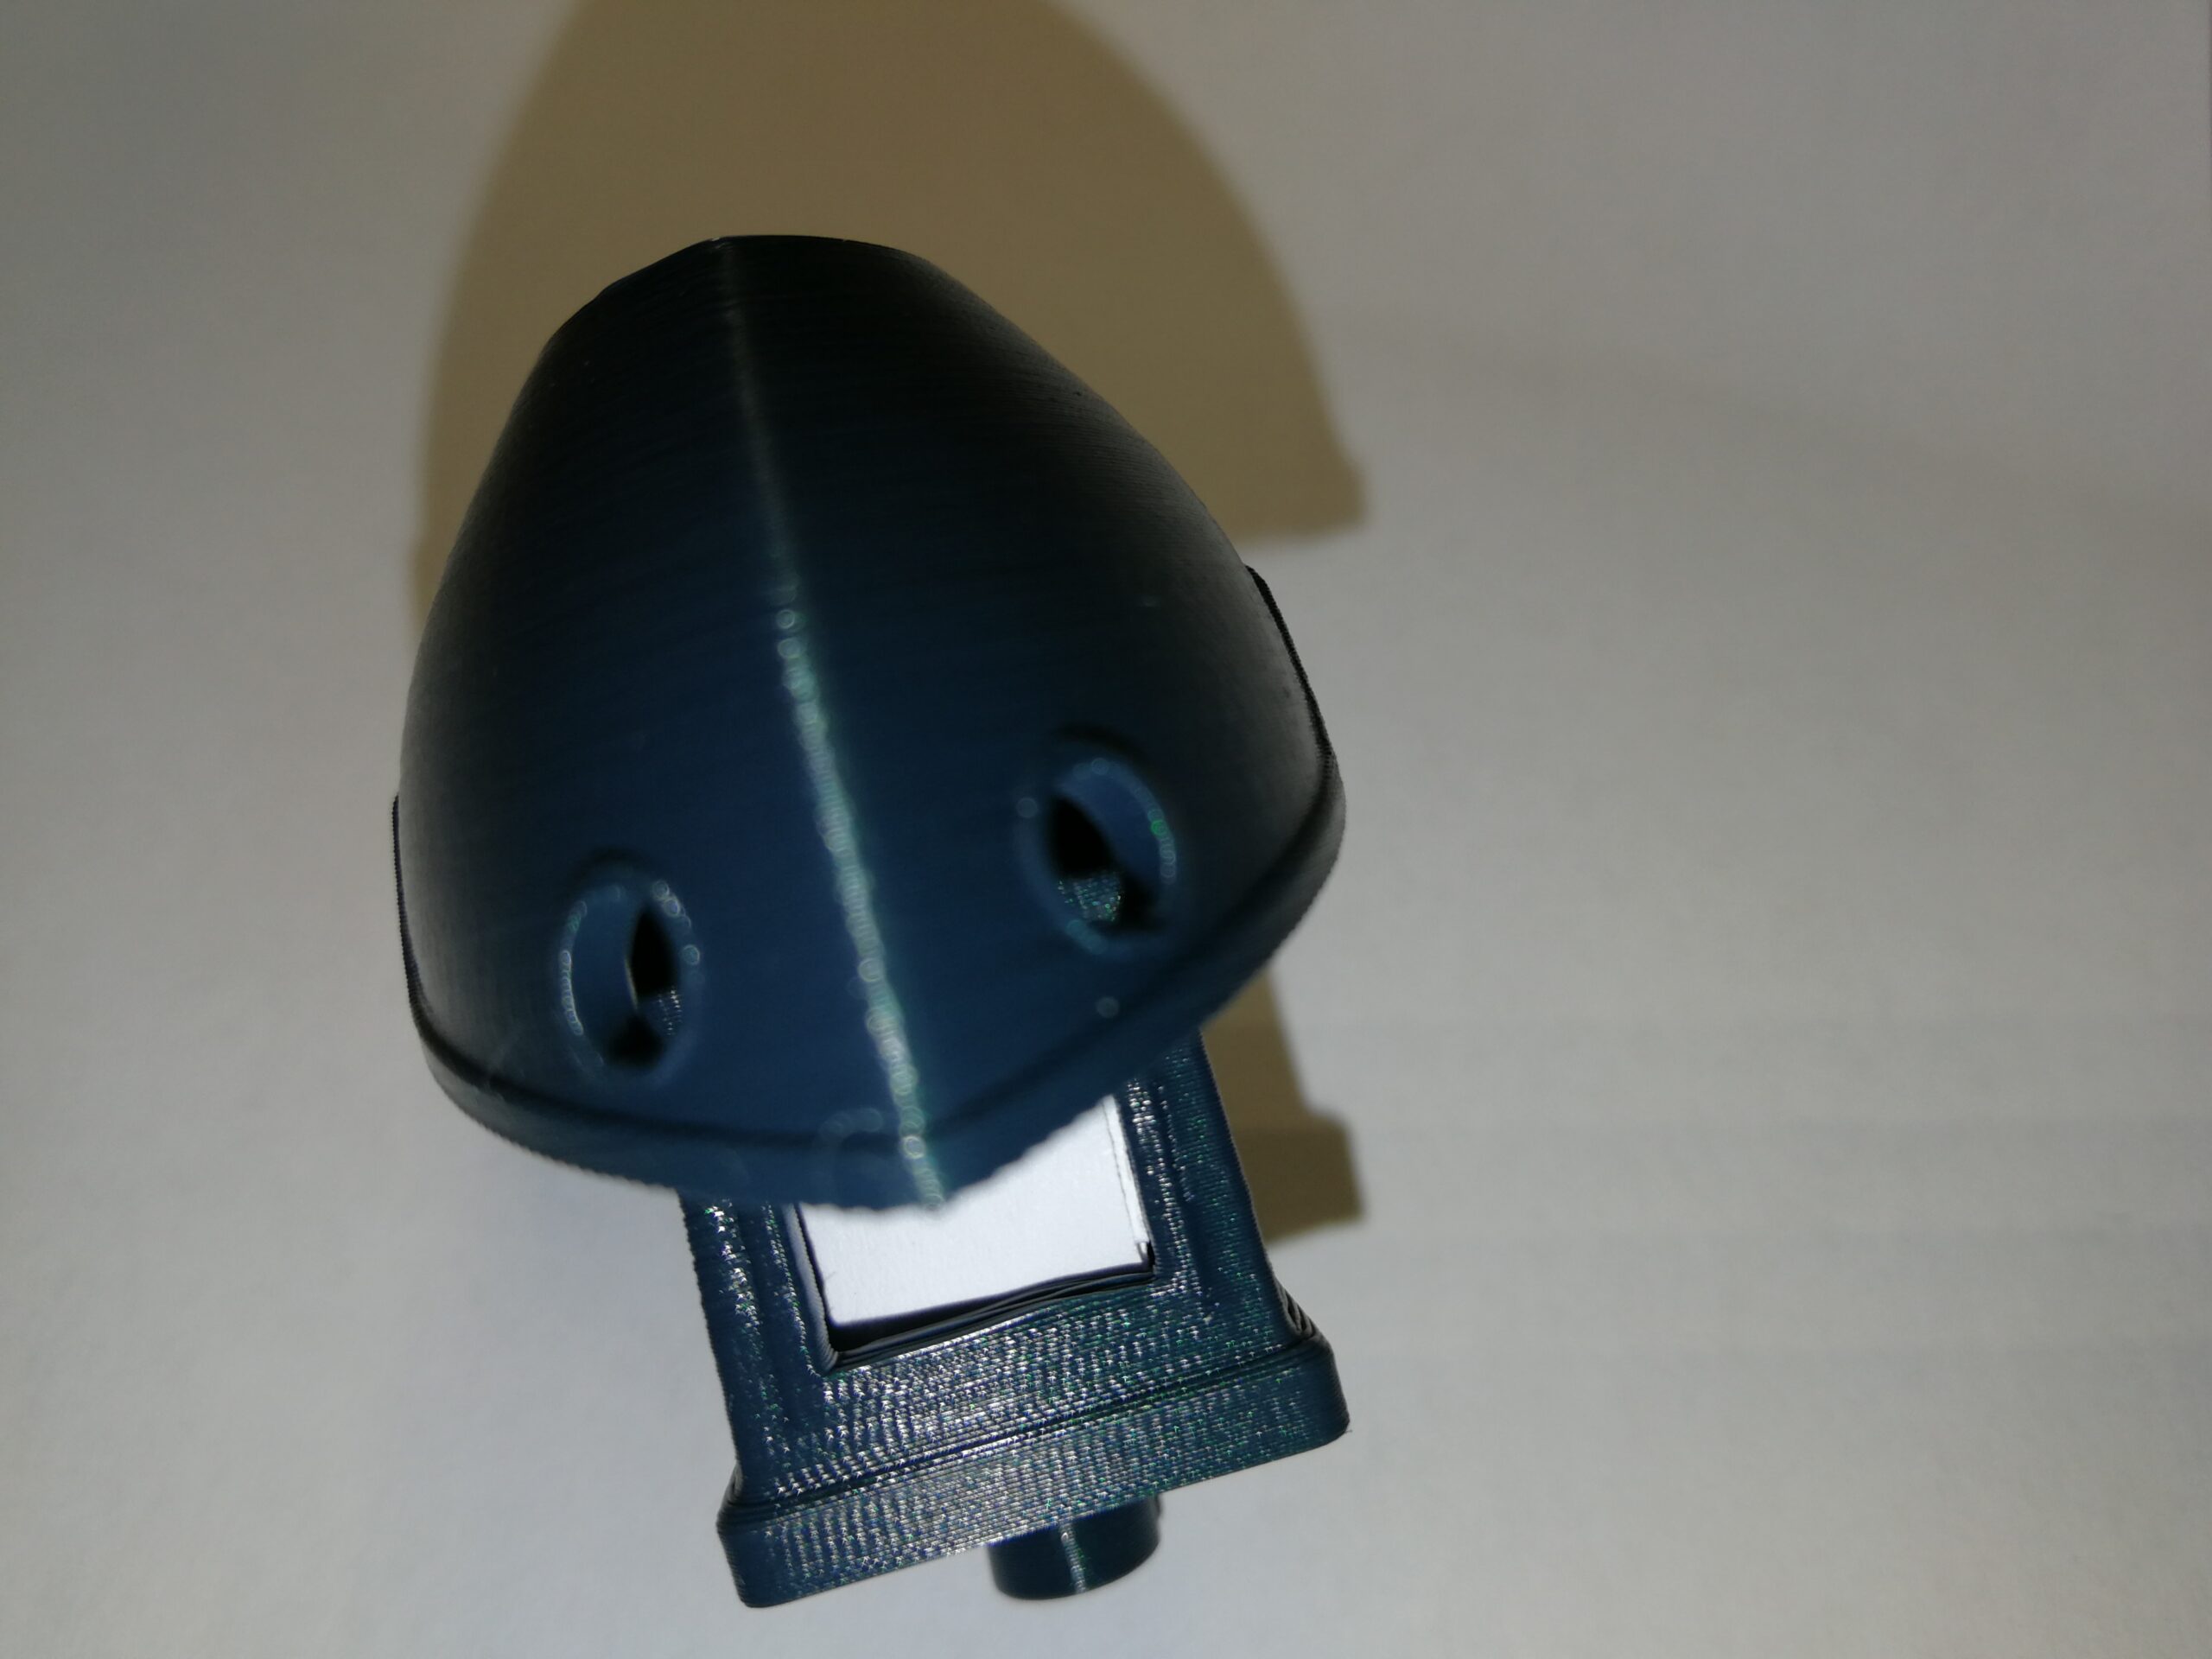
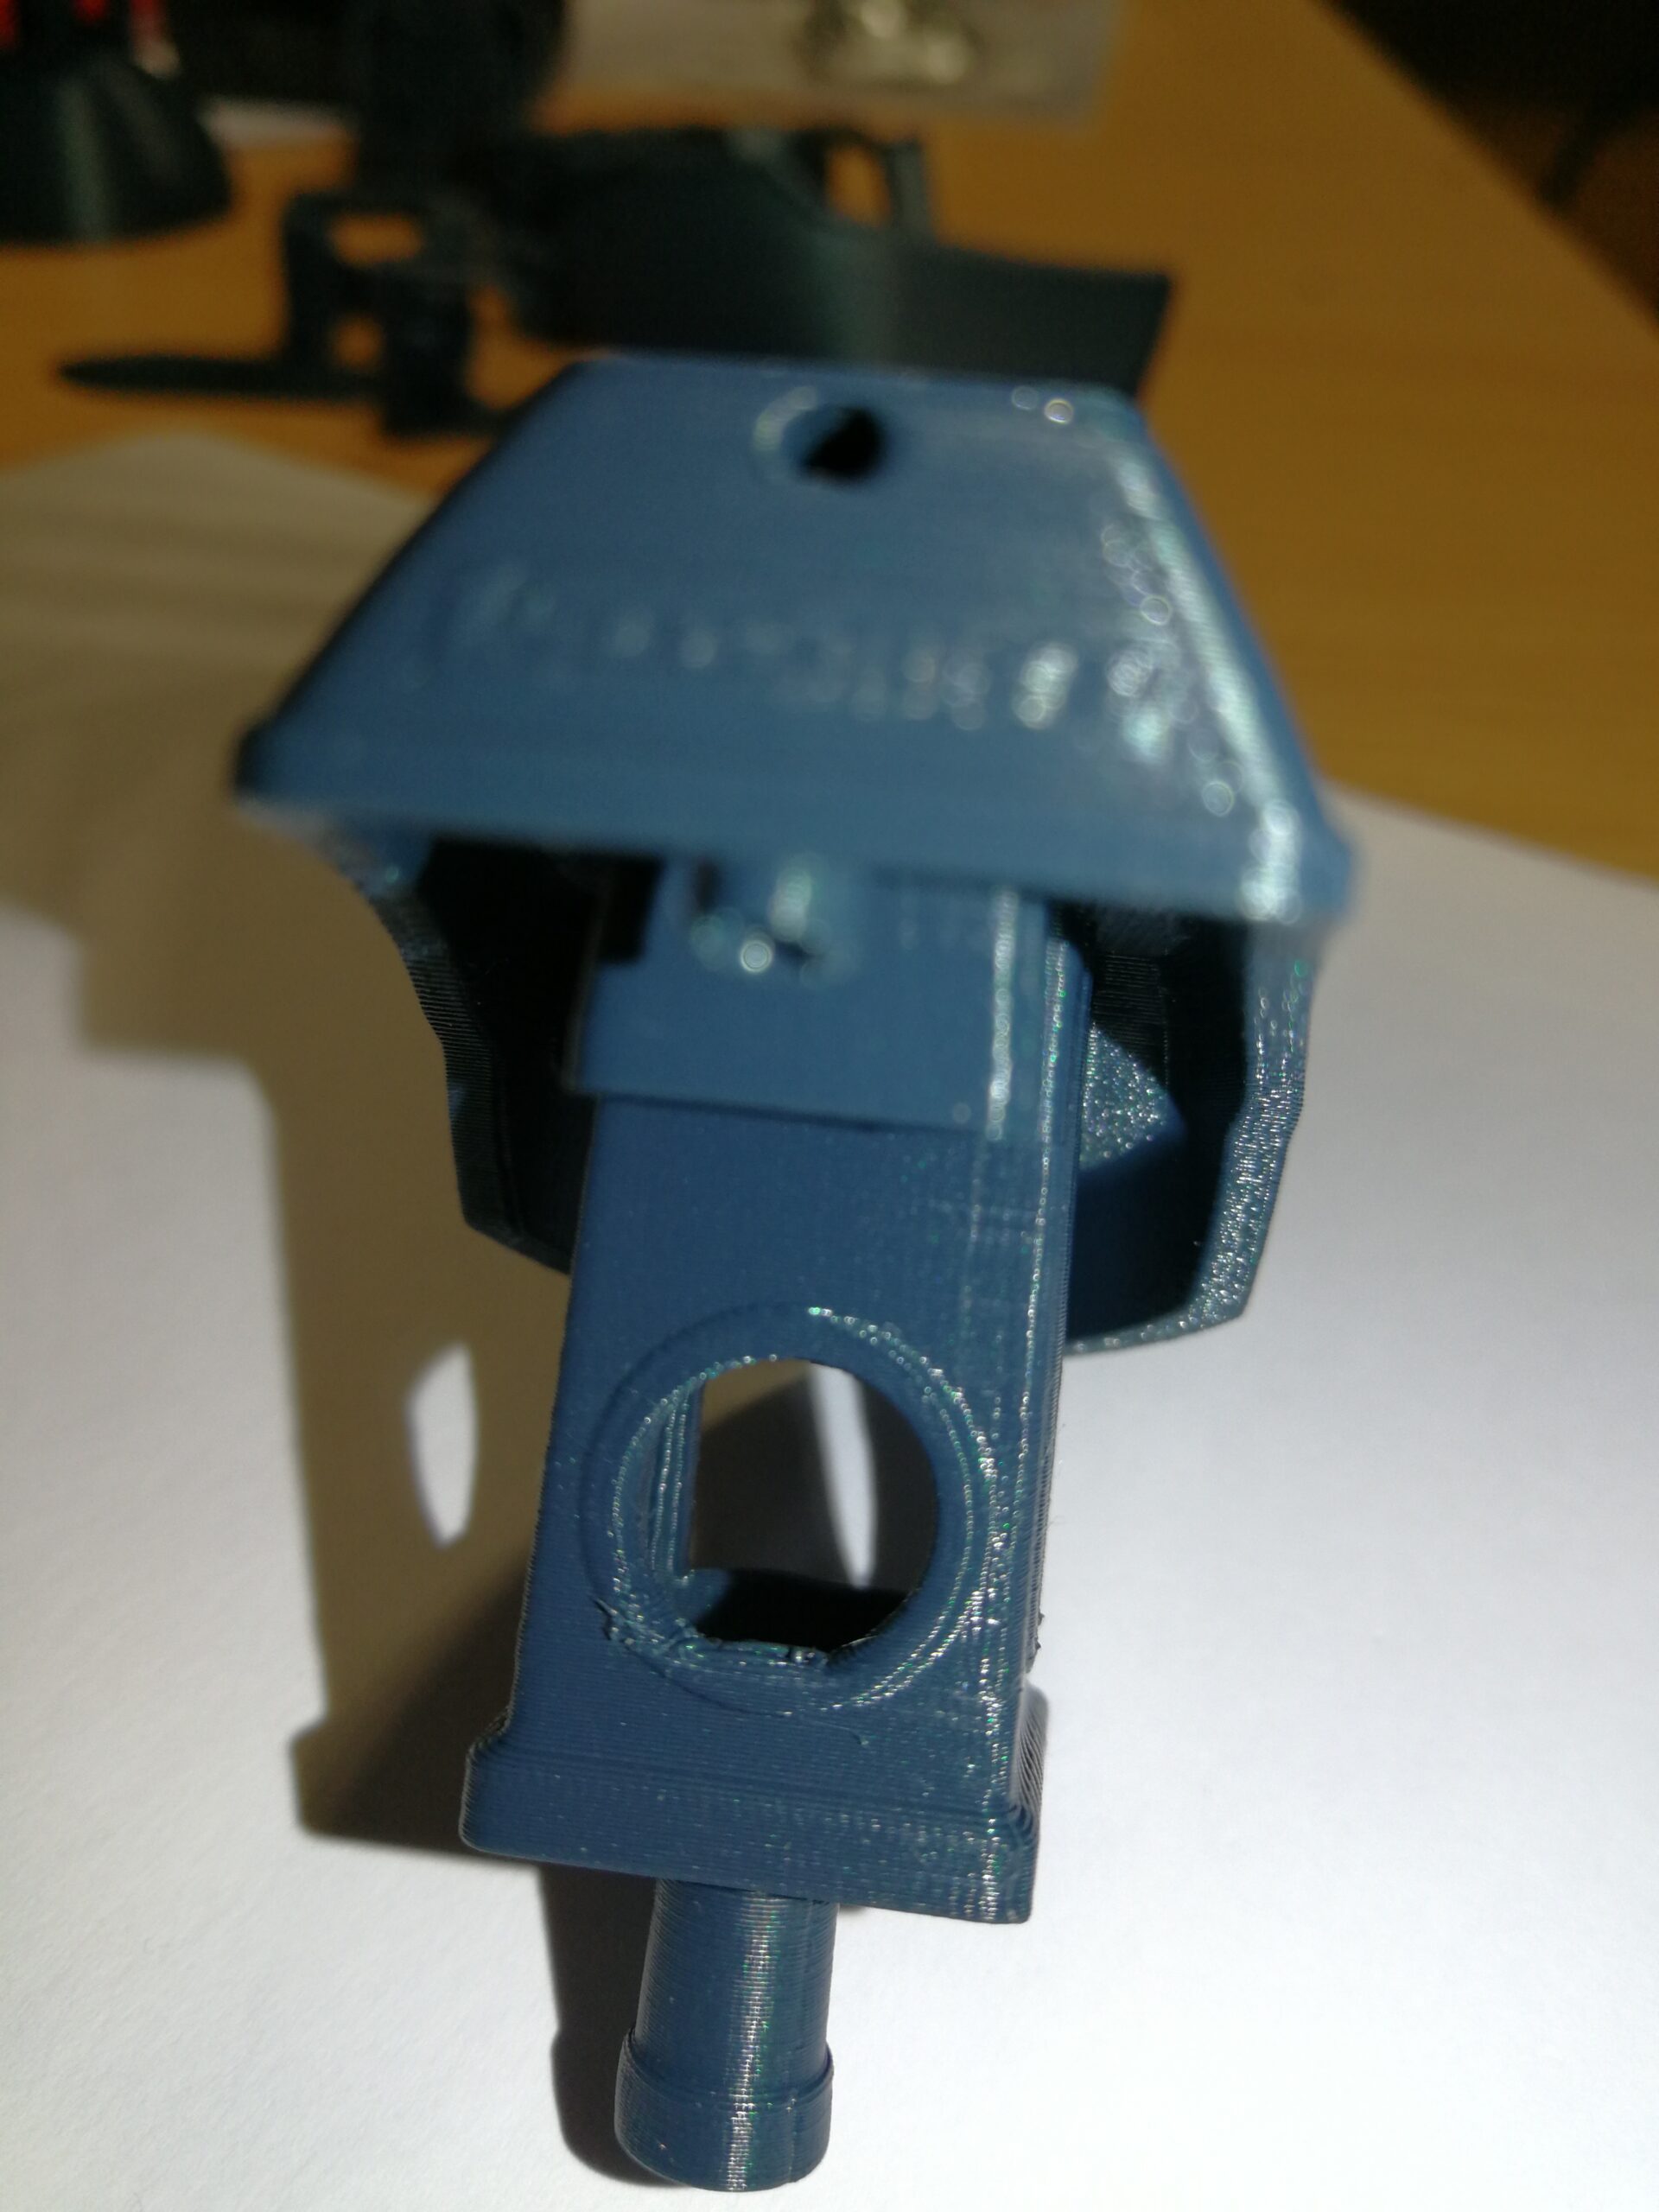
The last attempt is to add half a sphere to the model to get a larger base area without inscriptions. Successful printing, but there are "bumps" in the overhangs (photos).
As i understand from the readings of the threads with this problem, the nozzle hits the model when printing overhangs and it is related to the cooling down speed of the filament. After increasing the surface of the first layer, the hit still occurs, but with increased adhesion, it does not break free the model from the print bed.
What can i do to be able to print the original Benchy model without break free the model from the print bed and with nice overhangs?
I will add that i am using the original Prusa print bed.
Best Answer by sylviatrilling:
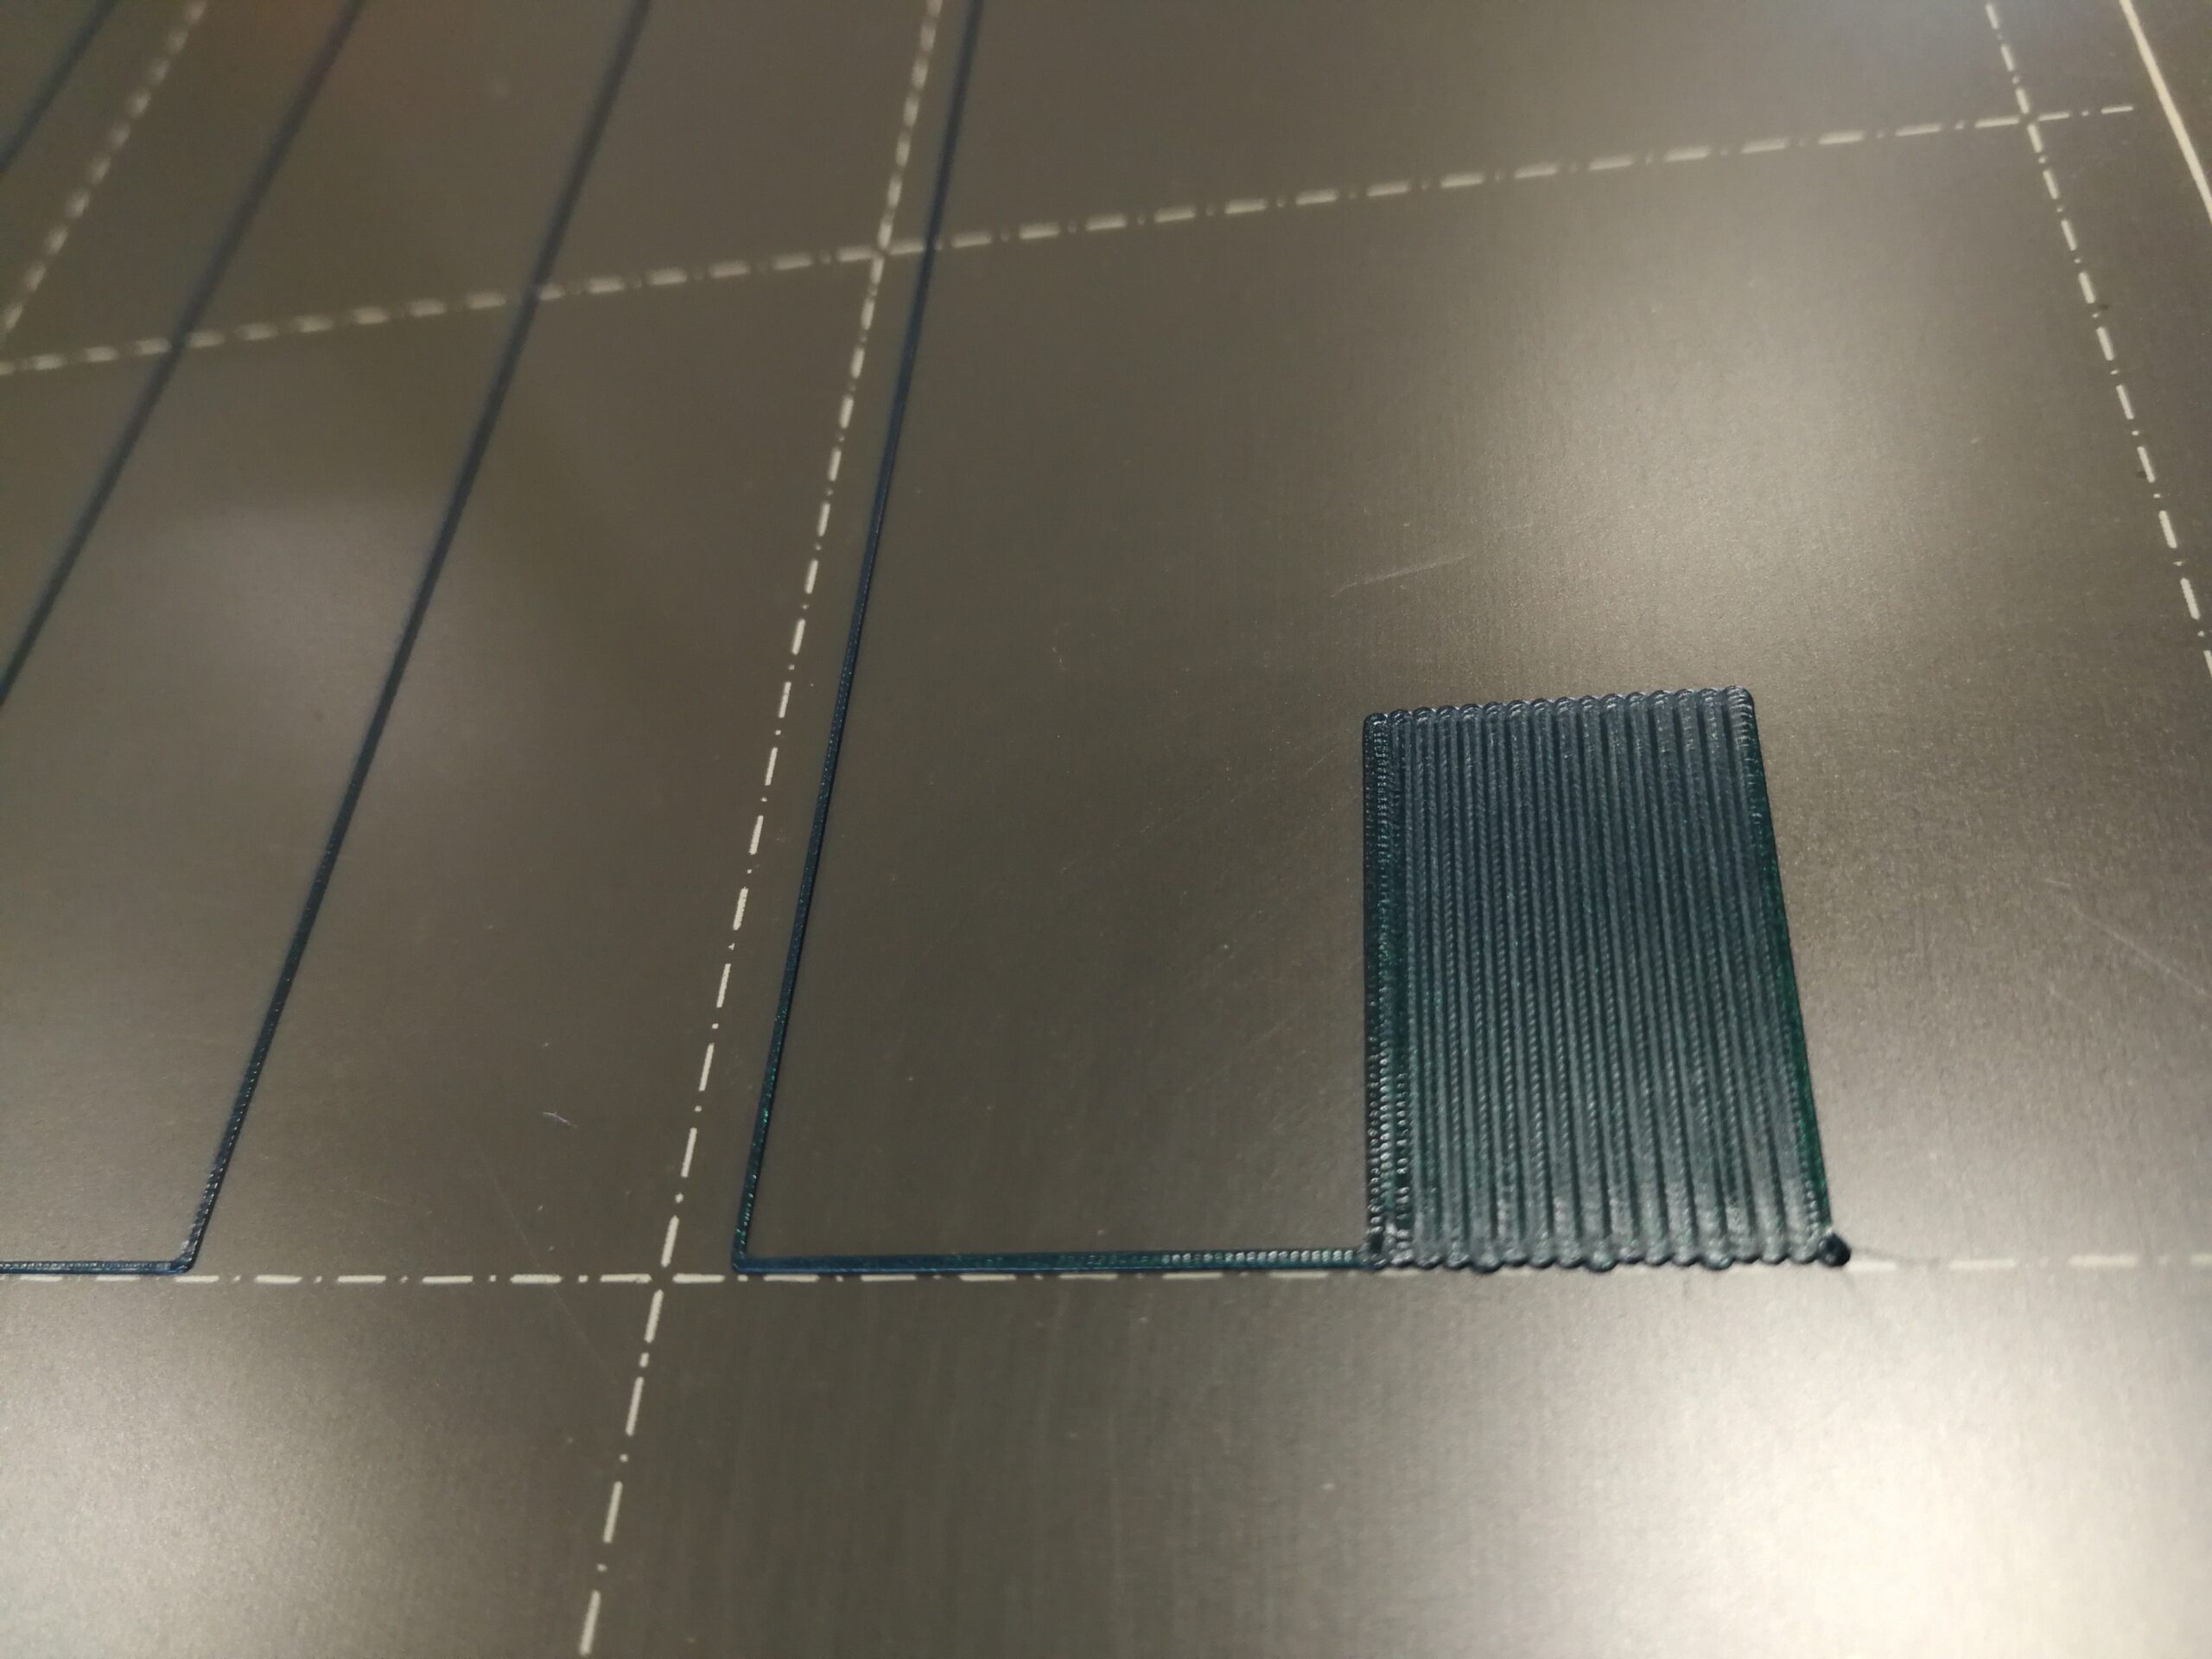
Thanks for posting the pix which confirm my first guess. Your first layer calibration is putting your nozzle too high. It is essential to get this dialed in correctly. No amount of glue stick or changing other parameters will compensate for a nozzle that is too high. This picture shows what you are aiming for. Notice how the lines of extrusion snug up to the perimeter?
RE: 3D Benchy - how to get sufficient adhesion or better overhang without a collision
Does the gallery i added work? It is invisible to me
RE: 3D Benchy - how to get sufficient adhesion or better overhang without a collision
Chances are your adhesion issue is due to your first layer calibration putting your nozzle too high and not giving the first layer enough squish against the bed. Please run a first layer calibration and post a picture of your results by hitting the "Add Media" button which is above the text box for the comment.
Mk3S+,SL1S
RE: 3D Benchy - how to get sufficient adhesion or better overhang without a collision
...Or if you prefer, post a picture of the BOTTOM of the Benchy that did not adhere.
Mk3S+,SL1S
RE: 3D Benchy - how to get sufficient adhesion or better overhang without a collision


RE: 3D Benchy - how to get sufficient adhesion or better overhang without a collision
Thanks for posting the pix which confirm my first guess. Your first layer calibration is putting your nozzle too high. It is essential to get this dialed in correctly. No amount of glue stick or changing other parameters will compensate for a nozzle that is too high. This picture shows what you are aiming for. Notice how the lines of extrusion snug up to the perimeter?
Mk3S+,SL1S
RE: 3D Benchy - how to get sufficient adhesion or better overhang without a collision
Thanks for the advice.
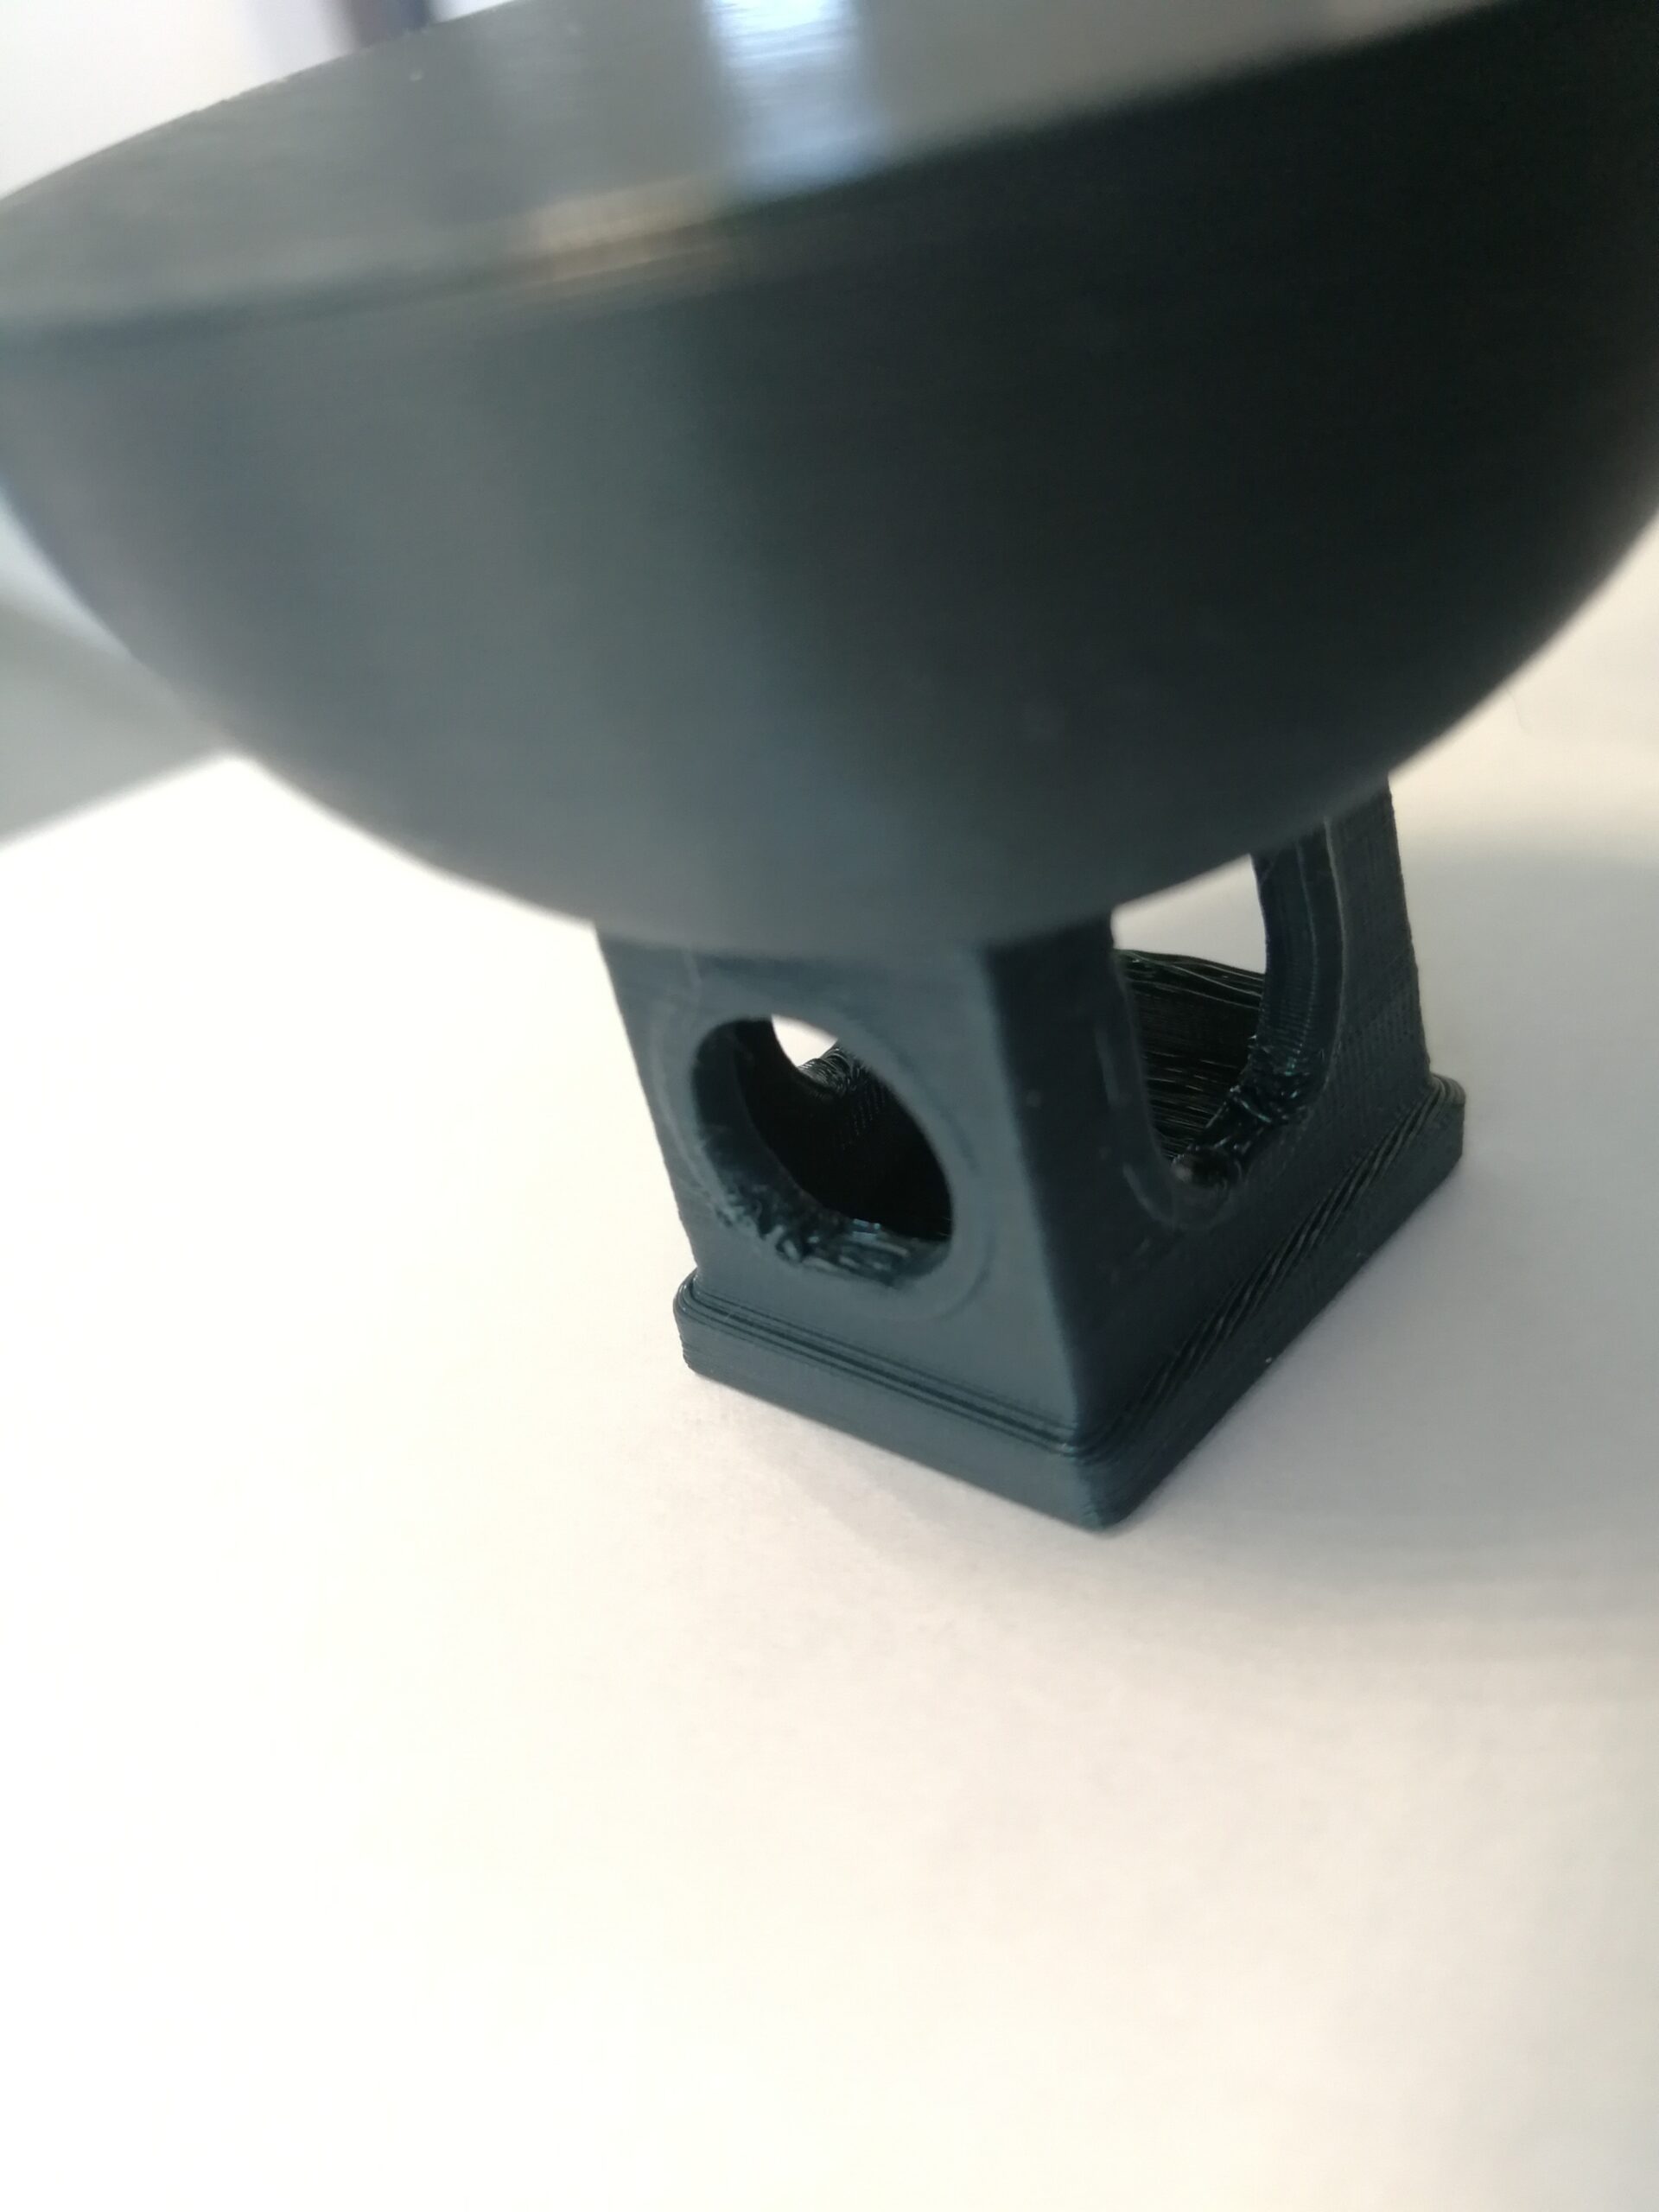
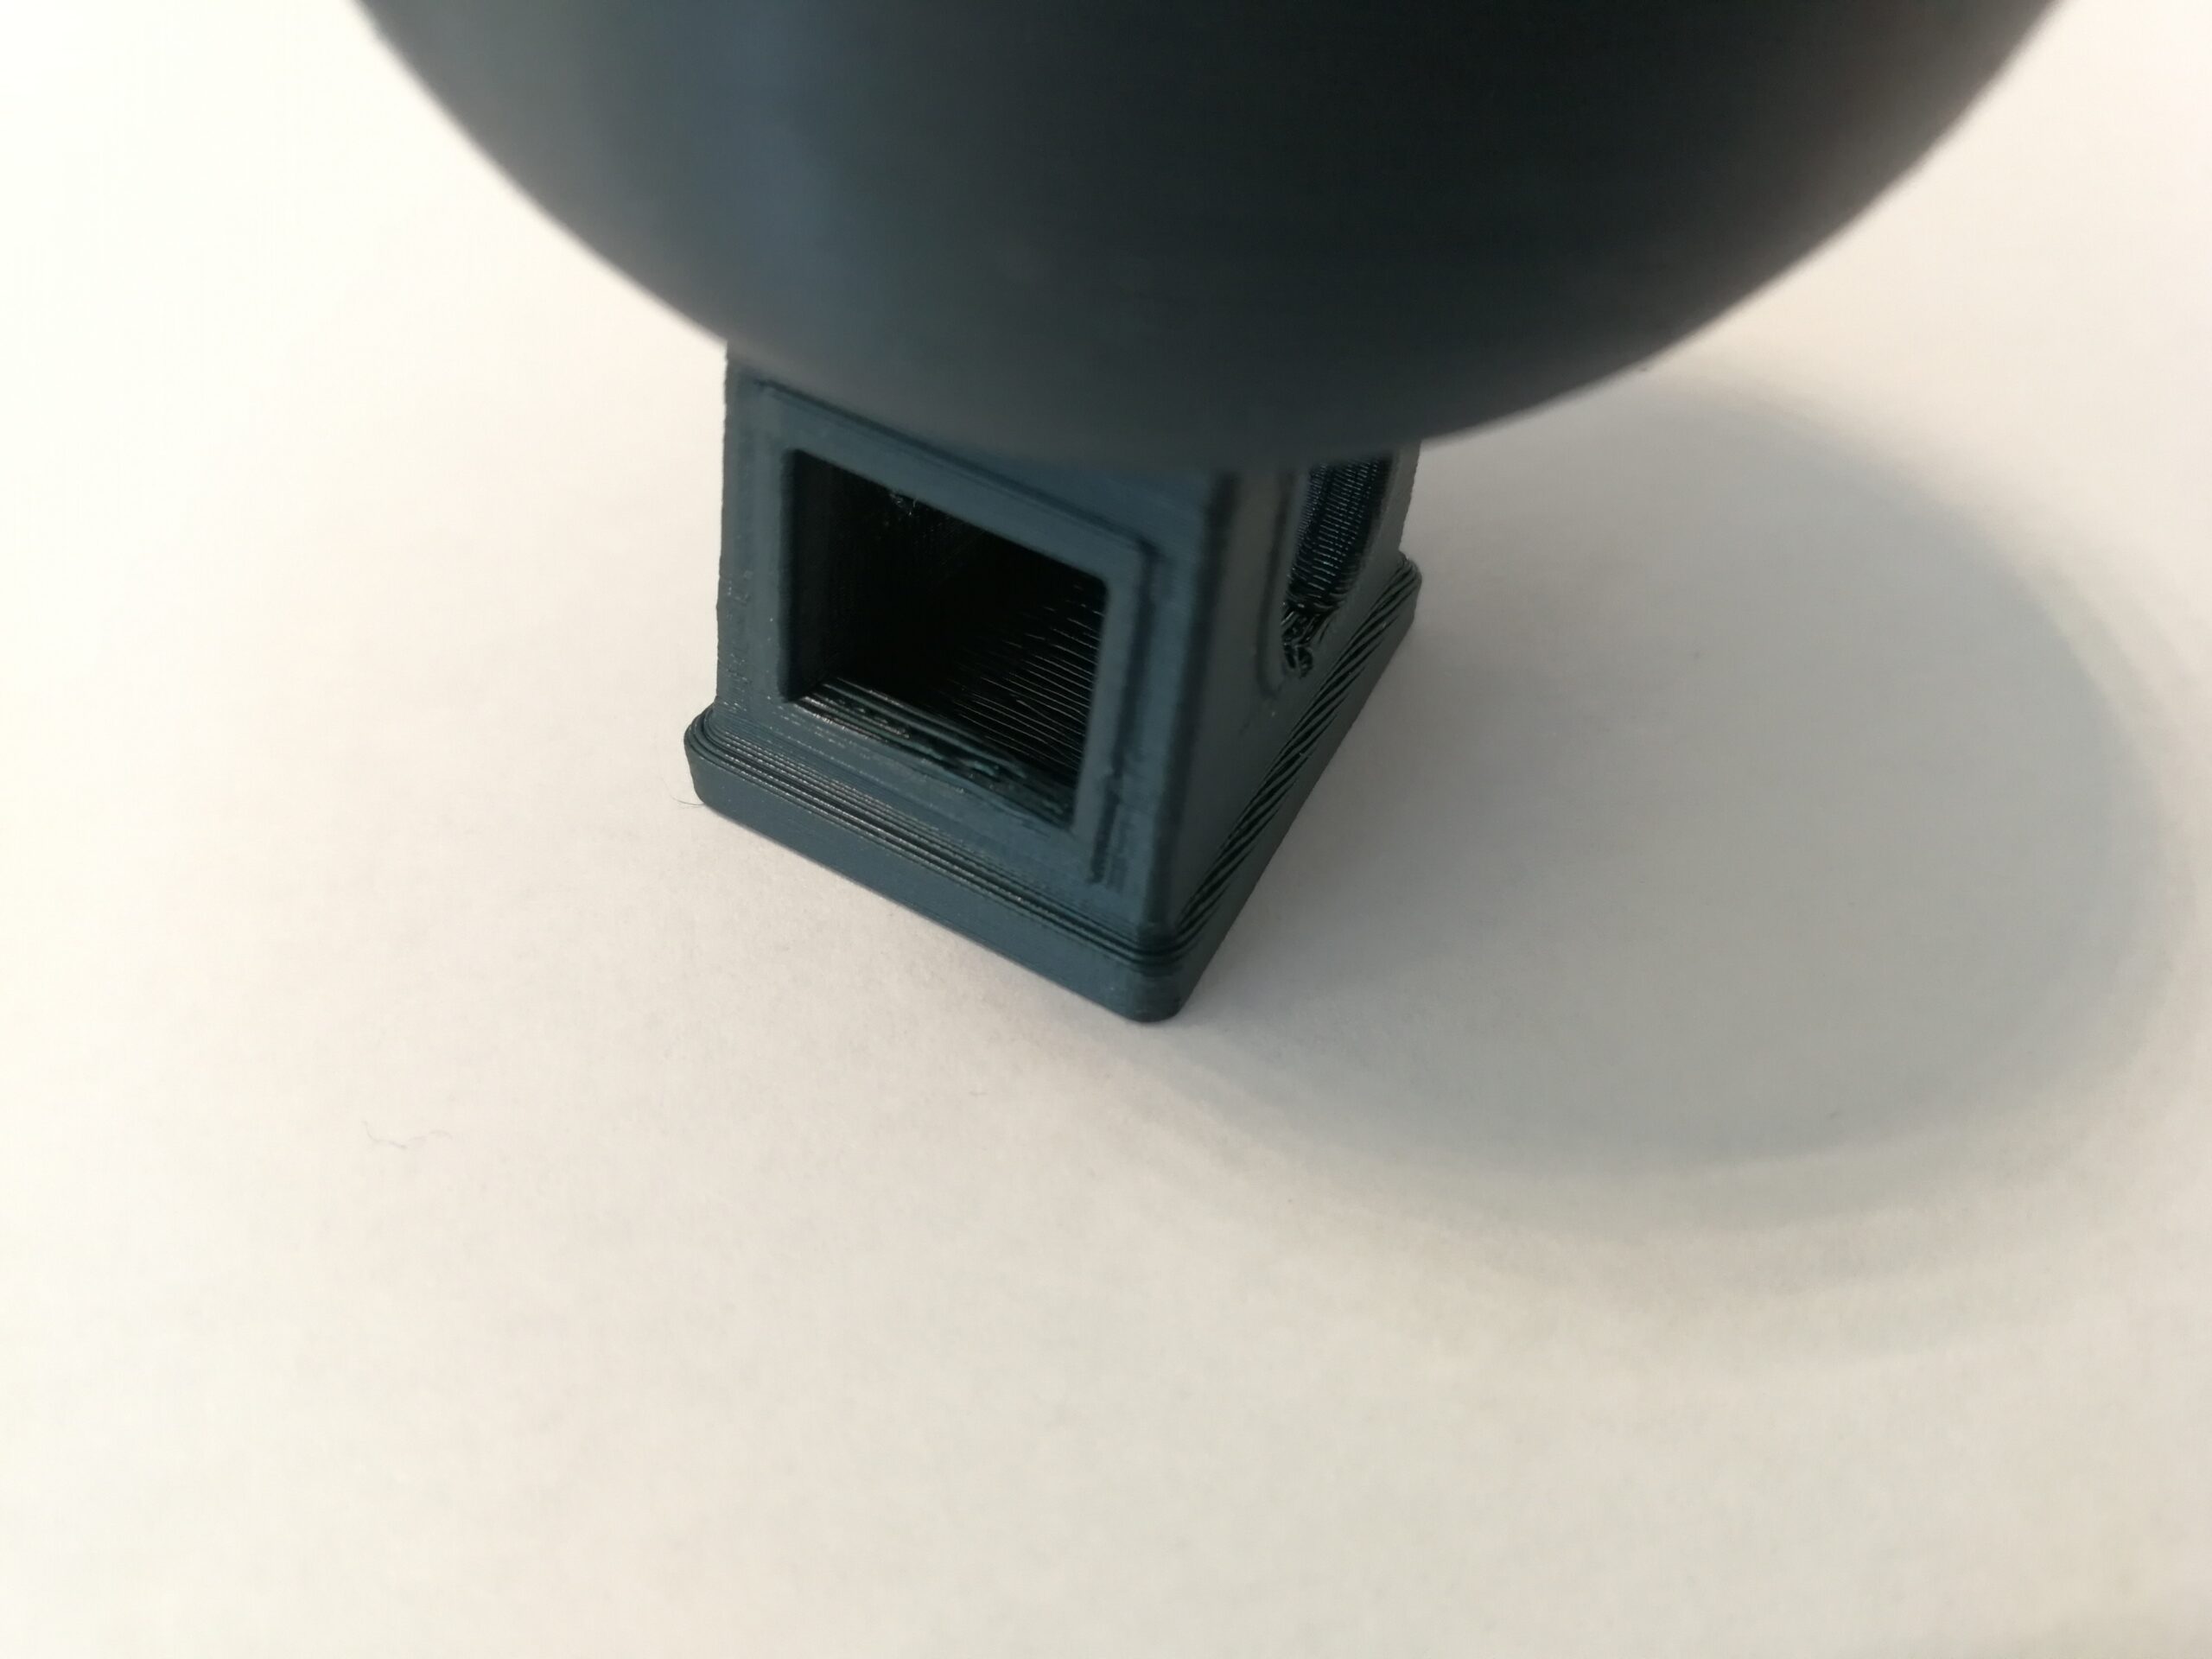
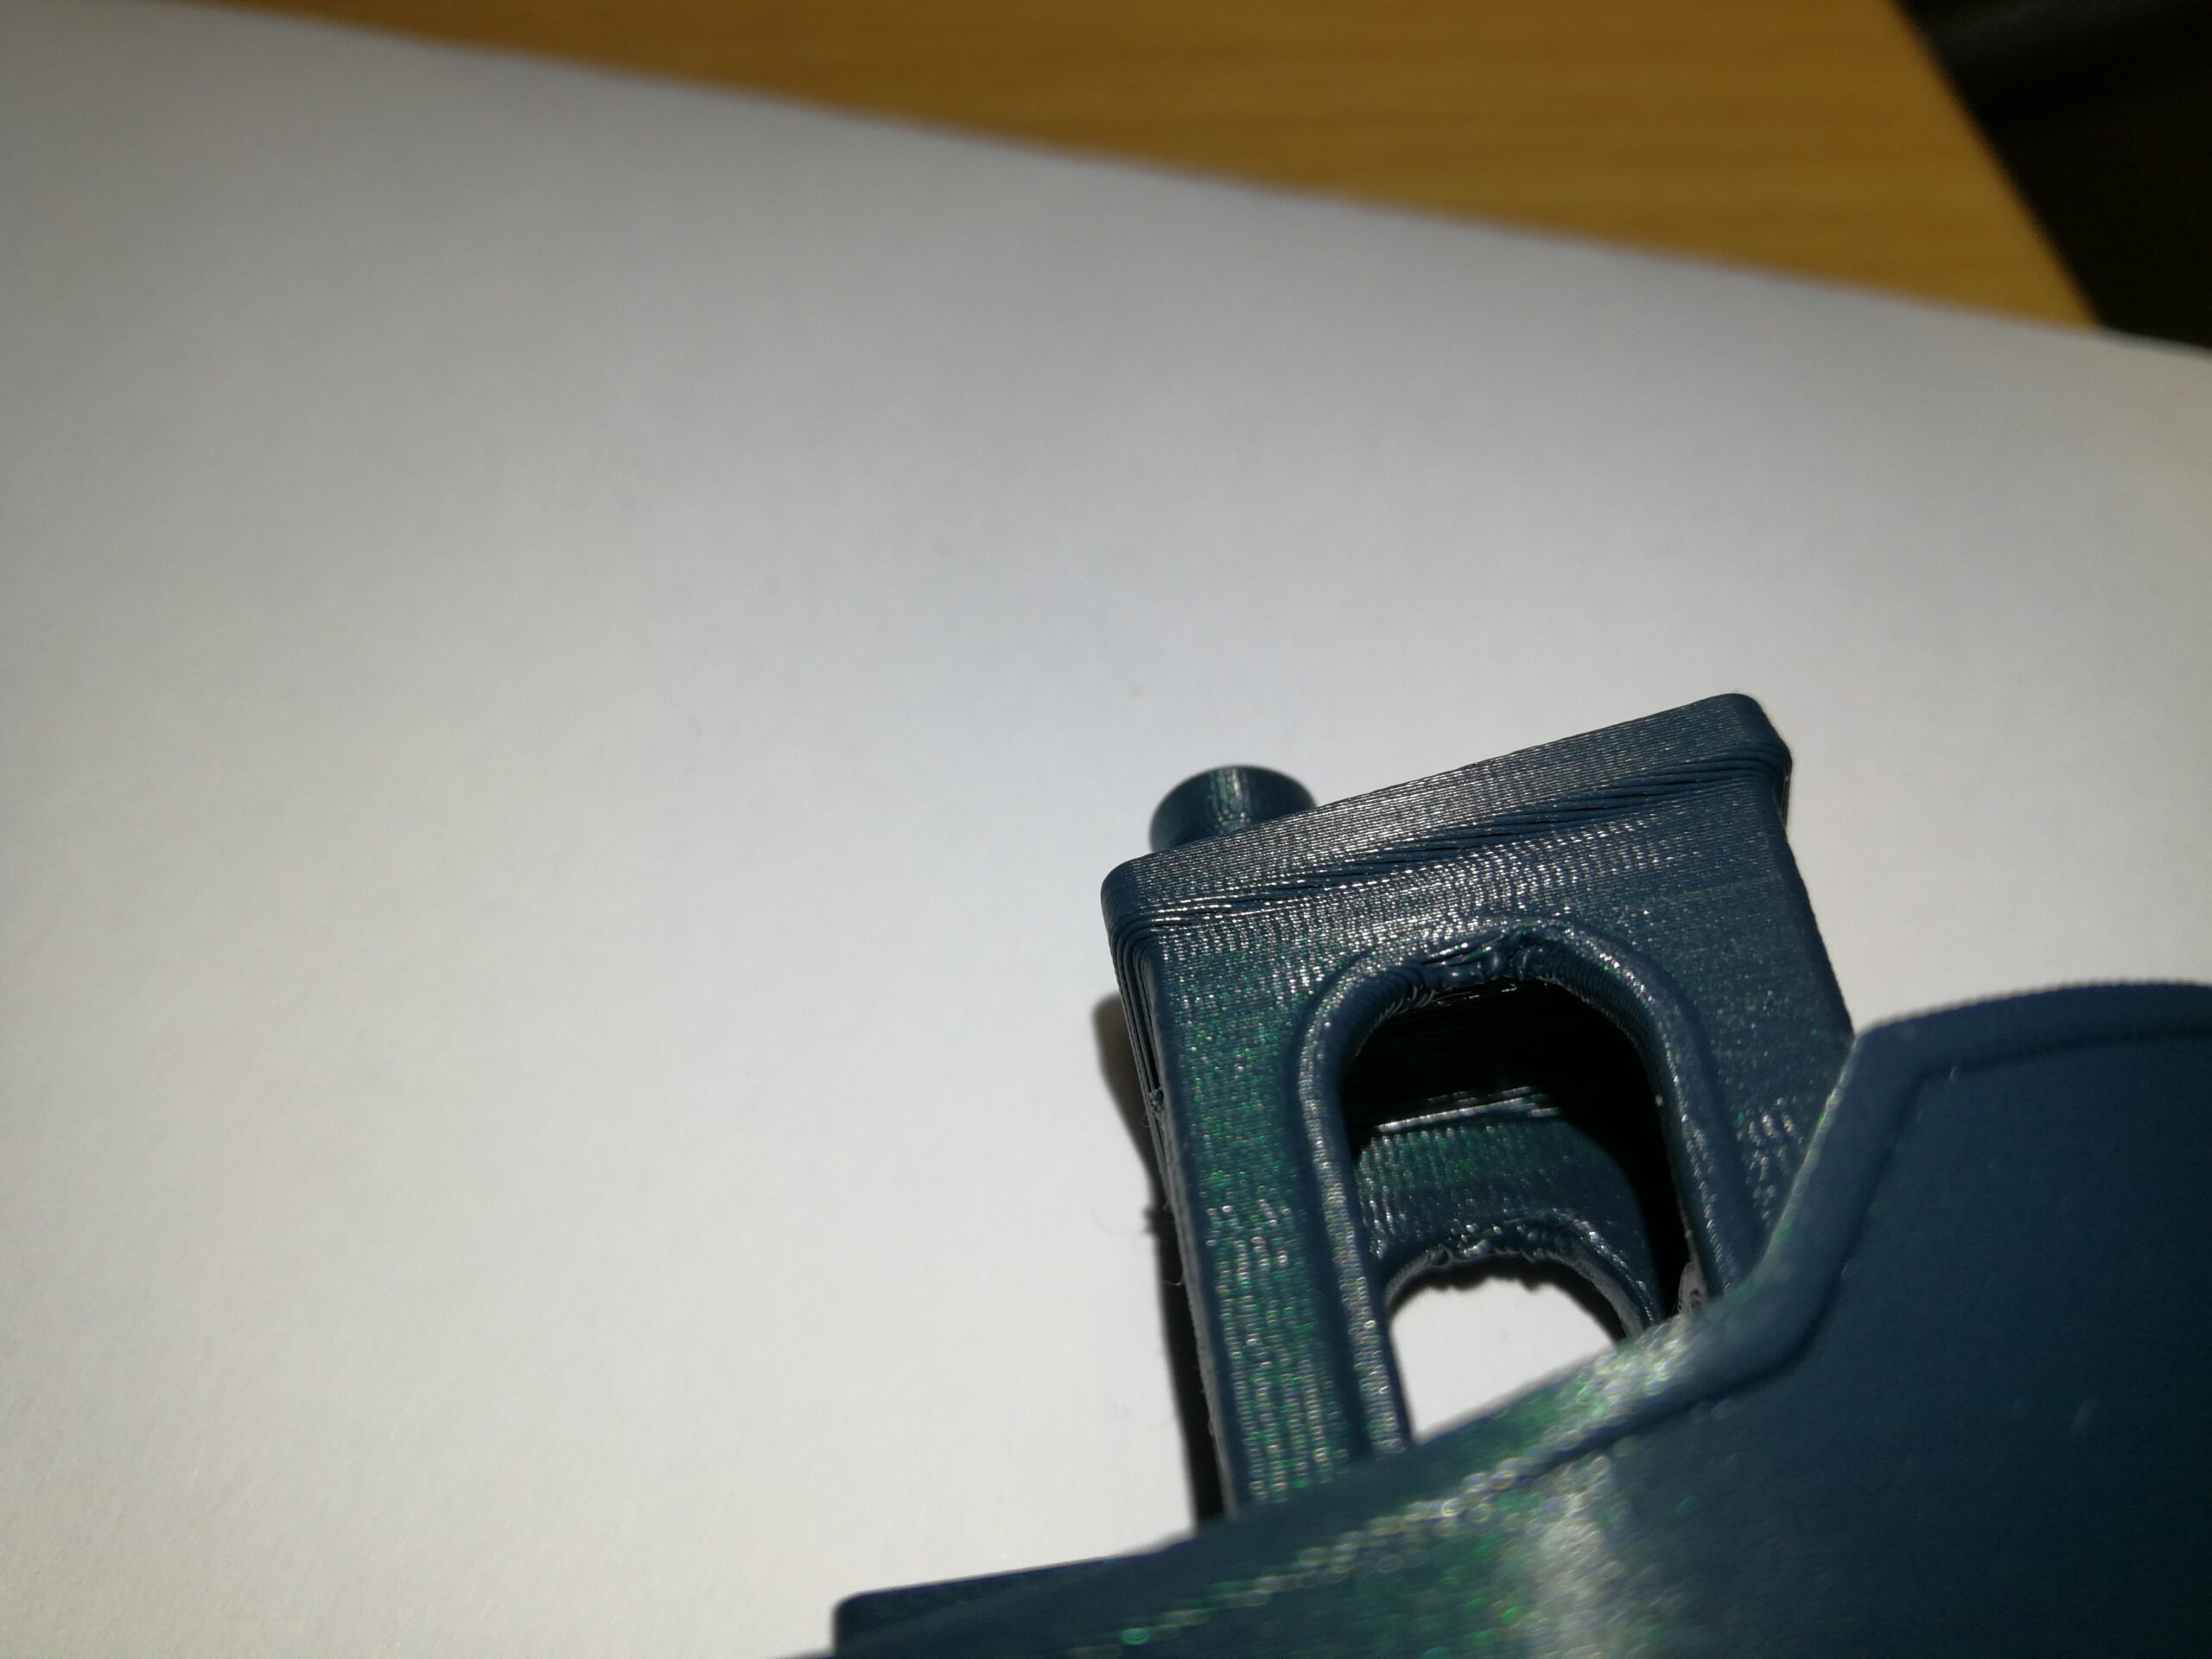
I don't know why there is such a difference between the benchy base and the full circle base - the sphere that i printed.
I thought the first layer calibration setup was fine.
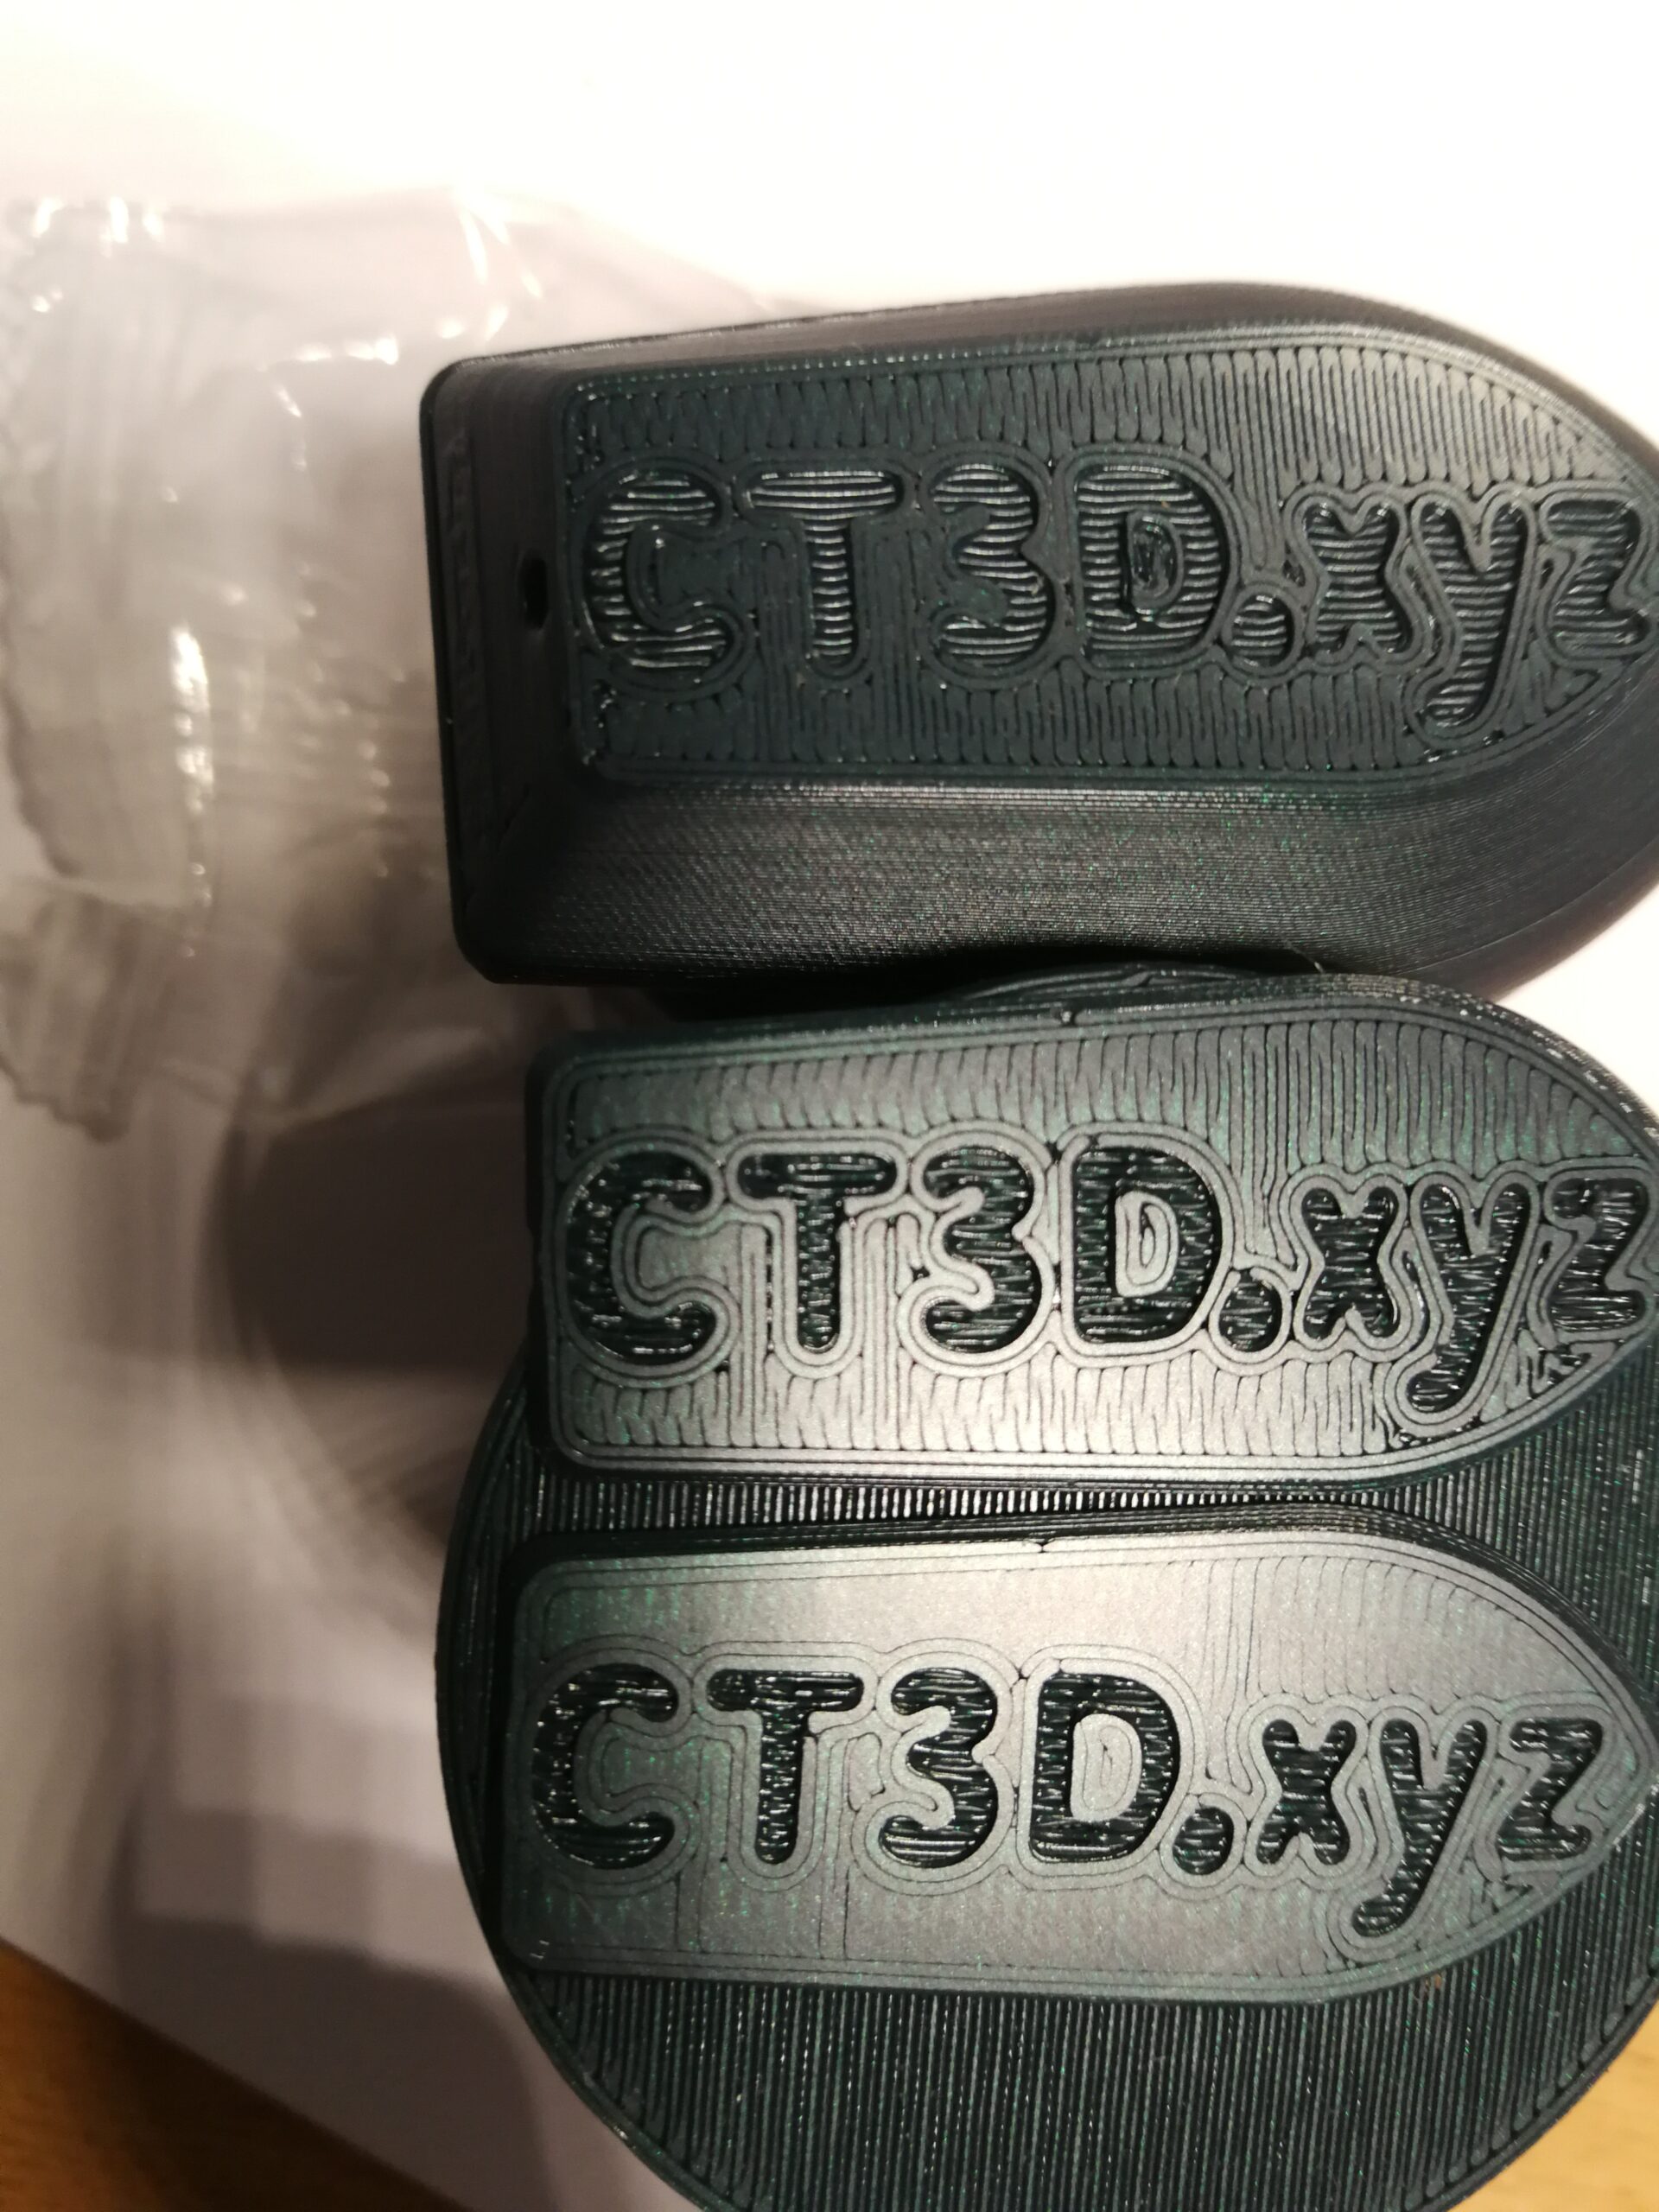
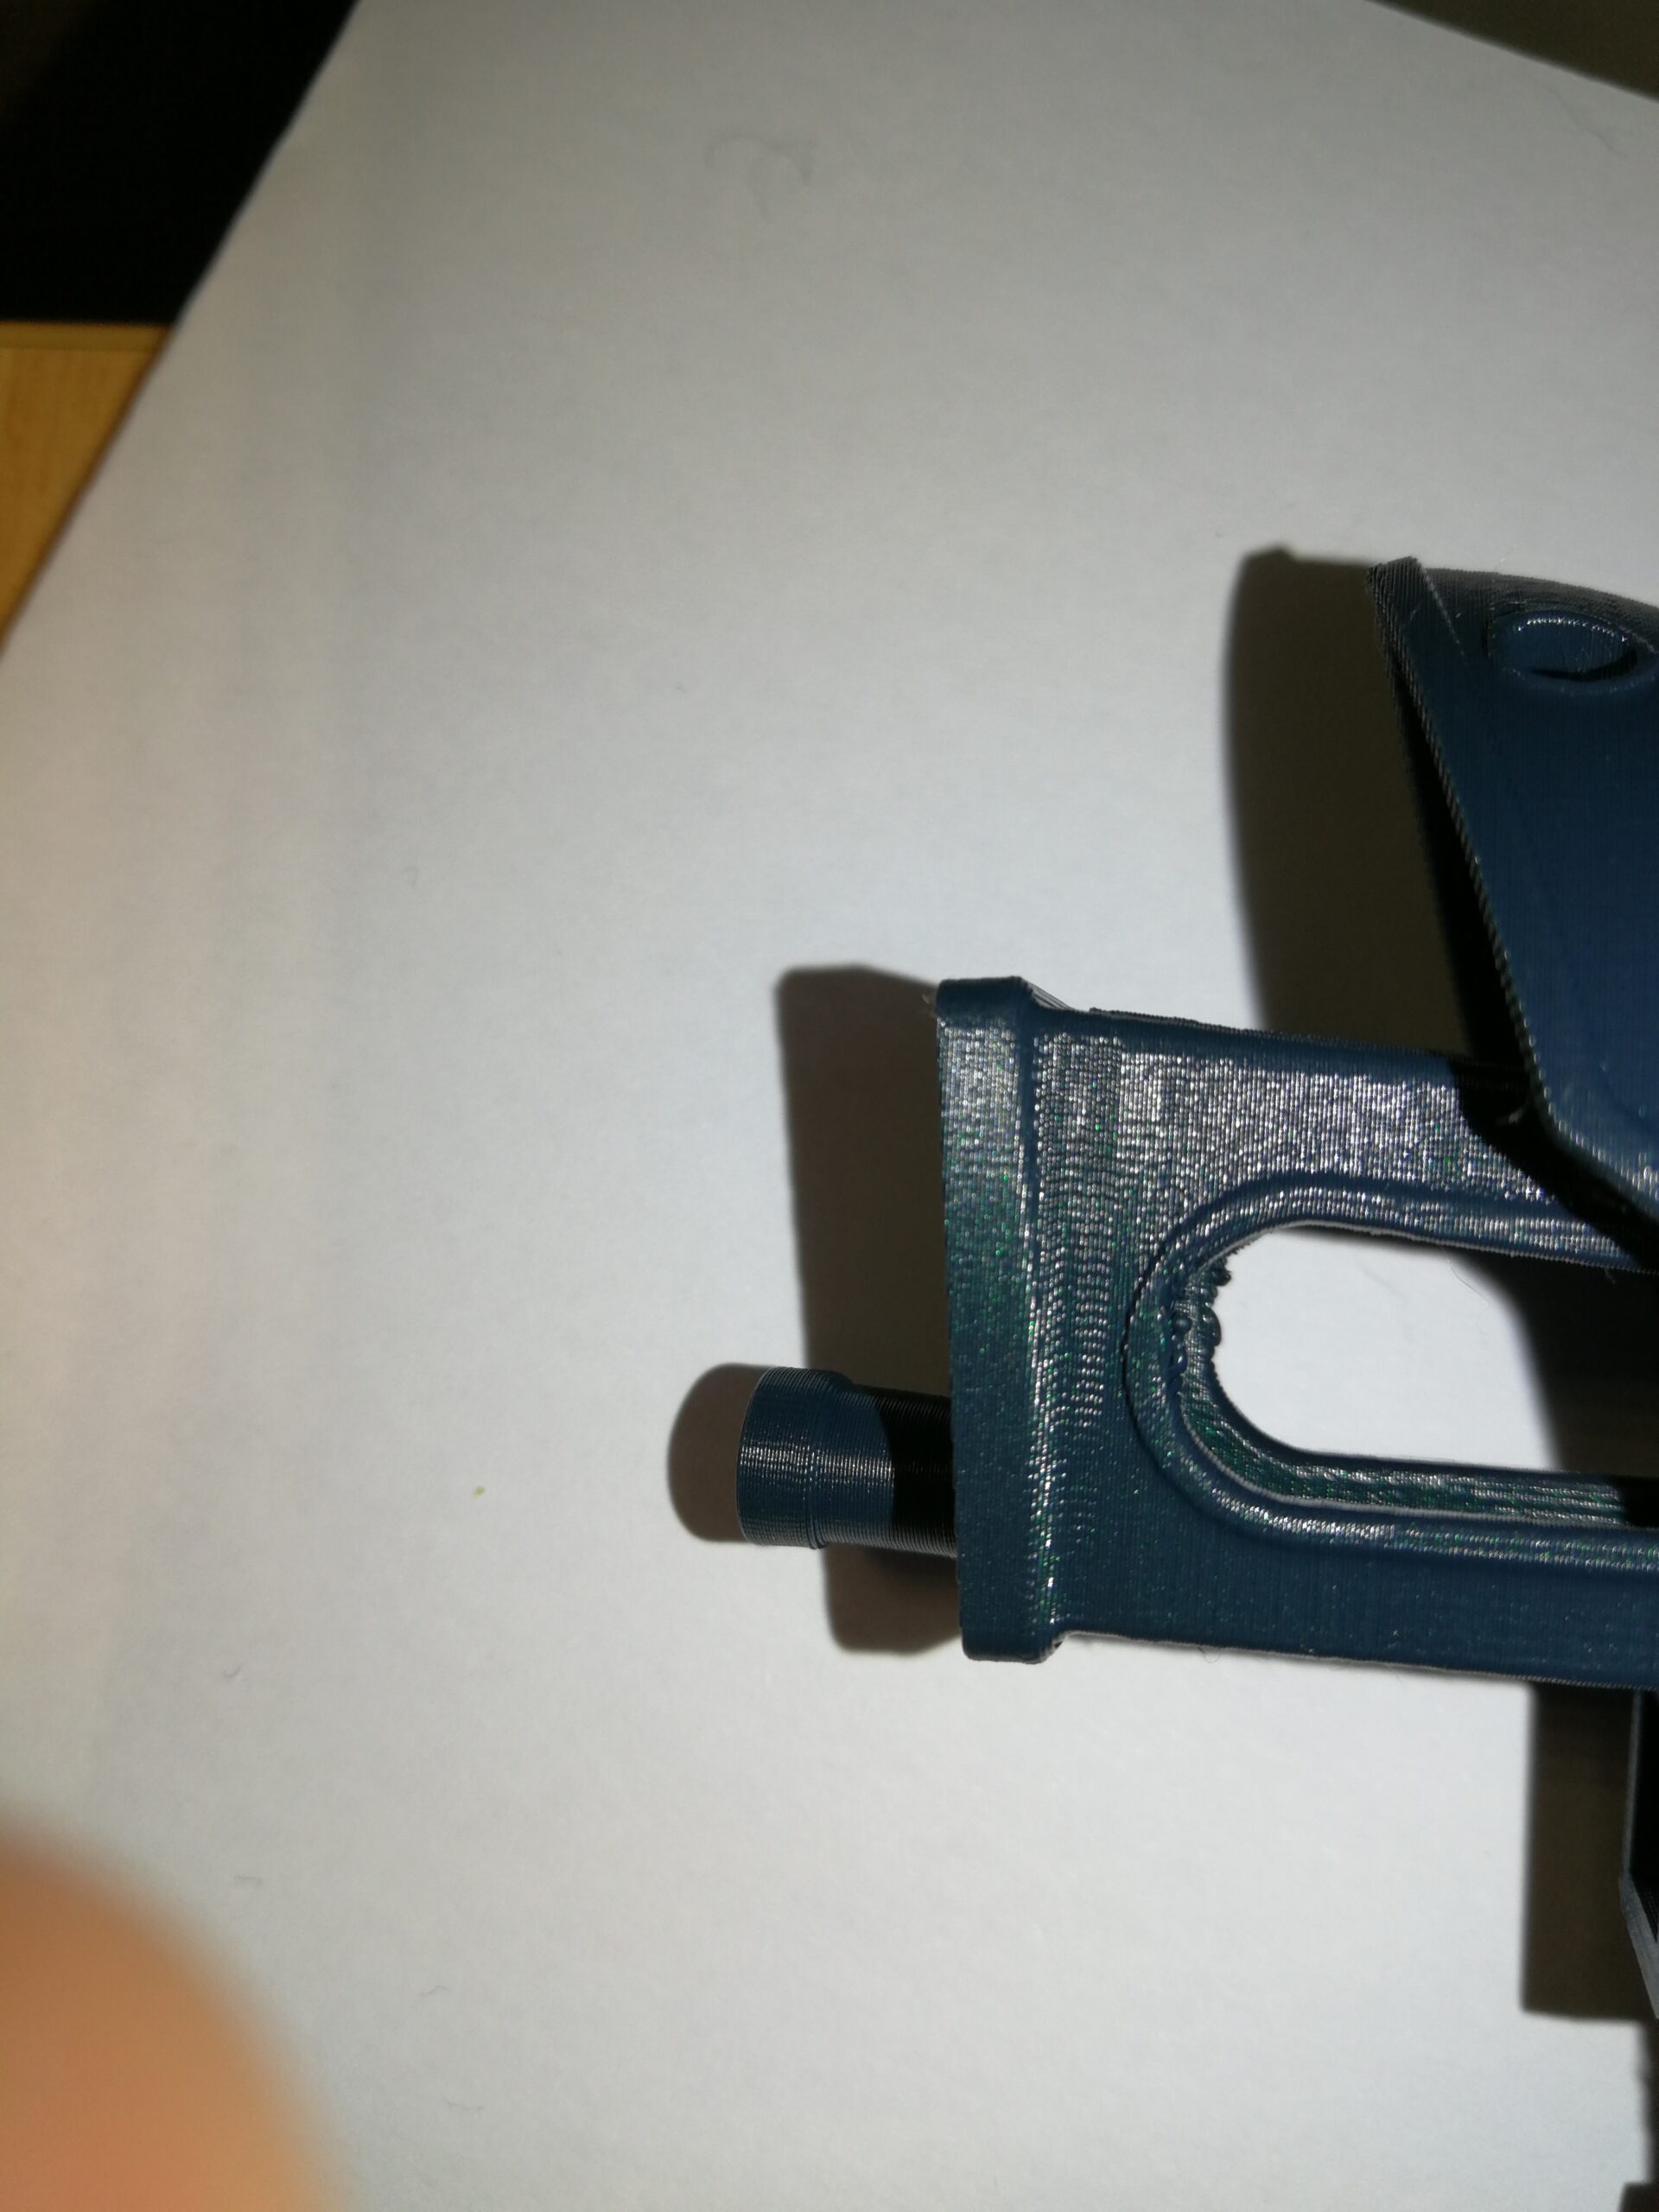
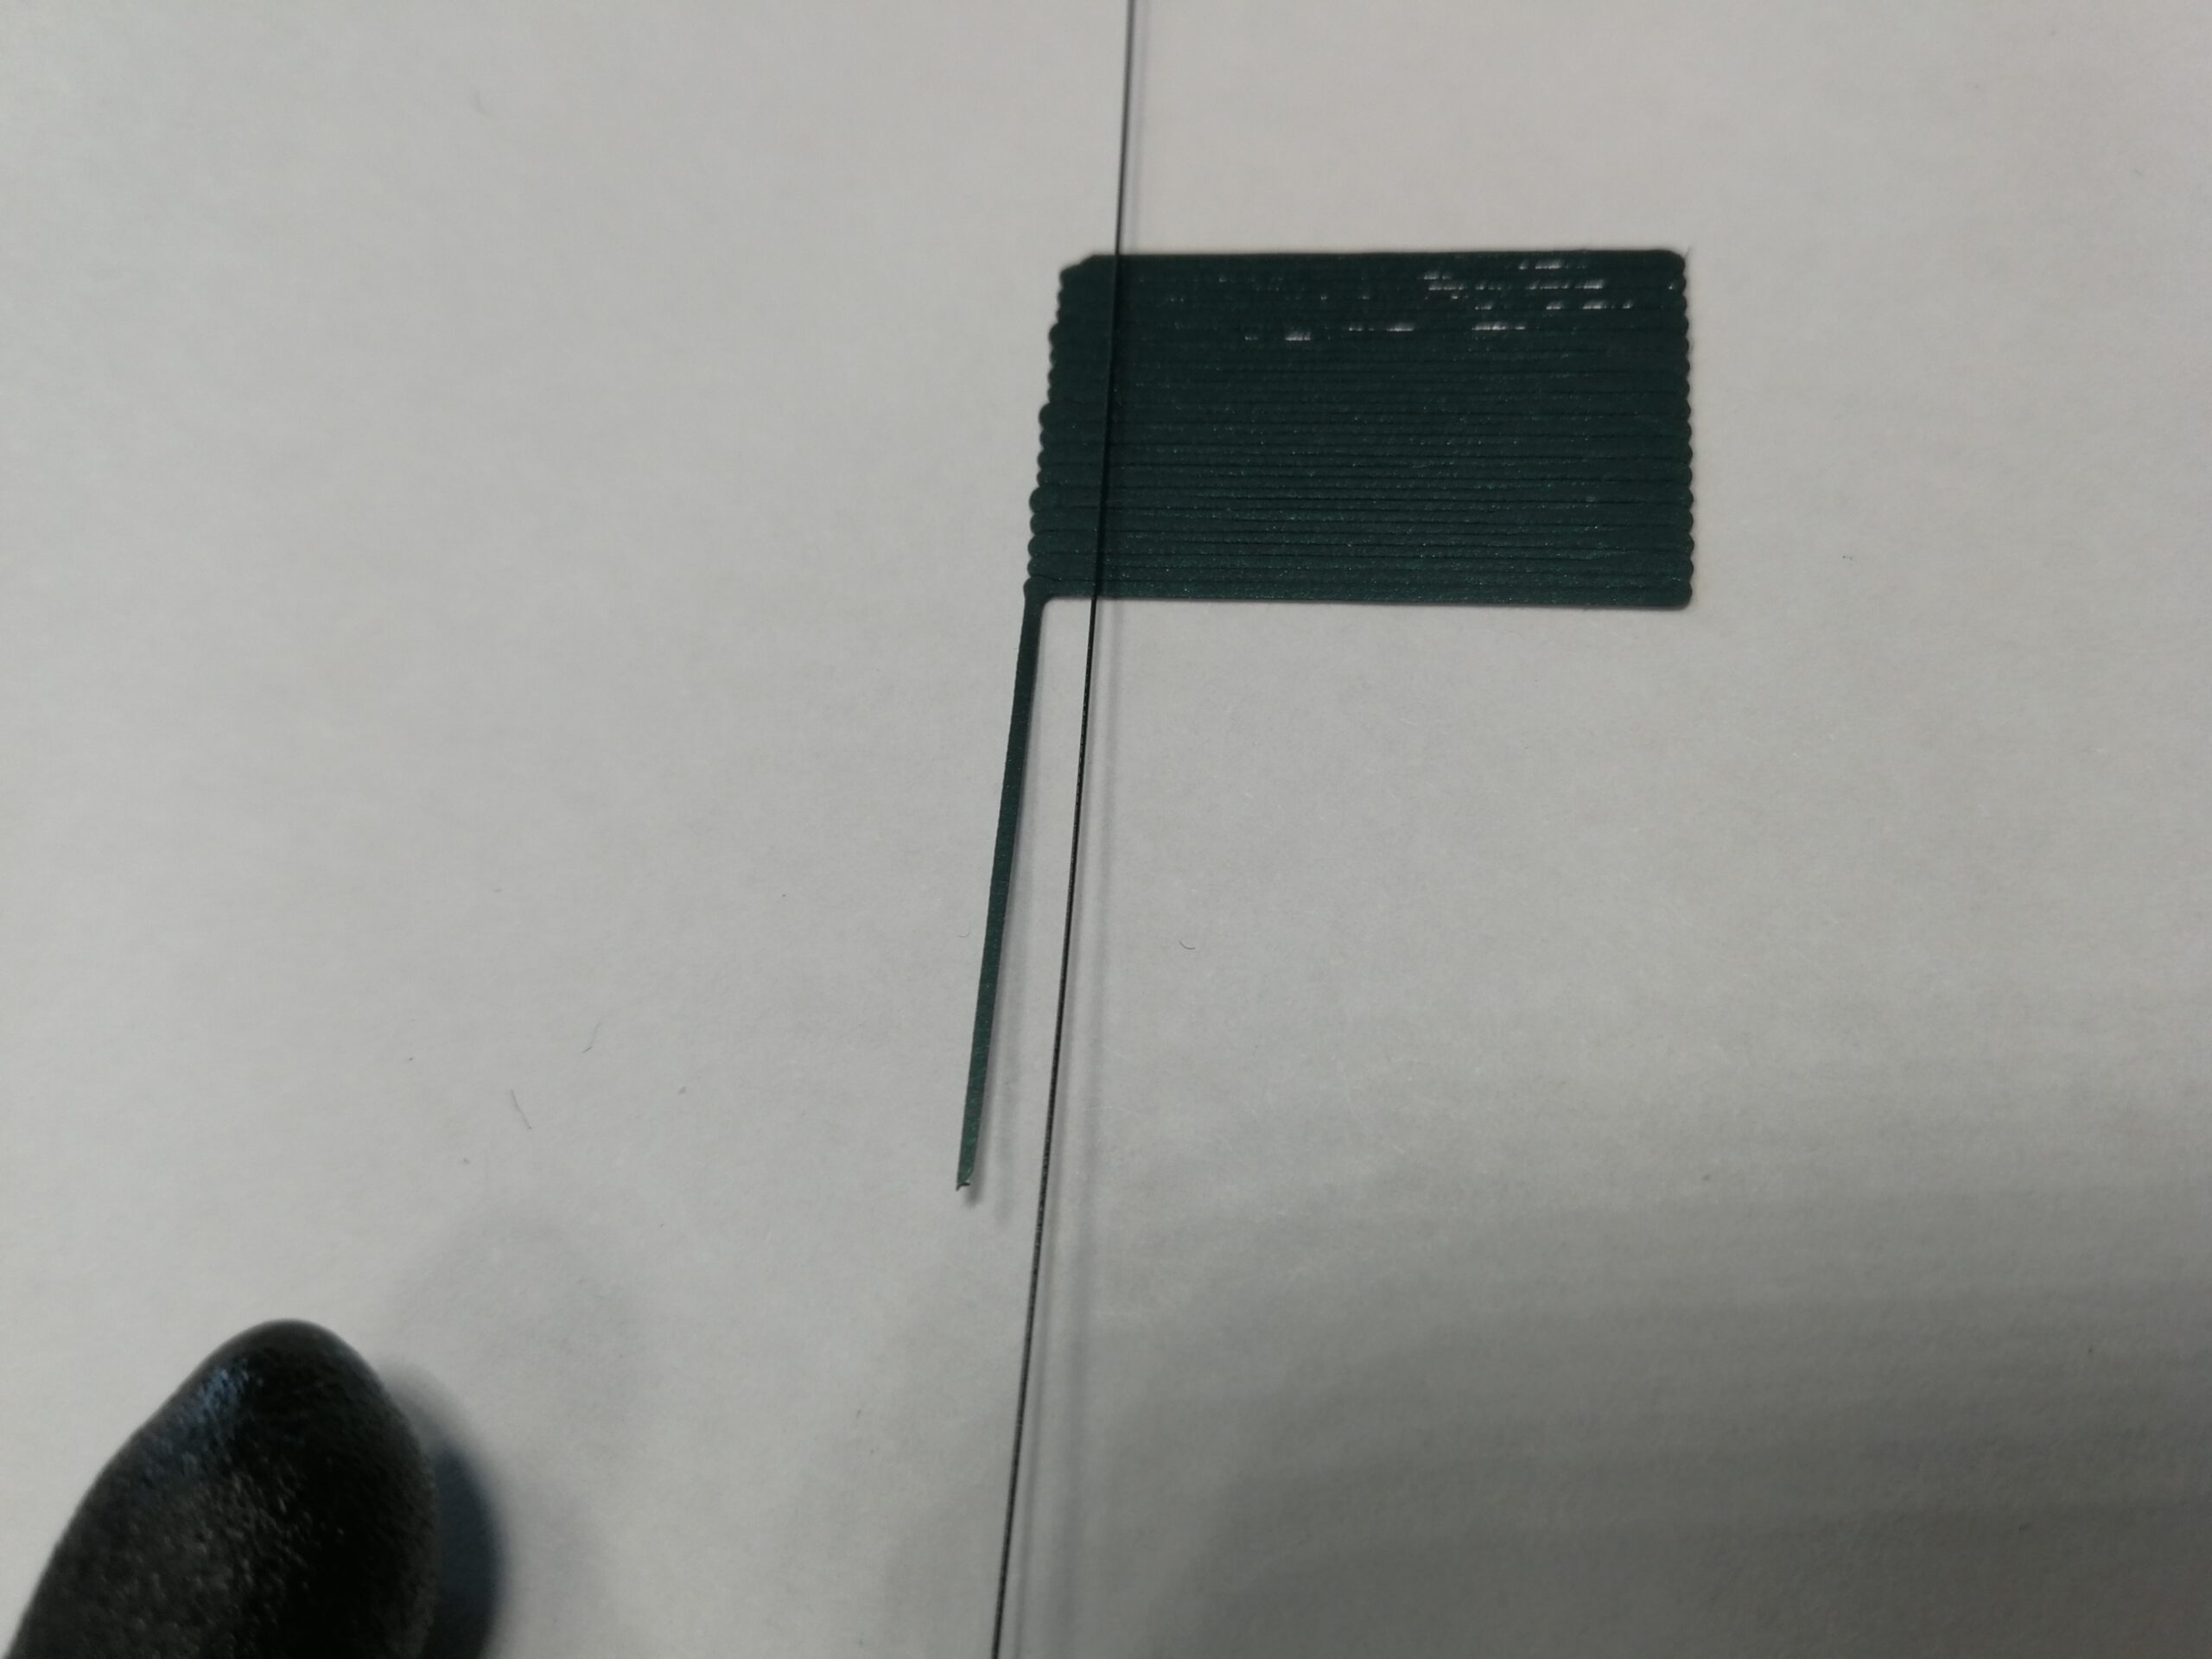
I did a few attempts to lower the Z axis for the first layer calibration. To my eye the layer is now very flattened, which the manual indicated as a bad alignment.
I made two bases of the Benchy and the last one is already tightly "snug up".
I will try to print the entire Benchy and let you know if it was successful and in what quality.
RE: 3D Benchy - how to get sufficient adhesion or better overhang without a collision
Thanks for the advice.
I don't know why there is such a difference between the benchy base and the full circle base - the sphere that i printed.
I thought the first layer calibration setup was fine.
Glad to see this progress. To my eye, the bottom of the sphere shows the the nozzle being too high as well. The simple shape disguises it. On the benchy it is much easier to see.
Mk3S+,SL1S
RE:
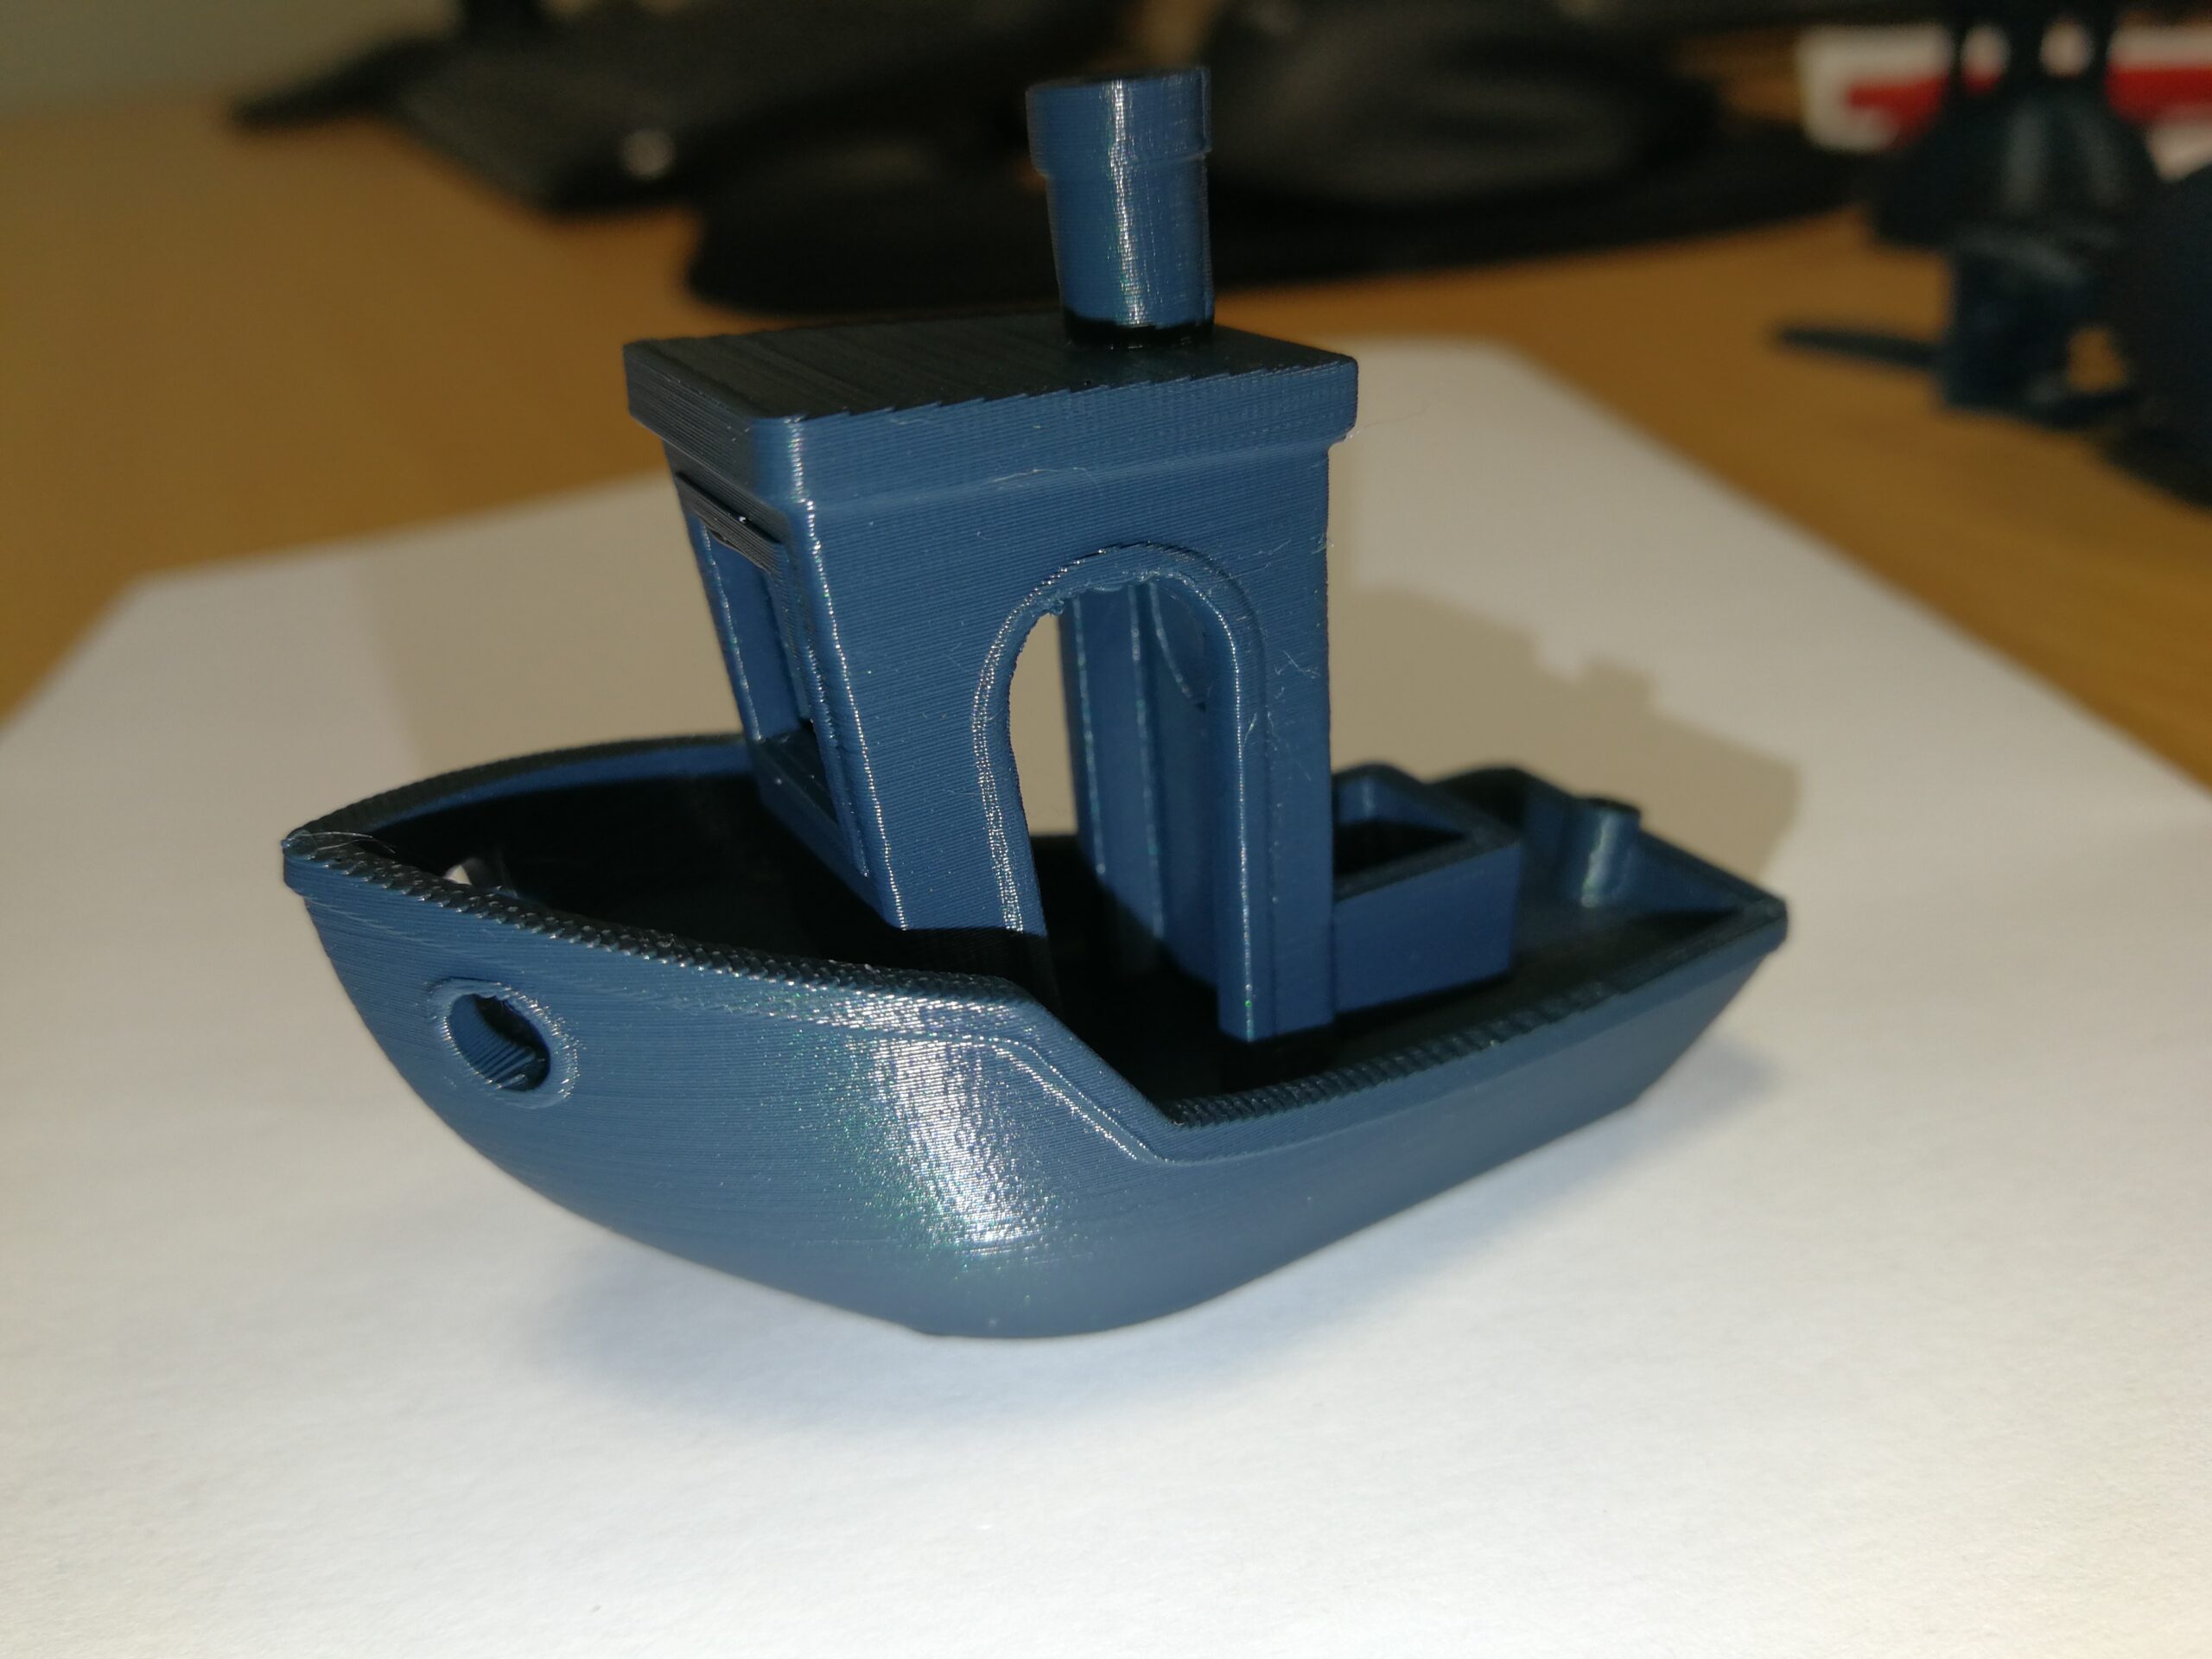
Successful!
There is a difference, because for the first time i had a problem with detaching the model from the print bed.
The question of overhangs remains. What can i do to prevent "run-off" the filament when printing overhangs?
RE: 3D Benchy - how to get sufficient adhesion or better overhang without a collision
For moderation: I do not know if i am doing something wrong, but in the last and the first post when i wanted to add the entire photo gallery via the "Add media" button, this only added a line in square brackets to the text:
gallery columns="7" ids="139872,139873,139874,139875,139876,139877,139878"
I have to add full photos without thumbnails once again:

RE:
Congrats on the completed benchy. You might get a little improvement on your overhangs by experimenting with nozzle temperature and/or speed. But keep in mind that the benchy is a model that is difficult to print perfectly and that is its purpose. You might want to google pictures of benchies and see how they print for other people and what is reasonable to expect.
Mk3S+,SL1S
RE: 3D Benchy - how to get sufficient adhesion or better overhang without a collision
Thanks again for your time.
In my opinion, the Z axis positioning, which now gives me adequate grip - is not correct according to the instructions.

RE: 3D Benchy - how to get sufficient adhesion or better overhang without a collision
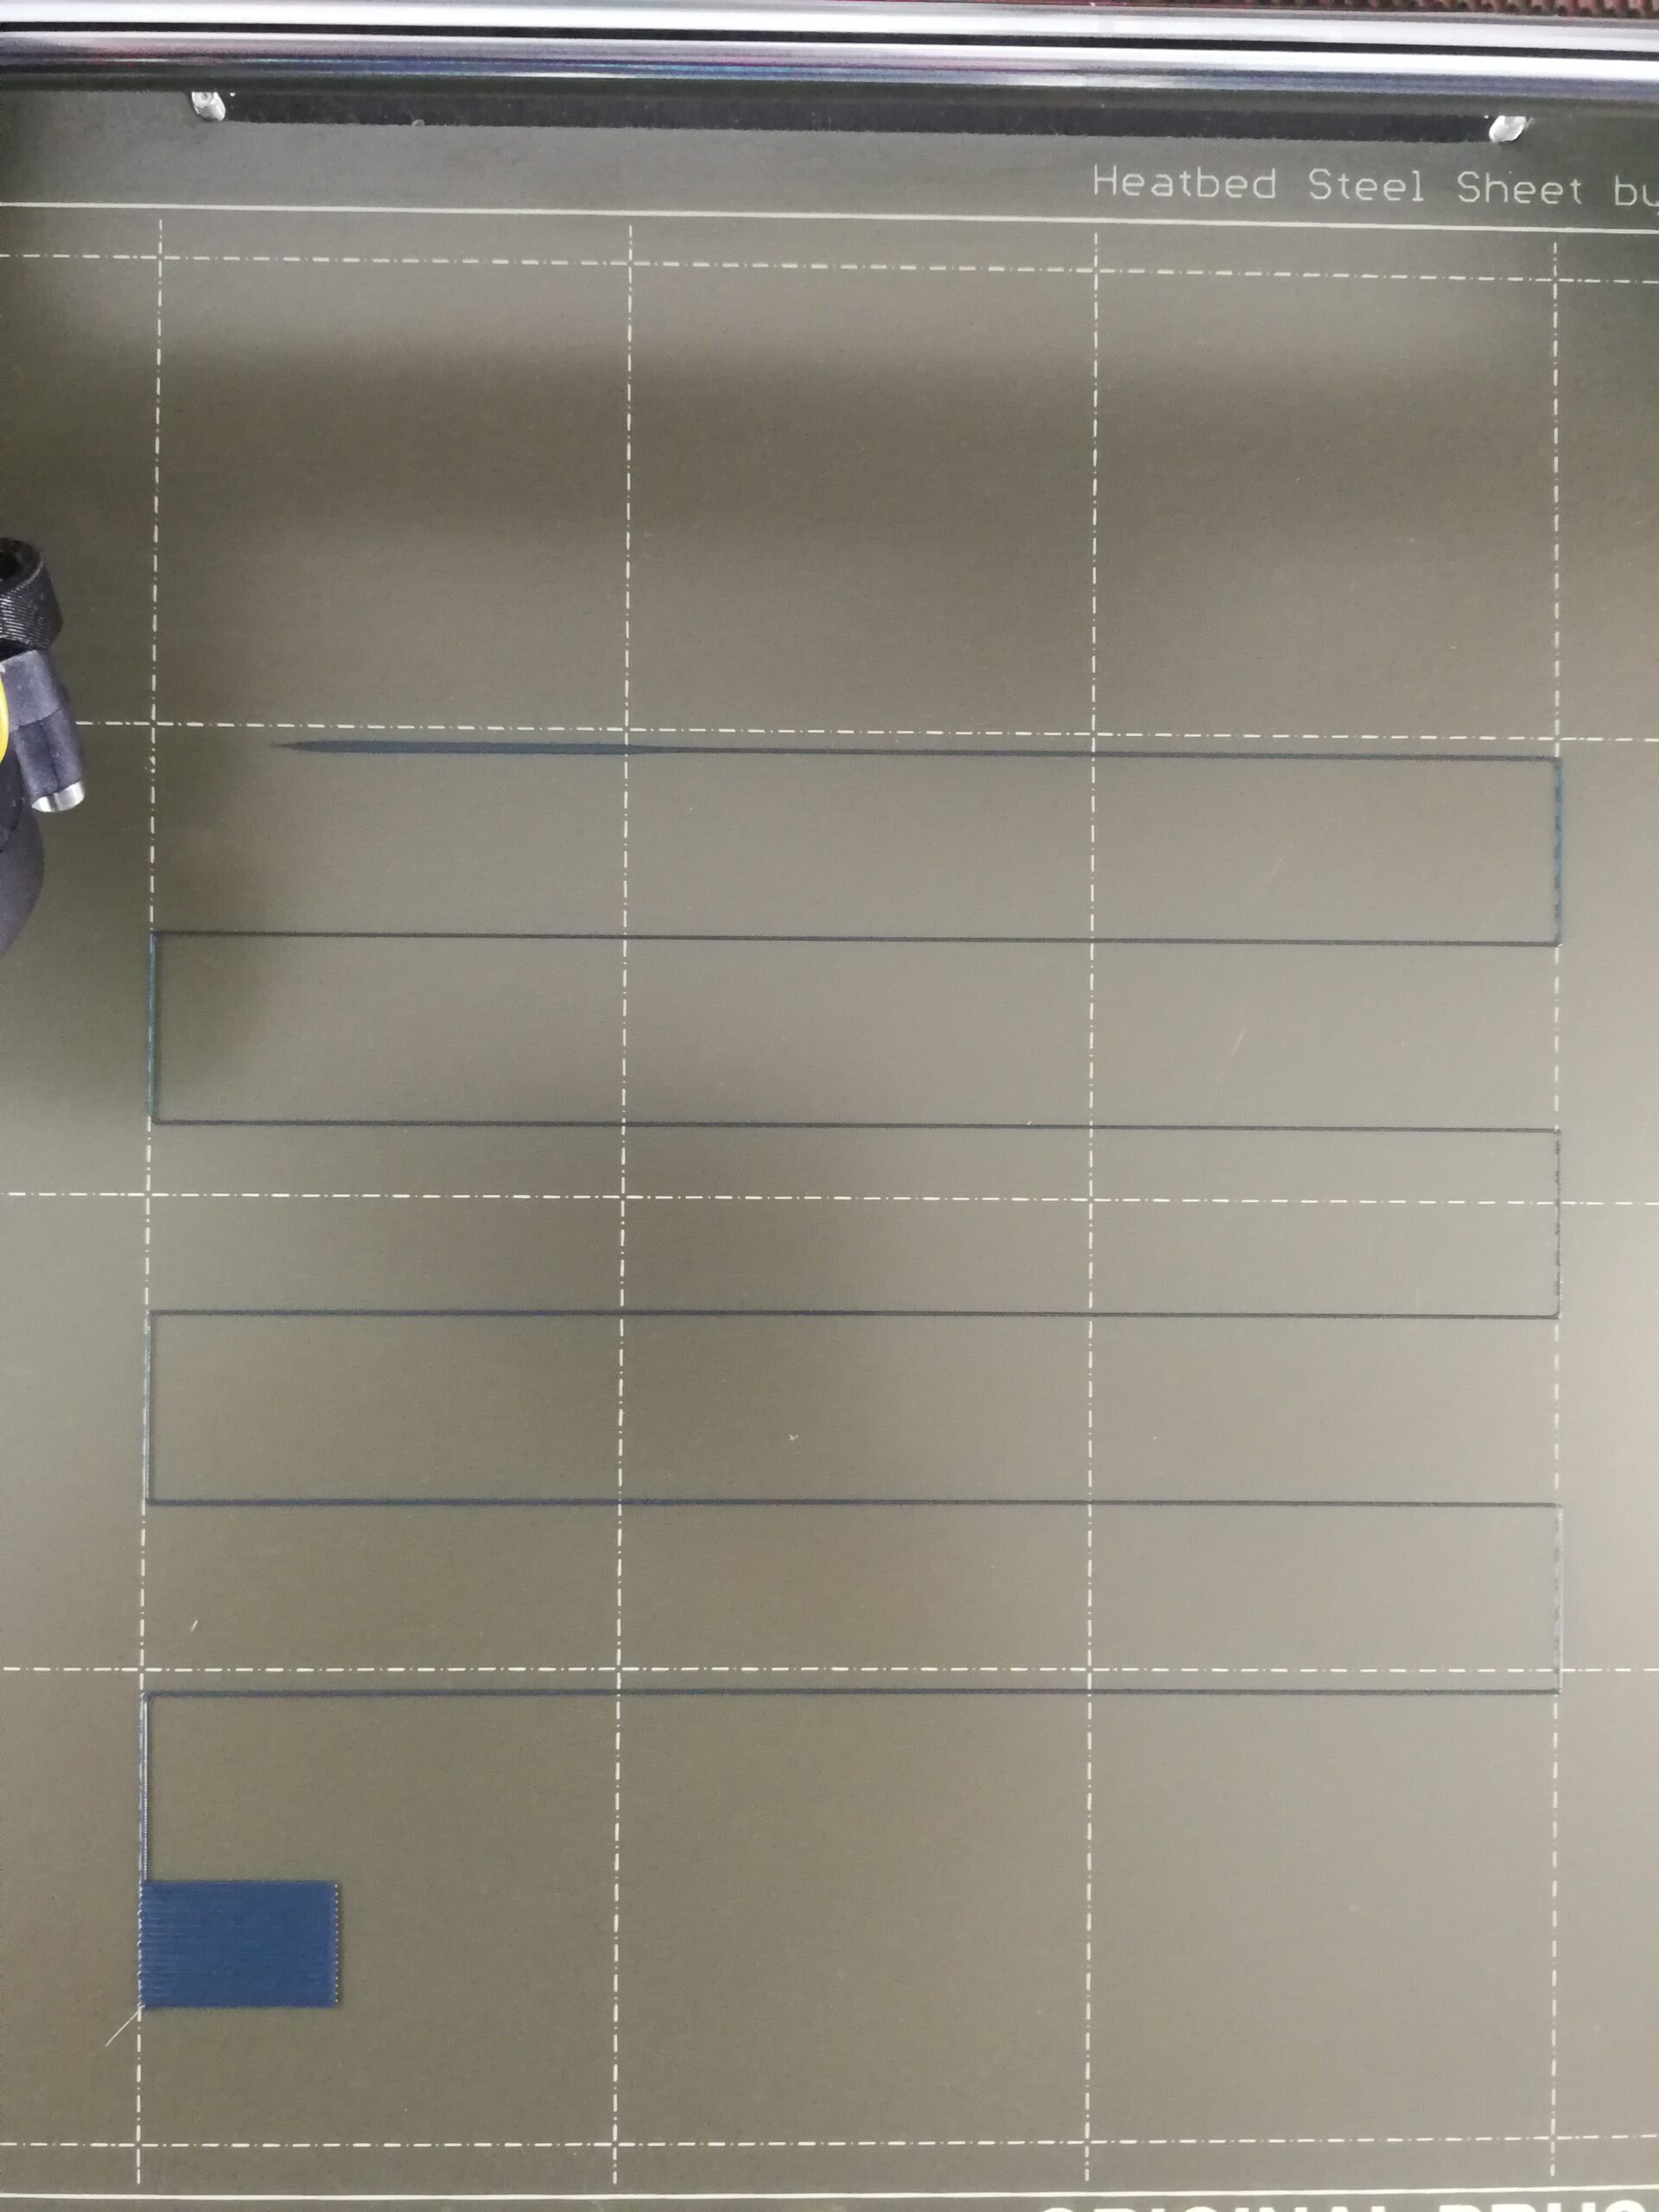
Please run a first layer calibration and post a picture of your result from above looking down at the entire sheet.
Mk3S+,SL1S
RE: 3D Benchy - how to get sufficient adhesion or better overhang without a collision
I'm sorry it took me so long.
RE: 3D Benchy - how to get sufficient adhesion or better overhang without a collision
That does look just a little too low. See the pictures in this article: https://help.prusa3d.com/en/article/first-layer-calibration-i3_112364
Mk3S+,SL1S
RE: 3D Benchy - how to get sufficient adhesion or better overhang without a collision
the forum seems very fussy about formatting information surrounding images...
I often have to delete the formatting to make people's images visible when posted...
I don't know how they get the formatting information there in the first place... as it doesn't happen for my images... but I generally use Drag and Drop!
regards Joan
I try to make safe suggestions,You should understand the context and ensure you are happy that they are safe before attempting to apply my suggestions, what you do, is YOUR responsibility.Location Halifax UK
RE: 3D Benchy - how to get sufficient adhesion or better overhang without a collision
That does look just a little too low. See the pictures in this article:
I know that, but there is little difference between this and the setup i had on my first try with Benchy.
And the first layer fully snug up the edge only with this setting.
RE: 3D Benchy - how to get sufficient adhesion or better overhang without a collision
Indeed, there IS little difference between an optimal first layer calibration on one that is not quite there. You might get better results using this other way to do your calibration. https://forum.prusa3d.com/forum/original-prusa-i3-mk3s-mk3-assembly-and-first-prints-troubleshooting/life-adjust-z-my-way/#post-22992
Mk3S+,SL1S