X-axis Layer shift and bad bridging/dirty print
I have 2 different issues that might or might not be related
but let me first sketch the full picture leading up to this:
I Got my printer a year ago just before summer, got some 3-4 months print time in about a year on it, mostly PETG prints. I bought the latest upgrade package (mk3s+) and already installed one for a friend on his prusa. Another friend had an extra bear frame upgrade lying around so I got that one for a small price and planned to combine those 2. When my printer had a layer shift on a print I figured it was time to stop delaying and get that upgrade done. (I had already printed the new parts twice just to be sure)
Dismantled the printer, built the new frame, built the printer back up again on the new frame. Didn't do the new X carriage parts as they were optional, I retained the X axis as is but placed a new belt (I replaced all belts while I was at it). (FYI I built the new prusa printhead, not the bear one)
When it was assembled and I got some minor kinks out with the assembly I replaced the nozzle for an olsson ruby. I didn't tighten that one enough at first for sure. It didn't extrude much when printing and I found what was wrong, tightened the nozzle and removed a clog by pushing in through with a metal rod of exact filament thickness. And that's that
But my prints still looked under extruded, especially the first layers. So I printed an extrusion thickensss test box 1 perimeter wide and measured. It was exactly 0,4mm. While testing 'normal' prints I also had a print with a x-axis layer shift and a crash but considering the crash etc I blamed the nozzle issues.
By then I had figured out that the olsson ruby and petg don't mix so I swapped again versus a normal brass nozzle. Set z-offset again etc and did a first test print, that one seemed good enough but a bit dirty and the 'short' bridging was sub par.
Did a bigger print and that is where we are now: (see pictures)
- A clean layer shift in the x-axis direction, too small to be from the belt clicking through
- The print is "dirty" as in lots of loose stringing and small blobs not really conncected to the print so easy to brush off
- the bridging inside is terrible, it looks like one side of the bridge (always the same side) simply isn't connected to the other side on the lower layers.
Things I already tested thoroughly:
- Belt test, X-axis belt is fine (tightened the Y-axis belt some more based on the values but it wasn't strictly necessary
- tested tightness of the screws for the X axis 'cog' on the stepper shaft
- tested belt tightness and that feels correct, bottom belt seems to give way a bit more than the top one but that's all
- manually moving the print head left <-> right feels the same all over the X axis
Ideas for causes I still have but haven't checked yet because they mean dismantling the print head
- I still didn't tighten the nozzle enough, didn't tighten it so hard that the printed 'safety' nozzle wrench (from the olsson ruby designers) clicked
- I damaged the ptfe tube in the hotend when I printed with the ruby nozzle much too loose and now it is under extruding because filament is leaking out --> the dirty parts on the print?
- X axis stepper is the issue? I'm all out of ideas for that one?
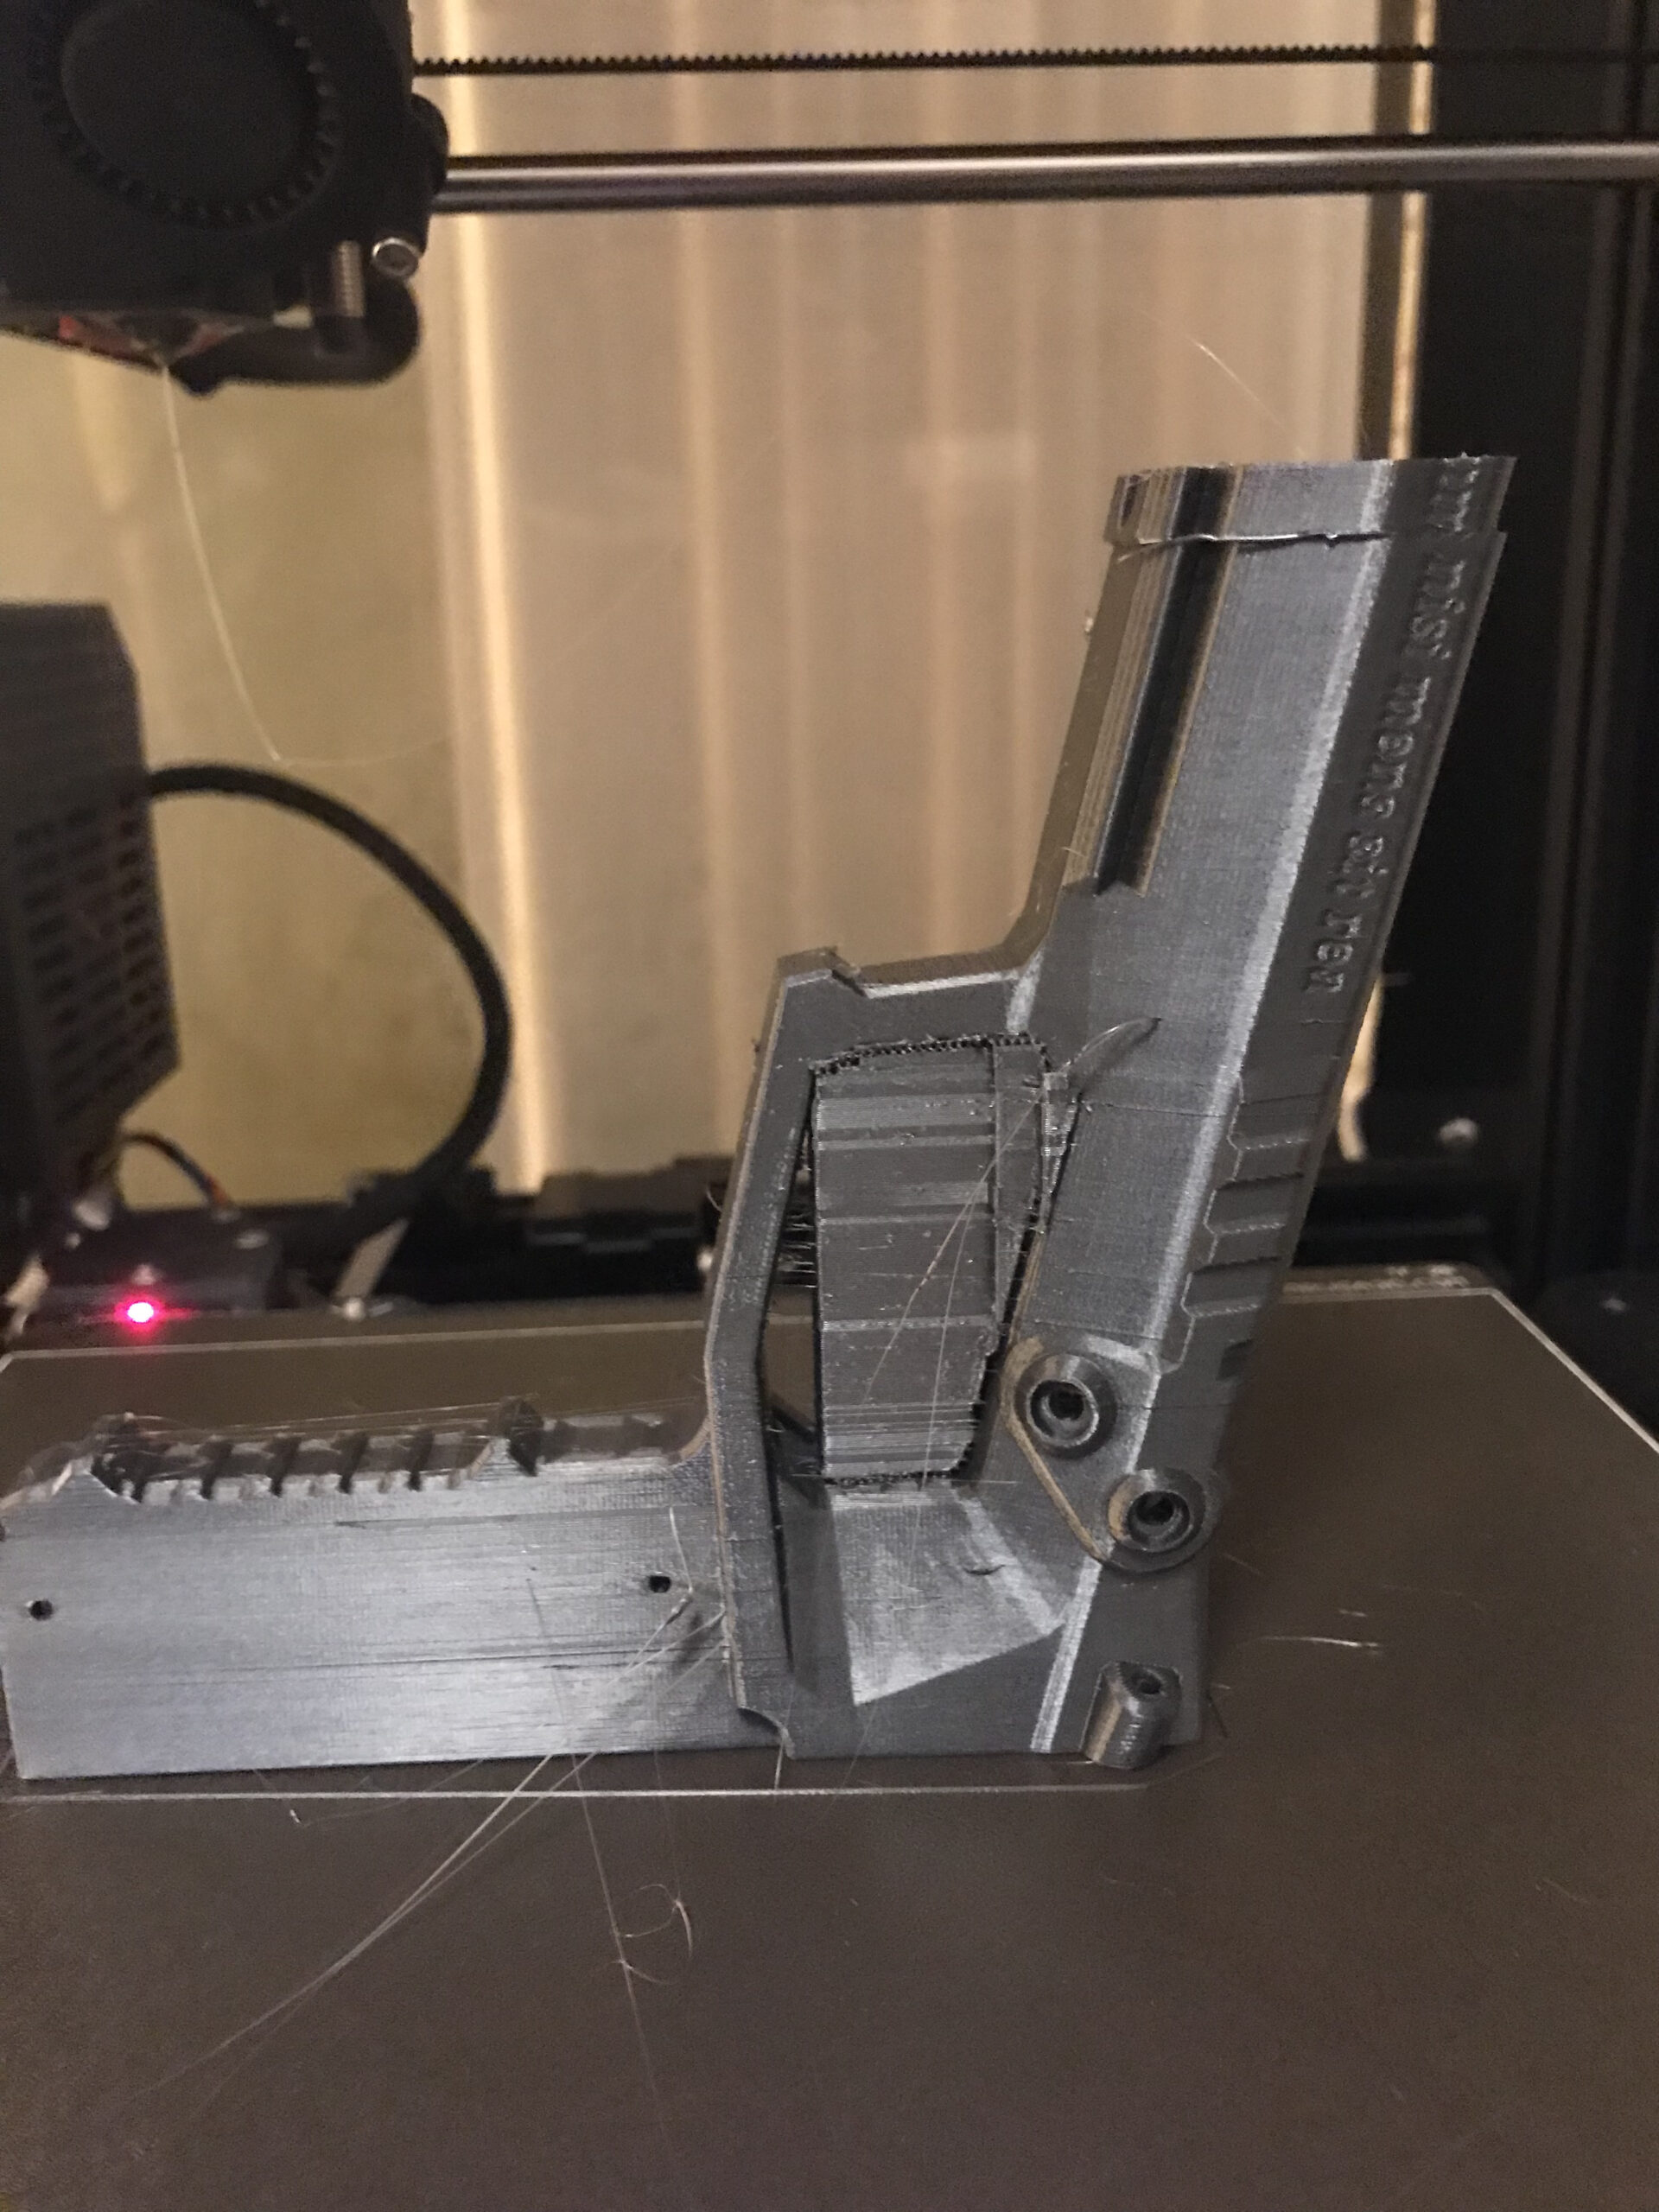 print on the bed untouched
 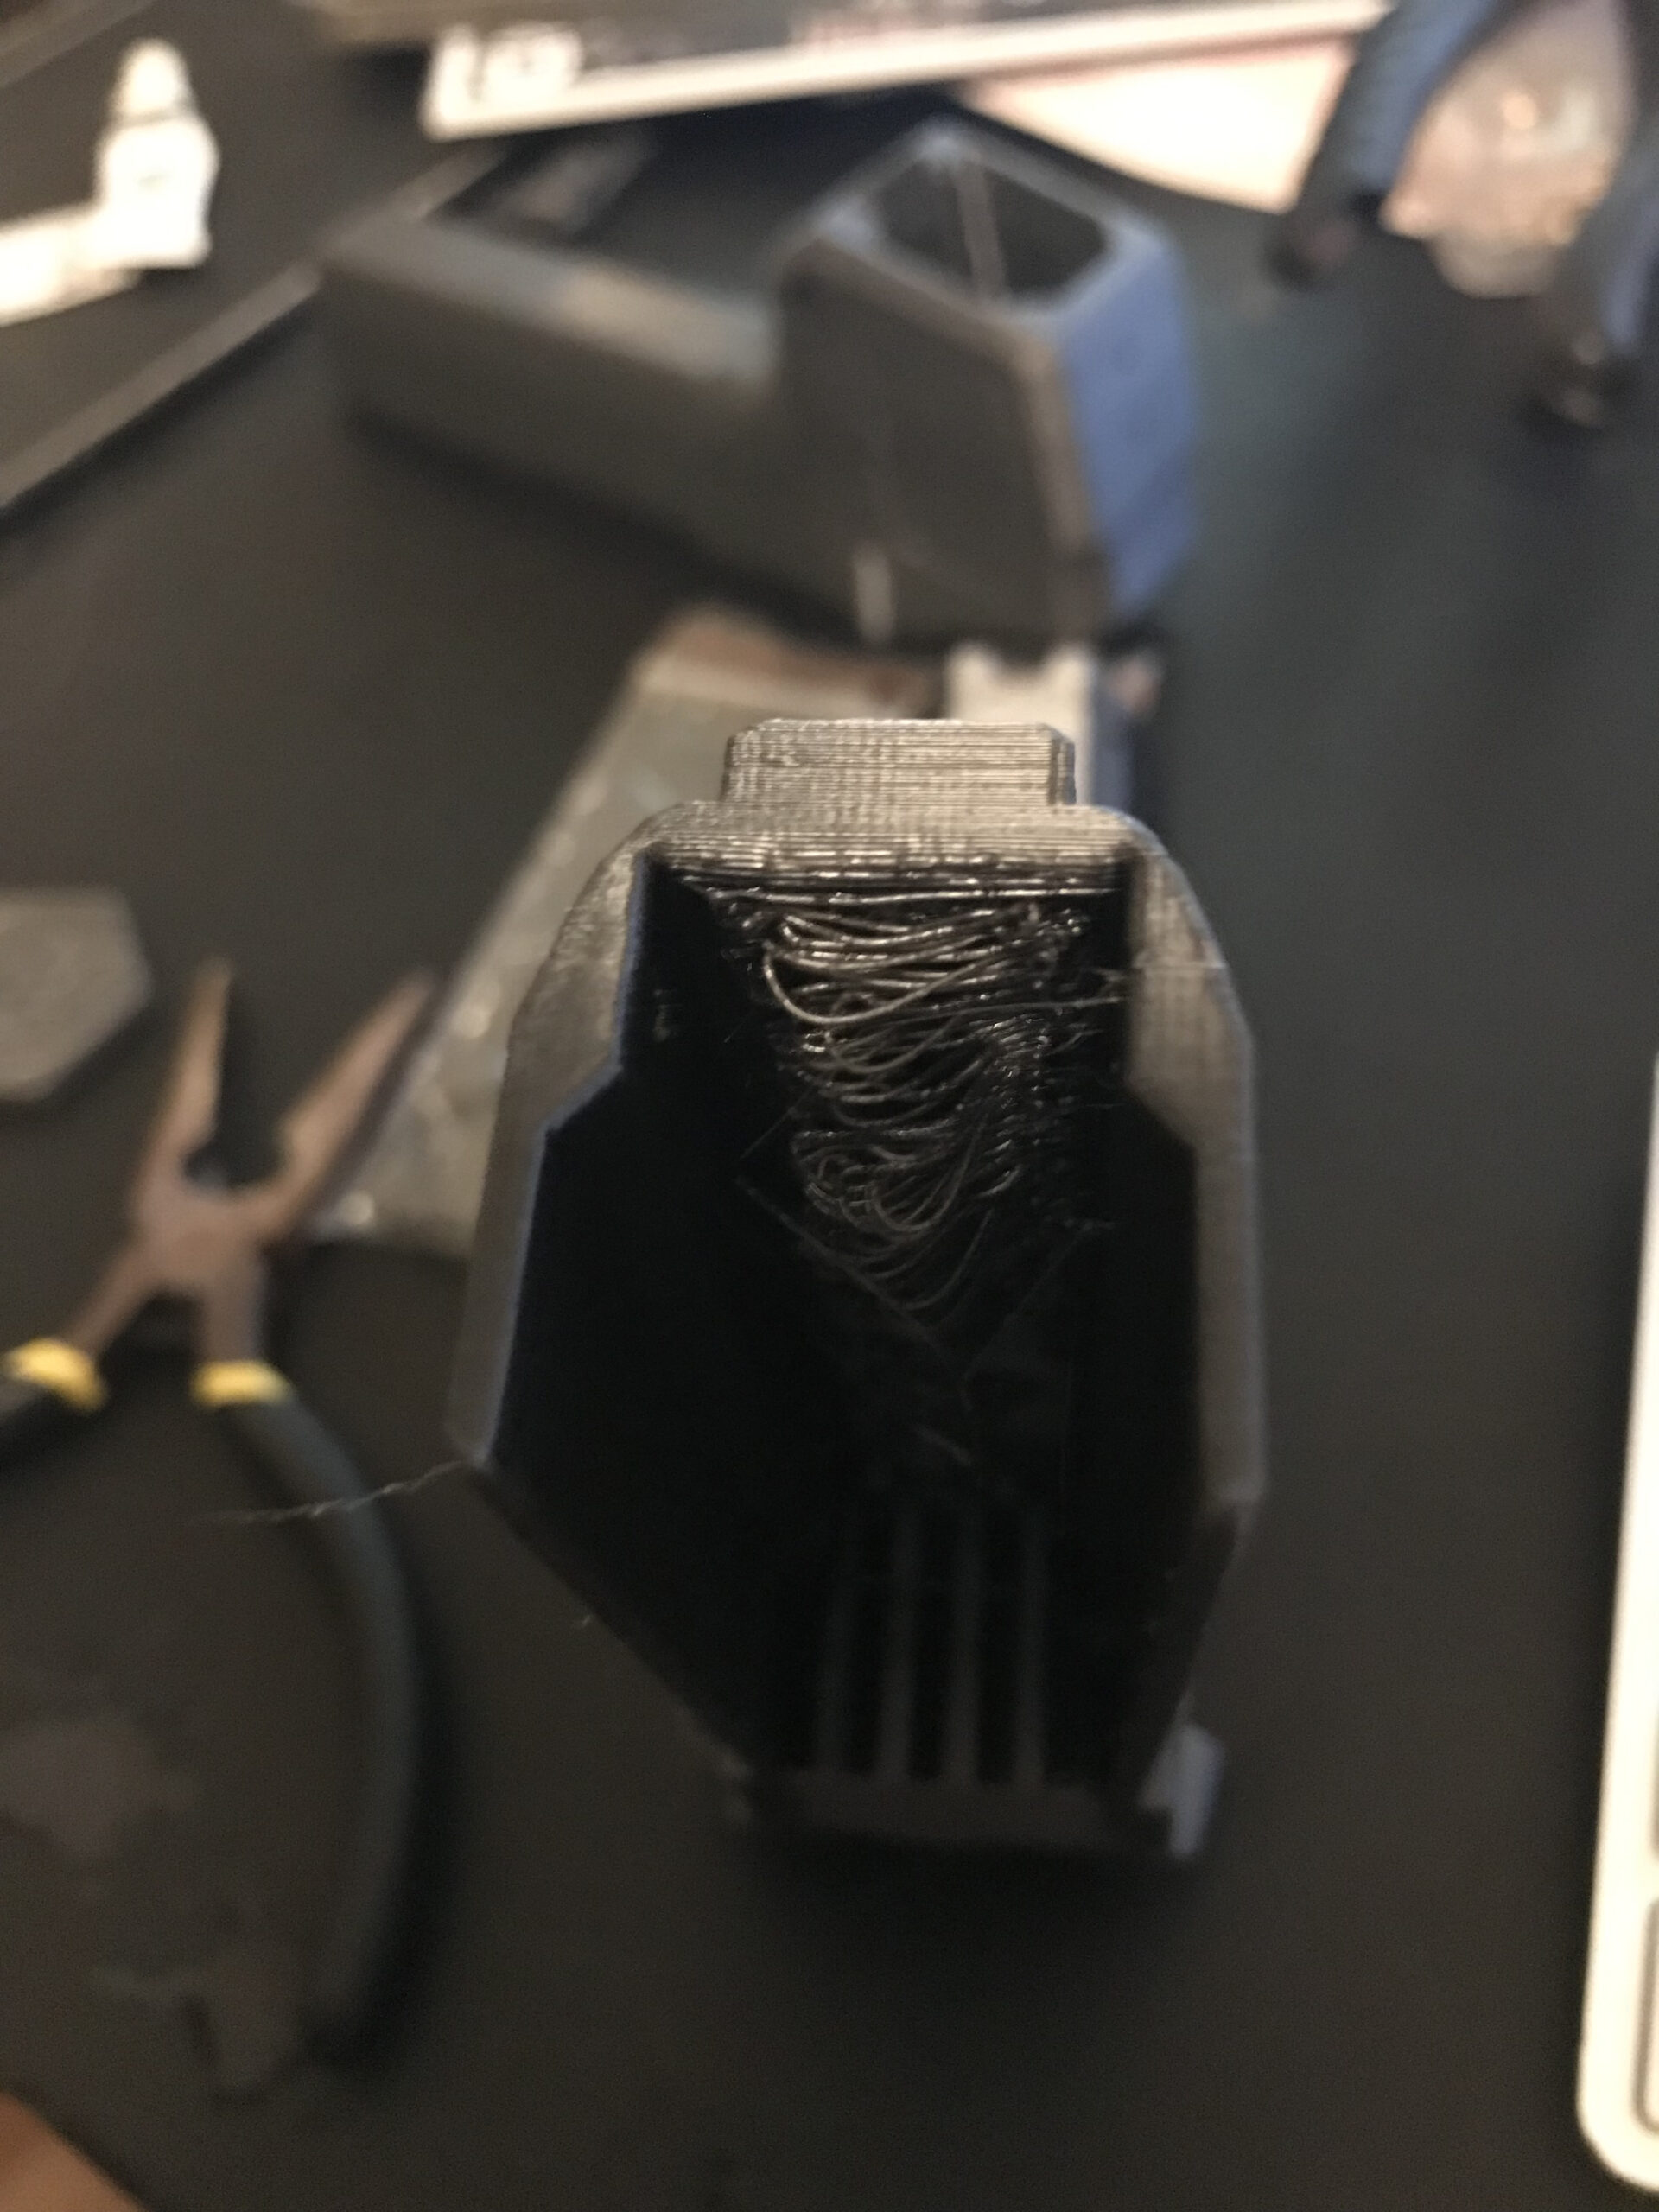 bad bridging
All help and ideas very welcome
that is where we are now: (see pictures)
No pictures attached? A picture of a typical poor print would help us diagnose.
The print is "dirty" as in lots of loose stringing and small blobs not really conncected to the print so easy to brush off
the bridging inside is terrible, it looks like one side of the bridge (always the same side) simply isn't connected
This has been an unusally humid year for many of us and damp filament has become a very frequent problem; have you tried drying your filament?
Re: belts, see this:
https://www.prusaprinters.org/prints/46639-tension-meter-for-the-gt2-belts-of-i3-mk3s-or-prus
It MUST be printed in Prusament PETG or the spring tension will be wrong.
Cheerio,
pics and answers
Let's try those pictures again, they are in the original post when I open edit but don't show up when posted
and for the new prusa parts, yes all printed in prusament PETG (it was included in the upgrade package)
I'll try those tension meters, hadn't seen/found those yet
Some of that does look like damp filament.
Cheerio,
drybox
Damp filament is unlikely, but not impossible, even with the indeed bad humidity the drybox on the printer is still at 40% and a bit
(taking out the pellets now to dry them in the oven)
You may want to put the filament in there as well...
A drybox will maintain dry filament but it won't remove moisture already absorbed.
Cheerio,
drying
well the annoying thing about the filament is that it is PETG on a masterspool made out of PLA
but should be doable nonetheless
printing the tension thingy now with prusament and that seems cleaner atm, so that makes humidity problems more likely (it was stored properly in a big drybox)
belt tensioner
Tested the belt with the belt tension meter and it was what it should be
X shifting - different than bridging
The X shifts are X shifts - so you're getting there. If the X belt is fine and the screws on the pulley are really fine.
Try this. Locate the back of your printer (turn it around so the back is facing you). Then the X carriage back. There are 4 screws that hold it on. Loosen each one two turns. If that helps - good. Otherwise loosen each of the screws another turn.
further news
OK filament dried etc
print is better BUT
I noticed the filament wasn't unrolling all that well, the angle when coming out of drybox on top of my lack enclosure is too steep and unrolling it needs too much force I suppose. Will design a roller thing with spare drybox parts to guide it better and let it make the angle over a roller.
Secondary I had a X shift again and checked the print failures and noticed 2 Y crashes; sounds like the re homing after a Y crash might be the issue too and that it is finding 'crashes' it shouldn't. i don't see any reason for em anyway and google told me several people already had X shifts from Y 'crashes'