MK3s with Bondtech Extruder issues with quality of walls and permieters.
Hi Everyone!
I have a Prusa Mk3s with a Bondtech extruder that I bought second hand. The printer is mostly working fine but I've been having a few annoying issues.
The walls are uneven and I also, I always get a step, like a bump on layers of a wall that has a floor on the other side, like, if there's a 90 degree angle, the outer wall will have bump where the top layer of the floor is.
Also, in some situations I'm having some gaps between perimeters that are supposed to meet.
I read somewhere that increasing the number of perimeters can increase the wall quality, but I didn't notice any difference.
I have attached some photos of my latest print, which I sliced with Prusa Slicer using 4 perimeters, 0.20mm layer height, the filament is PLA from Fillamentum, which I'm using the Fillamentum preset. I have increased the infill to 25% and enabled supports:
 permieter gaps
 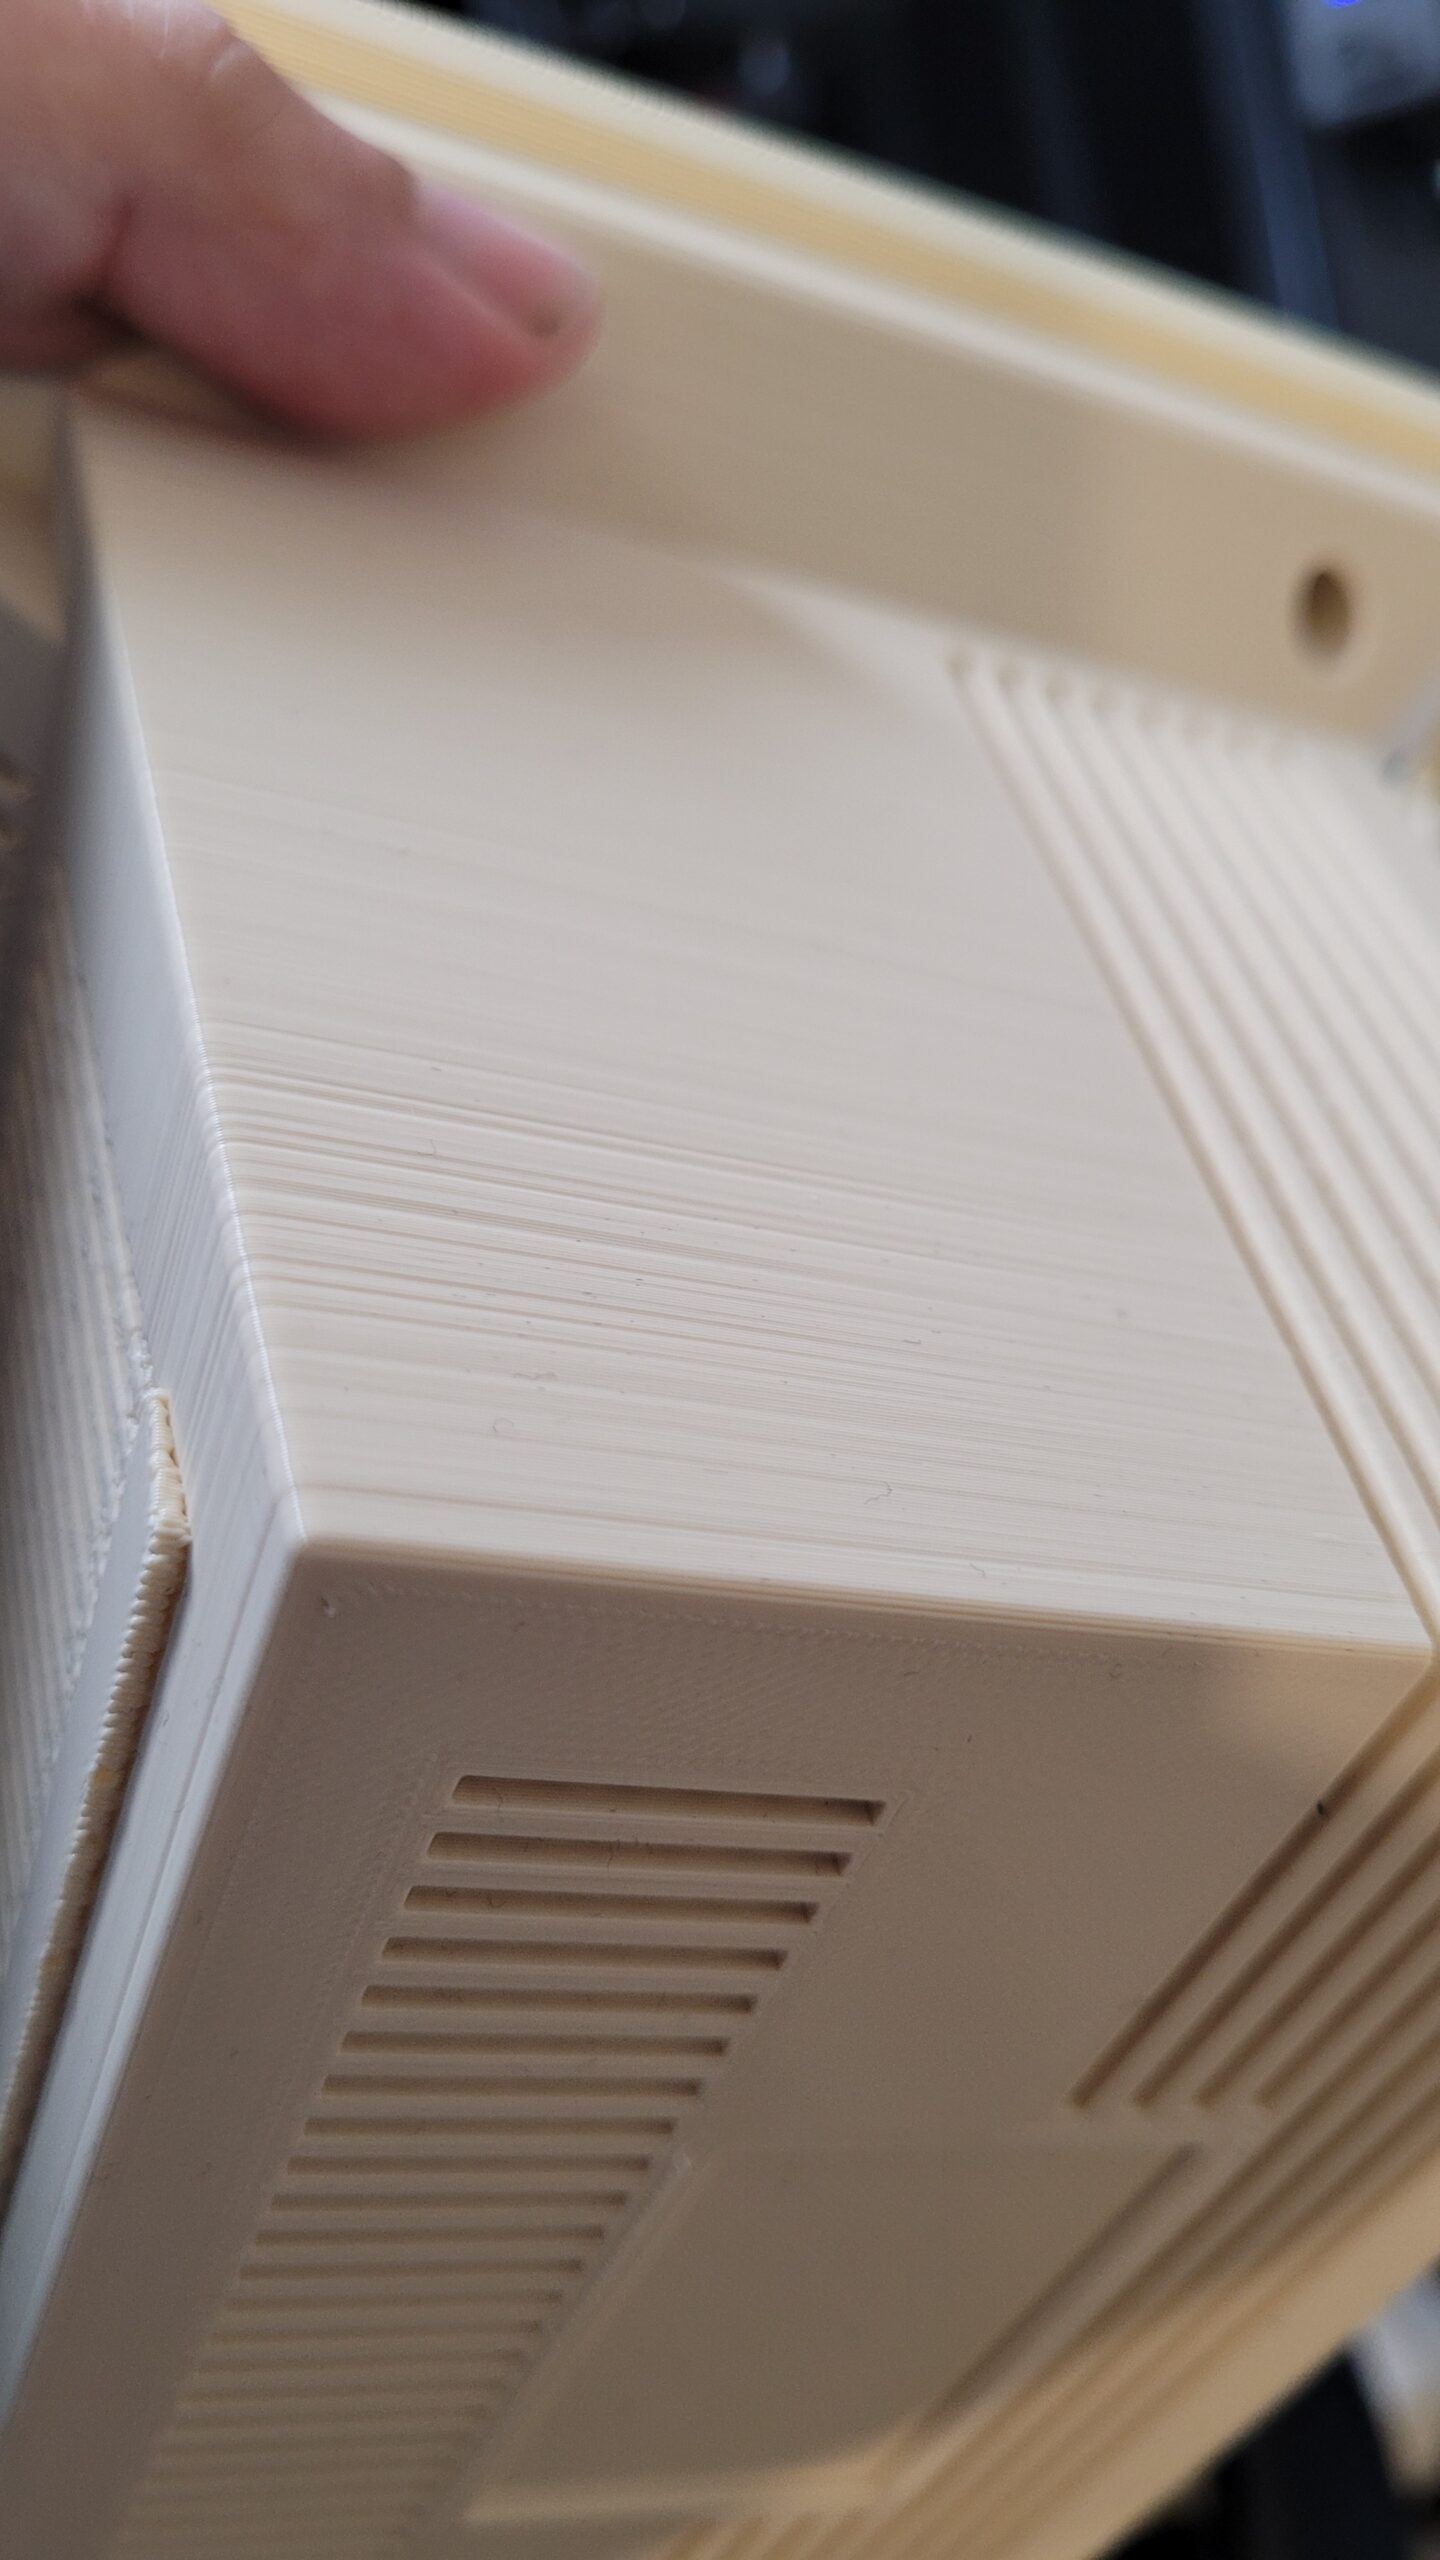 wall unevenness
 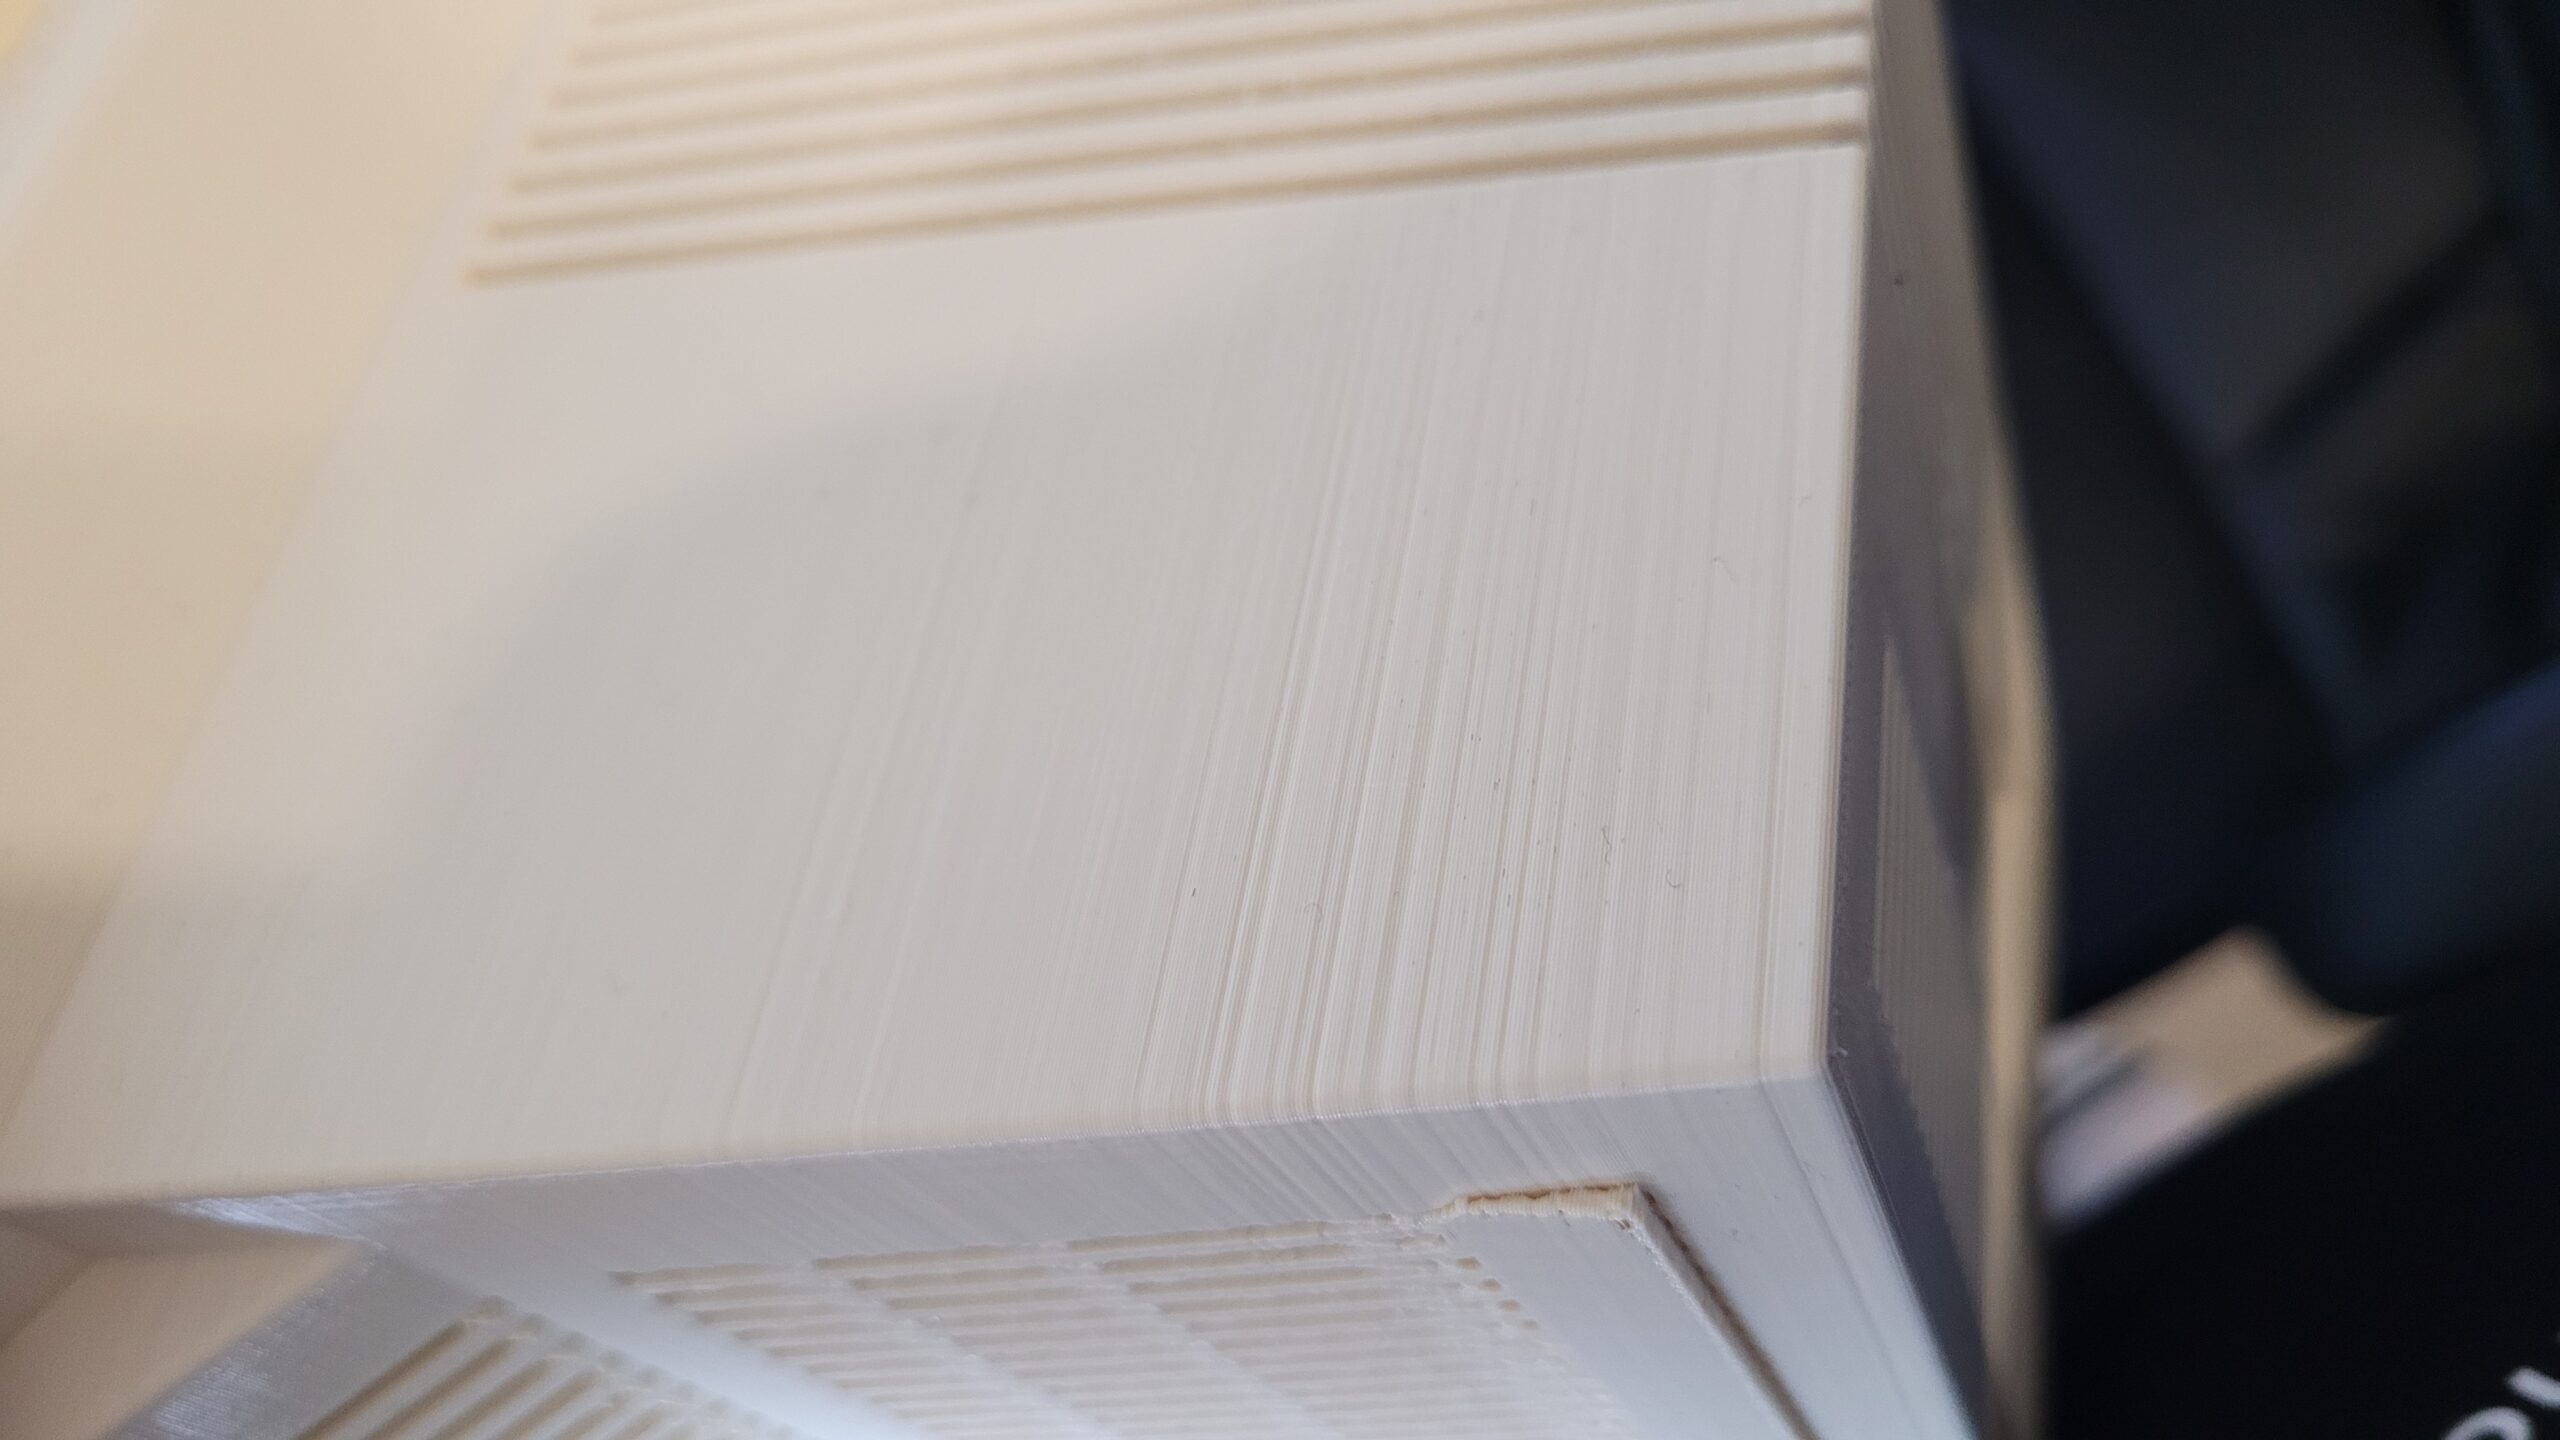 wall unevenness and bump where the internal floor is
Thanks for the help in advance.
Edit: Are the photos visible? I can only see them when I edit.
RE: MK3s with Bondtech Extruder issues with quality of walls and permieters.
I'm posting the images again because it seems like they are not showing up in the actual post.
The first one you can see the bump where the floor on the other side ends very clearly.
You can clearly see the unevenness on them and the last one shows the gaps with the perimeters.
RE:
I don't think this is your primary problem but you have another which may be obfuscating the detail.
There are signs that your X&Y axes are not moving smoothly.
With each axis in turn:
First, with the power off, move the axis by hand; is it smooth? Does the resistance stay the same over the whole range?
Clean and lubricate the smooth rods, check they are not damaged/scratched. Check the idler pulley is not clogged, out of line, or damaged (loosen the belt and try turning it with your fingertip, is it smooth?)
With the belt loose try turning the stepper motor by hand; is is smooth?
Retighten the belt until it just begins to make a low musical note when plucked...
Make your next print this:
https://www.prusaprinters.org/prints/46639-tension-meter-for-the-gt2-belts-of-i3-mk3s-or-prus
It MUST be printed in Prusament PETG or the spring tension will be wrong.
It is possible that the grub screws holding the cogged drive wheels are loose but this is commoner with a new machine.
Let us know how you get on. If your 'step' persists it is probably a known, much discussed, issue; but you need to get the axes right first.
Cheerio,
RE: MK3s with Bondtech Extruder issues with quality of walls and permieters.
Thanks for the response,
It's really hard to tell if the axis snags, but I think it might, or it is my arm not being able to keep a constant speed.
What's the idler pulley?
I'll try those things and report back.
I don't have any Prusament PETG though, is there any other way I can test the tension?
Each axis has an active drive pulley, the cogged wheel on the stepper motor, and a passive idler on the other end of the belt which is actually more likely to fail, it can also clog, or, if screws come loose, twist out of line.
https://help.prusa3d.com/en/guide/3-x-axis-assembly_167854 Step 3
https://help.prusa3d.com/en/guide/2-y-axis-assembly_165795 Step 12
is there any other way I can test the tension?
It is possible to get a belt tension figure from the LCD menu following a test procedure but the value is really a measure of the resistance felt by the stepper when moving the axis. On a correctly set up machine this does equate, roughly, to belt tension.
But other things can affect mechanical resistance, you are trying to eliminate these.
So: Retighten the belt until it just begins to make a low musical note when plucked.
The sound should remind you of a failing acoustic bass.
Cheerio,
RE: MK3s with Bondtech Extruder issues with quality of walls and permieters.
Hi @diem,
I finally had some time to disassemble the printer and check for issues.
The passive idlers for both the X and Y look good, they spin freely.
I have taken the belt from the X axis off and I noticed that the top smooth bar has horizontal scratches. You can have a look at the photos I don't know if you'll be able to see them easily. I don't necessarily feel resistance when moving the the carriage but it kinda feels slighly bumpy when I move it back and forth.
The passive idler of the y axis was a bit loose, not too much tho, I have tightened it up. The bearings look a bit rusted outside, I don't know what that means for it internally, but maybe it affects the axis in some way.
I have cleaned the smooth rods and tried to lubricate it with WD-40 White Lithium Grease, which I read it's good for 3d printers.
This is what the y axis sounds like when I move it with the belt unattached:
Maybe these could be affecting the quality of the print, but I'm not sure though.
Here are the photos I took
 The White Lithium Grease I tried to use
 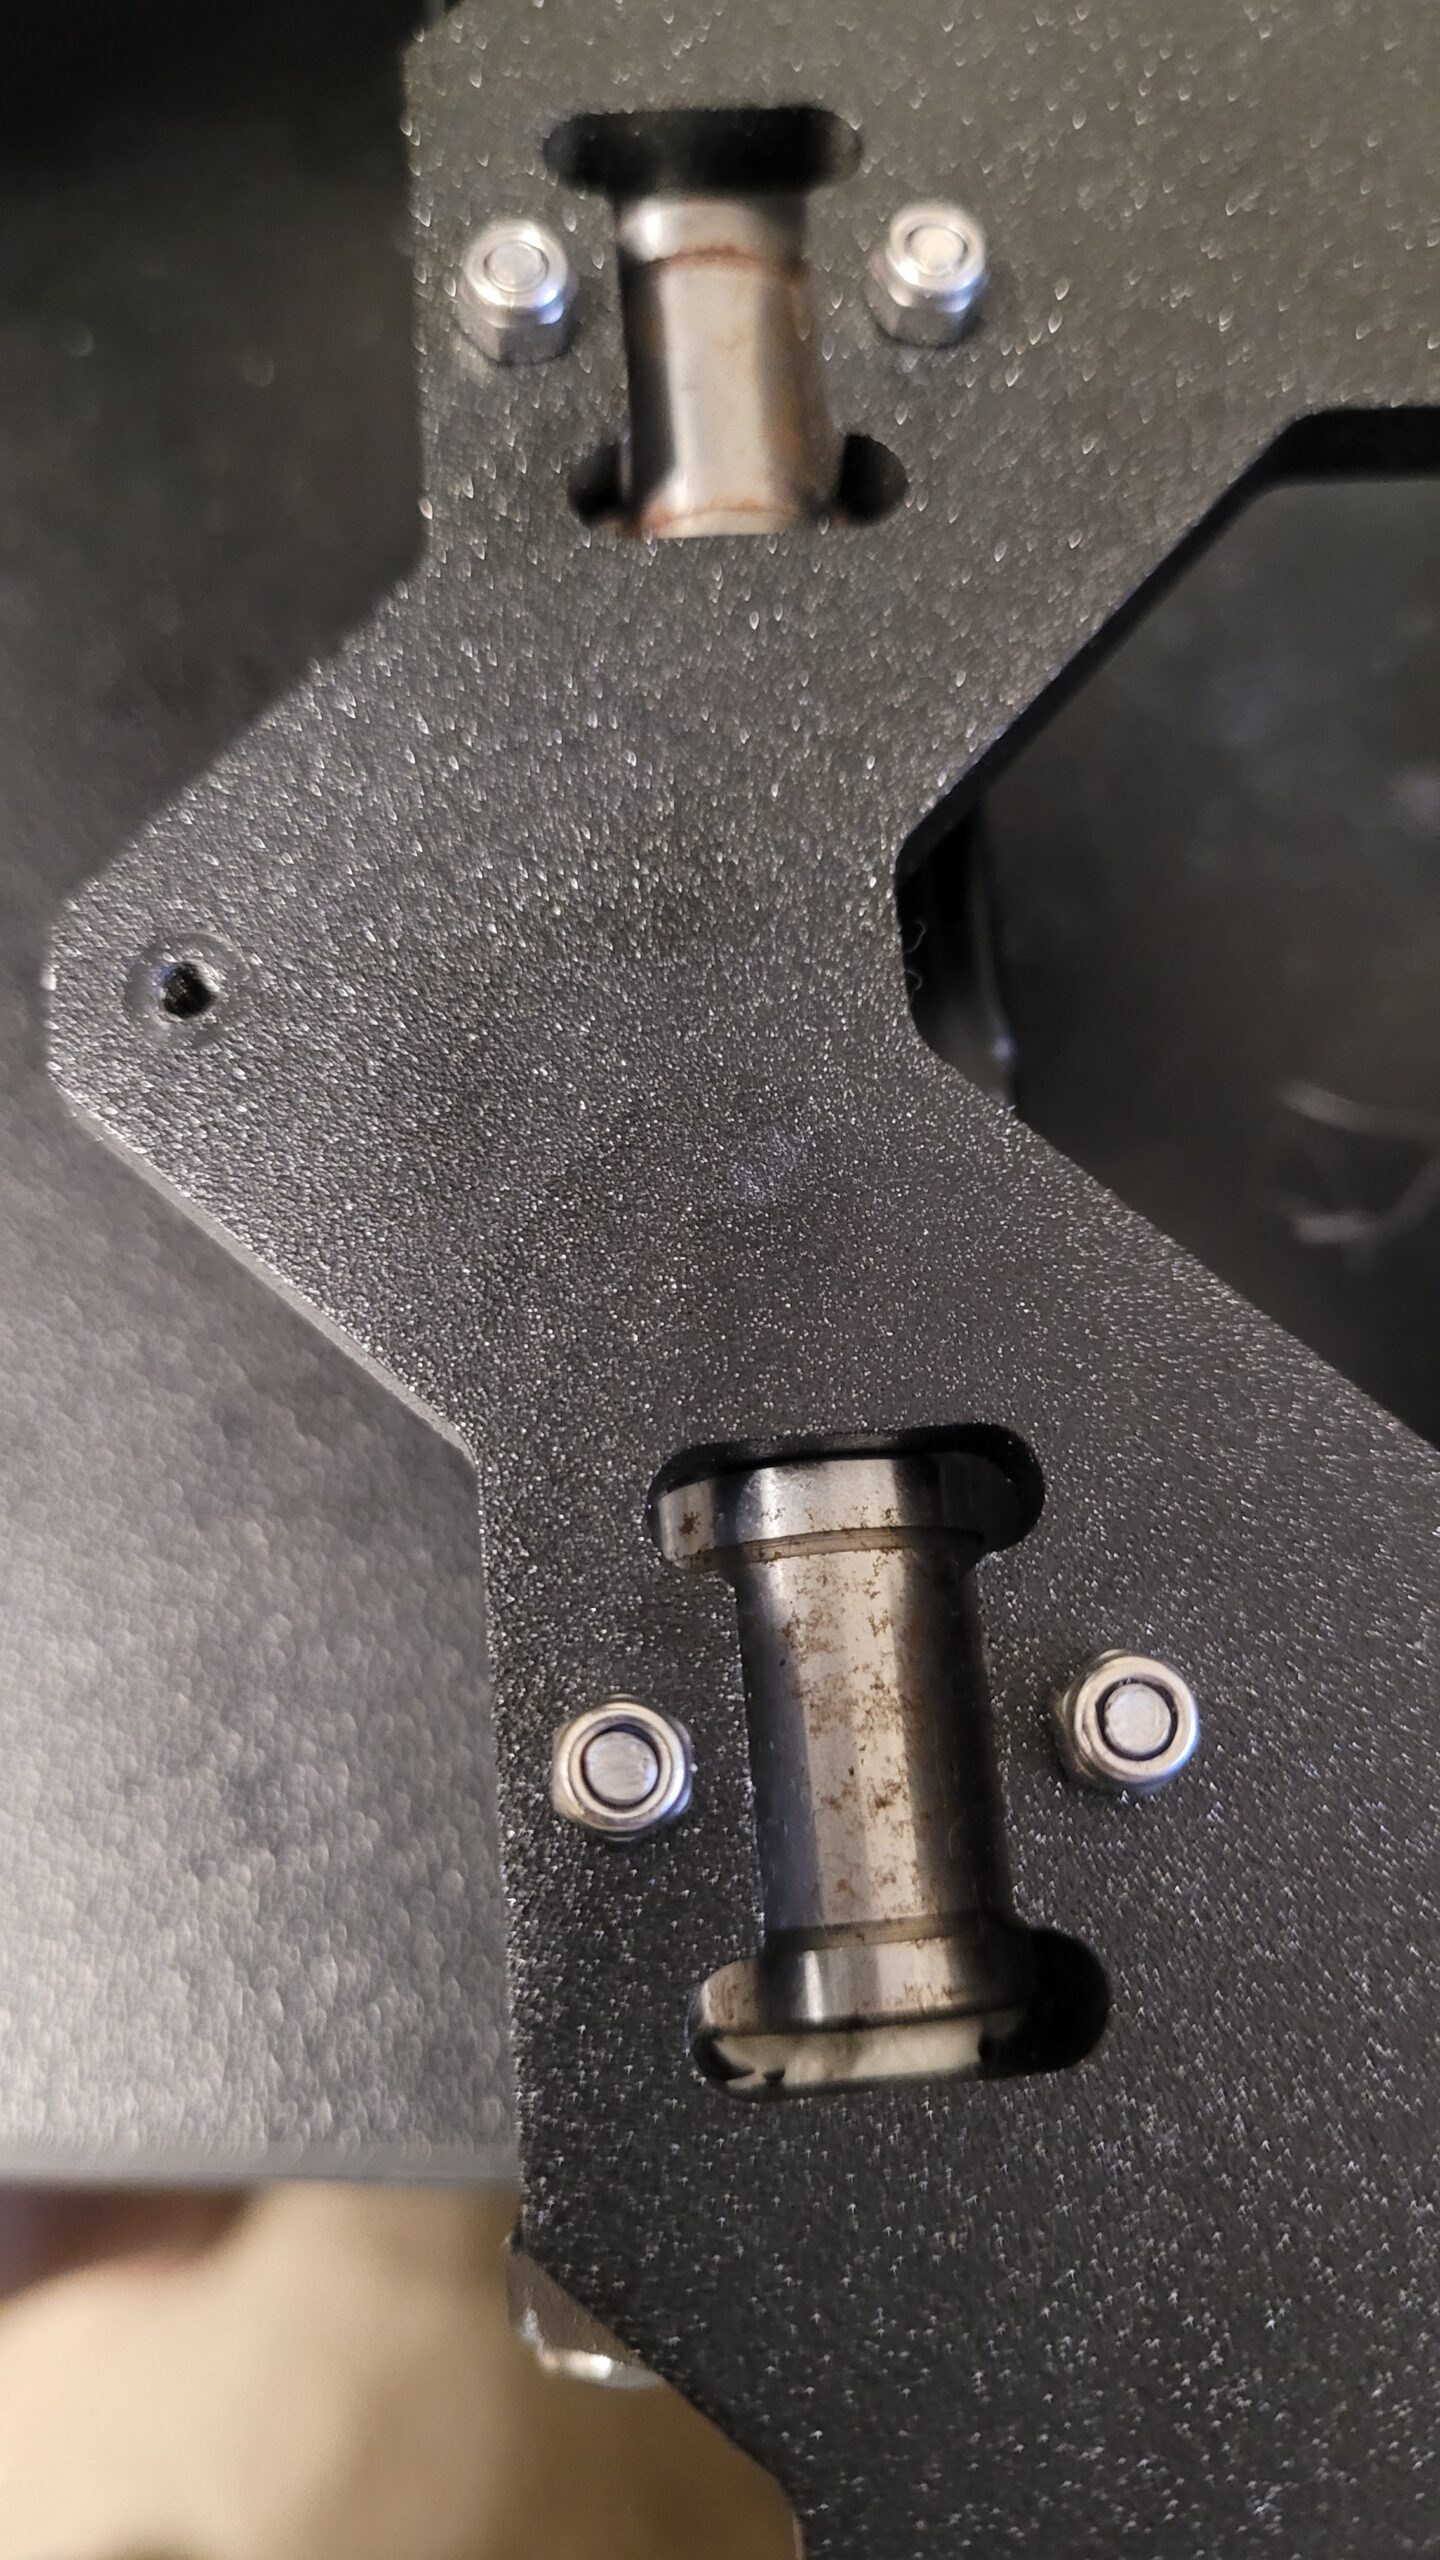 The rusting on the bearings of the Y axis
 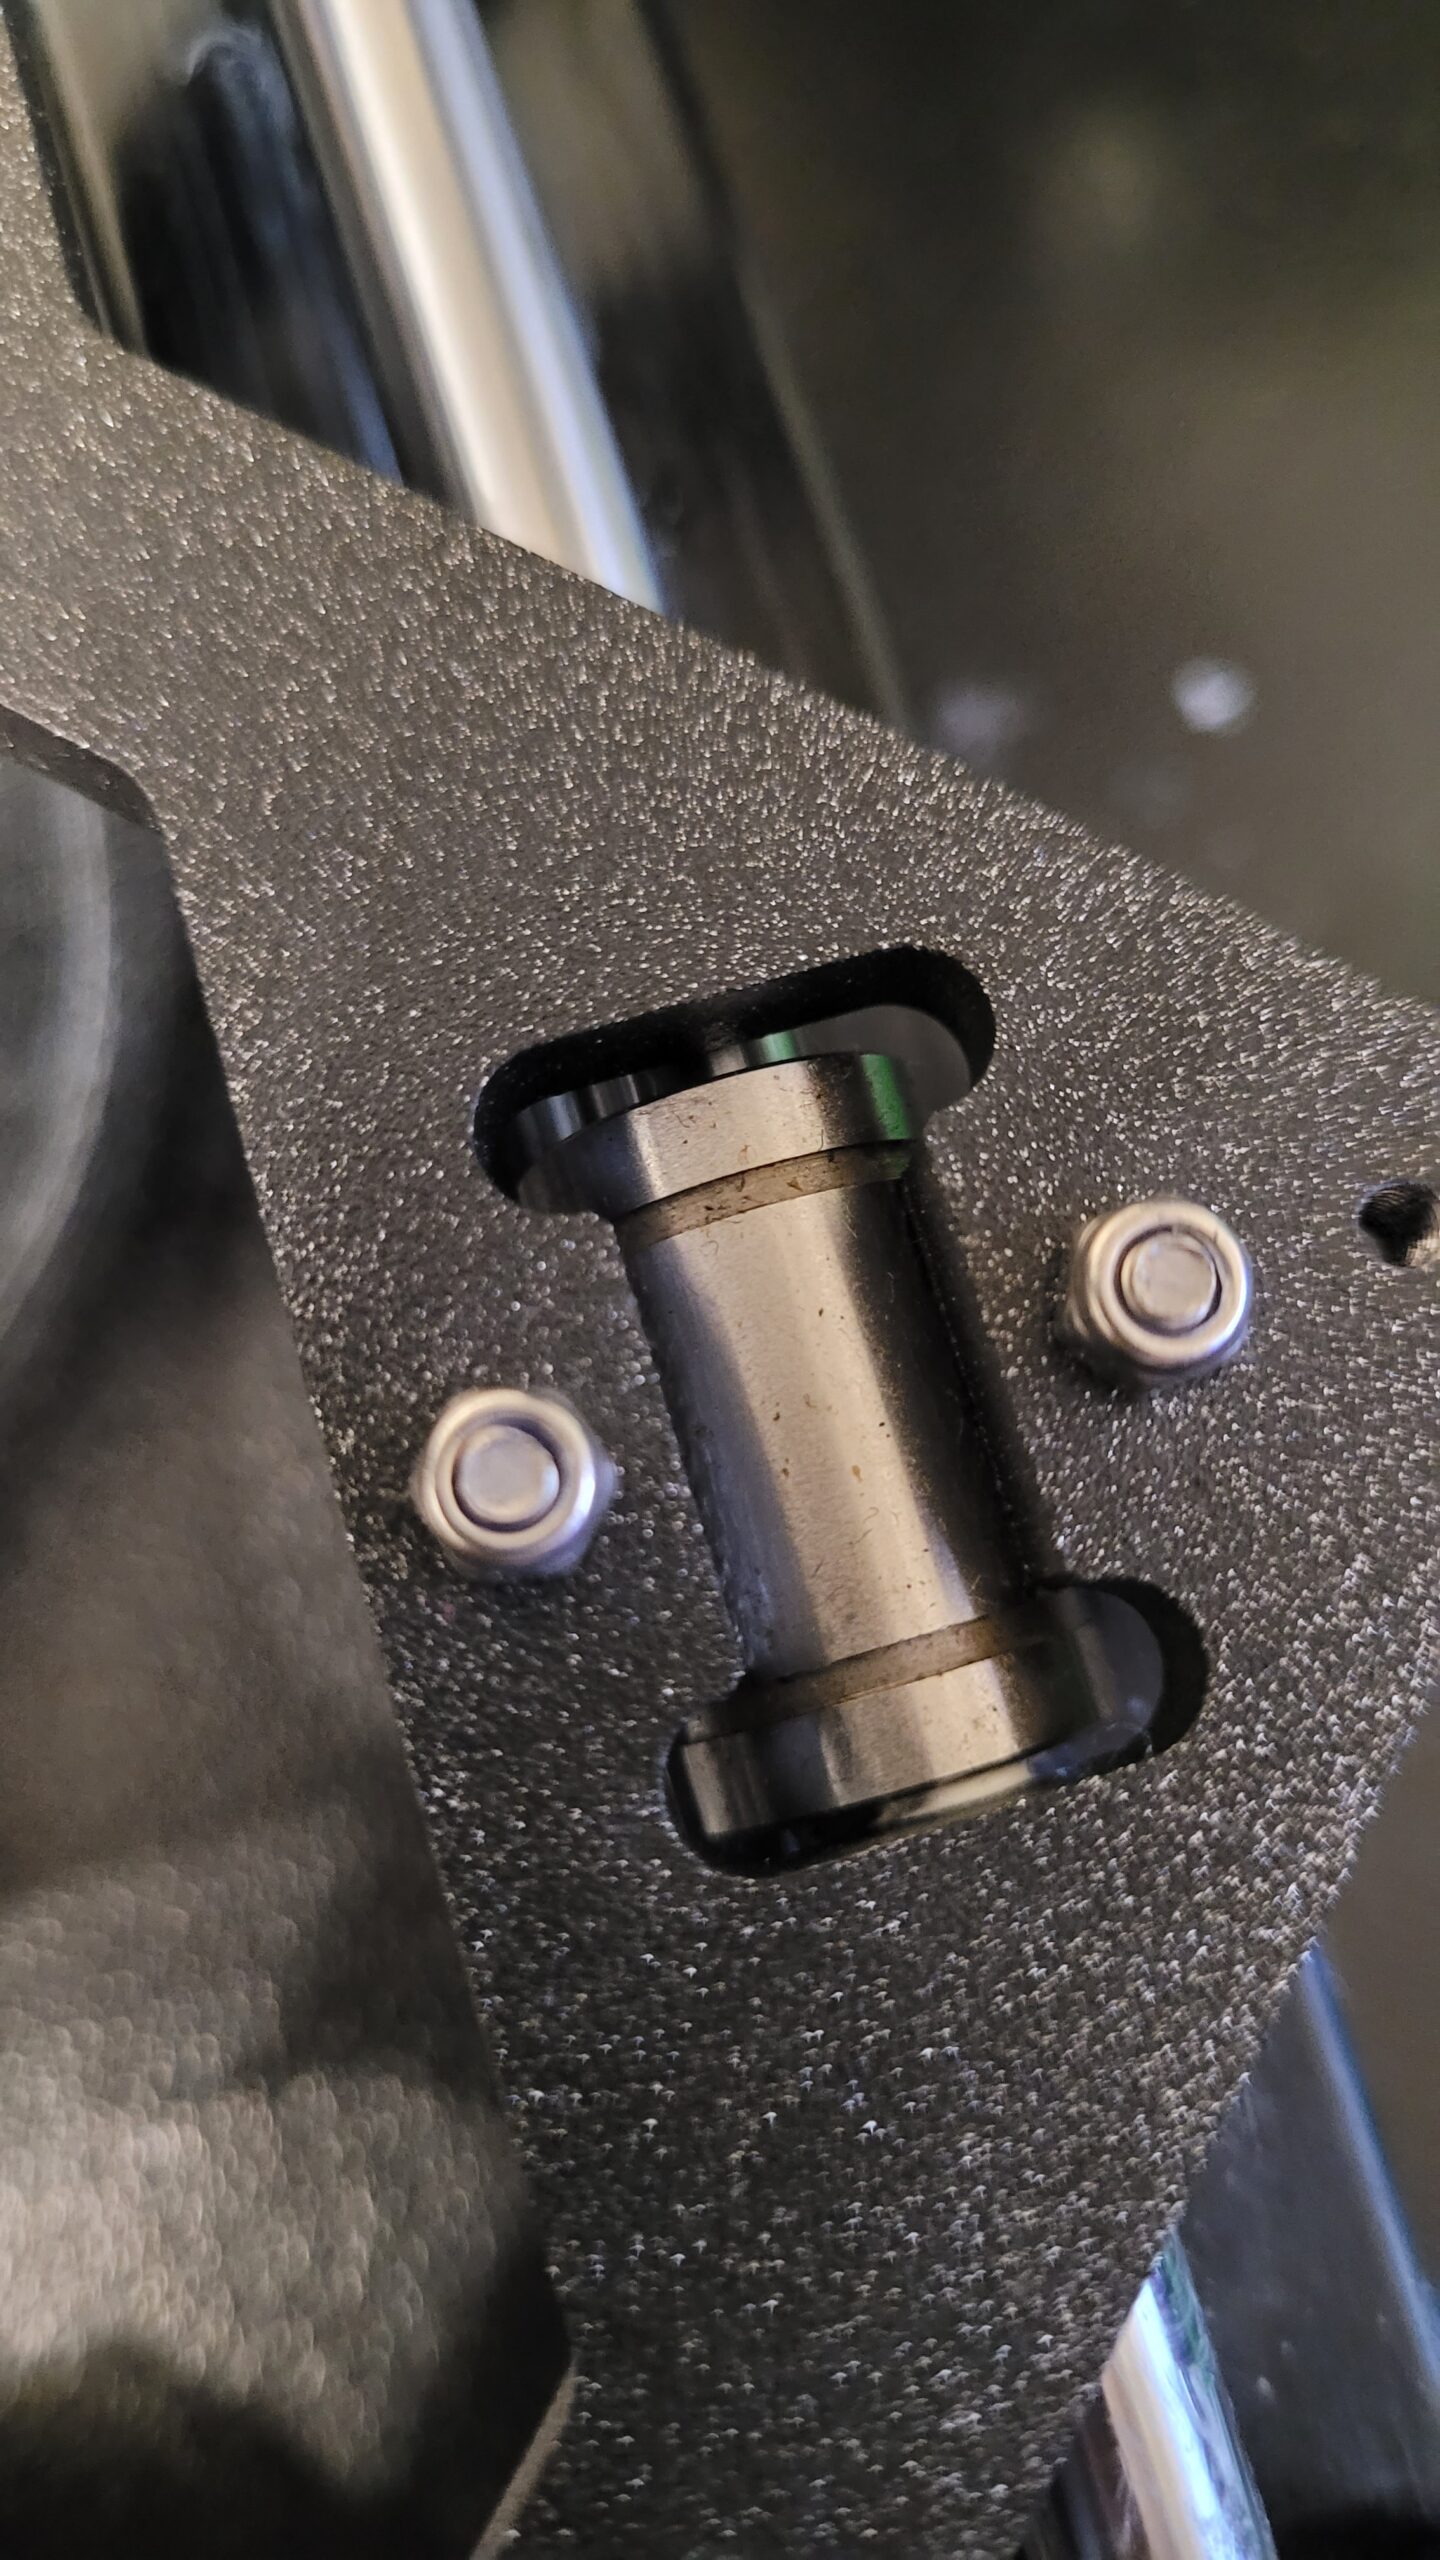 The rusting on the bearings of the Y axis
 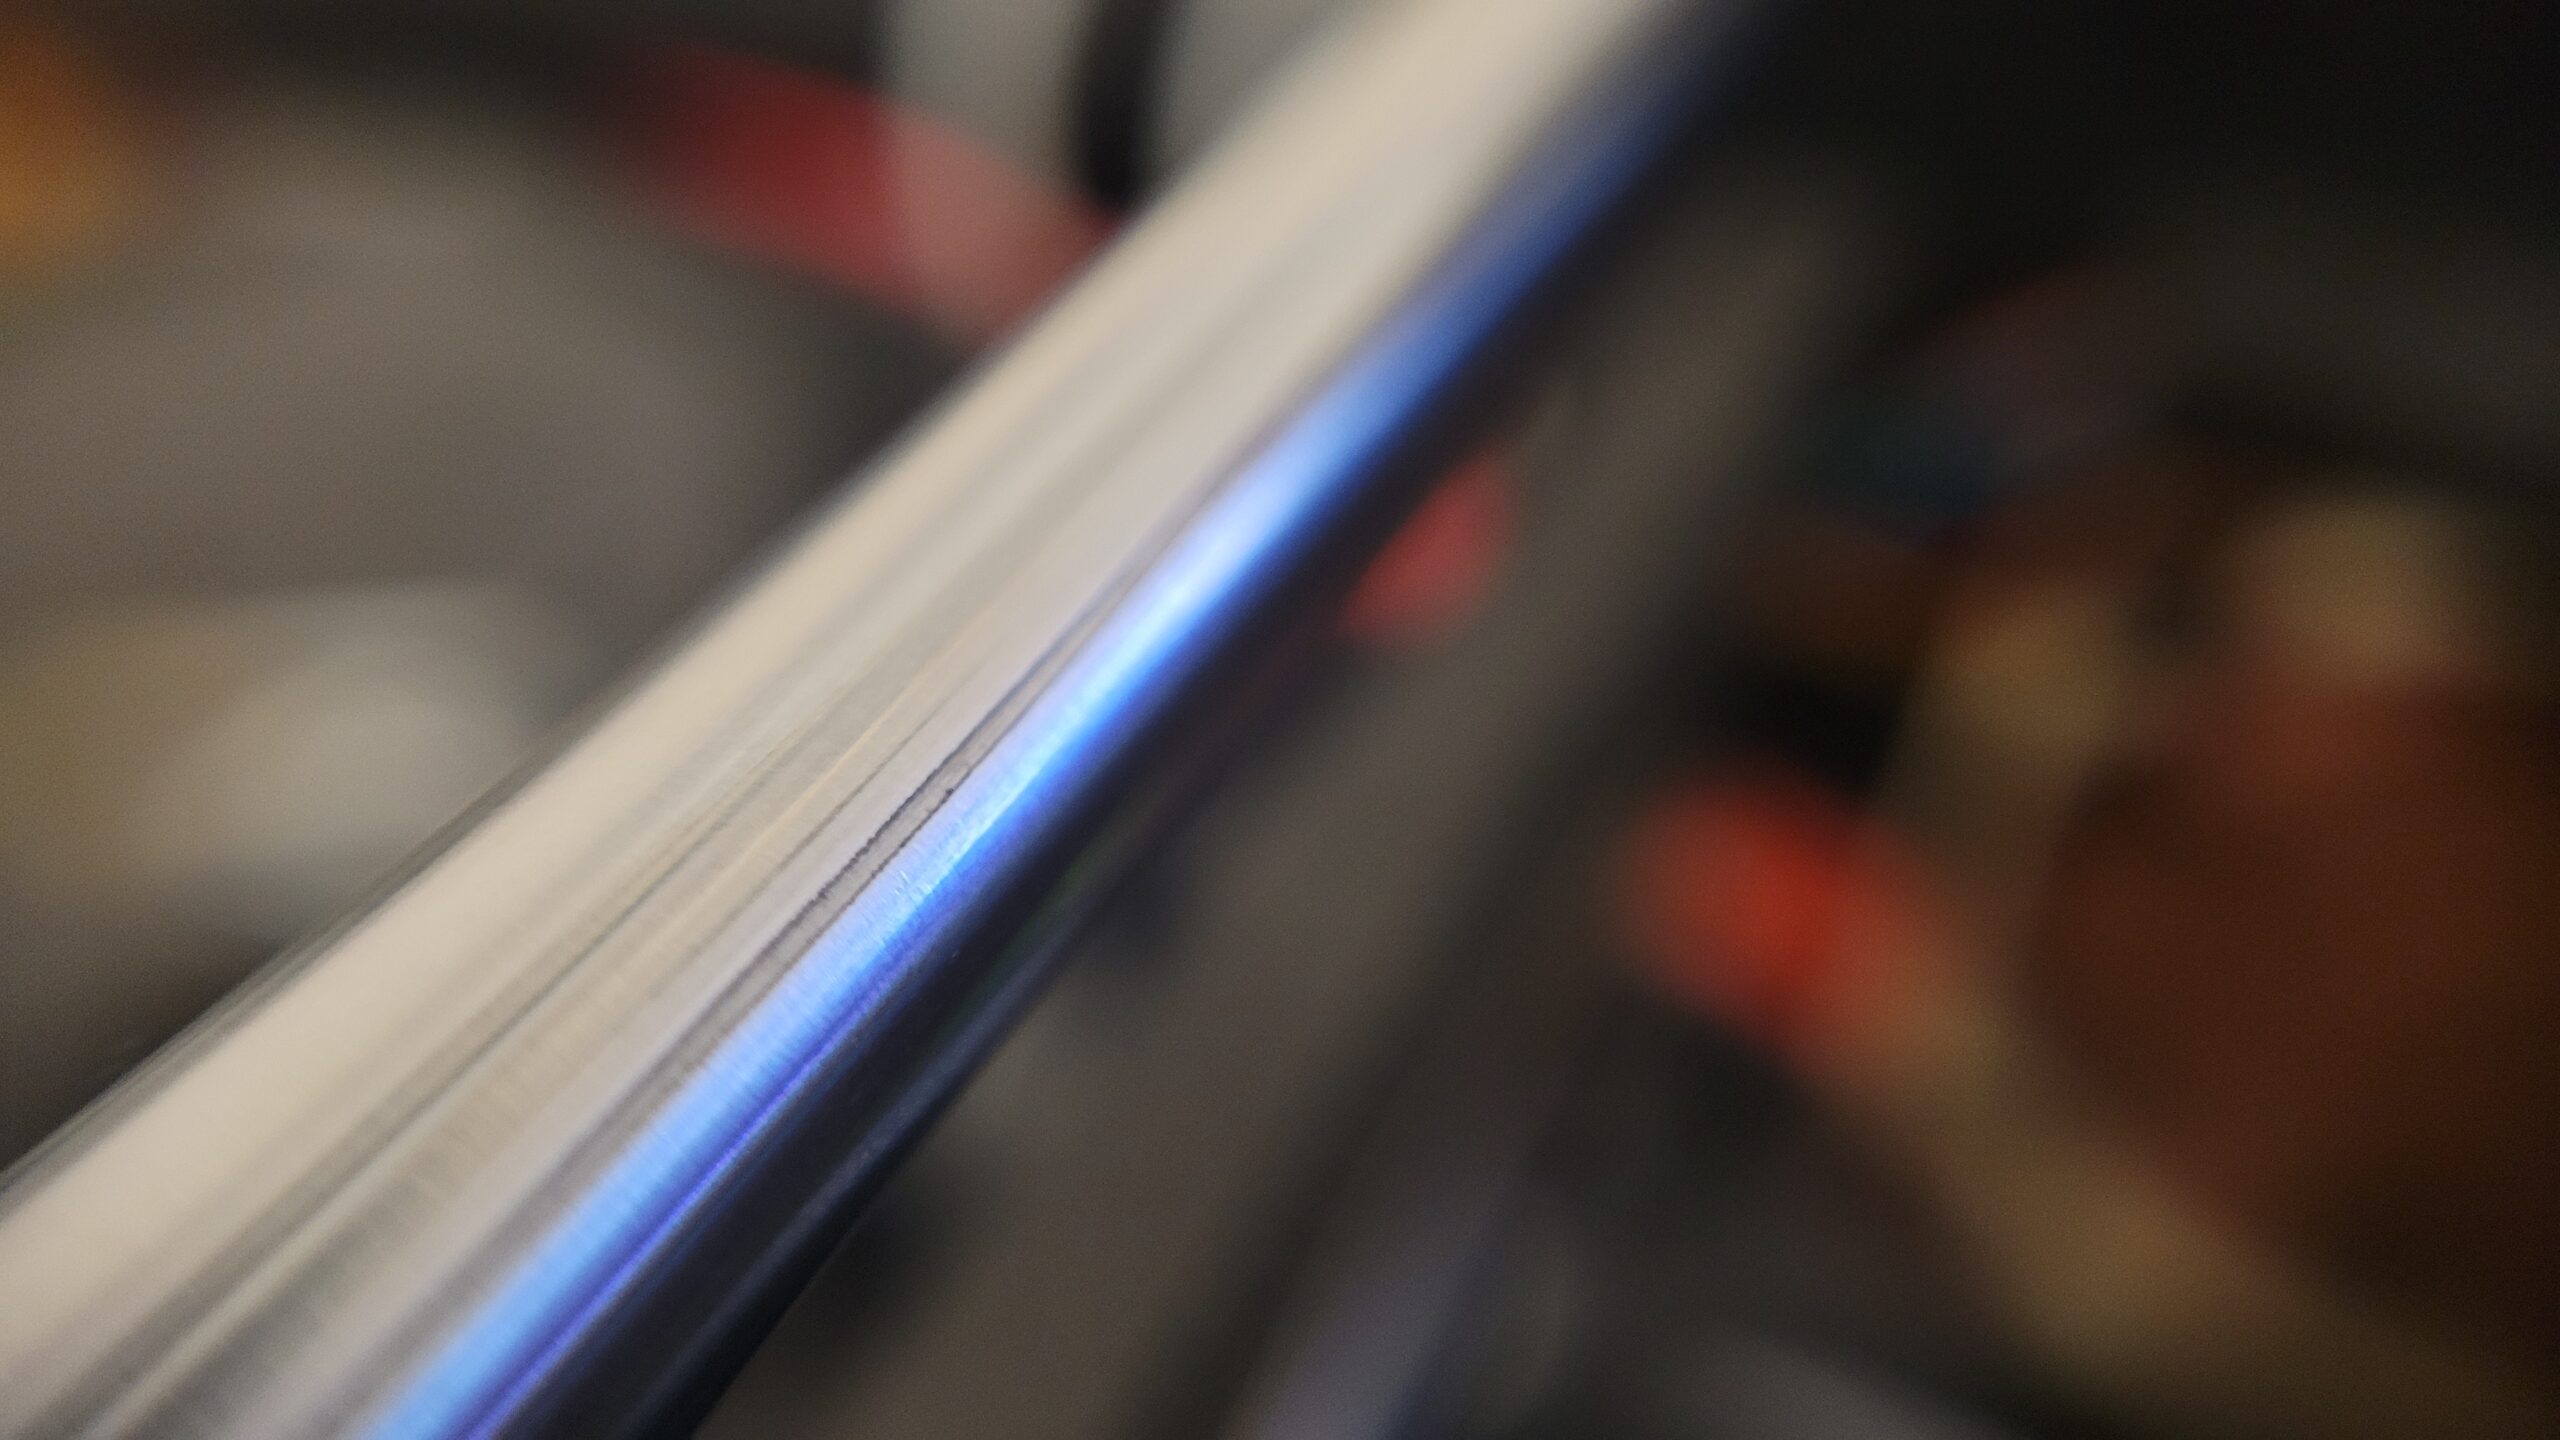 One of the scratches on the top horizontal bar of the X axis
 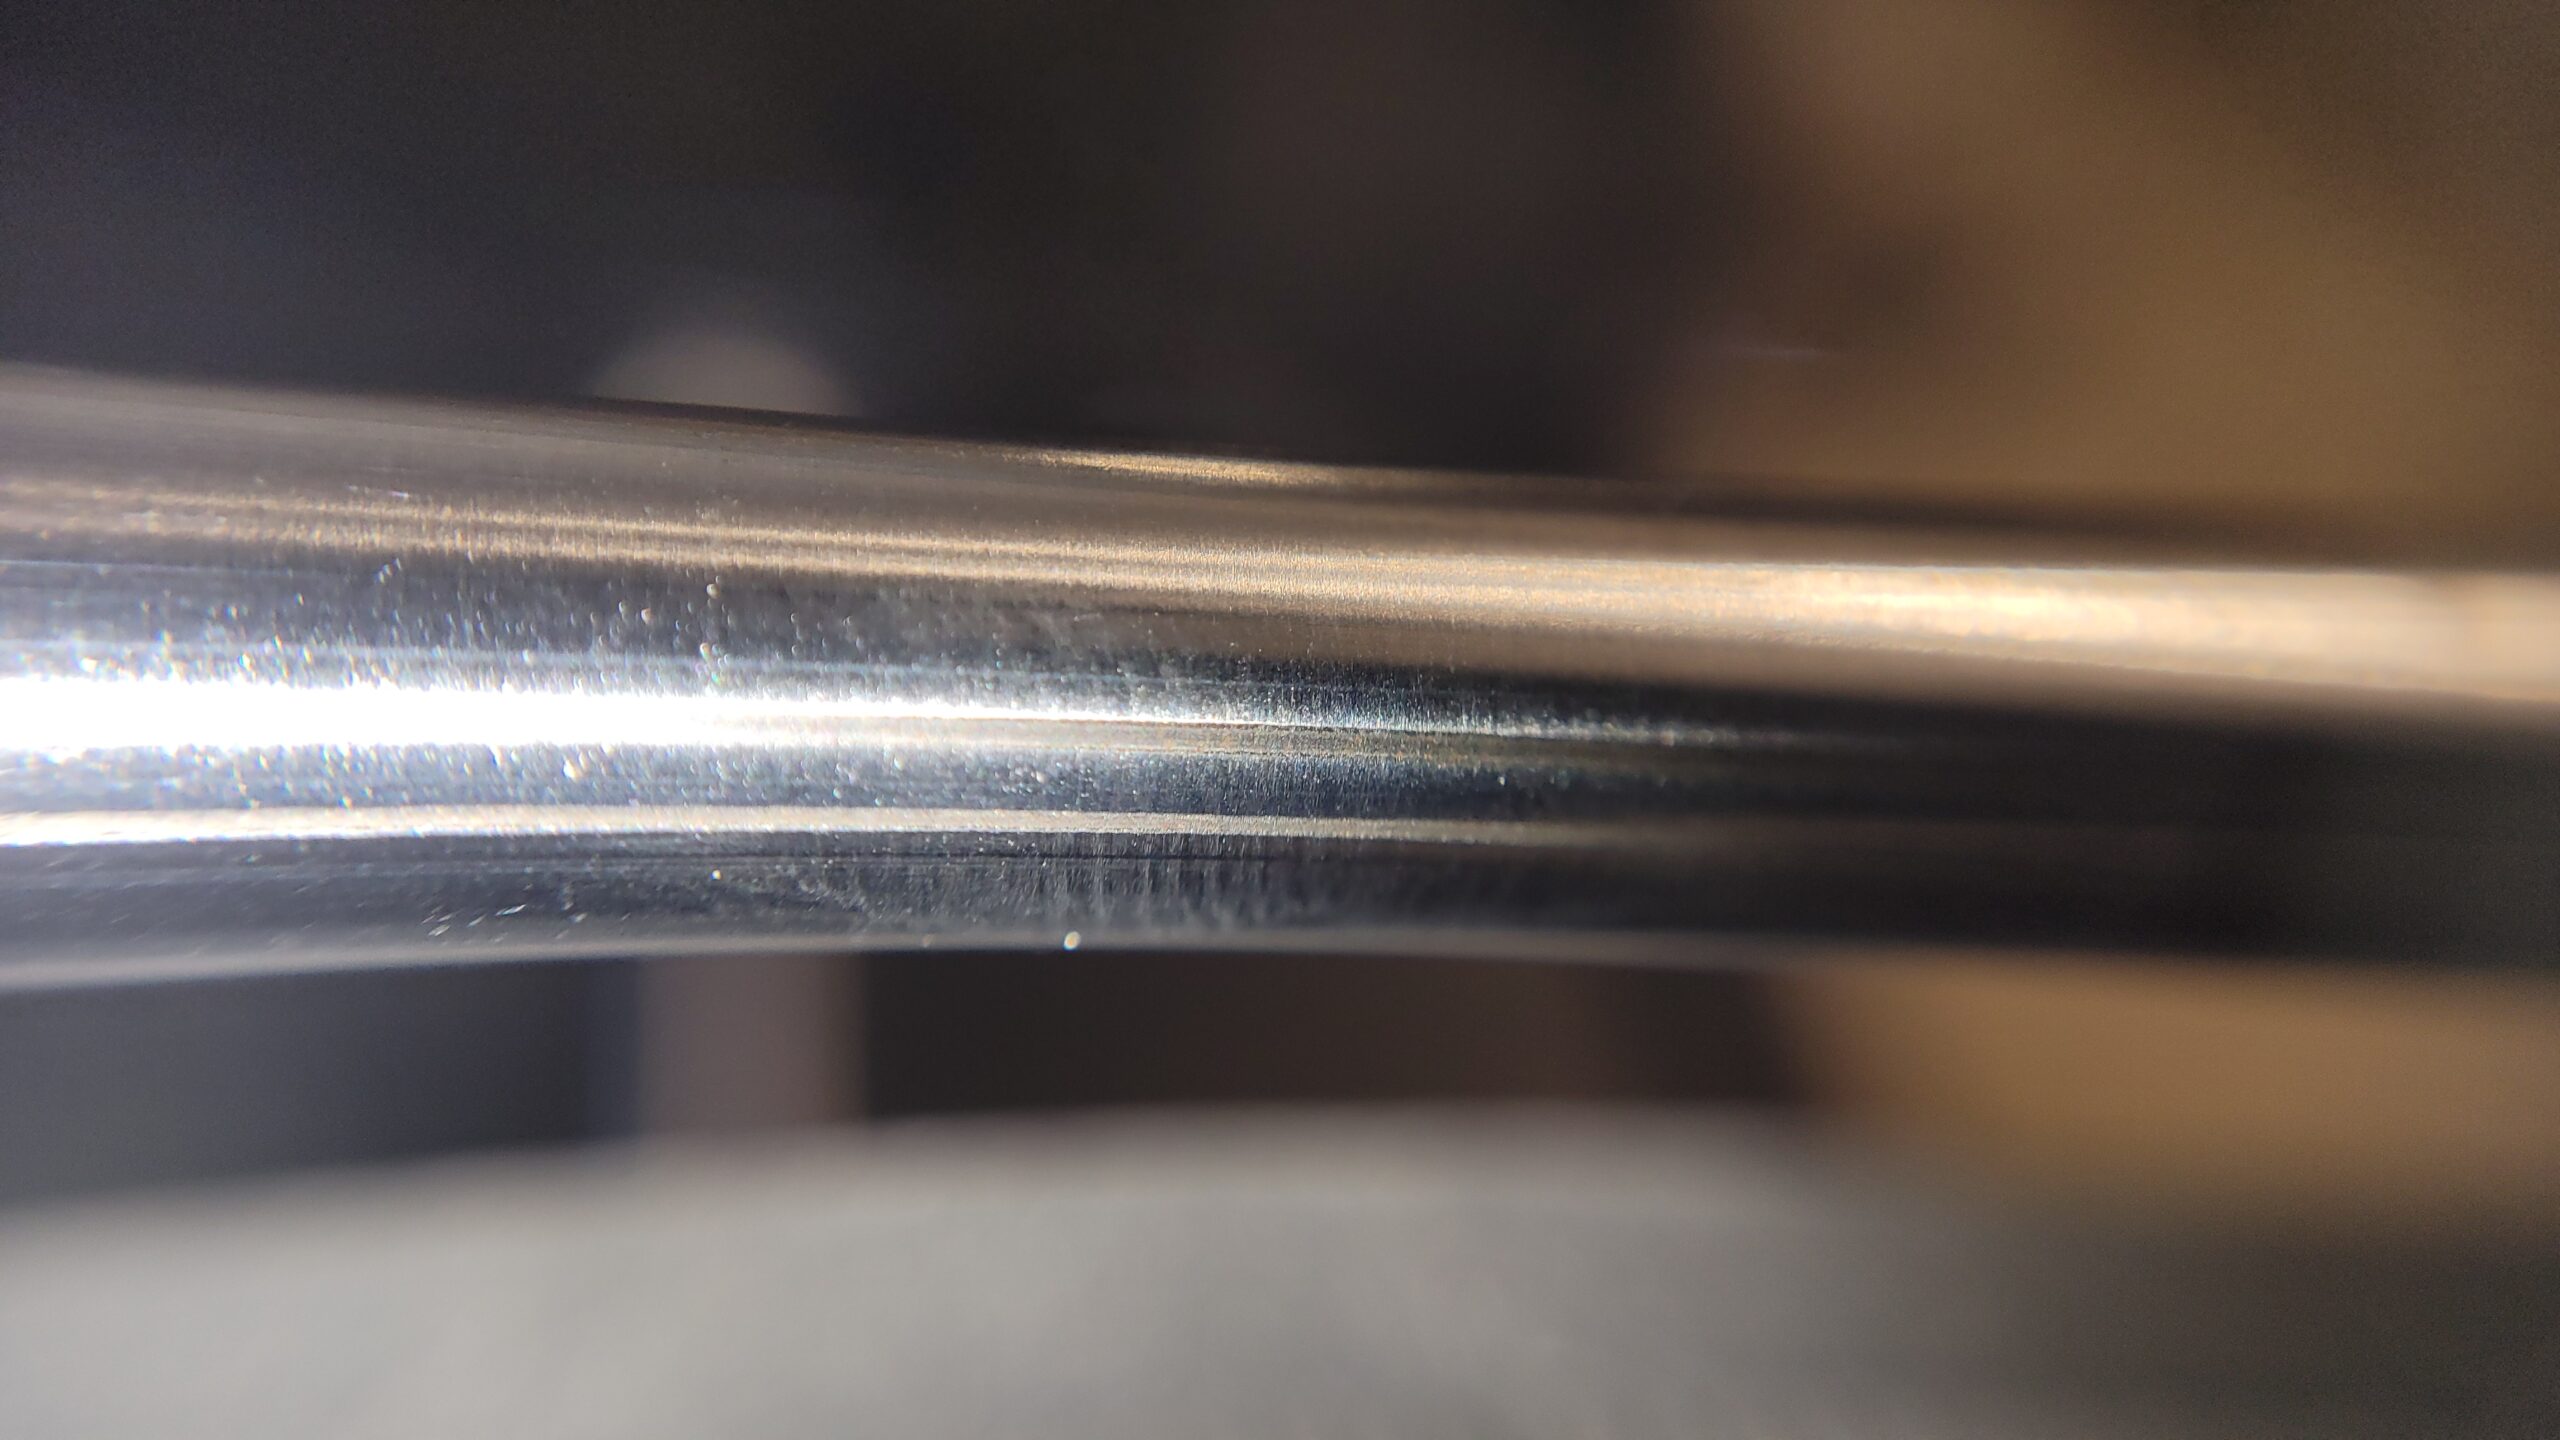 One of the scratches on the top horizontal bar of the X axis
Each axis has an active drive pulley, the cogged wheel on the stepper motor, and a passive idler on the other end of the belt which is actually more likely to fail, it can also clog, or, if screws come loose, twist out of line.
https://help.prusa3d.com/en/guide/3-x-axis-assembly_167854 Step 3
https://help.prusa3d.com/en/guide/2-y-axis-assembly_165795 Step 12
is there any other way I can test the tension?
It is possible to get a belt tension figure from the LCD menu following a test procedure but the value is really a measure of the resistance felt by the stepper when moving the axis. On a correctly set up machine this does equate, roughly, to belt tension.
But other things can affect mechanical resistance, you are trying to eliminate these.
So: Retighten the belt until it just begins to make a low musical note when plucked.
The sound should remind you of a failing acoustic bass.
Cheerio,
RE: MK3s with Bondtech Extruder issues with quality of walls and permieters.
For some reason I couldn't post images on the post again.
Here's one of the Y axis bearings, they all look like this.
These are two photos of the scratches on the top smooth rod of the X axis.
This is the lubricant I used, I haven't printed anything after applying it, just shot that video of the noise.
Do the scratches run the whole length of the rod(s) or are they deeper in the centre?
Do you know if the previous owner built this from the kit, or bought ready built?
It's hard to tell from the pictures, where are the scratches in relation to the rod - on top? at 45 degrees either side..?
I suspect the linear bearings may not have been correctly inserted...
Cheerio,
RE: MK3s with Bondtech Extruder issues with quality of walls and permieters.
Hi @Diem, thanks for getting back to me.
The seller said that the machine was built by Prusa, and it seems that it's true because the box is setup to accommodate a pre-built printer.
Now that I'm looking at it again, there are multiple of these scratches on the top and bottom bars of the X axis.
They seem like they are the same depth all over, but they all start and end at different points of the bars.
There are two that start around 1/4th of the way of the top bar and take all most the entire length.
There's one in the bottom bar that starts in the middle and ends slightly before the one on the top.
It seems that there are a few random small ones as well.
And yeah, it seems they are at a 45 degree angle from the top.
I removed the belt, and it doesn't feel like the carriage is snagging anywhere though.
I have purchased replacement bars for the X and Y axis from Prusa and replacement bearings. I'm waiting for them to arrive.
OK, that sounds like lack of lubrication/maintenance.
To refit see: https://help.prusa3d.com/en/guide/how-to-replace-bearings-on-the-x-axis-mk3s_214556
In mild cases rotating the rods and lubricating is sometimes enough but in this case replacement seems wise.
Cheerio.
RE:
Also to add to Diem's post, you need to be using a proper bearing grease. Im not sure the wd40 is a good choice for long term use.
If you need a temporary solution a light machine oil such as used on sewing machines (or guns if you in in a country that allows them) should be used as a short term stopgap as it can get past the dust seals by working them back and forth, until you can remove, clean and repack the bearings with a proper grease.
RE: MK3s with Bondtech Extruder issues with quality of walls and permieters.
I have purchased the rods, bearings and 2x5g lubricant straight from prusa.
I'm waiting for them to arrive. I'll replace everything properly and report back here when they arrive.
Should I apply grease to the new bearings or the grease that already comes with them is good enough?
Thank you guys so much for the help!
RE: MK3s with Bondtech Extruder issues with quality of walls and permieters.
So, I have replaced the smooth bars and bearings, and the walls looked better, but I noticed my extrusion was looking ugly.
So I went to replace the nozzle, but the nozzle is completely stuck to the heatblock, so I had to replace the heatblock and heatbreak as well. The issue is that the other heatbreak I have is clogged, and I can't get the old heatbreak out.
So I guess it's a few more weeks of me waiting for new heatbreaks to arrive...
Fun...