filament sensor commanded change routine
I have been having great luck (knock wood) with the sensor detecting the end of filament going to the right front and doing its change thing. using PolyAlchemy Elixir it has worked just fine for the last 6 sample lengths from their sample box but on the last one it went a bit to far in using the last bit and the end got just past the bond gears requiring the use of needle nose pliers to extract the approximately 65 mm length still in the teflon tube. this went well as did the auto load of the next sample (note this is a very shinny plastic yet the stock sensor arrangement is working well.
My question is there any way to adjust the point at witch the change is run? all the other times the unused length that is ejected is about 75mm which is fine why did this one run a bit longer and not stop while there was still some left between the gears? I want it to stop feeding the moment it is past the sensor not wait until the bitter end has passed the gears
Re: filament sensor commanded change routine
Is the filament glossy so that the sensor has difficulty detecting the filament, (or was the sensor turned off 😕 ) ?
Bear MK3 with Bondtech extruder
Re: filament sensor commanded change routine
That is a good point I am printing from the poly alchemy elixir sample box and the one that pulled a bit too far getting past the bond gears was one of the lightest shades they are all what I would call glossy but the sensor was dead nuts on the others yes the sensor was( is) on I have only had to turn it off for some transparent stuff. I did not consider that the shade would have an effect as I was thinking it is all the same formulation
it is lovely stuff to print and seems to have less chance of globing in the nozzle and heat block than for example prusament. so it prints very cleanly. the maker provides excellent support that should be a model for all manufactures (appended as a quote below
https://www.printedsolid.com/products/polyalchemy-elixir-sample-pack-pla-blend

https://www.polyalchemy.com/pages/beginners-guide
THE BEGINNERS GUIDE TO PRINTING WITH POLYALCHEMY ELIXIR
Basic Settings
Here are the basic settings to get you started with Elixir.
Hot End Temp - As the box reads your print temp should be between 200-220℃. We recommend starting at 215℃ and adjust from there. It isn’t recommend ever going over 220℃ as it is possible to burn off the sheen if you get too hot.
Bed Temp - 45℃ -65℃ but a heated bed isn’t required.
Layer Cooling – Not required but helps with bridging and overhangs.
Speed – Recommended starting point at 30mm/sec and adjust from there. The slower you print the better the sheen will be. Some of the best results we’ve seen were printed at 25mm/sec. It is not recommended to print above 40mm/sec.
Infill - Infill can be done at any level from hollow to 100% solid achieving the same great sheen. Obviously the closer to solid you get the better your layer adhesion will be and the more durable end result.
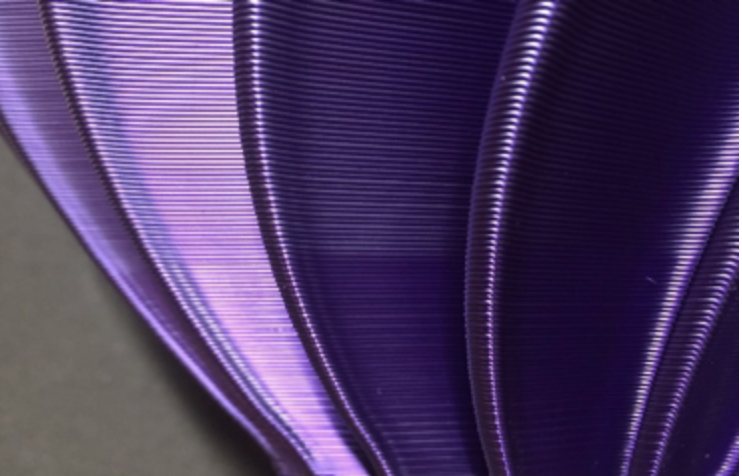
Notice the shift in color and sheen halfway up. This was caused by speeding the print up from 25mm/sec to above 40mm/sec.
Retraction – As always you will want to keep this at a minimum, but you may find it will take more retraction than you would use for a typical PLA.
Nozzle size – Any nozzle size can be used, but the larger diameter the better layer adhesion will be. This is especially noticeable in vase mode prints. There is a significant improvement in layer adhesion increasing from .4 to .6 nozzle diameter.
Trouble Shooting
Problem: When loading filament it extrudes very thick from nozzle.
Solution: This is normal for Polyalchemy Elixir, this filament has a unique surface tension that causes it to pull back and swell into the thick extrusion you are seeing.
Problem: When performing a “Cold Pull” the filament jams in the heat break.
Solution: It is not recommended to perform Cold Pulls with Elixir. The same surface tension that causes the thick extrusion swell can cause the filament to swell and jam in the heat break if pulled at low temps. It is recommended to instead perform “Warm Pulls” at temps above 160℃. If you feel a Cold Pull is necessary to clear debris from the nozzle it is recommended to load a regular PLA then perform the Cold Pull.
Problem: After several successful prints now I’m starting to get jams.
Solution: Like with other filaments debris/residues can accumulate in the nozzle. Perform a “Warm Pull” and reload the filament. This typically will resolve the clogging issue.
Problem: Print is all stringy but printed without stringing previously with same settings.
Solution: Check Humidity level in your Maker Space, if humidity is above 50% it can cause excessive stringing.
Problem: Filament has problems feeding down Bowden tube.
Solution: Check Humidity level in your Maker Space, if humidity is above 50% it may cause the filament to stick to the Bowden tube and not move smoothly down the tube.
Solution: Install a filament filter/oiler.
Humidity in Maker Space was at 75% and caused stringing and under extrusion due to feed issue.
This how to guide was written by
Karl Brown
@NAK3DDesigns
It is based on his personal experiences using Polyalchemy Elixir filaments. As with any filament, results may vary due to differences in printing technology.