Unsuccessful solving X-axis error during self check
Hi there! Thanks for taking the time to open this thread.
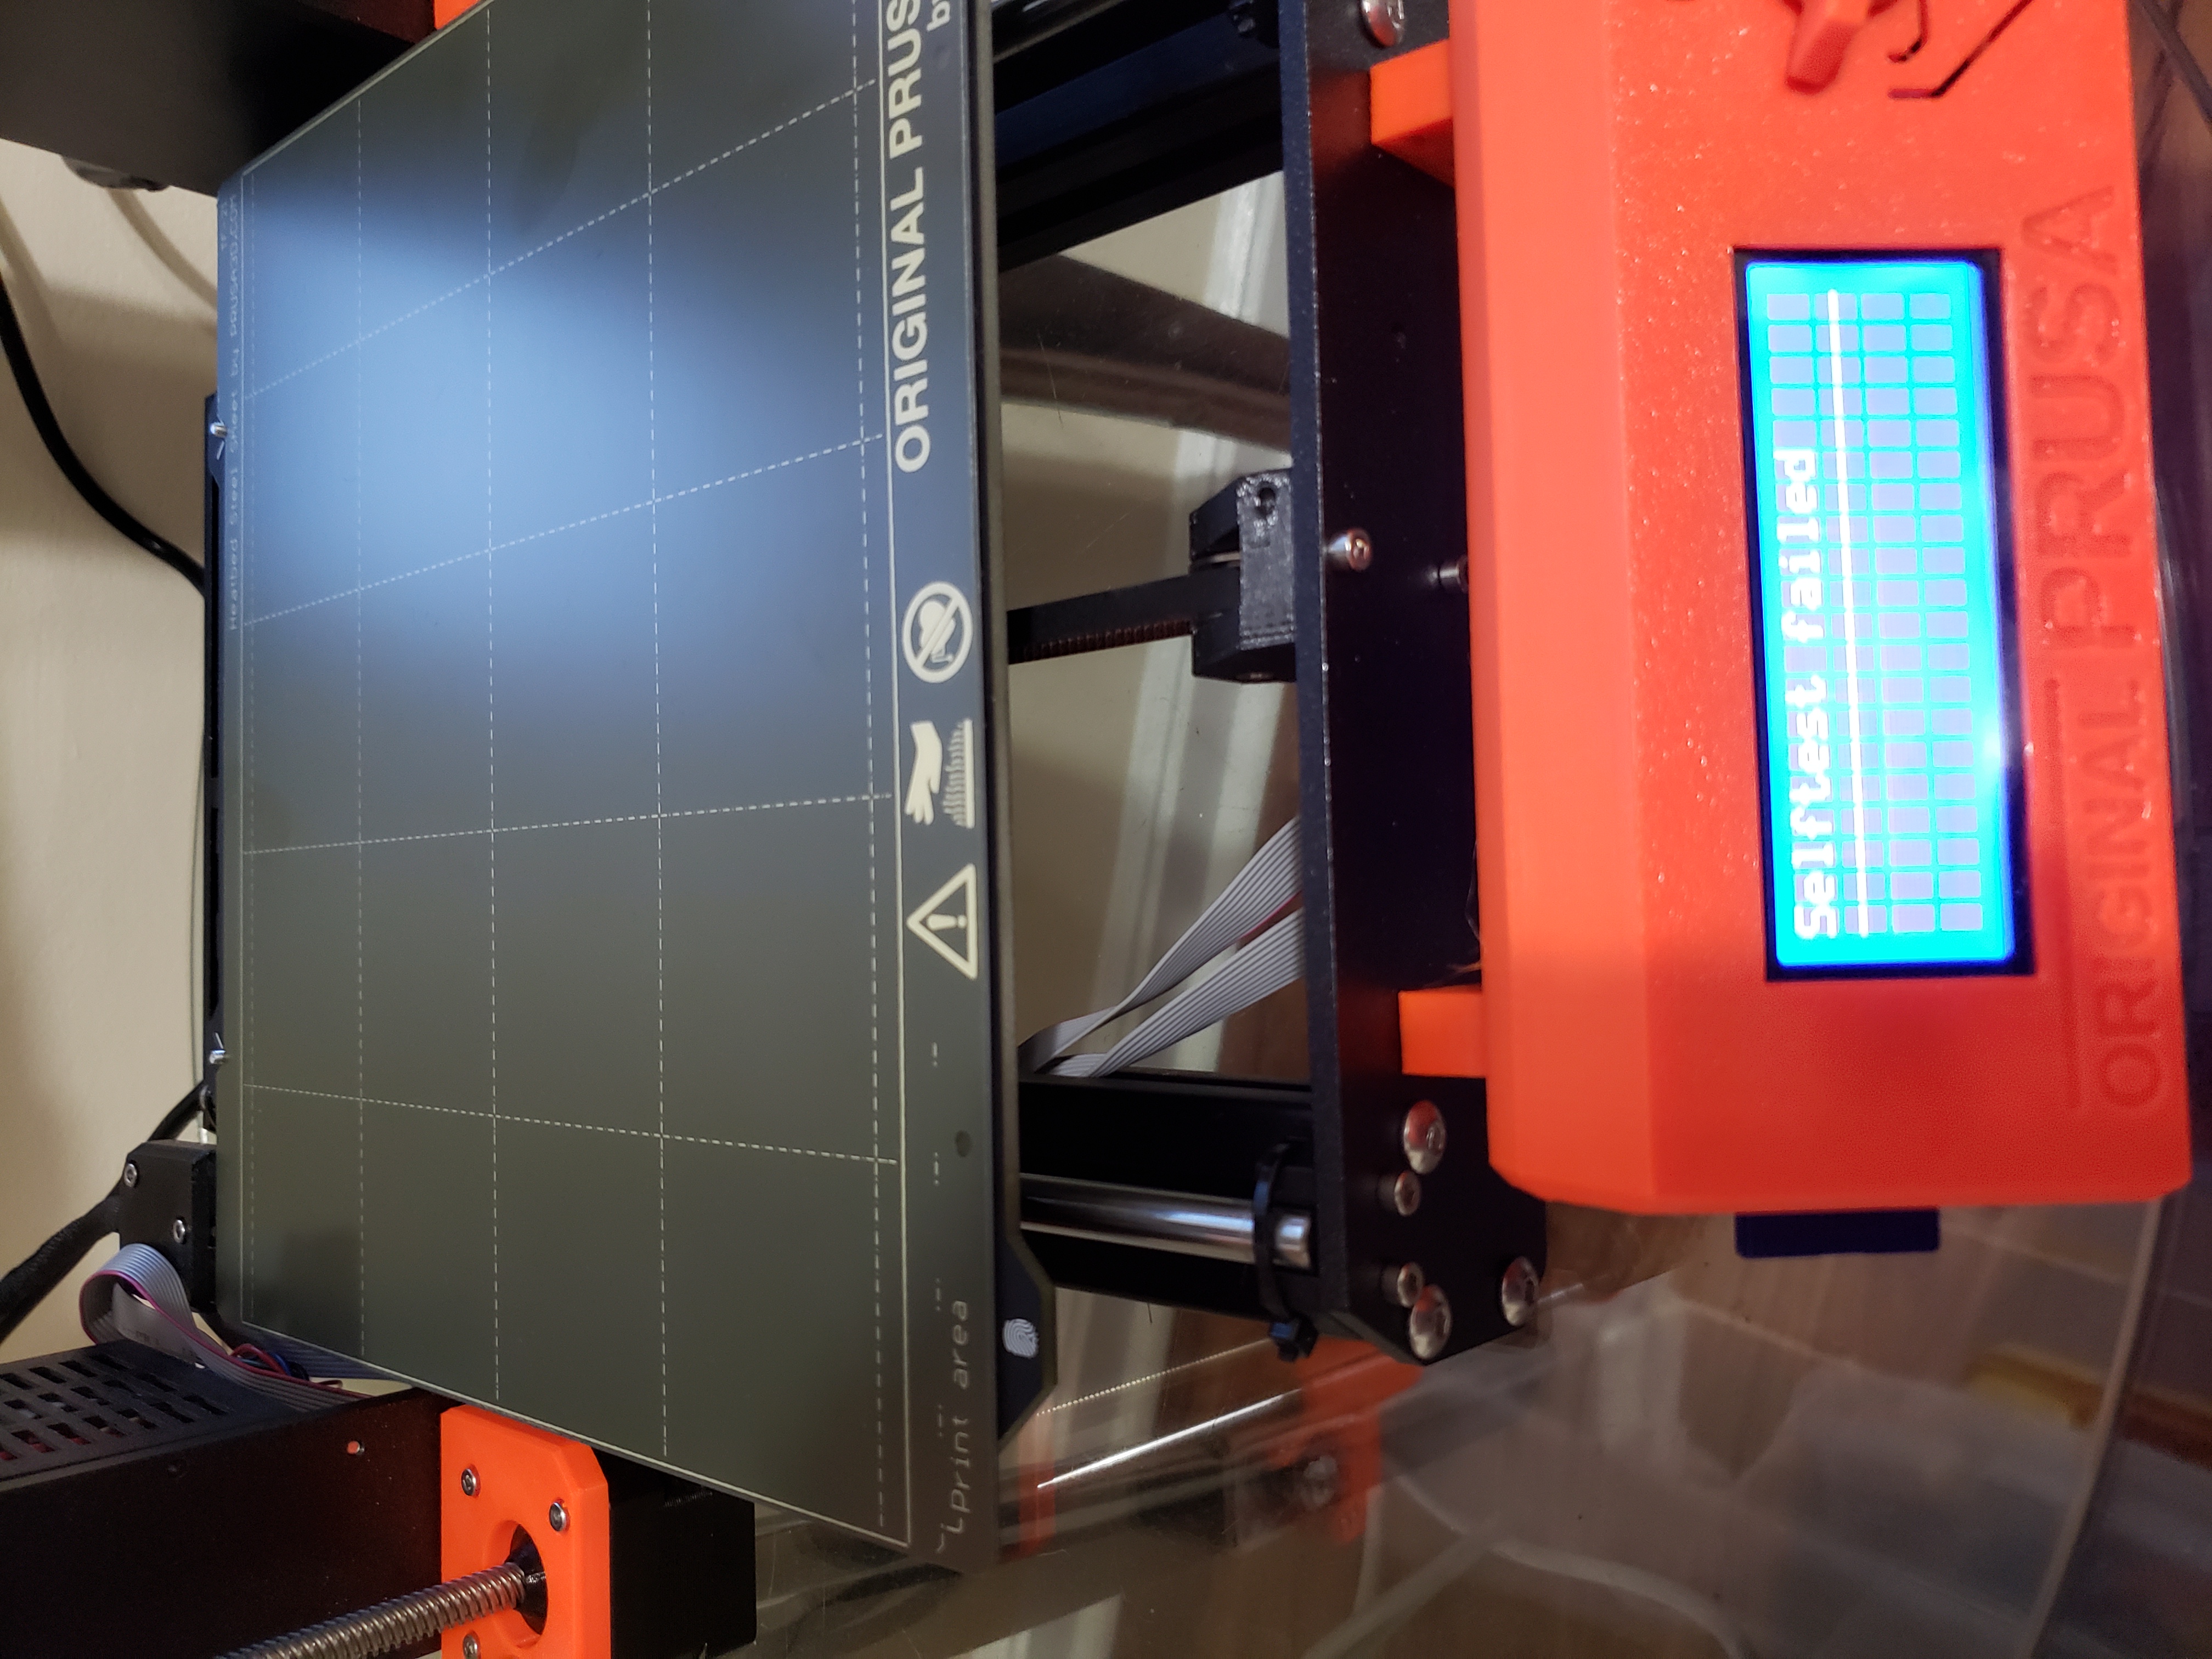
After a weekend spent assembling my Prusa (first time), I fired it up and ran into the X-axis length error during the self check. Browsing through the many forums existing on the error, I tried troubleshooting with many of the quick tips suggested:
- Making sure the zip ties are not hitting anything
- X-motor pulley bolt attached to the belt is in the correct orientation
- Loosening the screws on the back plate of the extruder
- Lubricating the x-axis rods so that the extruder runs smoothly across it
- Removing the steel plate (saw that somewhere on youtube)
I wanted to avoid disassembling the x-axis and extruder but the quick fixes did not work.
One thing I do notice is when i move the extruder along the x-axis with my hand (powered off), although it's smooth, there are times that it seems to get stuck and requires a little more force to continue down the axis. This does not happen in a certain place and is not reproducible every time.
Images and video can be found here: https://imgur.com/a/UA4V8rl
Can anyone advise what I should do?
Thanks in advance!
RE: Unsuccessful solving X-axis error during self check
When you move the head by hand from side to side can you see what parts are hitting each other to stop the movement? I can't tell from the pictures, but is your "cable holder" aligned straight up and down?
RE: Unsuccessful solving X-axis error during self check
Hi I'm having a similar problem where I can't get past the x-axis test. And the machine also vibrates a lot and I can hear some tension with the belt. I think I need to loosen the belt but before I mess with that I just wanted to ask your opinion. I tried to send a video but it was too big for the site
Thank you for looking authentic comment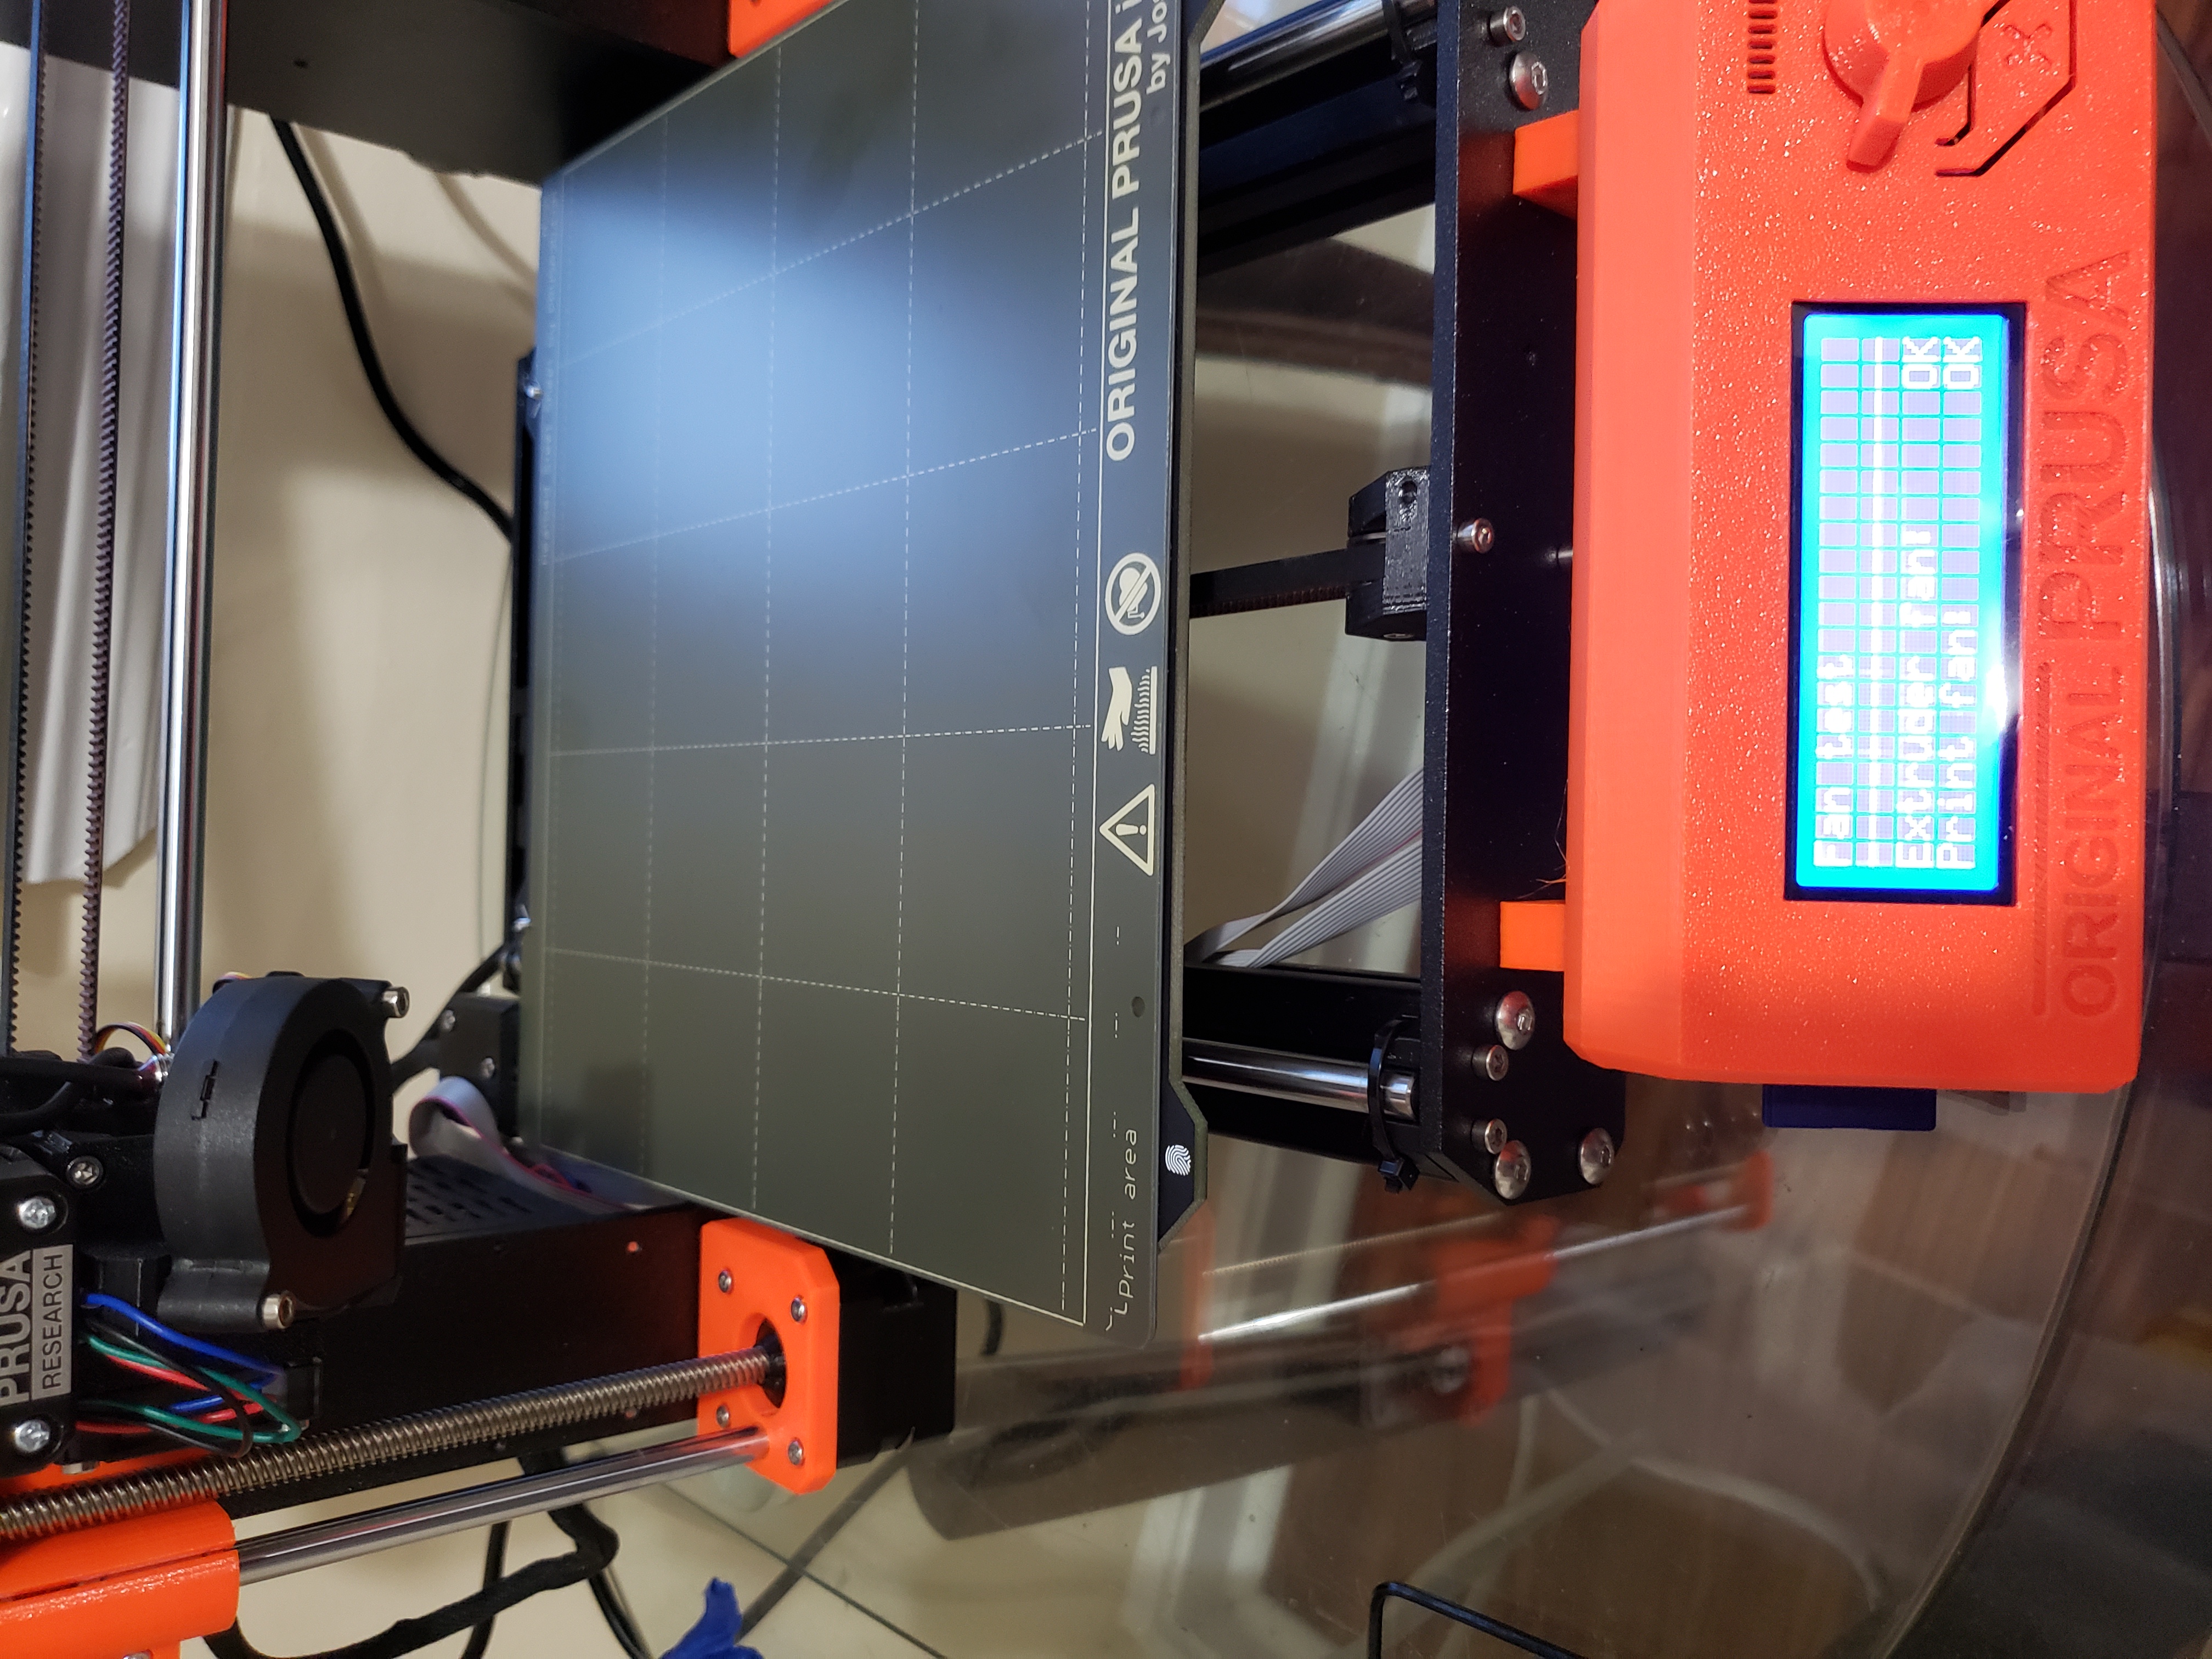
RE: Unsuccessful solving X-axis error during self check
I haven't had the time to resolve the issue since it's been a busy 2 weeks with work, but today (Saturday) I am dedicating the whole day to get this thing working!
@gkmakeit, thanks for your response. I am able to move the head from side to side without any interference from cables, zip ties or parts of the extruder.
Checking the belt status I find that the tension reads X 235 and Y -1 . The recommended setting is 240 - 280 so I think there may be a problem with the belt tension. No clue why Y reads -1.
I found this helpful guide on another forum post: https://forum.prusa3d.com/forum/original-prusa-i3-mk3s-mk3-others-archive/self-test-error-x-axis-length/
This is what I did to resolve..
I recommend you read first and understand the steps as they can be a pain, but I think I've outlined them well enough.
If you decide to try this, please use caution and if any step does not make sense or 'feel' good, then stop !- remove the filament for this proceedure
- remove all the zip ties from the wire bundle on the back of the extruder.
- unplug the Molex (Black) connector from the top of the extruder
- take out the 5 screws holding the back plate on the backside of the extruder
- pull back the spiral plastic shield and allow the back plate to pull back about 3/4 inch
- unscrew and remove the X-Axis stepper motor
- remove the belt and set it aside for now
- working from the back of the unit now , so you should be looking at the backside of the extruder
- push the extruder all the way to the stepper motor side, be careful to position the extruder plastic back part that is hanging so it does not hit anything, also be sure all the wires are kinda in the center to allow the extruder to be pushed completely until it stops..
- slide the extruder gently back and forth on the stepper motor end and it should be 'very' free gliding with NO hesitation.
- if there is any binding then you may have to remove the zip ties on the bearings and replace, but this time keep them a little looser.
- with the extruder pushed fully to the Stepper motor end again check for very free movement.
- again if still seems like it is binding, the push the extruder up against the stepper motor end again
- if you still find some binding, then hold the extruder (from the front side) and turn it slightly clockwise then counter clockwise, this is th melp the bearings find their seating with-in the plastic , CAUTION: do not use 'gorilla' force a simple firm hand to help seat the bearings is all you need, and only turn it a couple times..
- now the movement is completely free moving, NO binding...
- pull the extruder a few inched from the stepper motor end, just enough to let you re assemble the back plastic plate and put the screws back in
- put the Belt back on, per the assembly instructions and leave it free from the motor at this point
- align the filament sensor wire in the provided channel on the plastic back side.
- gently push the plastic back in place and align the wires by hand right now..
- plug in the Molex (black) connector back in to the sensor pins, and be sure the top wires are tucked inside not to hit the FRAME in the next steps
- insert the 'center' screw to hold the plastic back in place
- ensure all the wires are kinda in place so you can slide the extruder back to the stepper motor side once again.
- be sure the extruder STILL moves freely ALL the way to the stepper motor stop, and there is not binding.
- if this is ok then move it back to the center of the X axis to resume dressing out the wiring bundle.
- make sure your spiral sleeve and wires are all in the correct positions
- insert the 3 zip ties ( as directed in the assembly instructions) and gently tie off the bundle leaving the zip tie 'knot' a the very TOP of the bundle, so it does not hit the frame when pushed side to side. (DO NOT TIGHTEN these down or cut them yet)
- now insert the 2 bottom zip ties to hold the heater wires at the bottom
- also keep the zip tie 'knot' at the BOTTOM of the bundle this time, gently pull them tight, but leave a little extra after you cut so you can re tighten if needed
- now push the entire extruder from side to side and there should be NO binding when you get to the ends on either side.
- you should have a really good feeling that this is MUCH Better now.
- you can tighten the bottom Zip ties, but again, no need for any gorilla force, we are just trying to keep them in place.
- Finally: you can insert the last for screws into the back plastic panel.
- Start with the top two screws and tighten when you feel them start to tighten up, STOP.
- Again, test the extruder, slide from SIDE TO SIDE. should be ok still.
- Now insert the bottom two scres in the back plastic panel and again, when you feel them start to tighten up, STOP.
- Again, test the extruder, slide from SIDE TO SIDE. should be ok still.
- Replace the X-axis motor per assembly instructions and tighten down
- be sure you have the gear tightened if you loosened it up also.
- trim any zip ties if needed
-now you are done.Goto CALIBRATION- SELFTEST and run this,, should pass just fine
Next CALIBRATION - XYZ and run this
finally do the FIRST LAYER CALIBRATION and now you are ready to print .hope this helps.....
Chuck
I will go through these steps today and report back if I resolve the X-Axis length failure.
RE: Unsuccessful solving X-axis error during self check
Update: Self test OK!!!!!
I followed the instructions outlined in the post above (thanks Chuck), and identified the issue was that the X-axis belt was too tight. I resolved the X-axis length error by removing the belt and reapplying it with less tension. I had to also loosen the tension of the belt on the Y-axis as I was getting a length error there as well.
Both belts feel kind of loose (looser than I expected) but the belt status now reads: X 264, Y 262.
Now on to the calibration! If anyone has any questions on how I resolved this issue, please leave a post in this thread.
Thanks!
RE: Unsuccessful solving X-axis error during self check
@juno3d
I had the same problem and loosening the belt did the trick.
Thank you very much!!!