Requesting advice on first test print after assembly
Hello,
I'm a new purchaser who just finished assembly a few days ago and then spent a few nights on calibration.. slowly getting there I guess.
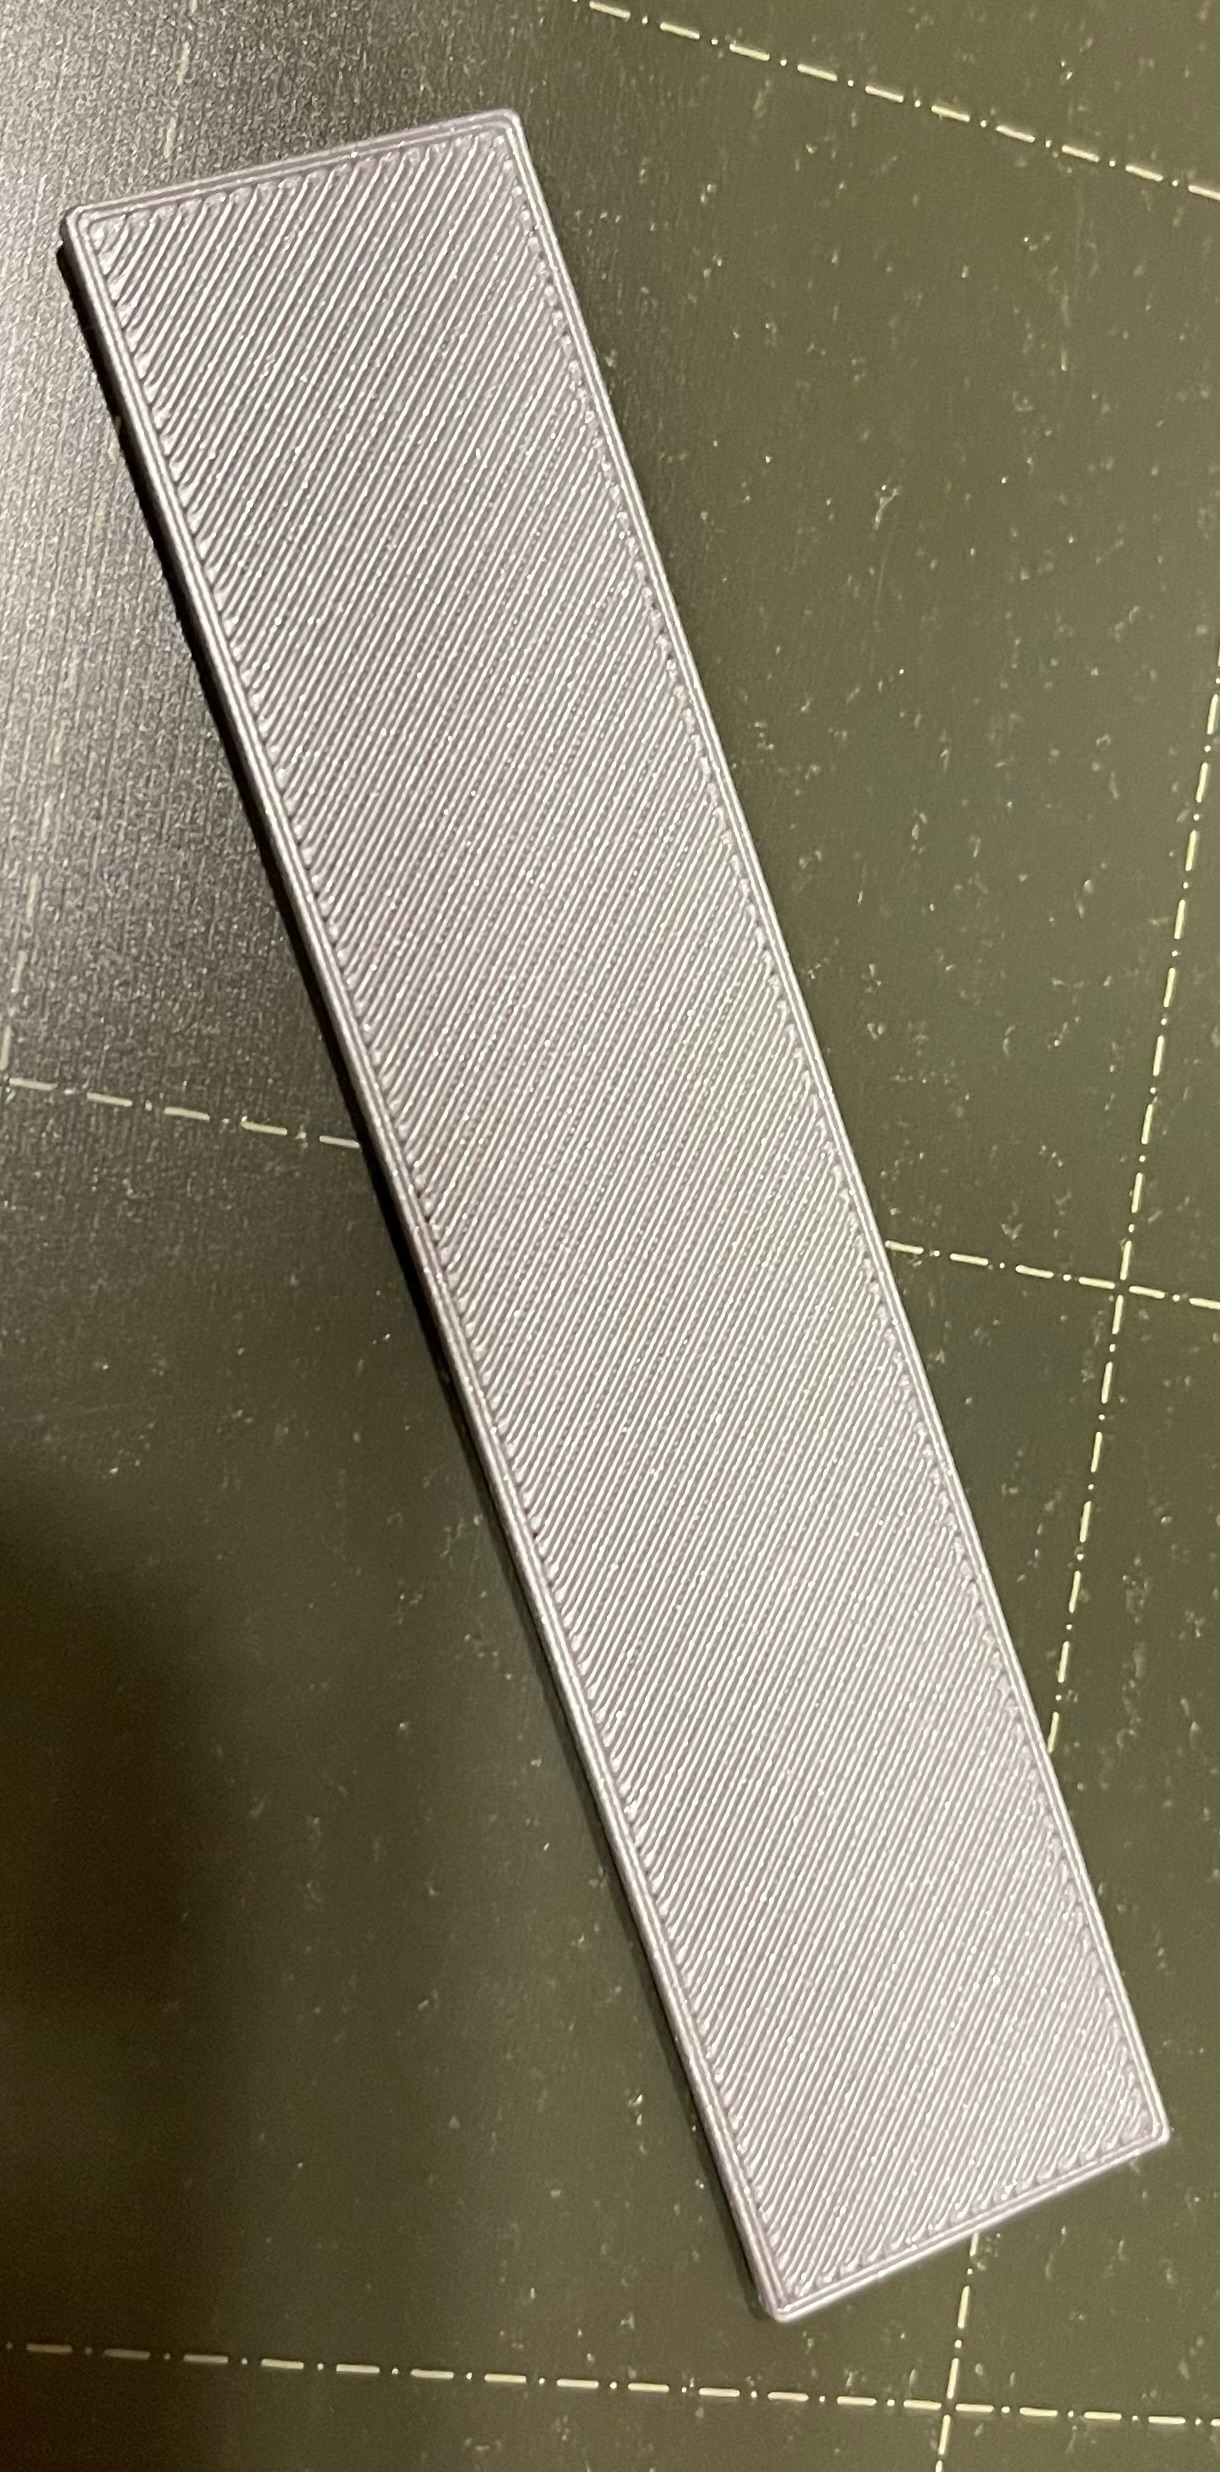
My latest test print is close, but the top layer has some smudges - bottom looks ok. Tried searching forums for a few hours for a similar issue, but got sick of searching. May I get advice on what to change to get these smudges off?
Im using the original nozzle, changed leveling to 7x7 after reading about it, using prusa silver PLA.
Also, on a separate note - the other 2 test prints on the SD card tell me that I'm using the wrong nozzle for their file. Its a whistle and something else - is it still ok to print those as tests or do I need to buy more nozzles and change them out for those?


Thanks!
RE: Requesting advice on first test print after assembly
Hello @gappa and welcome to the forums!
That looks like a pretty darn good first print to me. Good job, you should be happy with those results.
You may be able to go a bit more negative on your live z value to tighten up the underside but if it stuck to the plate and finished the print without issue you’re probably good. If you run the “Life adjust z - my way” procedure you should be able to really tune the z value in perfectly.
As far as the top finish goes, assuming you’re printing the g-code files that came on the memory card with the printer, there’s not a lot you can do at this point. The g-code is the machine level instruction set that tells the printer what to do in a pre-defined manner. You can try slowing the print down using adjustments via the LCD screen and scroll wheel and you might get a cleaner result. But I’m not sure there’s much more you can change other than filament temperature which “might” alter the finish somewhat.
But in order to make any big changes you need to load the .stl or .3mf file into PrusaSlicer and start experimenting. Those files aren’t on the SD Card so you’ll have to download them from the Prusa site.
Once loaded into PrusaSlicer, you’ll want to be sure you’re in “advanced” or “Expert” mode so you have access to all or most of the controls. Look for the “Print Settings” tab and then the “Infill” section. Select a pattern for “Top Infill” other than the default. Monotonic usually produces a nice, smooth finish. But there are a lot of patterns to try out. You can choose to use your selected pattern on all top surfaces or just the top-most surface.
You'll find endless ways to tweak your models in PrusaSlicer so explore and have fun!
I would rate that print as good enough for the first month.
Every user builds their printer slightly differently and pre-built models are shaken up in transit so during the first few weeks of use the printer will run-in and settle its parts together; then you will have to go over the basic maintenance checks, lubricate and recalibrate. Even if you got everything dialled in perfectly today, it would all need re-doing.
Better to settle, temporarily, for a basic working printer and get some useful printing done, make your early mistakes, establish a routine and generally get used to the process. Then when you do your one month service you can take extra care knowing the new settings on your now stable printer are likely to last for several months.
Cheerio,
RE: Requesting advice on first test print after assembly
Thanks for the feedback and advice. Ill be sure to check those settings on my machine and try the other top infills.
It just seemed like I had something wrong since almost the entire print was perfect line- by-line and then there were small blobs in the same spot at the bottom of some of the letters, like on the R in the picture (the full picture wouldn't fit on the post).
Ive printed about 12 of the "dino chip clips" from the forum now and they all came out near perfect. I guess I shouldn't complain and keep trying to learn.
Thanks again for the feedback.