More..... Won't Stick
Hi,
It seems there are DOZENS and DOZENS of users who can't get their prints to stick. Why is this aspect of the printer SO LOUSY. Why did I spend all this money on the something - that takes a rocket scientist to get to work. This is sooOOOOOOOOOoo frustrating.
Yes.......I washed the plate with unscented Dawn.
You can see, that when I run the z-axis calibration, it sticks FINE. No problems. It looks good - and as one Youtube video pointed out, I gently tried to rub my finger across to test that it was sticking, and it sticks fine. See the picks below.
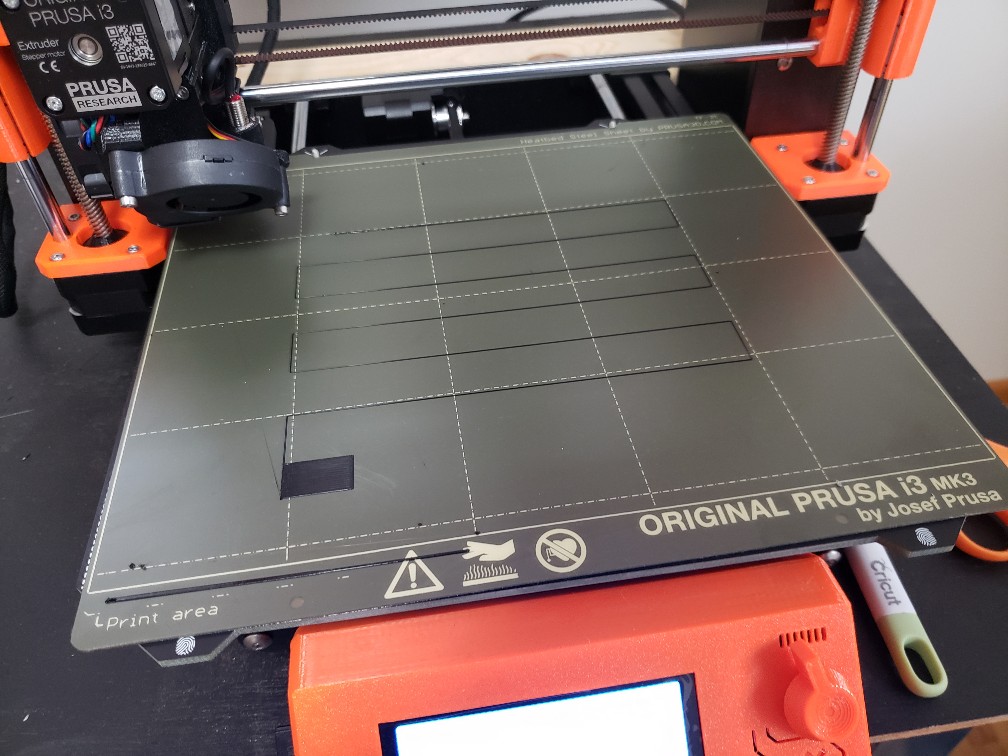

And again - YES - I cleaned the plate with unscented Dawn afterwards........ but then, when I try to print a part, and I put a brim on it, to help give a wider surface area to stick...... BUT IT WON'T STICK

AAaarrrrrgggghh........ Why won't Prusa FIX their crappy product?
Makerbot can get their prints to stick, even without a heated bed? [of course their extruders are total junk that clog up all the time]
Should I buy the powered coated plate?
If you can't get a print to stick, the whole printer is WORTHLESS. How do you get prints to stick?
Churned in Columbus
RE: More..... Won't Stick
have you seen this thread?
PEI as a build surface has been proven to work well (keep in mind you see a disproportionate number of complaints in any online forum - happy users don't post about how well their stuff works...), but there are a myriad of things that can prevent adhesion. Unless the surface is physically damaged, it almost always comes down to contamination of something (bed, filament, temps, etc, none of which PR has any control over)
RE: More..... Won't Stick
You express your aggravation, but you don't tell us any of the things that might let us help you.
What filament are you using, what are the head and bed temperatures, and what profile did you use in the slicer?
RE: More..... Won't Stick
Not sure you have still the z height low enough, what the information says when you do the first layer calibration?
Mine is arround -800. Showing the first layer calibration rsult you should show us the whole printing area. The printed shape of single line should be sharp right angle corners.
What kind of fillament do you use? Prusa?
even an old man can learn new things 🙂
Standard I3 mk3s, MMU2S, Prusa Enclosure, Fusion 360, PrusaSlicer, Windows 10
PRUSA MINI+ Prusalink + Prusa Connect
RE: More..... Won't Stick
Hi Thanks for your reply
I'm using PLA. It's from IC3D. I tried the PLA that came with the printer....and get about the same results. The Z-axis calibration works, everything sticks there......but when I go to print a part, it doesn't stick. Sometimes it won't stick early on, sometimes the first layer sticks but then the part comes lose in subsequent layers.
The settings are the standard settings for heating - 215 for the extruder and 60 for the bed
I used this video, which seems to provide the most common sense in calibrating the z axis live calibration
RE: More..... Won't Stick
Suggestion: Don't buy a powder coated plate yet. It is far harder to get PLA to stick to.
Maybe try a different brand print plate and see how that works. The printer itself has nothing to do with print plate adhesion.
That is all on the print plate. And the smooth PEI plate is the absolute easiest to stick to.
Another suggestion: don't depend on the built in calibration square. Print at least a two inch calibration square (or circle) and tune Z while it is printing. Check out the topic "Life adjust Z my way".
RE: More..... Won't Stick
@robert-rmm200
EXCUSE ME for being frustrated..... I paid almost $800 for this
If the maker (Prusa) knows that DOZENS and DOZENS of people can't get their prints to stick (and that's obvious) ---- they should do things like:
- Provide better Z calibration prints with the project
- Provide better instructions
- Provide better or different plates, if PLA is finiky
Where's the Apple of 3D printers............it just works.......you don't have to SPEND HOURS of YOUR TIME (Josef Prusa is whining and dining while I'm struggling to get his pitiful design of a product to work)...........to get something to work as advertised.
RE: More..... Won't Stick
We paid for it the same amount 😉.
Apple printer would cost 3 times more. Probably even more, due to our taxes.
All of us had to invest in learning.
Back to facts - if you will not provide us with information instead of emotions, we can hardly help you. We do it free of charge, we just want to help.
So please tell us what is your first layer calibration set up.
Short video watching the first layer print and finaly the display with final z value set would help us to help you.
even an old man can learn new things 🙂
Standard I3 mk3s, MMU2S, Prusa Enclosure, Fusion 360, PrusaSlicer, Windows 10
PRUSA MINI+ Prusalink + Prusa Connect
RE: More..... Won't Stick
Did you have a chance to read those articles?
https://help.prusa3d.com/category/cO74WGHTlH-printing
even an old man can learn new things 🙂
Standard I3 mk3s, MMU2S, Prusa Enclosure, Fusion 360, PrusaSlicer, Windows 10
PRUSA MINI+ Prusalink + Prusa Connect
RE: More..... Won't Stick
What nozzle diameter are you using, 0.4 mm ? The Z calibration only works with the 0.4 mm nozzle
RE: More..... Won't Stick
[...] If the maker (Prusa) knows that DOZENS and DOZENS of people can't get their prints to stick (and that's obvious)
FWIW - I found the entire 3D printing far less frustrating if I spent time learning about why things are the way they are. Yes, the PEI surface takes a bit of a deft touch, but once you master it, it's really a great surface to work on. I spend a lot of time hovering about in the various 3D printing subreddits, and there are just as many if not more frustrated users there dealing with 1st layer leveling and adhesion issues. I can understand your exasperation, but trust me, it's worth spending a bit of time with it.
I'm going to hit you with a big cut & paste that I've tried to work every important detail into it. Hopefully you'll find something helpful...
-
A dirty PEI print surface. Even if you don't think this is the cause, it's always a good idea to make sure your PEI surface is clean before trying any other fixes. If it's a smooth PEI sheet, take it to the kitchen sink and give it a good dunk with Dawn (original formula, no vinegar or hand softener variants) dishwashing soap or your local equivalent (e.g. Fairy in UK). Use a clean paper towel to clean it off, and another to dry it. Avoid using any sponge or cloth that has been in contact with grease. Above all else, avoid touching the PEI print surface. Once it's good and clean, you should be able to use 91%+ isopropyl alcohol between prints, 100% acetone when that fails , and another dunk when acetone fails. Worst-case, use a 3M 7445 ScotchBrite pad or equivalent on smooth PEI to give it a very light buff, but only infrequently. If you've got a textured powder-coated PEI print surface, the official instructions are to use 91%+ isopropyl alcohol on it only. Rumors persist that some tribes deep in the jungle have had good luck getting started with these sheets by giving them a wipe with 100% acetone and a dunk with Dawn. Either way, there's no real warranty on these sheets. YMMV.
-
If you have not already done so, try using Jeff Jordan's "Life Adjust" procedure for calibrating your Live-Z setting. It is much easier to use and understand than the on-board routine. It's much easier to make mid-print adjustments accurately with. In general, start high (less negative) and work lower (more negative) in large increments (e.g. 0.1mm) until the filament starts to stick on its own. When you've got your Live-Z setting adjusted properly, you should be able to gently rub the extruded lines on the PEI surface without dislodging them. Then start lowering (more negative) the level until there are no gaps between layers.
RE: More..... Won't Stick
Hi @akerezy,
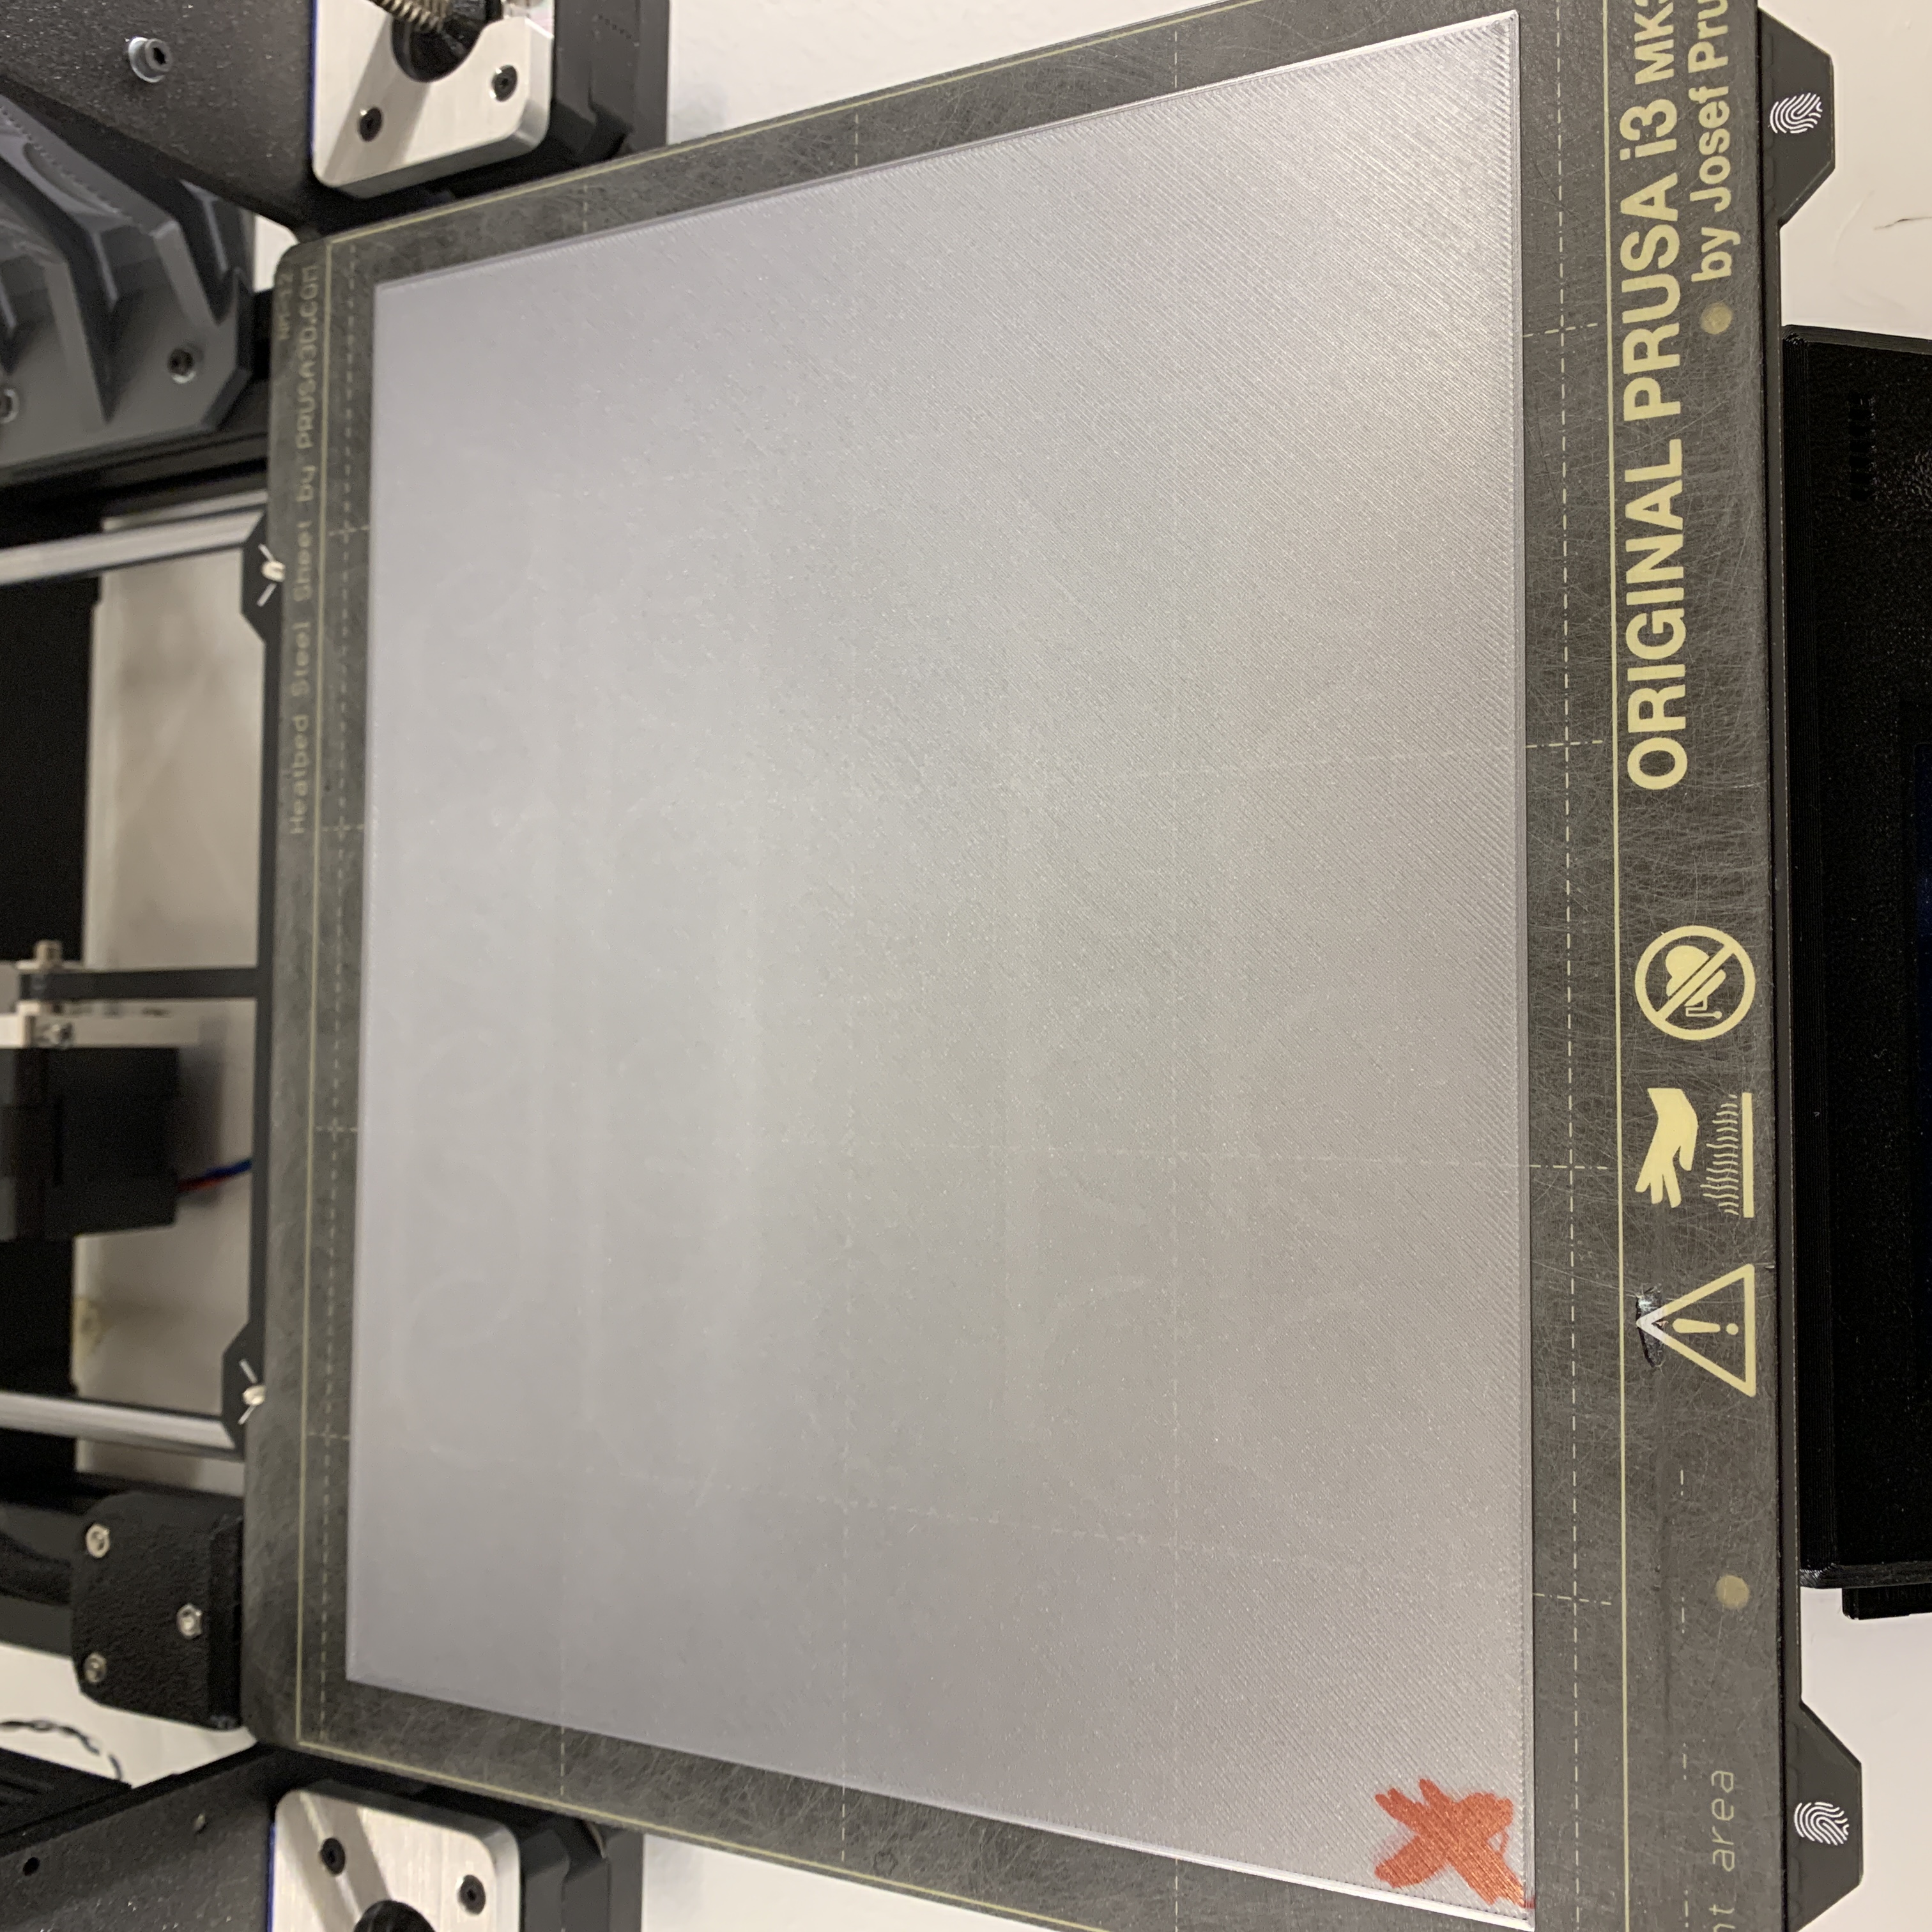
Is it just me or in your first picture are the lines running in the x axis diff on the left side apposed to the right side, looks diff to me?
I can tell you when everything (printer build, calibration, good quality filament, clean build plate) is setup in the sweet spot there's no need for any kind of adhesion product when printing PLA and most PETG. If you are printing a huge box like part in PETG you might need some help with adhesion or an enclosure to reduce drafts and keep the temperature up around your part. I've had a mk3 for 2 1/2 years and two mk3s for about a year. I've never used any kind of adhesion helping product and I've only wash my build plate once before my very first print with dish soap. I just wipe the plate with 99% isopropyl alcohol before each print. Also I've never needed to use a release agent for PETG, still using all my original PEI plates. Let me know about the question above and we'll start there.
Here's an example of a one layer .200mm thick PETG test print I did. Don't know why it put my picture sideways.
RE: More..... Won't Stick
Clean bed with alcohol and dishwasher soap. Very important.
Z-layer calibration very important, be 100% that this is low enough.
First layer slower 10 mm speed.
First layer hotter, 10 higher.
Nozzle has to be clean, otherwise filament will stick to the nozzle.
A new removable bed will stick a little less then a used one.
Try different filament.
3d printing will never be like , start a printer and yes i got a 3d model, there will always be a lot off problems
The prusa settings are for fast speed, so if something is wrong it will not work, so slow things down, and it will work.
RE: More..... Won't Stick
I was feeling frustrated like akerezy, so I did ALL of peter-m-3's suggestions and also built an enclosure for the printer and it is working MUCH better now, so there is hope! Also I switched the filament from Prusa to Hatchbox. Go figure!