Re: life adjust Z - my way
it worked for me also perfectly, really helpful calibration print. before that I have been struggling a lot with adjusting the printer properly. now the prints looks really good.
Re: life adjust Z - my way
💡 just a minor update (using S3D 4.0, linad & PJR's preheat strategy).

dem inscheniör is' nix zu schwör...
Re: life adjust Z - my way
Thanks Jeff 🙂
Best regards, Peter
Best regards, Peter
Re: life adjust Z - my way
Hi,
This is my first serious post as a noob.
Firstly can I say, in waiting for my Mk3, this thread is outstanding, thx Jeff and others.
I have three questions:
1. on pg 17 (July last year) concerning extrusion, Jeff referred to 0.48mm being the default extrusion width. Why and if so, I did the sum pi X (0.2)^2 (based on nozzle width) as the cross section from the extruder and 0.48 X 0.2 as the perfect layer. Where does the extra plastic go?
2. How strongly is it recommended to get the extrusion flow right before calibration? Seems a no brainer to me.
I know you might find this off topic but ...
3. A few days ago Joe start a thread about over extrusion in Slic3r? Is this relevant to calibrating extrusion flow and initial calibration in general?
Re: life adjust Z - my way
...
1. on pg 17 (July last year) concerning extrusion, Jeff referred to 0.48mm being the default extrusion width.
that's the default value given by Simplify3D, when a nozzle diameter of 0.4mm is choosen.
Simplify3D was approximately a year ago the best slicer on the market, recommended by all the experts and not "printer specific".
About: where does the extra plastic go ? -> here you need to extend your static calculation with the time domain. the velocity and the pressure with which the filament is extruded plays a big role here, and is (even with the linear advanced option) dynamic.
...
2. How strongly is it recommended to get the extrusion flow right before calibration? Seems a no brainer to me.
I always recommend to do an extruder calibration first (10cm trick).
most of the MK2 printers with the small brass pulley for the extruder are delivered with under-extrusion.
the problem is, that some of the prebuild models at the sd-card and some behaviour of slic3r seems to be designed to "take that into account".
...
3. A few days ago Joe start a thread about over extrusion in Slic3r? Is this relevant to calibrating extrusion flow and initial calibration in general?
yes, I think so. and it's still a curious effect if you compare a change of the extrusion factor at the printer (through the "tune" menu) and inside a slicer.
everybody would expect that altering the extrusion factor at the slicer should have the same effect as if you change it (to the same value) at the firmware menu. but it doesn't.
dem inscheniör is' nix zu schwör...
Re: life adjust Z - my way
Thx for responding and for the advice.
As I get ready for my build I'm thinking that the best attitude is to treat the calibration as part of the fun of 3d printing and not a frustrating chore
Re: life adjust Z - my way
when driving a muscle car, adjusting the tappet clearance and the ignition timing is part of the fun as well.
...
As I get ready for my build I'm thinking that the best attitude is to treat the calibration as part of the fun of 3d printing and not a frustrating chore
this looks different when you have a look at "standard cars" that you use today for every-day-purposes.
in case of 3D printing we are actually still a little bit away from maintenance-free (or low maintenance) devices.
dem inscheniör is' nix zu schwör...
Re: life adjust Z - my way
just for your convenience I attached an actual version of the calibration surface for PLA, ABS and PET to the first post (and here).

it contains all the useful stuff like: beep in the middle of the print, PJRs preheat procedure (to avoid nozzle dripping), linear advance command, magic G87 command.
dem inscheniör is' nix zu schwör...
Re: life adjust Z - my way
A new year and I still can't get the first layer to stick. After Huricane Maria struck Puerto Rico and after about 120 days without power, I can finally use my electronics again. I turned on the mk2s without any issue, replaced the filament roll , upgraded to the latest firmware, did the self tests and calibrated the xyz without any issues. However I can't get the first layer to stick with or without glue (using pla). Is there any other thing I should look at apart from the Z Adjust?
Re: life adjust Z - my way
... However I can't get the first layer to stick with or without glue (using pla). Is there any other thing I should look at apart from the Z Adjust?
yes, simply cleaning the pei surface !
it needs to be 100% "fat-free" (no grease, oil, fingerprints etc.) and dust-free. therefore you need to rub it off thoroughly with 99% isopropyl alcohol and approximately every fifth print with pure acetone.
and after cleaning: don't touch the surface with your fingers before the print.
but you could have read that advice inside this thread several times before.... and the proper procedure to get the z-live adjust value right as well.
so read at least the first 6 sites of this thread.
if the surface is clean and you've followed the instructions here, the first layer will stick properly... as > 100 users will confirm.
by the way: I've had very bad experiences with glue sticks and I don't recommend them for the use with pla.
dem inscheniör is' nix zu schwör...
Re: life adjust Z - my way
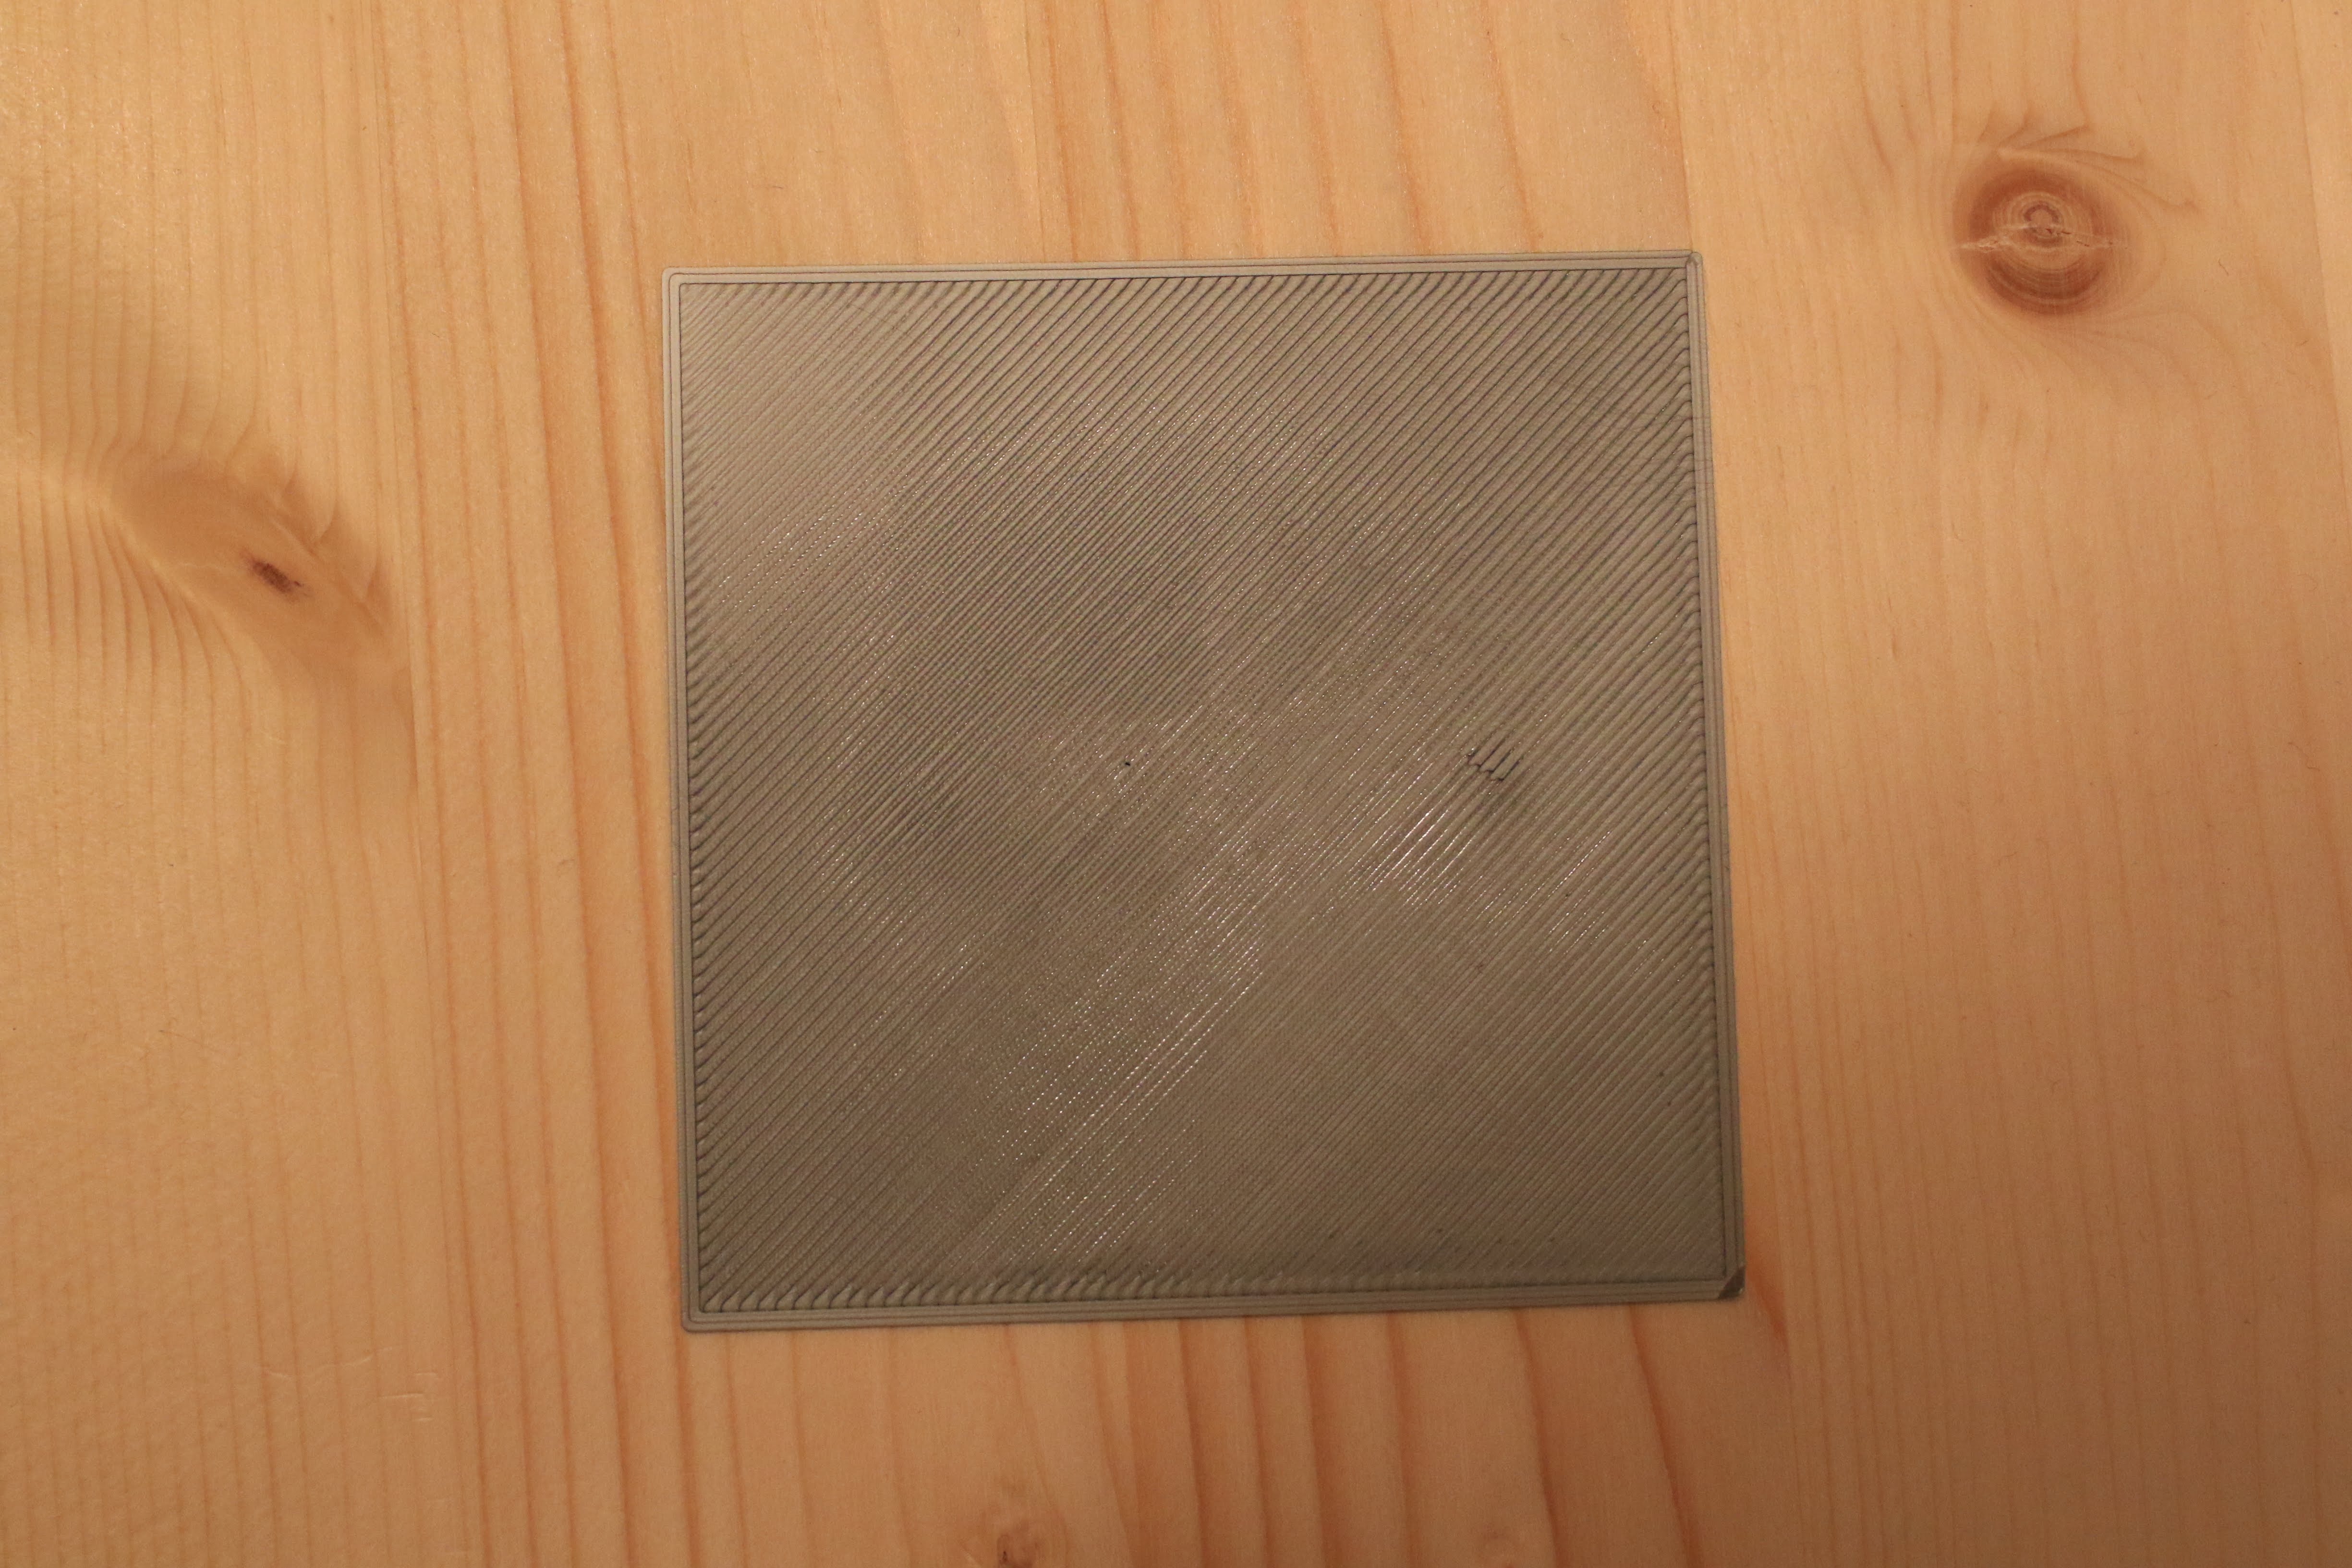
Need to go further down? It somehow looks irregular, and I have issues with items not sticking to the bed, sometimes the first layer, sometimes later during the print. Especially (yes) PETG, even without further prepping the plate in order to not having it stick.... The Surface on my own built printer with its glass plate printer somehow was a lot more uniform and sticked better - what am I missing - any clues?
I wipe down the bed with exactly the same pads that came with the printer, got a couple of these. Then I read if there are stickiness issues clean with aceton, which I also tried, but did not improve. SO now I am fiddling with the first layer, but I believe it is not too bad. Doing this with PLA to get it well there before again switching Materials, but somehow.. Any clues?
Re: life adjust Z - my way
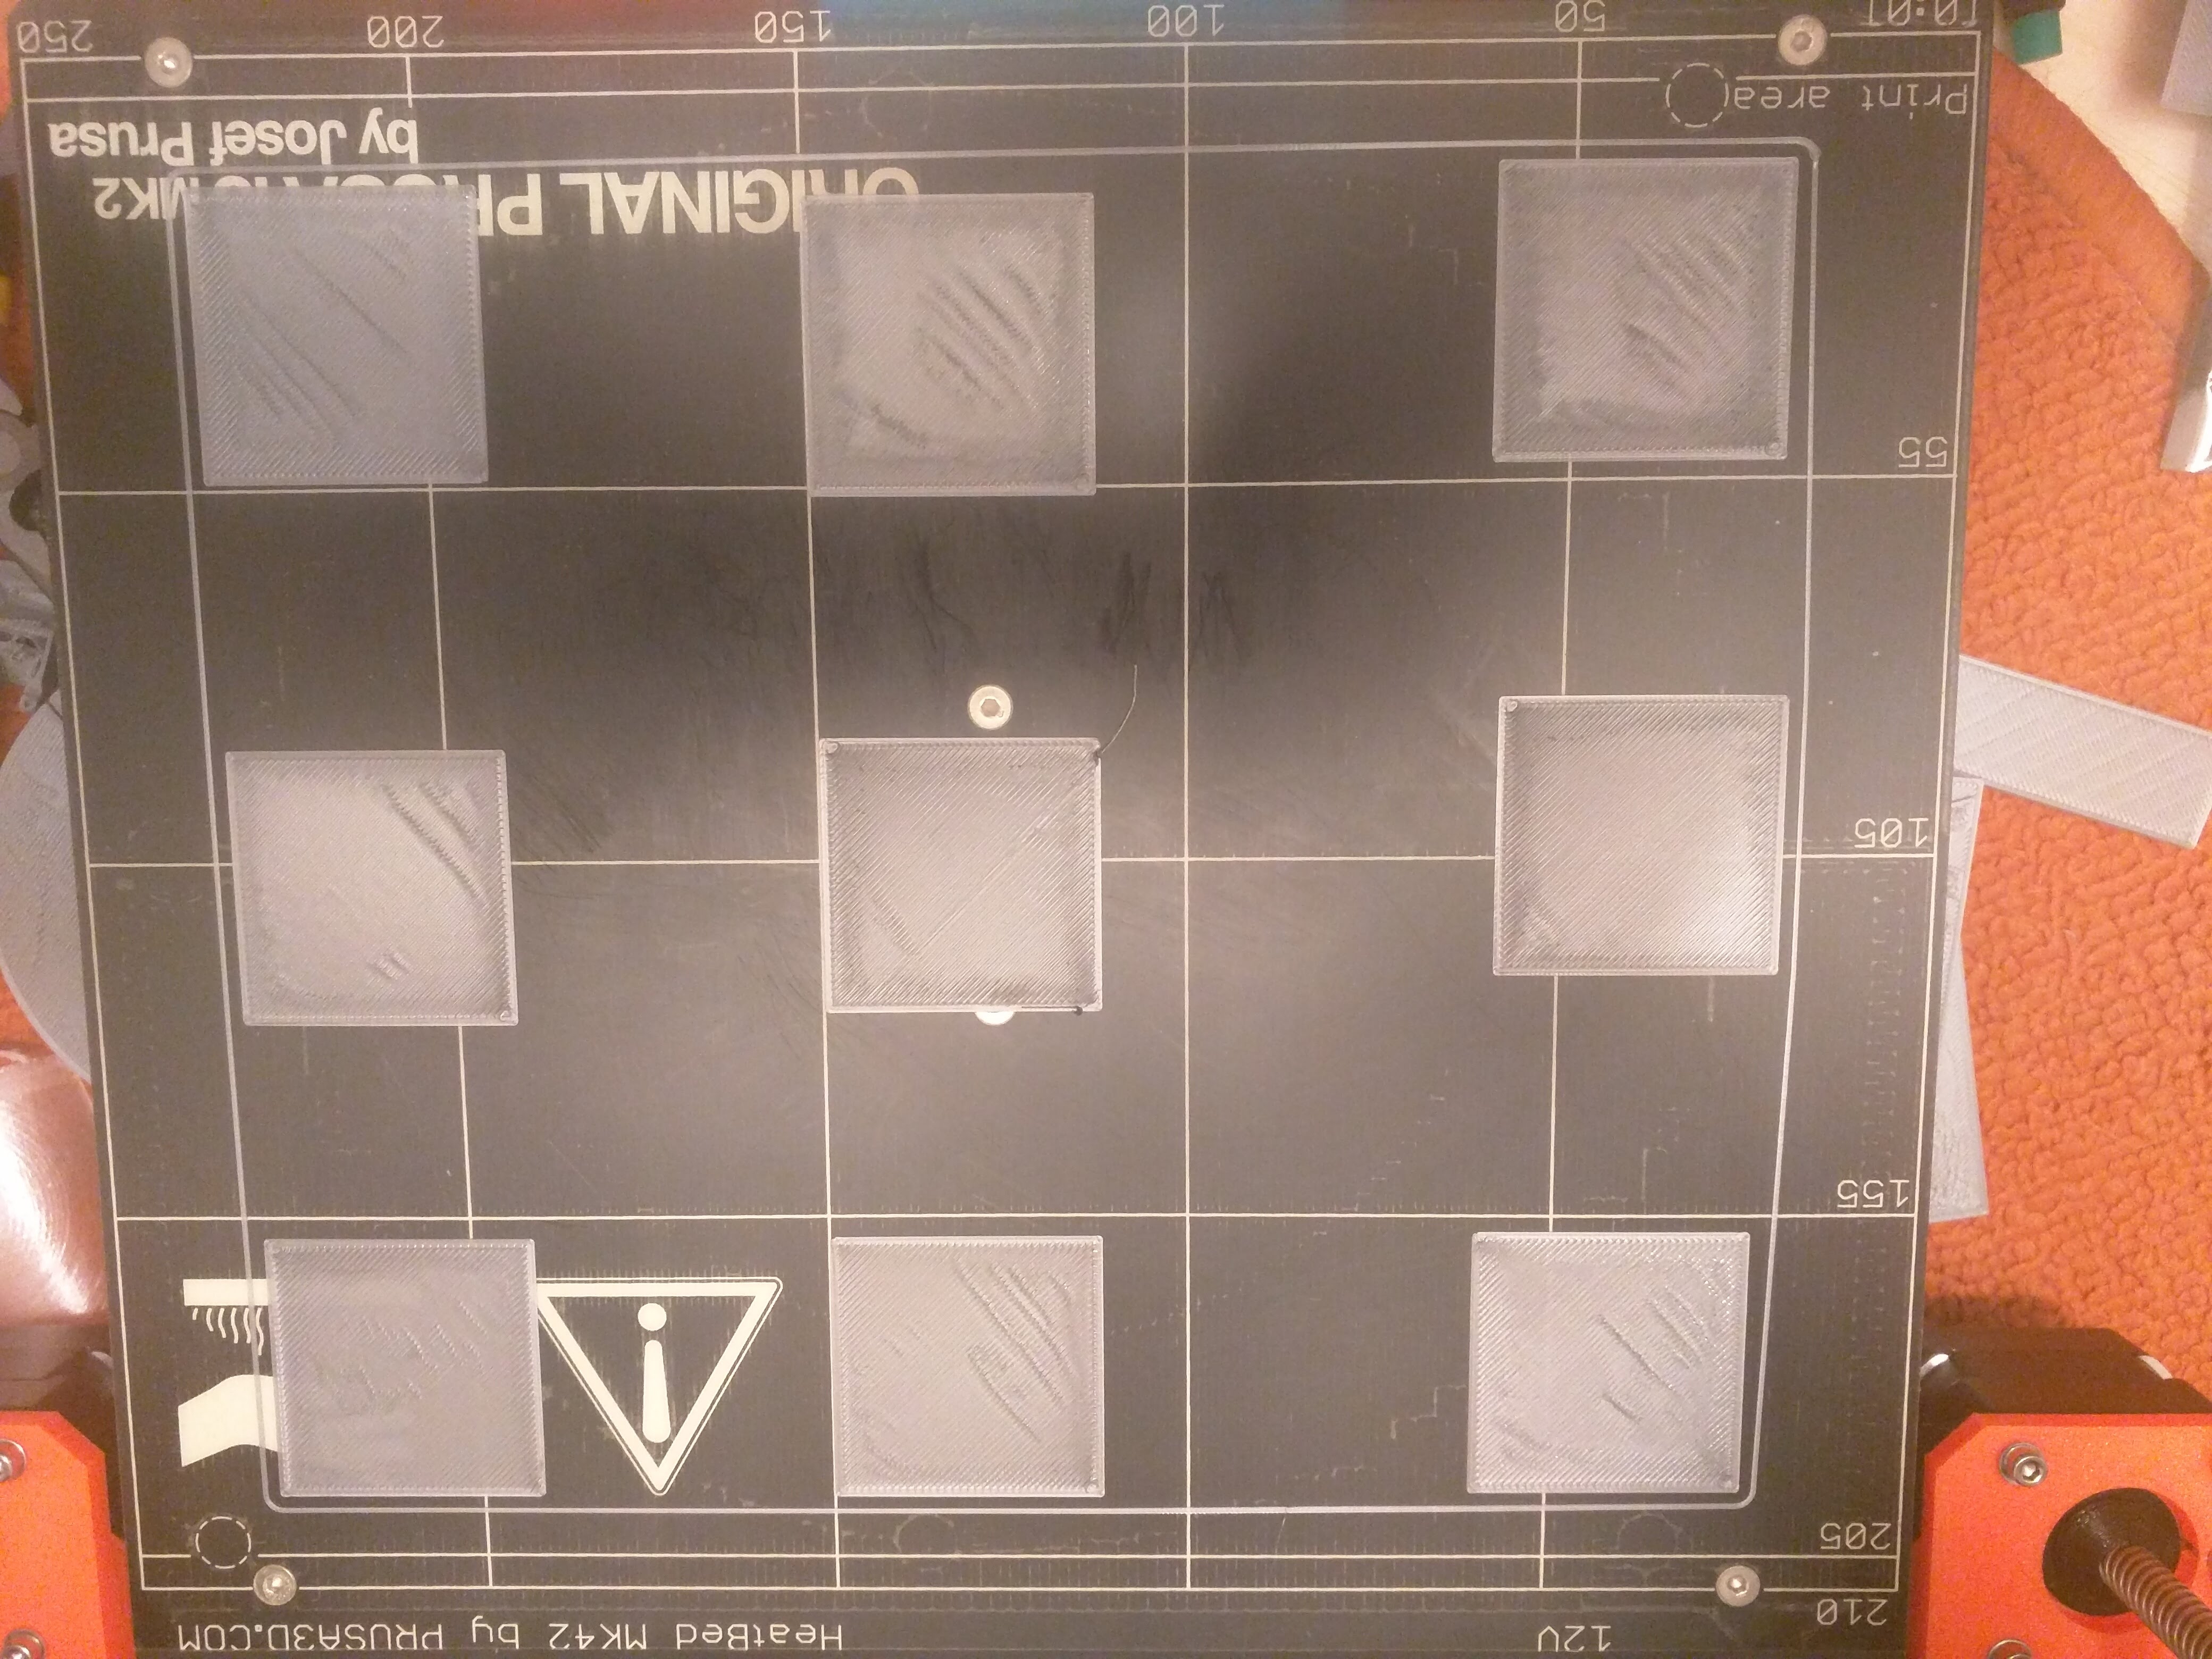
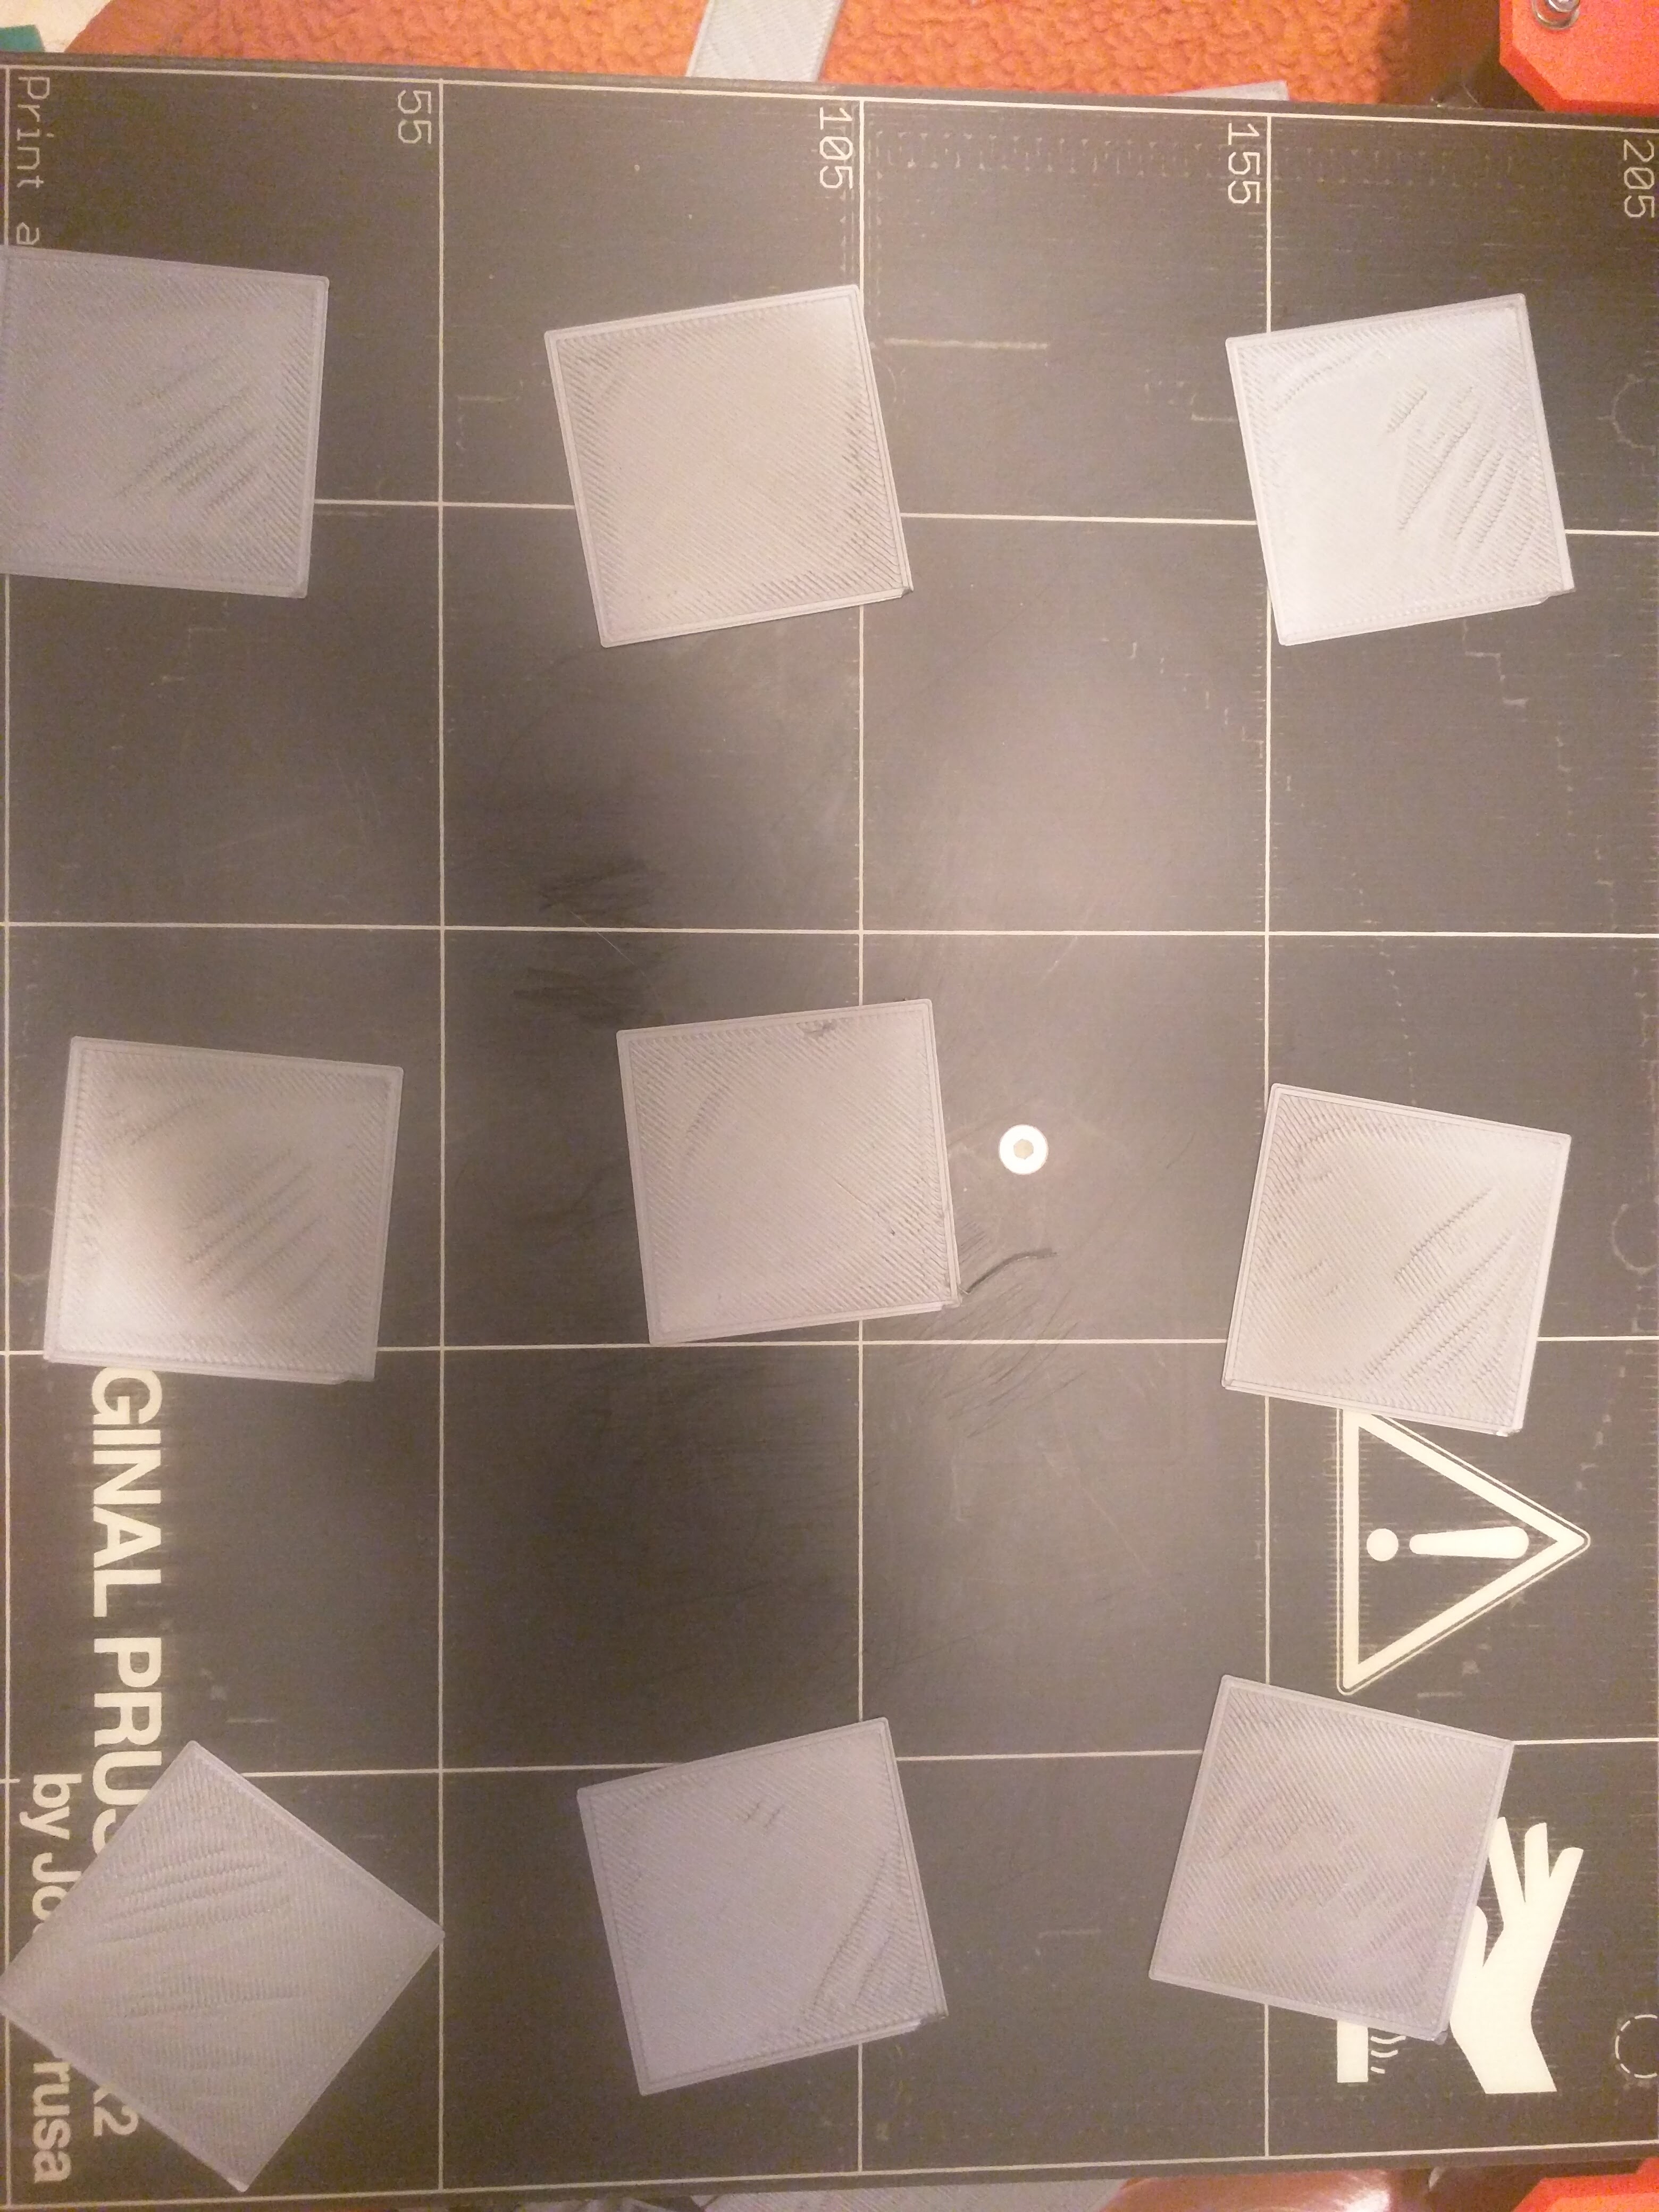
@Stoerenfried - to me it looks like a bed levelling issue. You can try printing the same or smaller squares in 9 spots of the bed where calibration takes place. After that you should see clearly if it's levelling issue.
Re: life adjust Z - my way
You mean like this? Yes, the bed does not really look flat, but should the cal don't get rid of this? How can this be fixed? I mean, I scraped my glue on glass printer for this one 🙂
Re: life adjust Z - my way
Hmm, unsure if this is Z Cal related, but the ripples on the Pics above are somehow getting worse with every print. Any clue what could cause those?
Re: life adjust Z - my way
Does this have the live Z gcode command at the start of the print like the V2Calibration does?
EDIT: Nvm, found this in the gcode, G87 ; tells the printer that the z-adjustment has been invoked.
So the answer is yes if anyone comes here googling.
Re: life adjust Z - my way
Thank you kindly for sharing your method with us. Such a simple thing to do and can't believe what difference it makes!
Re: life adjust Z - my way
this saved my day (and stopped my development of grey hairs on both head and beard 🙂 )
i have read all 32 pages, and i apologize in advance if my question has been answered before
after adjusting Z to the point you are happy with, will the adjustment be "saved"? even if you power down the printer? or will you have to adjust "Live Z" before every print to the value you found during the "live z test"?
best regards
Hans, from Norway
Prusa MK2s
Re: life adjust Z - my way
...
after adjusting Z to the point you are happy with, will the adjustment be "saved"? ...
Hi Hans,
simple question, simple answer: YES.
with the G87 command, inside the *.gcode, you toggle the printers behaviour from working with the factory default value for z-live (= 0.000) to "keep the last, manually entered value".
so the value is kept inside the eeprom and will still be there if you power down the printer and switch it on later.
dem inscheniör is' nix zu schwör...
Re: life adjust Z - my way
Thanks for the reply
Finally going to get nice prints again 🙂
Re: life adjust Z - my way
Hmm, unsure if this is Z Cal related, but the ripples on the Pics above are somehow getting worse with every print. Any clue what could cause those?
I think you are down too far. When I ran mine, I started too deep, then as I raised, I got some of the ripples when I was still down too much. Example, I started at roughly .550, and ended up somewhere near 300..I got the ripples around 450-400