Re: life adjust Z - my way
Is the latest version of this gcode also usable on an MK3, or does it require certain adjustments?
Re: life adjust Z - my way
Jeff,
Many thanks! The V2 calibration wasn't doing it for me. Your larger calibration surface is just what the doctor ordered. Helped me dial in my Mk3.
Again, thanks for the gcode and the explanation as to why to do it.
Joe
Re: life adjust Z - my way
I'm new here, been trying to adjust z to the best of my capabilities but something is weird.
I have vertical stripes on y-axis (far most left and then every 30 mm) in the print that looks strange, and even though I think the first layer is nice on one hand, it just looses adherence in the middle of the print. Not sure why. Was told the axis are perpendicular so I got that going for me.
I followed the middle live z paper wiggle test and got the value to around -1.020 (should I lower the pinda even more?)
Re: life adjust Z - my way
I followed the middle live z paper wiggle test and got the value to around -1.020 (should I lower the pinda even more?)
Not necessarily.
I had a live Z of 980 and after checking with the credit card while paper was just dragging, I found I was too low. Raised the pinda to allow the card to just slide under and live Z dropped to 460.
On the paper test, don't trap the paper so that it cannot move - you just need to feel the drag. That's how I get my best results.
Bill
Tagaytay City, Philippines
Founder member of Philippines Prusa Printer Owners FB Group
Sponsor Pillars of God Academy in Bacoor
Re: life adjust Z - my way
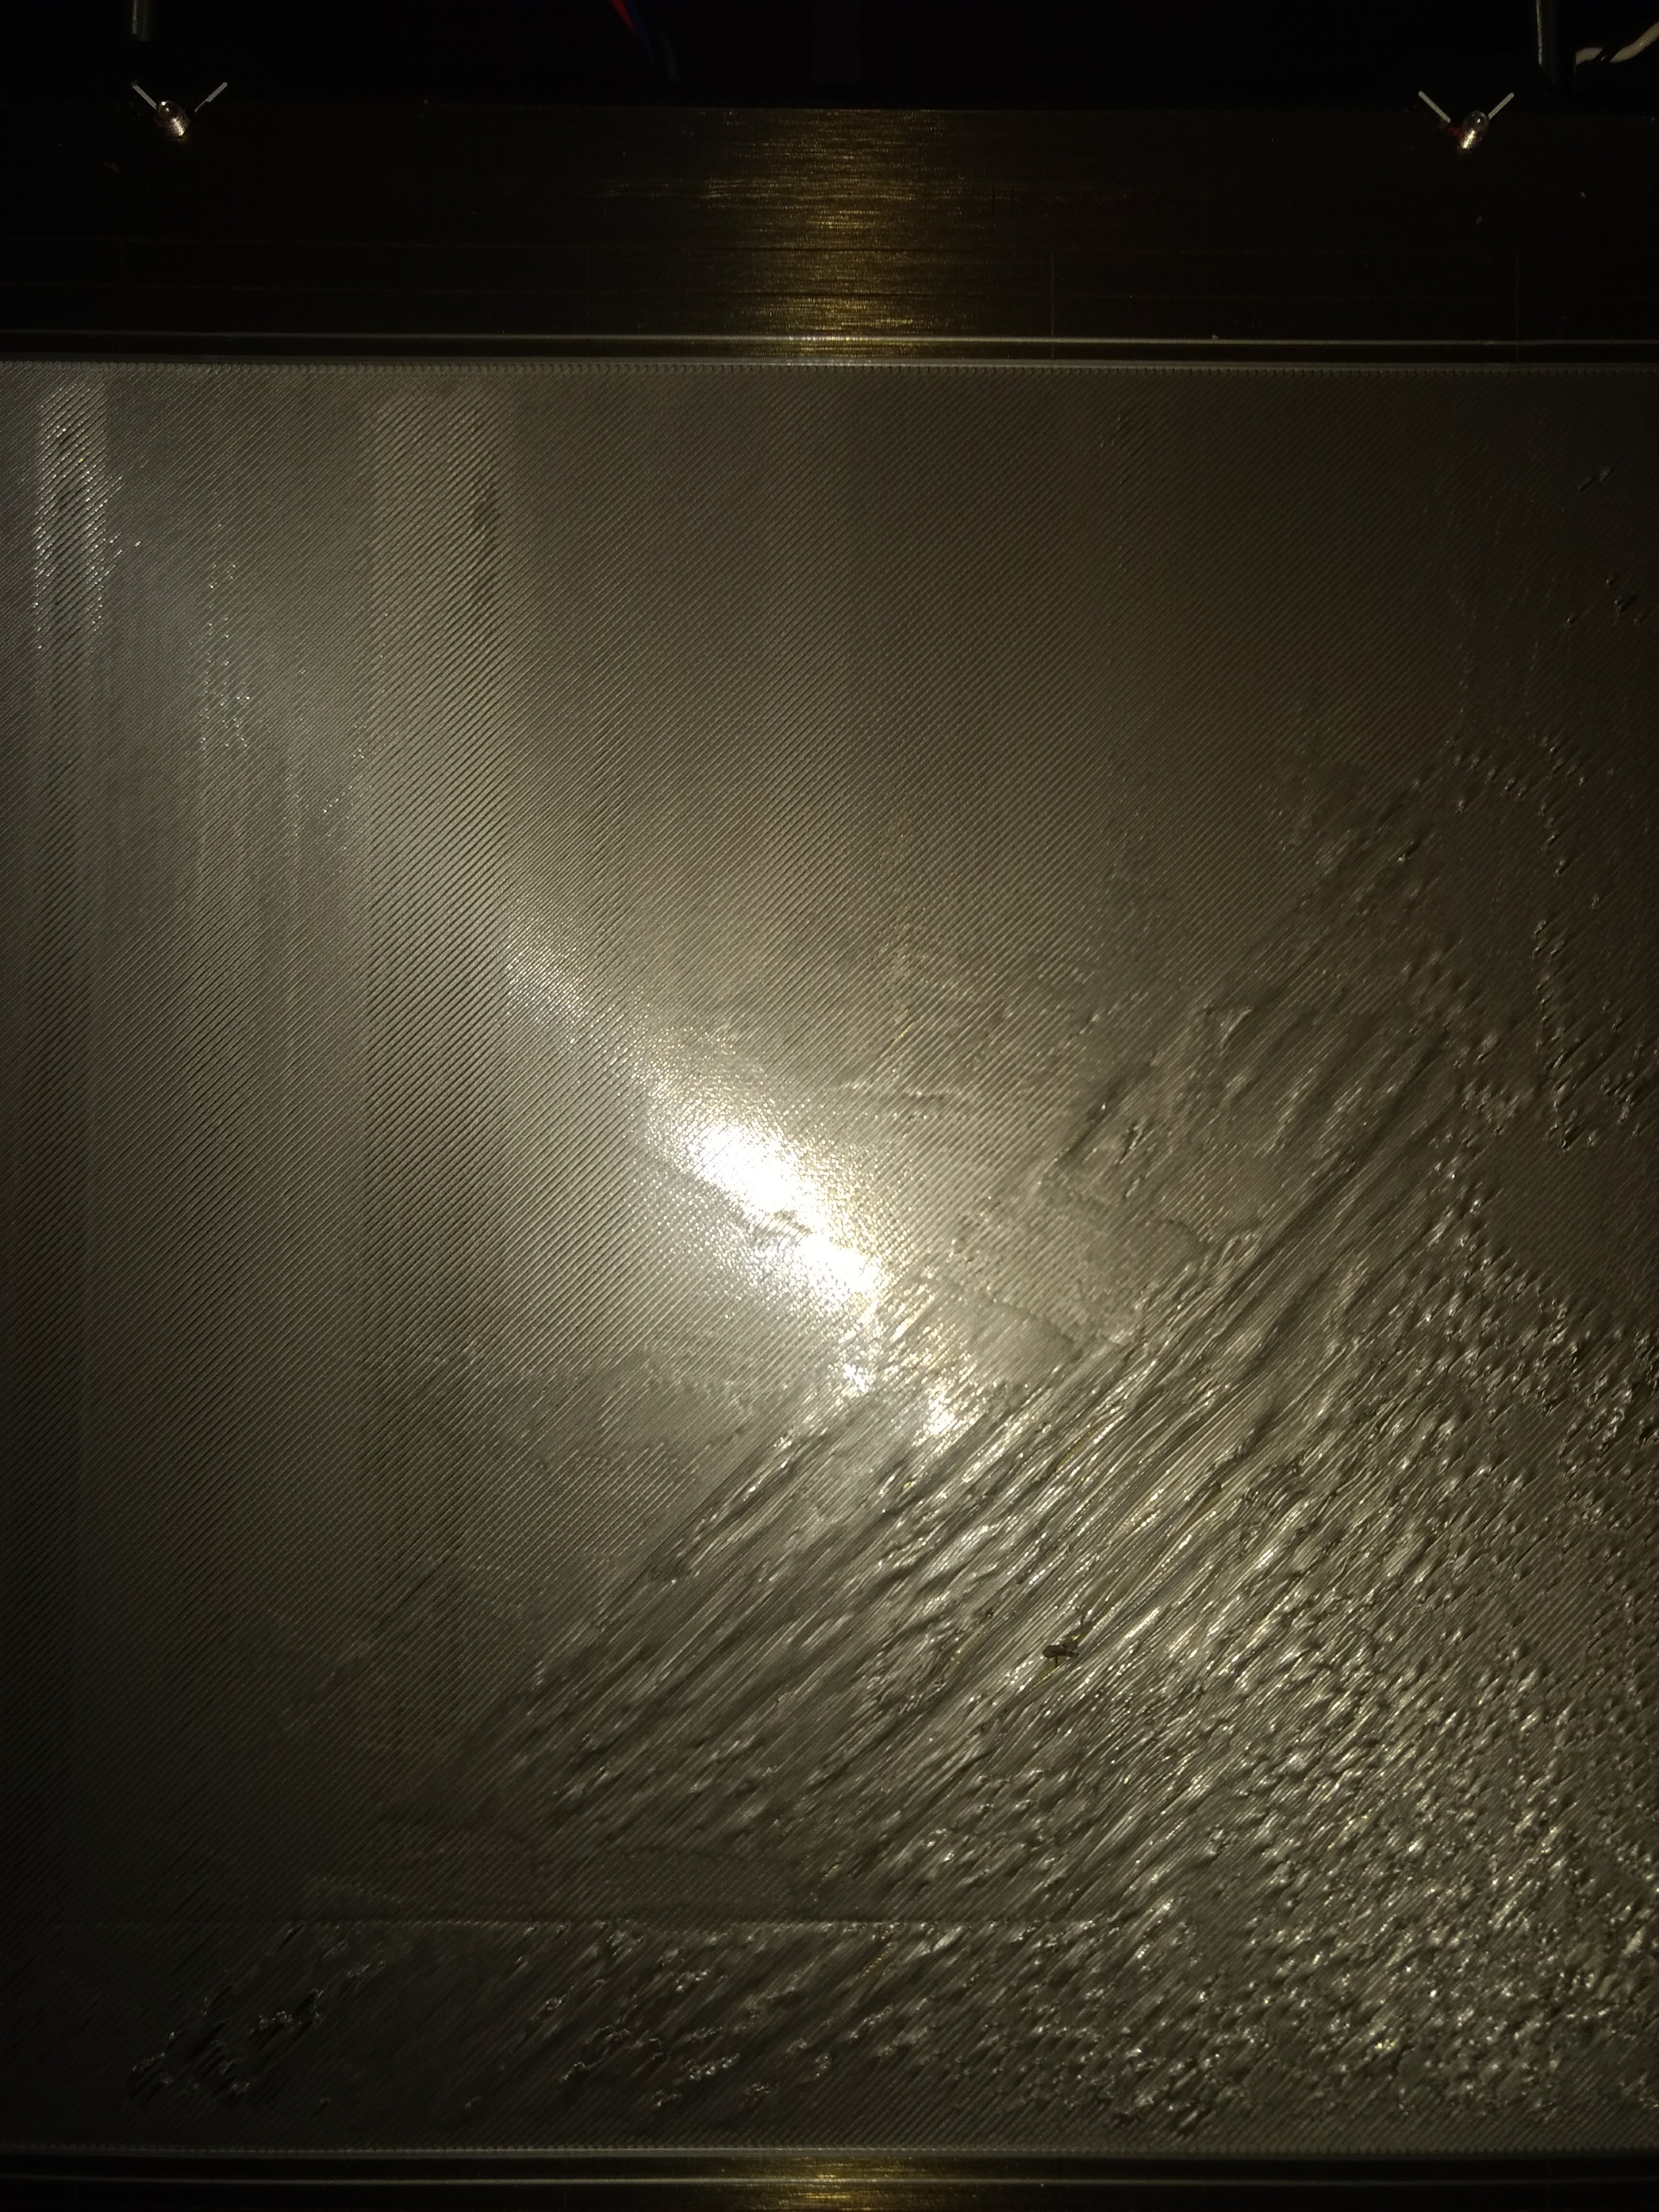
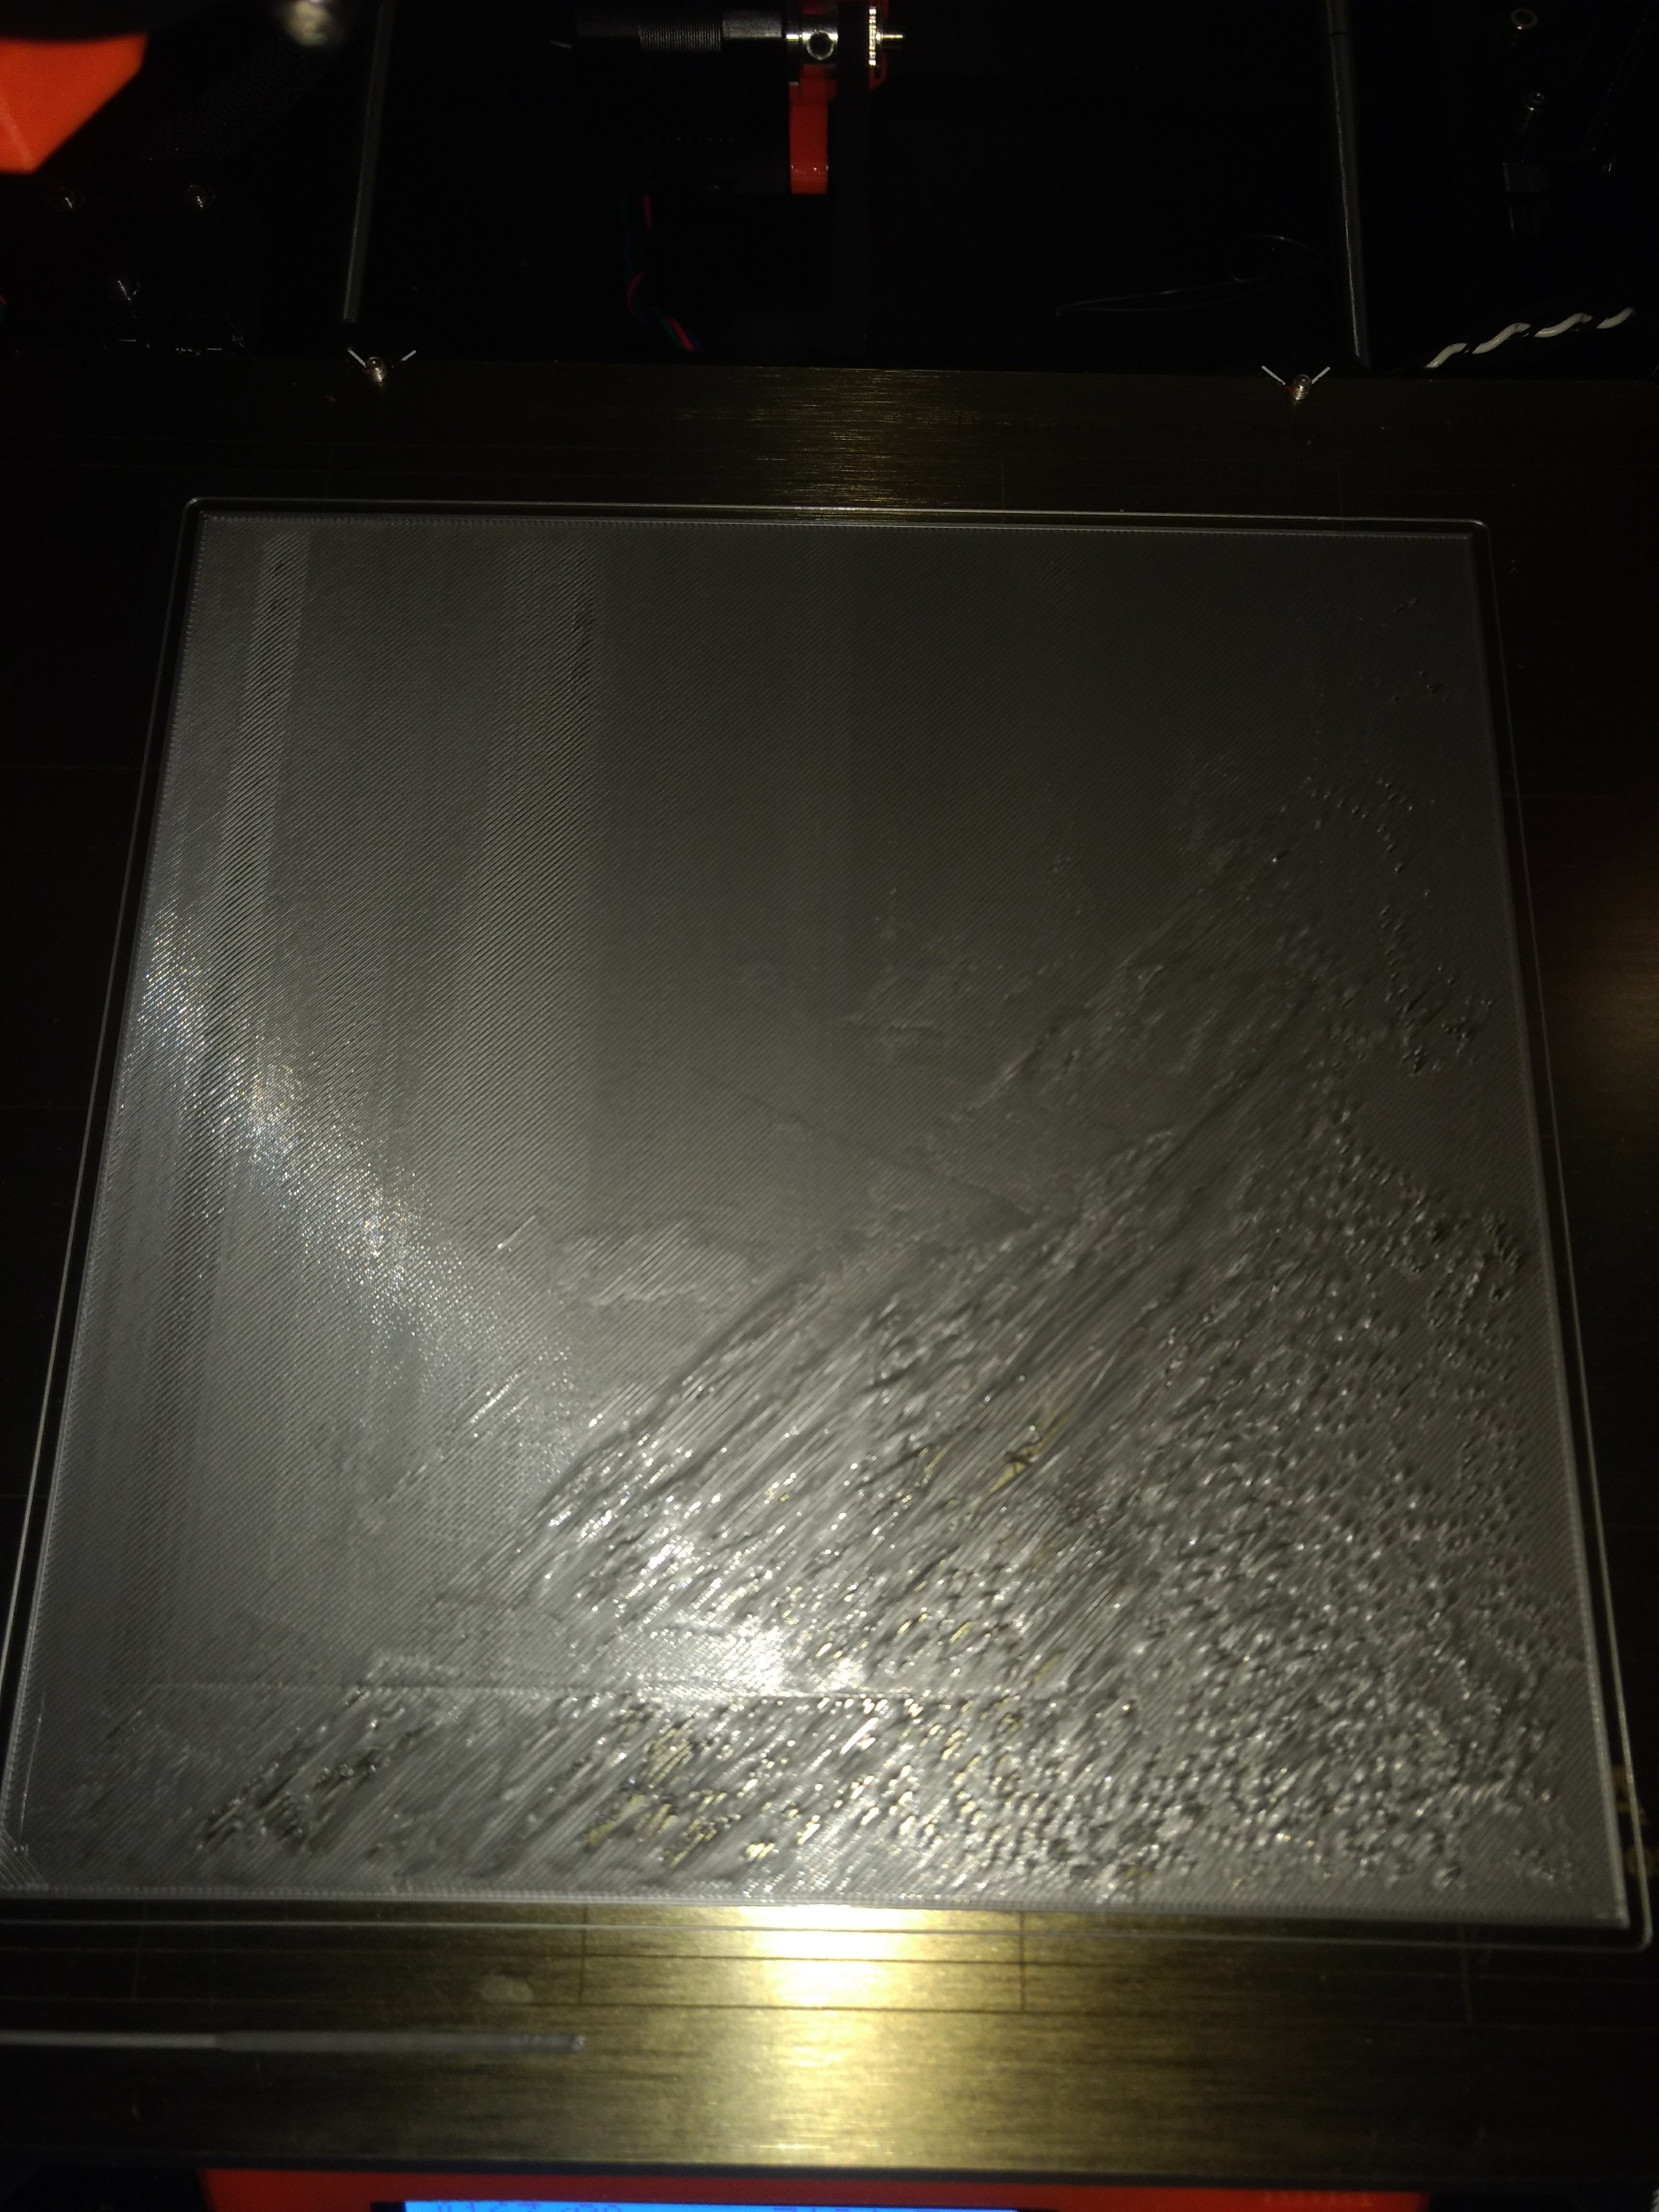
Close but no cigar?
Had to change bed level calibration but I still get this strange vertikal lines. Should I just ignore or?
Re: life adjust Z - my way
The minimum I can get is 0.22mm rather than 0.20mm. Is this a big deal? Could the extrusion multiplier be the culprit here?
Re: life adjust Z - my way
... Could the extrusion multiplier be the culprit here?
yes, might be.
but even inaccuracy in the diameter of the nozzles borehole could be a reason.
dem inscheniör is' nix zu schwör...
Re: life adjust Z - my way
I followed the middle live z paper wiggle test and got the value to around -1.020 (should I lower the pinda even more?)
If you are seeing -1.020 on the live Z your pinda is a little too low. When you are setting live Z, you are adjusting the position of the nozzle relative to where the pinda senses, that point being the zero point. So, at -1.020 you are moving the nozzle 1.020mm closer to the bed. If you want that distance to be smaller, then you need to raise the pinda so that it senses with the nozzle a little closer. Higher the pinda=lower the nozzle=less negative adjustment (needed or available) for live Z. Live Z will be different from printer to printer, pinda to pinda and often filament type to filament type (PETG doesn't need to be as low as PLA, for instance).
Hope this helps. If you already knew this, then my apologies!
Re: life adjust Z - my way
Close but no cigar?
IMG_20180227_214536622.jpg
Had to change bed level calibration but I still get this strange vertikal lines. Should I just ignore or?
Right front corner of your bed is a touch too high. If you use the hyper fine leveling build, you need to raise point C a little.
Re: life adjust Z - my way
Thank for this. Used version 4 to get mine set -1050 still might be a little high measured 0.22 mm sample. PRUSA logo printed fine.
Re: life adjust Z - my way
Quick question. Does this calibration need to be done on the heat bed or can it be done on the PEI sheet as well?
Re: life adjust Z - my way
I am completely lost here.
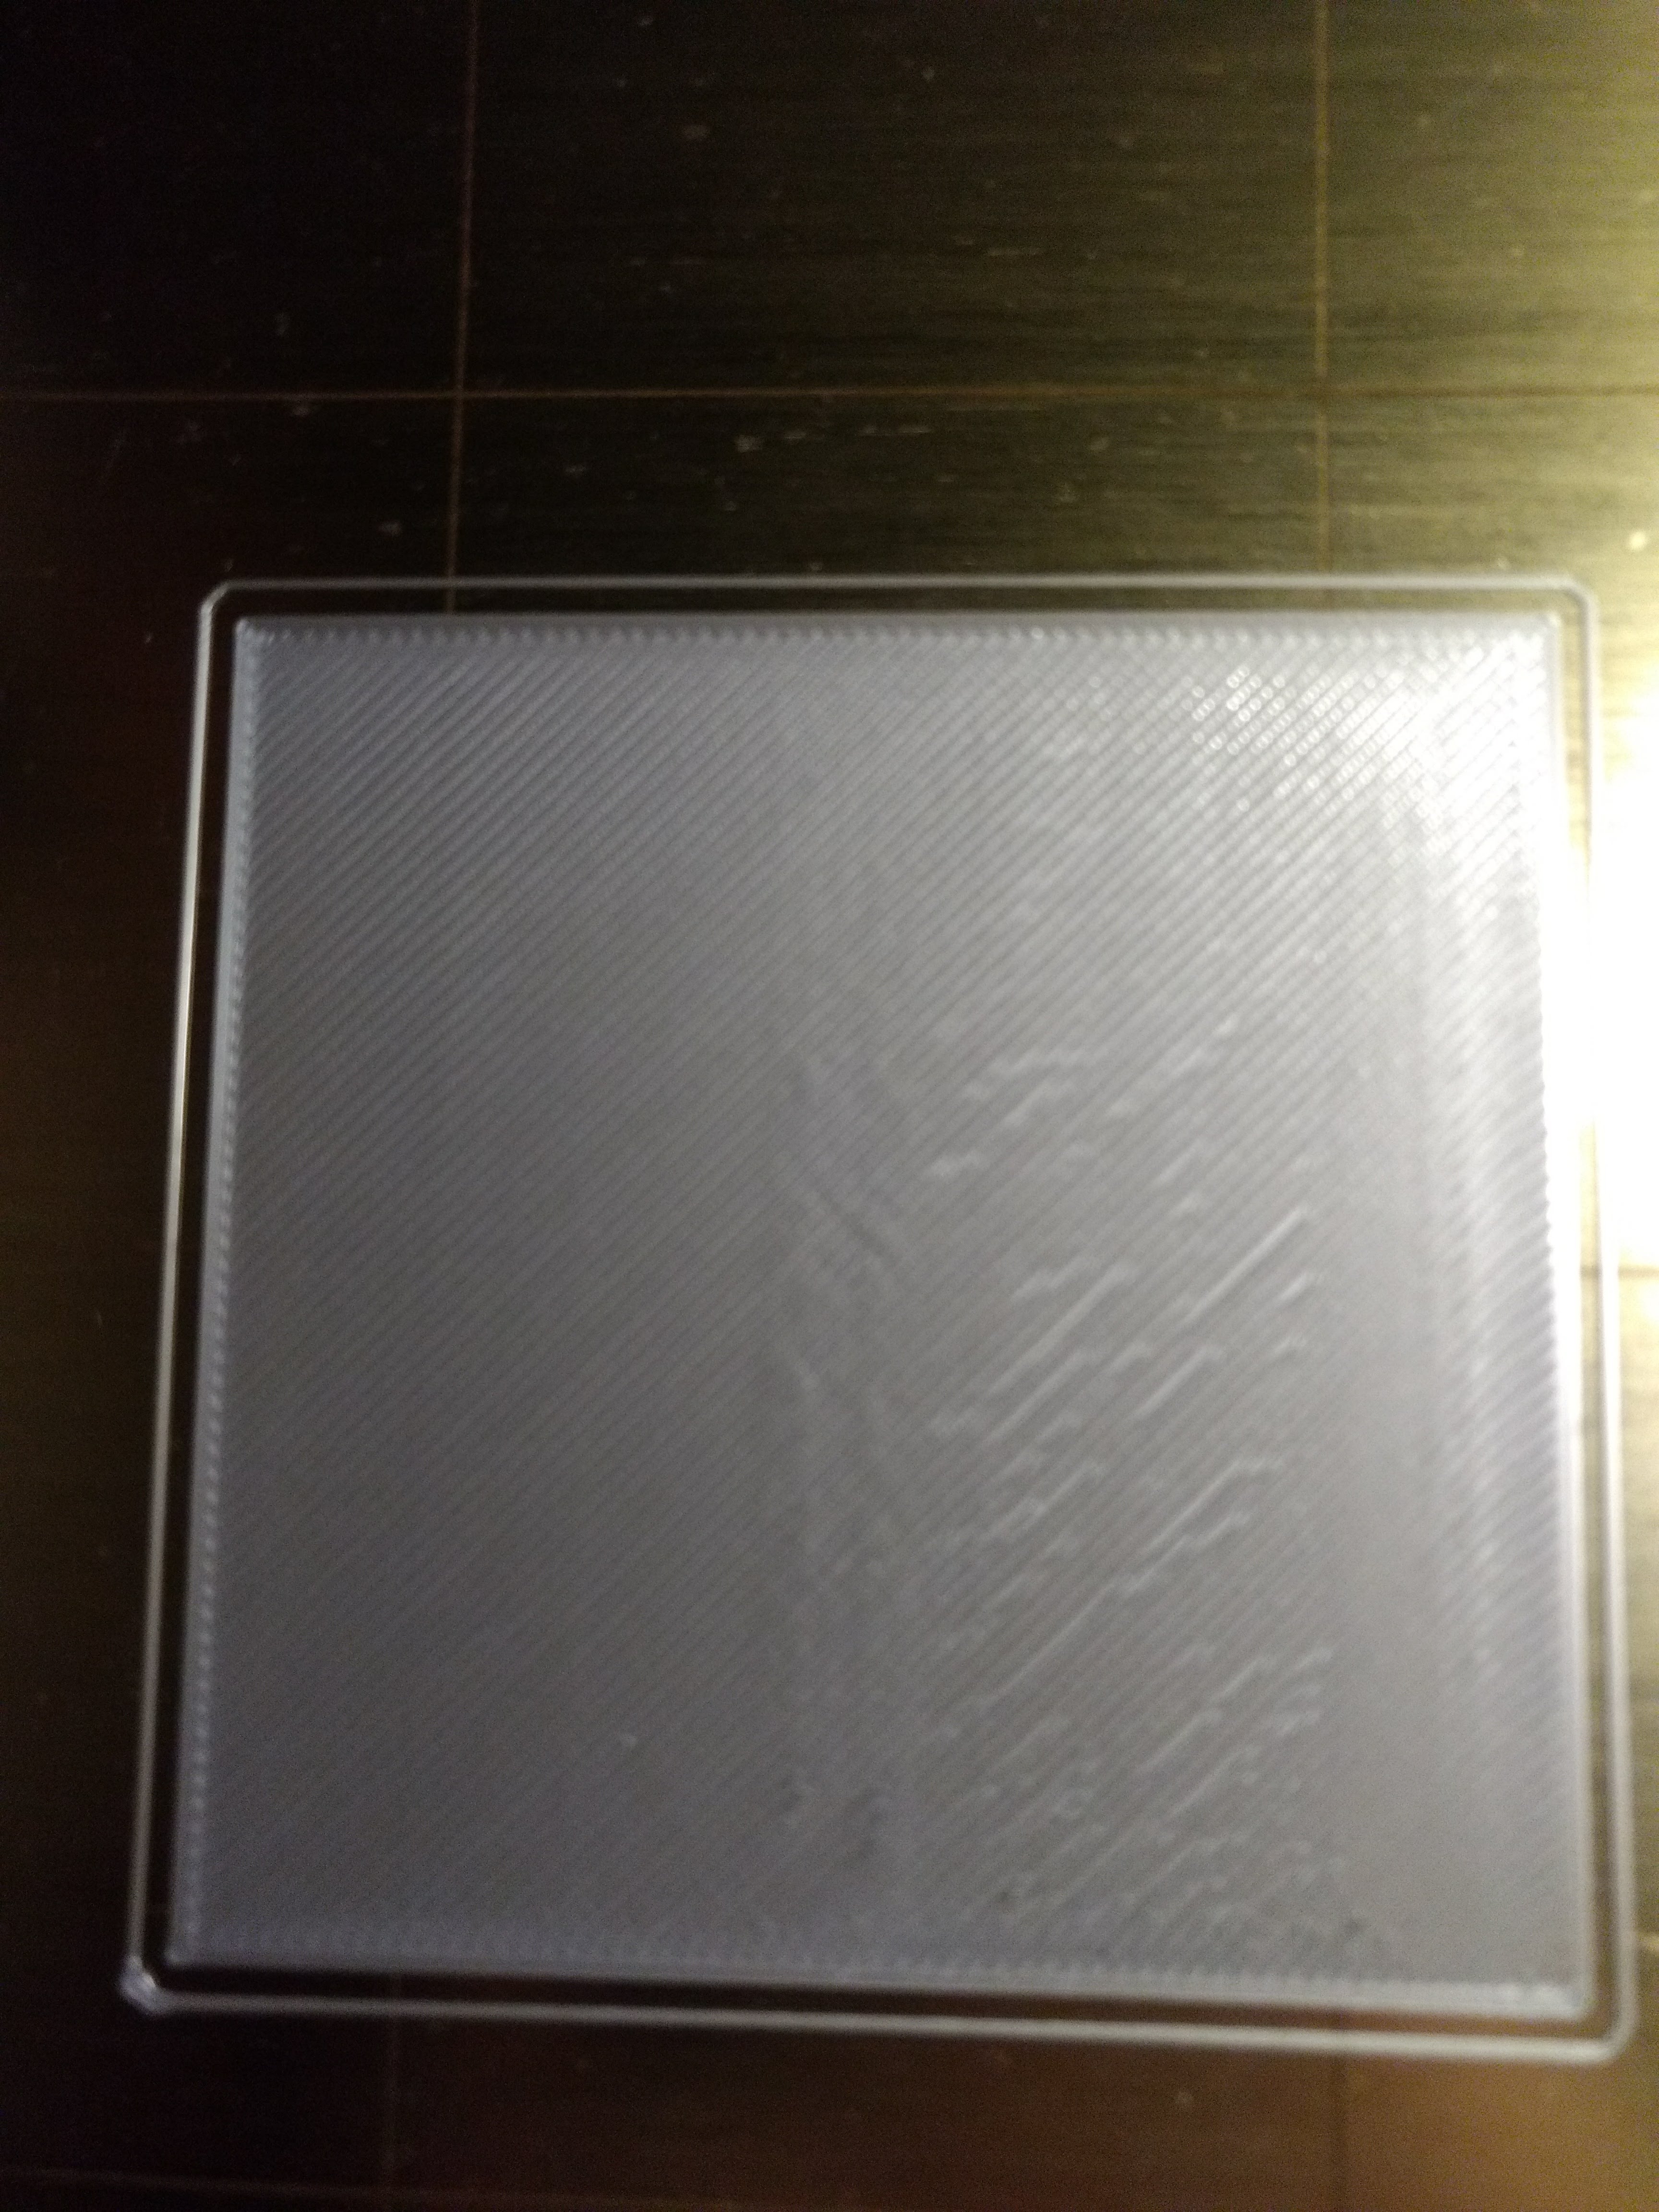
I ran this calibration test 3 times before I got the perfect surface - no gaps whatsoever between infill and perimeters, perfectly smooth on the bottom, very very smooth on top. Ran it one more time and the square is perfectly printed throughout the whole surface.
I start printing Adalinda from the Prusa SD card after that, the first layer is terrible. Combination of gaps an extruded corners (as in situations you have too little clearance between bed and nozzle so the nozzle drags a bit of the filament that got extruded).
Unfortunately, my camera completely stopped working so I can't take a photo but I have no idea what causes this.
Adalinda is a pretty rough print, with a lot of short, fast movements... maybe my Y axis belt is getting loose? The X axis belt is OK, but I can't check the Y acis while it's printing and I don't wish to stop it - I hope to see if there are more issues mid-print.
Re: life adjust Z - my way
thanks a lot for this: very helpfull
Re: life adjust Z - my way
Hello all,
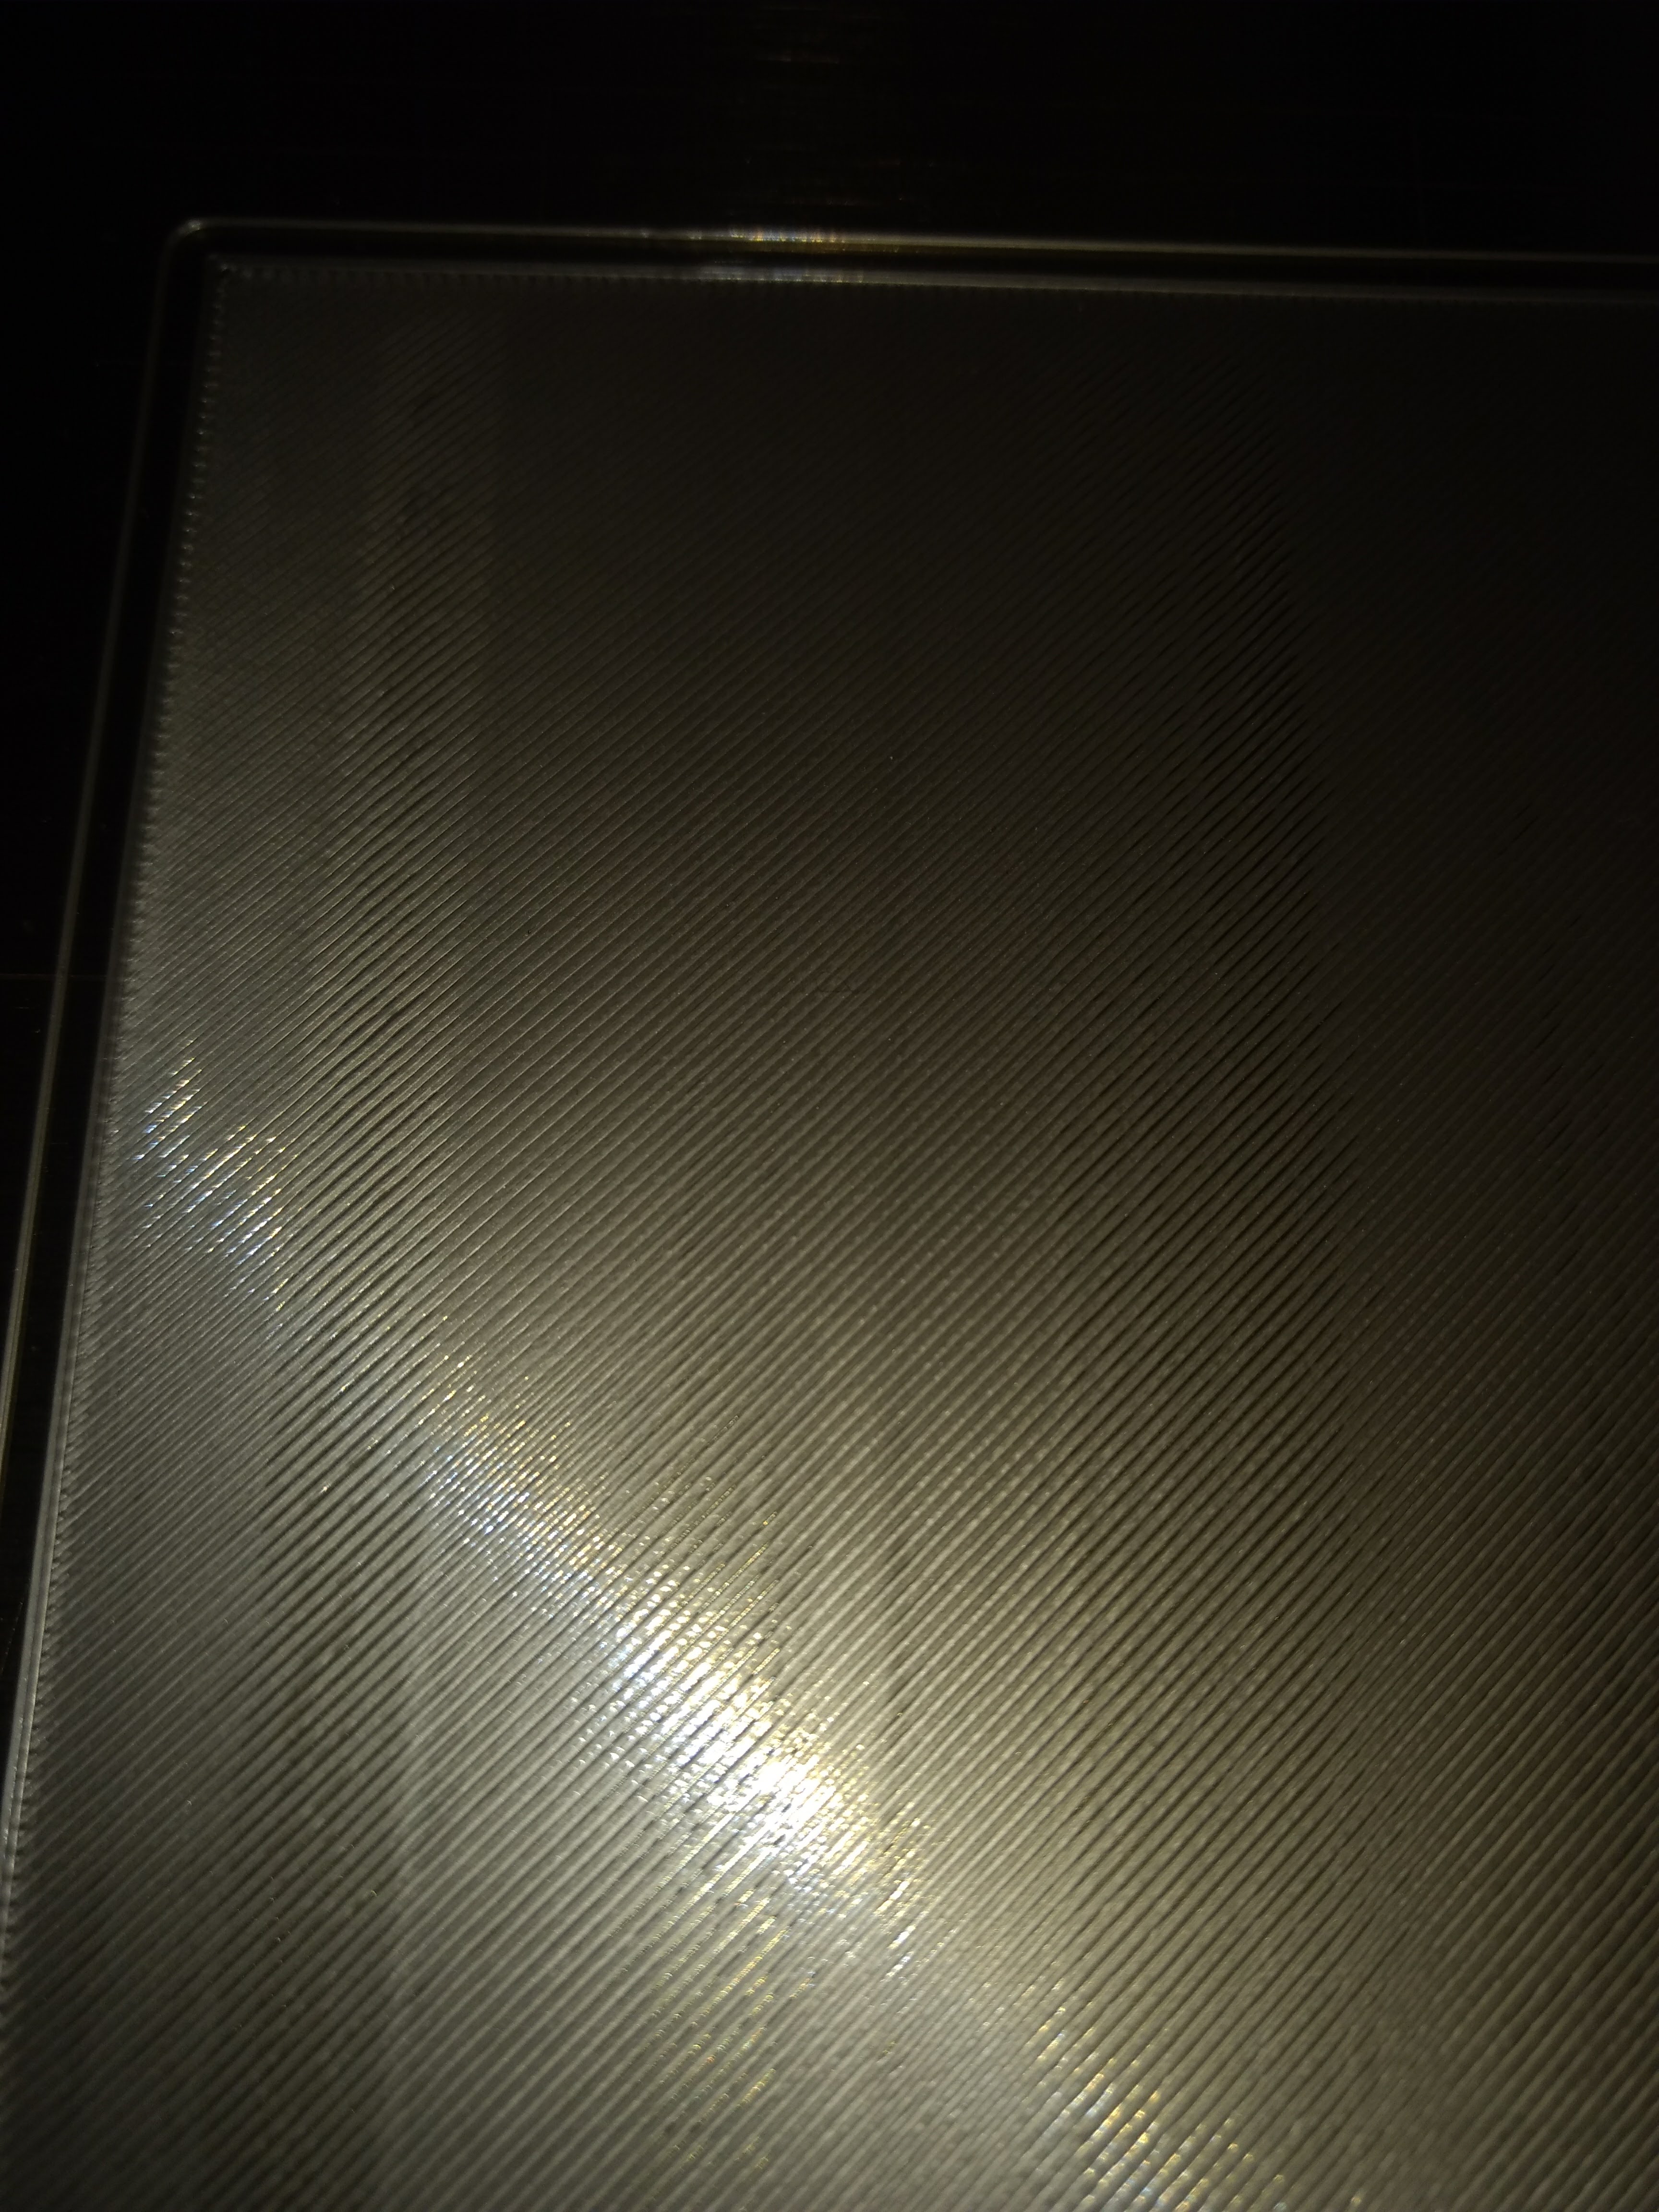
First time printer here - Have built my kit and ran though all the initial testing/calibration with no issues. After the built in Z height calibration I printed a Prusa logo and wasn't convinced with the surface on the back of the first layer:

So I found this thread here and decided to give it a go. Now I'd appreciate a little feedback before going further.
Here's my first test square. (-.800 being from the Prusa calibration. Then I adjusted to -.900 for the second half.)

It's certainly a lot better on the -.900 but still some small gaps. Only really noticeable when held up to light, and only at one corner.

Then, that leaves me wondering:
- Should I adjust more? Another -.050? or -.100?
or is there some other issue?
Re: life adjust Z - my way
I recommend to "fine tune" it down to +/- 20µm.
check out -920 and -940.
you should get a closed and consistent surface, without seperated strains, at a thickness of 0.20mm.
remember, if you still got strains but no closed surface even when lowering the tip of the nozzle much further: check and calibrate your extruder first (most of the printers are under-extruding).
dem inscheniör is' nix zu schwör...
Re: life adjust Z - my way
Hi Jeff,
Thanks for the reply.
Since posting I tried -.925 & -.950
-.950 had a rippled surface, -.925 was good but quite a rough surface.
So I backed up and tried -.910 and -.905; both seemed pretty damn good. But for some reason -.910 was smoothest, so I've stuck with that. But still has a few rough spots.
Does it sound okay?
Re: life adjust Z - my way
I'm having a strange issue. If I print the v6.1 gcode downloaded from this thread it prints perfect. I have been able to get a nice smooth surface, and it measures exactly 0.2mm thick afterwards.
However I'm still getting bad first layers on prints. So I tried making my own square. 70x70x0.2. Sliced from slic3r at 0.2 layer height defaults. Prints awful, barely any lines merge with the next. My instincts tell me that its an issue in slic3r, but I dont know where to look. Im using octoprint so it might be there as well.
Re: life adjust Z - my way
I'm having a strange issue.
Well, I think I found it. The latest version of the prusa driver sets the gcode flavour to marlin. Every version before, and the version available from the prusa pe github page have it set to reprap.
I had decided to try runnig my self made square to see how close i needed to get, thinking i bumped the probe or something. Got it all the way down to -700 (it had previously been at -635 when it was working fine) before i noticed. Set it back to reprap, resliced, sent to printer at -635, and a perfect 0.2 layer.
Just uninstalled prusa software, manually deleted folders and reinstalled to confirm, still showing set to marlin..
Weird. Can anyone else confirm?
Re: life adjust Z - my way
[/quote]
Well, I think I found it. The latest version of the prusa driver sets the gcode flavour to marlin.
[/quote]
Where can you find this output?
Re: life adjust Z - my way
It is in the printer tab, under gcode flavor. That being said, it appears I was wrong, and that marlin is the correct setting, it took a few posts in the forum to get that information confirmed (well mostly confirmed, I got equal answers saying reprap is the right setting as marlin, but marlin was more convincing), unfortunately I couldn't edit or delete my post here. I did a quick test with jeff's square and it seems to work normally, but haven't been able to print anything substantial as I haven't been home much.