I dont get it, Z calibration works great, print fails
Hi folks,
I am quite new to the 3DP world, I assembled my MK3S some months back and been learning a lot. But sometimes its hard to understand why things happen.
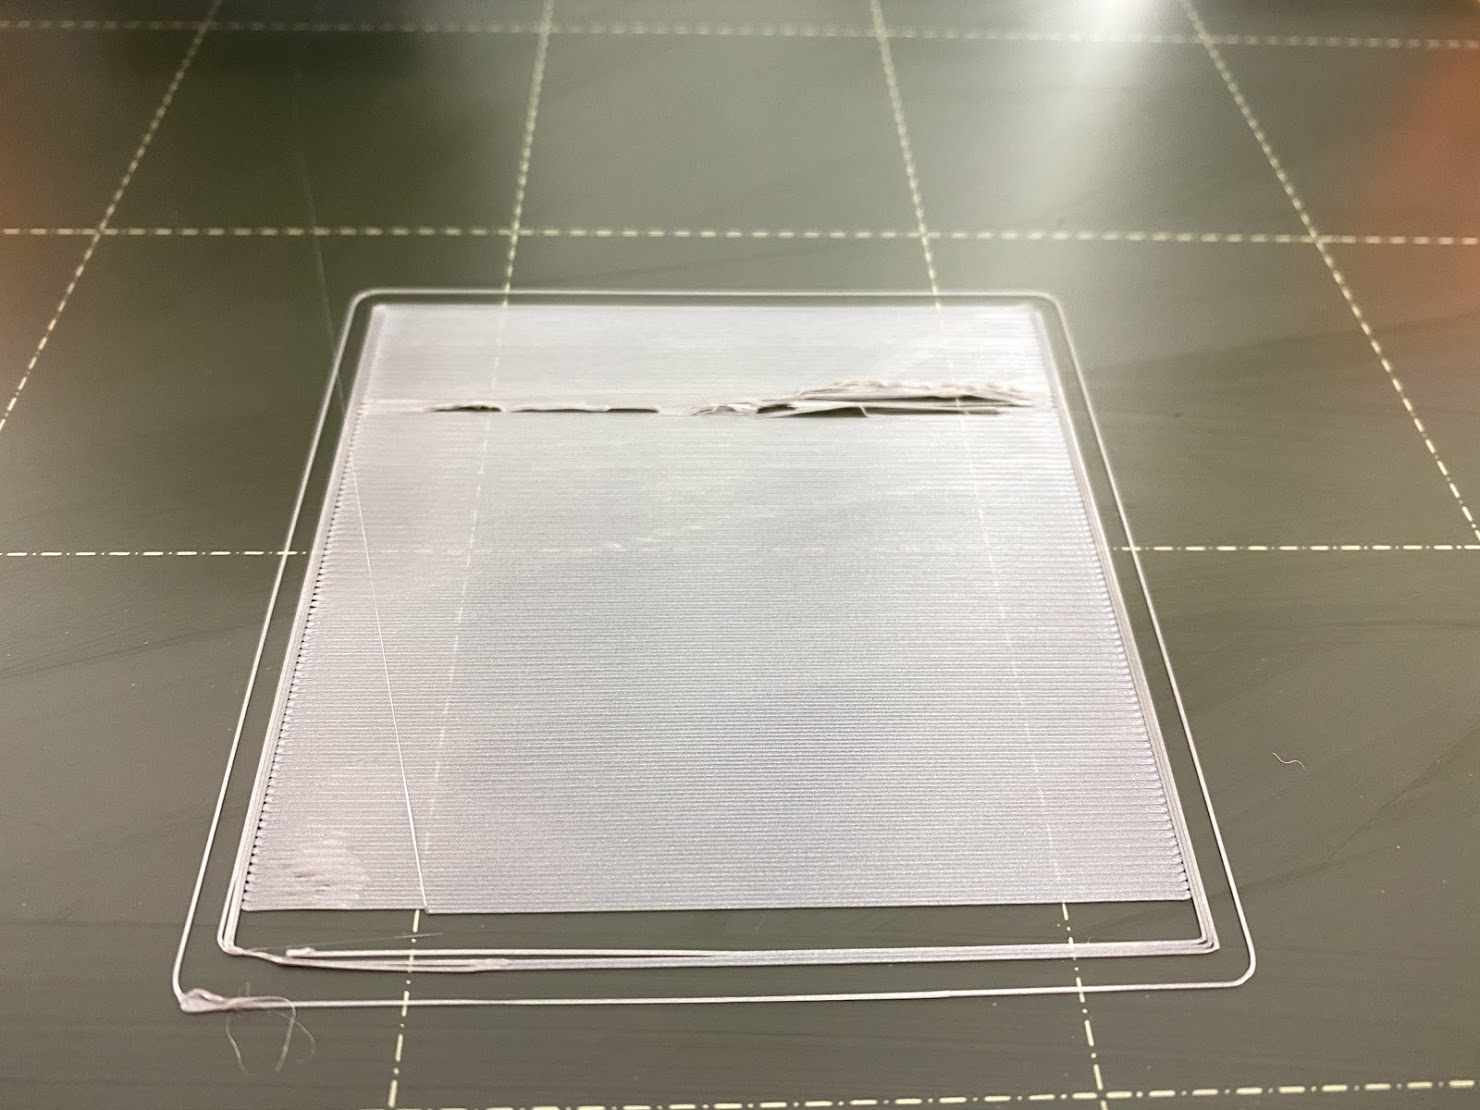
In this ocassion, I want to share with you the following image: You will see that its a Z Calibration 3x3 test file printed from the SD card. I calibrated until I got an even first layer. Then I did it again because I wasnt happy with that "bubble" effect on the front.
I had to re-calibrate for this Filamentum PLA, before I was printing with 3D Jake Eco PLA filamentum and I got a nice first layer, but that calibration didnt seem to work with the filamentum PLA. Quite annoying I must say if I have to re-calibrate every time I use a different spool. 😑
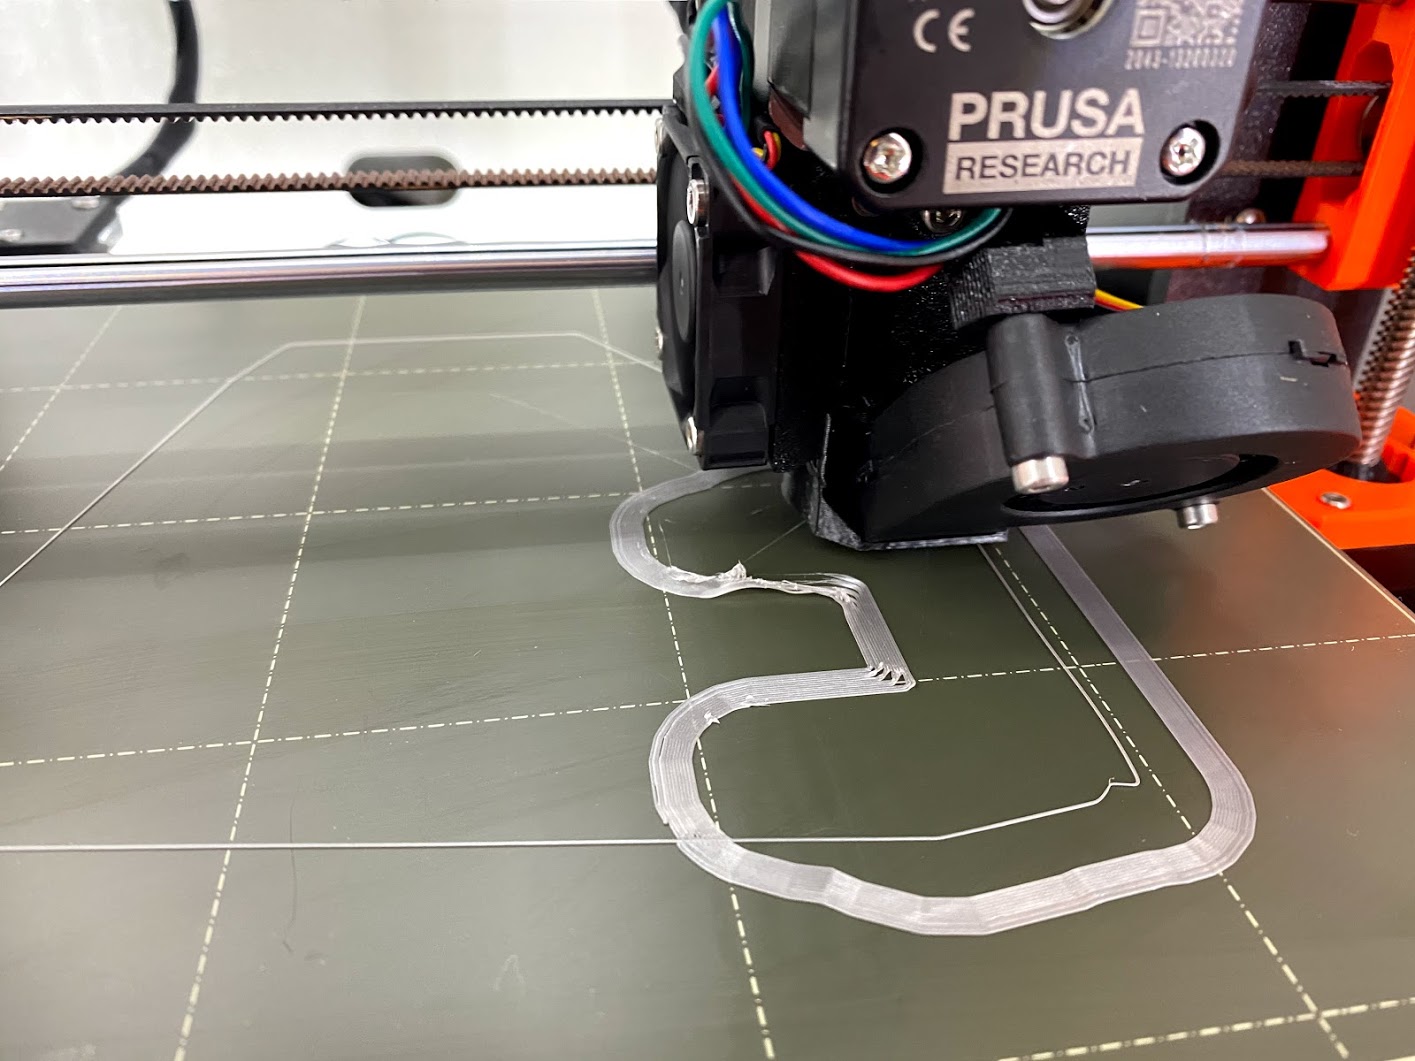
Then once I knew the calibration was "OK" (maybe I am wrong), I started a long print where I need 15mm brims to support the thin and tall objects. And this is where the print already failed, on the brims as you can see below:
I need to understand what is going on, what am I missing here?
Why do I need to re-calibrate Z Level between PLA filaments?
Why if the 3x3 test works, the print fails?
From a Prusa Slicer perspective I am using all standard parameters nothing strange.
Thanks a lot for your support so I can continue to learn.
RE: I dont get it, Z calibration works great, print fails
It looks like your Z is far too high. A first layer should not have gaps in it at the edges, and the lines of extrusion should not look that distinct and rounded — it should be much more of a mashed-together sheet of plastic. You're getting poor adhesion because the plastic is not spread out and pressed onto the surface.
If you have a caliper or micrometer available, measure the thickness of your first layer after removing it from the print bed — when you are using a smooth rather than textured sheet, the thickness should be almost exactly 0.20 mm (though there will always be some irregularities that are thicker).
You should not need to change the Live Z calibration for different filaments unless you're tweaking it to trade off between bed adhesion and "elephant foot".
RE: I dont get it, Z calibration works great, print fails
I actually was having a very similar problem. I set the Live Z to 0.750 and when I started the print, I slowed the flow rate to 60%. I checked on it regularly and finally...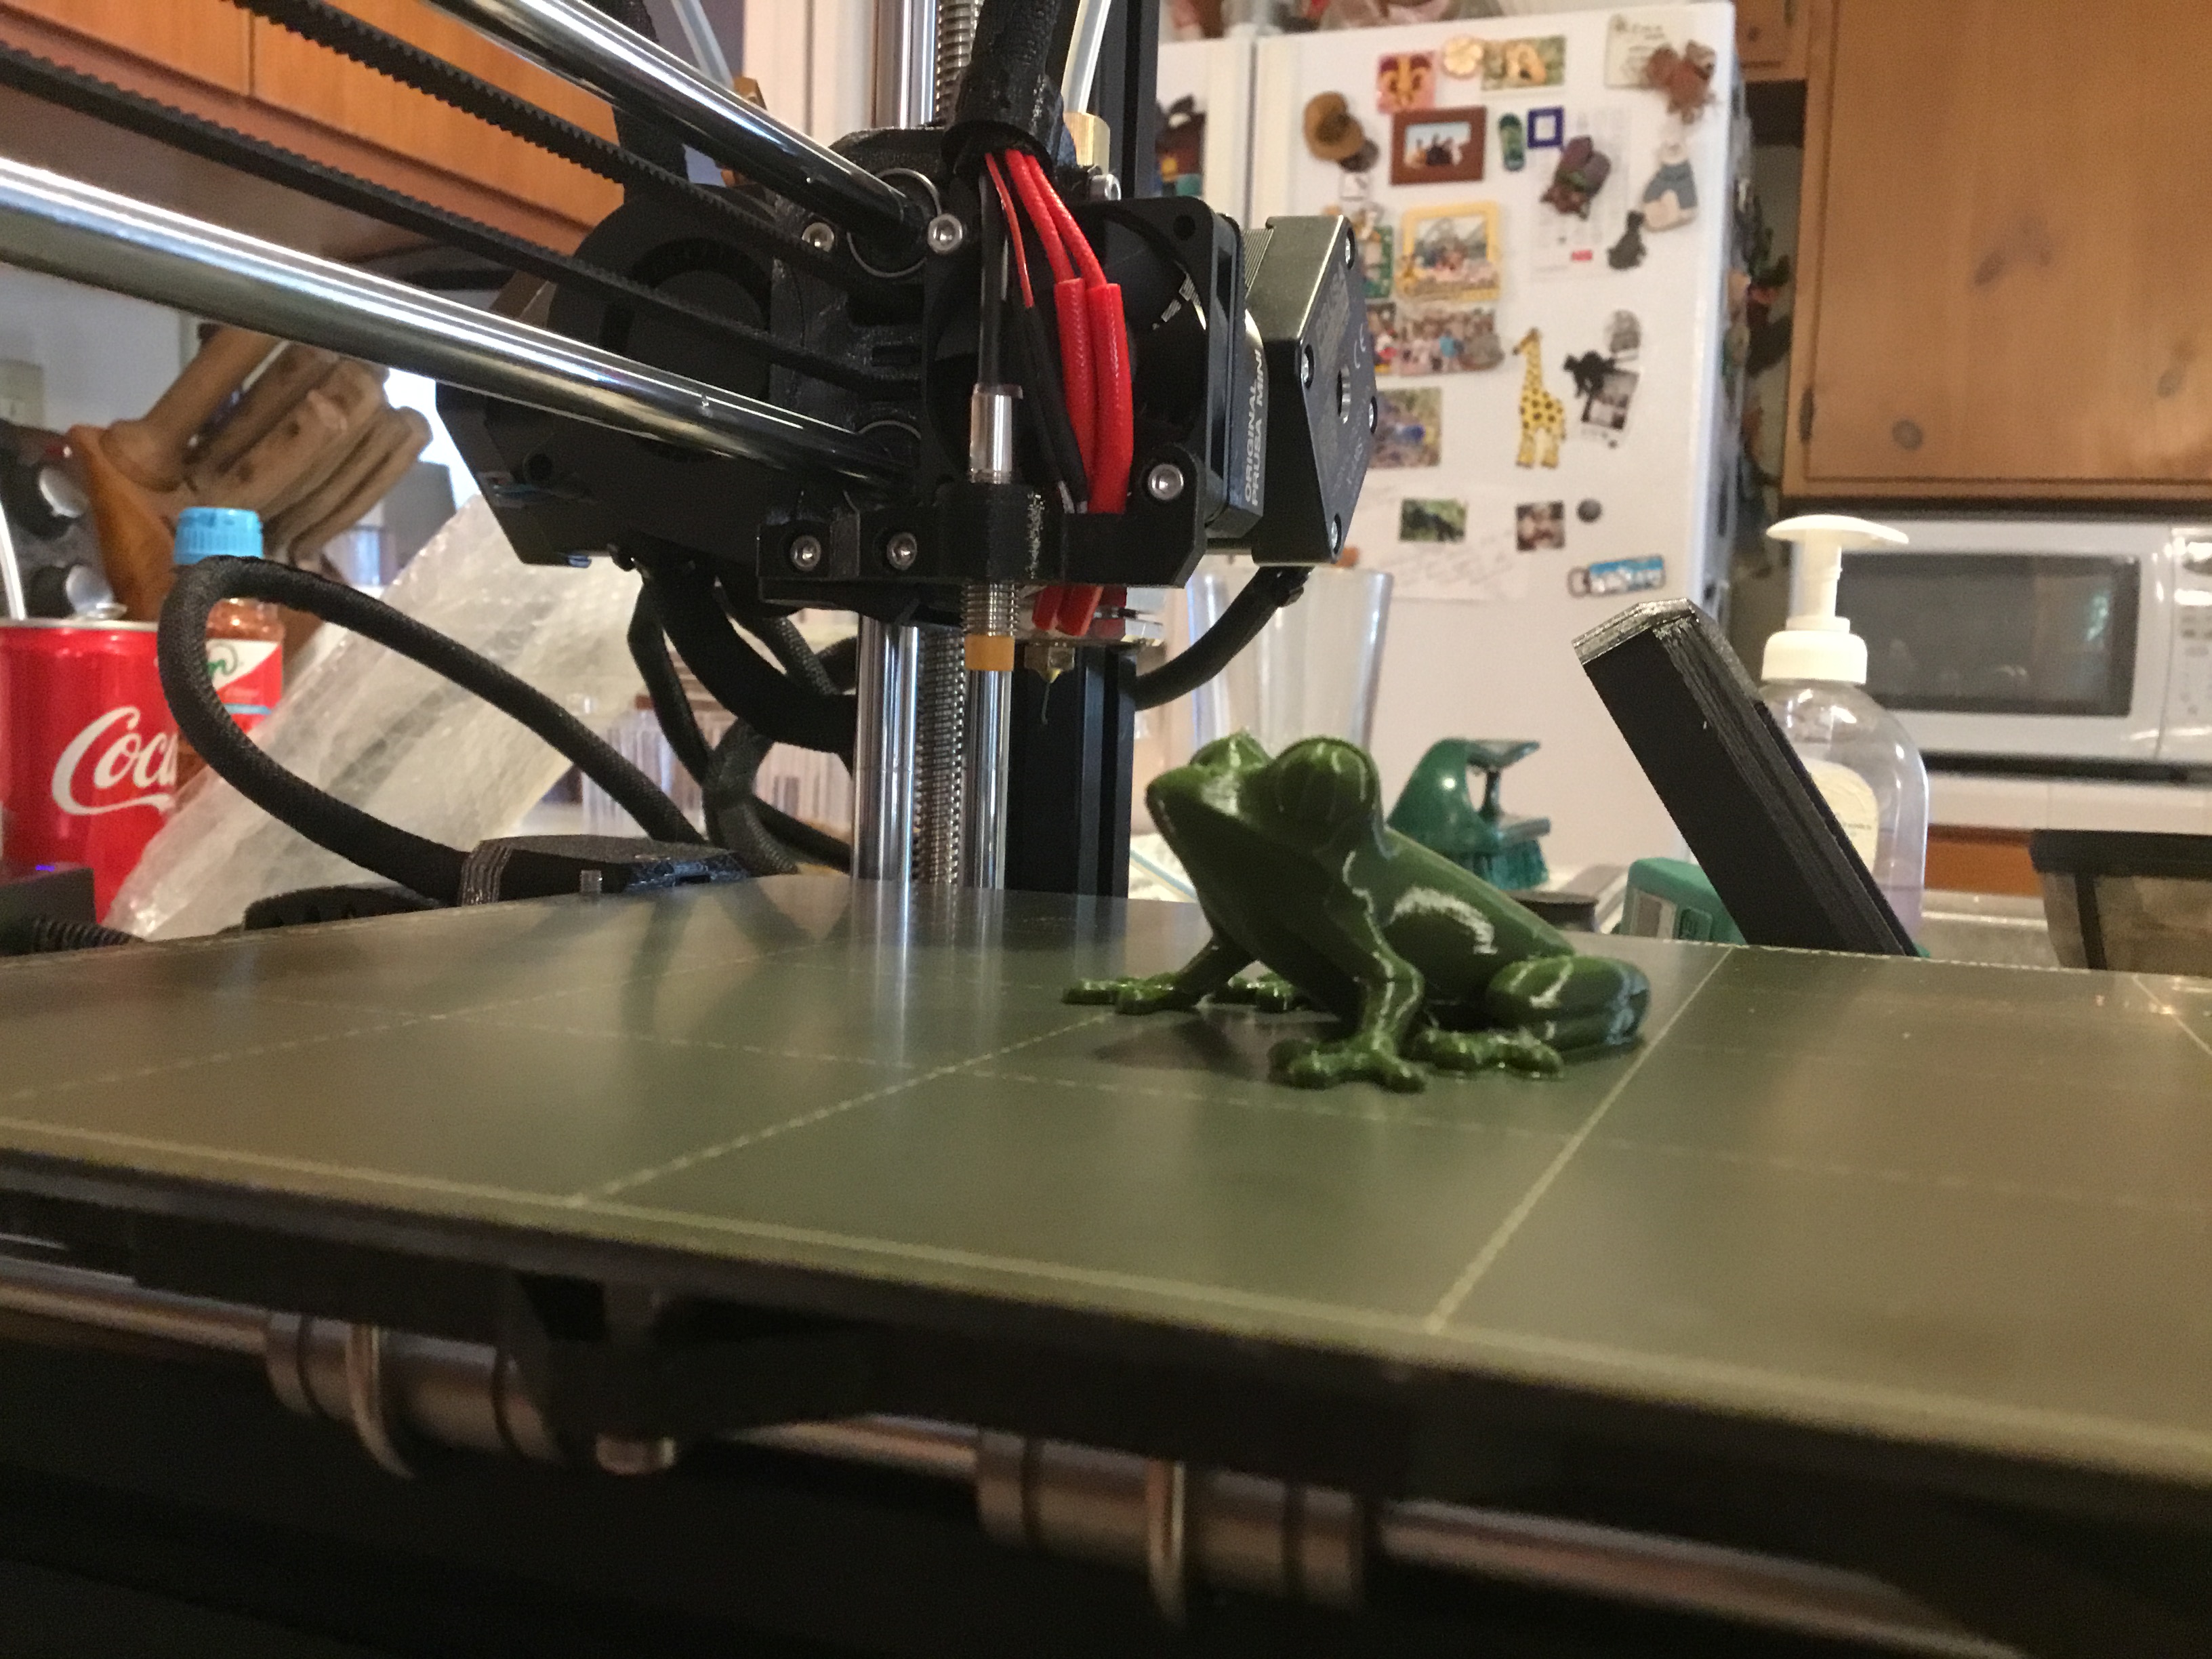 Tree Frog - Variable
RE: I dont get it, Z calibration works great, print fails
Clean bed a few times with dish soap, then dry it, and use it.
Your z is to high, lower it.
Look on youtube for z-layer calibration , then you see movies, with to high and to low settings.
general:
A new sheet will stick less then a used one.
PLA sticks more difficult on a powder coated sheet. Is still possible settings need to be more preciese.
This how I work on a pei sheet(there are always exceptions):
Most important to 3d printing is:
1. 3d print will never be like start and i have the print, there will always be problems!!!!!!
2. A clean sheet, use dish soap, then you can print on it. A few prints you can use alcohol, then again dish soap,
big flat models and models with small footprint on sheet- use glue stick(and not every glue stick is the same,
use one that makes a thin layer), and big flat models and small footprint, use a big brim attach to model so footprint is bigger.
Petg sticks to much on the pei sheet, use window cleaner, this leaves a layer on the bed, so it does not stick to much.
3. To get it stick very good, a 100% first layer is very important, see youtube for movie on this.
Every new print watch the first layer, and look if it is 100%, this will also prevent a big ball of filament on your nozzle wen model let loose during printing.
Extra: (normally not needed).
First layer, print hotter.
First layer slower.
Bed more heat.
Most problems are first layer to get this 100%, and bed not clean.
Bad filament is possible, or filament with water inside.
Move extruder to the top and extrude filament, it should go straight down(if not, nozzle possible blocked),
it should be thick enough(if not, nozzle possible blocked, or partial blocked), (do a cold pull),
if Bubbling during extrusion then it has to much water inside.
Check after the first layer is ready, then you see if it sticking enough, and not releasing and sticking to the nozzle.
If you see white spots like a bubble on the bed, then filament is releasing from bed.
Also no gabs between lines should be visible.
Use 7x7 calibration for first layer, see settings in the printer.
RE: I dont get it, Z calibration works great, print fails
Thanks a lot for your comments. I will give it a try again and continue testing.
When the first layer looks like the top part of the 3x3 means the noodle is too high? I thought it was too low and the noozle was affecting the print :/
RE: I dont get it, Z calibration works great, print fails
RE: I dont get it, Z calibration works great, print fails
When the first layer looks like the top part of the 3x3 means the noodle is too high? I thought it was too low and the noozle was affecting the print :/
Both too high and too low can result in messes. If the nozzle is too high, the filament doesn't stick consistently and may peel up, then hitting the nozzle when it comes back on another line. If the nozzle is too low, so that there isn't enough room for the amount of plastic being extruded, the filament squishes out and makes waves and ridges, but if that were the case, you'd see ripple patterns across your entire calibration square.
One thing to keep in mind is that a properly operating printer does not lay down round strands of plastic. The extrusion is round if it comes out of the nozzle in midair, but while printing it is immediately squished flat into the thinner gap between the tip of the nozzle and the print bed or preceding layer. (With the standard nozzle and print settings, you're extruding through a 0.4 mm nozzle hole into a 0.2 mm tall space, or even less.)
The ragged bottom left and bottom right perimeter corners are signs that the filament isn't adhering well and is getting pulled sideways as the nozzle goes around the corner, and there are gaps visible between the lines. (Tiny gaps at corners are normal; these are too much.)
RE: I dont get it, Z calibration works great, print fails
Thanks a lot for your comments and help. I was able to get good prints now. It was all about proper adjustment of the z layer. After some alignment and patience I was able to get it running smoothly and adhesion to the bed works like a charm. Thanks again!
