First layer Z height
Hello all!
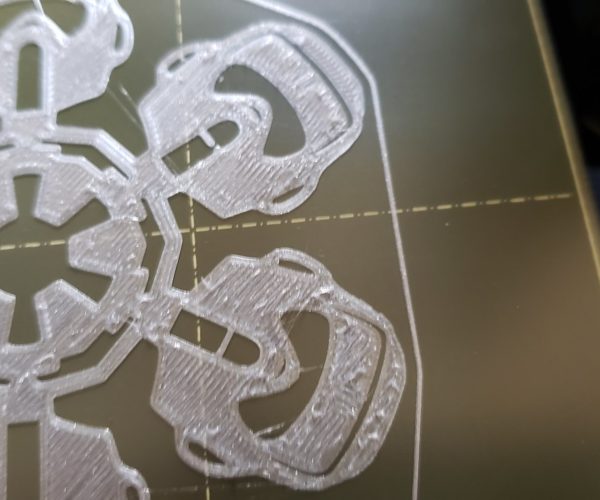
I just got a Mk3s for myself for Christmas, and everything seems to be working fine, except occasionally I'll see imperfections like this in the first layer.
I have been fighting with the first layer Z height, at first I was playing it too safe and it was set too high...I finally have my prints working wonderfully except for this - is this caused by the first layer Z being too low?
Best Answer by bobstro:
Where do I find the gcode for this? Is it custom gcode, or is there an option in Slic3r to preheat?
There are many variations. I've got a documented example of my recent config here that includes the 2-step nozzle warmup procedure. The basic approach is:
1. Warm nozzle to a "no-ooze" temp (I use 160C).
2. Do PINDA warmup or other desired initiation steps (see documented code for details).
3. Do mesh bed leveling.
4. Heat nozzle to final print temp.
5. Print prime line. (See documented example for technique to minimize final stringing.)
This code is inserted at the start of every gcode file generated using the profile, so you only have to set it up once. This should eliminate the dots and prime line stringing problem for the most part. This plus Jeff Jordan's "Life Adjust" procedure that @robert-rmm200 linked to should deal with any minor bed leveling issues.
RE: First layer Z height
Step back to Z calibration. This is a good writeup:
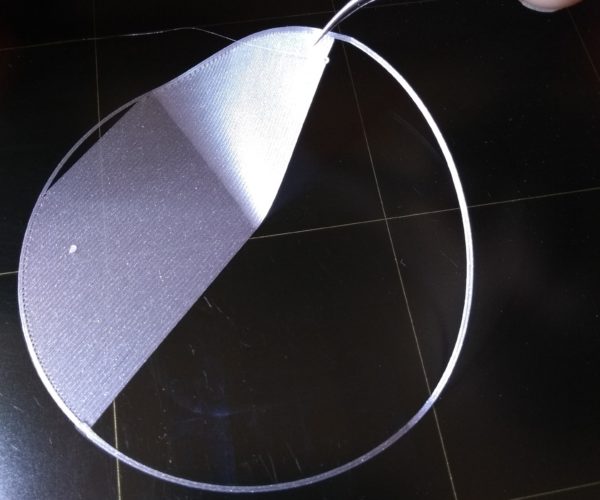
Do a calibration circle or square that is big enough to let you adjust Z while it is printing.
Post the result here as a picture and we will critique.
Not much use printing other things until you have a clean surface and a correct Z.
RE: First layer Z height
Yes, the nozzle is too low (or your extrusion multiplier is set numerically too high - >1.00).
Use a larger cal target, one that gives time to make adjustments and see results. I use these:
ps: and to follow up on Robert's points: a single fingerprint will ruin a print. Never touch the print surface. Doing so will come back to haunt you. And when you start having adhesion problems because you did touch the print surface, soap and water clean better than alcohol.
RE: First layer Z height
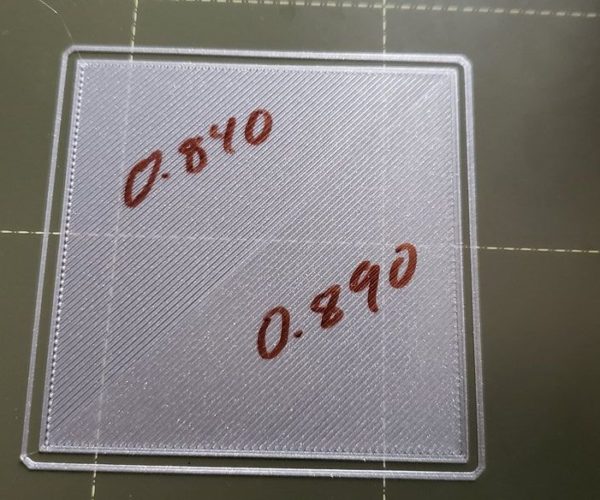
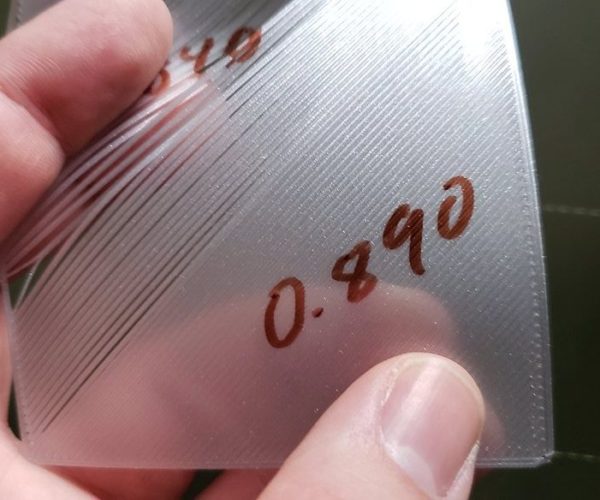
Here are the Z height calibration squares. -0.89 was where it was for the original picture.
This method was actually how I got to the Z height originally (the built in Prusa one I found to be rather useless...as seems to be the general consensus).
I thought -0.89 was good, and my prints have been working well, except for the aforementioned imperfections in the first layer.
Could my bed not be level enough to be compensated for in the mesh bed leveling? The imperfections seem to usually occur near the outer edges of the bed...small prints that stay in the middle don't seem to have a problem. Should I move the calibration square to the corners to check this?
RE: First layer Z height
[...] Could my bed not be level enough to be compensated for in the mesh bed leveling?
Be sure to enable 7x7 mesh bed leveling with recent firmware.
and miscellaneous other tech projects
He is intelligent, but not experienced. His pattern indicates two dimensional thinking. -- Spock in Star Trek: The Wrath of Khan Unfortunately,…
RE: First layer Z height
And while mesh bed leveling is a great idea, Prusa has munged the process and has tweaks after they gather the point data that limits the corrections they apply. And, the PINDA is temperature sensitive, so run to run variation is common; and the mechanics do move a bit as they too warm up.
Most of us use a preheat to make sure the PINDA is at a known temperature; and I've gone so far as to cool my PINDA when needed. This is all done in startup gcode, so it is automatic. But it adds time to the prints.
RE: First layer Z height
Where do I find the gcode for this? Is it custom gcode, or is there an option in Slic3r to preheat?
RE: First layer Z height
Where do I find the gcode for this? Is it custom gcode, or is there an option in Slic3r to preheat?
There are many variations. I've got a documented example of my recent config here that includes the 2-step nozzle warmup procedure. The basic approach is:
1. Warm nozzle to a "no-ooze" temp (I use 160C).
2. Do PINDA warmup or other desired initiation steps (see documented code for details).
3. Do mesh bed leveling.
4. Heat nozzle to final print temp.
5. Print prime line. (See documented example for technique to minimize final stringing.)
This code is inserted at the start of every gcode file generated using the profile, so you only have to set it up once. This should eliminate the dots and prime line stringing problem for the most part. This plus Jeff Jordan's "Life Adjust" procedure that @robert-rmm200 linked to should deal with any minor bed leveling issues.
and miscellaneous other tech projects
He is intelligent, but not experienced. His pattern indicates two dimensional thinking. -- Spock in Star Trek: The Wrath of Khan Unfortunately,…
RE: First layer Z height
Just to confirm that I am doing the right thing - I just throw that code, in the order you presented it, into Slic3r, in the "Start G-code" section (replacing what is already there)?
I also like the look of your ending G-code, so I will probably make use of that, too.
RE: First layer Z height
Ok, I jumped the gun and didn't wait for an answer, I went ahead and used that G-code.
So far, so good (first layer on the print looks good, and it was fairly large). One suggestion with the starting G-code - my house is a touch chilly, and I don't have an enclosure for the printer as of yet, so in order to get the PINDA to get hotter than 32, I had to manually crank the bed up to 90 (PINDA was hovering at 32 for a good hour after taking a half hour to get there). Perhaps a better position for the nozzle for the pre-heat would be all the way to the left with the X axis, and right in the middle with the Y axis? With it being at the very back of the bed, it is fairly close to a non-heated area, but if it were in the middle of the bed but at the extreme left of the X axis, it would be surrounded on all sides by a heated surface.
I actually assume you have good reason for not putting it there, as I am a complete n00b at this and you obviously have quite a bit of experience, but I am curious as to the reasoning.
Thanks for your help everyone!
Edit: My last post is still waiting for moderation, but this one just seems to have skipped that step and posted. I had asked about whether to completely replace the startup G-code with the code that @bobstro linked to.


