First layer problem with loose "strings"
Hello I'm working since 3 (yes, three) hours on first layer. I always have a problem with the beginning of the "strings" which never keeps on place. Because of that I get blobs on nozzle which destroys the first layer.
All tries are with the PLA from Prusament (shipped with the Prusa Printer MK3S Build-Kit). I assembled the printer by myself and everything went smooth (but Gummibärchen got stolen by my girlfried 😉 ) I have the rough steel-plate so I don't use glue-pen.
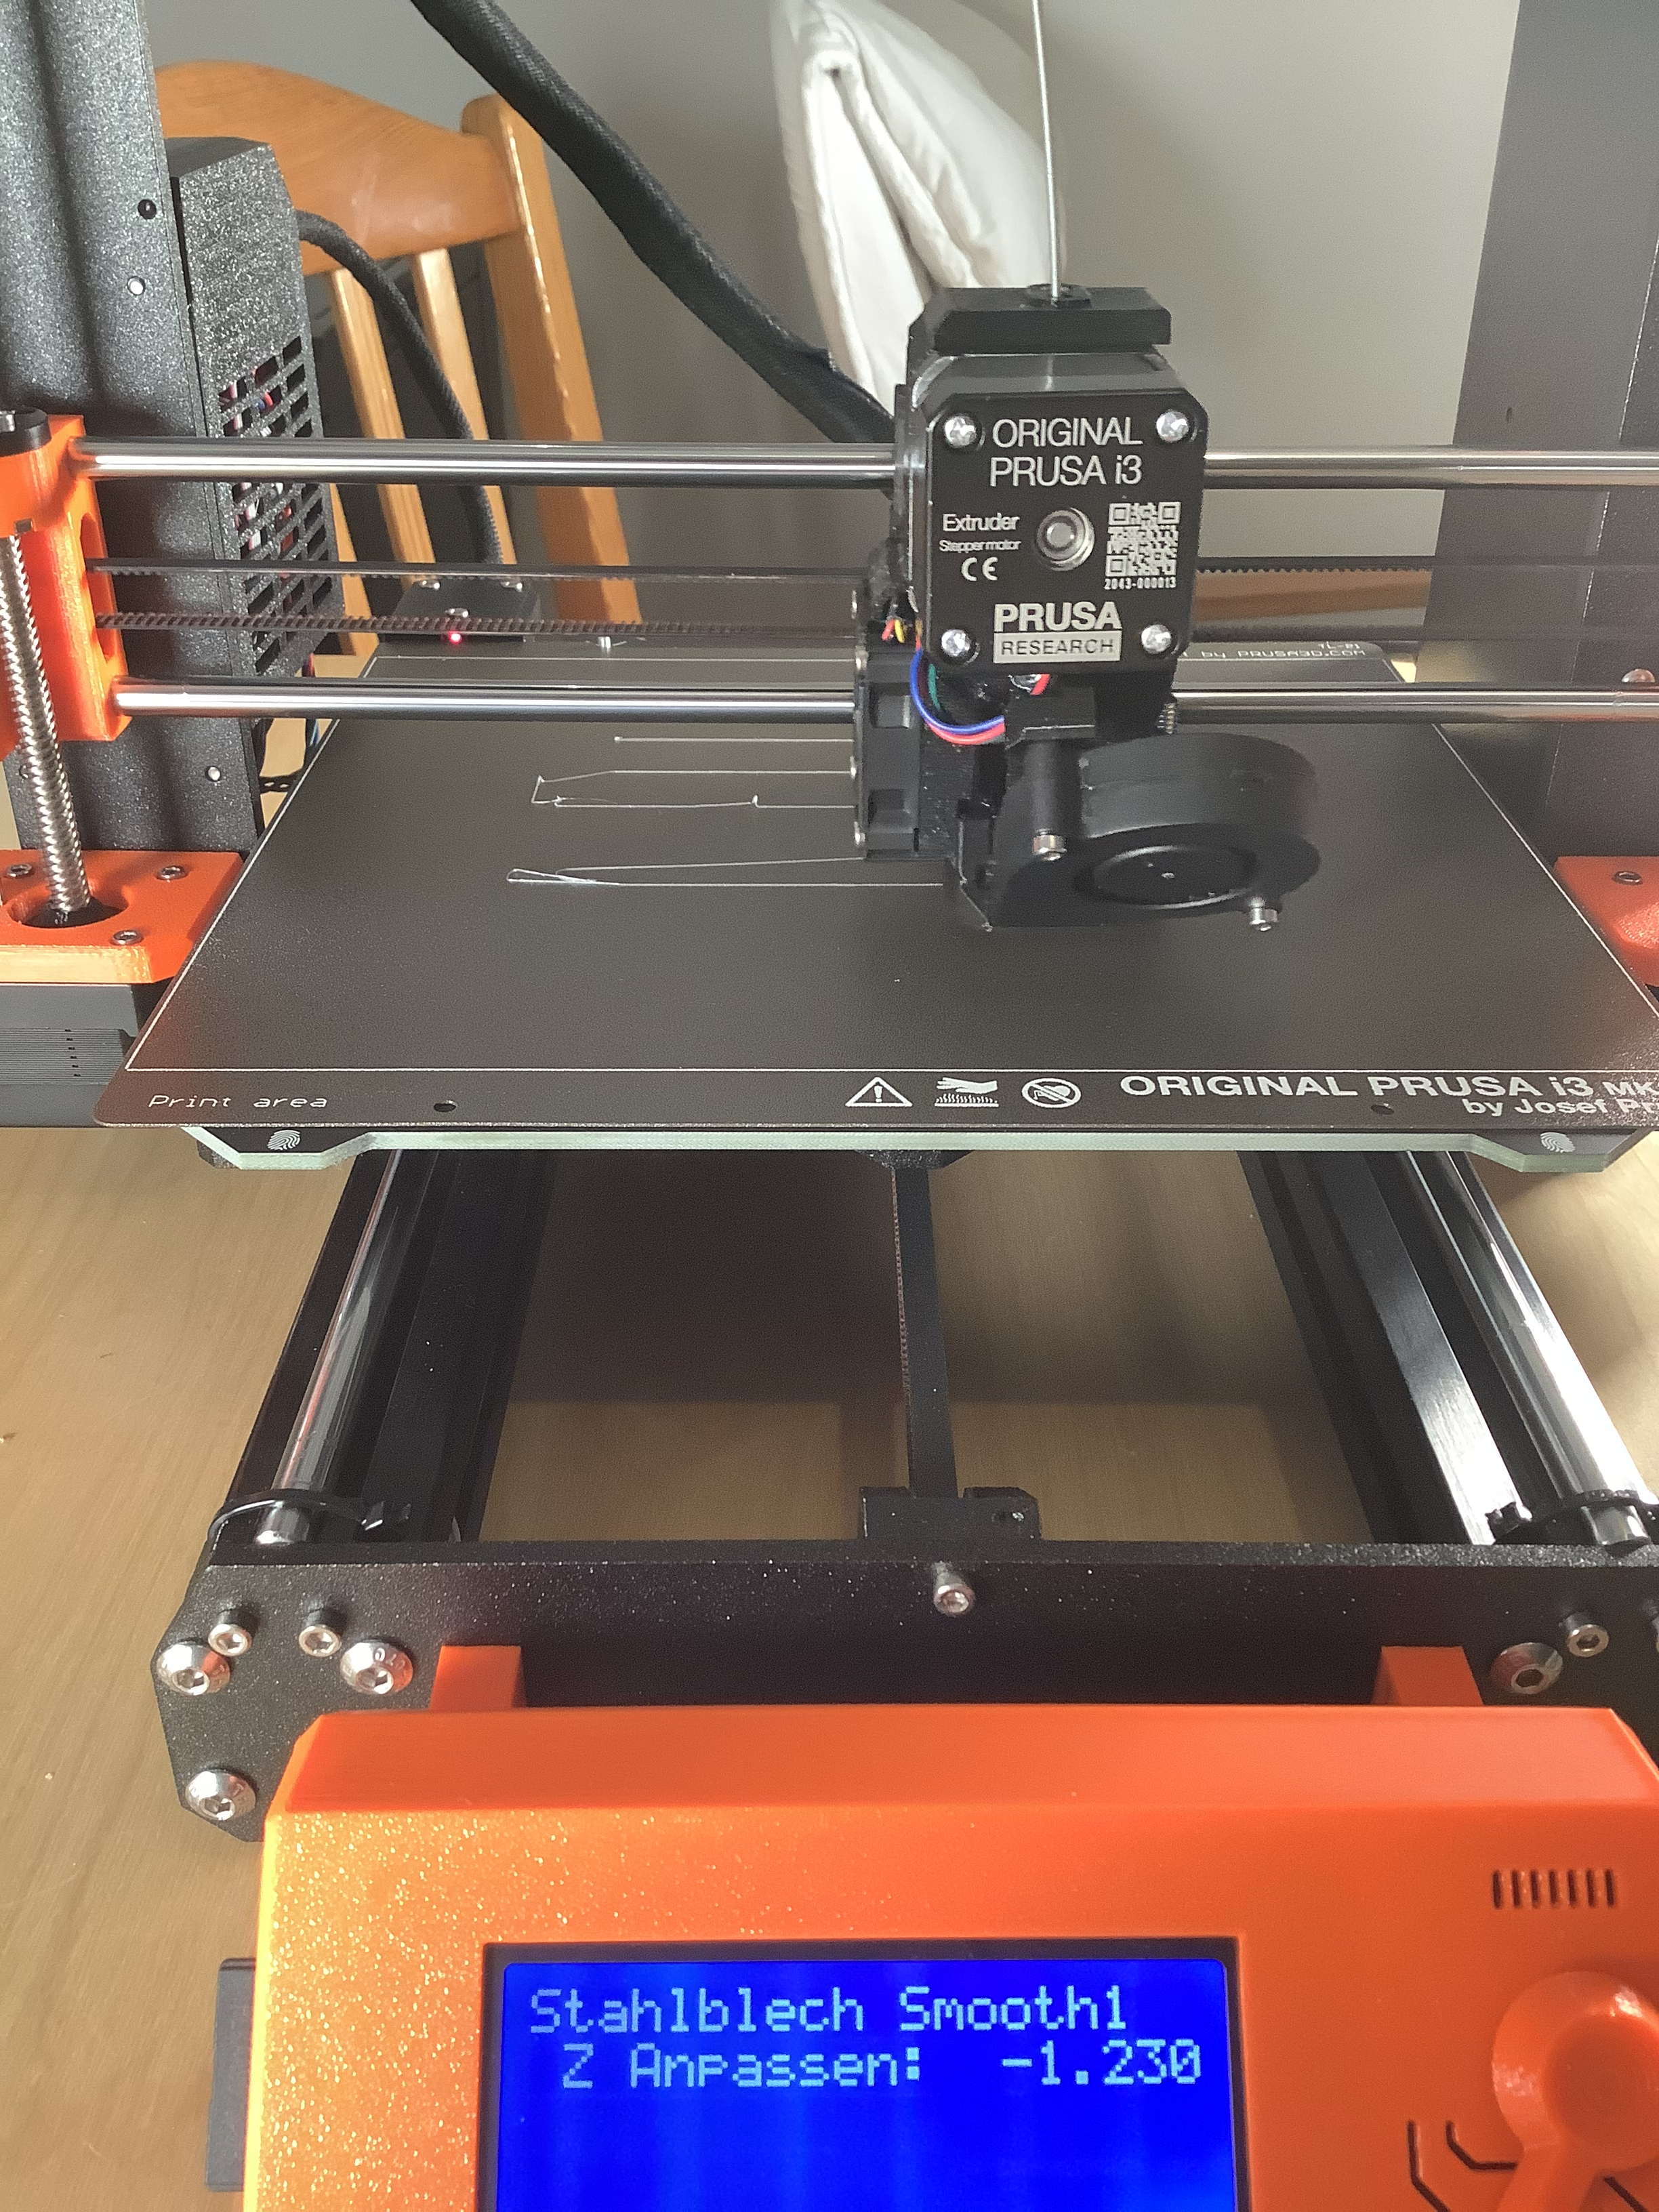
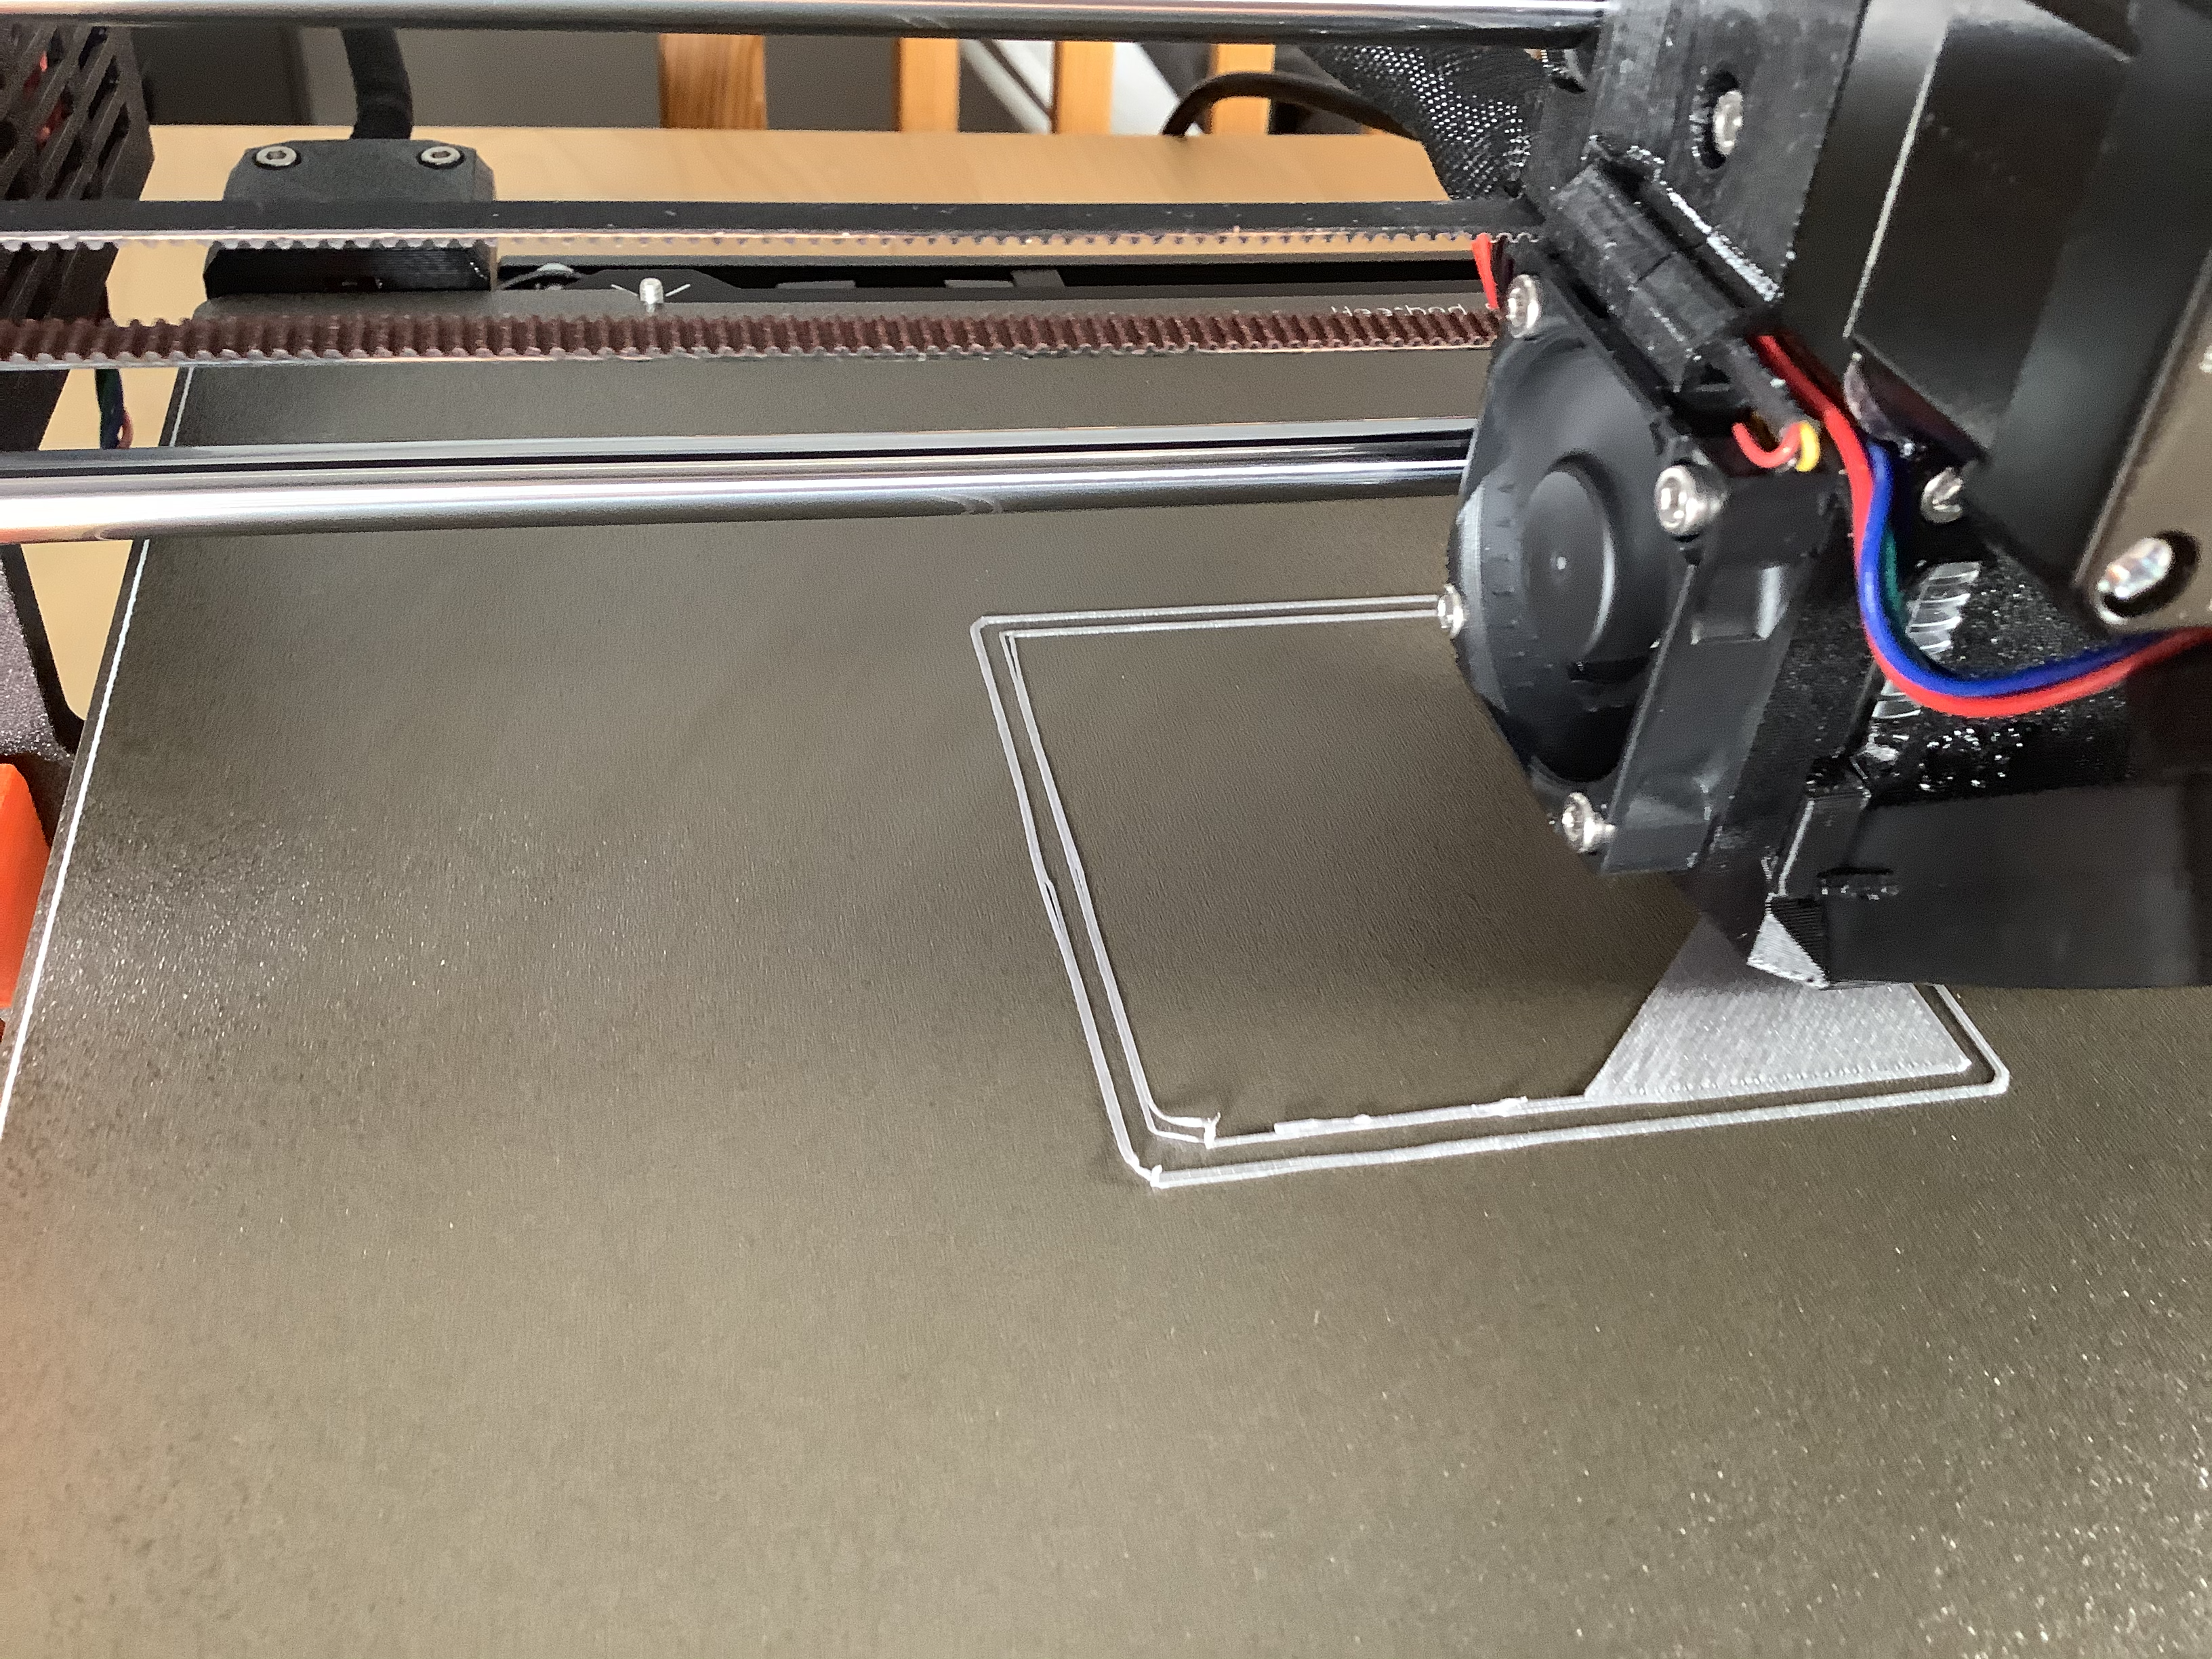
The calibration process starts with zigzag, and the "String" always get loose no matter how deep I get. I had to set -1,350 mm so the square at the end was fine, but not the zigzag. If I go deeper, then the printed square was scratched (too deep). See photos:
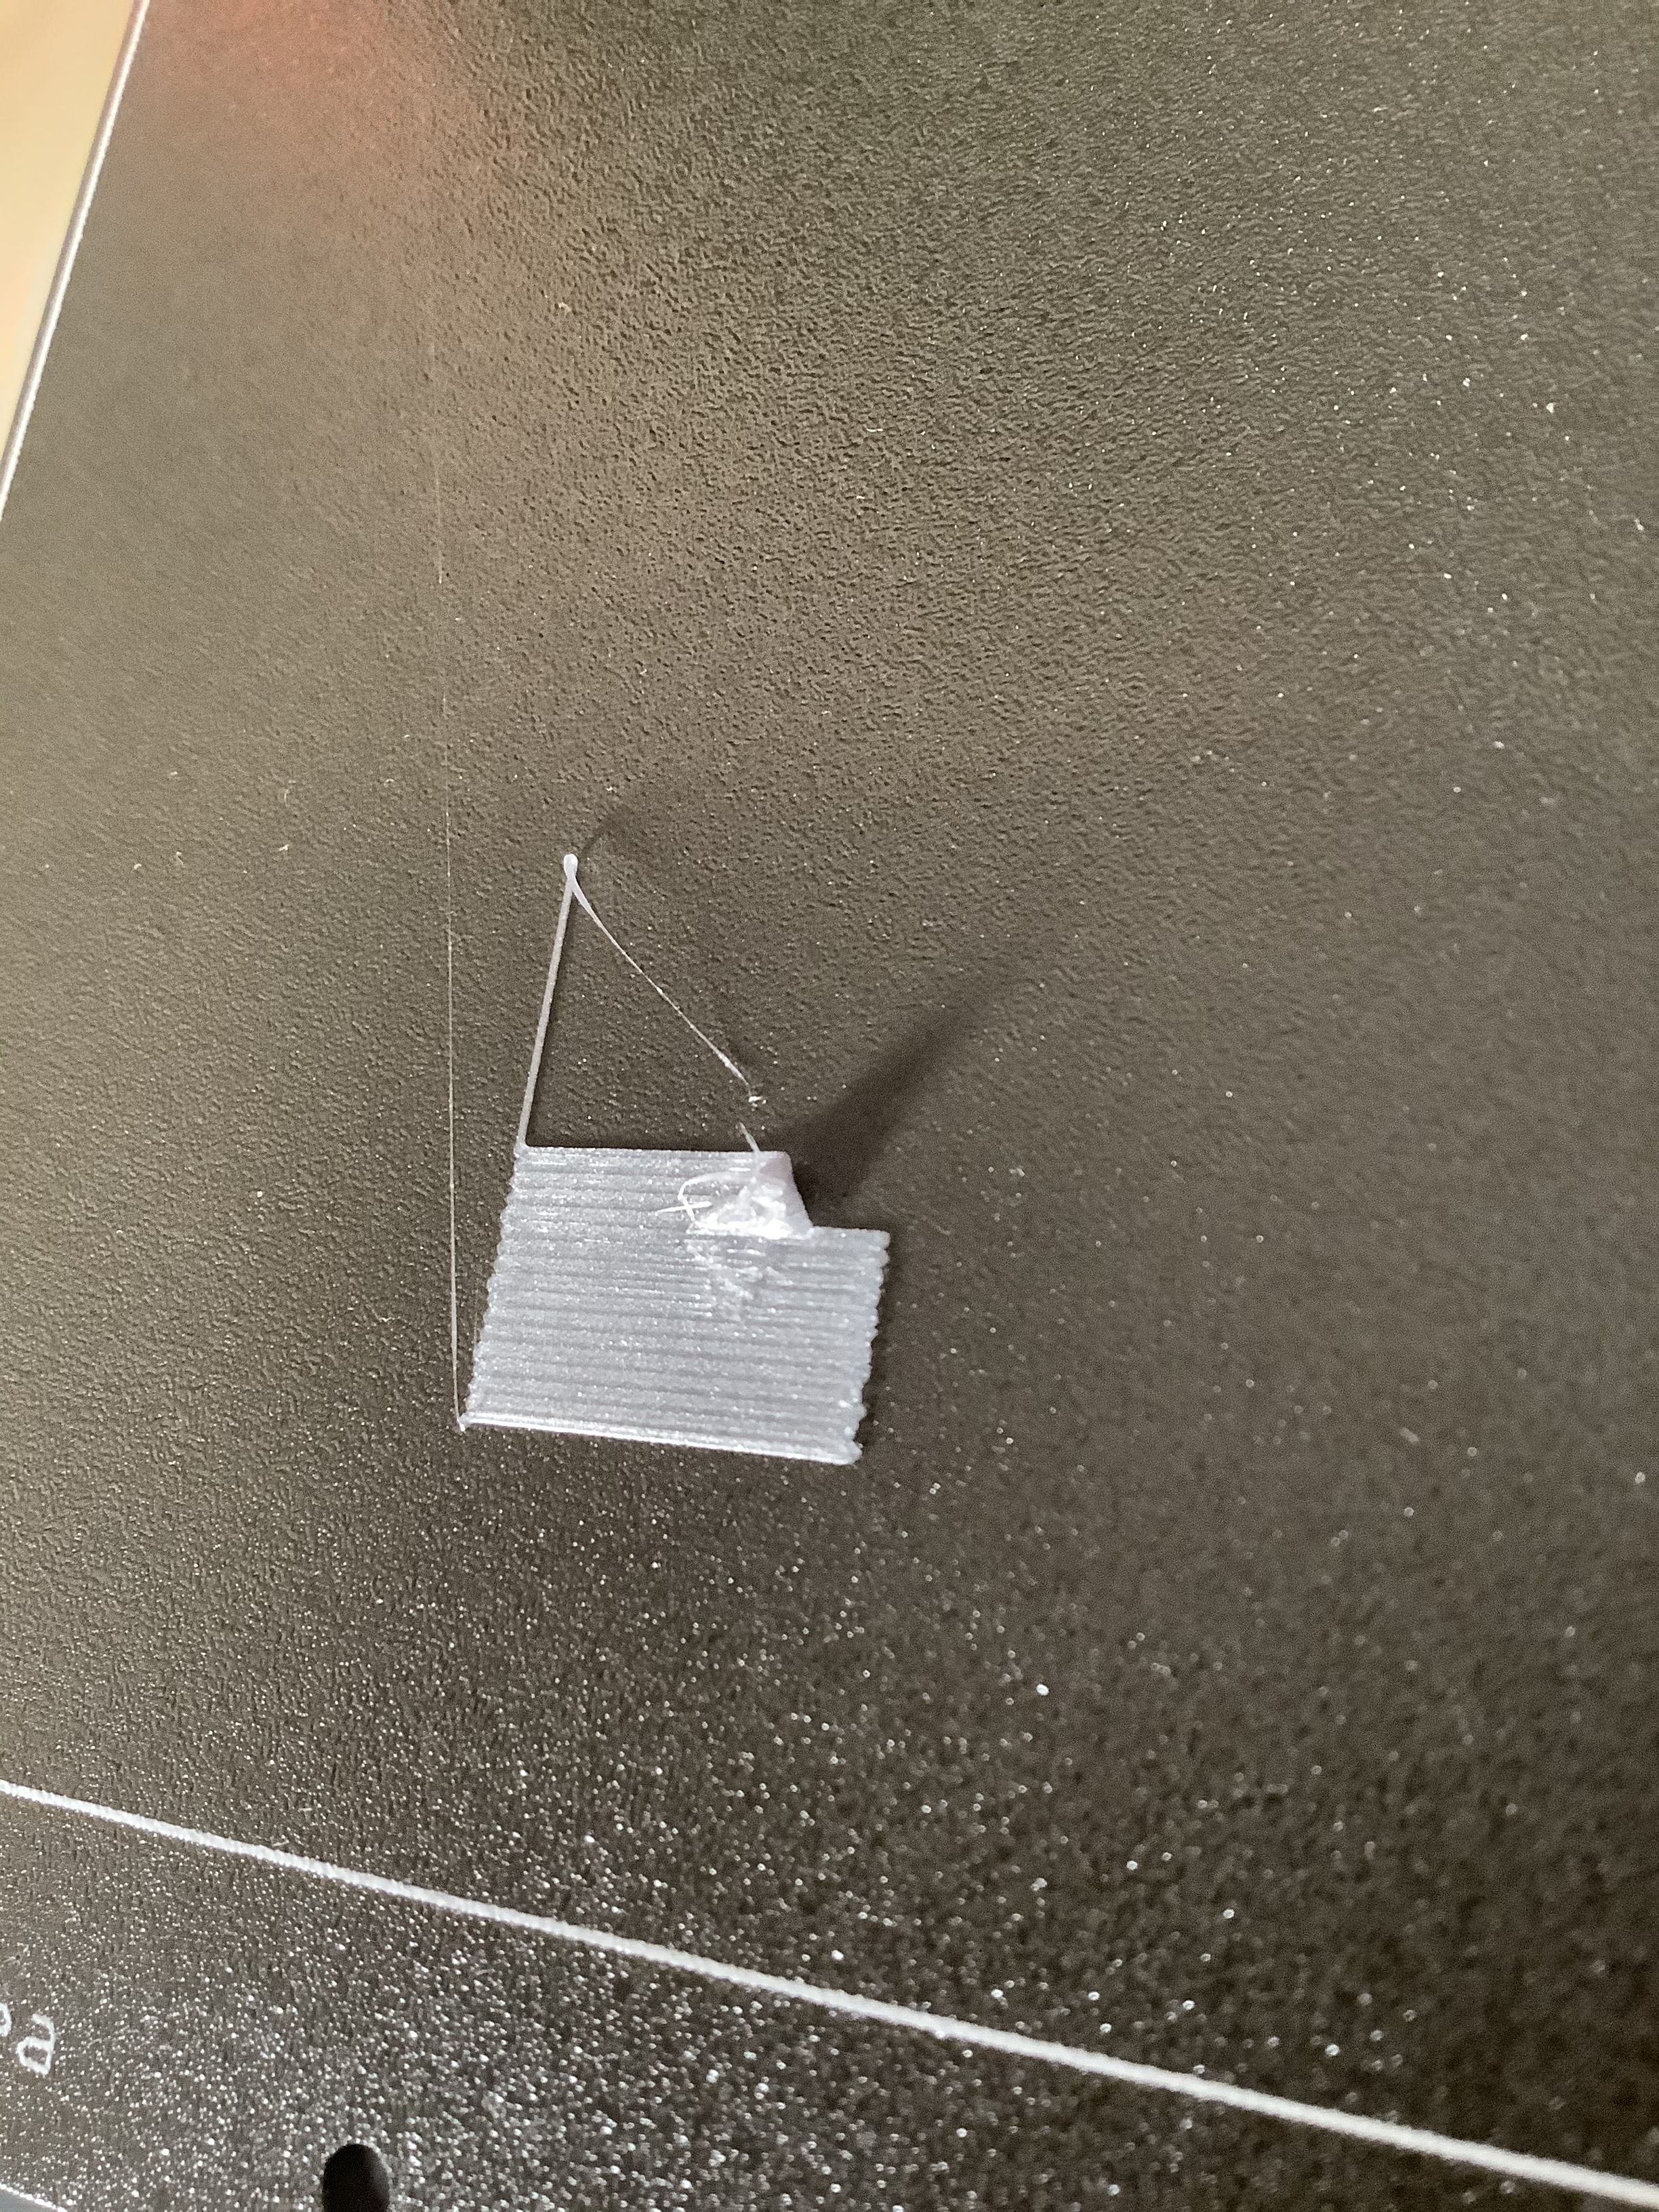
In next picture, it looks almost good. The corner is broken because of blob around the nozzle. It always happens because of loose string see picture before.
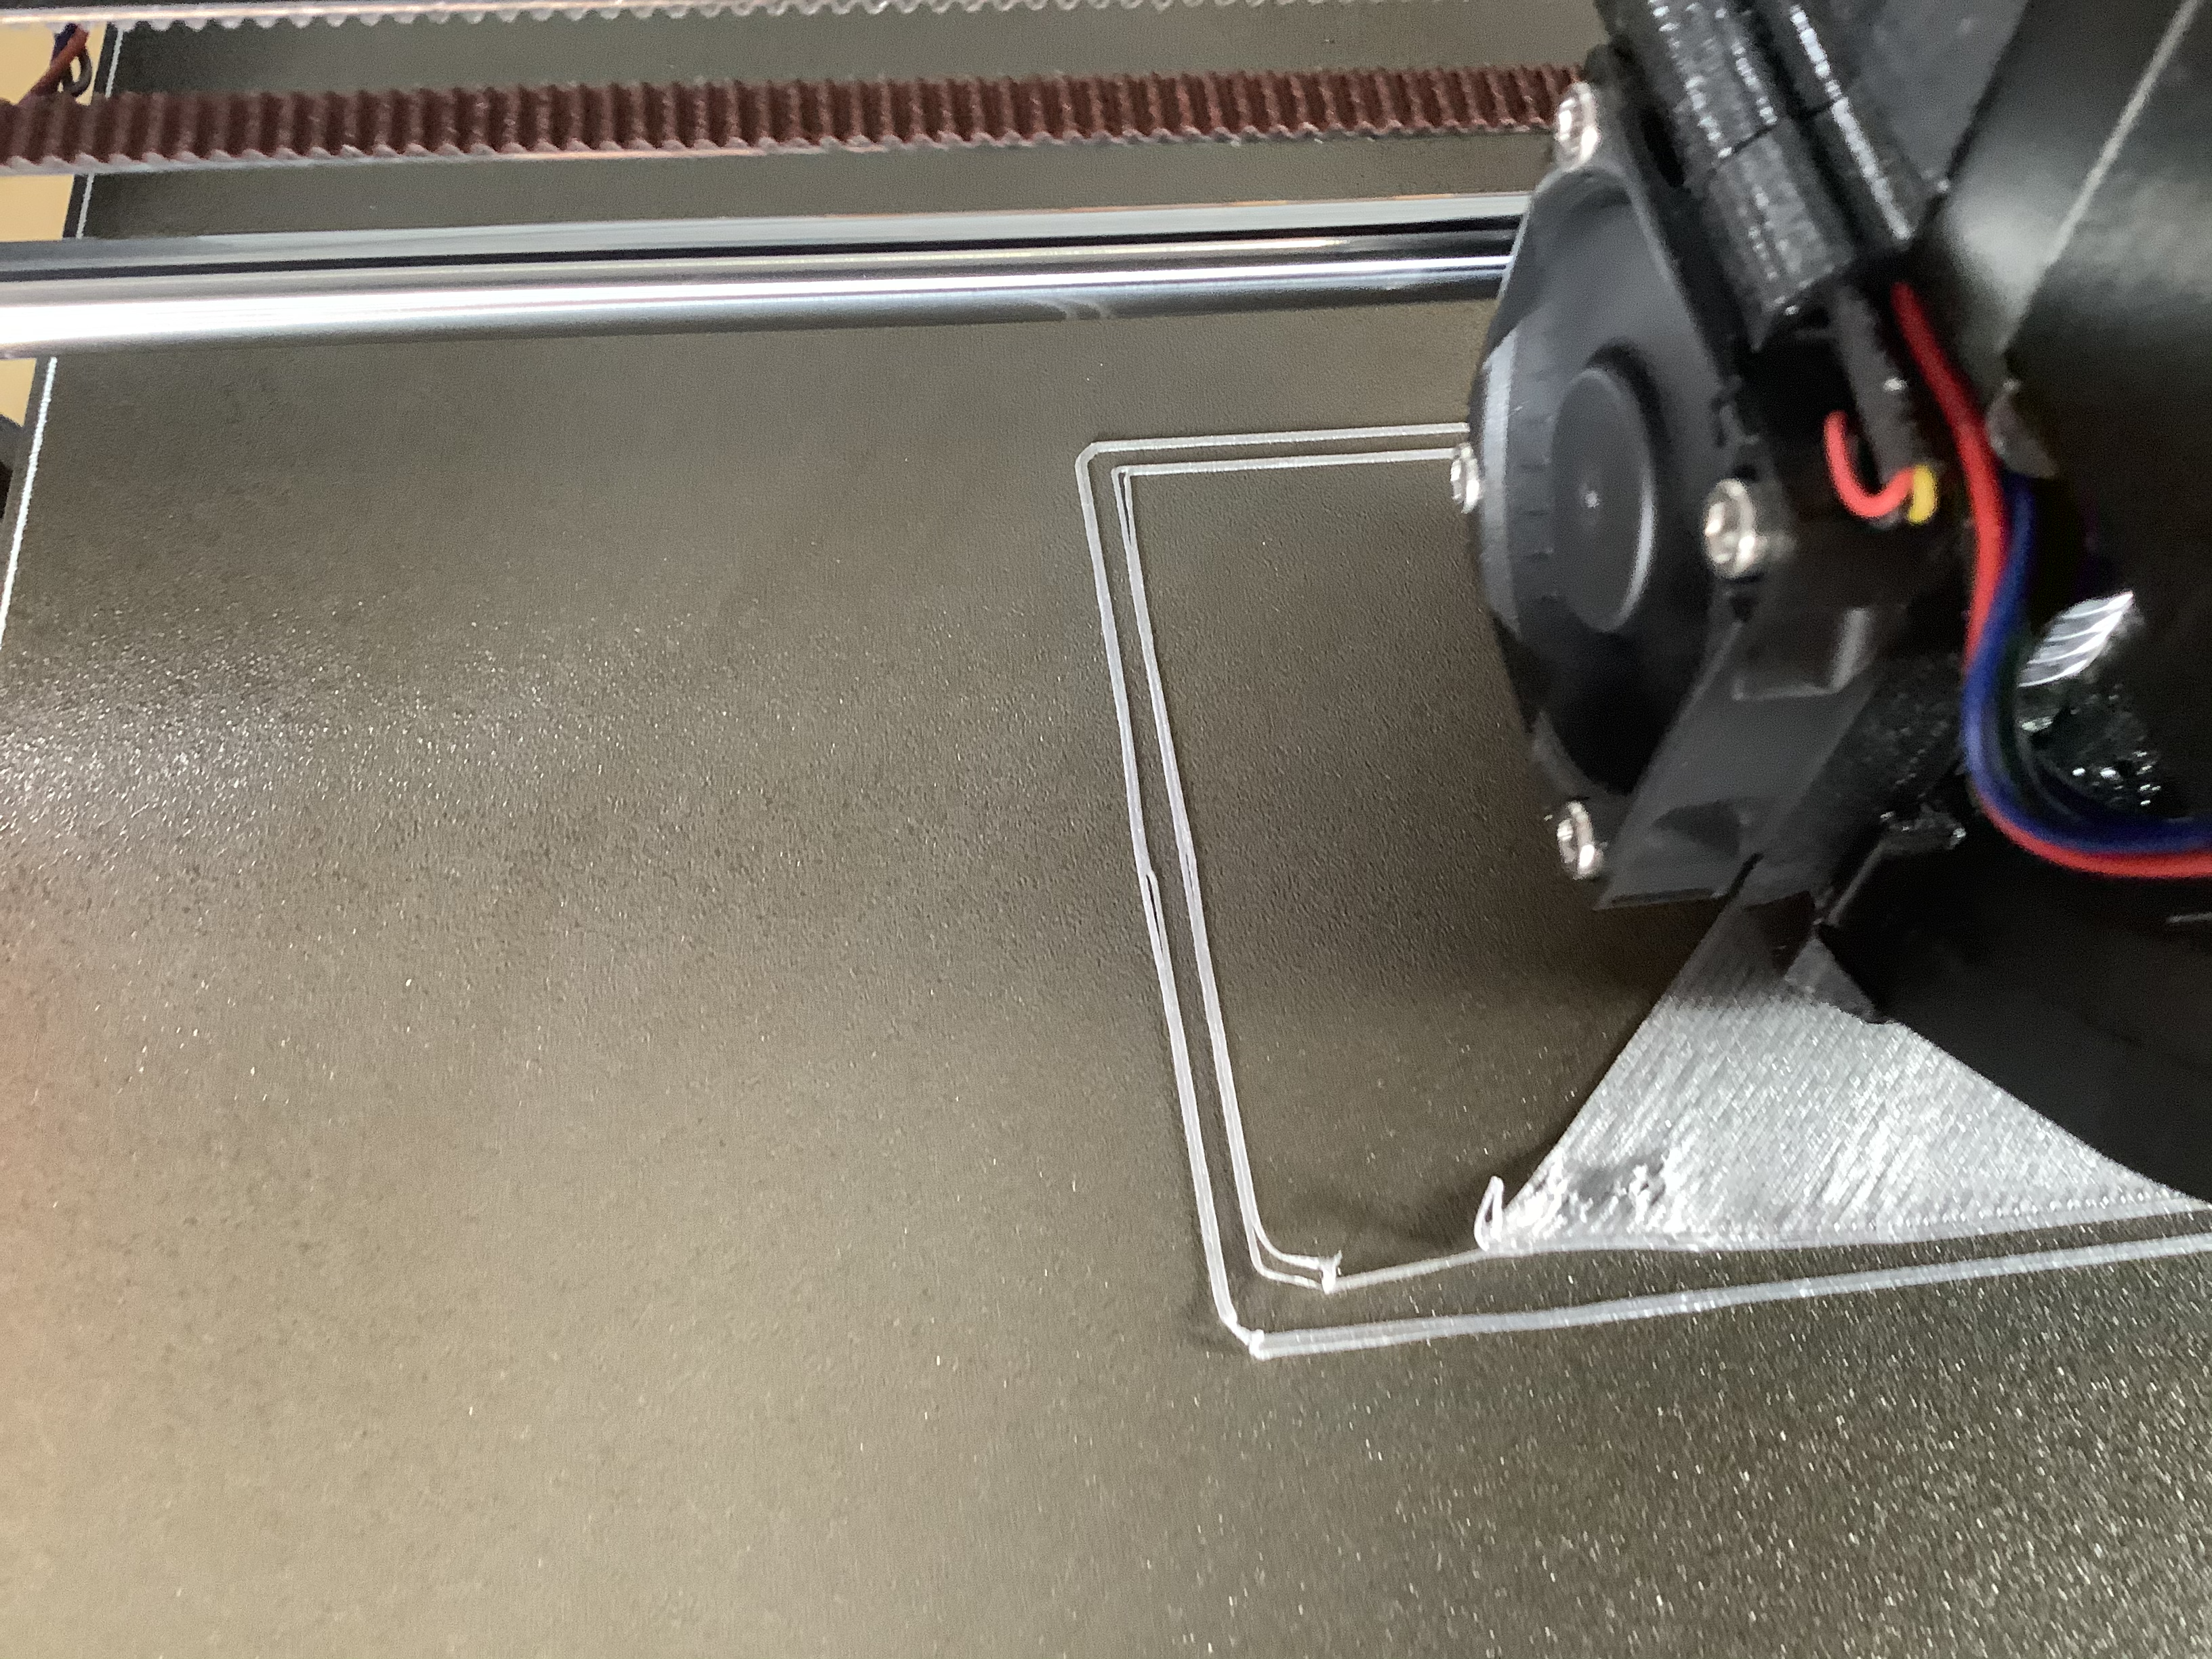
I tried to print with -1,350mm, it only is successful if I put away the string around the outer rectangle quickly before it start with the inner rectangle. By removing the outer rectangle I avoid nozzle get blobbed. Then it print well till Z reached layer 1,0 - 1,4 before the printed part went of from bed.
The following pictures with my three tries with different parameters.
First one with default bed-temperature. It failed because there is a loose string, which went below the first layer rectangle. You can see the corner which "overprinted" the string.
For second try, I tried with 70 degree bed temperature. I didn't succeed to remove the outer rectangle-line quick enough but it still worked. That is why you see weird rectangle around the printed object. With the third layer the object started to warp (the corner went up as if it's ABS with too low ambient temperature) then somewhere at Layer 1.0 - 1.2 the object went of the surface before I canceled the print.
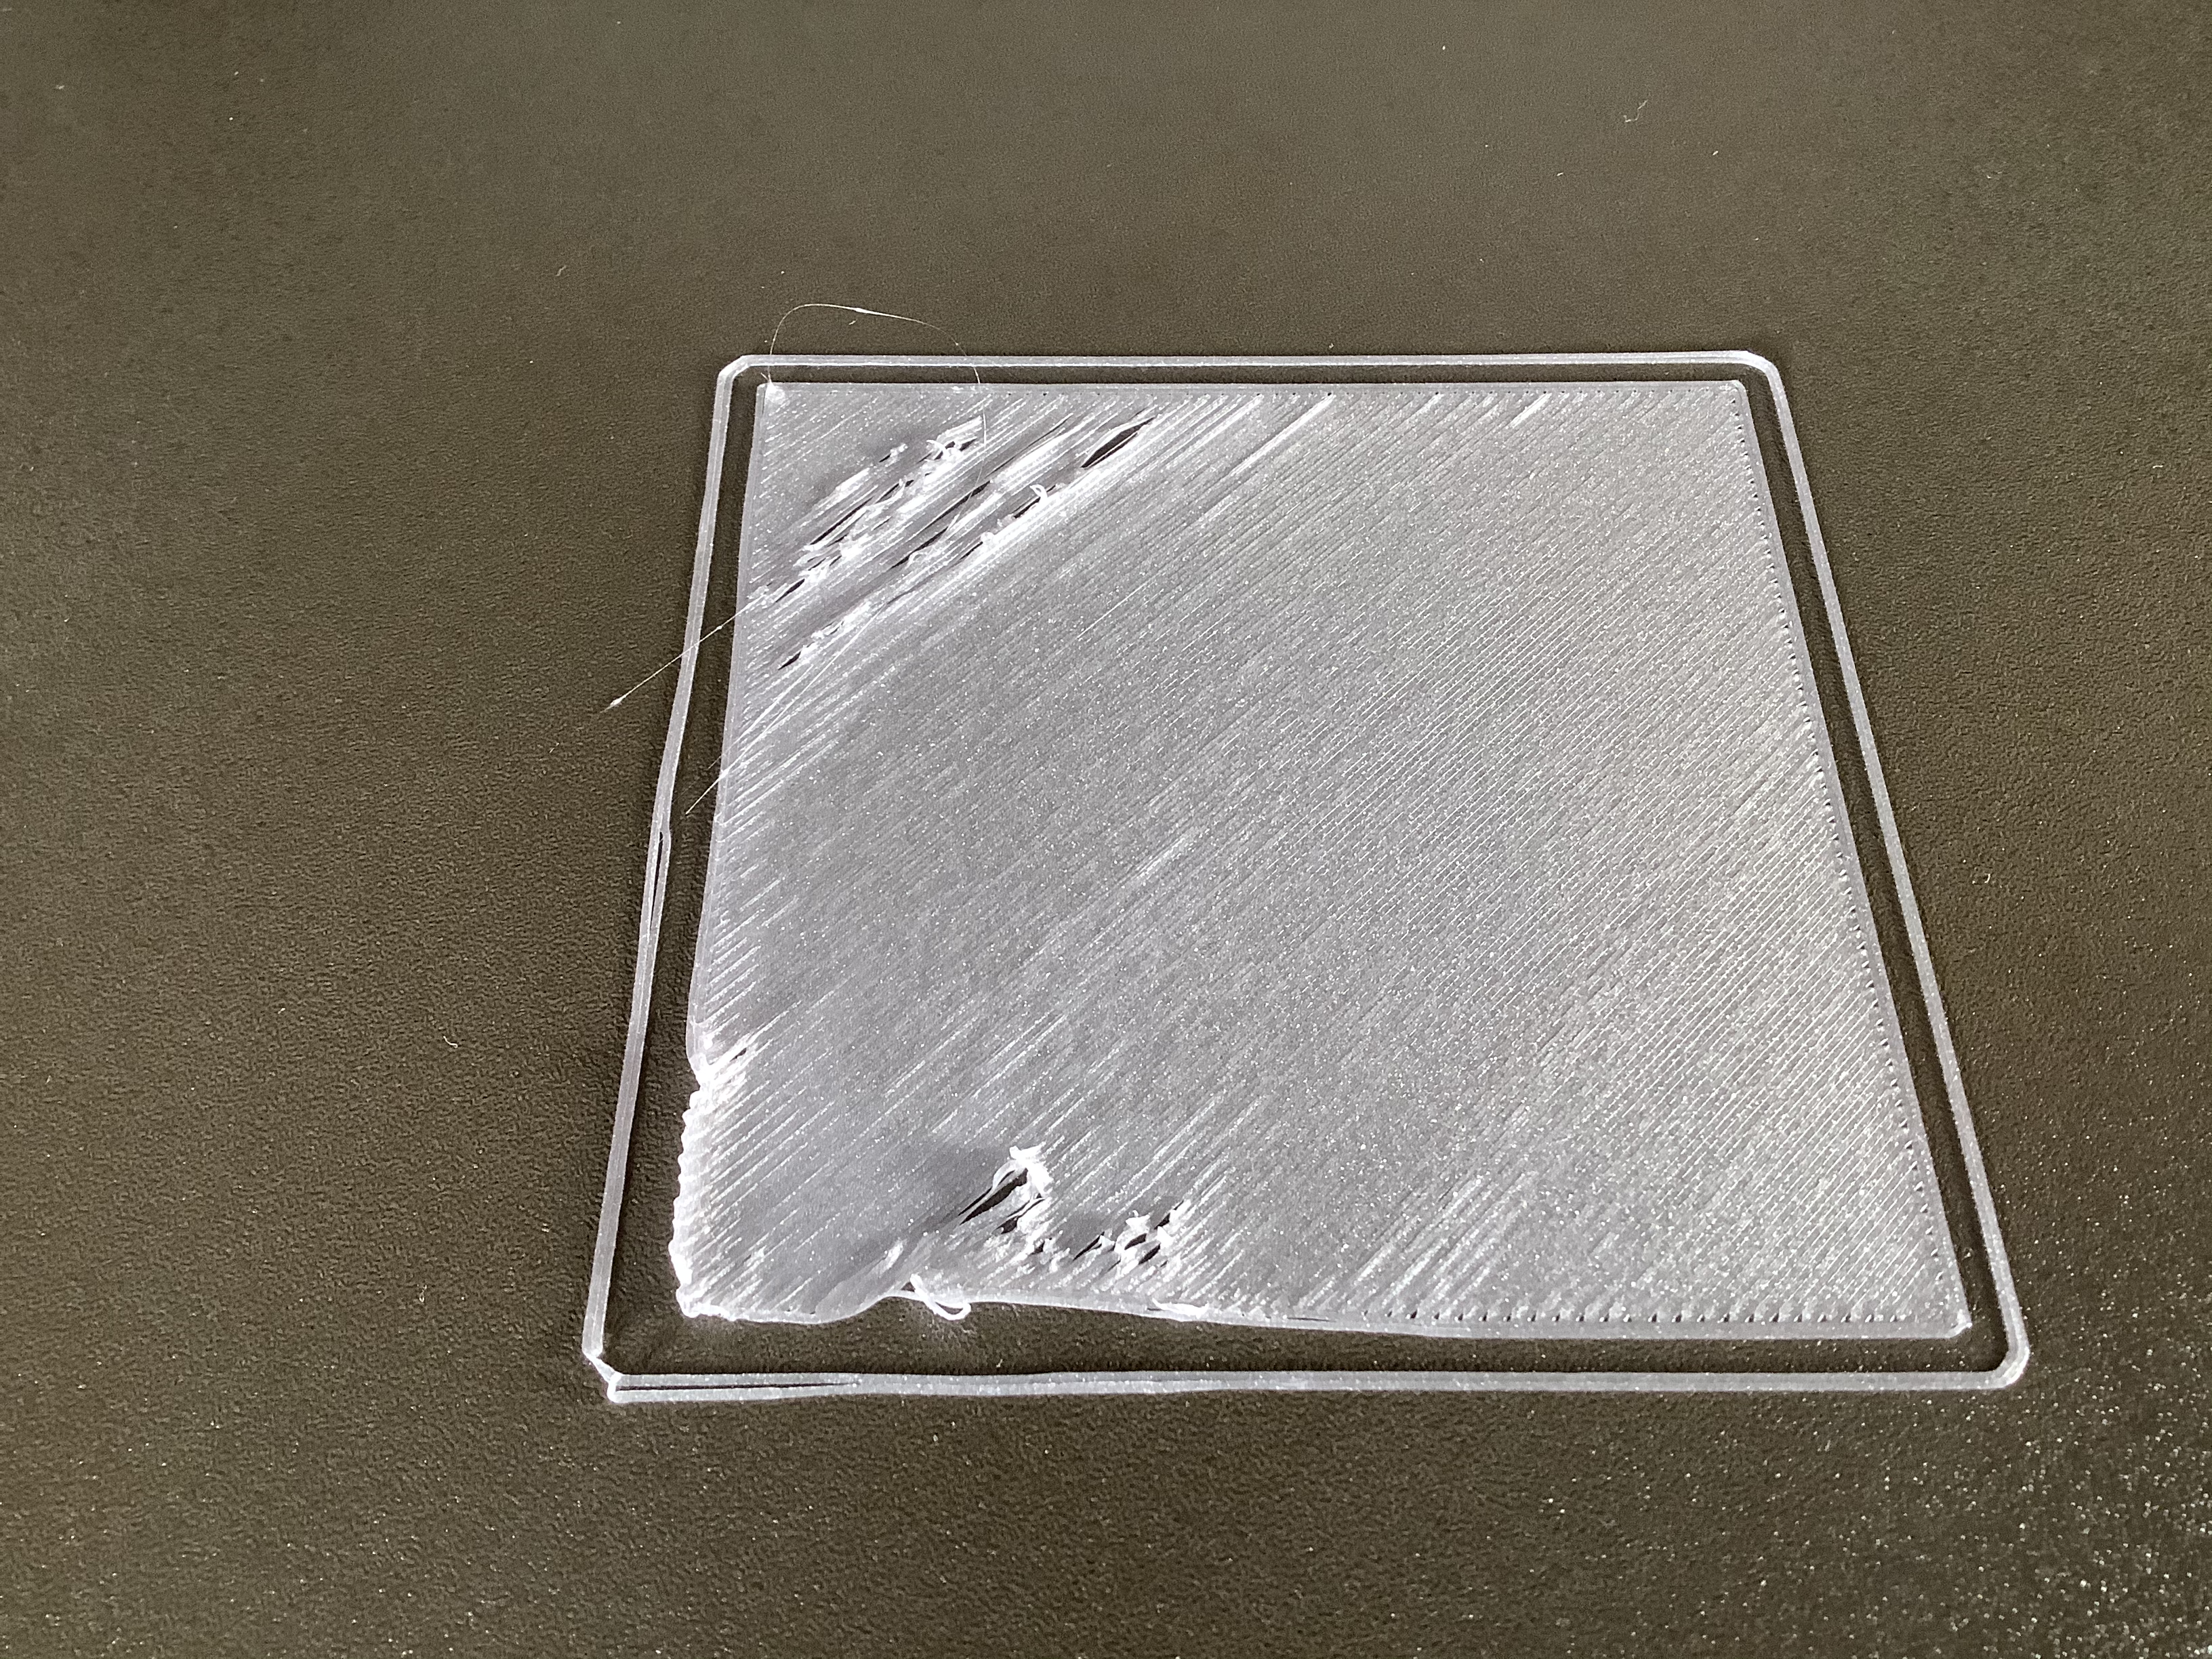
Third one is with 65 degree bed-temberature, but I lowered the z-adjustment (I believe it was -1,450mm). As you can see the outer rectangle keep on the bed perfectly, but the first layer was scratched and at z-level 1.4 it popped of from bed.
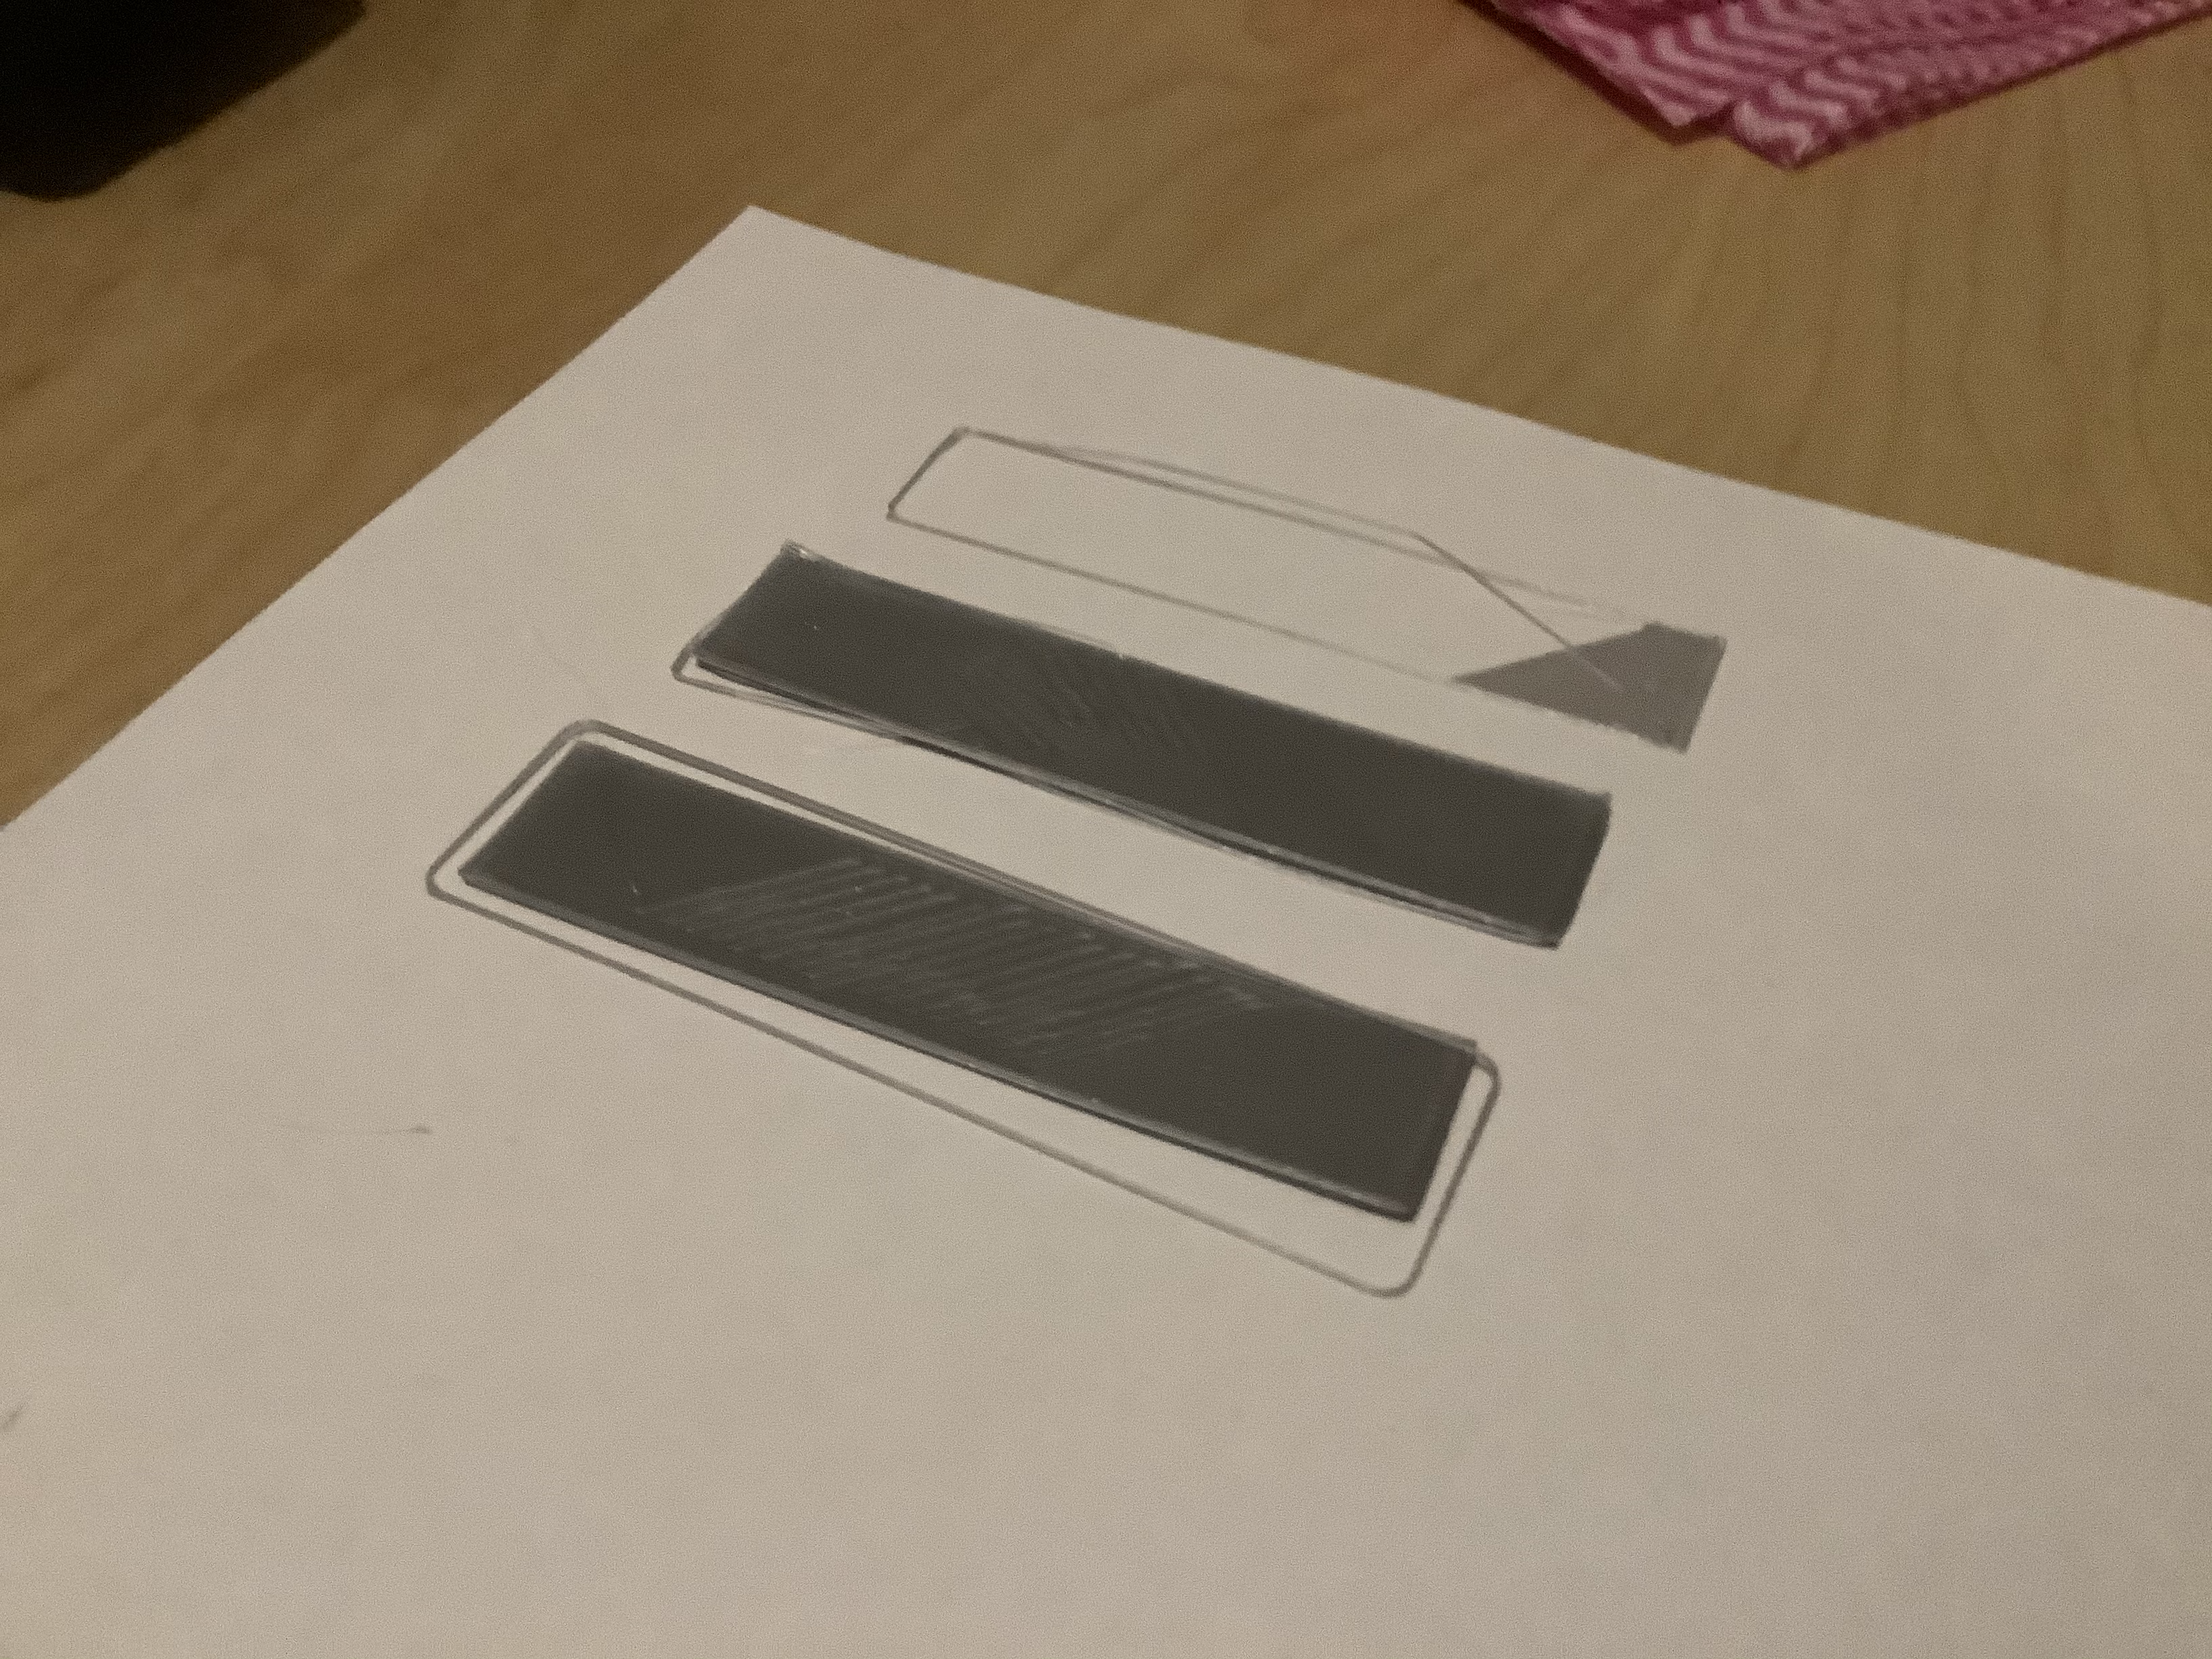
The following image with the 3 tries from above but I flipped the 2nd and 3rd test-object, so you can see the bottom side of it. On the third one, you can see the first layer is scatched because the nozzle was too deep, then I did live adjust higher which improved the layer.

Then I gave up and I tried with moving the P.I.N.D.A. upwards, but then it failed with paper-test (too low), so I have to set back as before (last try was -1,000mm and still to high, so I decided to write this thread first).
Now I'm desperated... so... what should I do? Could the cool room cause such problem? Should I try with heated up room? Or is it because the nozzle was blobbed too often?
Now I'm drunk by inhaling a lot of 99,9% isopropyl alcohol because I cleaned the bed for every try... 🤤
Best regards
Floh
Best Answer by bobstro:
You're encountering problems that many of us experienced starting out with the Mk3. It's not exactly like other printers you may be familiar with, but once you master it, it's very reliable. Here's an info dump to get you started...
-
A dirty PEI print surface. Even if you don't think this is the cause, it's always a good idea to make sure your PEI surface is clean before trying any other fixes. If it's a smooth PEI sheet, take it to the kitchen sink and give it a good dunk with Dawn (original formula, no vinegar or hand softener variants) dishwashing soap or your local equivalent (e.g. Fairy in UK). Use a clean paper towel to clean it off, and another to dry it. Avoid using any sponge or cloth that has been in contact with grease. Above all else, avoid touching the PEI print surface. Once it's good and clean, you should be able to use 91%+ isopropyl alcohol between prints, 100% acetone when that fails , and another dunk when acetone fails. Worst-case, use a 3M 7445 ScotchBrite pad or equivalent on smooth PEI to give it a very light buff, but only infrequently. If you've got a textured powder-coated PEI print surface, the official instructions are to use 91%+ isopropyl alcohol on it only. Rumors persist that some have had good luck getting started with these sheets by giving them a wipe with 100% acetone and a dunk with Dawn. Either way, there's no real warranty on these sheets. YMMV.
-
If you have not already done so, try using Jeff Jordan's "Life Adjust" procedure for calibrating your Live-Z setting. It is much easier to use and understand than the on-board routine and much easier to make mid-print adjustments accurately with. In general, start high (less negative) and work lower (more negative) in large increments (e.g. 0.1mm) until the filament starts to stick on its own. When you've got your Live-Z setting adjusted properly, you should be able to gently rub the extruded lines on the PEI surface without dislodging them. Then start lowering (more negative) the level until there are no gaps between layers. You should not be able to peel the lines apart after printing, but the top should be regular.
RE: First layer problem with loose "strings"
Hello, thank you for your quick reply. In the meanwhile I added some information but you was too quick. 🙂
I have a textured powder-coated PEI print surface and I have 99,9% isopropyl alcohol. Ok, I'll try the Live-Z calibration.
Best regards
Floh
RE: First layer problem with loose "strings"
So, here the result with Z-Calibration value set to -0,950mm. I didn't change the value the whole printing.
As you can see there are already problem with the lines. On the outer line there you see the gap between the 2 lines on the left. In the inner line the corner and bottom line is not clean and partially "lifted".
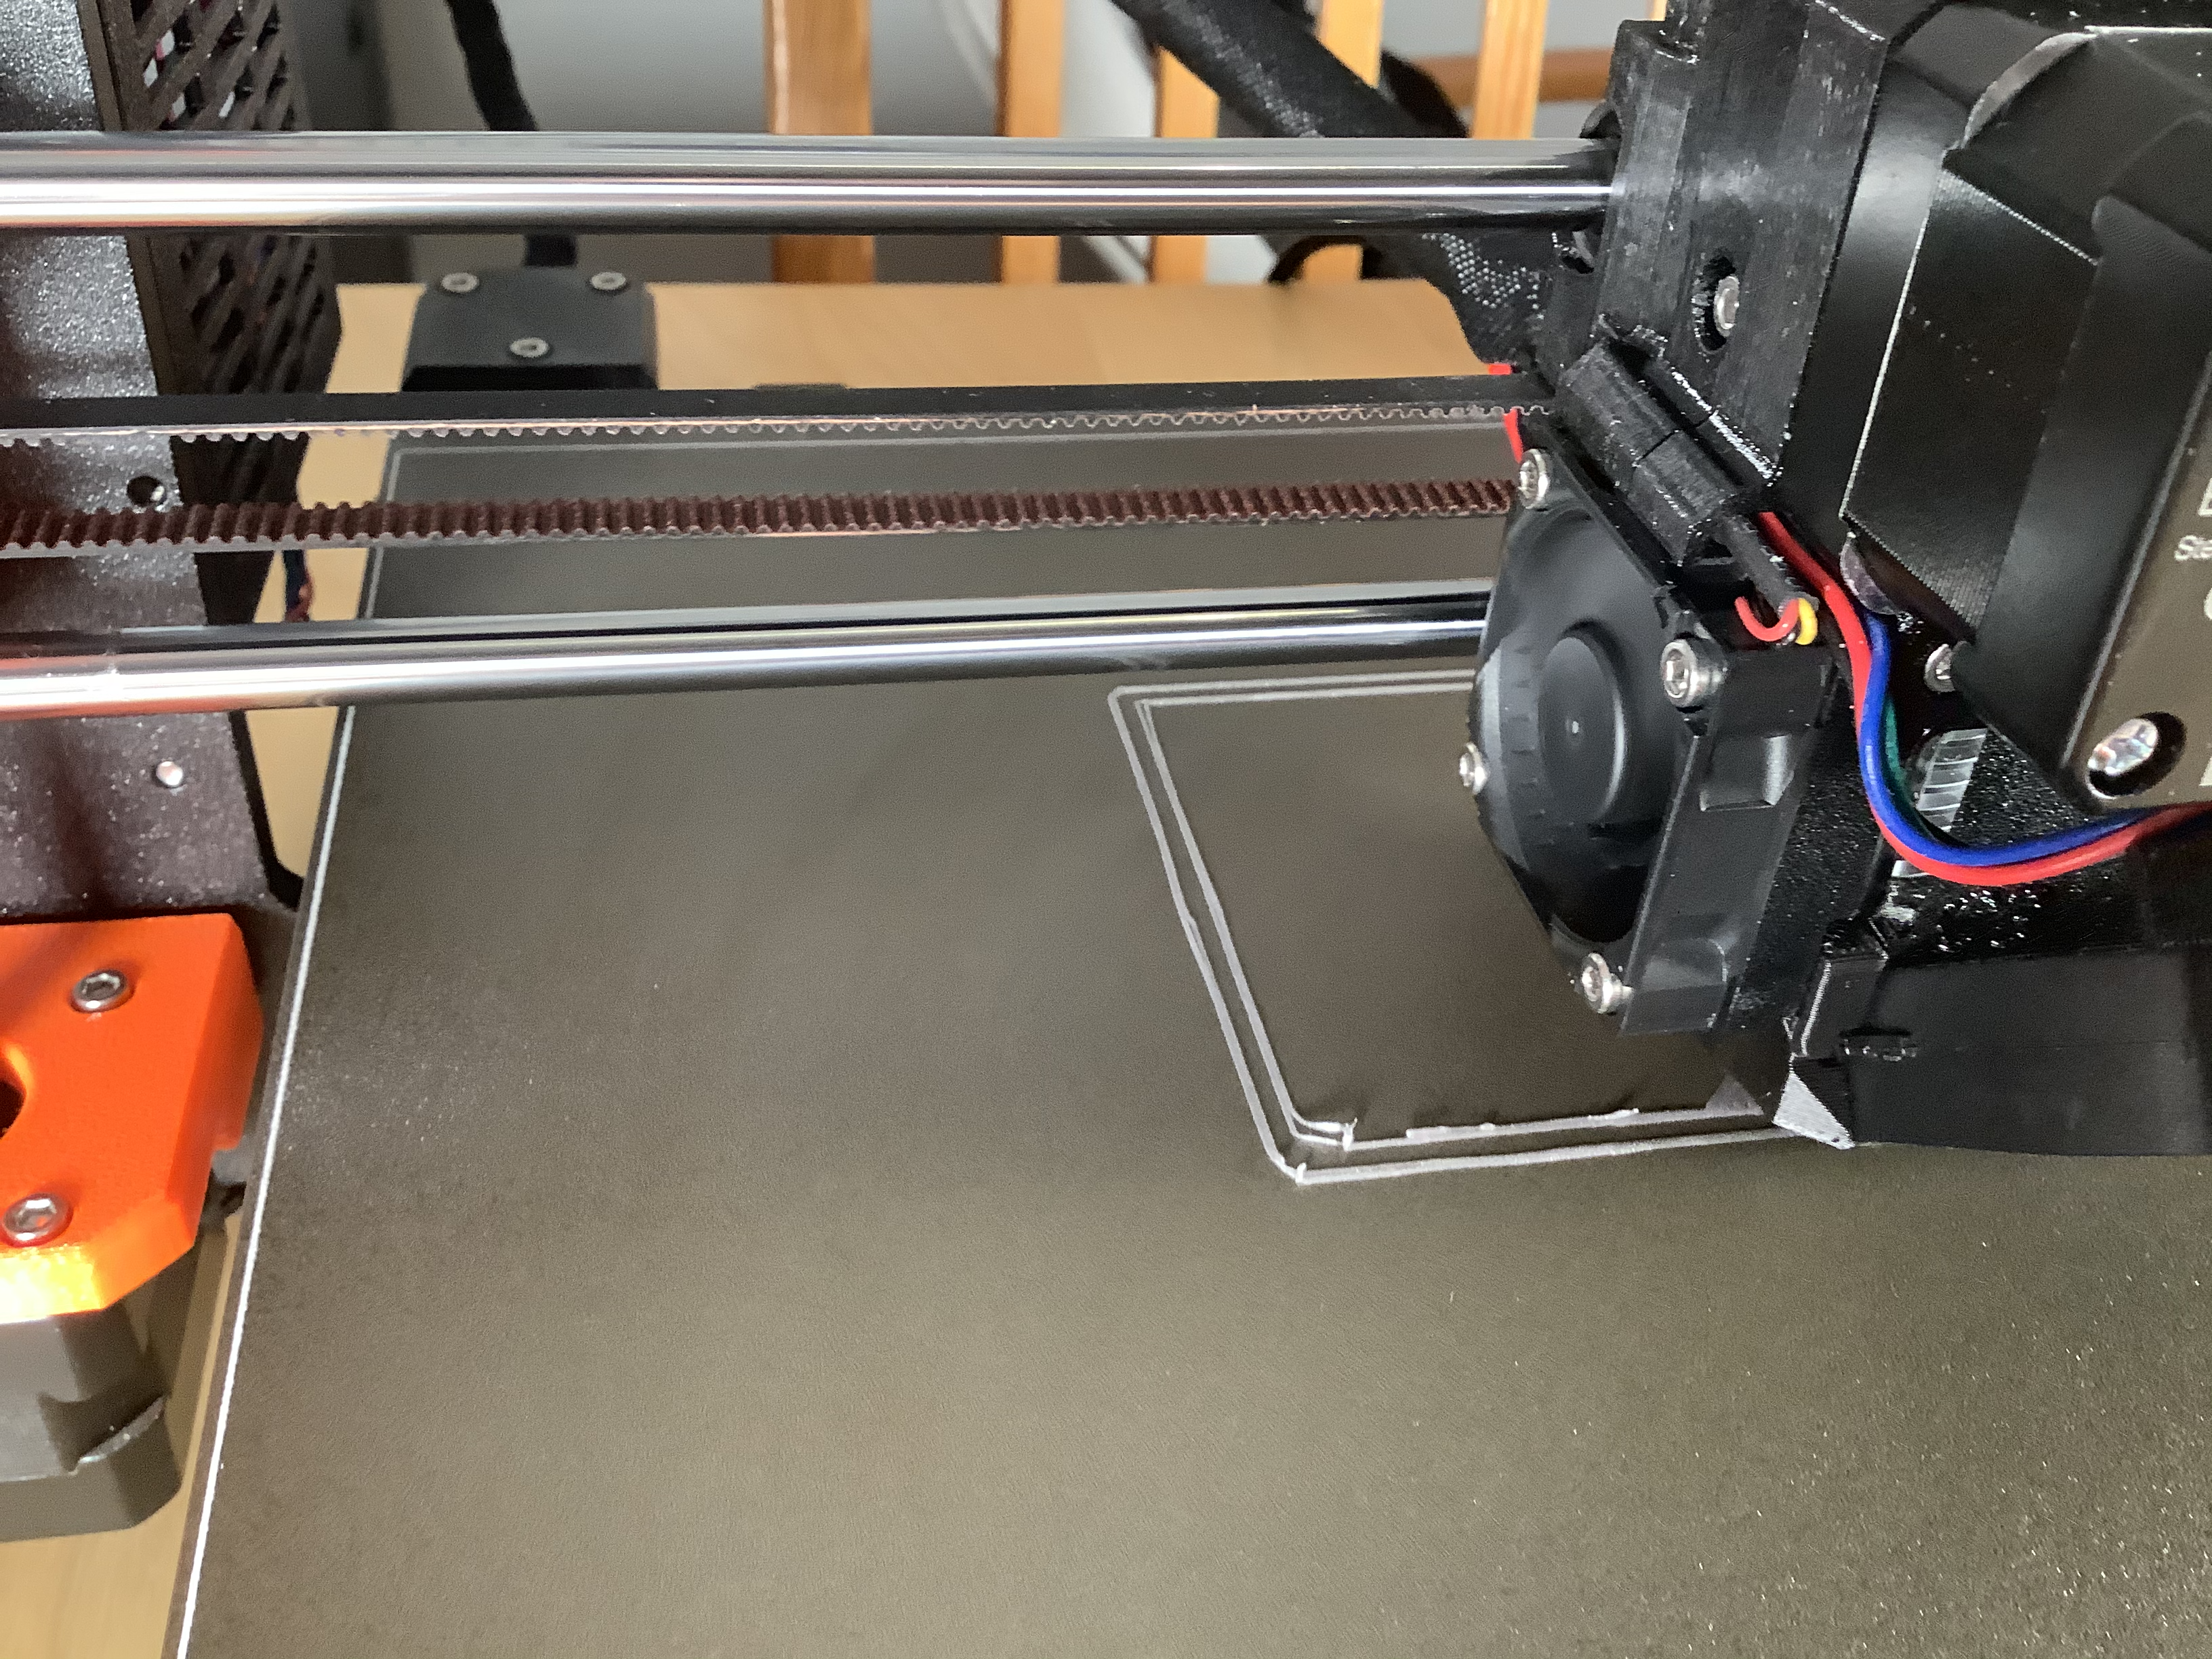
As you can see, while printing the area (lower right corner), it looks good. Maybe I could go a little deeper.
As soon as the printer go to problematic line, it "pulls" the loosen string inwards, wo the inner bottom line is not straight anymore (see picture). Also the printed area is not clean anymore in that area.
As soon as printer "go away" from problematic inner line, the printed area looks better.

So here is the result:
I dunno what happened in the upper left corner. For me it looks like if the z is too high. Am I right?
Also I want to tell you, that I can easily peel of the printed square and line.
I'm curious about your verdict. In the meanwhile I'll try with lower z-calibration.
Best regards
Floh
RE: First layer problem with loose "strings"
It's hard to tell from the photos exactly, but it looks to me like your Z may be too high.
One thing to keep in mind is that the Z for the textured sheet will typically be way lower than for the smooth sheet.
I know I'm inviting criticism on this technique, but what I've been doing lately to dial in the Z on the textured sheet is not the internal calibration nor the common test prints, but a small test cube, 50x50x4 and tune for the best textured pattern on the underside of the cube. I've found that the best Z cal is maybe 50 or so lower than the point at which the diagonal 'brush strokes' of the extruder disappear from the underside.
RE: First layer problem with loose "strings"
Can't be sure, but one other issue that might be hidden in those photos is the belts or drive pulleys might be loose and explain the non-parallel skirt and perimeter lines.
RE: First layer problem with loose "strings"
Order a pei sheet for pla, is a lot easier to print.
Use the powder coated sheet for petg.
For now I would by petg and print on the powder coated sheet, this will stick good, and then you can learn your printer.
Powder coated sheet with petg, clean a few times with dish soap, after that you can use alcoho, petg wil stick good and release good.
Pla on powder coated sheet is difficult, first layer slower, first layer hotter extruder, bed on 70 for the whole print, make a big brim attach to model, use glue stick if needed. On the pei sheet it is easier.
Pla on pei sheet, clean with dish soap, and print.
Petg on pei sheet, use window cleaning spray on bed to reduce sticking on the pei sheet, if you do not use this it wil destry the pei sheet.
RE: First layer problem with loose "strings"
Get a flat ruler to lay over your bed to see if it is flat, bed needs to be heated.
Search for calibration model over the whole bed, normally several squares.
Use 7x7 setting in the printer for calibration.
Most important for printing is:
1. clean bed
2. first calibration layer.
RE: First layer problem with loose "strings"
It could be bad filament, so try a different roll or brand.
Petg on powder caoted sheet makes a big different.
RE: First layer problem with loose "strings"
Hi, after several experiments I came to conlusion:
I definitely need a smooth PEI which I'll order today.
Reason:
-0,950mm was already perfect for thin lines but too deep for first layer surface. (it was not too high as I thougth but it was too deep so the surface was scratched as you can see the square tests pictures)
-0,945mm was perfect for surface, but too high for thin lines (string lifted up from bed and destroys the printing by blobbing the nozzle).
-0,947mm I got both problems.
If I succeed the first layer, then the printed object will pop up from bed later and I get a spaghetti print.
I'll try today/tomorrow with PETG (I have PLA, PETG and ABS in the shelf and until now I only tried PLA. For ABS I'm currently building a chassis for the printer)
Thank you very much for helping.
Best regards!
Floh
RE: First layer problem with loose "strings"
That looks like an adhesion problem. And because the layers can't adhere properly, you won't be able to get your first layer calibration done because it always ends in a mess 🤣
I had the same issue when trying out the powdercoated sheet. What I did was not recommended by Prusa, but I said screw it, and did it anyways and it worked perfectly! I used regular dish washing soap and a (new!) soft sponge to get rid of all the contaminants and grease. rubbed it in really good and then rinsed it with clear water. Usually no need to dry as all the drops will just roll off. Then put it back on and the first layer stuck perfectly.
I don't use isopropyl alcohol like everyone suggests, it evaporates too quickly and soap works just as fine to thoroughly clean a messy bed. In between prints, I no longer remove the bed. Just let the bed cool down 5 minutes and the parts pop off. You can hear them crinkle before they pop. Then give it a quick wipe with window cleaner sprayed on a towel. Without window cleaner passes in between prints, it works just as fine. I dont think they are necessary. I do it more because of habit.
RE: First layer problem with loose "strings"
Alcohol only has a chance at working if you pour out a large puddle onto the cold bed, scrub it around and while still a puddle, wipe it up with a large ultra absorbent rag. By puddle, I mean a puddle that nearly covers the bed, I'd guess at least an ounce, you want the bed soaked so it dilutes the oils as much as possible. You'll still leave oil on the bed because it is in solution, but a few times doing this the layer of oil that is left (the alcohol that remains after dragging a rag through it evaporates and leaves the oils behind). If you doubt this, dab a small amount of alcohol on a fresh paper towel and wipe the print surface, if you see any rainbow-like colors, or worse - streaks, there are oils remaining on the surface. Sure, it's a microscopic layer, but that is enough to prevent PLA from sticking well.
Here's the math:
one fingerprint is about 50ug of oil
50 ug / 25 grams of alcohol == 0.02% solution
50 ug / 18,927 grams of hot water == 0.000026% solution (oil and water do not mix - the oil is actually trapped in the soap emulsion and no longer in contact with the bed - thus easily rinses away)
There are always a few who don't get the science behind soap and water and keep with the "alcohol is best" mythology, but after they've tried soap and water a few times, most people become believers in science.
RE: First layer problem with loose "strings"
Hi,
I'm having the same trouble here, the first layer calibration seems too high. But the strange thing is when I rotate the knob instead of getting lower it seems to get higher (!?) ... so it becames worse.
I've tried to start a print anyway but the first layer is still too high...
I've also tried to move upward & downward the PINDA sensor, but I only obtain a nozzle touching too much the heat bed (making the paper sheet move with it during XYZ calibration) or a higher first layer still more impossible to lower... I don't get why it behaves that way neither what do I need to do to correctly perform this first layer calibration (?)
RE: First layer problem with loose "strings"
Hello everybody,
finally I found out whats wrong.
First I thought it was too height:
So here is the result:
I dunno what happened in the upper left corner. For me it looks like if the z is too high. Am I right?
Then I came to "conclusion" it was too deep:
-0,950mm was already perfect for thin lines but too deep for first layer surface. (it was not too high as I thougth but it was too deep so the surface was scratched as you can see the square tests pictures)
But the first assumption, that the z-calibration was too high was right!
I thought scratching means Z-Calibration is too low, but this is wrong in my case. Nozzle scratched the field because the printed layer was not properly applied on the bed, so it lifted a little against the nozzle. This lifting is obviously not visible by eyes!
Solution for my issue is plain easy:
Just wash the bed with f...ing soap and hot water!!!
I'm very sorry! I know several of you told to wash the bed with soap, but I just forgot to try this solution. 🙄
After I washed the bed, I had to set Z-Calibration even deeper with the final value -0,967 (remember, with -0,950 the printed layer was scratched before I washed the bed)! Now I have winning streak printing 3D objects (currently printing the castle). YAY!
So I want to tell everyone who is struggling like me. If you have similiar issue like me with following results:
-0,950mm was already perfect for thin lines but too deep for first layer surface. (it was not too high as I thougth but it was too deep so the surface was scratched as you can see the square tests pictures)
-0,945mm was perfect for surface, but too high for thin lines (string lifted up from bed and destroys the printing by blobbing the nozzle).
-0,947mm I got both problems.
I think, this is a definitive sign that you have a adhesion problem! If alcohol doesn't help, then wash it with soap!
Thank you very much, helping me and I'm glad, I learned a lot about different issues and I'm very happy, I bought Prusa MK3S! 🙂
The first answer from bobstro was the solution (which I marked this as such now).
Best regards
Floh
RE: First layer problem with loose "strings"
Save the IPA for Covid 19 defense 🙂
I don't use it, even after washing the bed, like some folk insist...
Joan
I try to make safe suggestions,You should understand the context and ensure you are happy that they are safe before attempting to apply my suggestions, what you do, is YOUR responsibility.Location Halifax UK
RE: First layer problem with loose "strings"
Same here, just fairy liquid and HOT water rinse.
RE: First layer problem with loose "strings"
Hi,
I'm having the same trouble here, the first layer calibration seems too high. But the strange thing is when I rotate the knob instead of getting lower it seems to get higher (!?) ... so it becames worse.I've tried to start a print anyway but the first layer is still too high...
I've also tried to move upward & downward the PINDA sensor, but I only obtain a nozzle touching too much the heat bed (making the paper sheet move with it during XYZ calibration) or a higher first layer still more impossible to lower... I don't get why it behaves that way neither what do I need to do to correctly perform this first layer calibration (?)
Sorry, the problem was me. In my case everything is OK now.
RE: First layer problem with loose "strings"
Save the IPA for Covid 19 defense 🙂
I don't use it, even after washing the bed, like some folk insist...
If only I had a sink next to my printer! I get a week or more out of a wash, but will hit the bed with 99% isopropyl alcohol if I smudge the bed in the middle of a batch. I'm finding that the 3M 7445 pads (1200-1500 grit) keep the bed in good shape longer.
I use acetone on the smooth sheet as part of maintenance when there's a lot of filament or oxidation built up on the PEI. More than once I've been surprised when a bit of acetone removes what I thought was permanent damage to the surface.
RE: First layer problem with loose "strings"
Save the IPA for Covid 19 defense 🙂
Haha... 🙂
I'll still use IPA for cleaning between the prints. 😉
Keep healthy folks.
Floh
RE: First layer problem with loose "strings"
@floh
No probs, Floh,
Your Printer, your choice.
some brands of IPA can leave trace contaminants behind.
If washing works, why complicate matters?
regards Joan
I try to make safe suggestions,You should understand the context and ensure you are happy that they are safe before attempting to apply my suggestions, what you do, is YOUR responsibility.Location Halifax UK