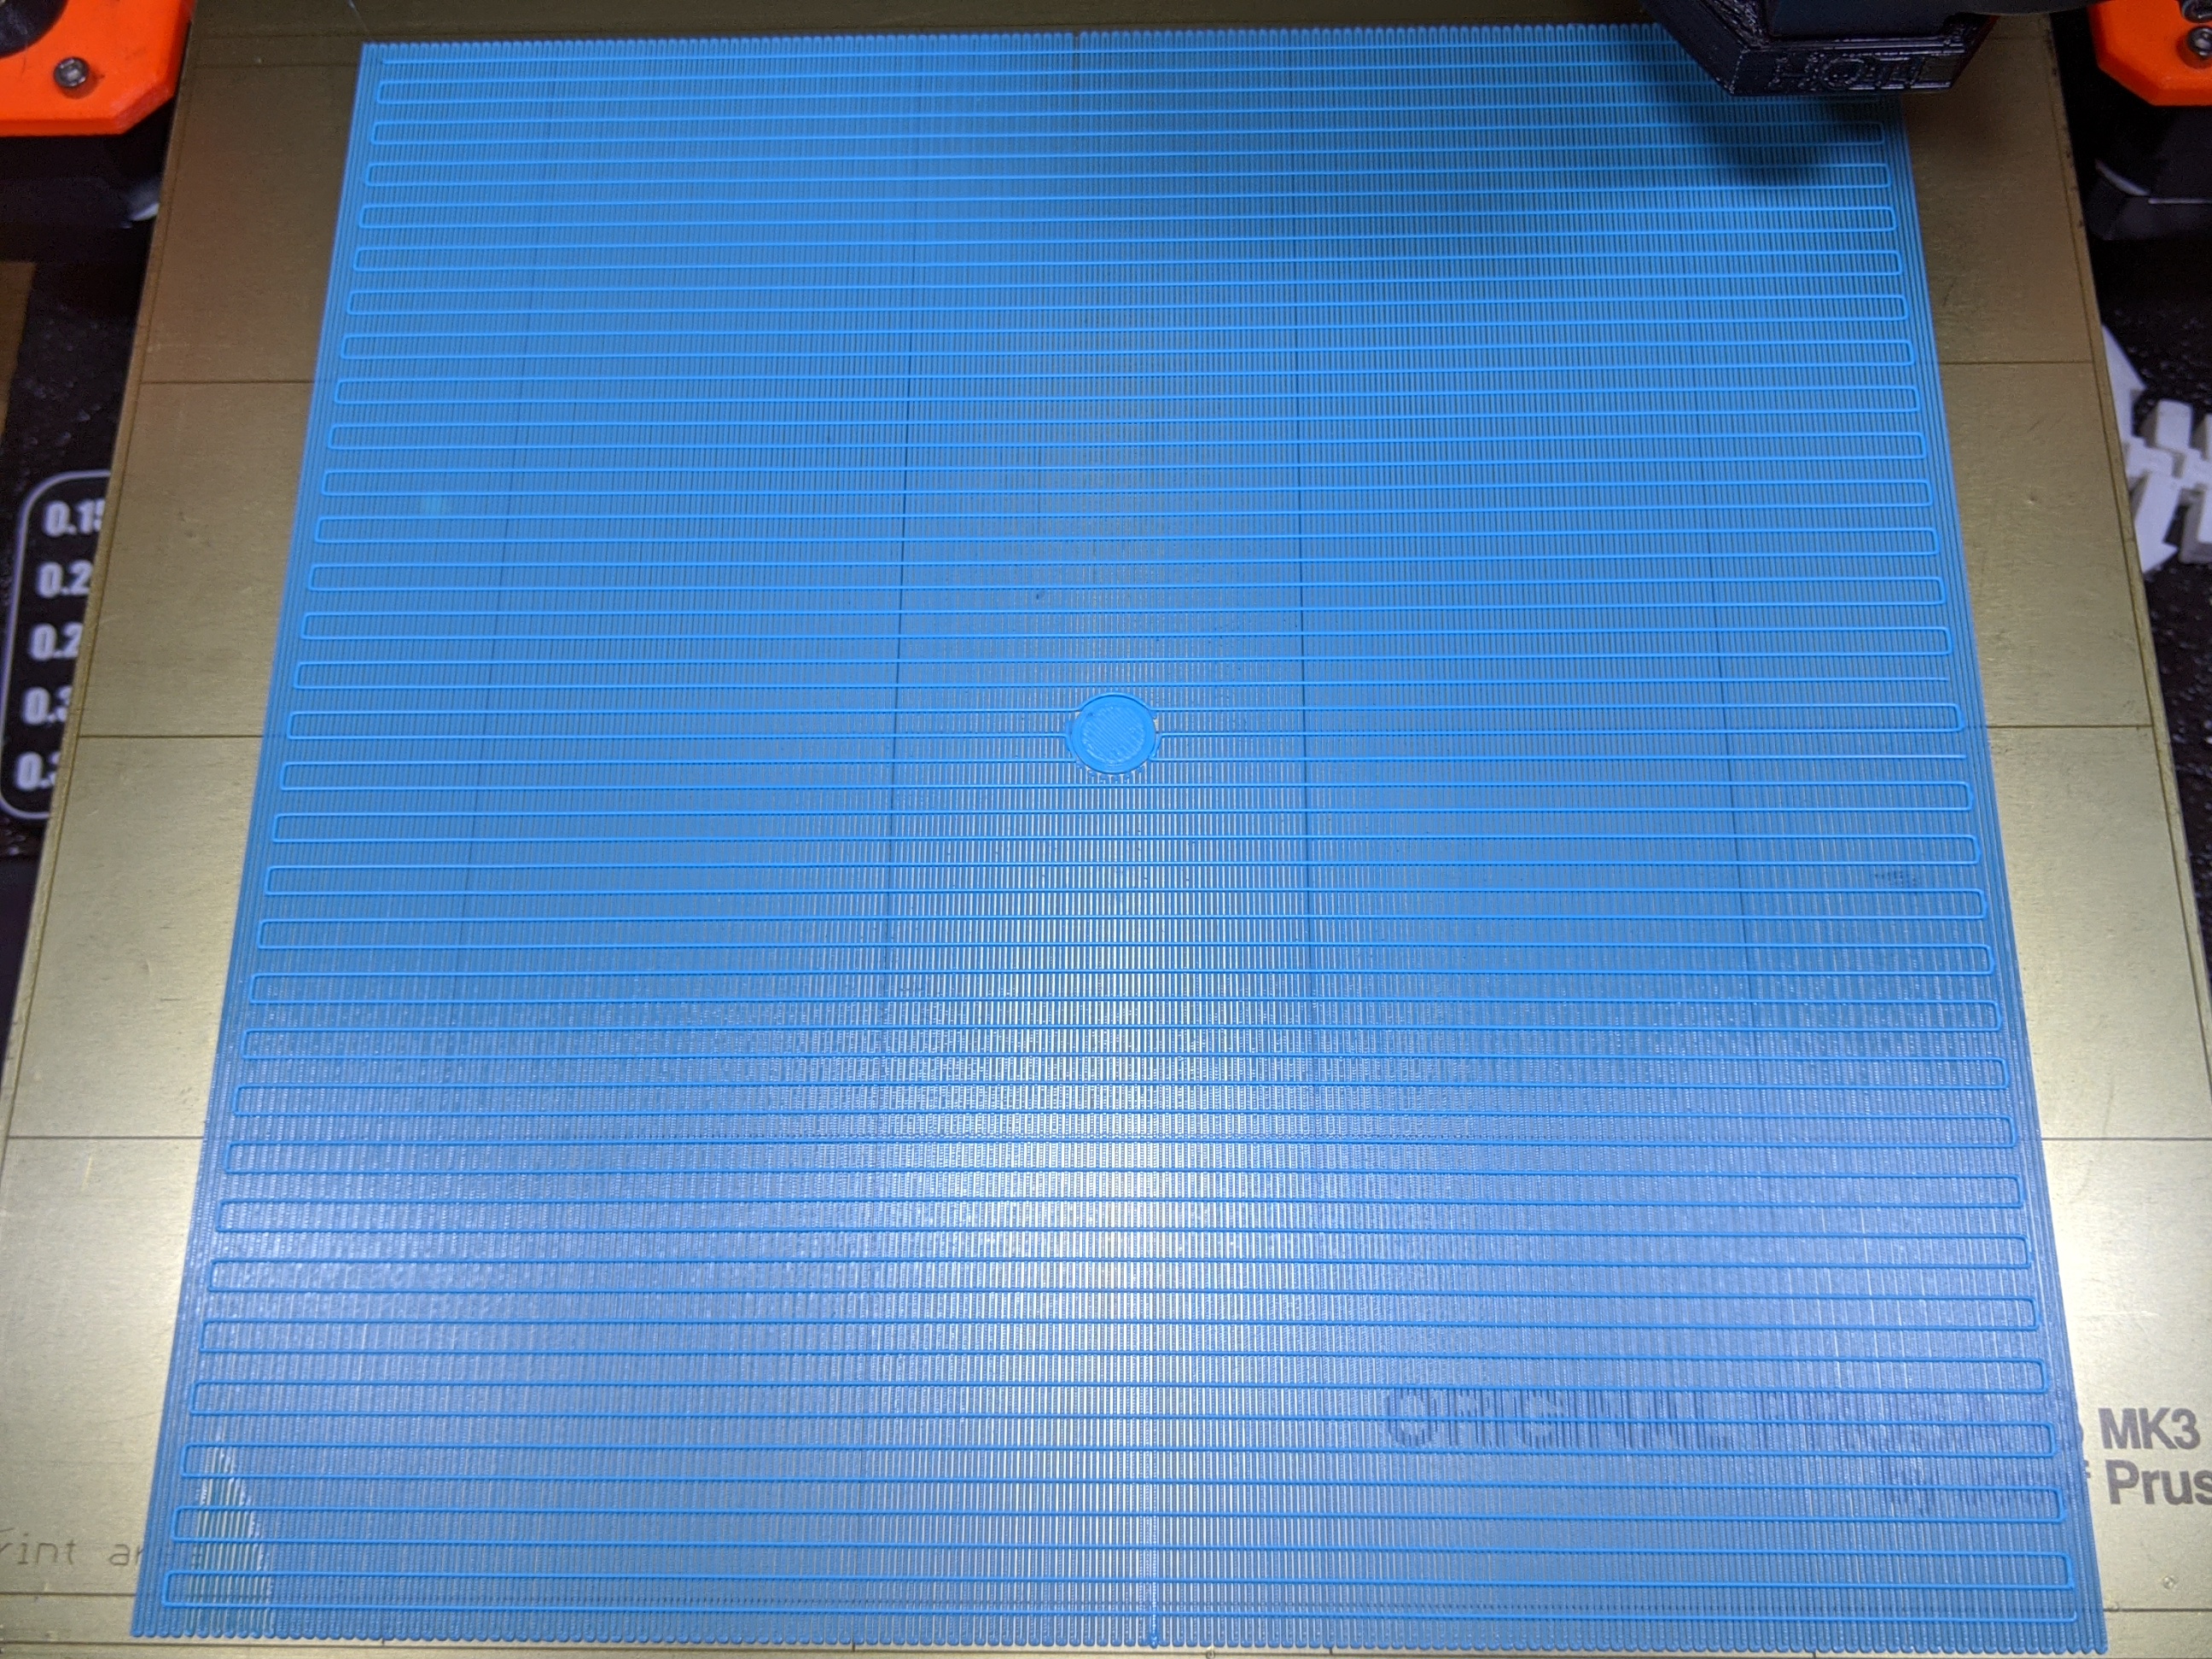
First layer, nozzle drags line starts along for a few mm
Hello,
I've had my Mk3S+ for a few weeks now, printing beautifully. But now I've developed a problem that I am so far unable to solve.
When the print starts, the first line layed down for an object get's dragged along for a few milimeters, it doesn't adhere. Especially when printing small circles, often the first of the two perimeter lines gets dragged along. I've spend an entire day trying to calibrate the live z, also doing the bed level correction procedure (that was worth it though, improved the first layer on the corners of the bed massively). I've anything my live z is a bit too close to the bed, but if I raise it, this line start problem get's worse. I've had two print failures so far due to this, since small objects didn't adhere.
I'm cleaning the steel sheet with isopropanol alcohol before every print, and I've now tried the completely unused other side of the sheet with no success. What's weird is that the skirt line adheres without a problem (usually even with a small blob at the line start). I've also noticed that the problem is worse if the printhead has to do a longer travel move to the next line.
Any tips on what settings to try adjusting are welcome.
Bed adhesion blues
[...] When the print starts, the first line layed down for an object get's dragged along for a few milimeters, it doesn't adhere. Especially when printing small circles, often the first of the two perimeter lines gets dragged along. I've spend an entire day trying to calibrate the live z, also doing the bed level correction procedure (that was worth it though, improved the first layer on the corners of the bed massively). I've anything my live z is a bit too close to the bed, but if I raise it, this line start problem get's worse. I've had two print failures so far due to this, since small objects didn't adhere.
Assuming your Live-Z calibration is good (post a pic of the underside of a print to verify), you most likely are suffering from simple adhesion issues. This is common and the PEI sheets are a bit different than most other surfaces. You didn't mention whether you're using a smooth, satin, or textured PEI sheet. The textured can be a bit tricky to use with PLA.
I'm cleaning the steel sheet with isopropanol alcohol before every print, and I've now tried the completely unused other side of the sheet with no success.
I'm going to post a big dump of "everything you need to get started with the PEI sheet". Read through this, feel free to ignore bits, but pay attention to the cleaning of the PEI. First and foremost, it is possible to excellent first layer results with the PEI sheets.
Here's the info dump on dealing with the bed adhesion blues...
-
Part warping or lifting along edges.
-
Bumping or knocking noises as the part moves under the nozzle.
-
Uneven vertical surfaces and bulges caused by print lifting and compression of overlying layers.
-
Spaghetti resulting from parts moving during printing.
-
The dreaded "blob of doom" caused by the part lifting and sticking to the nozzle as it extrudes filament.
-
A dirty PEI print surface. Even if you don't think this is the cause, it's always a good idea to make sure your PEI surface is clean before trying any other fixes. If it's a smooth PEI sheet, take it to the kitchen sink and give it a good dunk with Dawn (original formula, no vinegar or hand softener variants) dishwashing soap or your local equivalent (e.g. Fairy in UK). Use a clean paper towel to clean it off, and another to dry it. Avoid using any sponge or cloth that has been in contact with grease. Above all else, avoid touching the PEI print surface. Once it's good and clean, you should be able to use 91%+ isopropyl alcohol between prints, 100% acetone when that fails , and another dunk when acetone fails. Worst-case, use a 3M 7445 ScotchBrite (1200-1500 grit) pad or equivalent on smooth PEI to give it a very light buff, but only infrequently. If you've got a textured powder-coated PEI print surface, the official instructions are to use 91%+ isopropyl alcohol on it only. Rumors persist that some have had good luck getting started with these sheets by giving them a wipe with 100% acetone and a dunk with Dawn. Either way, there's no real warranty on these sheets. YMMV.
-
Improper Live-Z adjustment. If you have not already done so, try Jeff Jordan's "Life Adjust" procedure for calibrating your Live-Z setting. It is much easier to use and understand than the onboard routine and much easier to make mid-print adjustments accurately with. In general, start high (less negative) and work lower (more negative) in large increments (e.g. 0.1mm) until the filament starts to stick on its own. When you've got your Live-Z setting adjusted properly, you should be able to gently rub the extruded lines on the PEI surface without dislodging them. Then start lowering (more negative) the level until there are no gaps between layers. You should not be able to peel the lines apart after printing, but the top should be regular.
Thank you
I am indeed using the smooth PEI sheet, sorry that I forgot to mention that. I think you're right about the sheet being dirty, I found another post mentioning the volume of alcohol used (I have 99% concentration btw) and before I was just dampening a paper towel slightly with it. So for my last print yesterday, I drizzled a few ml onto the sheet, let it soak and then wiped it off, making sure to wipe away from the center. While the next print wasn't perfect, it was way better then any print I've gotten in the last few days.
I'll try that live Z procedure. While I'm pretty sure my live Z is good, I've never thought to check if it's actually 0.2mm thick. But I did try to pull the lines apart and I can't the layer is completely fused together and has more of less smooth surfaces top and bottom.
Thanks a lot. My only previous experience with 3D printing was my Dad's Anycubic Kossel with a glass print plate, and that thing was extremely sticky once up to temp and there's no need to worry about scratching it or grease. As long as the heatbed was still warm, you would not get the prints off. However I did have a lot of warping problems with that one, which I have not experienced with the Prusa so far.