First layer irregularities
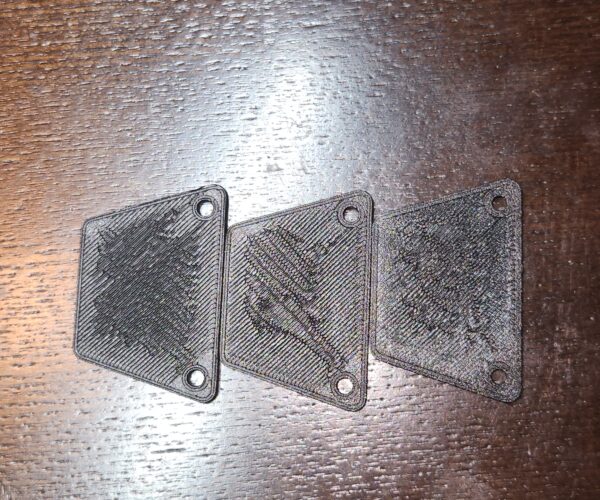
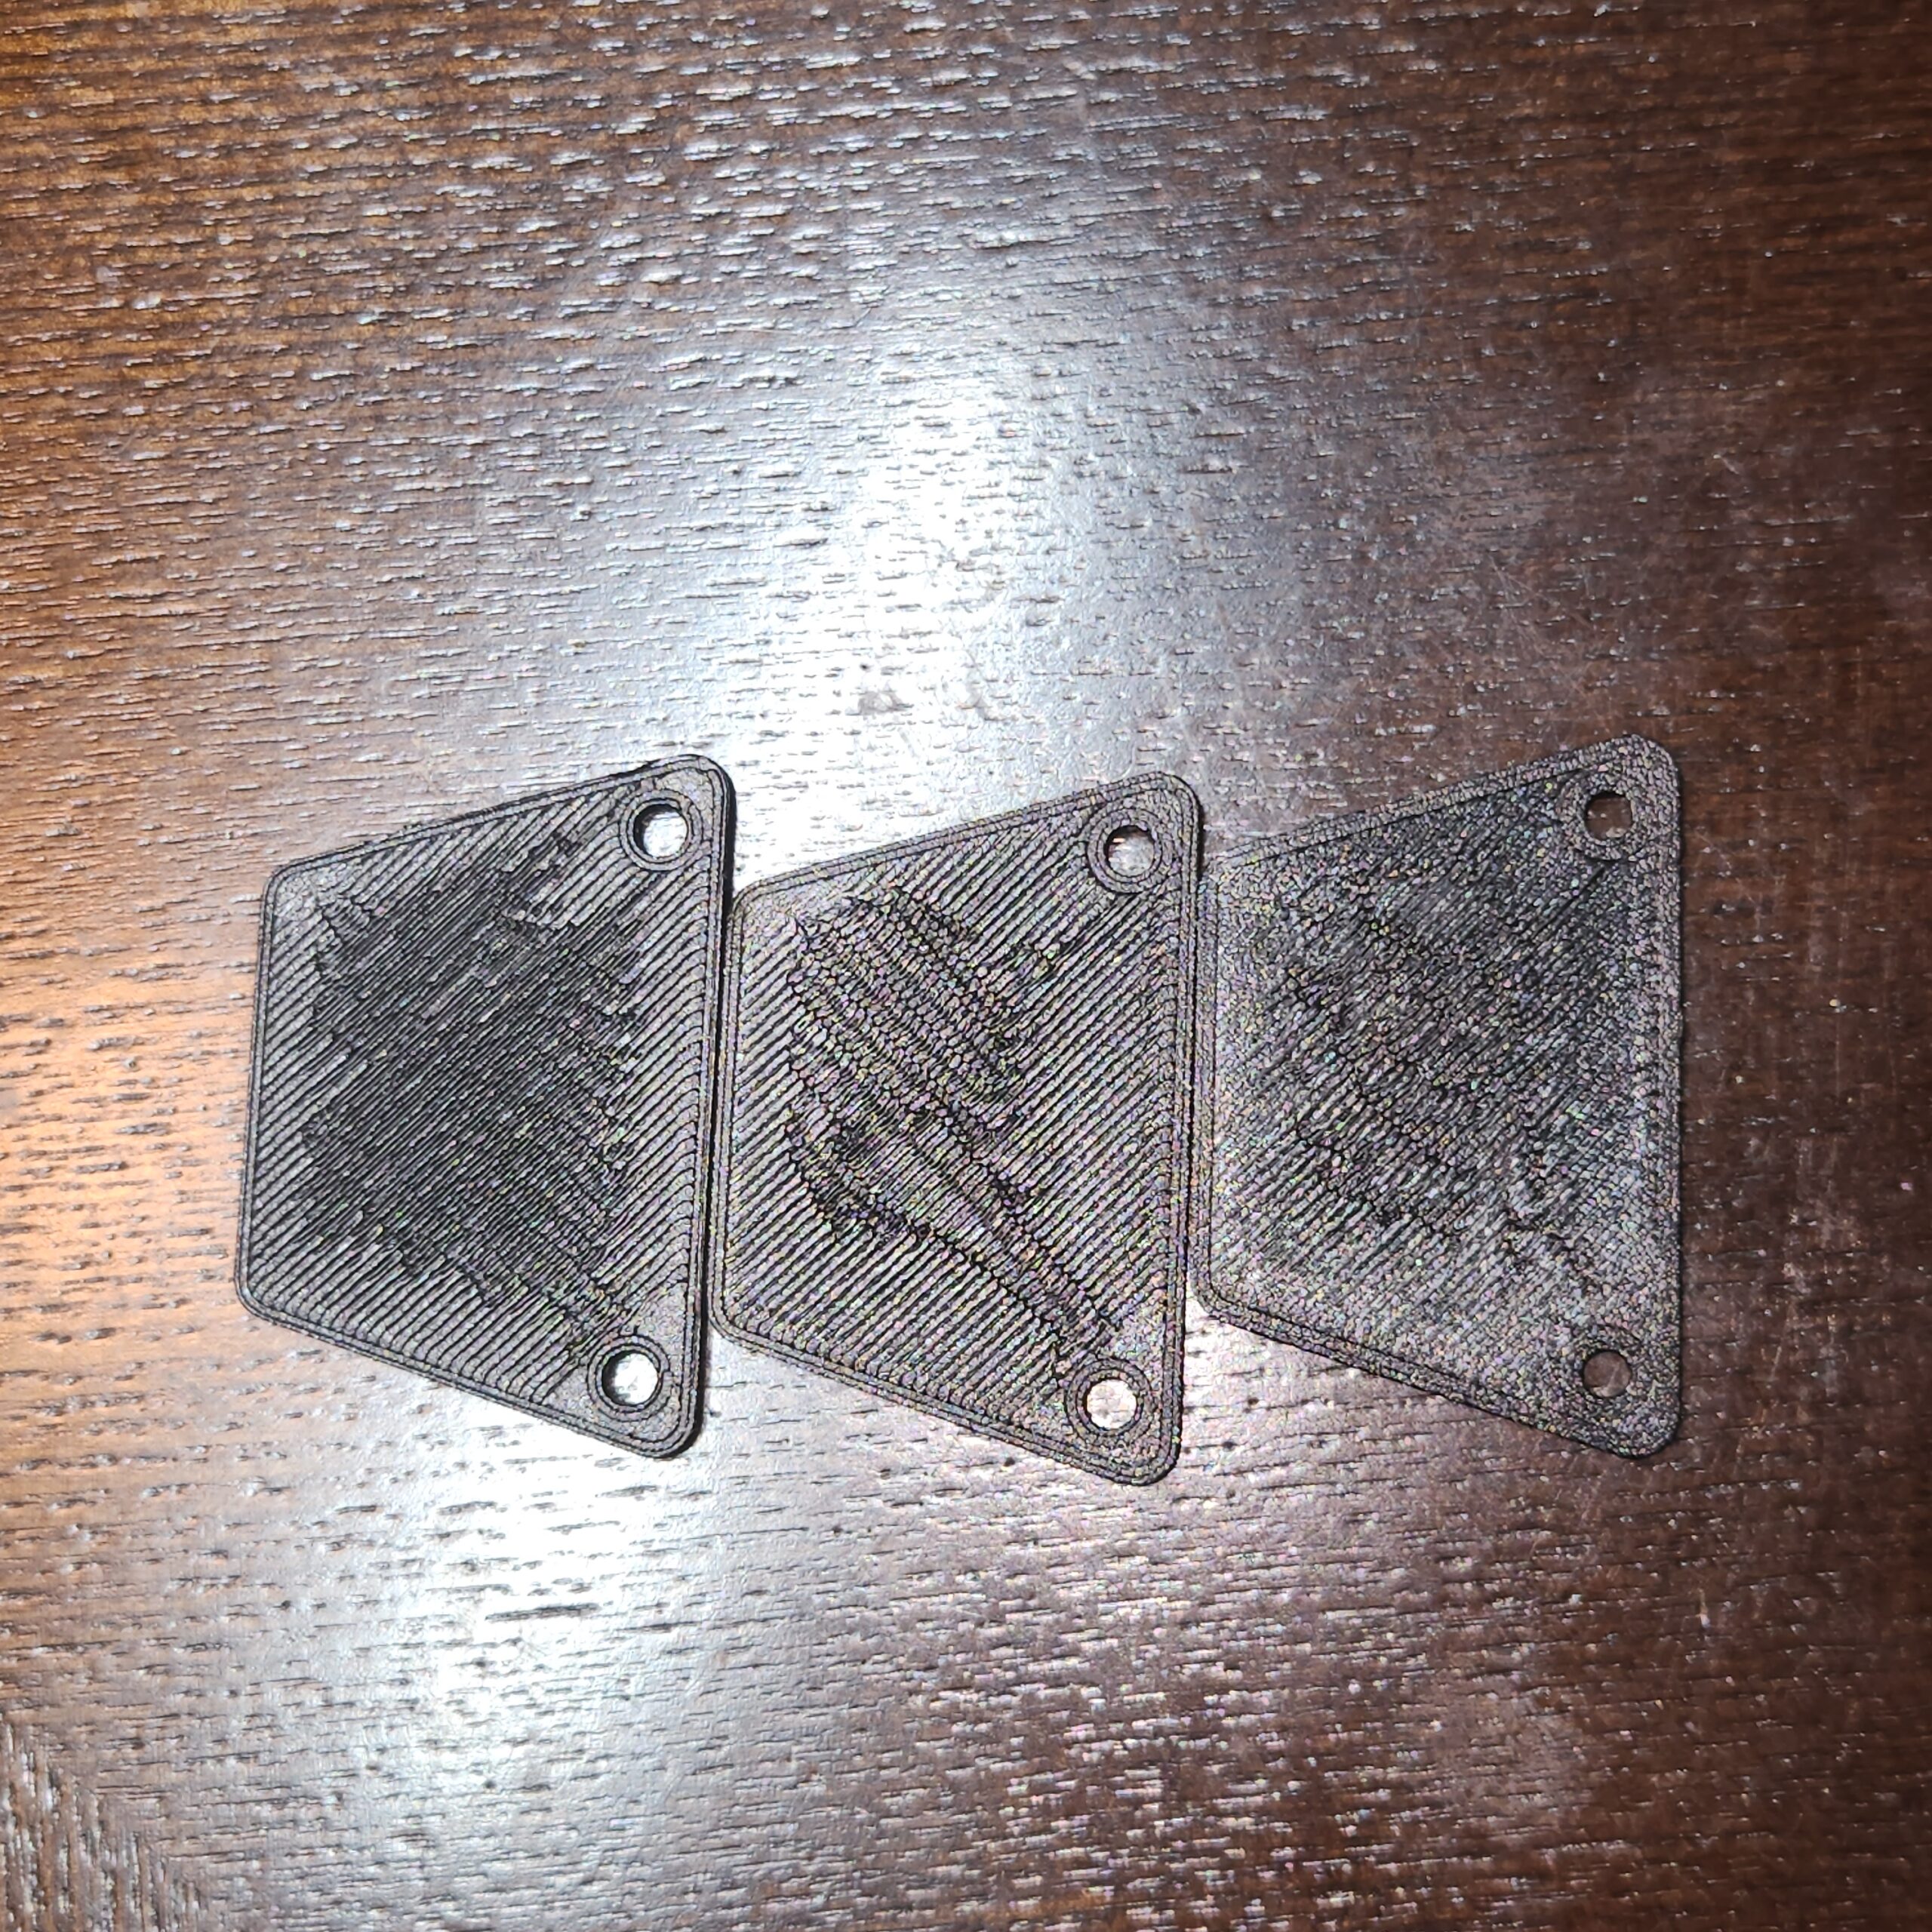
- What causes the weird patterns in the first layer? I adjusted the live z both ways from the middle part. Filament is PETG. First layer Temps are 240/85
RE: First layer irregularities
I for one suggest the following basic settings:
[HELLO FORUM]
[function /my name is]
[function /please]
[function /response] Looks to me like the nozzle is too deep.
Regards
Chris
I try to give answers to the best of my ability, but I am not a 3D printing pro by any means, and anything you do you do at your own risk. BTW: I have no food for…
RE: First layer irregularities
+1 - Well said @justme3d
I for one suggest the following basic settings:
[HELLO FORUM]
[function /my name is]
[function /please]
[function /response] Looks to me like the nozzle is too deep.
Regards
Chris
RE: First layer irregularities
Sorry,
How you all doing? My name is Mike and I'm new to 3d printing. Just trying to make my first layer look good. I appreciate the help and the sarcasm. 😉 so by saying the nozzle is to deep, make adjustments with the live z setting? Again new to all this so trying to understand. Again thanks for any help
RE: First layer irregularities
Hi Mike,
Your nozzle looks to be too close to the build plate so when you are adjusting Live Z, the negative live Z number is too large.
the slicer calculates how much filament to extrude during the first layer, to ideally cause a nice squished line of filament which blends nicely into the adjacent lines of filament, however, in your case, the nozzle is too close to the build plate, so there is too much molten filament for the gap between the nozzle and the build plate, this causes the printer to try and push the filament anywhere that it can... leading to lumps, bumps and wiggly lines of filament, re run the first layer test print, and, as it is running, select Live Z off the LCD Menu, and start reducing the size of the negative value
It may take several attempts.
but you should notice the surface become progressively smoother as you approach the ideal setting.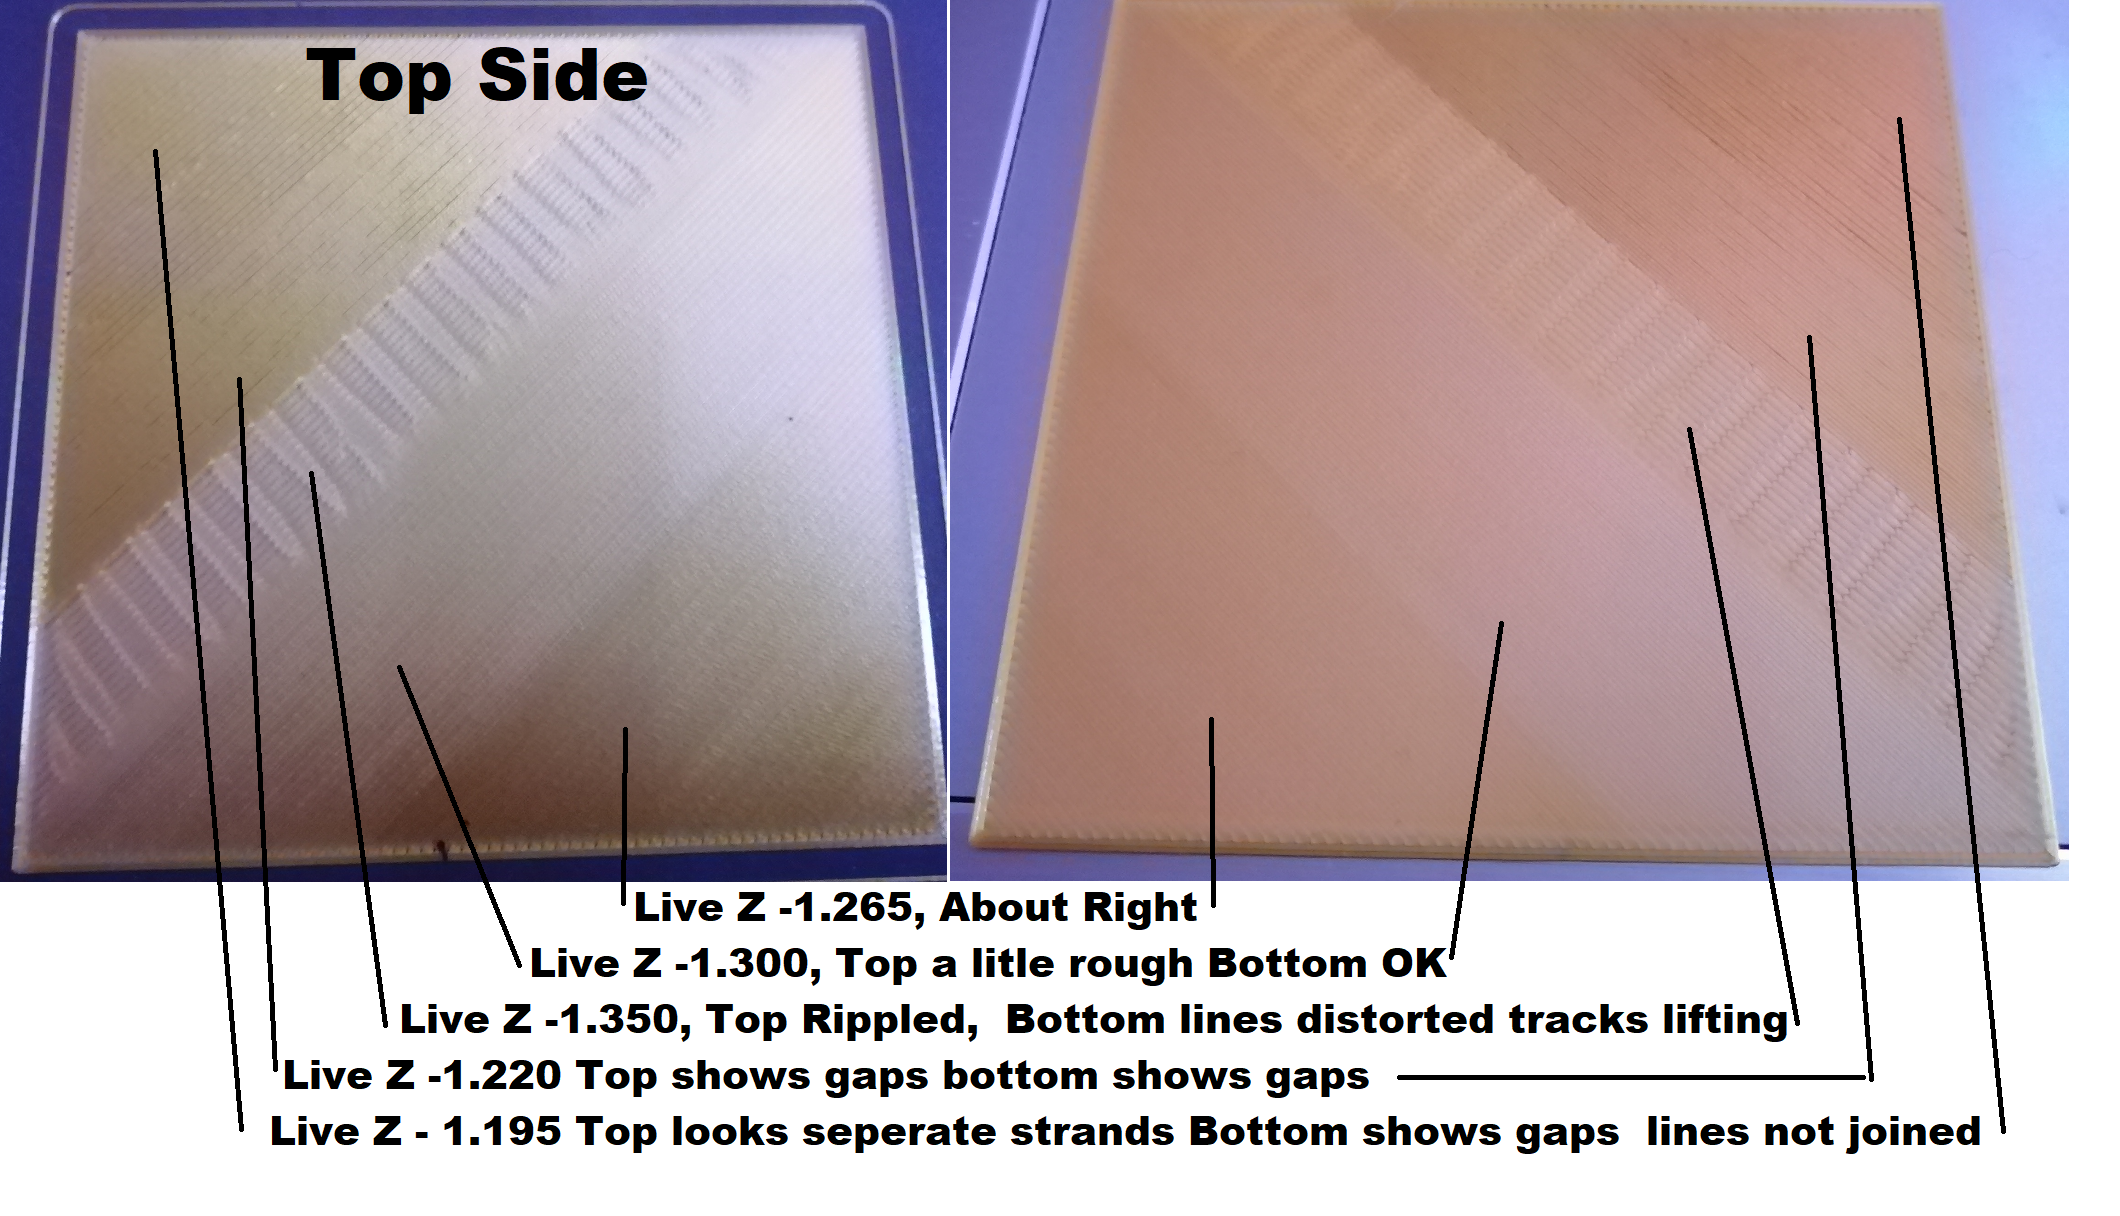
the values in these demo squares are unique to my printer, but the differences in values indicate how relatively small changes in values can make significant changes in surface finish
regards Joan
I try to make safe suggestions,You should understand the context and ensure you are happy that they are safe before attempting to apply my suggestions, what you do, is YOUR responsibility.Location Halifax UK