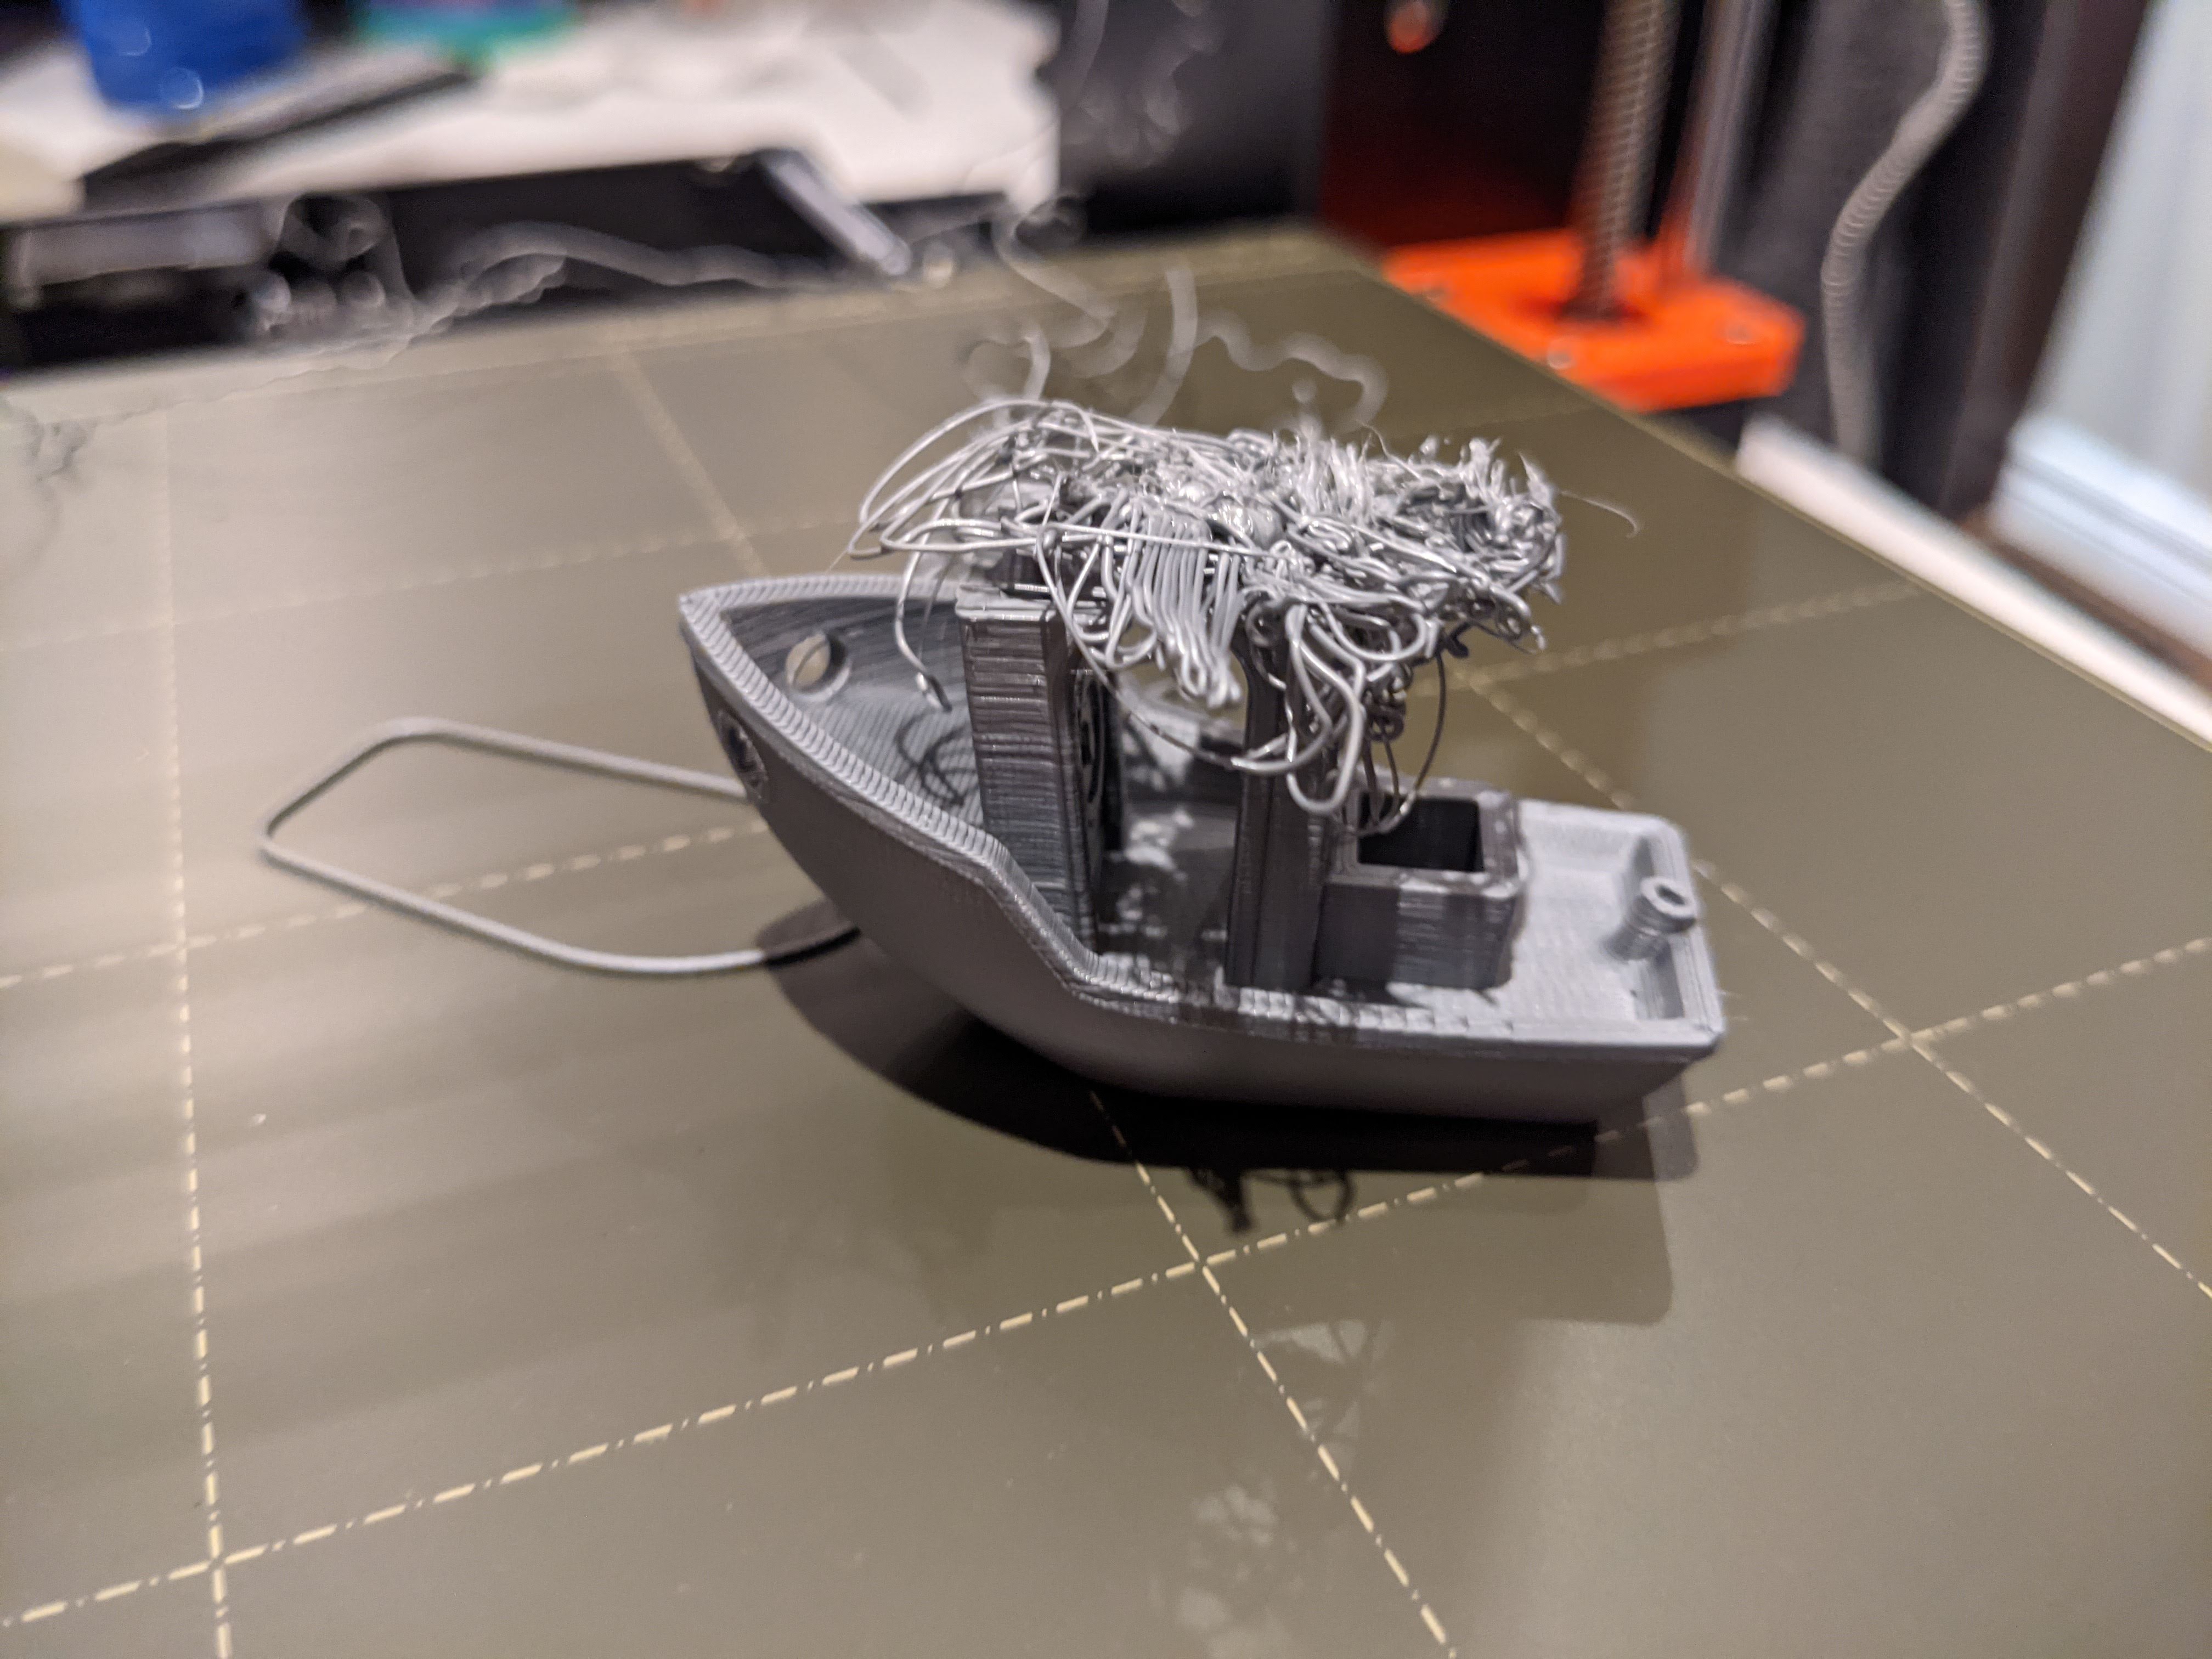
First Benchy was a disaster - what does this indicate?
I finished the assembly of my MK3S+ and did the calibration successfully.
I'm not confident that I got the Z-height right - I couldn't directly compare the pictures to what I saw. It would be nice if the printer itself would print that gradient of heights in the picture so that you could find the exact right Z-height from just looking left-to-right.
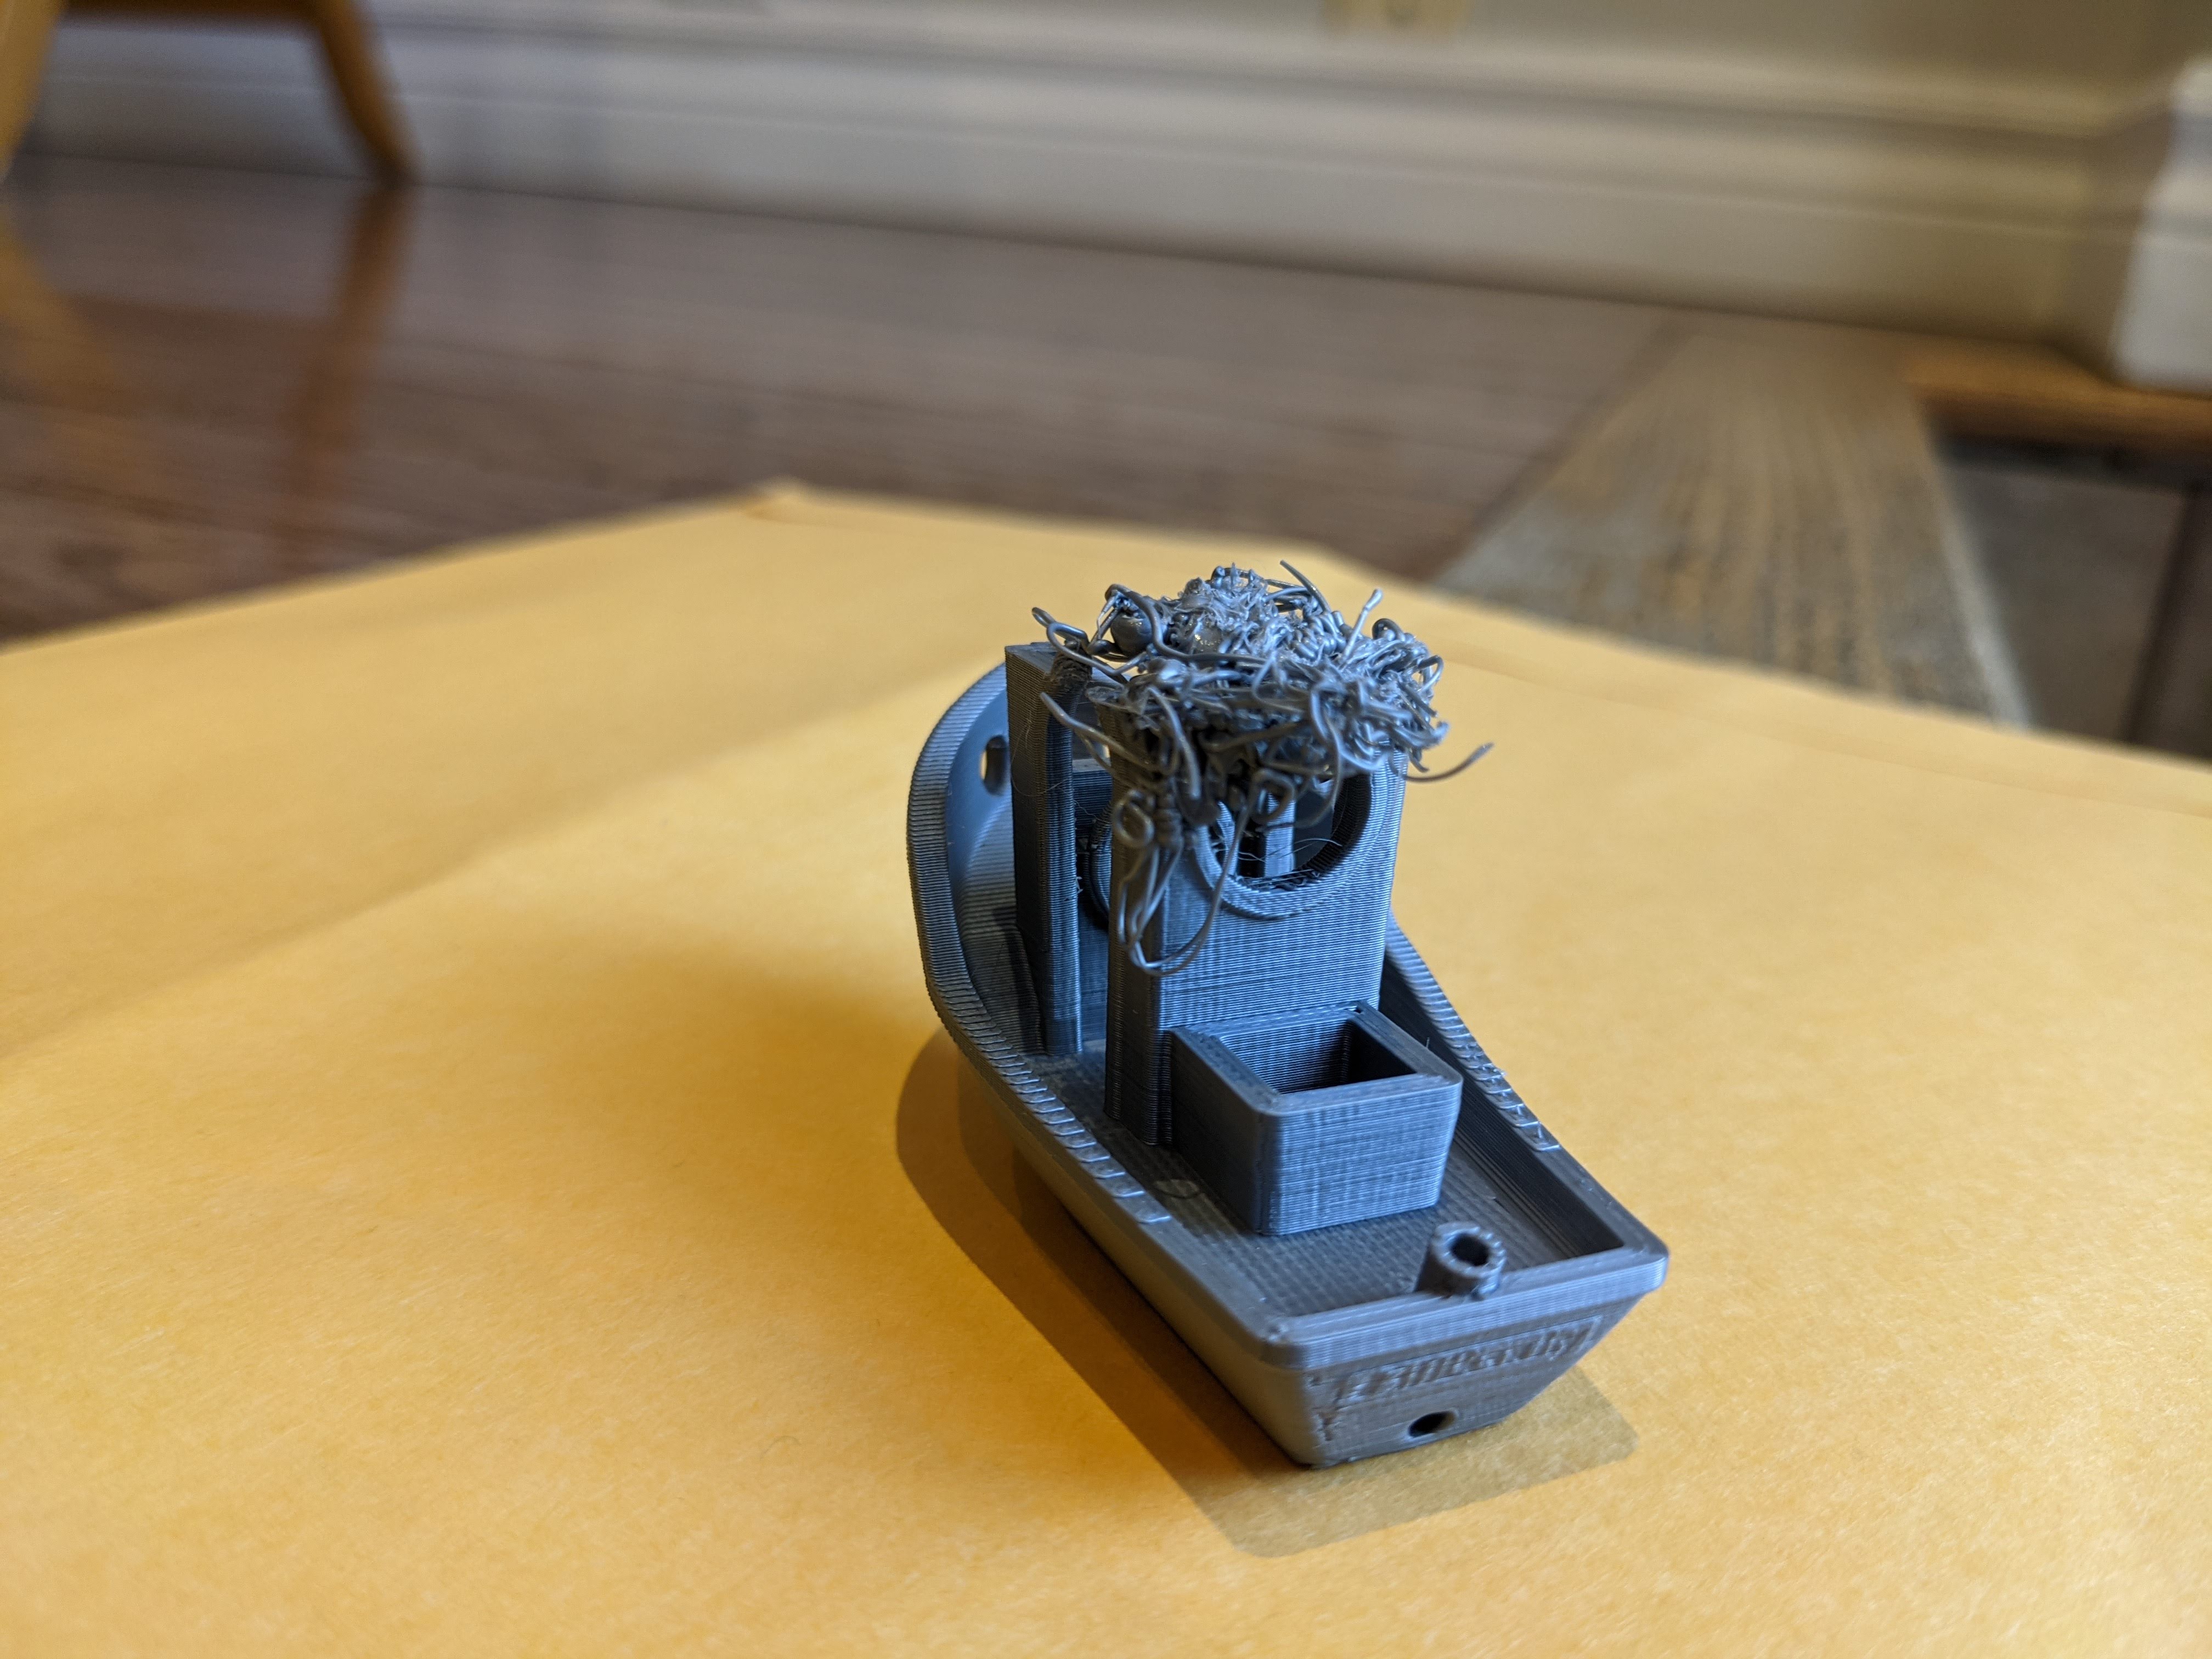
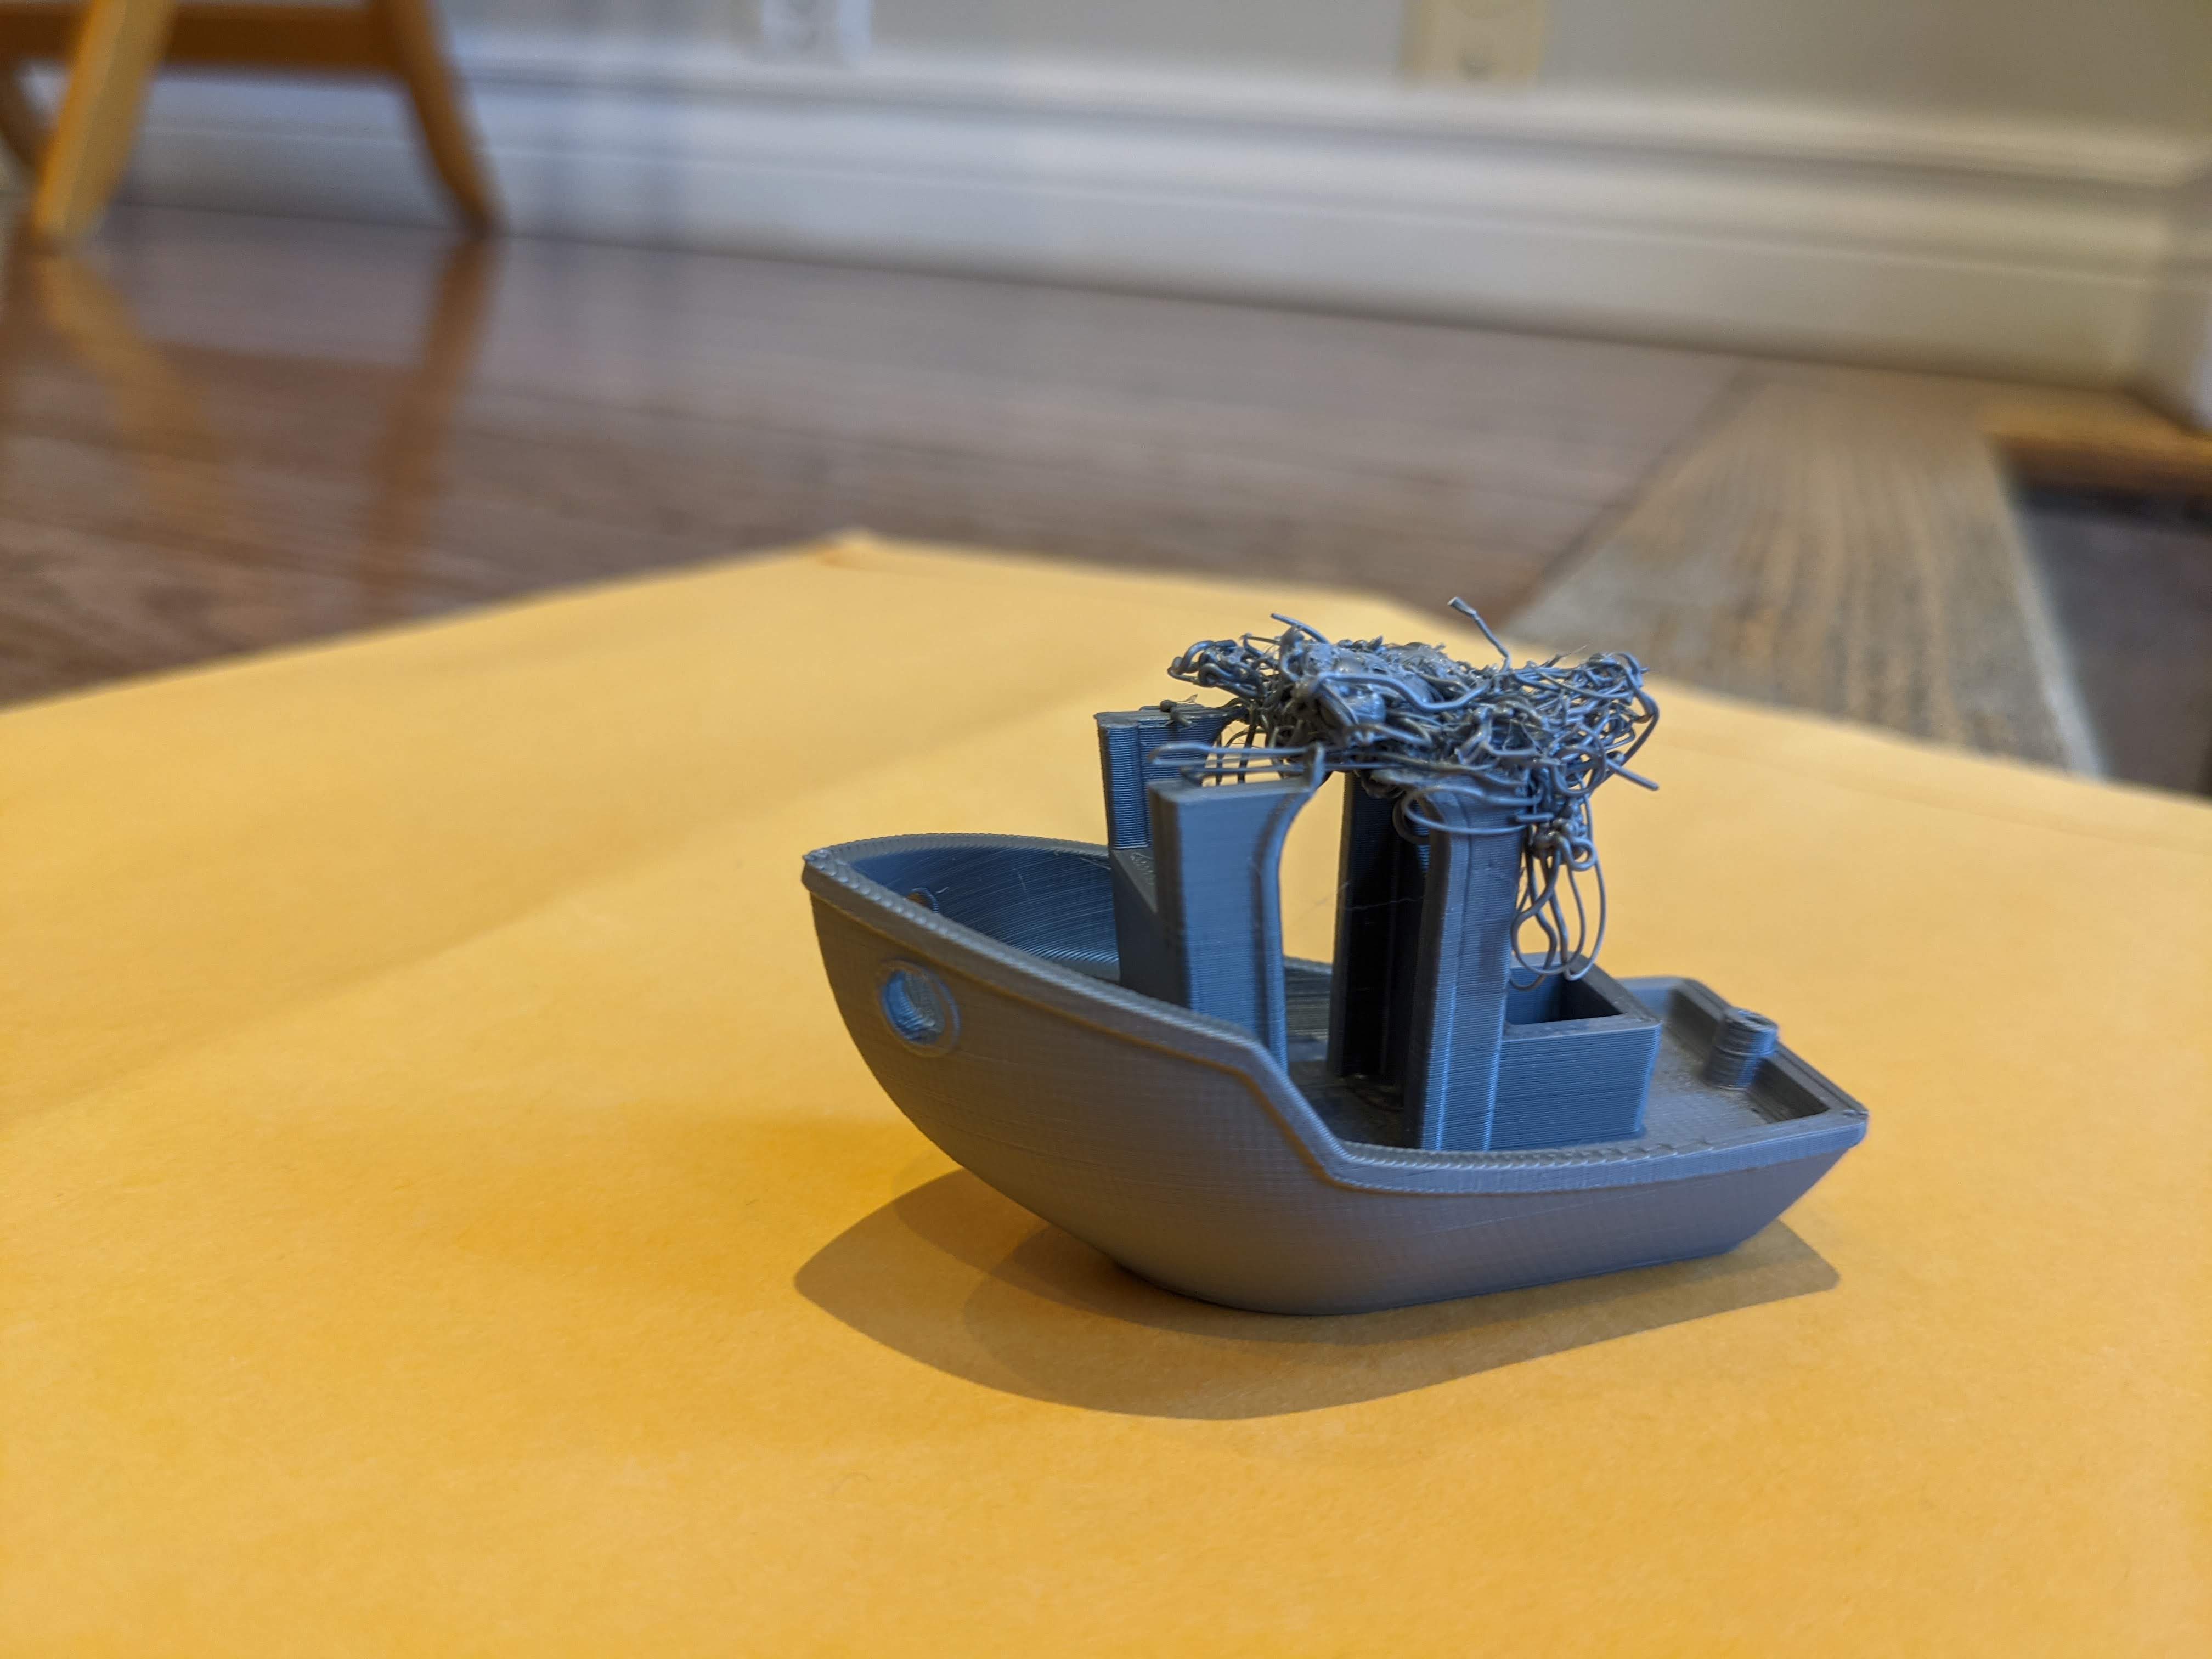
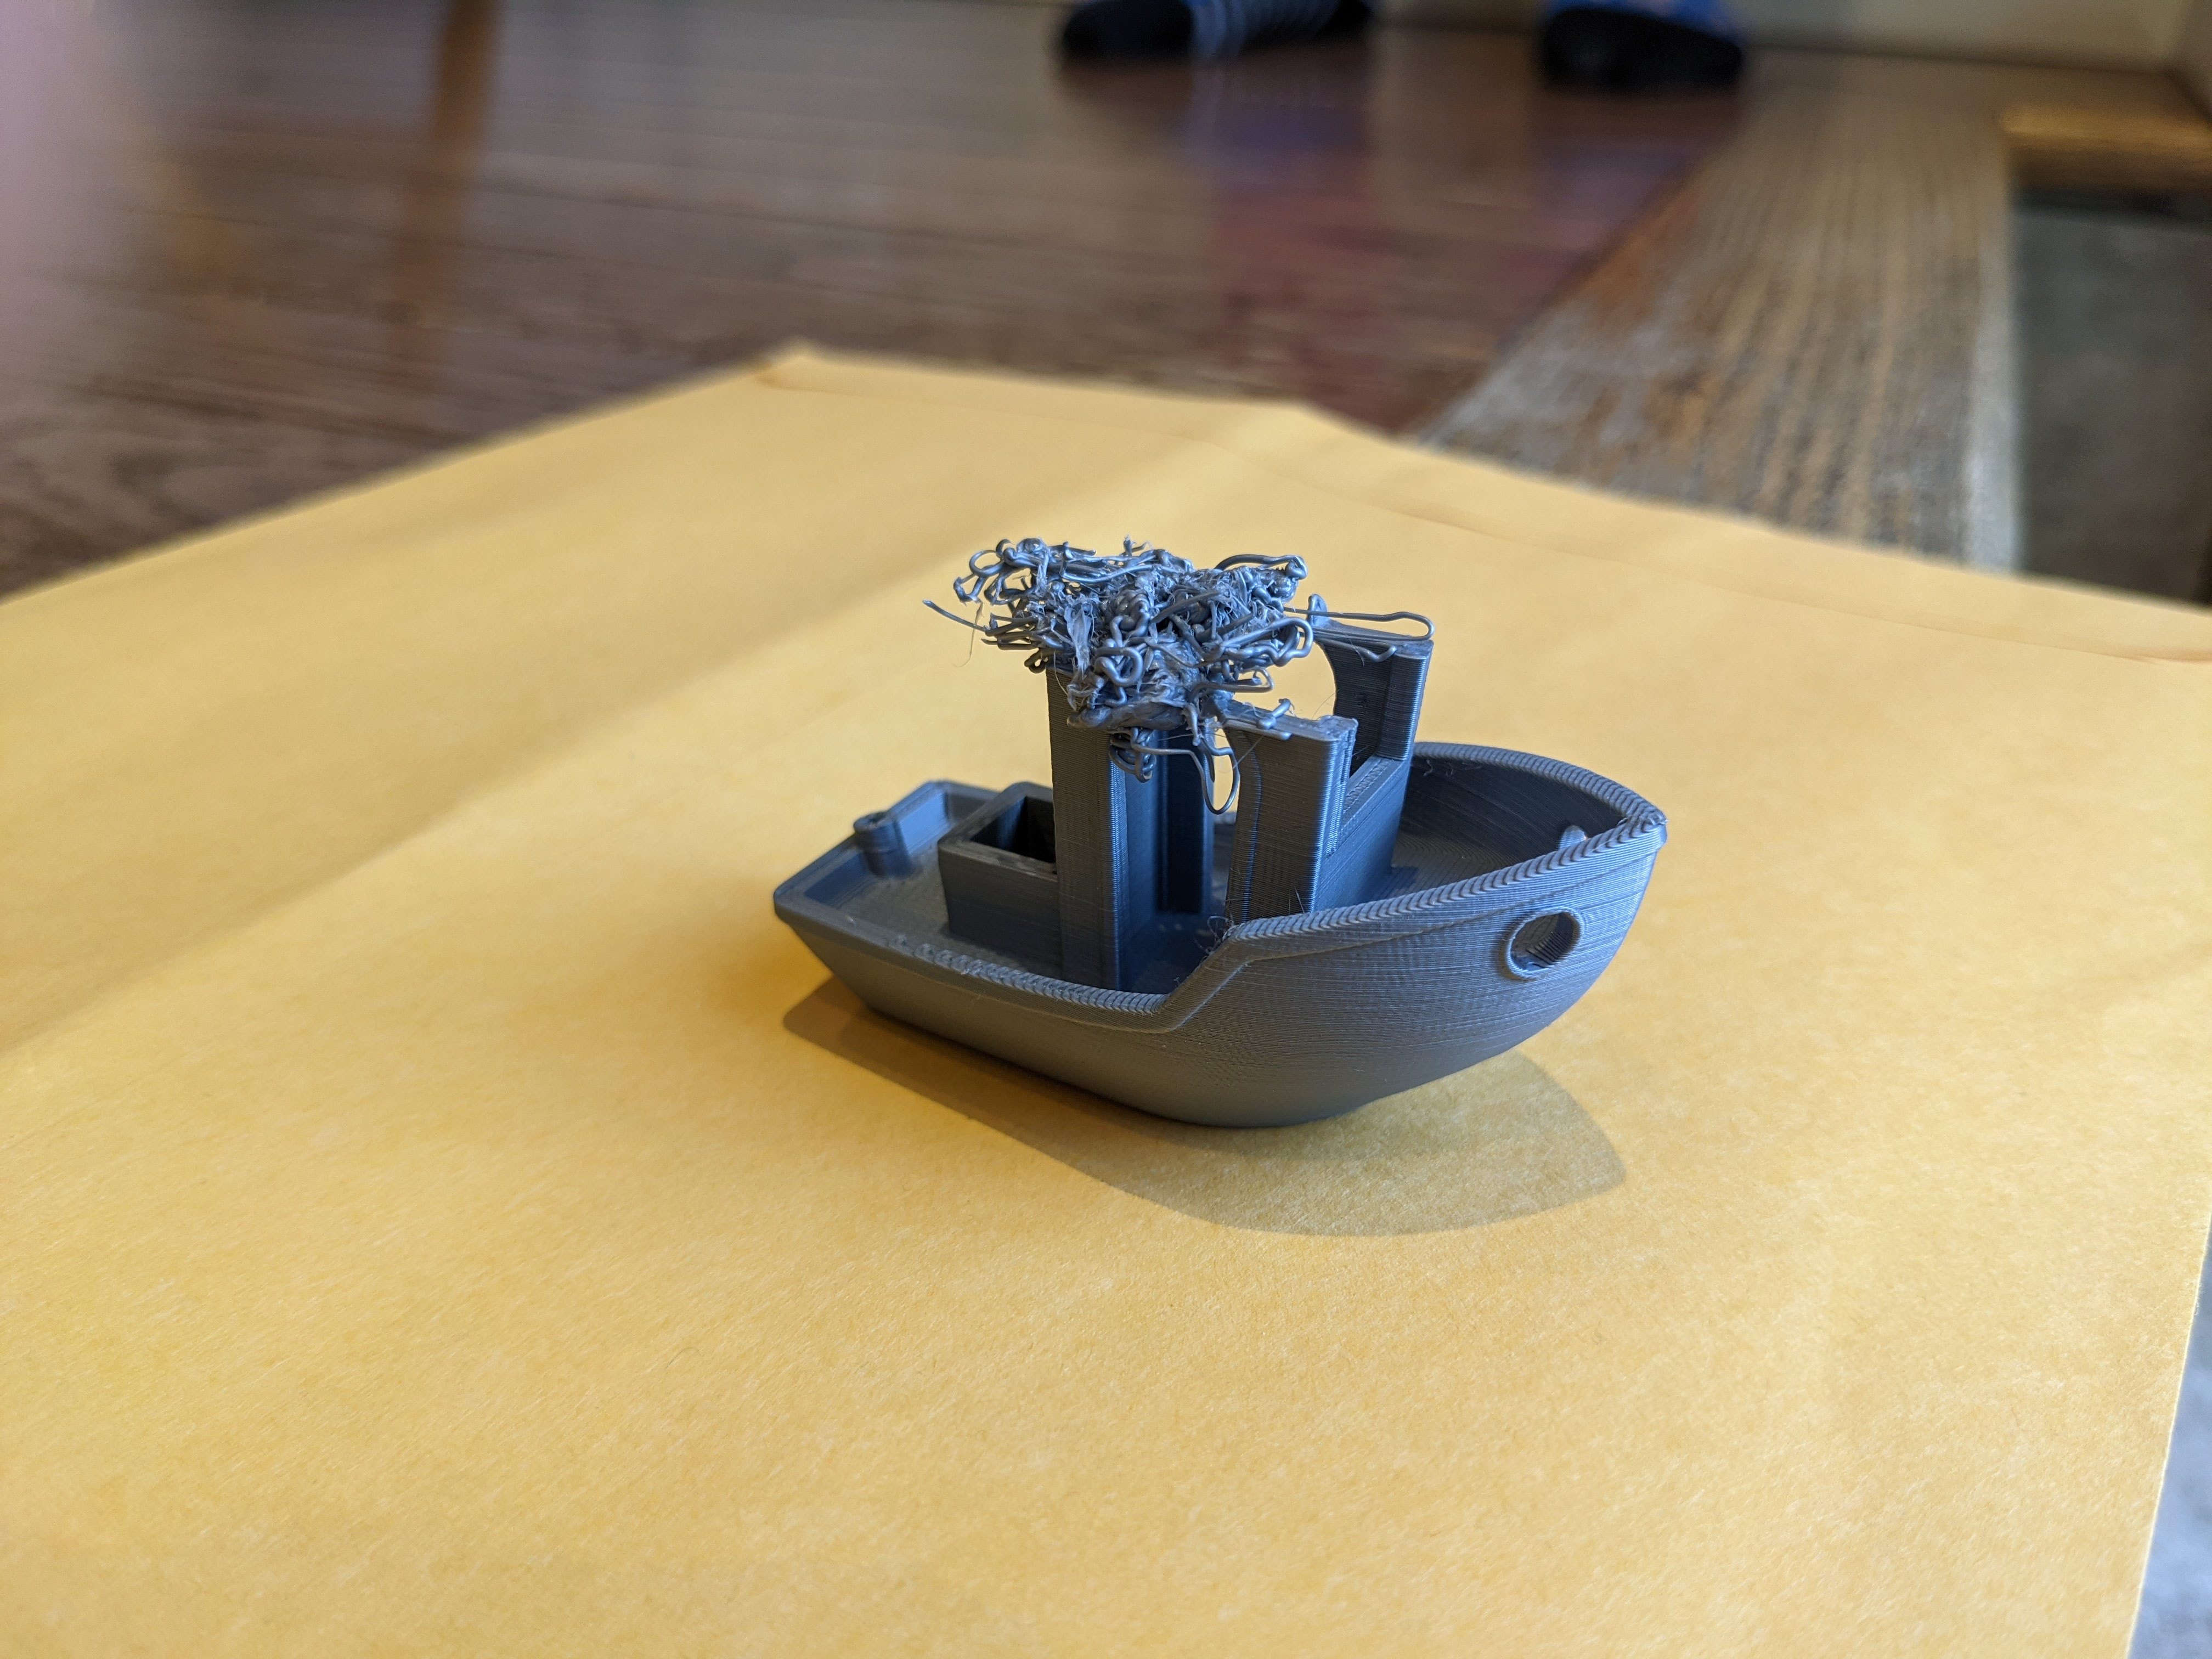
Can anyone look at this Benchy and let me know if it points to a specific issue in my setup?

RE: First Benchy was a disaster - what does this indicate?
Hi @michael-kipper,
The benchy took of the sheet. 2 possibilities : the sheet is dirty and you need to clean it with hot water, sponge, dishes soap & a lot of bubbles (dry it with a clean paper towel) or/and your Z-offset is to high and you need to lower it. Can you show us a picture of the bottom side of the benchy ?
MK3s Stock, PS2.3, Fusion360, Debian, Windows 10.
RE: First Benchy was a disaster - what does this indicate?
Take your PEI sheet to the kitchen sink and give it a good dunk with Dawn (original formula, no vinegar or hand softener variants) dishwashing soap or your local equivalent (e.g. Fairy in UK). Use a clean paper towel to clean it off, and another to dry it. Avoid using any sponge or cloth that has been in contact with grease. Do nothing else. Above all else, avoid touching the PEI print surface. Once it's good and clean, you should be able to use 91%+ isopropyl alcohol between prints, 100% acetone when that fails , and another dunk when acetone fails. Worst-case, use a 3M 7445 ScotchBrite (1200-1500 grit) pad or equivalent on smooth PEI to give it a very light buff, but only infrequently.
If you have not already done so, try using Jeff Jordan's "Life Adjust" procedure for calibrating your Live-Z setting. It is much easier to use and understand than the onboard routine and much easier to make mid-print adjustments accurately with. In general, start high (less negative) and work lower (more negative) in large increments (e.g. 0.1mm) until the filament starts to stick on its own. When you've got your Live-Z setting adjusted properly, you should be able to gently rub the extruded lines on the PEI surface without dislodging them. Then start lowering (more negative) the level until there are no gaps between layers. You should not be able to peel the lines apart after printing, but the top should be regular.
RE: First Benchy was a disaster - what does this indicate?
Thanks for the replies!
I did a thorough dish-soap clean of the plate, and did some more Z-height calibration work and was able to get a clean Benchy!
I'm really happy with this, and excited for more prints.
