Filament covering extruder - help!
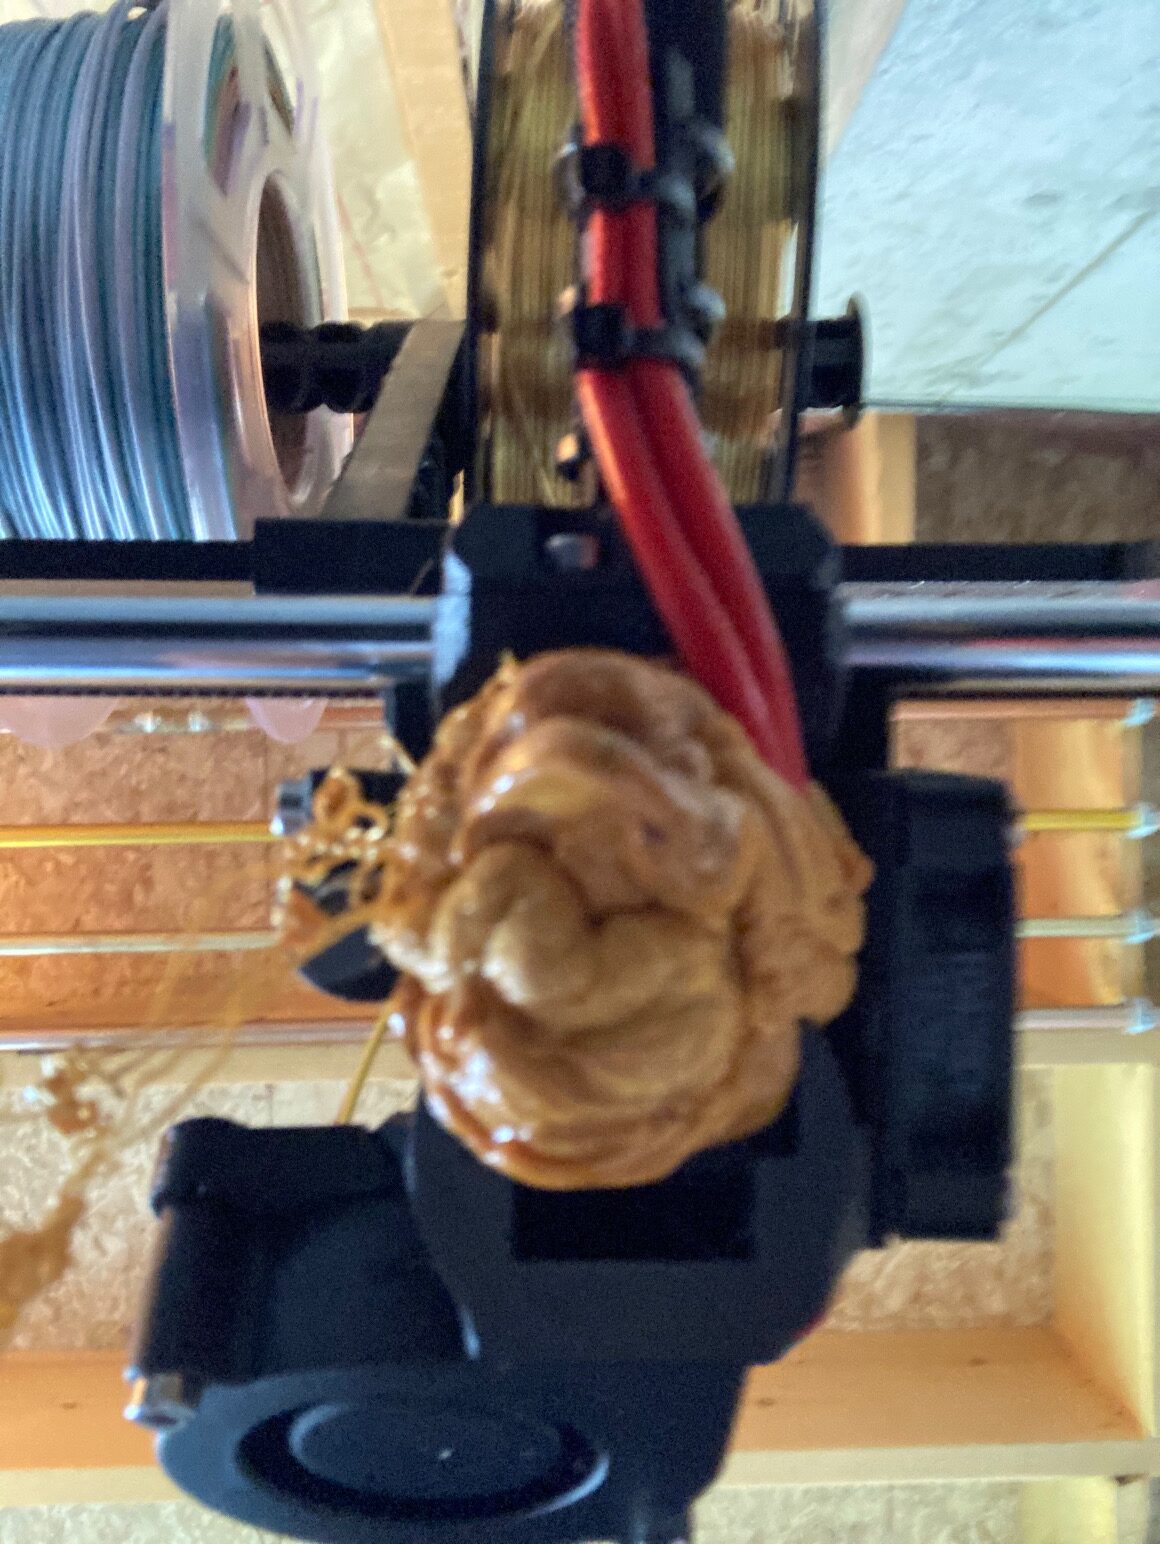
Welp - this happened 🙁
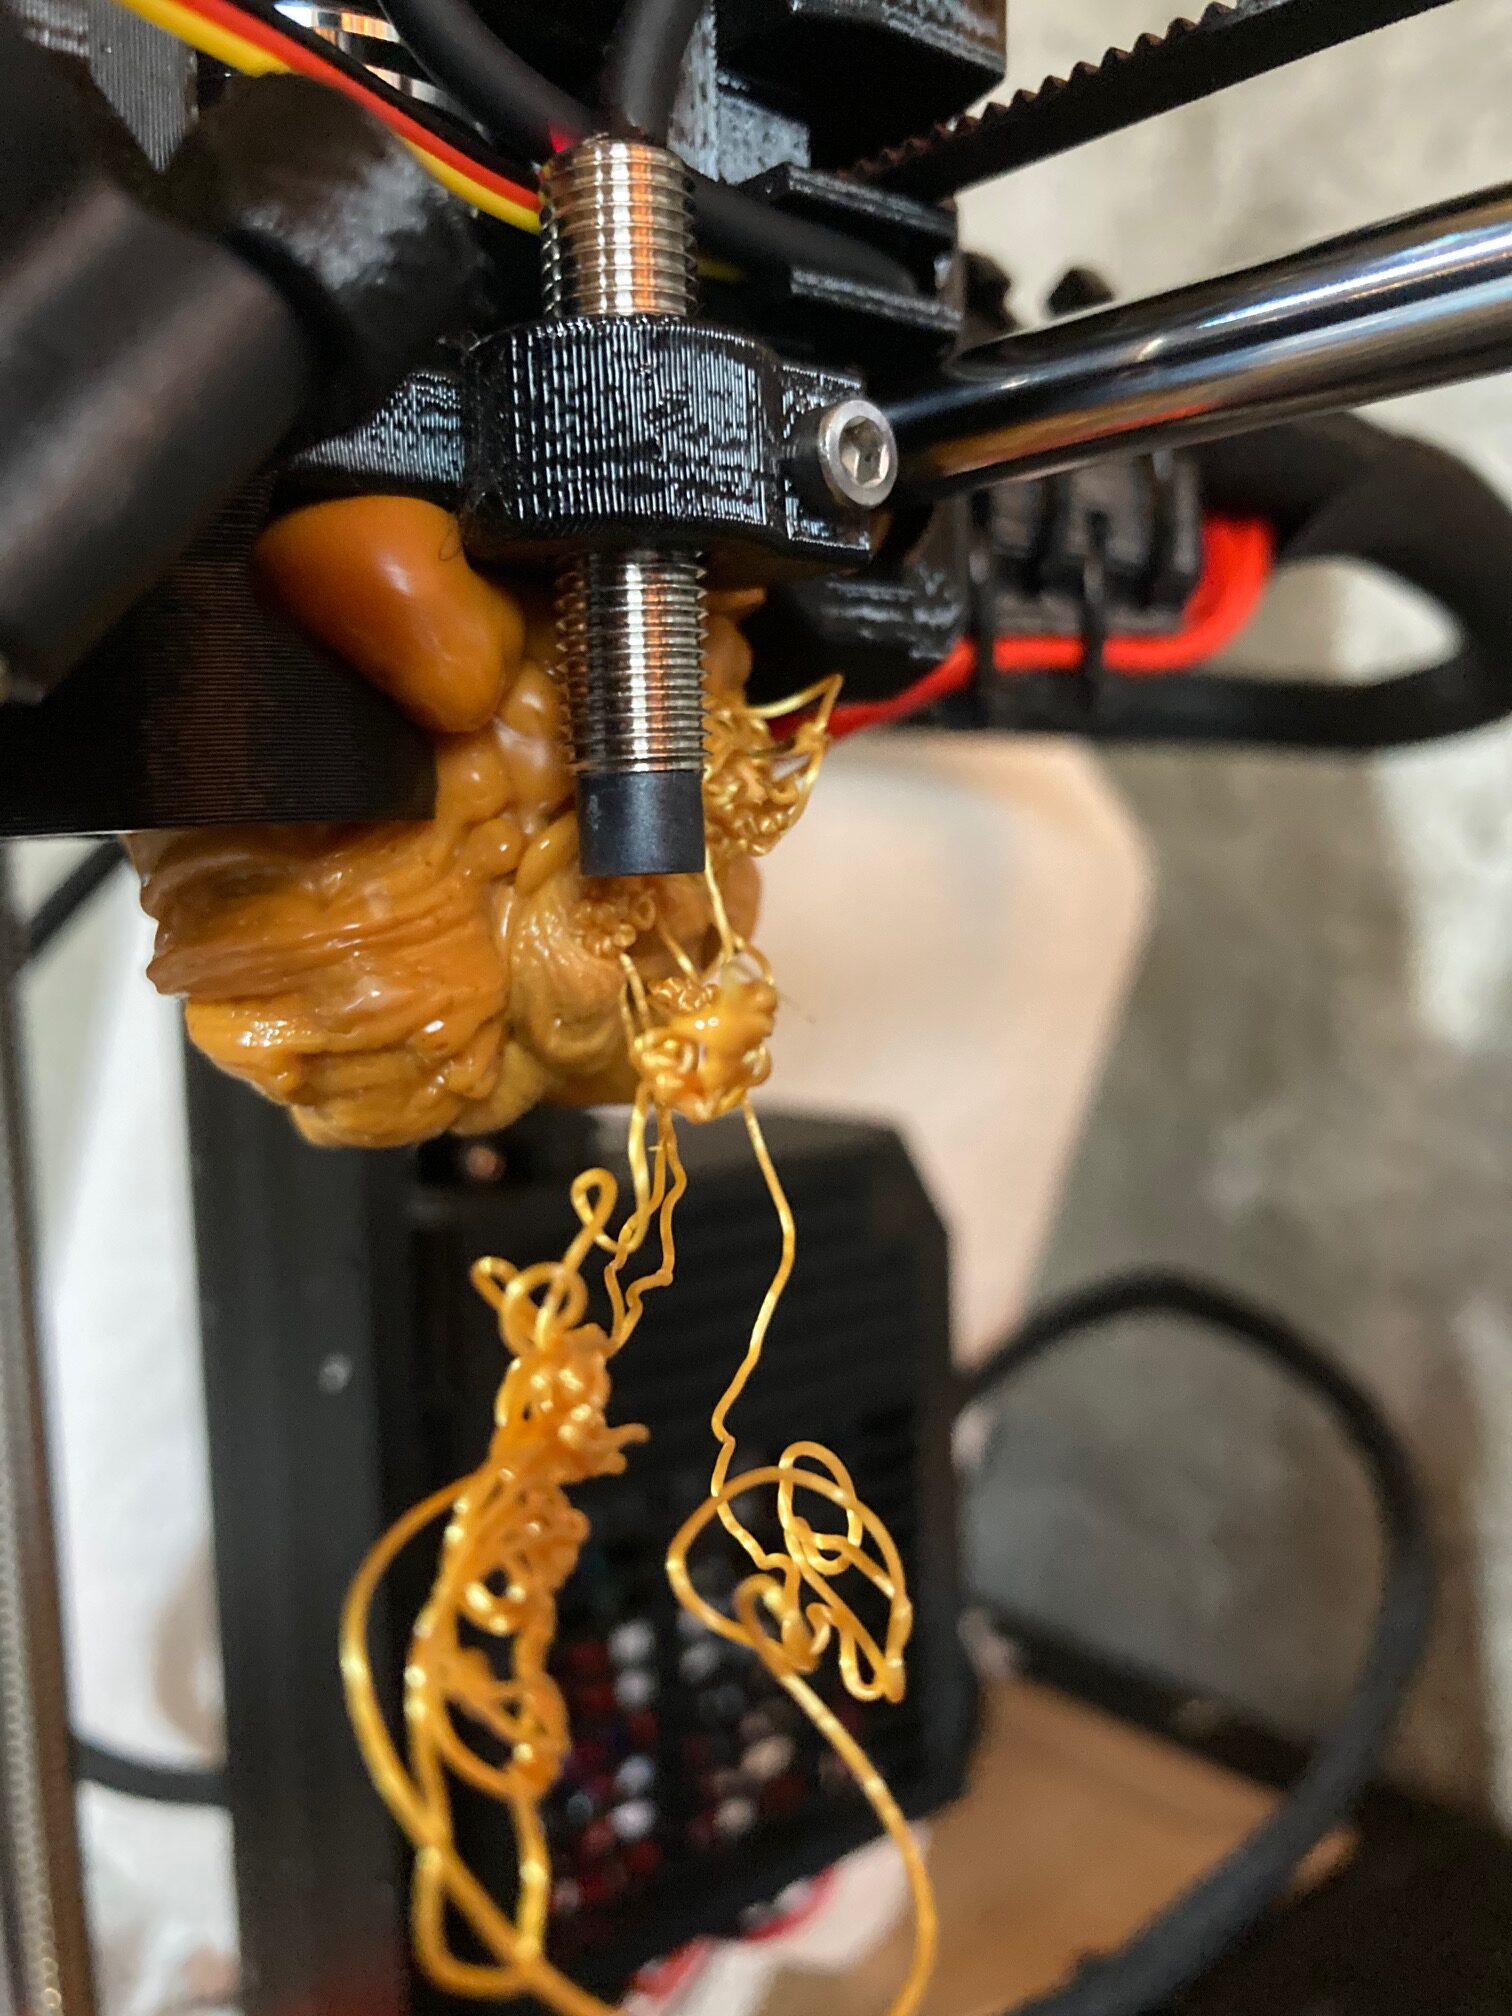
I left my print running while I was out and came home to this (!) I believe that there was an issue with the print adhering to the build plate (or to excessive filament blobbing - its hard for me to tell ).
My question is: what can I do to remove the casing of melted filament from the extruder head ? Do I need to replace the extruder ? Does anyone have any thoughts as to what could have caused this (possible Z-adjustment required ?).
I have been having so much fun with this printer - I am hopeful this is something I can just fix at home.
Thank you!!!

4 Prusa Core One + (formerly MK4S w/ MMU3, MK4 / MMU3, MK3S+/MMU2, MINI+), Octoprint, ASA, PETG, PVB, (some) PLA.
Not so bad. Go slowly.
I'm going to assume (hope) it is PLA. Here's what to do - and DO NOT START PRYING ON IT.
In the control panel, turn on pre-heat, set to one filament range above what you were printing. So if your blob is PLA, preheat to PETG. Let it get fully heated up to temp (230, 240ish). Now, depress the knob for a few seconds and Z adjust will appear. Get the extruder body up to around 150.
Let it work - the blob will start to drip off. You can start pulling molten material away - but be careful of over-doing it - you do not want to break the wires on the print block - they are quite delicate. Let the dripping and picking (with needle nose or a pick if you have it) continue and coax the most of it slowly away from the extruder . The more patient you are, the more will just self-eject. When the majority of the blob is gone, start clearing the fan shroud - if it is a loss, get another one. Even a cracked one is enough to print another one if you are equipped to print ASA or ABS - but worry about a new shroud later.
You should be able to clear/pick clean most of what you see, if not all of it.
Non-conducting tools
It is best to use non-conducting tools so that you don't accidently short the heater. It is possible to damage the power supply if you do. Wood works pretty well and some folks use cardboard.
Jerry
Got it - and I learned something, too!
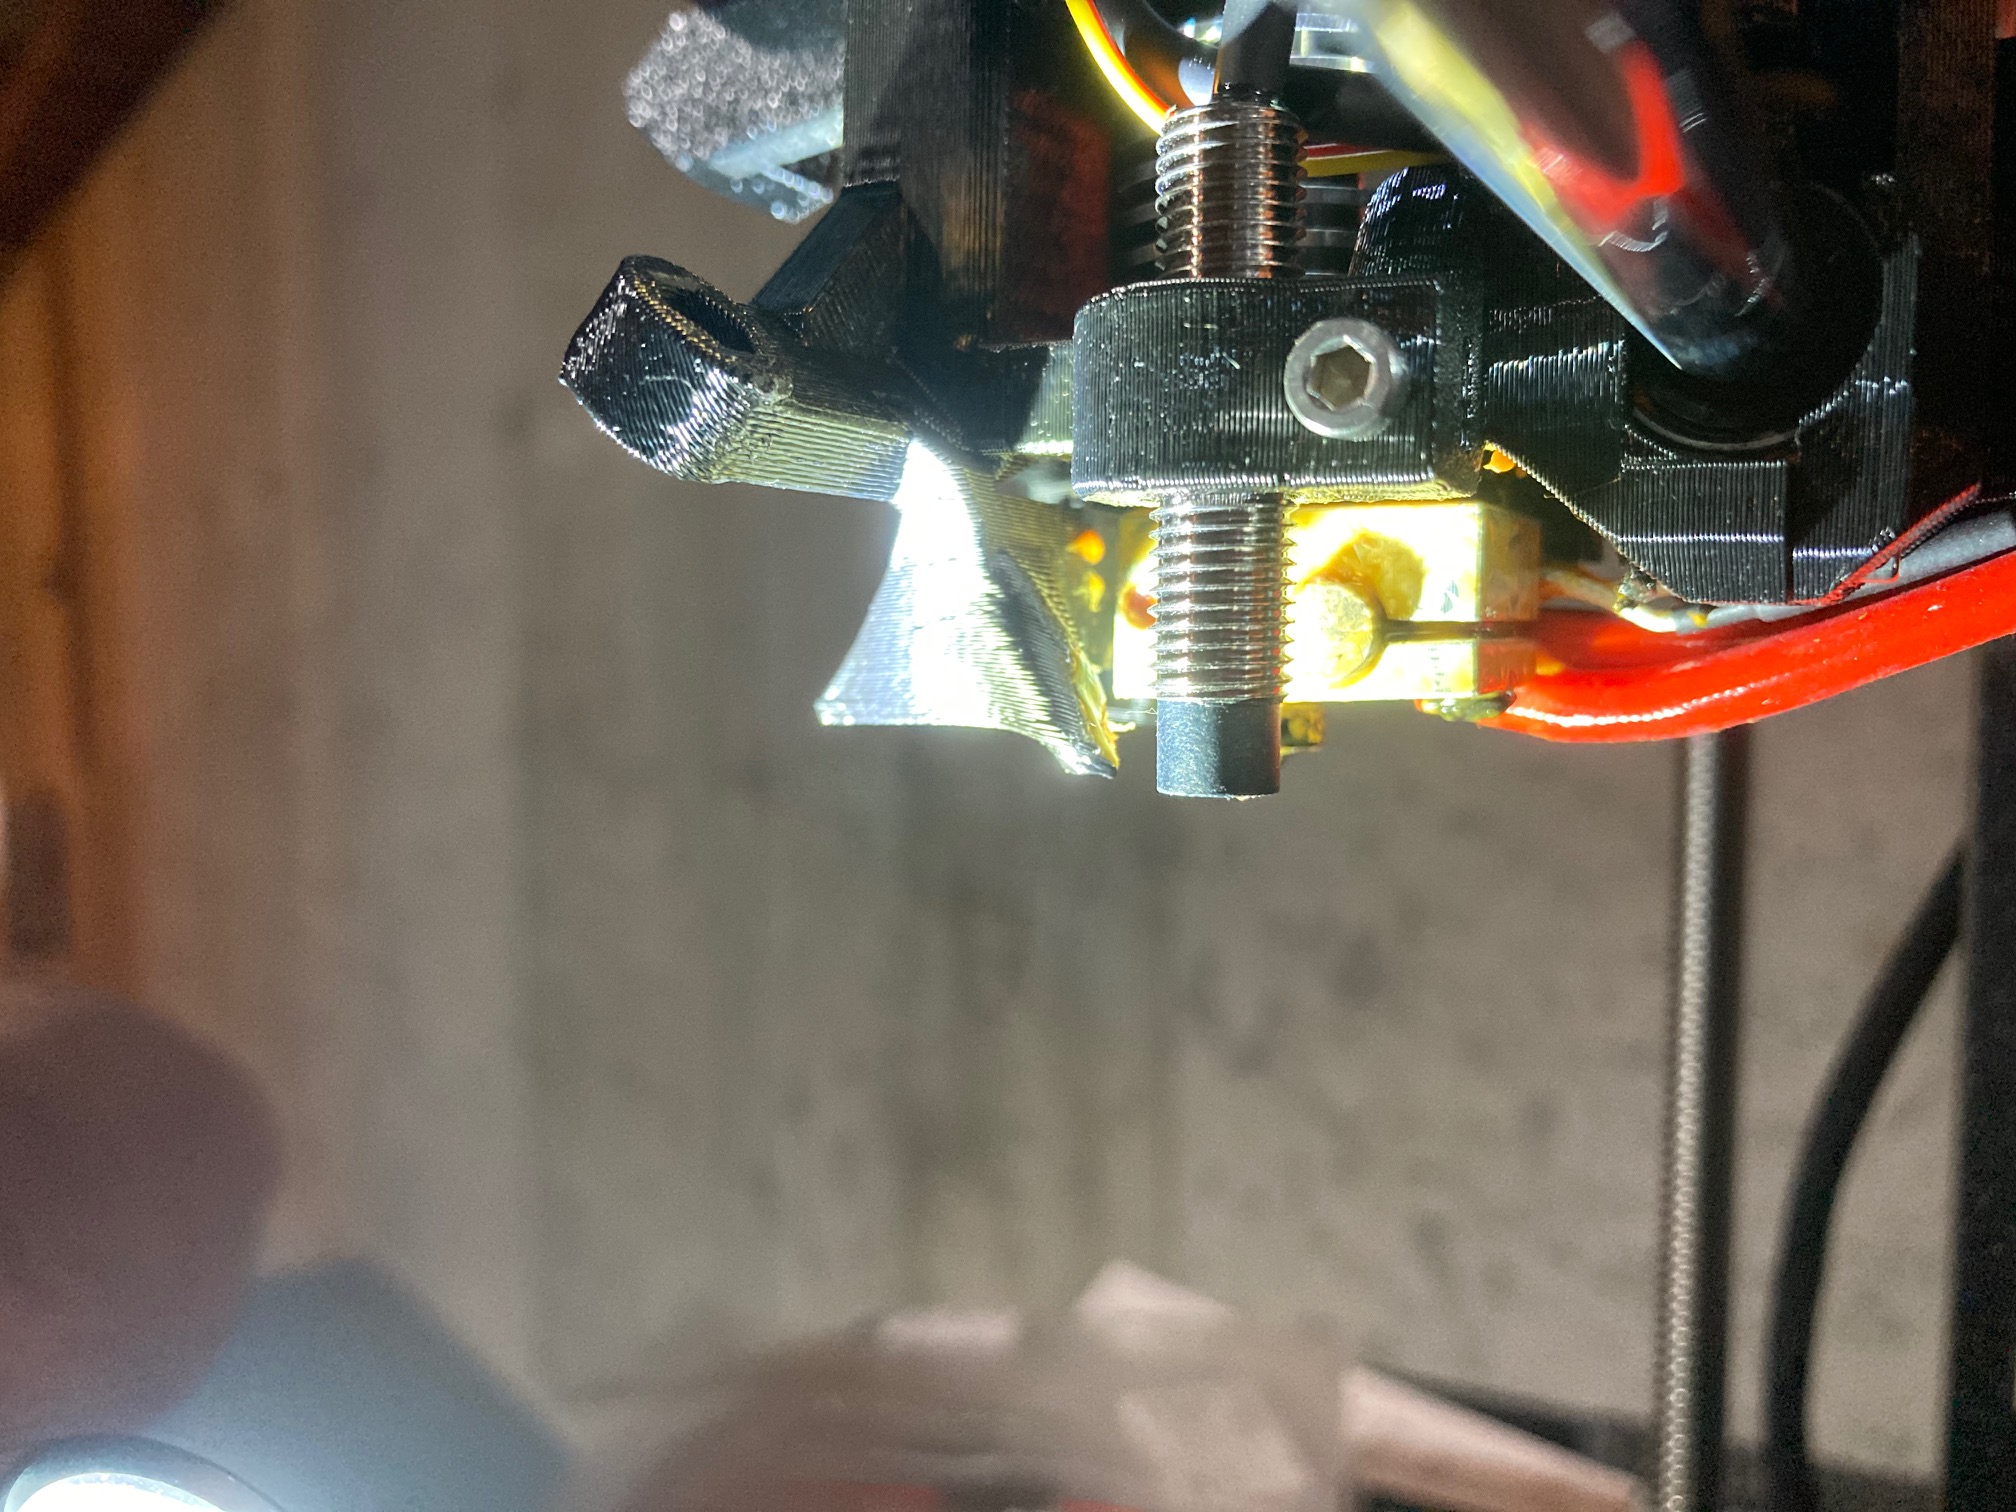
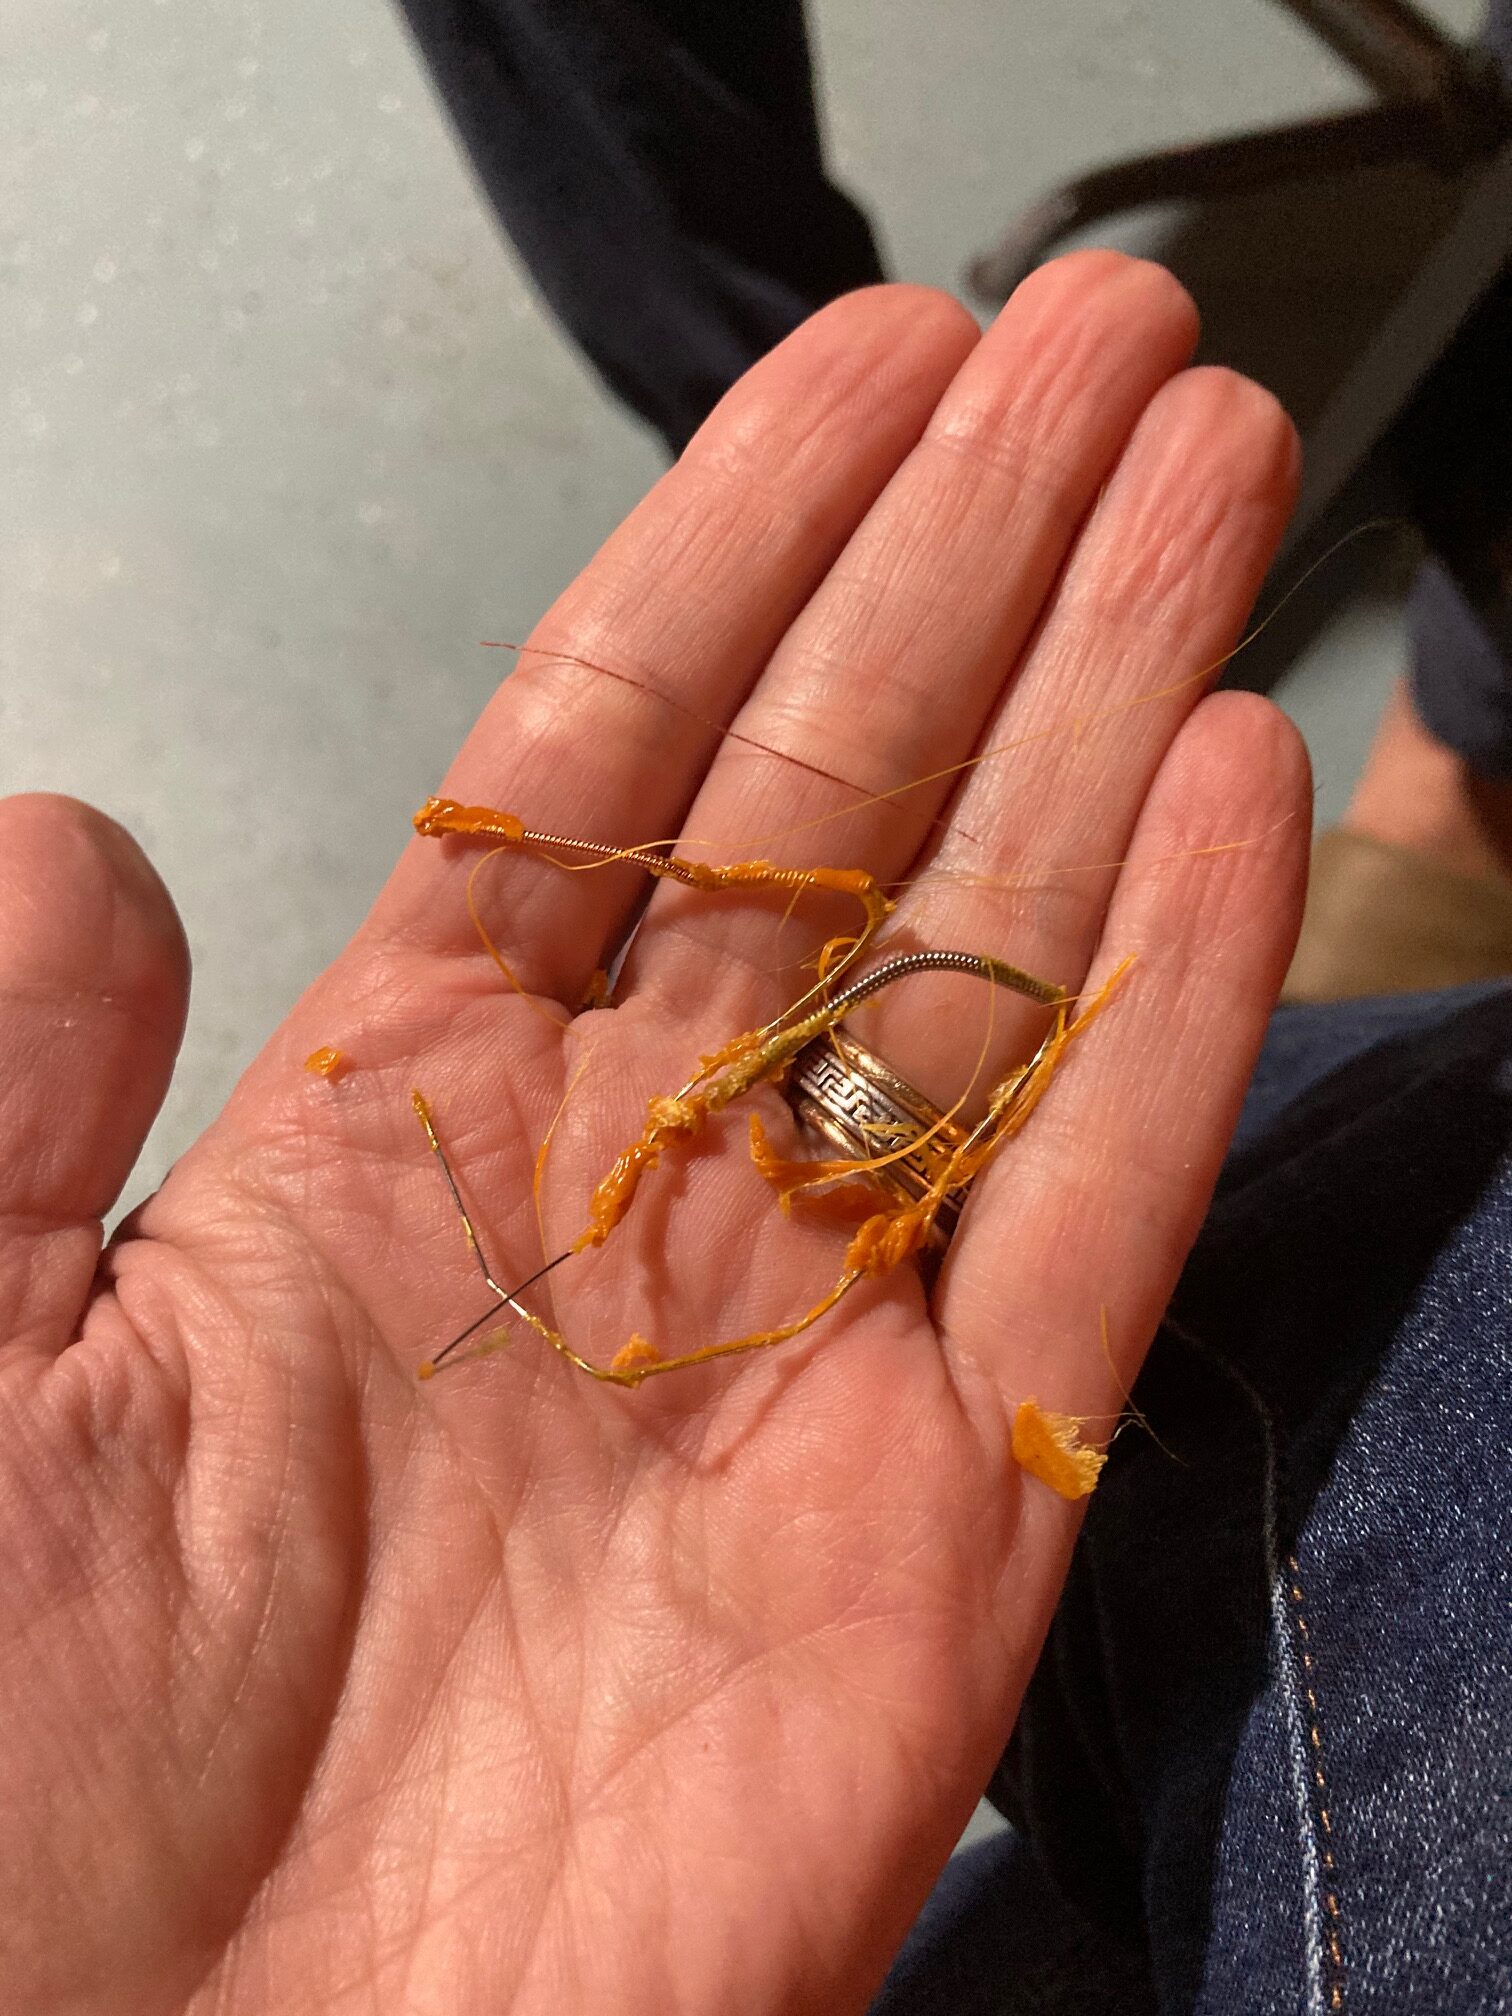
Thank you Dan and JW - finally managed to get it off!
@jwvaughn - I saw your advice about non-conducting tools only after I had got most of the filament off: I agree, this would have been the better approach to what I did use (needlenose pliers and some extra thin extruder cleanerwires). I got lucky and did not have a problem, but if it happens again in the future, I will try toothpicks / chopstick.
@dan-rogers - I was concerned about raising the temperature too high, especially given that the fans no longer had meaningful access to the extruder at all. With my previous printer, the Creality Ender2, it is possible to induce thermal runaway at temps above 230 even with the fans fully operational (my experience - YMMV).
So what did I do ?
1) Raised the extruder z to 150mm
2) Pre-heated as for PLA
3) Used heat gun (far away! low temps!) and directed it at the bulk of the blob
4) Let blob drip off
5) Gently helped blob along , first with needle nose pliers (a chopstick would have been fine, too), then with the thin wire to clear off excess. As @jwvaughn pointed out - using the unshielded wire probably introduced a risk of shorting the heater if it wound up in the wrong spot. Kids at home - use a toothpick!
6) Cooled down extruder
7) Finished off with an IPA wipedown of any excess
8) Re-ran the calibration wizard sequence, and set the z-layer height
Dan, I did get a slight crack in the fan shroud: not enough to make it unusable. I will look into printing another one, which is the wonderful thing about these printers: you can use them to make replacement parts!
As a side note: I think that the root cause was fingerprints on the build plate interfering with the first layer adhesion. I washed the plate with soapy water, and baked it out at 80 degrees, and now (I hope) I'm good to go.
Thank you folks!


4 Prusa Core One + (formerly MK4S w/ MMU3, MK4 / MMU3, MK3S+/MMU2, MINI+), Octoprint, ASA, PETG, PVB, (some) PLA.
Update - first layer adhering like a champ!
Note to self: a clean build plate is a successful build plate 🙂 🙂 🙂

4 Prusa Core One + (formerly MK4S w/ MMU3, MK4 / MMU3, MK3S+/MMU2, MINI+), Octoprint, ASA, PETG, PVB, (some) PLA.
RE: Been there, done that
Glad to hear you are back up and running.
A clean plate is the first step towards no blobs and your first layer is looking good!
jwv