Excessive (and seemingly deliberate) oozing on small print with islands
Hello everyone! I have had my MK3s+ printer for about 3 months and I'm really happy with it, but I'm at the point where I'm trying to tune in my settings to get nicer PETG models. I'm making bearing holders, and they need to be relatively smooth in order to work properly. My problem is that I have always had super excessive oozing and stringing on smaller models with islands. I can also see my extruder deliberately moving into the center of my model to make an ooze tower! I don't understand why it does this. I'm using Overture filament. I have tried low temperatures 230C to high temperatures 250C and it still oozes. I have moved the retraction setting all the way up to the maximum recommended value of 2mm and it still excessively strings and oozes. I have enabled all of the quality settings under layers and perimeters using a max detour length of 300%. I've increased the travel speed to 200 mm/s, and I have increased the retraction speed to 45mm/s. All of this and with no impact on stringing and oozing. At this point, I'm at a loss on how to improve, and I want to see if there are others on the forum who can help.
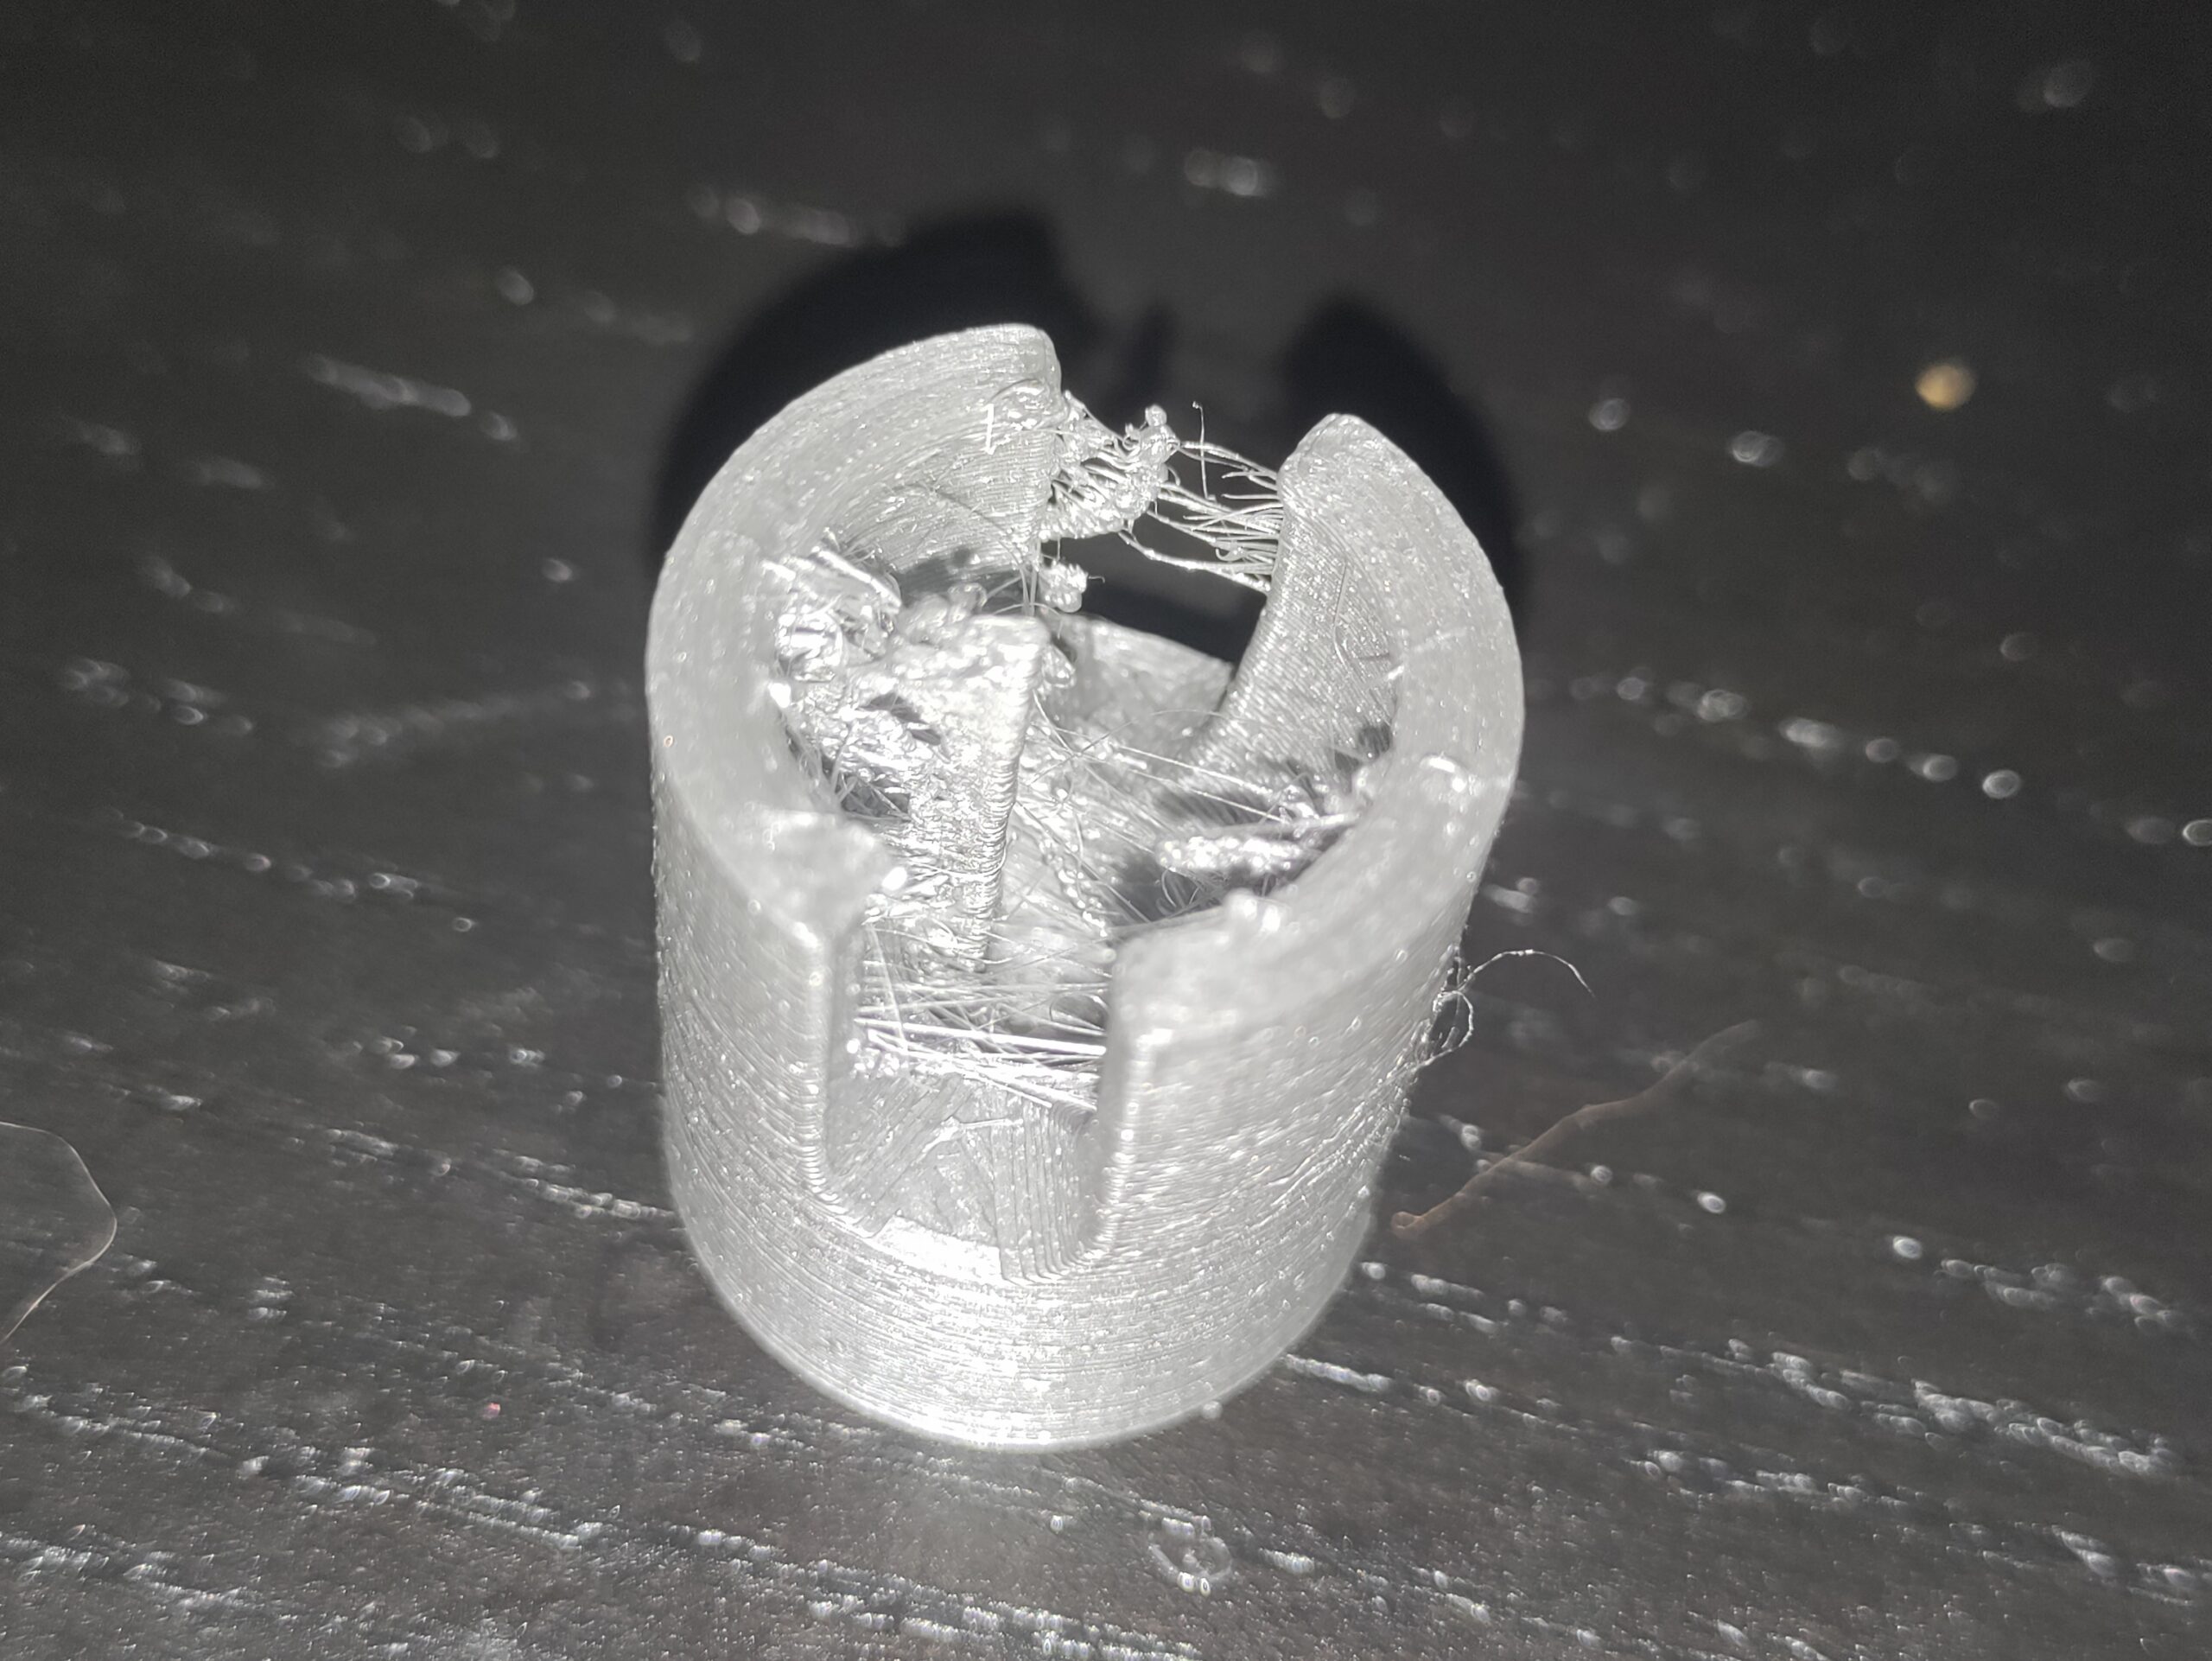
Below is an image of one of my bearing holders. The printer's deliberate "ooze tower" is in the center-left of the model. any help would be greatly appreciated.
Upload your zipped saved post-slice prusa slicer file
Slice your model, then file/save your slicer project. It will create a file with a .3mf extension. Go to file explorer, right click on that file and send to compressed folder. It will create a .zip file with the same base name as your .3mf file. Upload that zipped file using the add file button that is underneath of the text entry box for your next message.
Looks to be a relatively simple item. Show a picture of the bottom layer of that print (that's way more interesting in diagnosing this type of issue). Also have you ever changed your nozzle? That is just a question to help with eliminating possibilities, and is not a suggestion.
Prusa Slicer zip file
Here is the zipped 3mf file.caster_holder
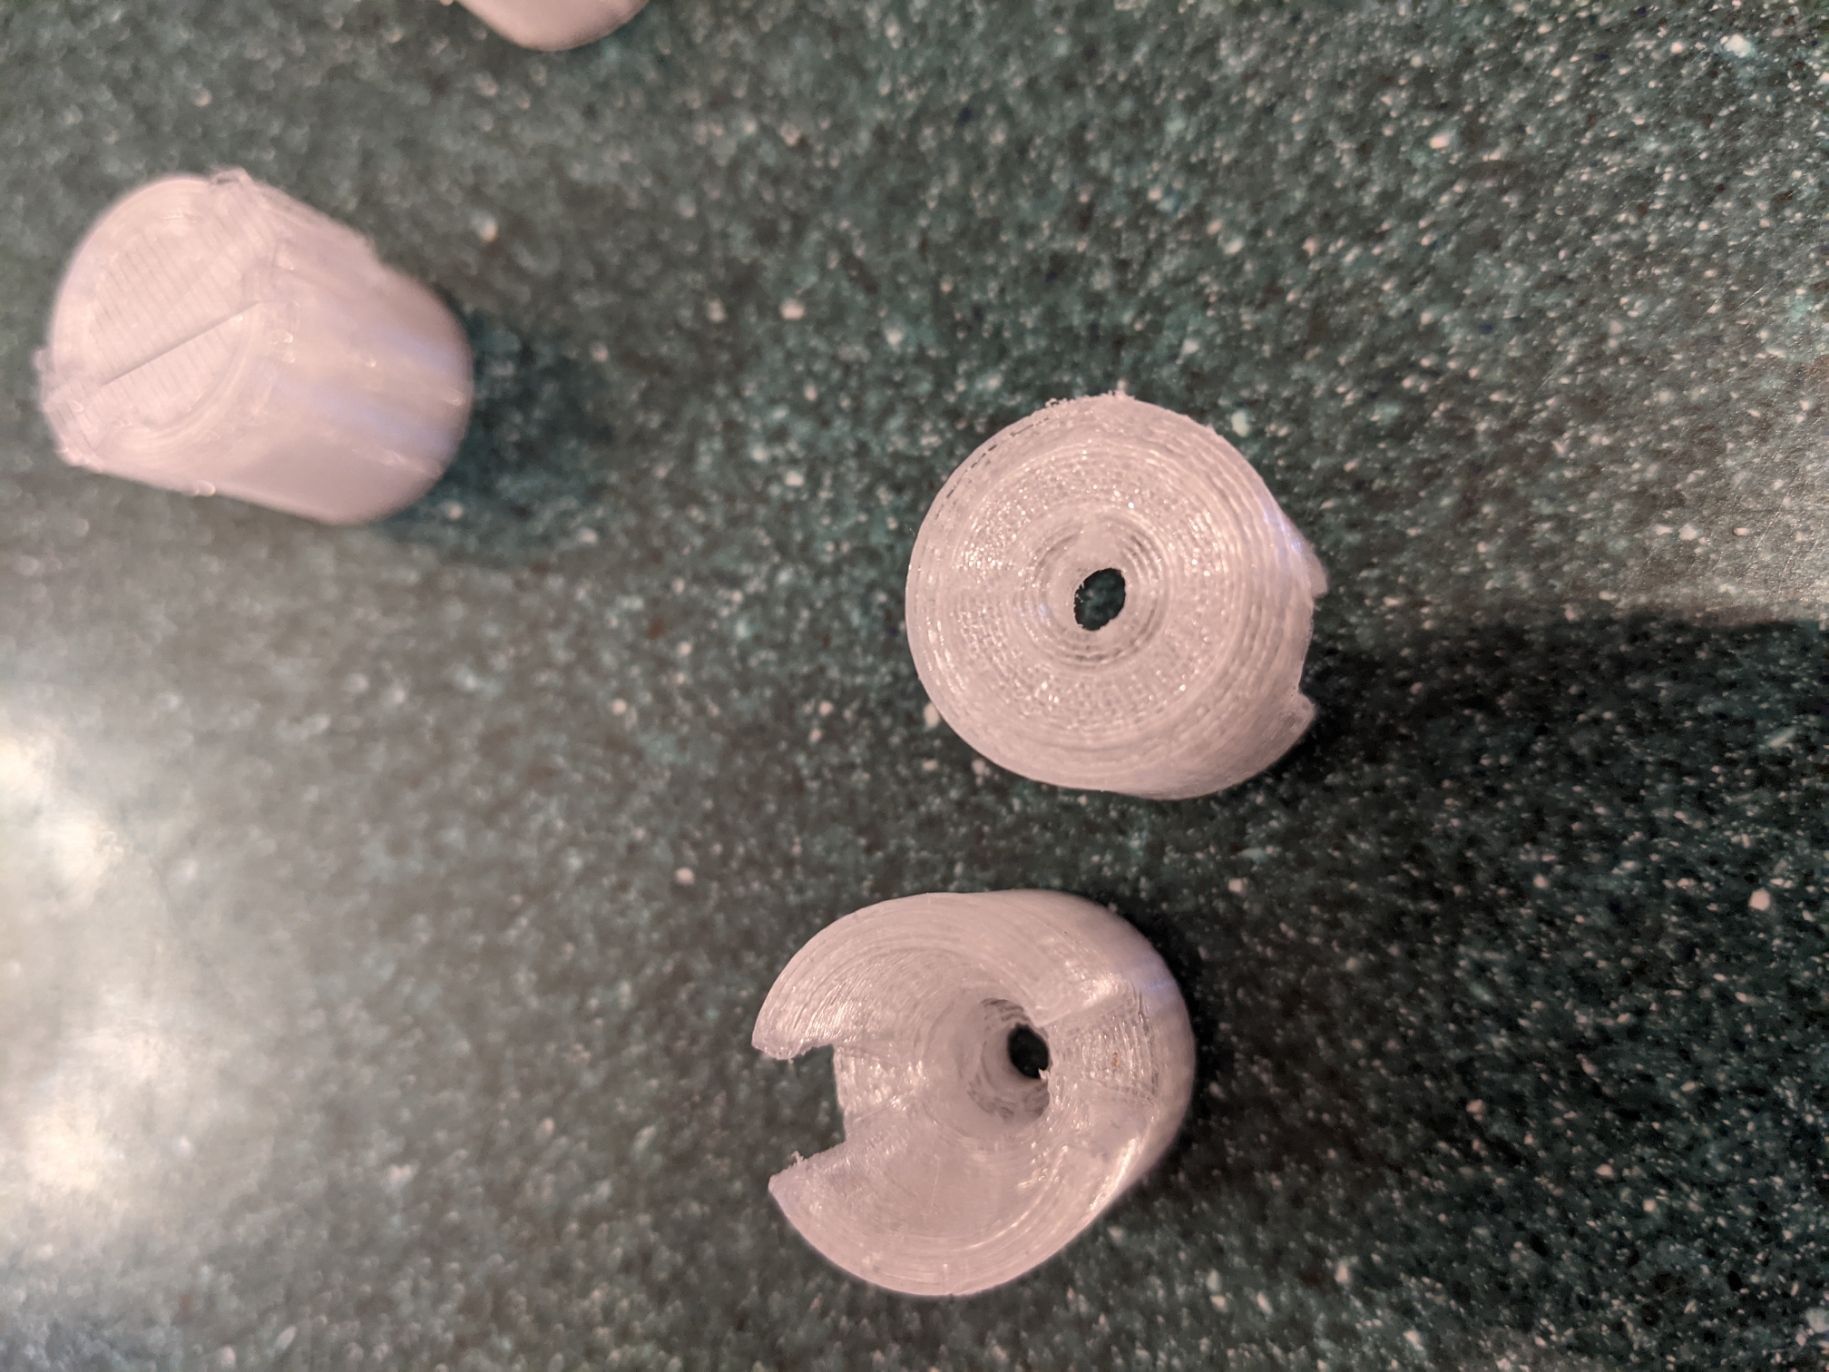
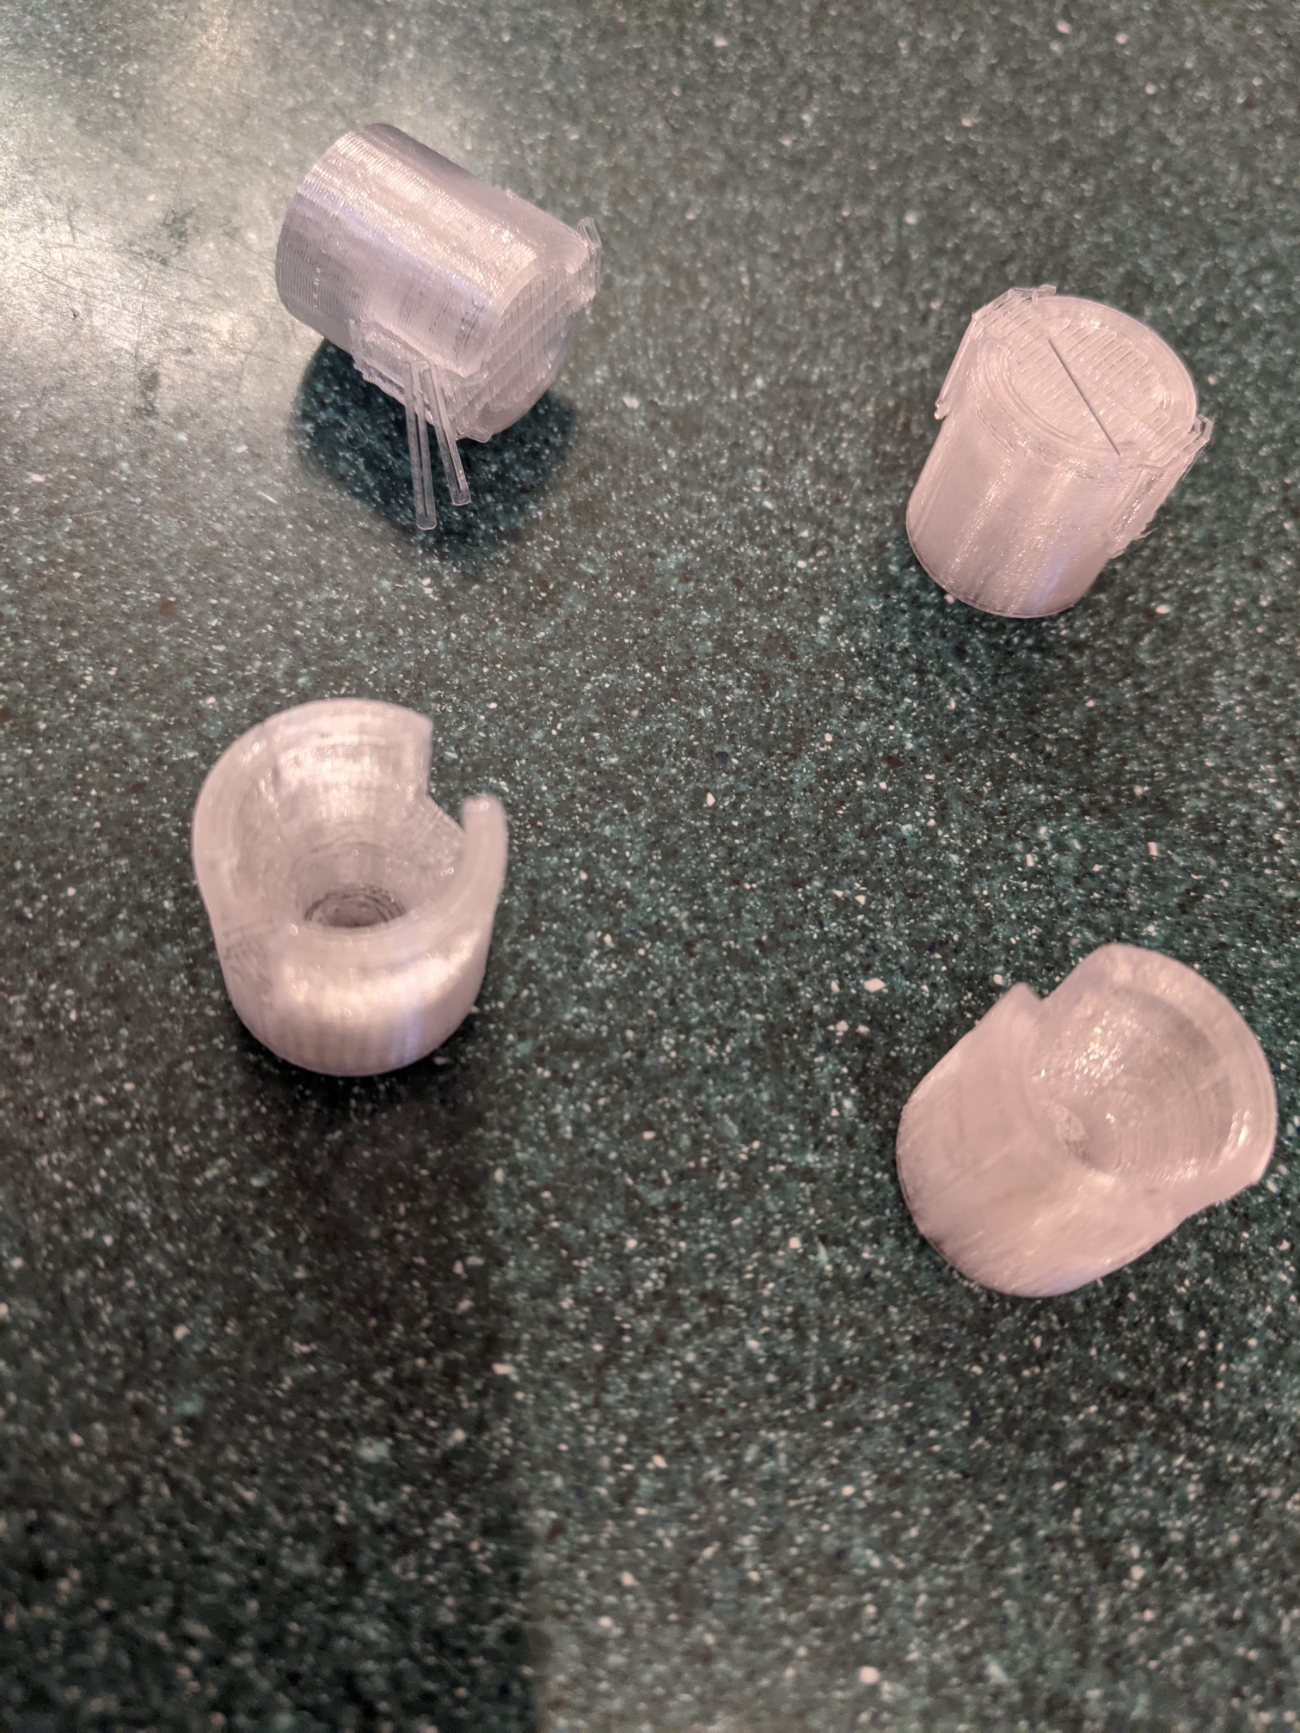
On my larger parts, there was relatively little ooze. I would usually just have to snip off a seam of ooze along an inside edge. Only when I started doing these smaller parts with islands did it get this bad.
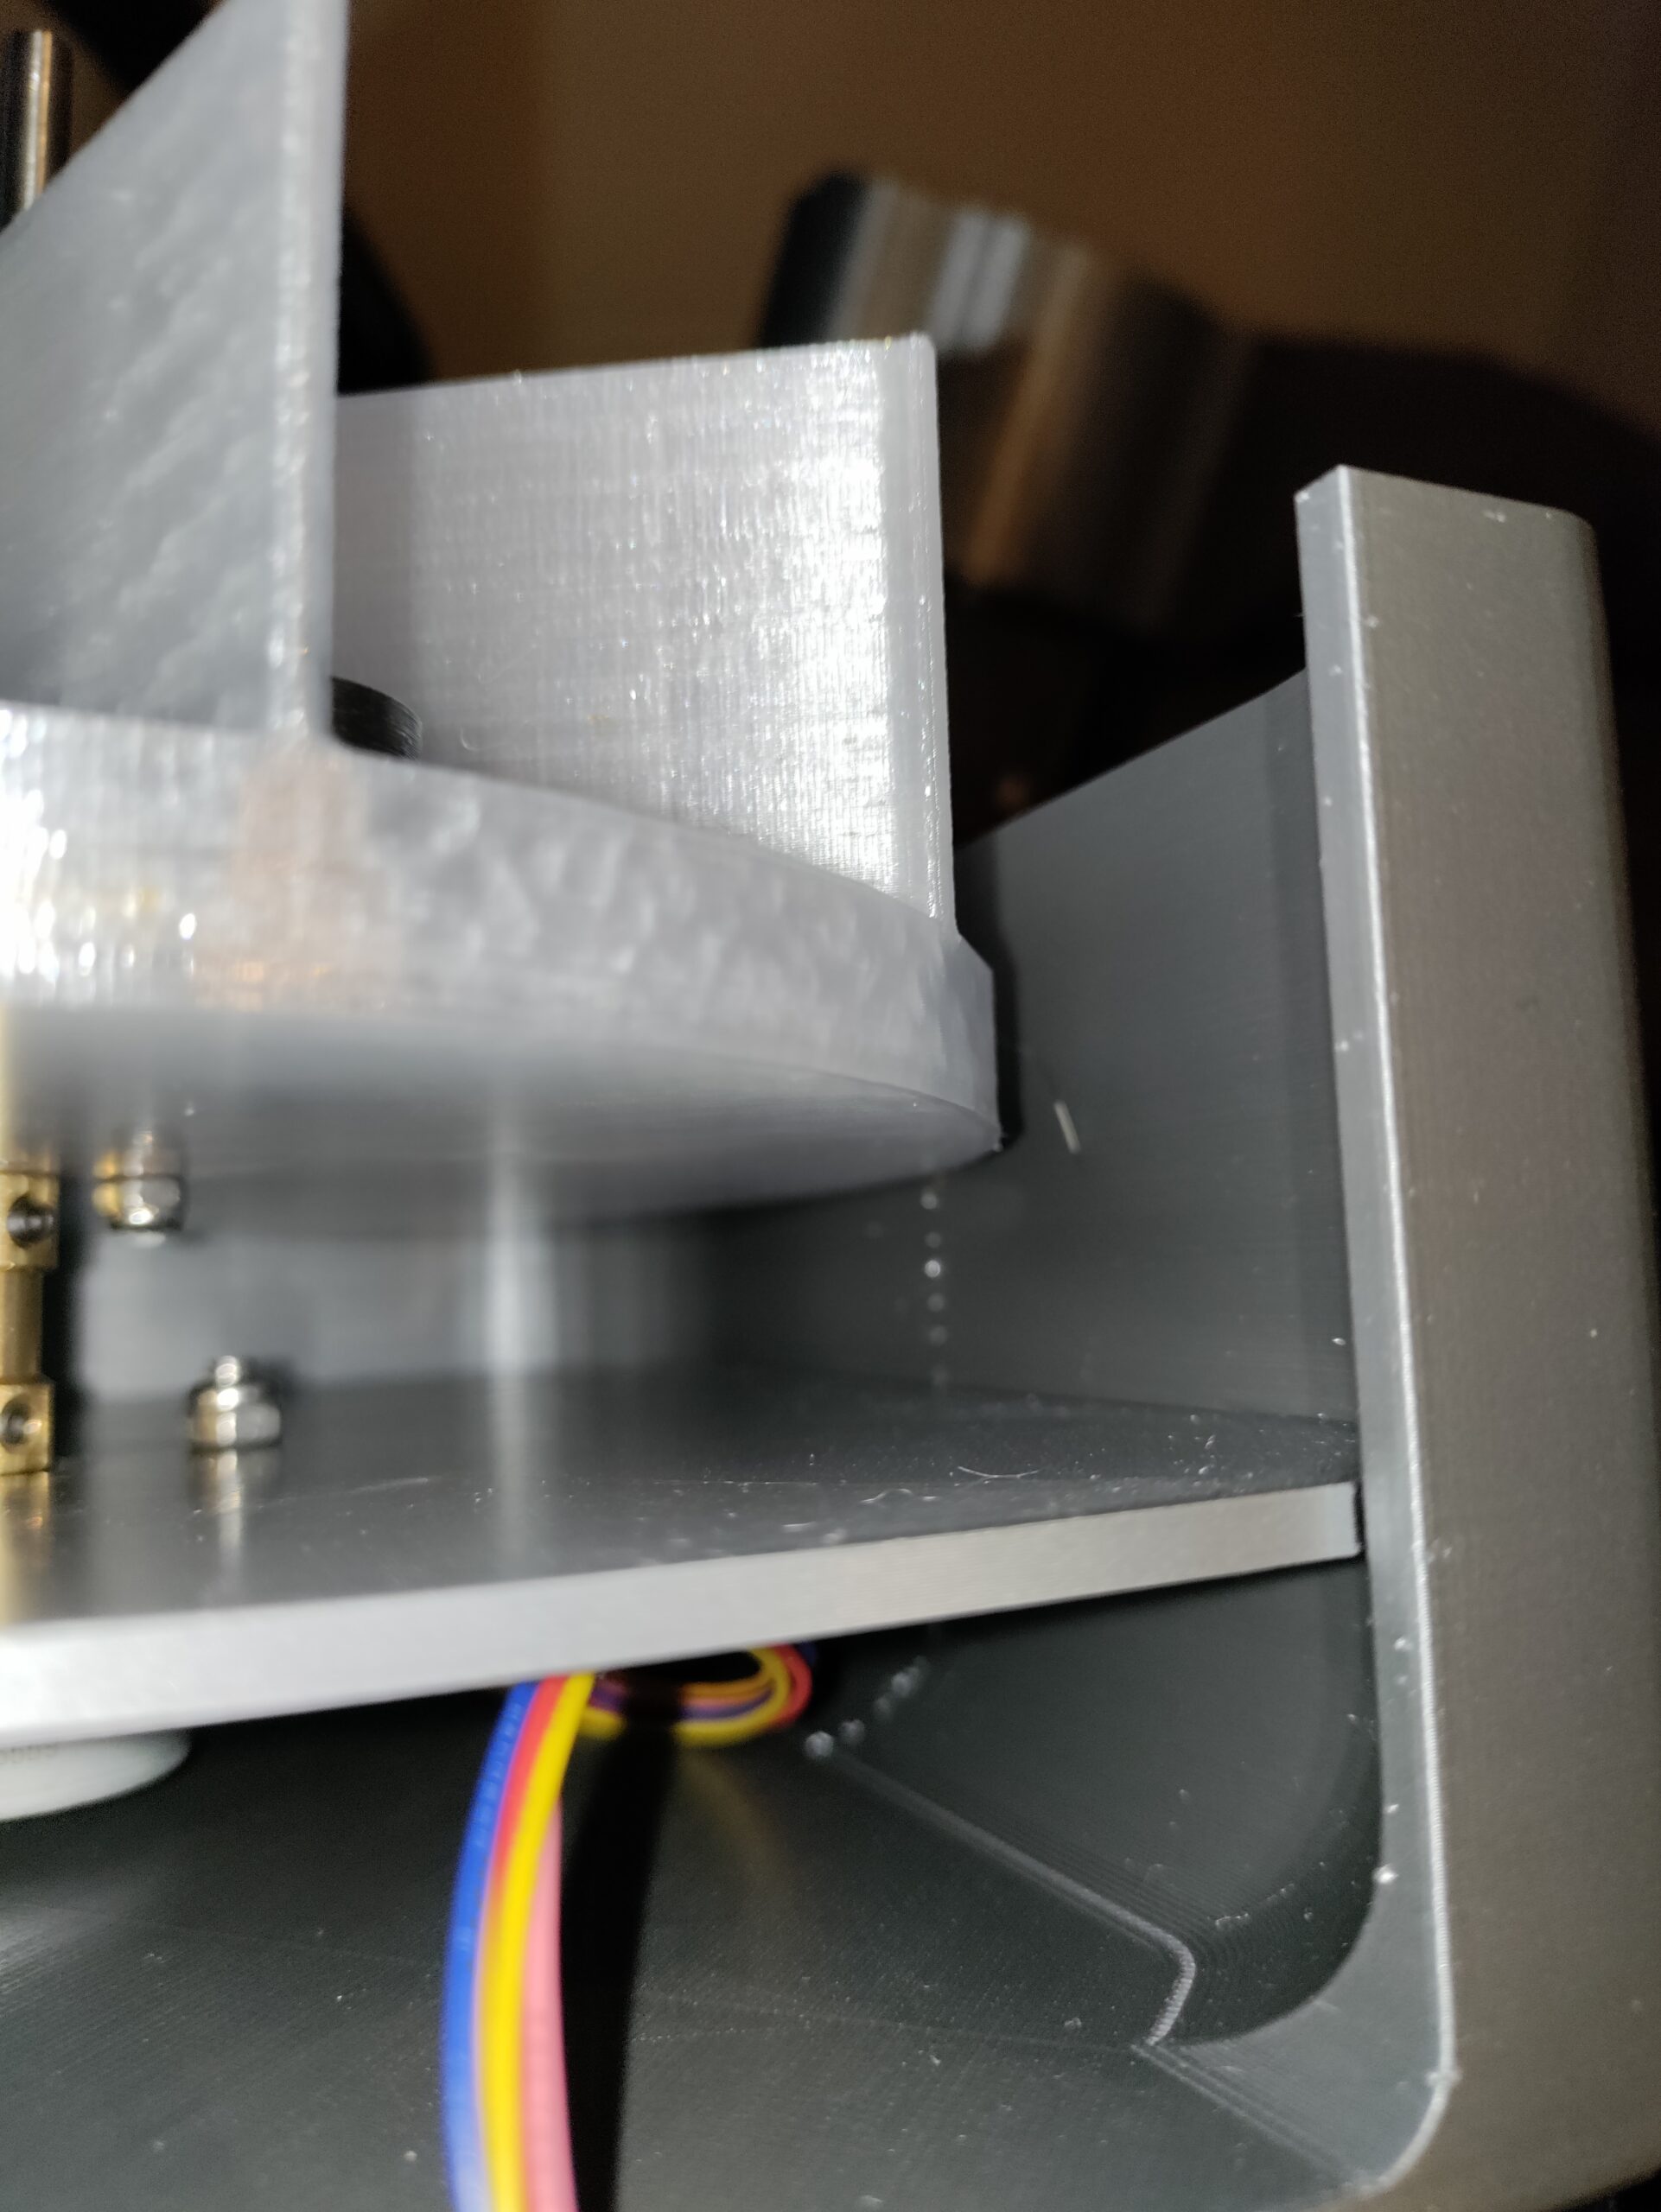
Here are some other parts with the same roll of PETG. Still a seam of ooze, but nothing this excessive. I'm assuming because they are larger parts without islands.
I have changed the nozzle (got a blob of death), but it was doing this with my early test benchys before I changed nozzles too. Also, those images above are very recent, and after I changed nozzles.
I'll work on getting you a picture of the bottom layer next.
Thanks for the help!
Bottom Layer
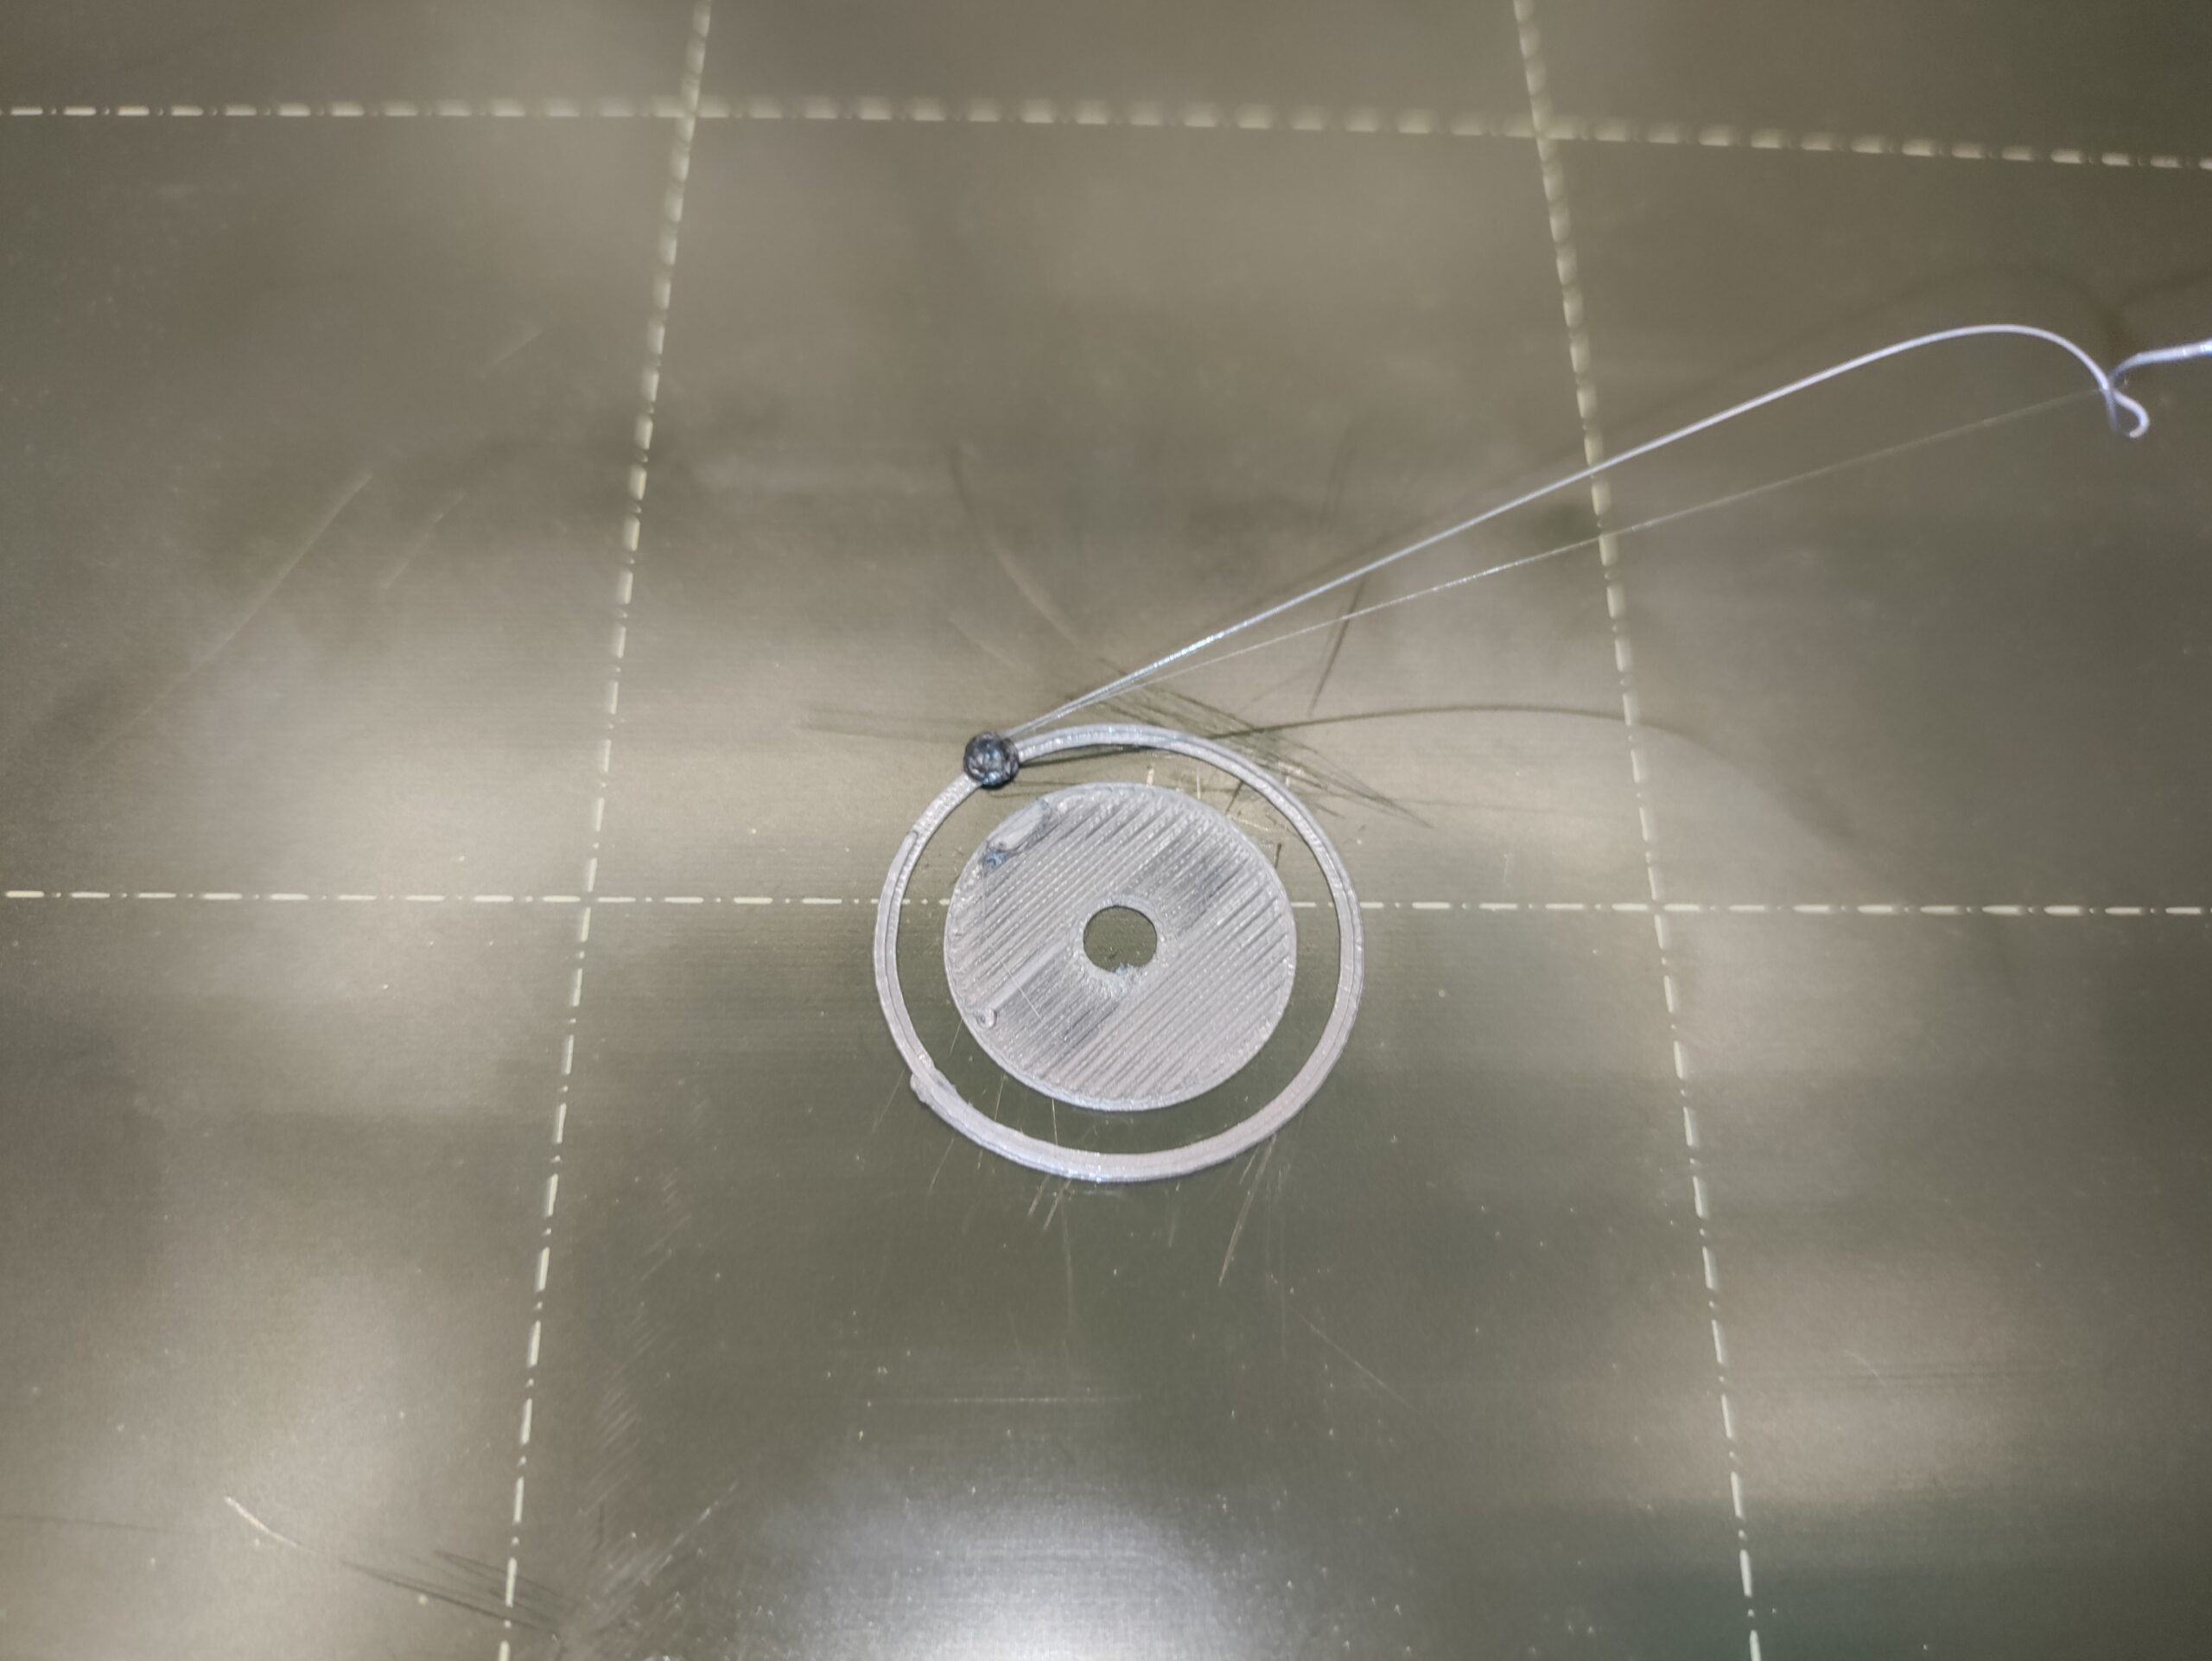
Here is the bottom layer of the print. The ball of filament on the brim is where I canceled the print.
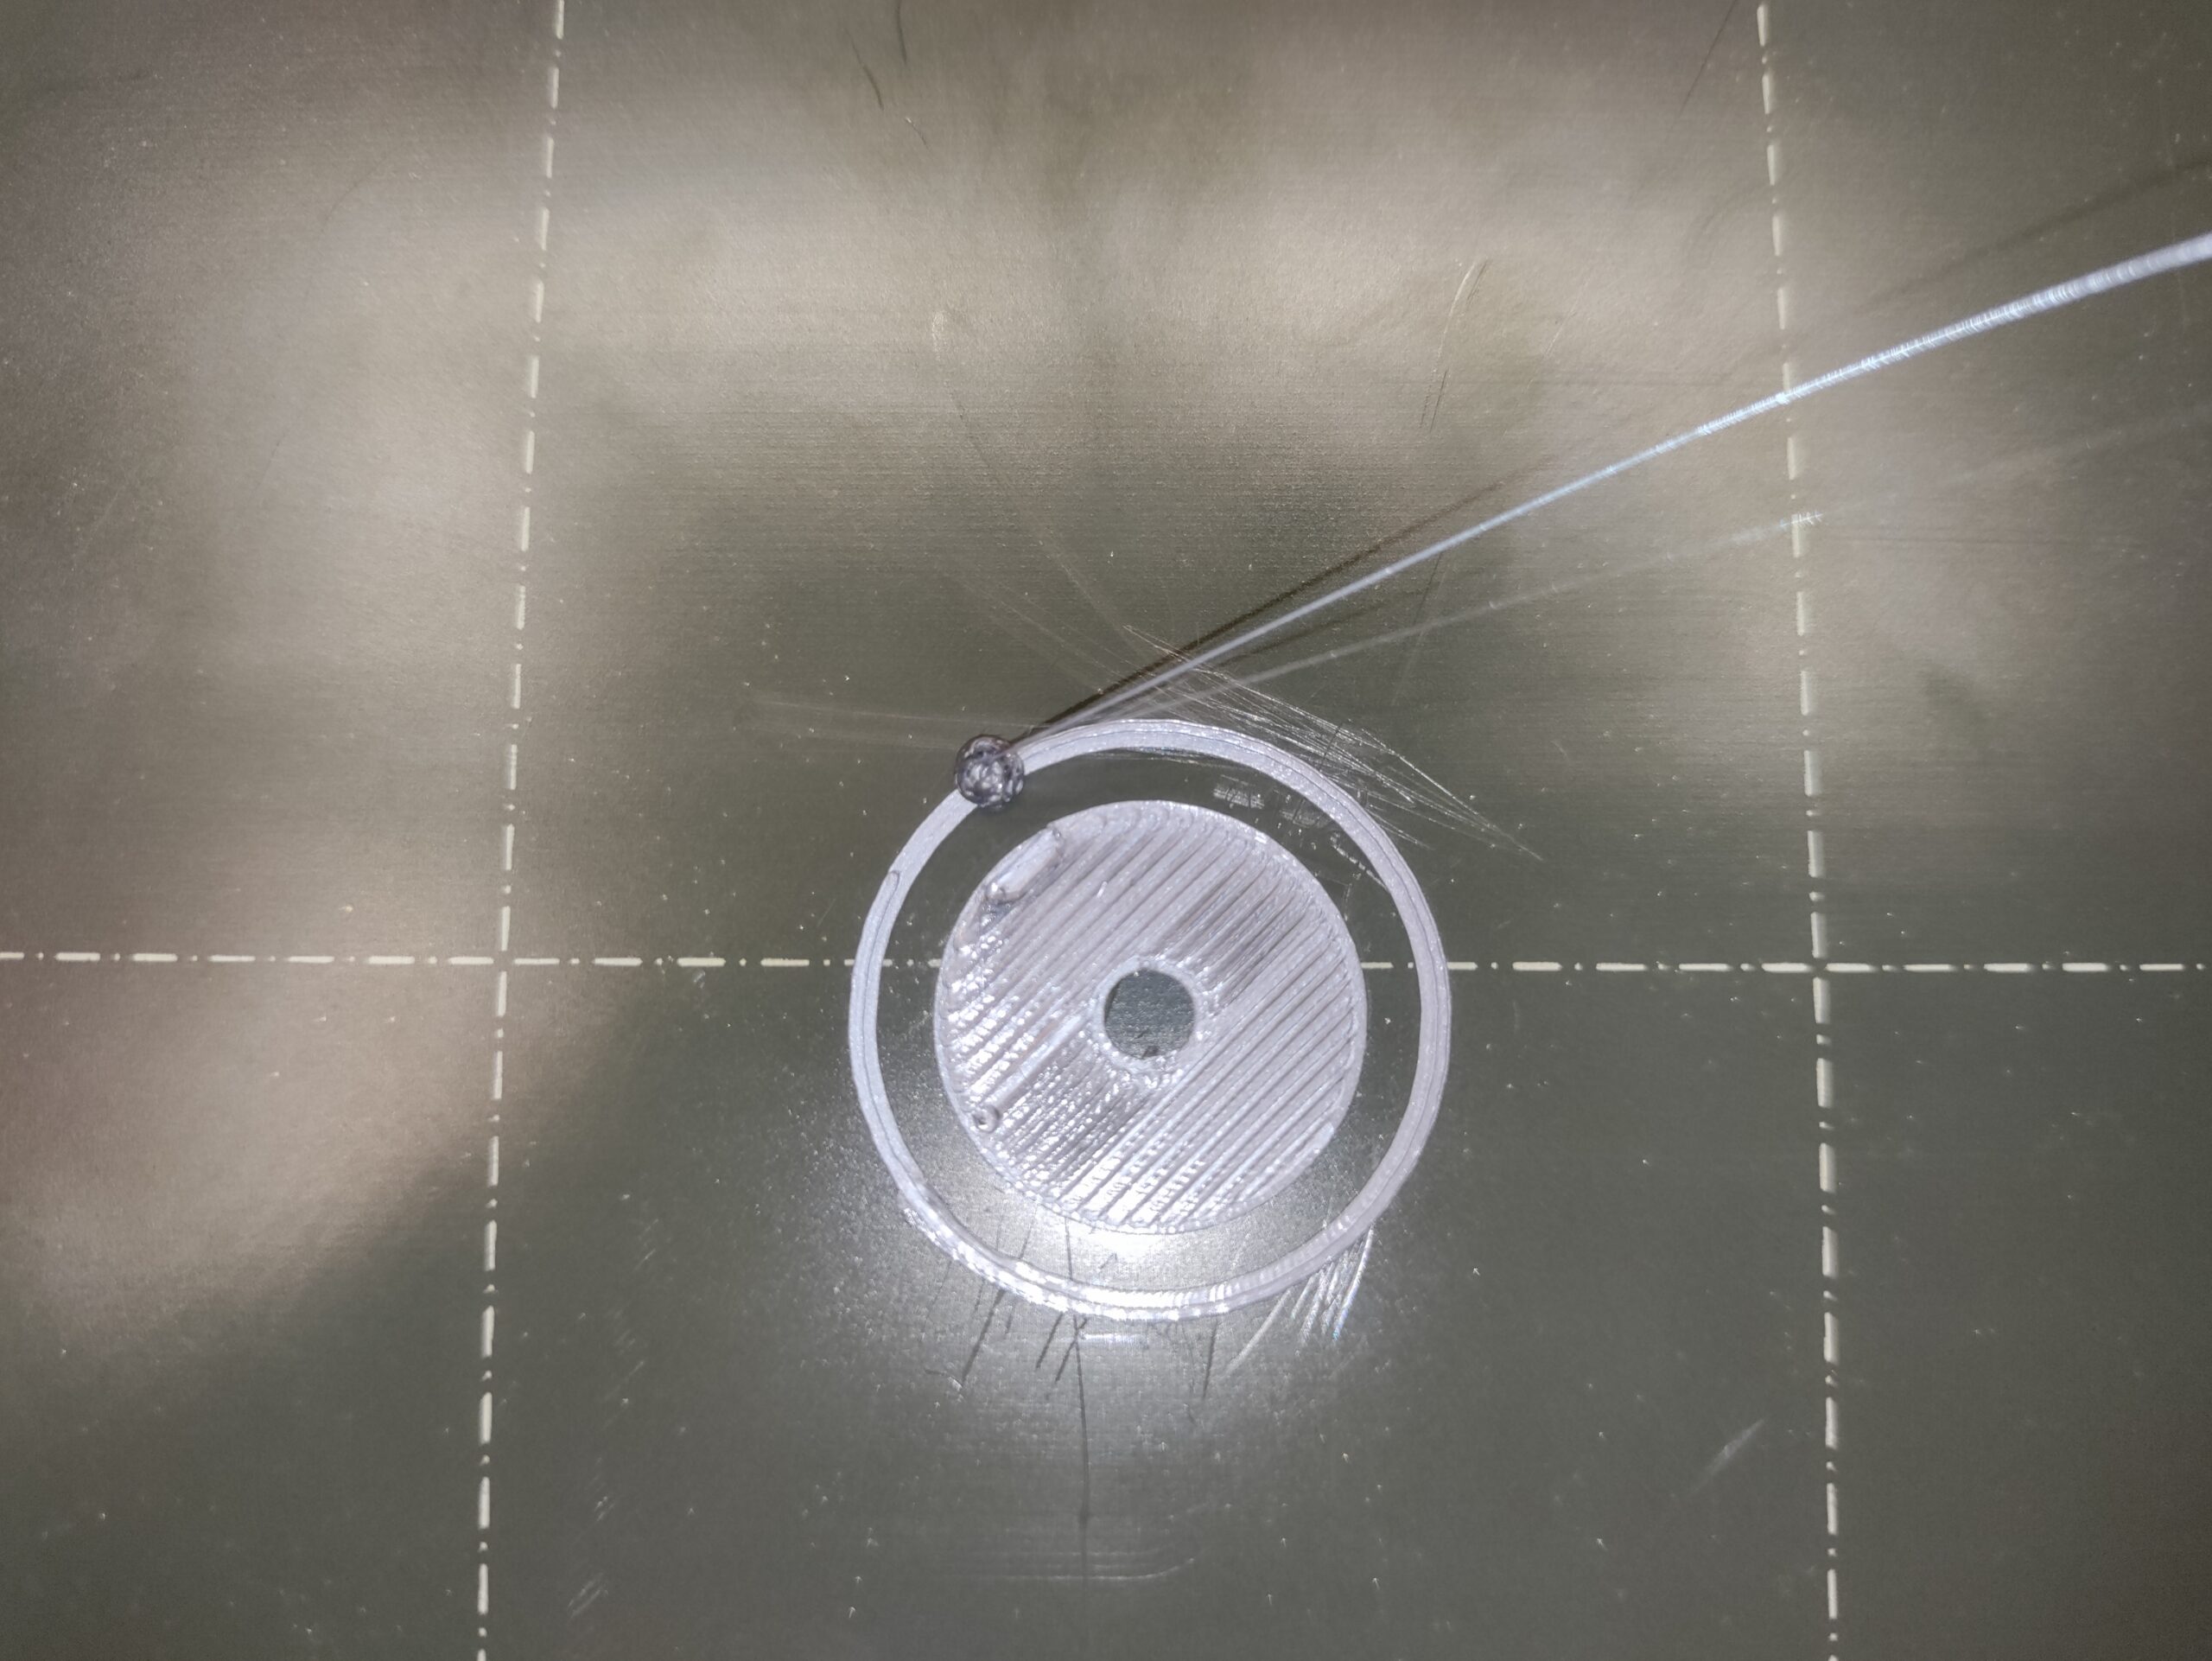
And there it is
Your first layer is not good. It is causing the oozing to grow on the nozzle. I'd recommend practicing getting a good first layer.
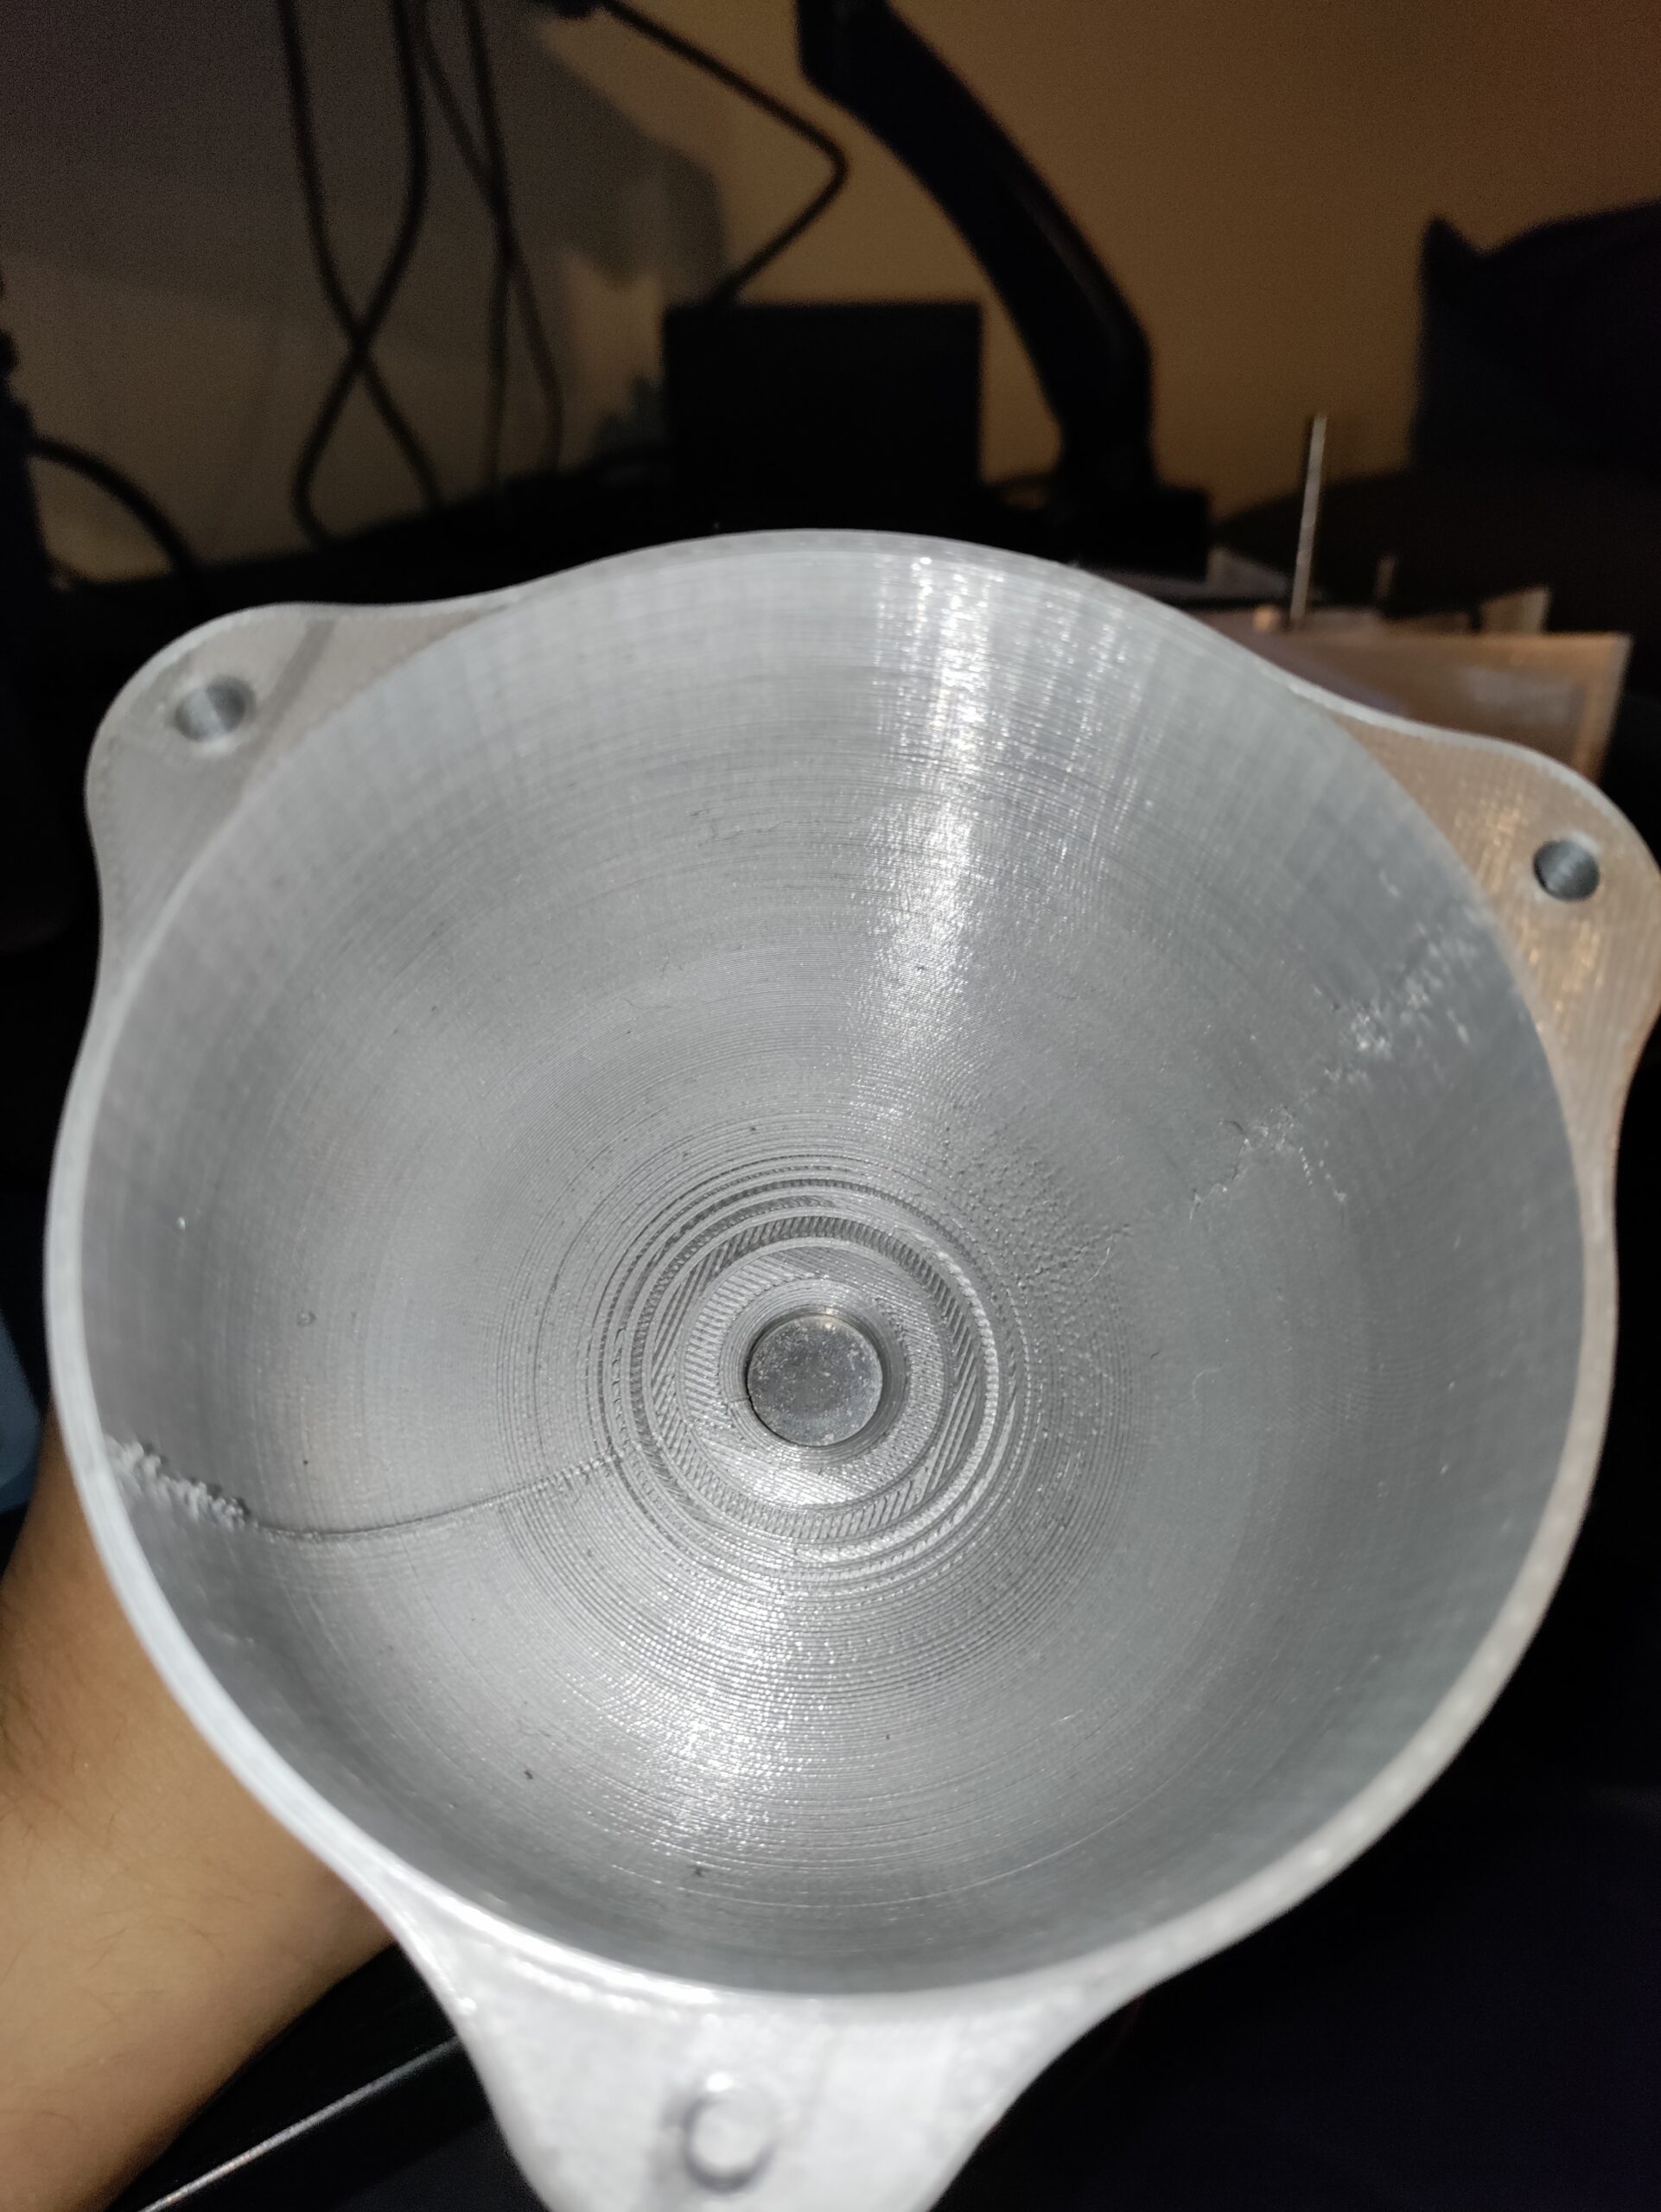
Oh, and that internal tube shot - that is your Z seam. It's normal.
That overhang is going to be nasty.
I would think you need internal supports to add that kind of overhang. But it is little, so maybe you can get away with it if your cooling is perfect. However, the size of that part will cause heat build up which will cause a lot of melting and deforming. Best advise is ditch the overhang (assuming you designed this part) and print 5 of them at a time on the bed. The 5 at a time suggestion is to manage the build up of heat in that small a space while being printed. It allows each part to cool between layers, which will improve your results.
Also, another heat problem from the .15mm layer height. Any reason a castor holder can't fit in .3mm draft and still be perfect?
Try this
Made some changes to your settings - trying to get it back on track to something a little closer to default (which will better than what you had).
Prints great with supports - but it is upside down in your original file (will make printing hard the way you had it oriented). I changed to .3 in this file - but that changes the dimensions to 17.9 mm 18.03mm using variable layer height At .15, the height is 18.05. At .2mm it is 18 mm. You will have to decide on what dimensions you want - and if you like the .15mm layer height (won't make the print stronger at that tiny layer height).
Looks pretty good
Trying this Now
I really appreciate you taking the time to investigate this problem. I'm trying out your suggestions/file now and I'll post the results here!
First Layer
You mentioned my first layer not being good. I tried printing the exact file you gave me and the first layer started peeling up. What would you recommend I do to fix the peeling on the first layer? should I apply some glue to the build plate? Should I increase the temperature of the extruder or bed? It sounds like from your post that I want to avoid oozing from the nozzle. So should I keep decreasing the extruder temperature until it no longer peels? I'm trying these out now to see what works, but I'm curious about what you suggest.
Thanks again for the help.
Lower your Z.
If your first layer is getting the curlies as it lays down the interface, it means your Z is too high. Go down 5 microns at a time till the curling stops.
Stop changing the profile defaults also
You're thinking like a Crealty user - everything isn't nozzle and bed temp. Your blobbing problems are nearly 100% first layer is not set correctly (assumes you did not change the nozzle ever).
RE: Lowering the Z
I'll give this a shot thanks. Also, side question, why did you decided to flip the model upside down to print them in the file you provided above? I printed them using your exact file and also printed them with the same settings standing upright and they both printed much better.
I should mention that I did need to replace the nozzle, but I used the same parts.
Also, I apologize for thinking like a Crealty user.
The overhang
I chose upside down to simplify the overhang at the top. Now, it is a tiny overhang, so it may not be critical - i didn't even try to print the overhang right side up. Upside down introduced the support conundrum - is it a better print with no supports is always an experiment.
@cdsupina
This is such a simple object to print at default settings. But for whatever reason you decided to change almost everything in slicer:
why 0.15 layer height?
why 1 perimeter?
why 90°C bed temperature for PLA?
why you changed (reduced) retraction?
why you reduced cooling?
etc. etc.
If this object doesn't print decent at default settings, then you should check your hotend and/or dry filament.
I think there's no need for this object to be printed upside down, because overhang is within extrusion width and should be no problem at default settings.
[Mini+] [MK3S+BEAR]