Bed level test result - help needed
Hey Prusa community!
I have received my new MK3S a couple of weeks ago and tried it out ~2 weeks ago. It was already pre-assembled. Ever since my first print I'm running into issues. I tried fixing it by doing first-layer-calibration, life-z-adjust but I cannot really make it work. Some prints work, some don't.
Today I printed the MK3S Toolholder and Mk3S SideBoxes without any issues. And now - without changing any settings - this is my Bed level test result (using the gcode provided here).
Please read from my hands print result 🙏. Would be great to get some guidance on these. Would love to setup my MMU unit as well. But wanted to make sure everything works perfectly before making the system even more complex.
Thanks a ton!
Christian
Best Answer by cweinberger:
Just wanted to give an update: my prints are coming out great now!
I started from scratch:
- factory reset the printer
- readjusted the SUPERPINDA probe
- re-did all calibrations from the wizard
- run first-layer-calibration using this model/approach
Apart from bed level prints I also did a couple of prints and was satisfied with all results so far 🤞
Thanks for your help!
Christian
RE: Bed level test result - help needed
Suggest enabling 7x7 bed mesh leveling in settings. The live-z may need to go closer, but get to 7x7 mesh leveling first
RE: Bed level test result - help needed
Hi Dan,
I was hoping that 7x7 bed leveling is something that's only needed when assembling the printer yourself and when you were inaccurate. Should I need that when having a pre-assembled printer?
Note: it's a MK3S+ not a MK3S
Thanks!
Christian
RE: Bed level test result - help needed
Think it depends on how flat your bed is.
It is not always a guarantee that the bed will be perfectly flat, even when factory built.
Some people have reported a .2mm difference in length of the spacer bushes.
There is a mod to flatten the bed completely using octoprint visualiser if you are so inclined.
Tank you very much!
RE: Bed level test result - help needed
Do you want to print a perfectly even bottom once you dial in live Z? 7x7 is what you want.
Or print smaller things in the middle of the bed - 3x3 is good for that.
RE: Bed level test result - help needed
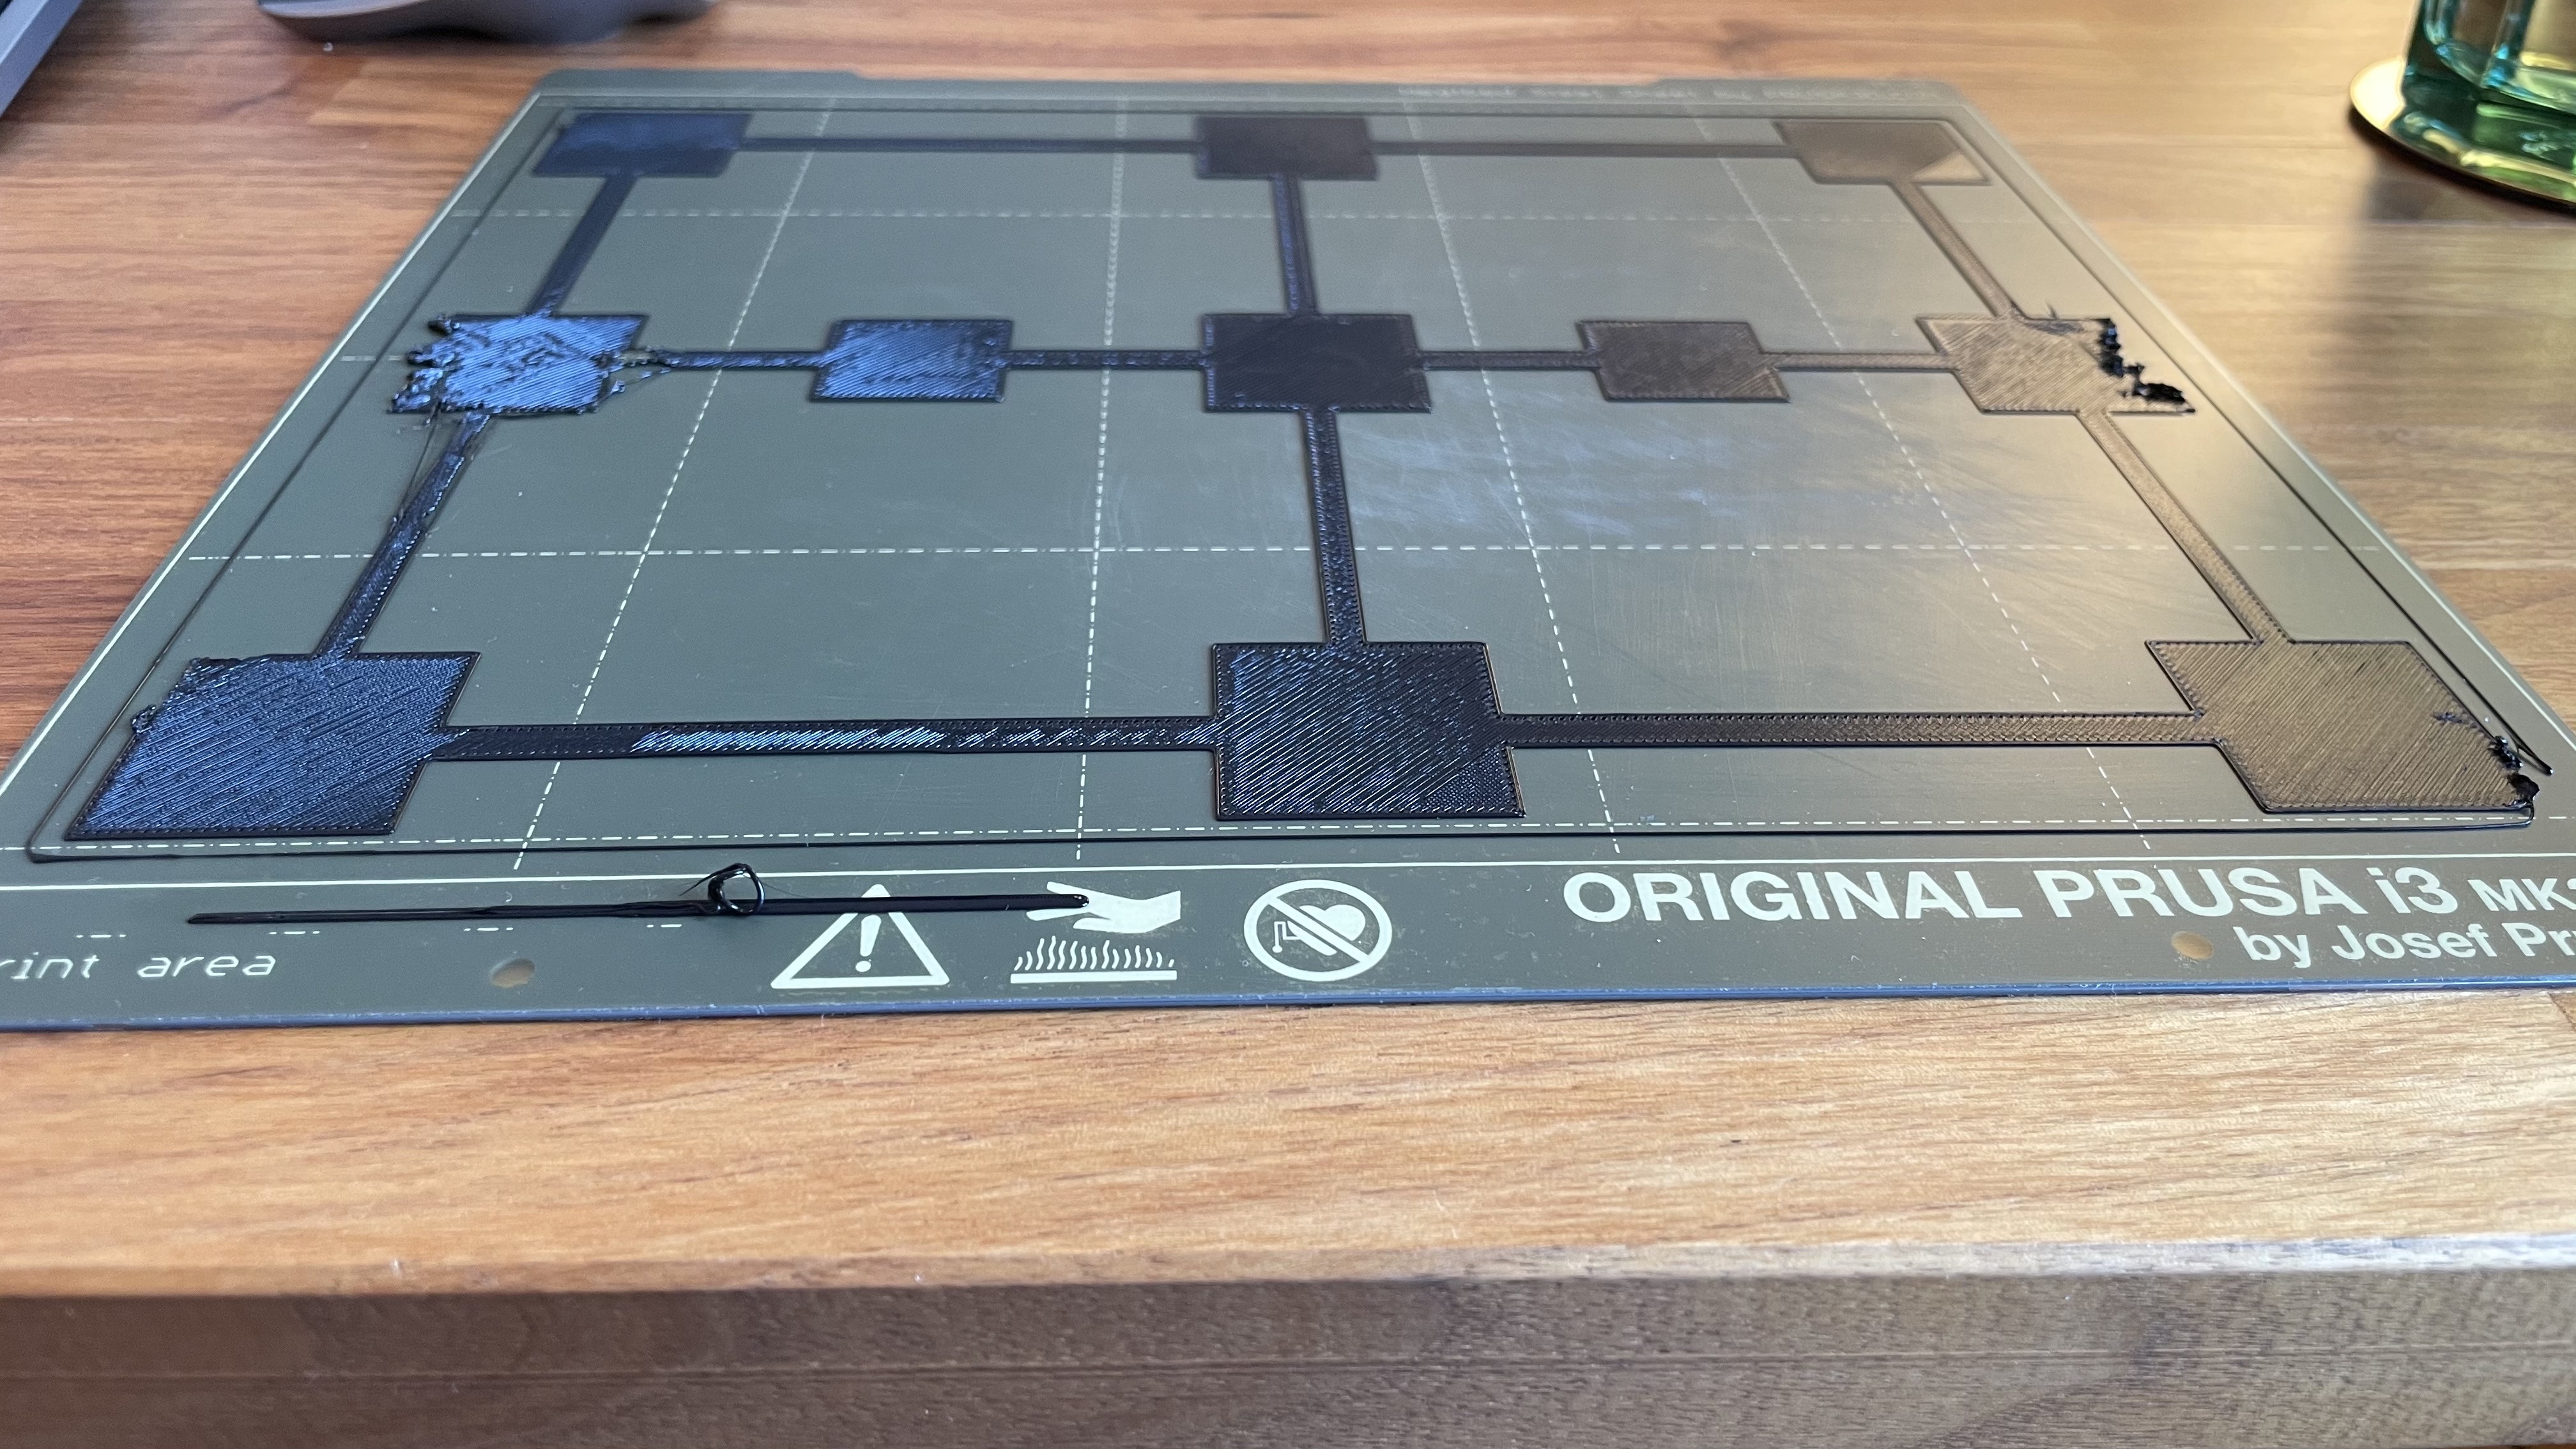
Thanks for the suggestions! I have started another try with 7x7 bed mesh leveling. It's still printing and it looks better already, but there seem to be issue at some edges of the bed (see pictures), bottom left, bottom right and middle left.
Any suggestions for next steps already?
Thanks,
Christian
RE: Bed level test result - help needed
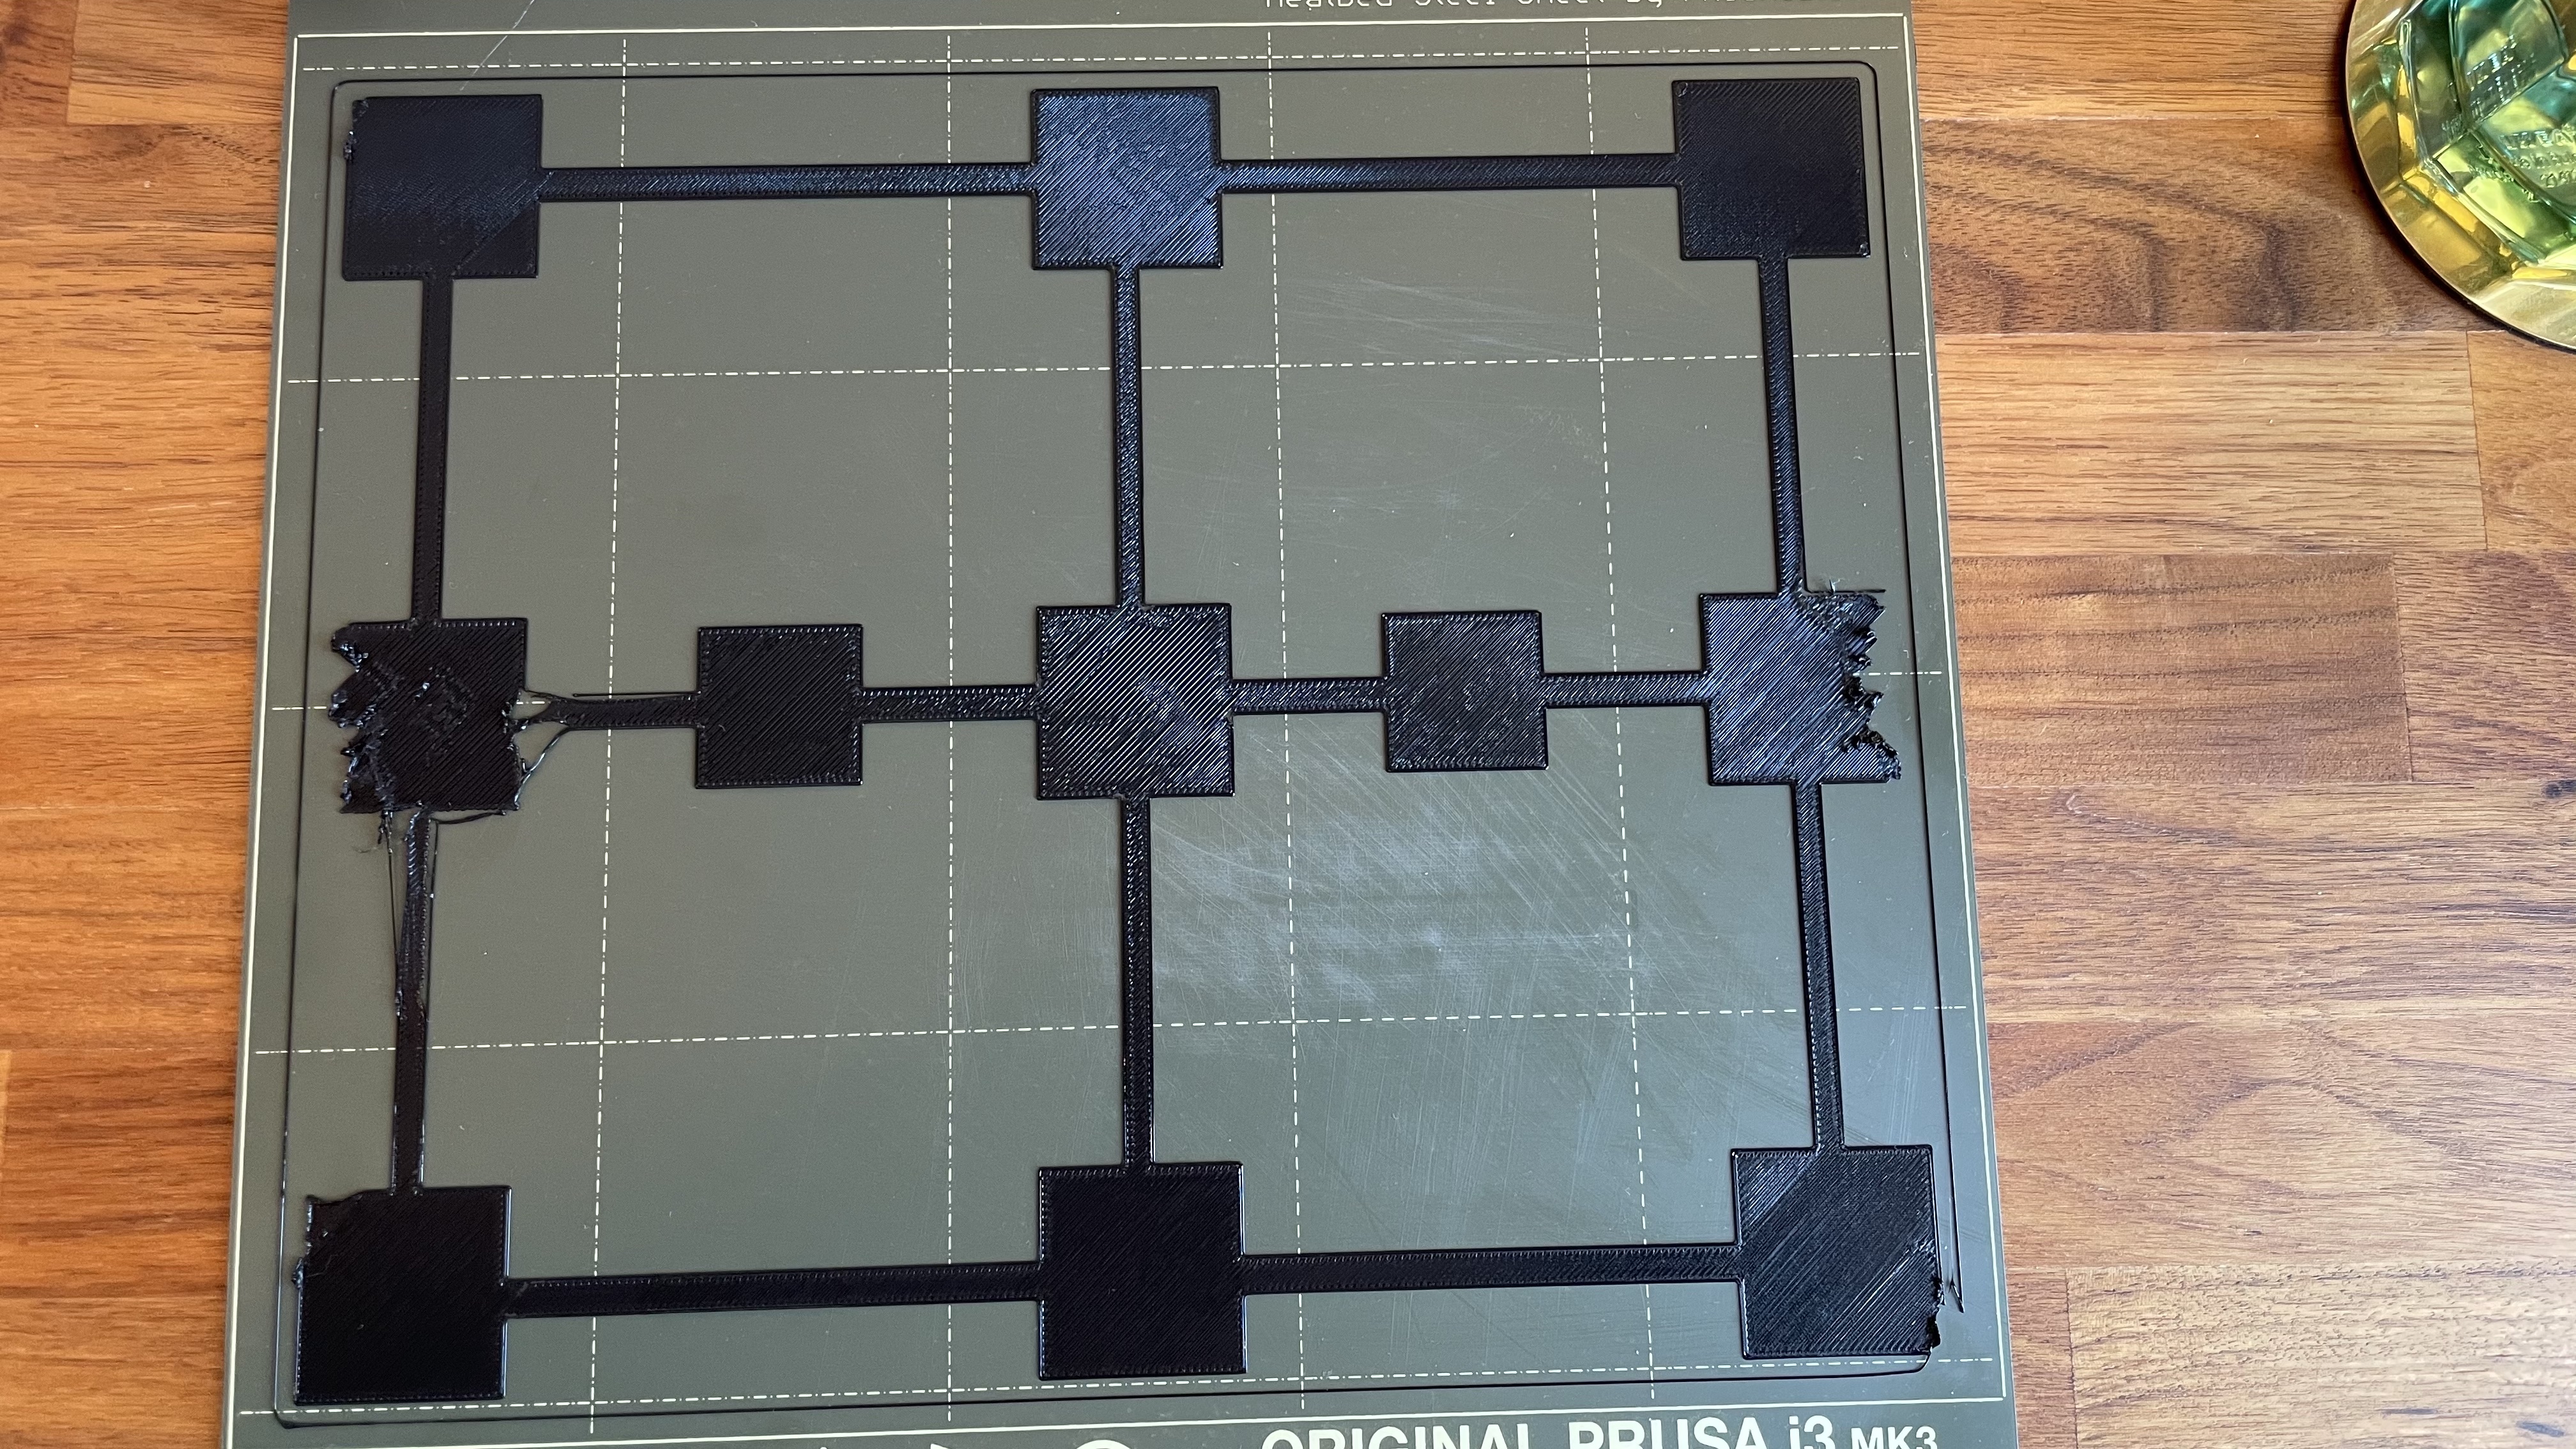
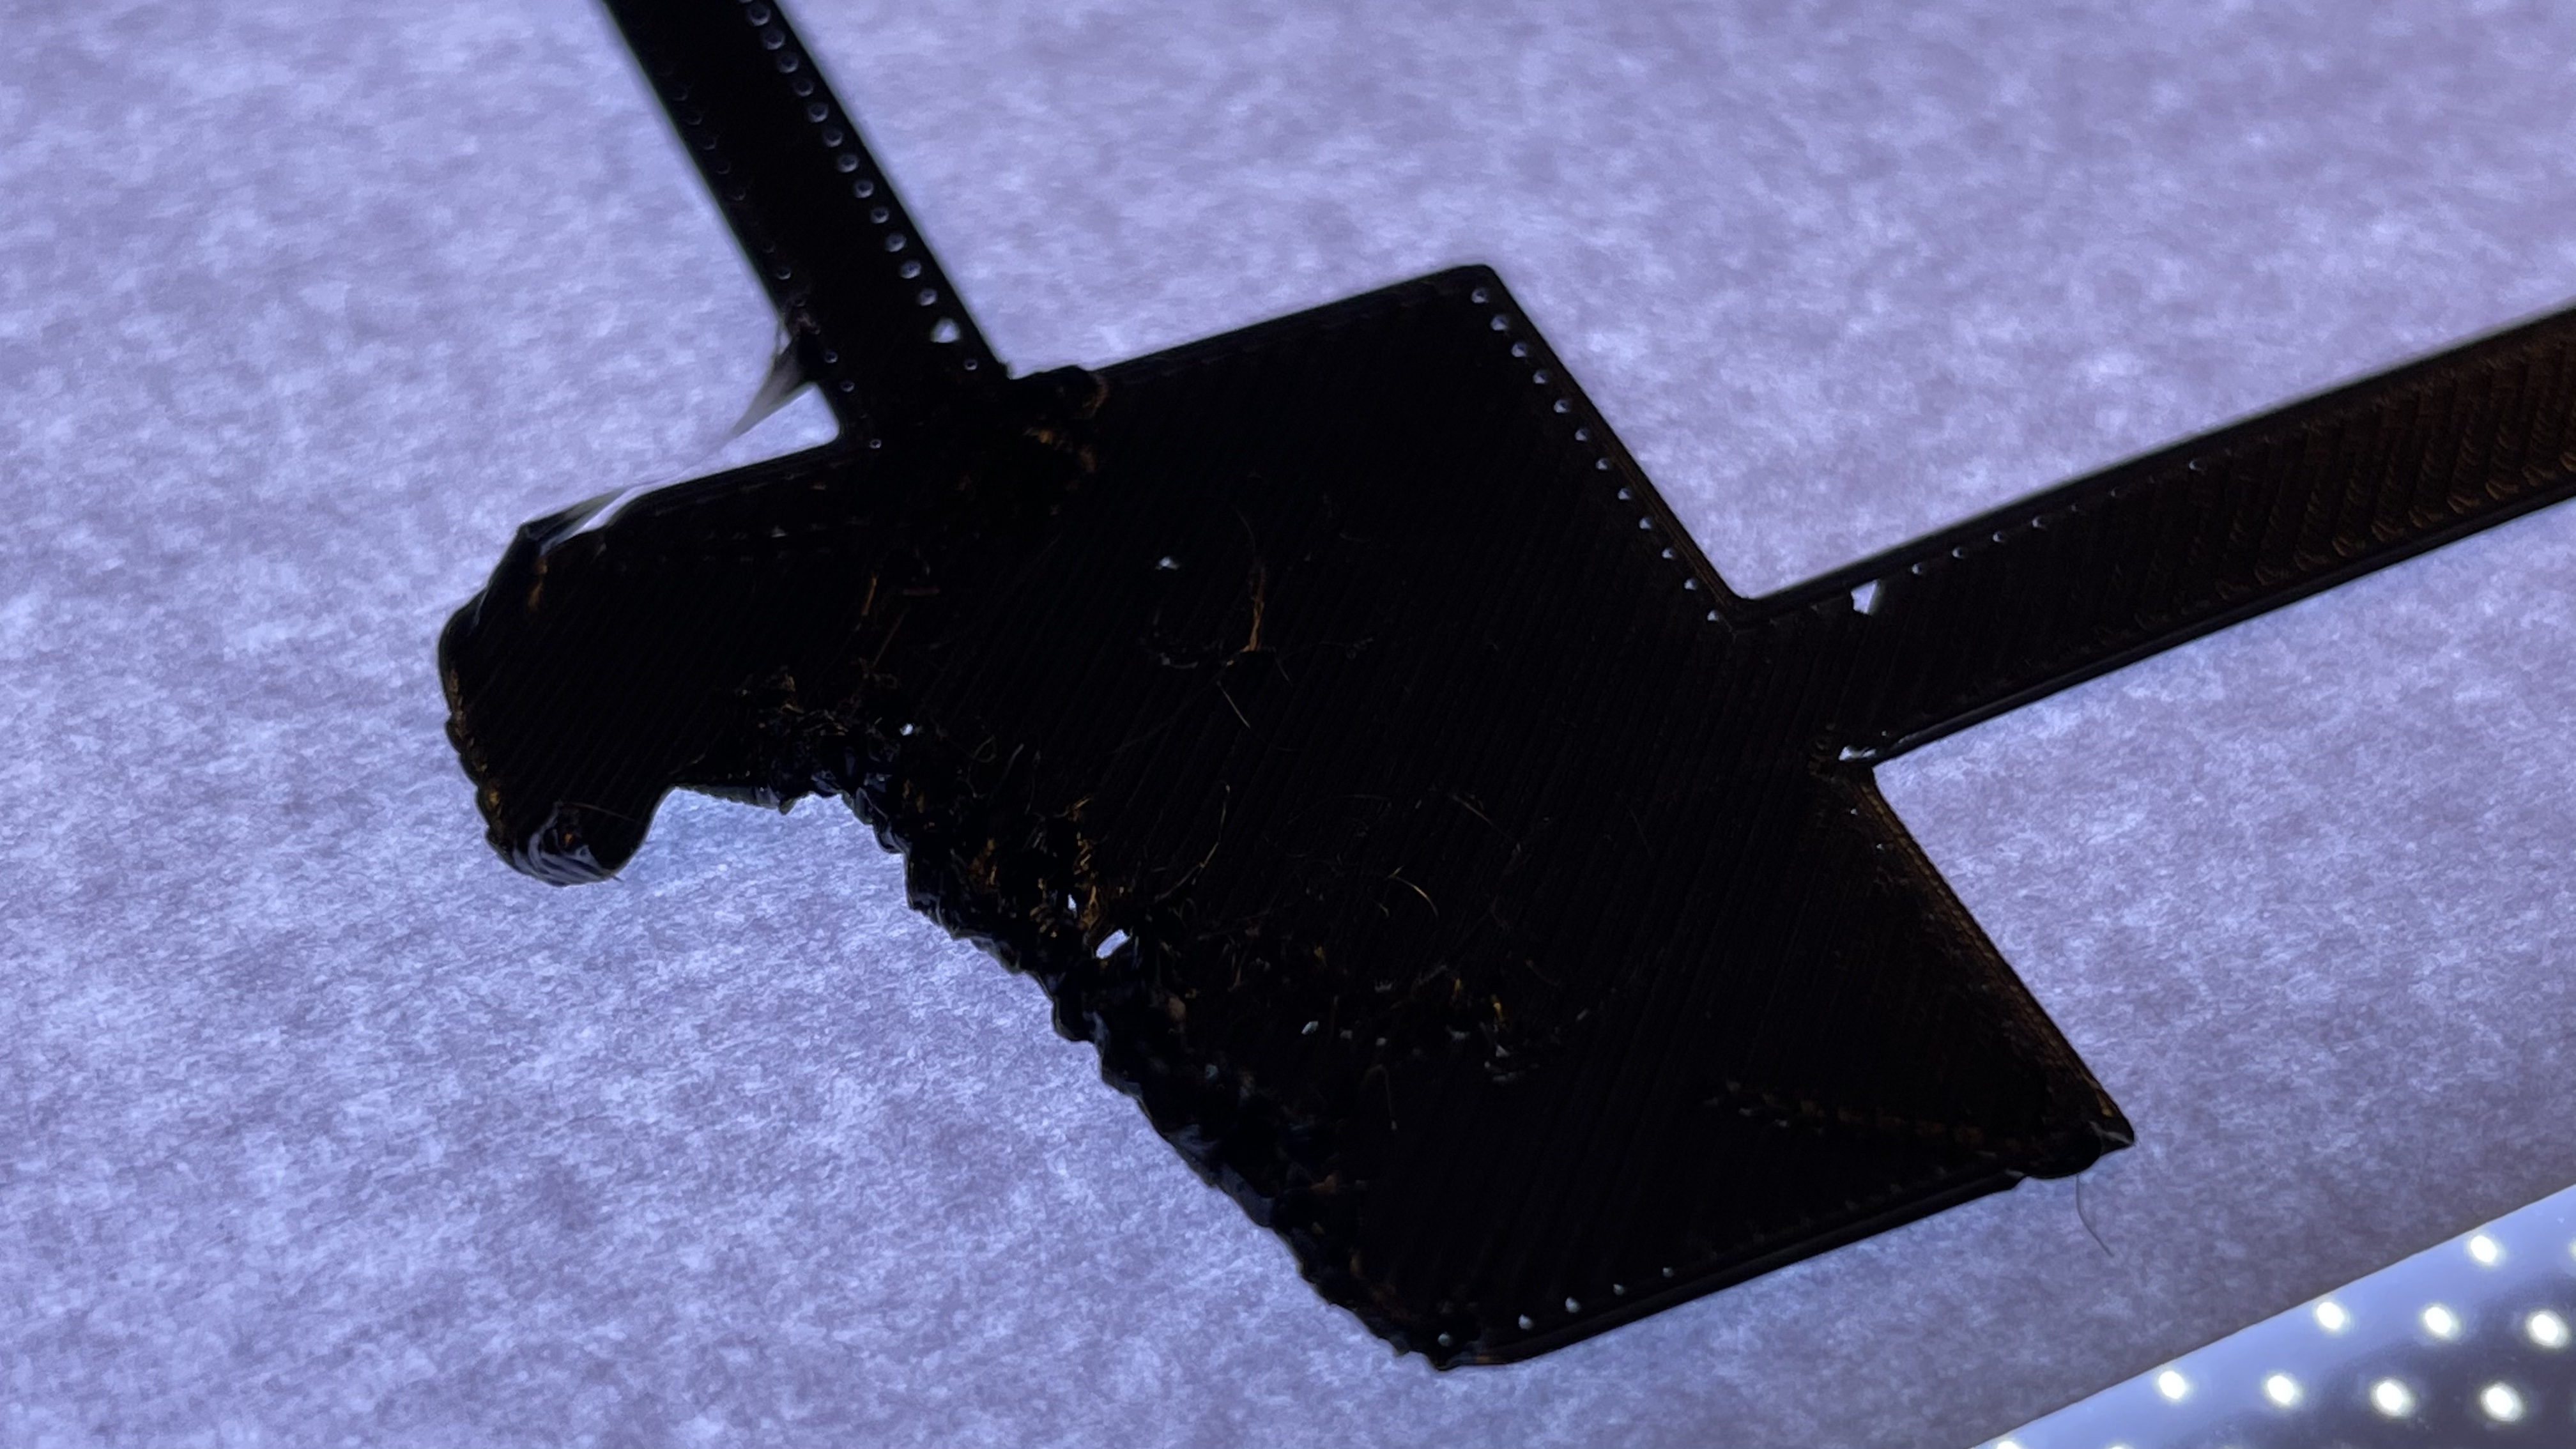
The resulting print after 7x7 bed mesh leveling:
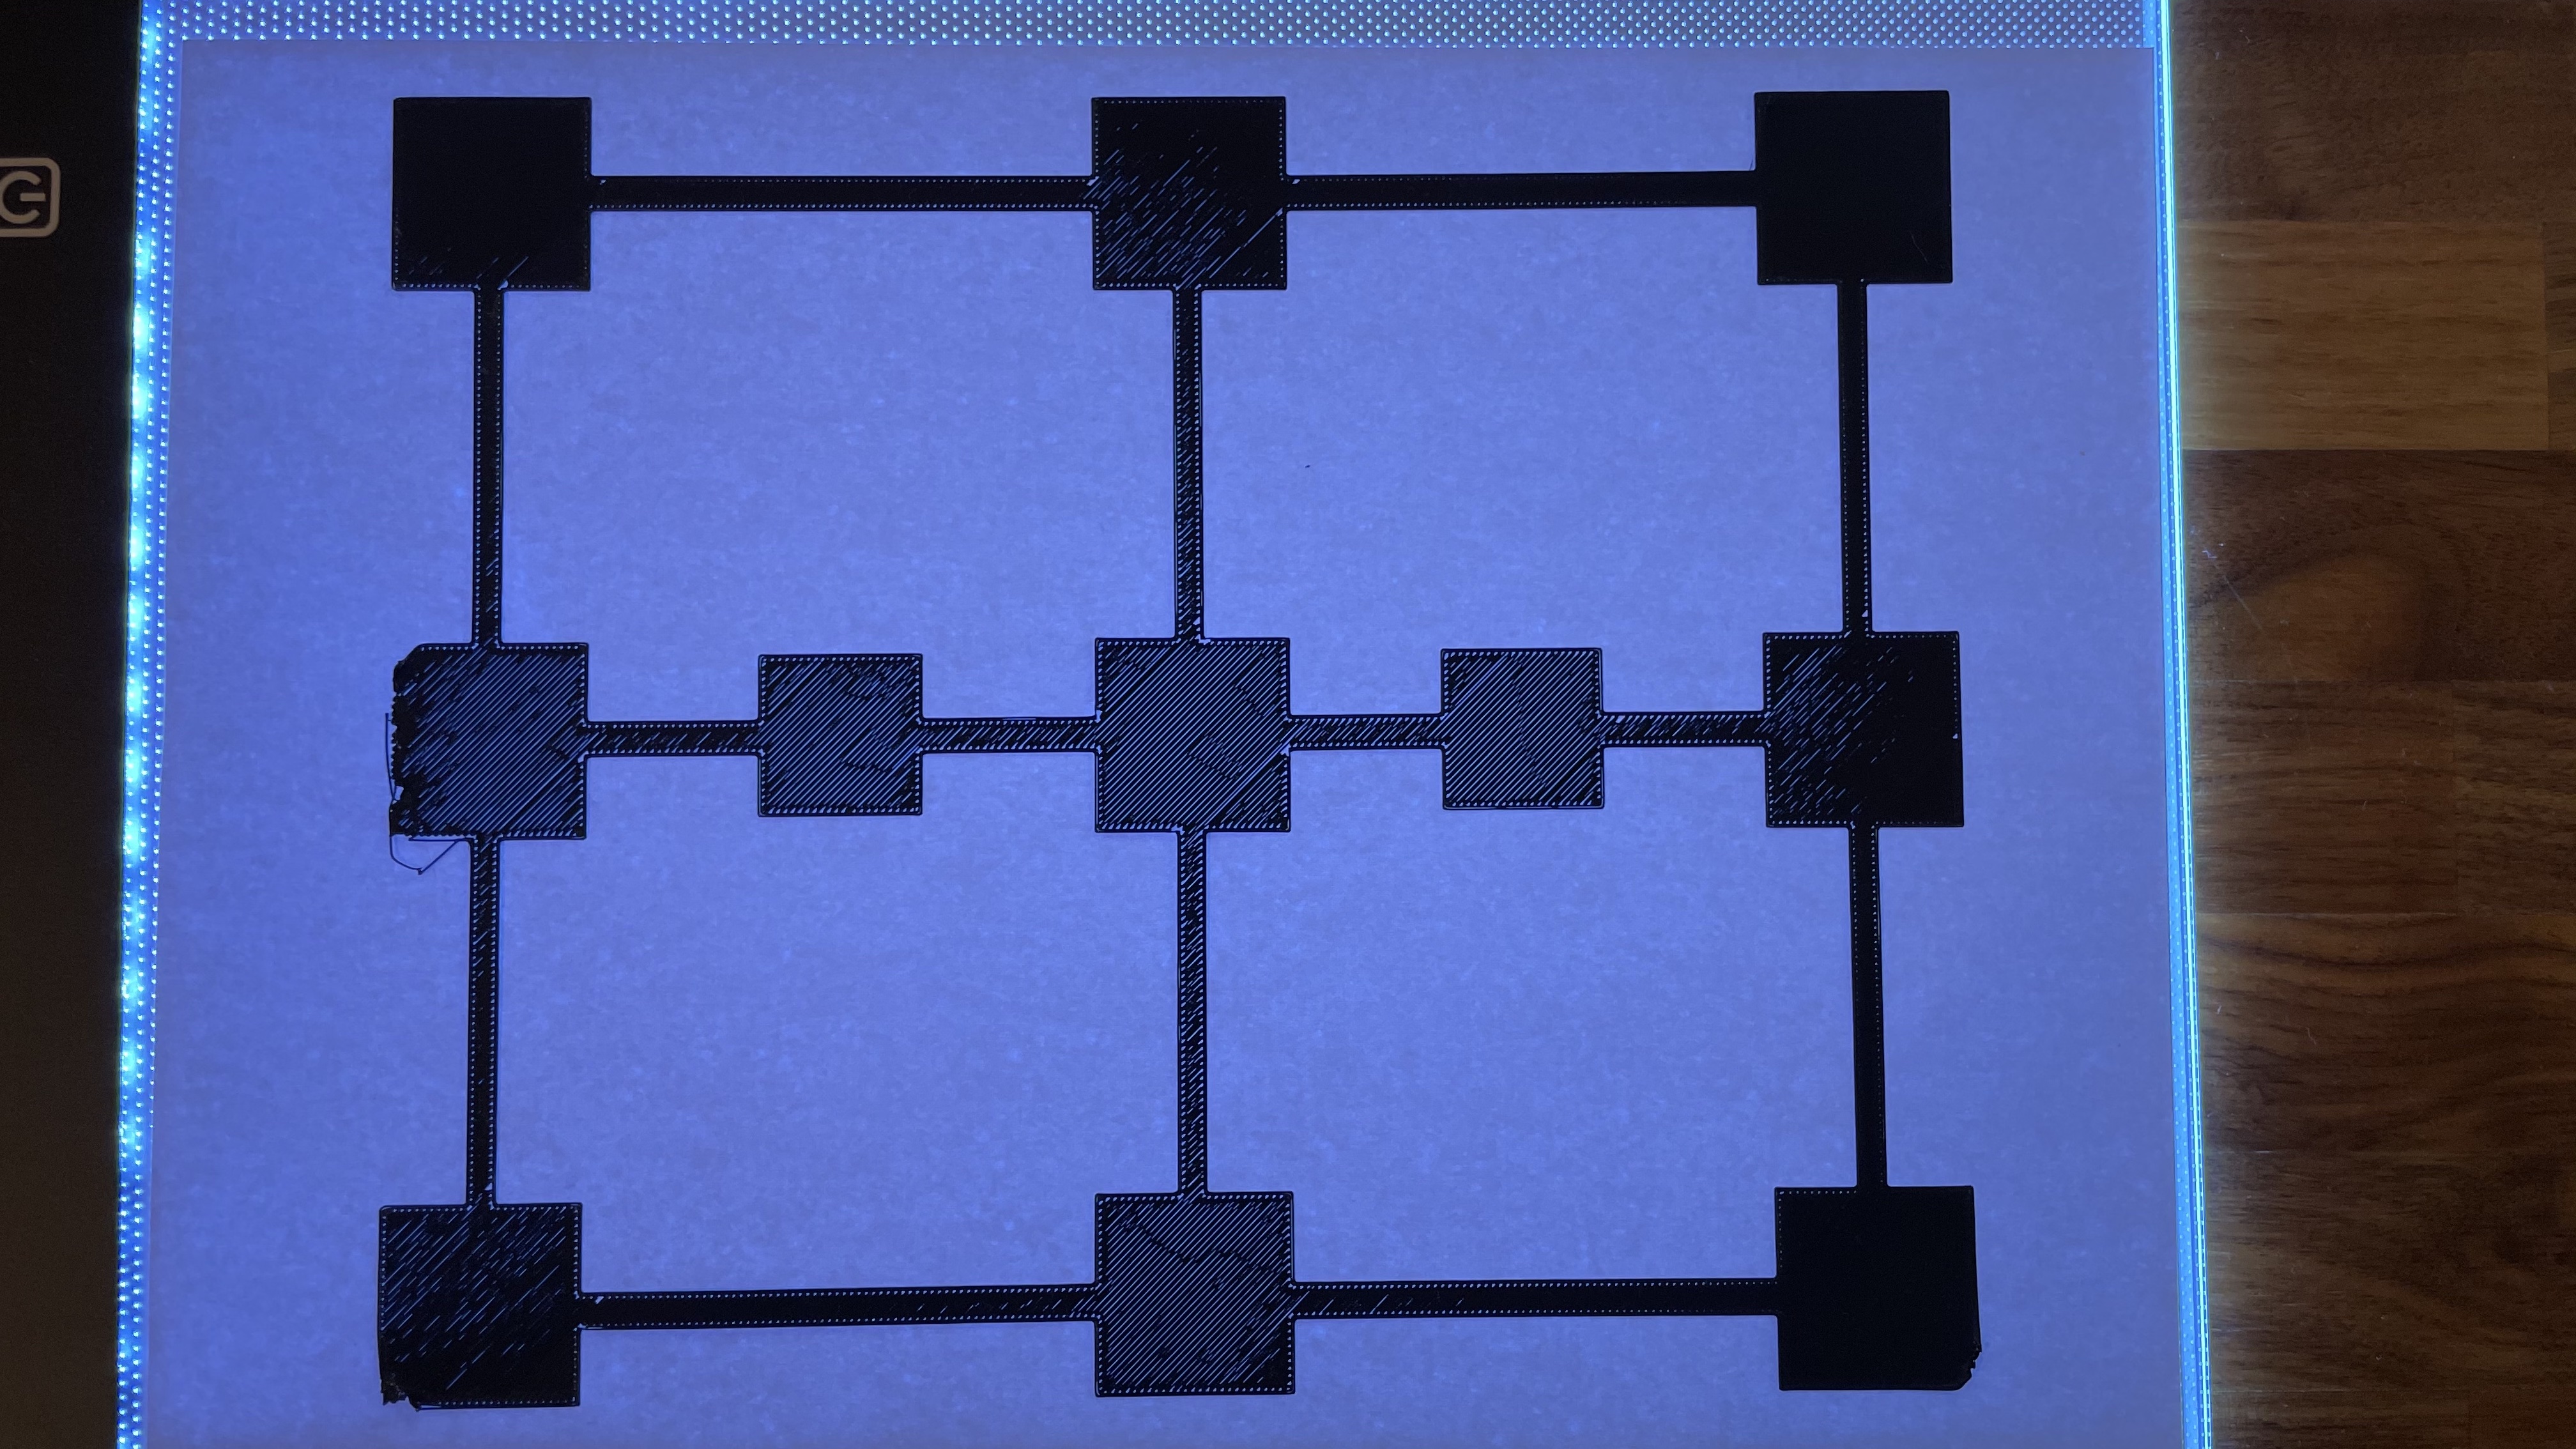
center square
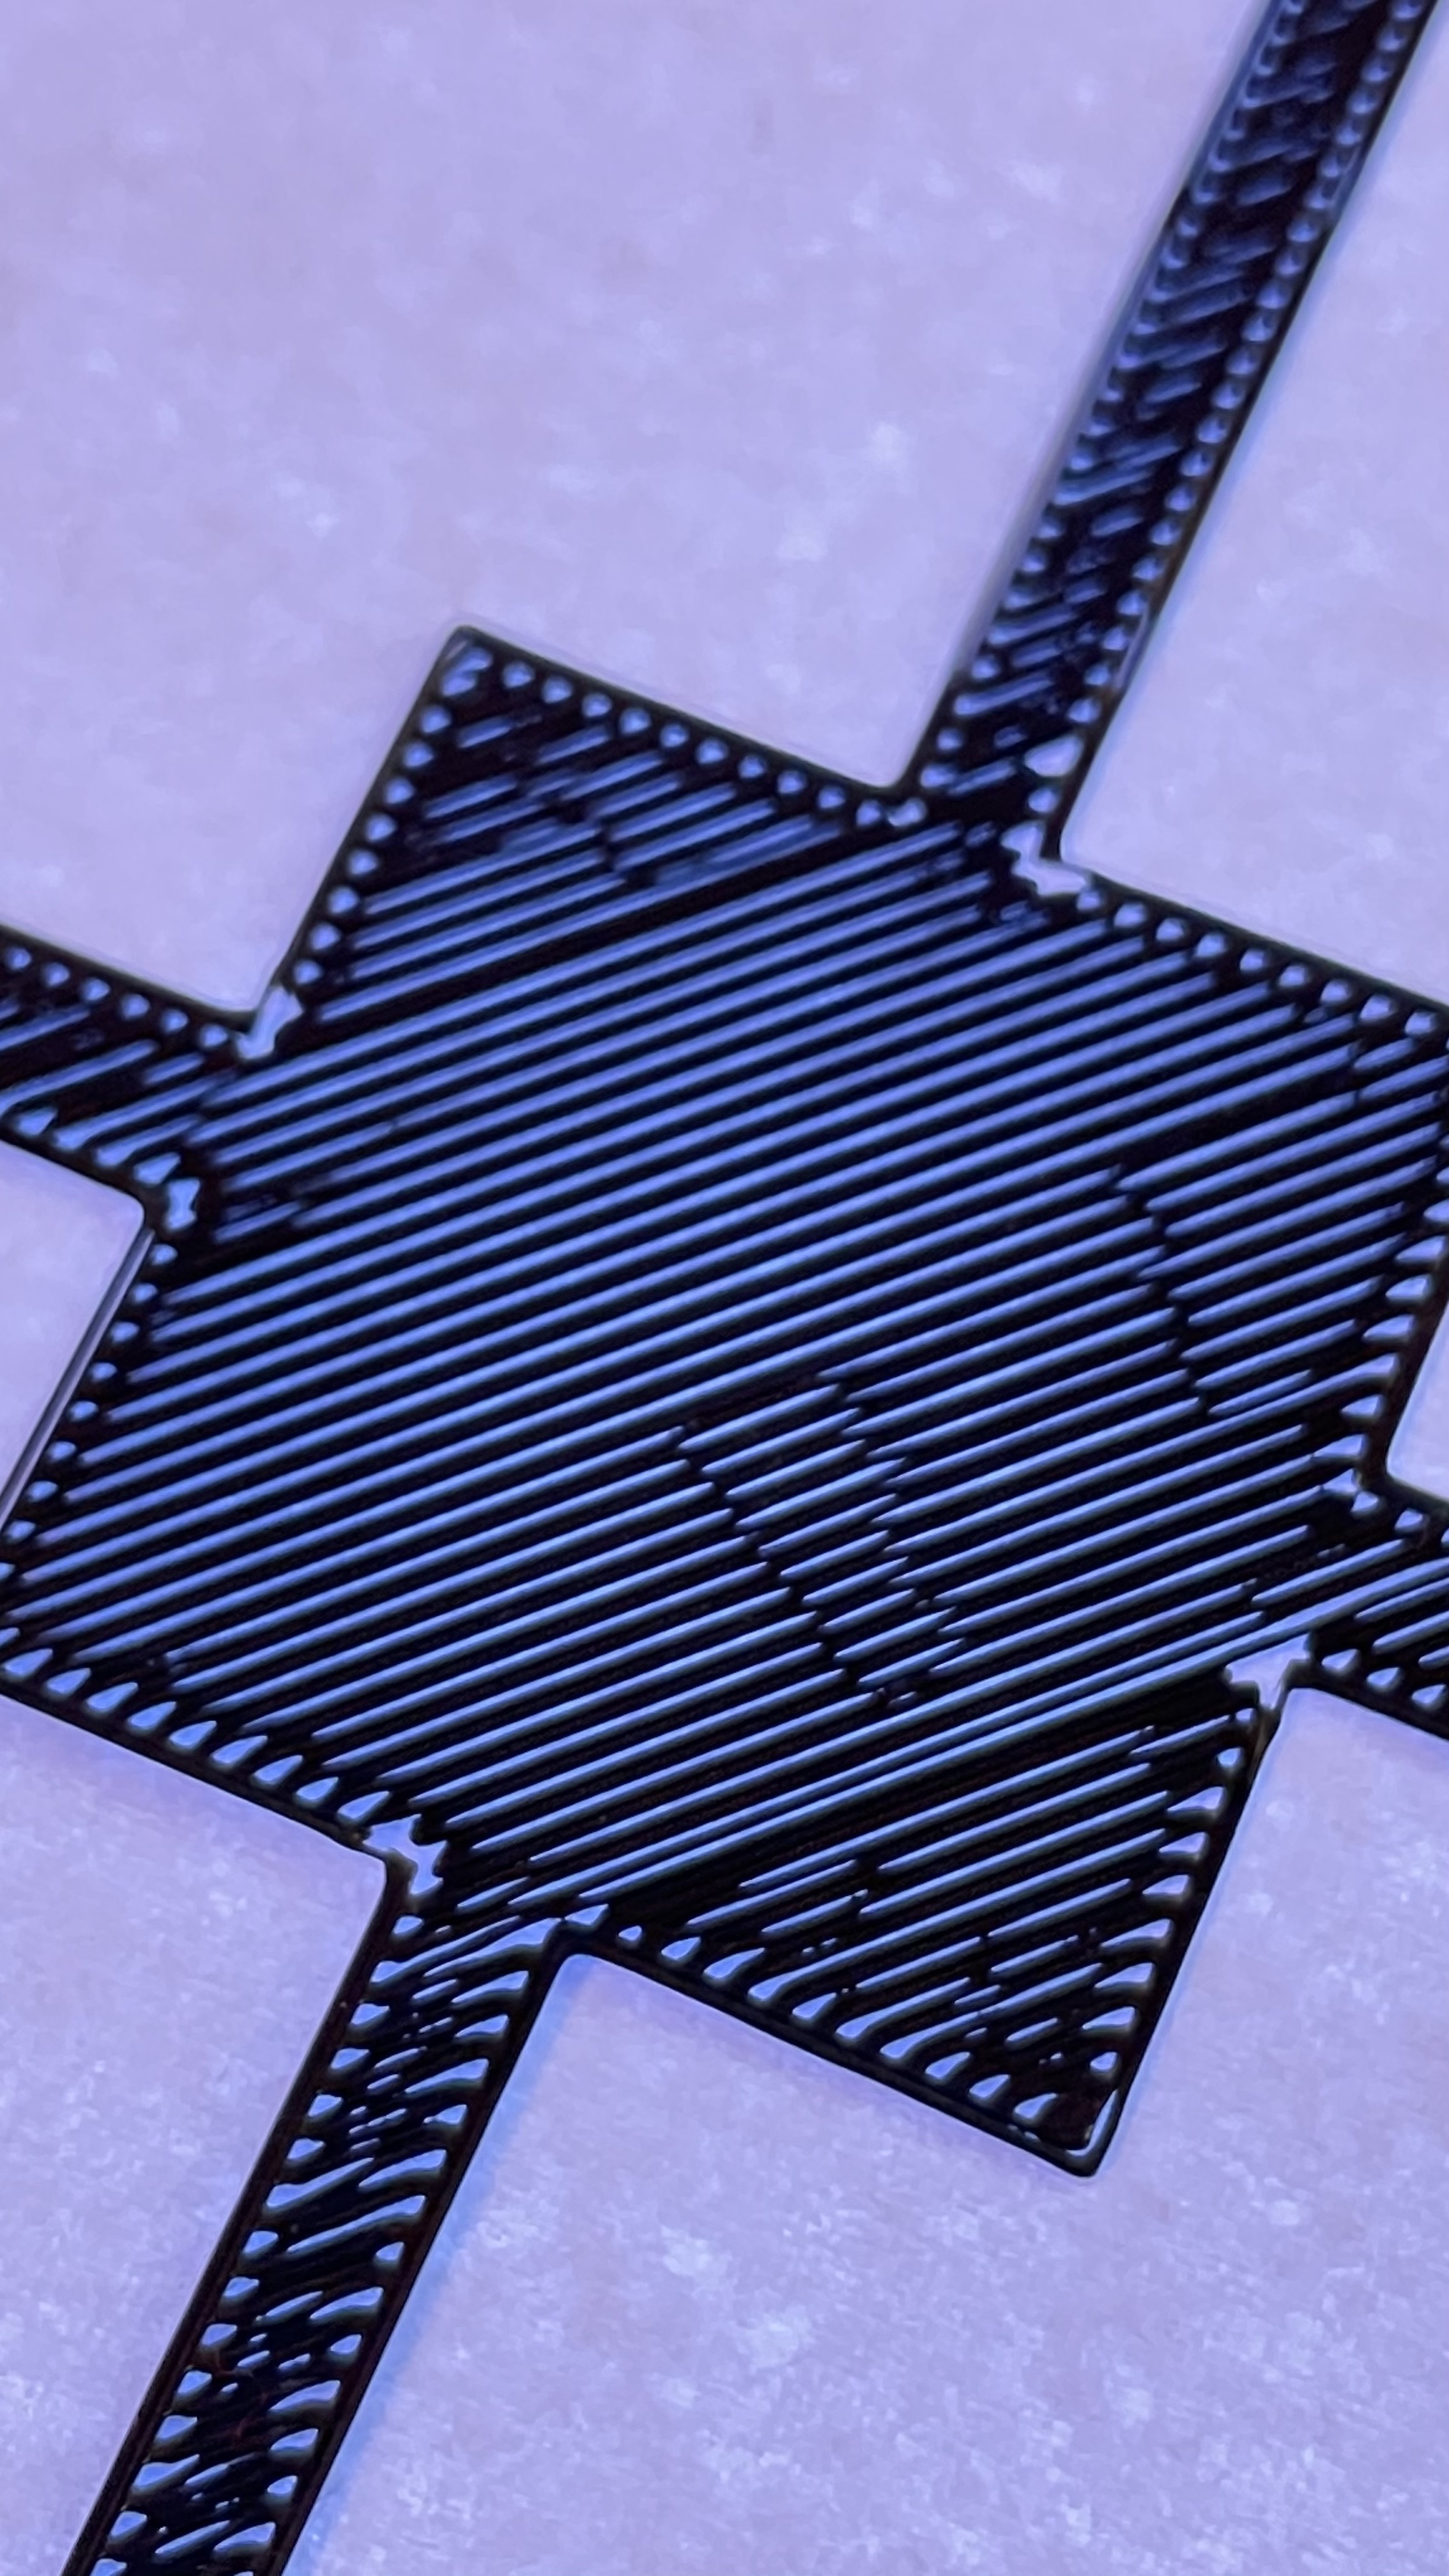
I'm a bit worried because as you can see all the squares look quite differently.
- top: right+left look ok, center has some gaps
- middle: all have gaps, center having the most
- bottom: left some gaps, center lot of gaps, right ok
- + the issue of my previous comment with some squares failing to print properly (filament not sticking?)
What would be a good next step?
RE: Bed level test result - help needed
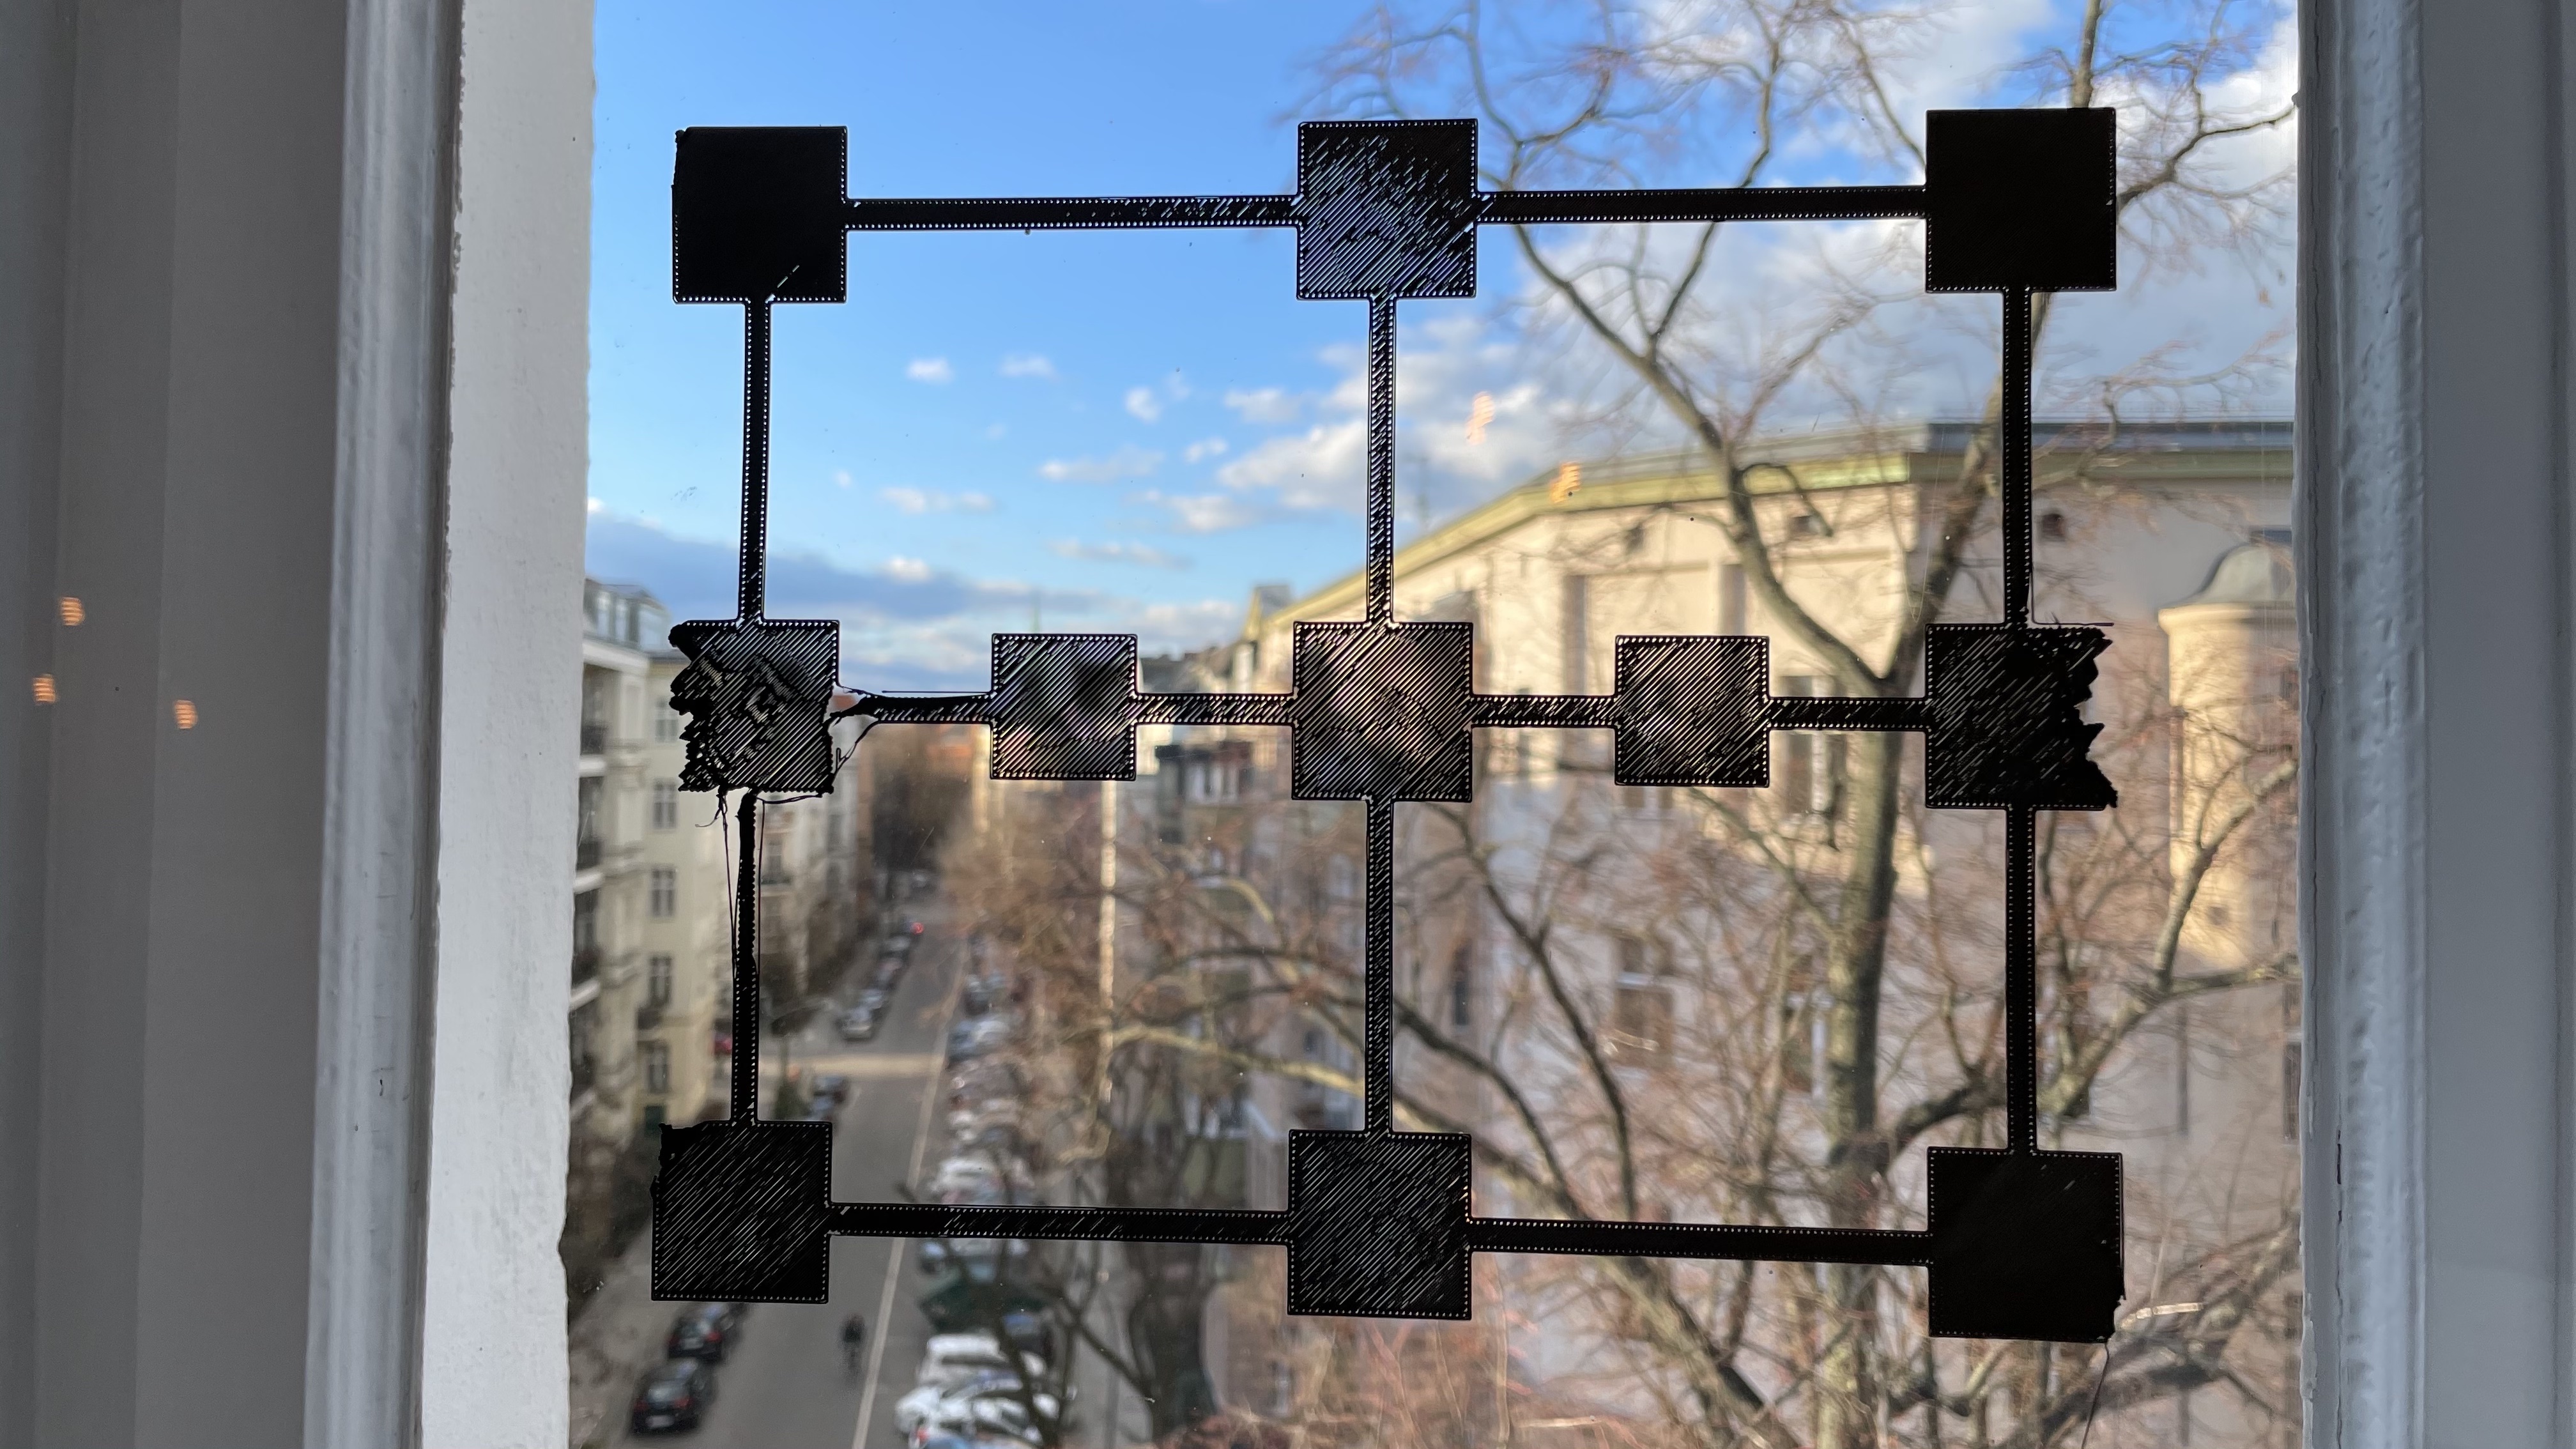
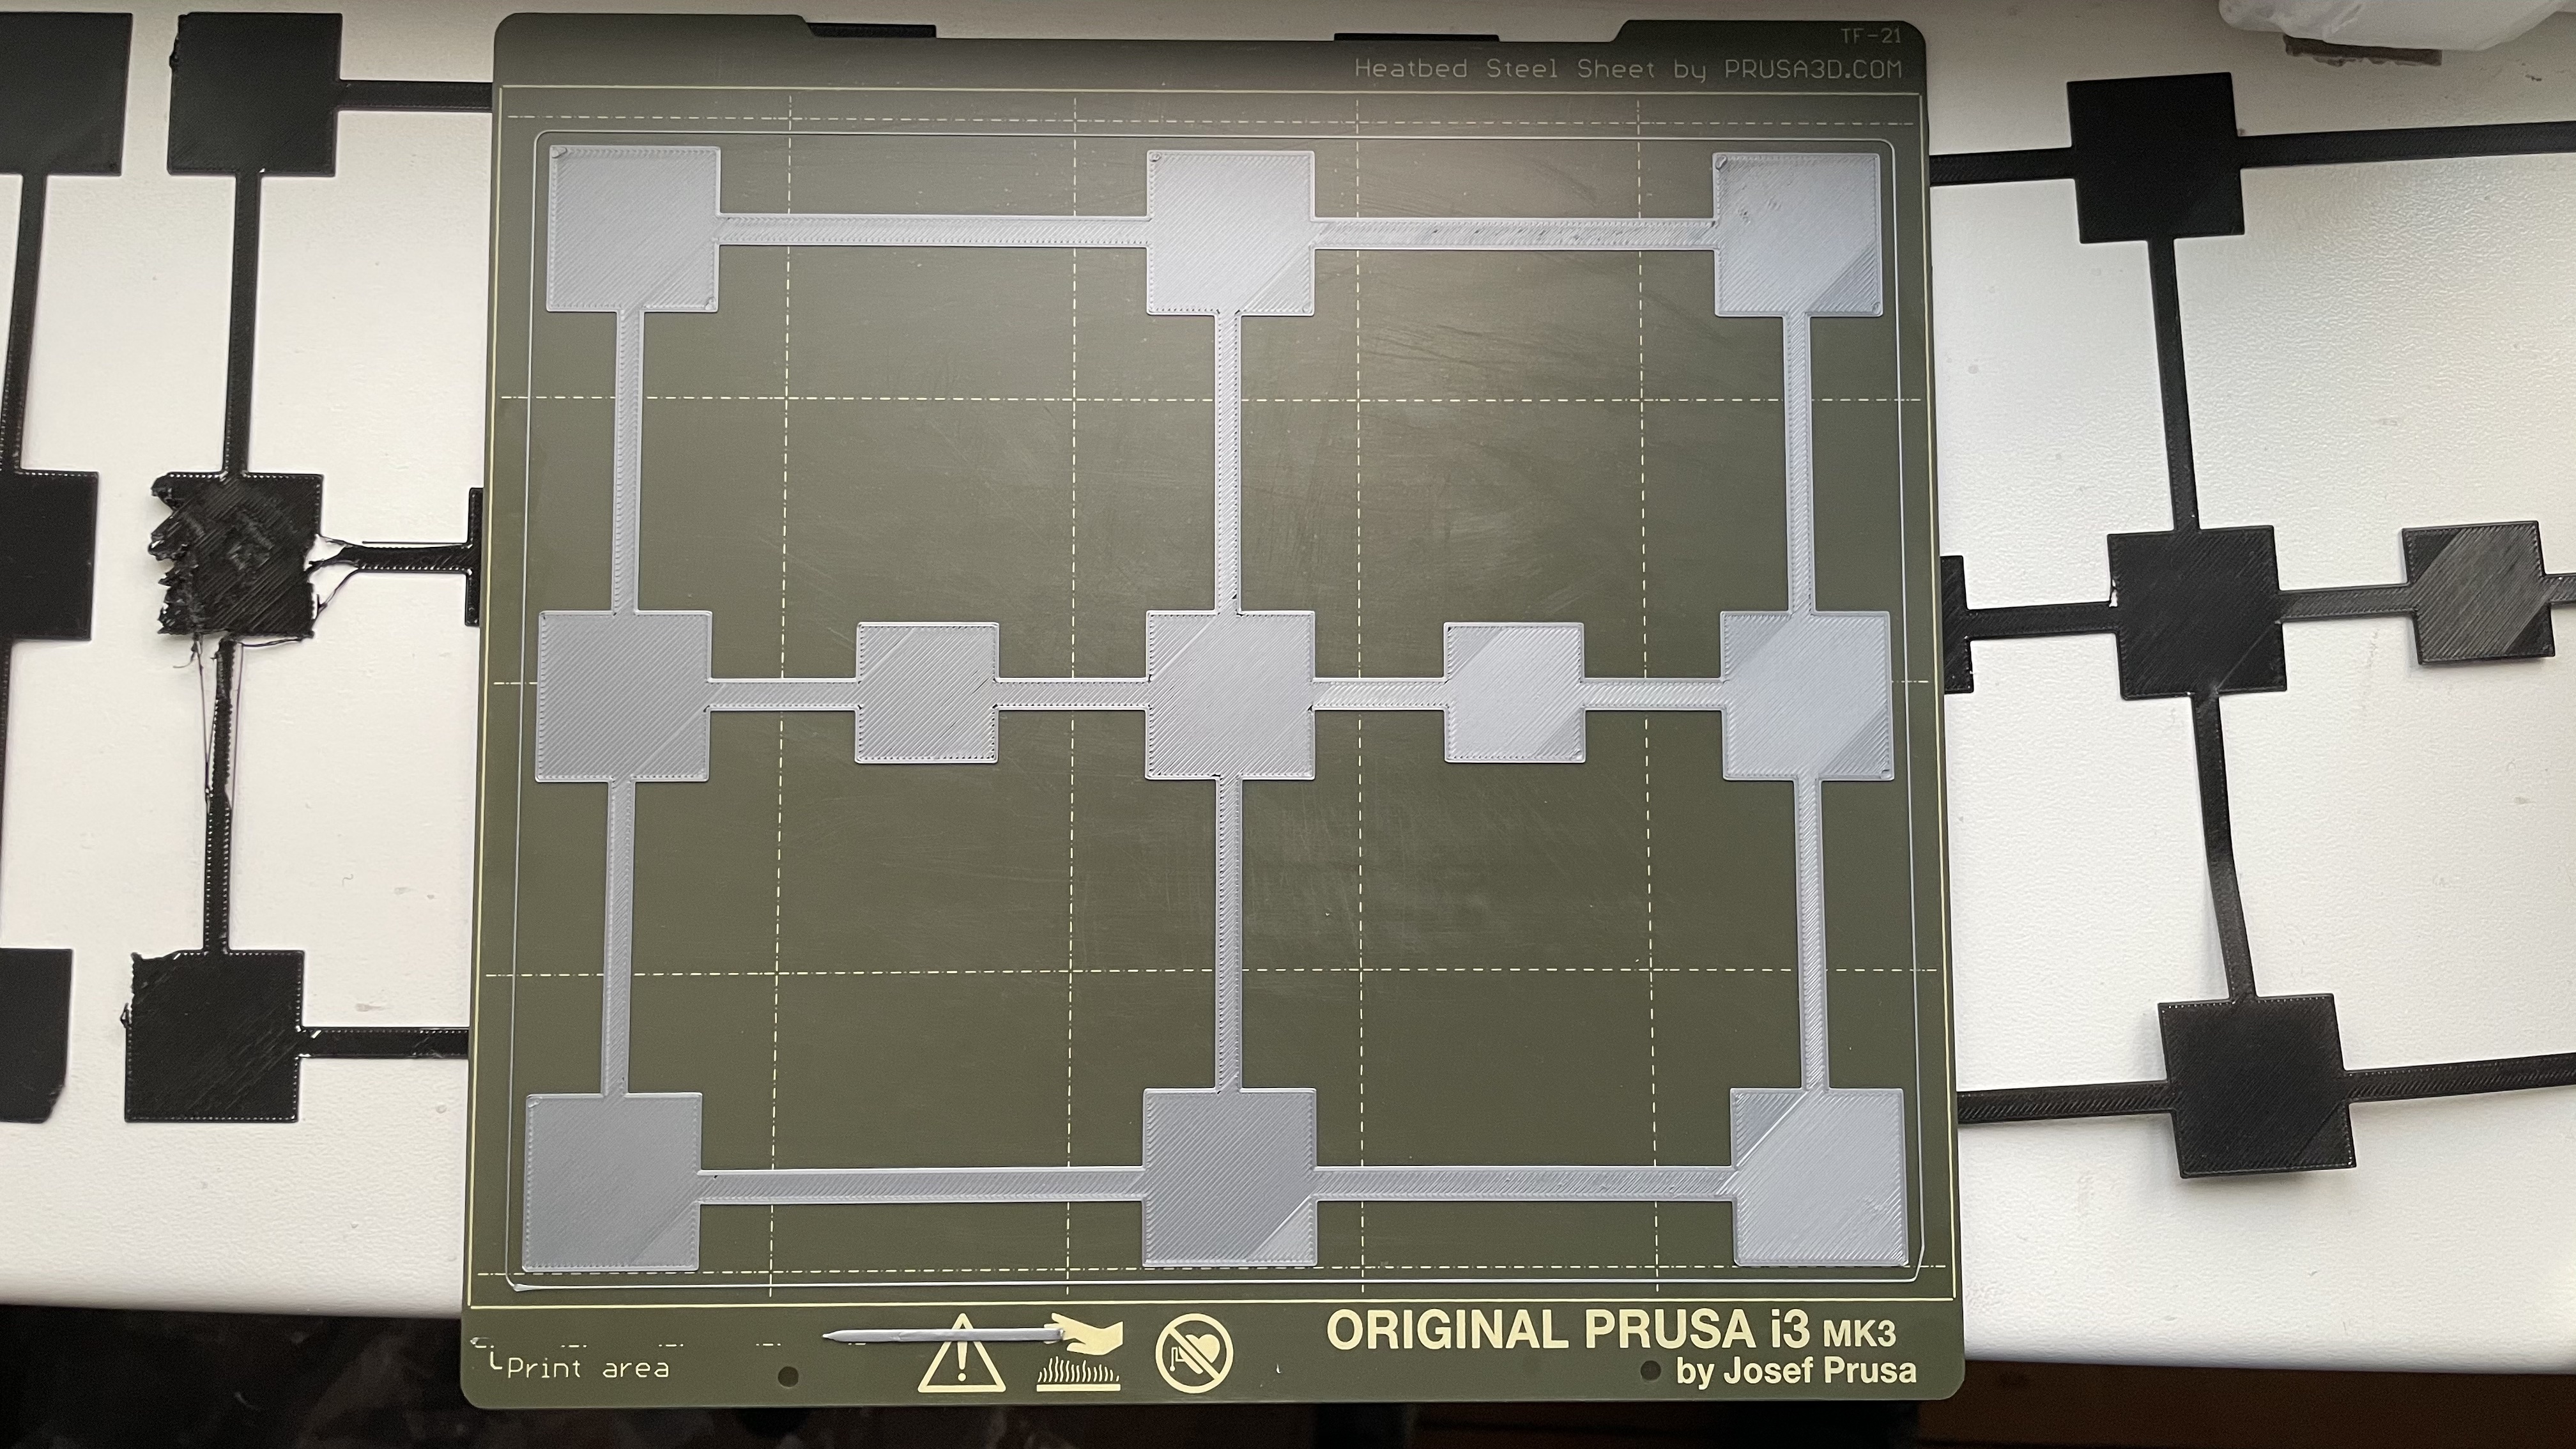
I have adjusted the life-Z value from -980 to -1040:
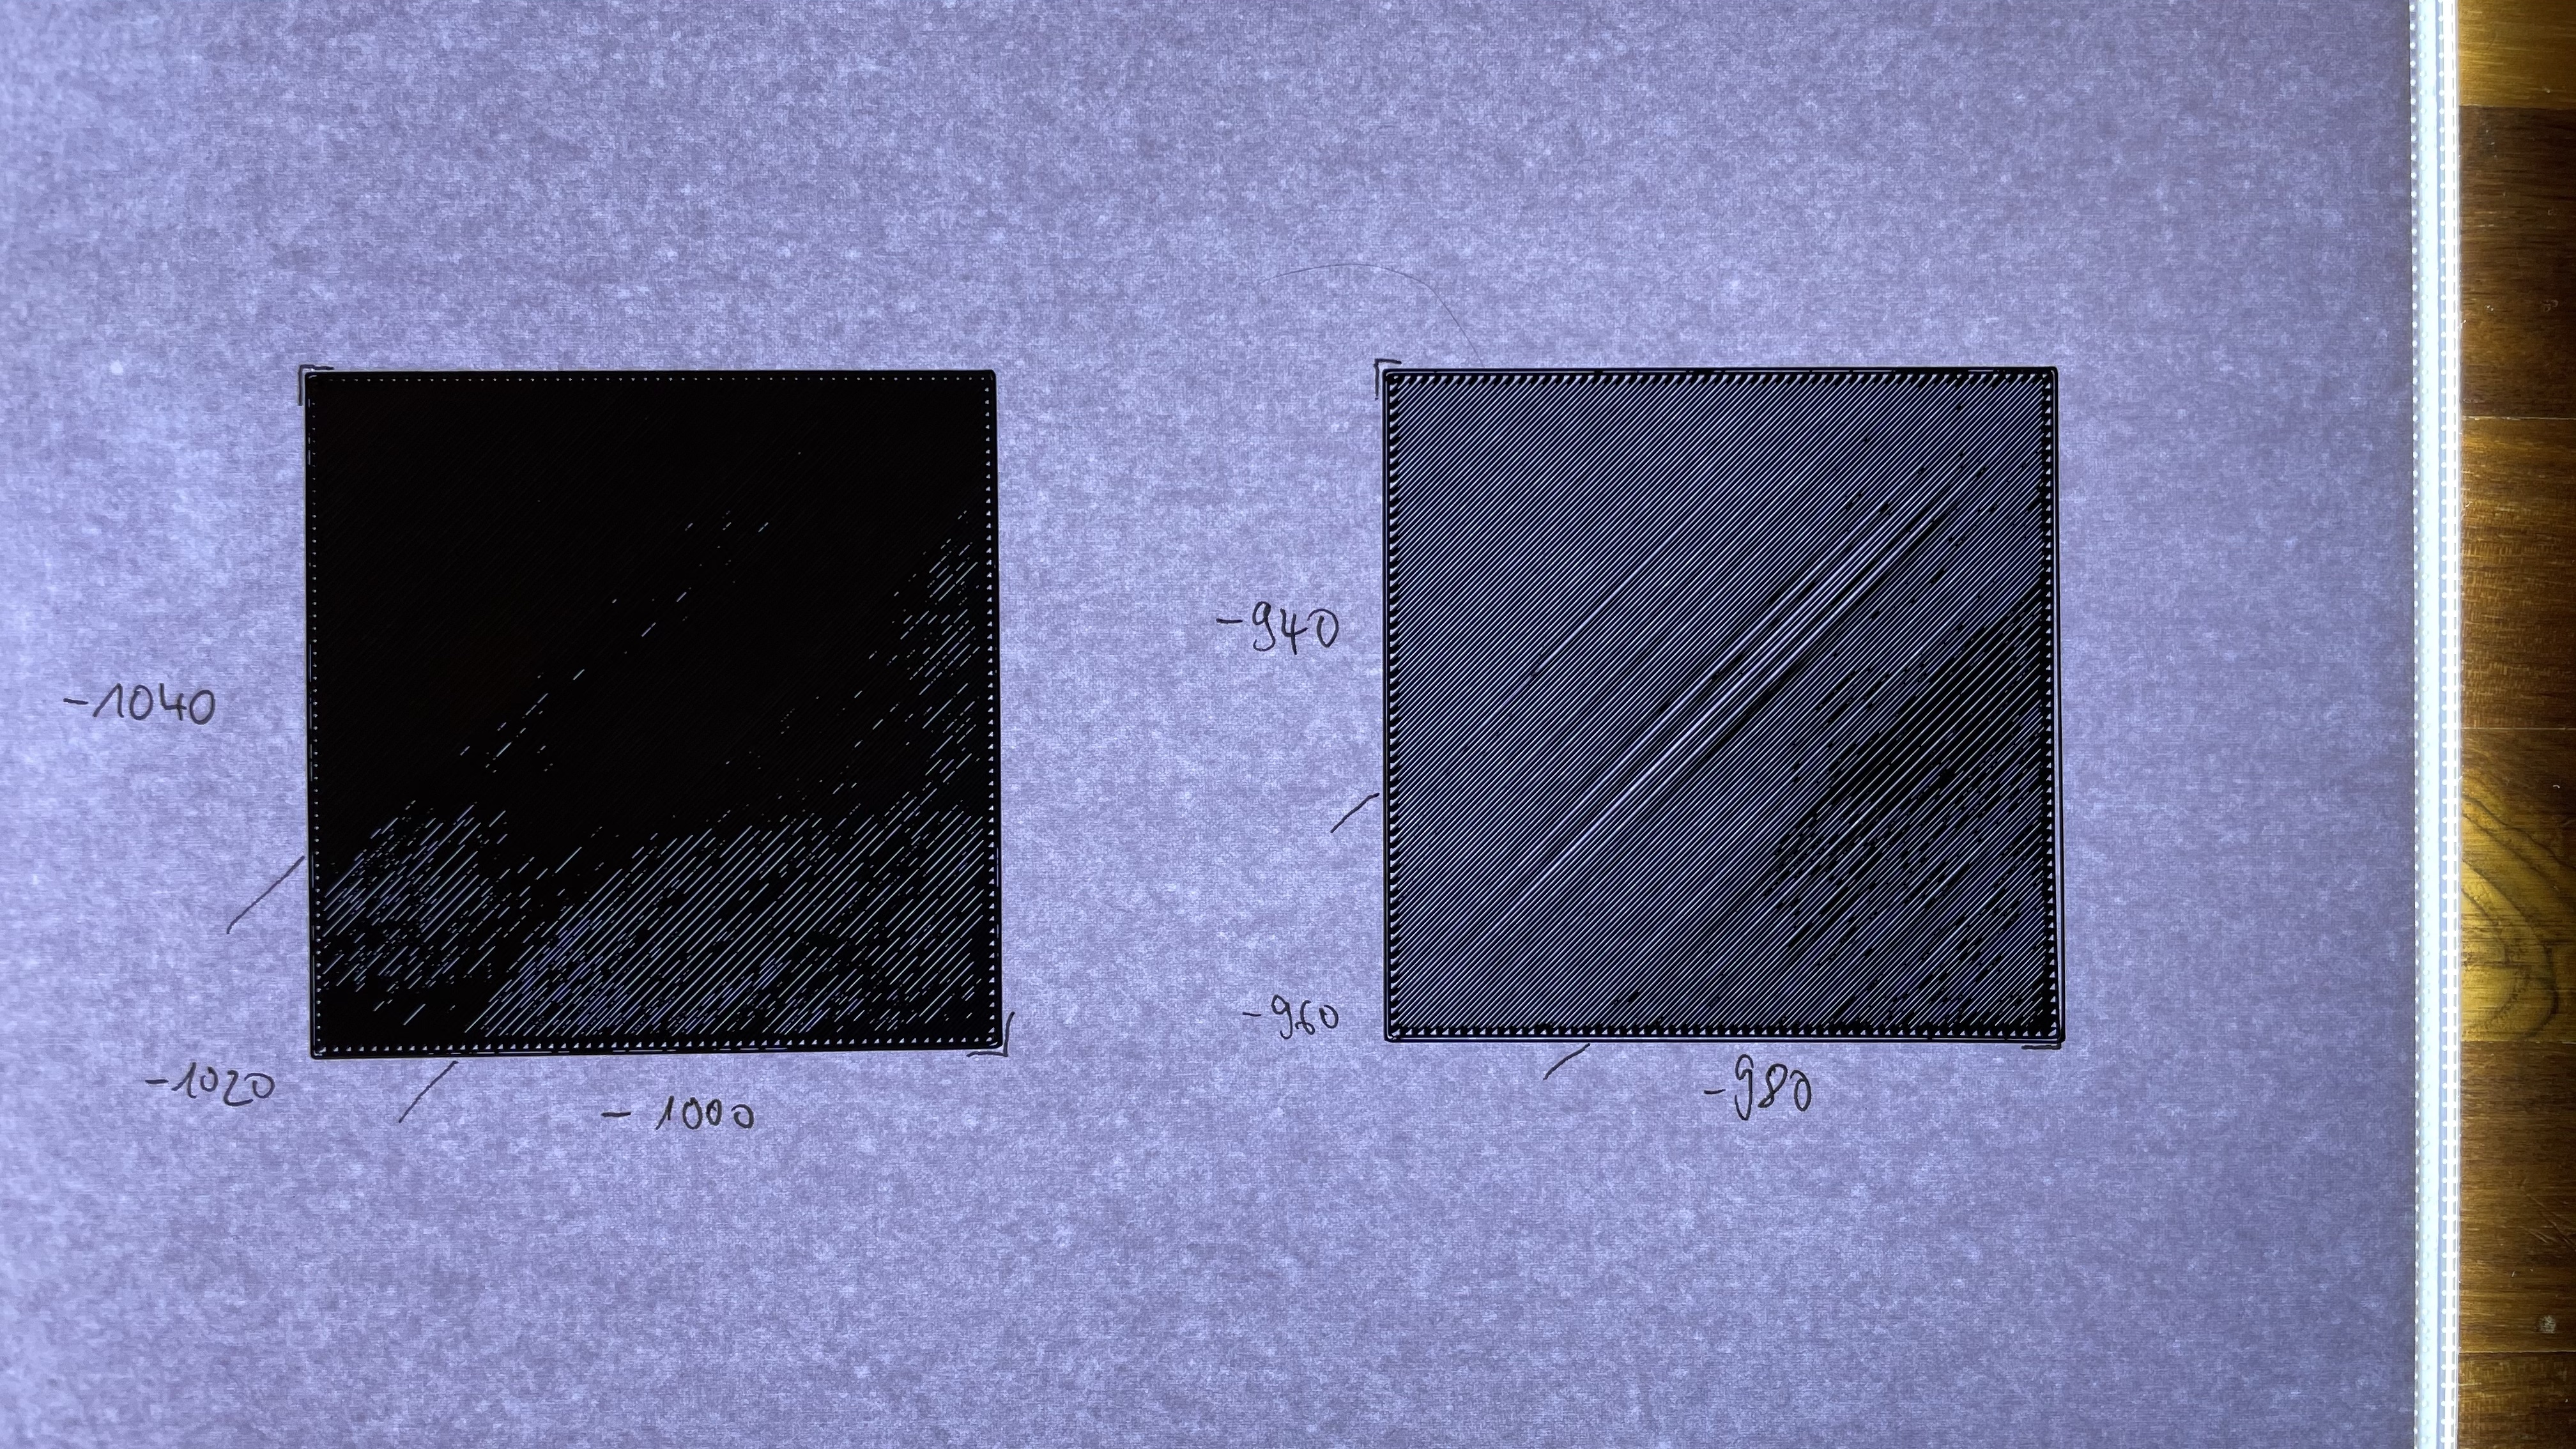
Then I did run the bed level test again.
Full result:

Bottom left square:
Overall it looks better now (no gaps) but I'm worried about the left squares.
I would really appreciate any tips and suggestions for potential next steps.
RE: Bed level test result - help needed
Just wanted to give an update: my prints are coming out great now!
I started from scratch:
- factory reset the printer
- readjusted the SUPERPINDA probe
- re-did all calibrations from the wizard
- run first-layer-calibration using this model/approach
Apart from bed level prints I also did a couple of prints and was satisfied with all results so far 🤞
Thanks for your help!
Christian
RE: Bed level test result - help needed
Ran into this exact problem and under the basically same circumstances. Thank you for the follow up! It helped a lot.
RE: Bed level test result - help needed
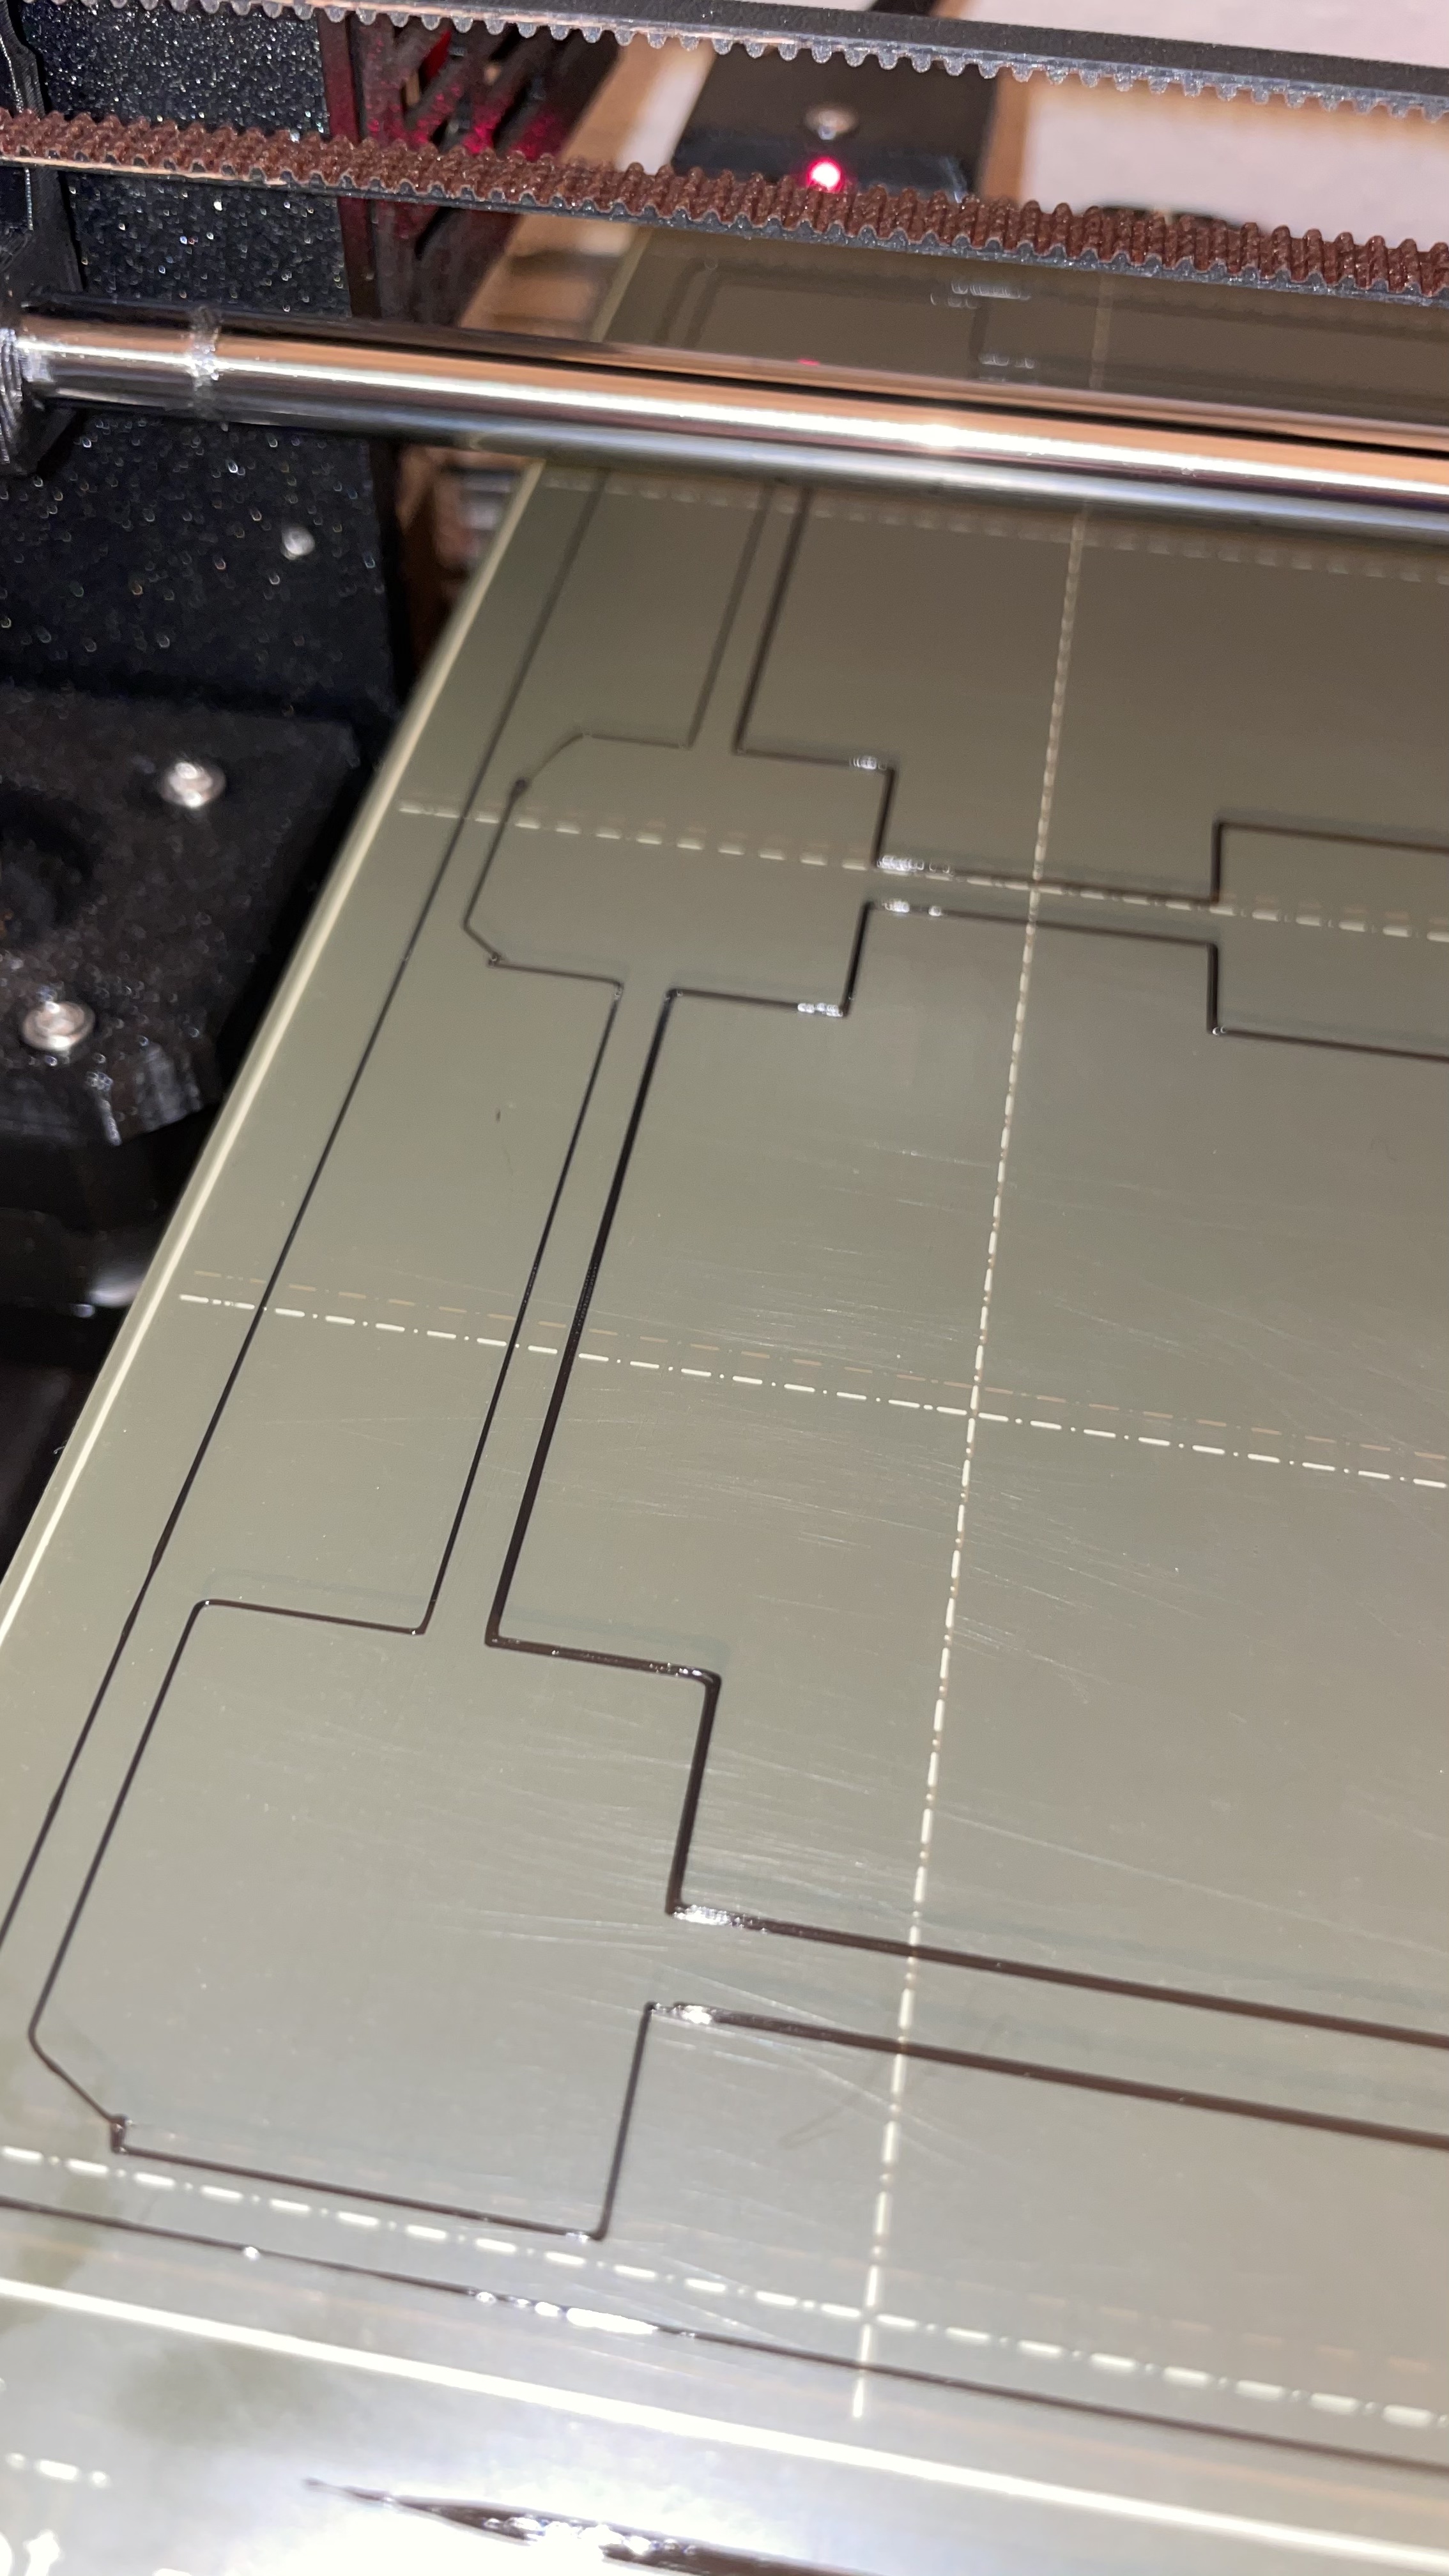
Can anyone explain why the bed test prints have those small but noticeable changes in z-height? There are visible demarcation lines between dark & light exactly parallel to the infill lines. There is nothing in the Prusaslicer preview that would indicate that this should be happening.
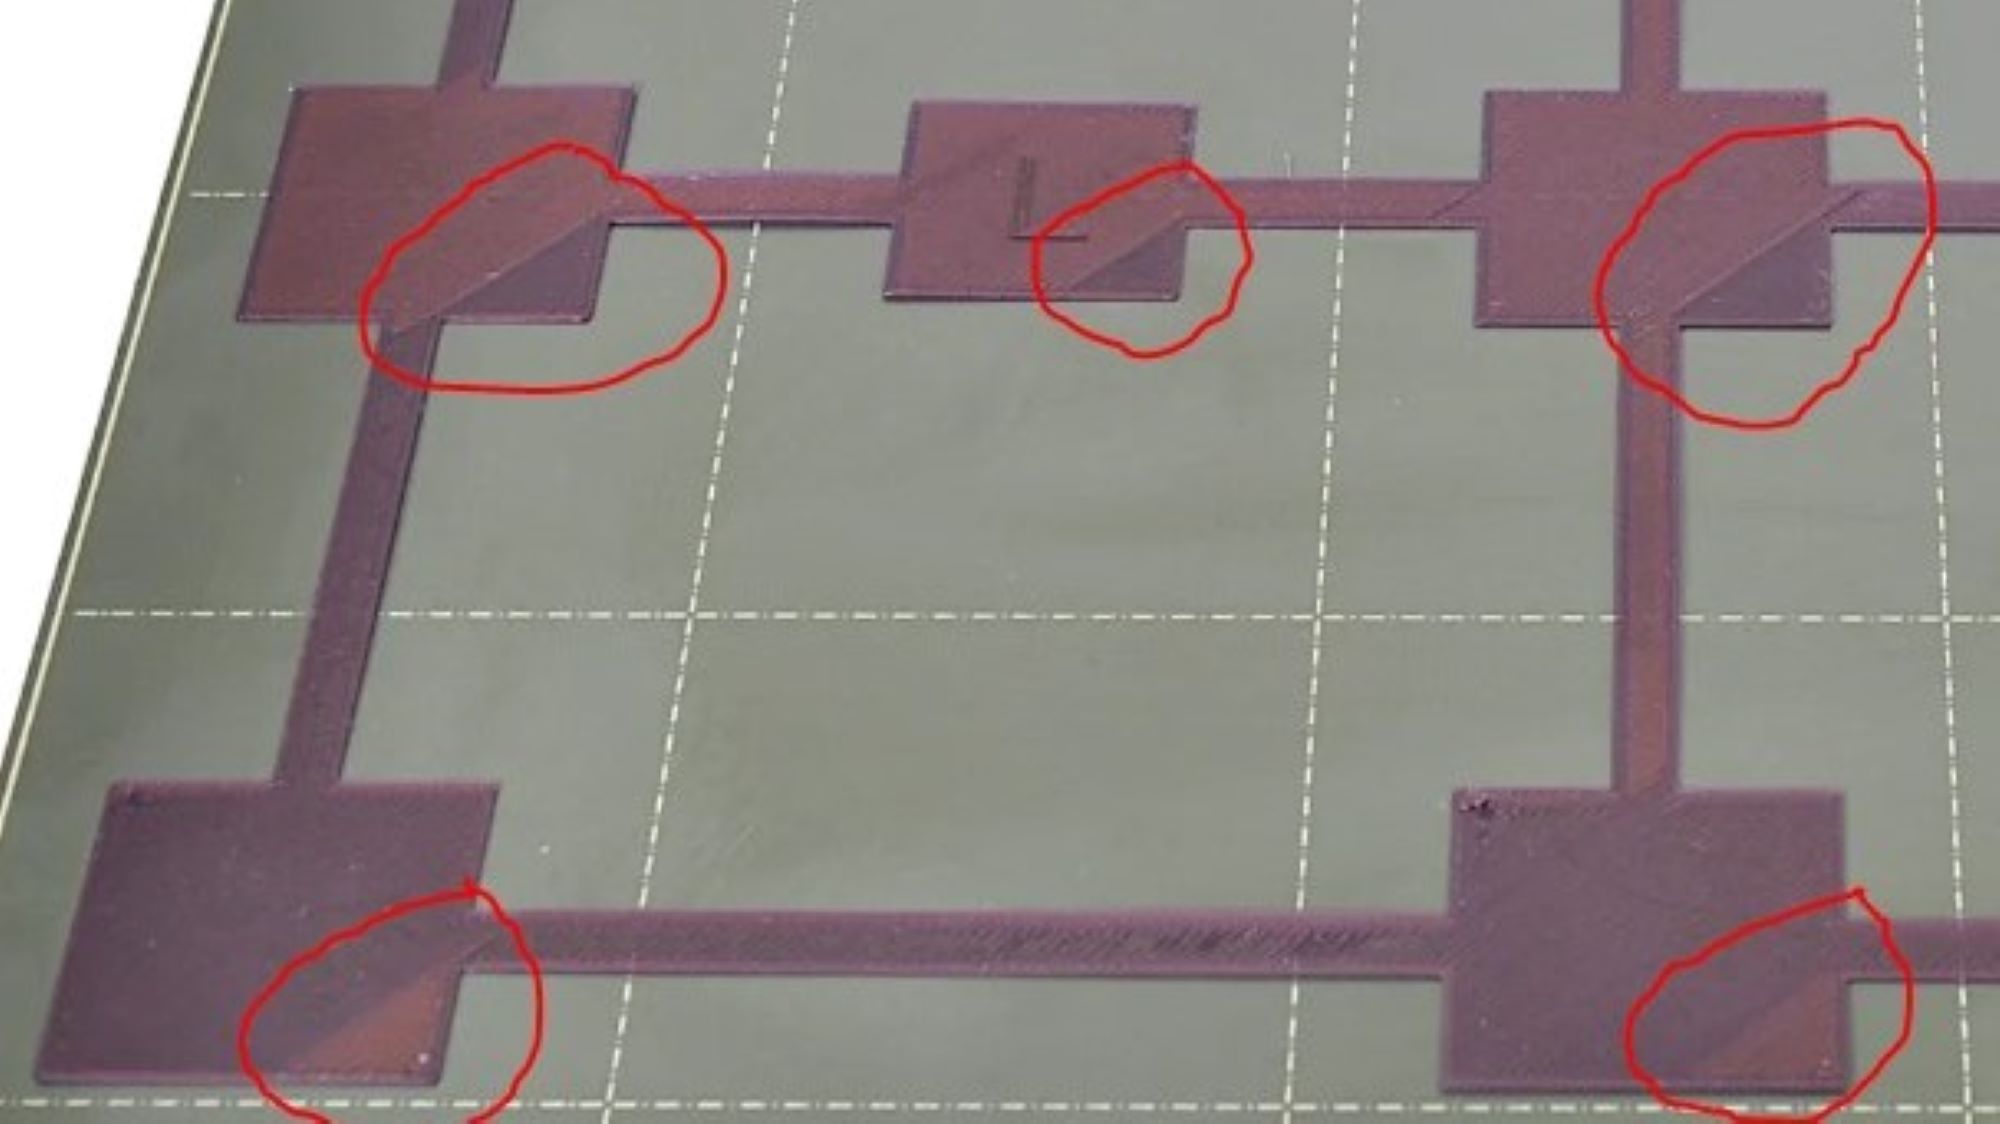
The above picture is from Prusa Printables online documentation. My own test prints look almost exactly like this. These demarcation lines appear on all of my prints regardless of whatever object I am printing. They seem to be in the exact same location on the print bed also. I am currently using Prusaslicer 2.5, but the lines were there with 2.4 as well.
RE: Bed level test result - help needed
This is because PS doesn’t always work the way you might expect. It doesn’t start at one corner of each square and work evenly towards the opposite corner.
Instead, it will start printing in a seemingly random spot, print some, then move to another spot, perhaps in another square entirely, and continue printing. When the print head returns to fill in the unfinished areas, there is always some obvious change in appearance due to temperature swings and possibly the infill placement.
This is typical of any first layer. You can use the sliders in PS to see the print head movement and verify that what you see on the build plate matches the movement of the extruder.
Cheers
RE: Bed level test result - help needed
Your explanation makes perfect sense. Are there any tricks to minimizing the effects? Thanks for your help!
RE: Bed level test result - help needed
I don’t pretend to understand the dark magic of the slicer software so anything I can think to try is just a guess. I find the randomness of the slicer patterns to be bizarre in most cases.
Maybe changing the infill angle would give a different result. Or try changing the infill pattern and see if that changes anything.
If you just print a simple pattern like the 75mm x 75mm single layer calibration print from the ‘Life Adjust Z - my way’ forum post, you’ll get one continuous, corner-to-corner layer without the print head jumping around.
I wish I knew how to make the slicer behave like that for every print, and on every layer. Maybe someone here knows the secret? Just not me 🫤