Adhesiun problem, calibration issue?
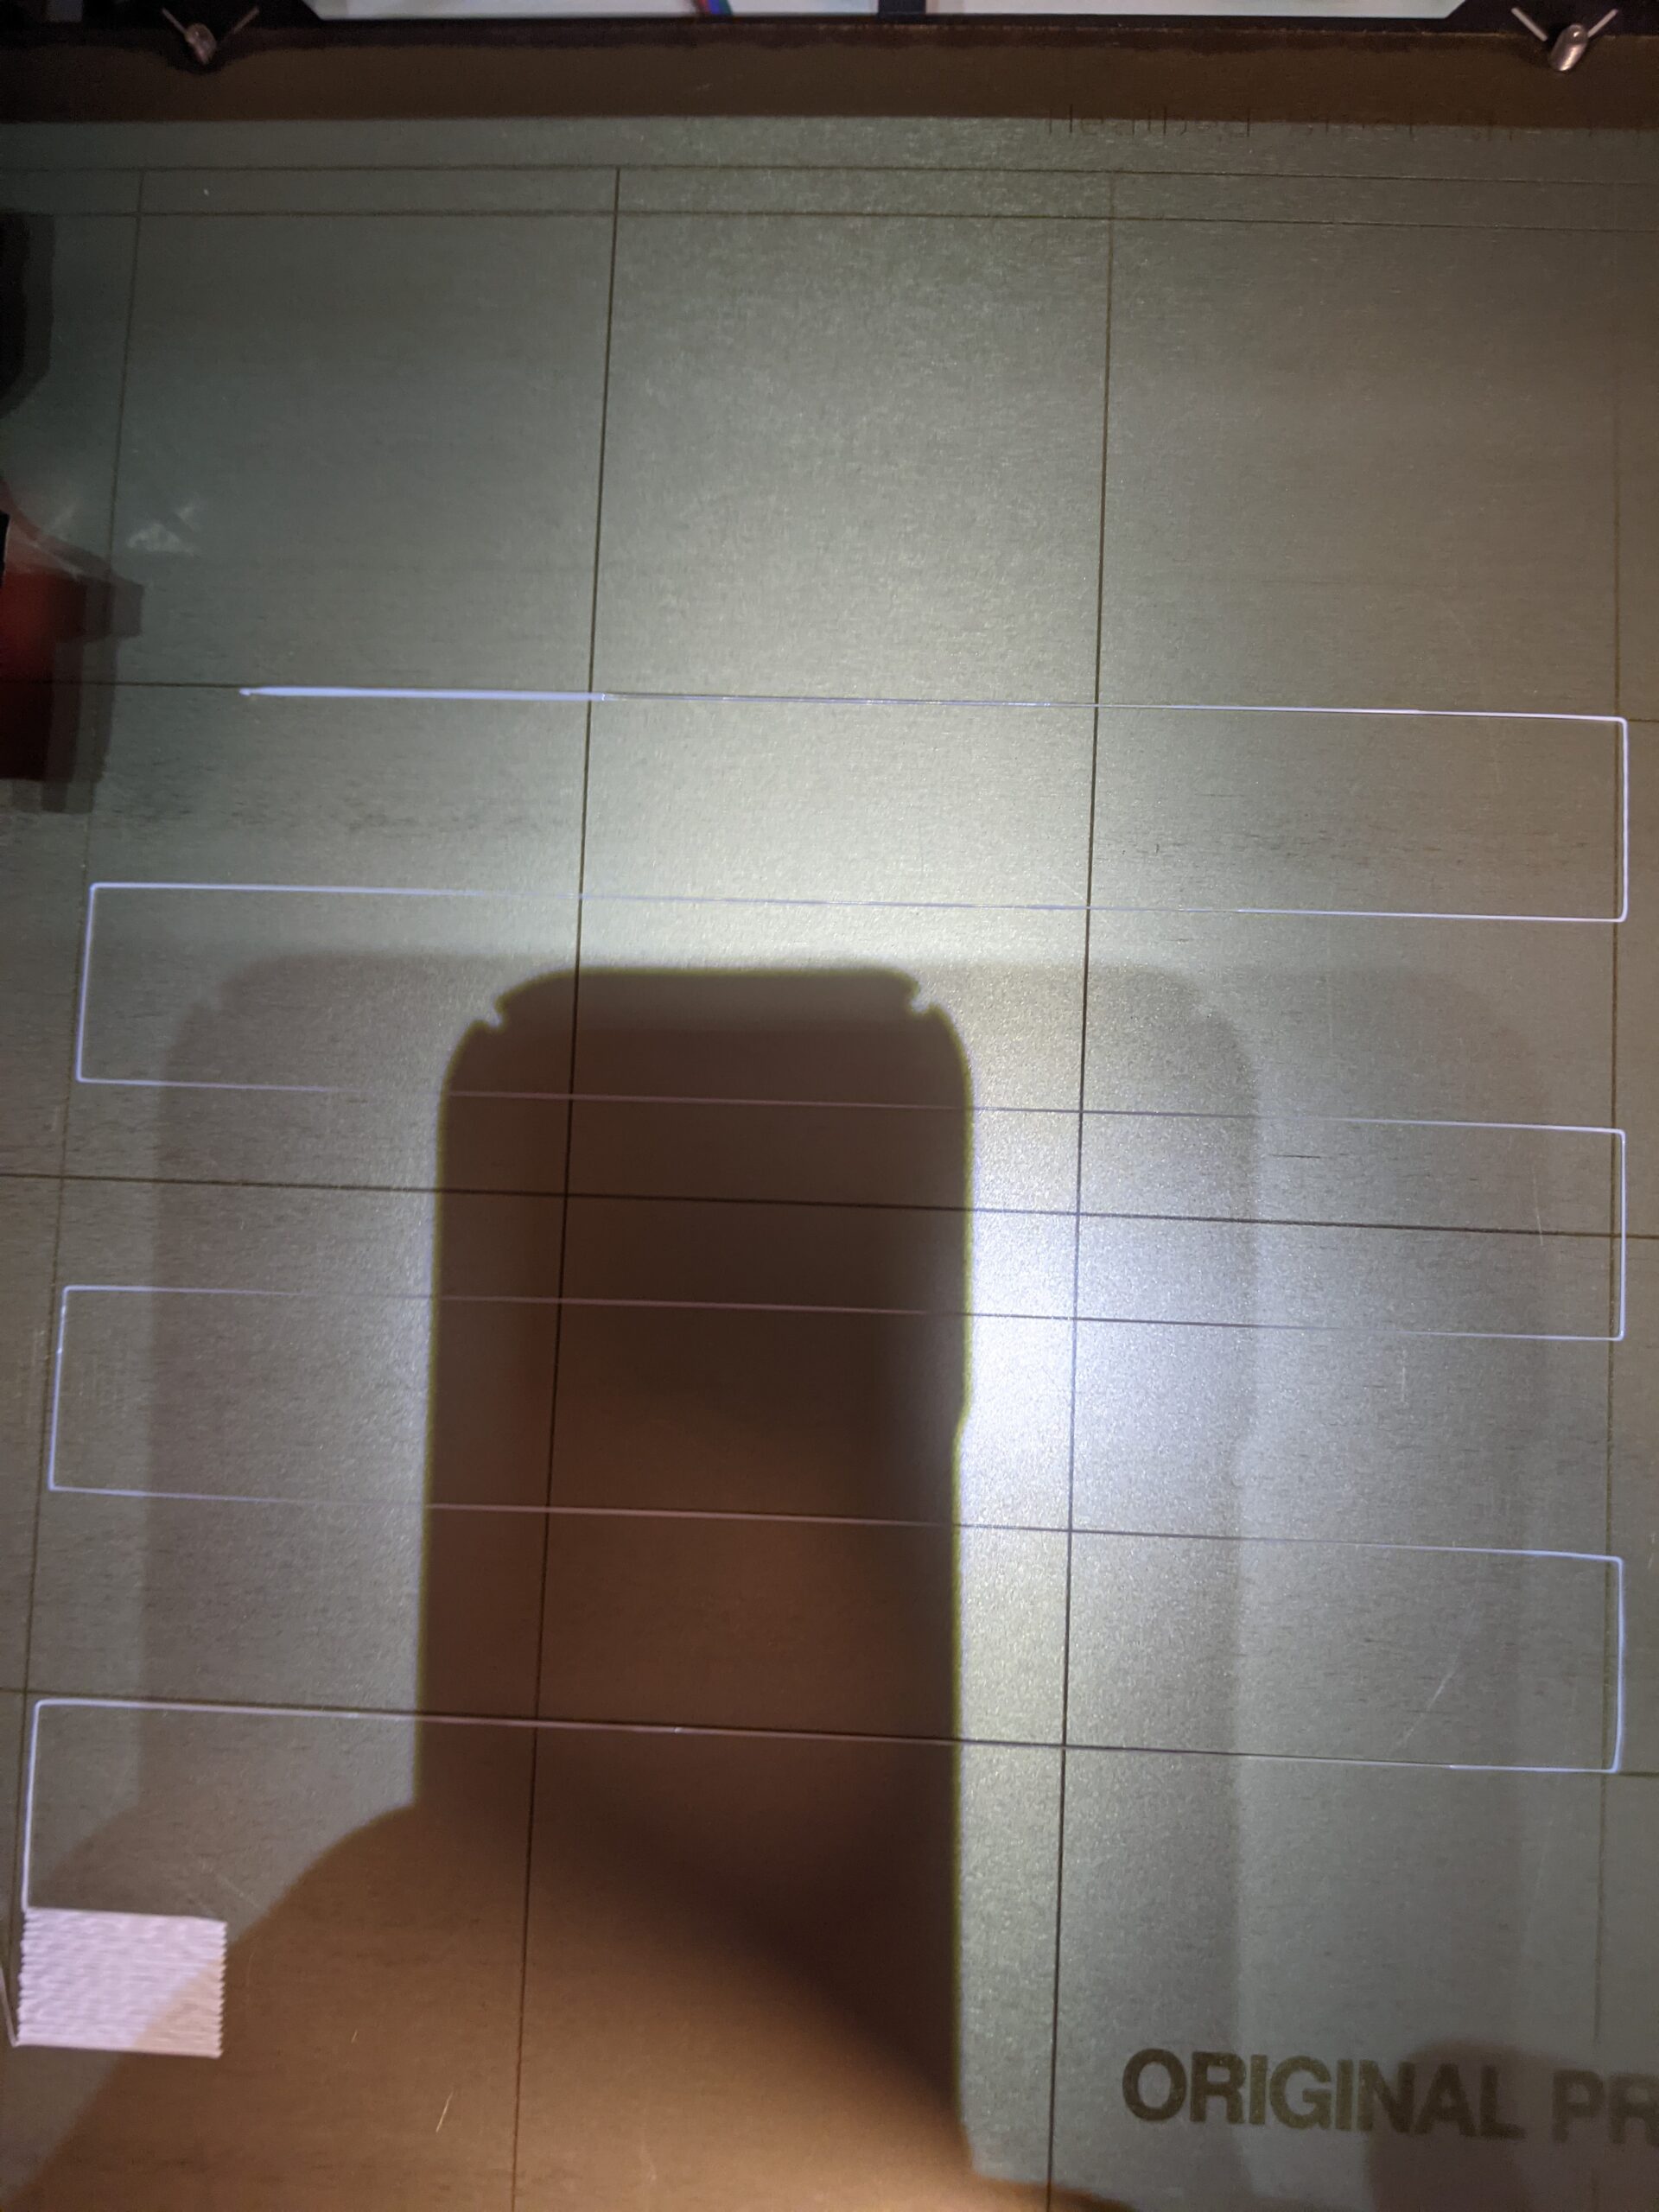
I recently moved and my printer was working like a champ at my old place, not a single problem of any kind. I packed the printer in the origional box during the move. Once I set it up at my new place everything seems fine, self test passes and everything. I ran through the calibration wizard just be sure calibration is up to date, etc., and I set the first level calibration to 0.985. I've attached few picture of the first level calibration test. Can you see anything wrong with this test? It's hard for me to tell.


Live-Z calibration
I've put together some notes on adjusting Live-Z here that might be useful.
How does one live adjust the z calibration
Maybe I'm just being dumb here or too much of a newbie to grasp this but both your notes and Jeff's procedure assume a lot of expertise with the printer. The phrase "just adjust the live z calibration" has me stumped. Your notes go into wonderful detail on what z calibration is and why it matters and all that. But I'm completely missing the how-to part. Jeff talks about printing his gcode and adjust the z calibration accordingly. Printing the gcode is nobrainer, adjusting the z calibration not so much. I get when to adjust, but I'm totally missing the how.
I feel like I'm missing something totally obvious but none the same it is totally eluding me. Can you help a brothor out and point me in the right direction?
Hi Siggi,
when the print starts printing,
click the LCD control, once, and the display should change,
the second item on the display should be 'Live Z'
select this option, and click the LCD Control again, and you should see a LiveZ : 0.00 down to -2.00mm value
if you need to move the nozzle closer to the build plate, you need to increase the negative value of the Live Z value(towards -2.00mm! to move the nozzle away from the build plate reduce the size of the negative number towards 0.00mm
Hopefully your ideal value will be somewhere between about -0.750 and -1.750mm if it's outside these values, you may wish to re adjust your Pinda (SPINDA)
the values in the image below are unique to my printer, but they indicate the small range of values that make a large variation in surface finish
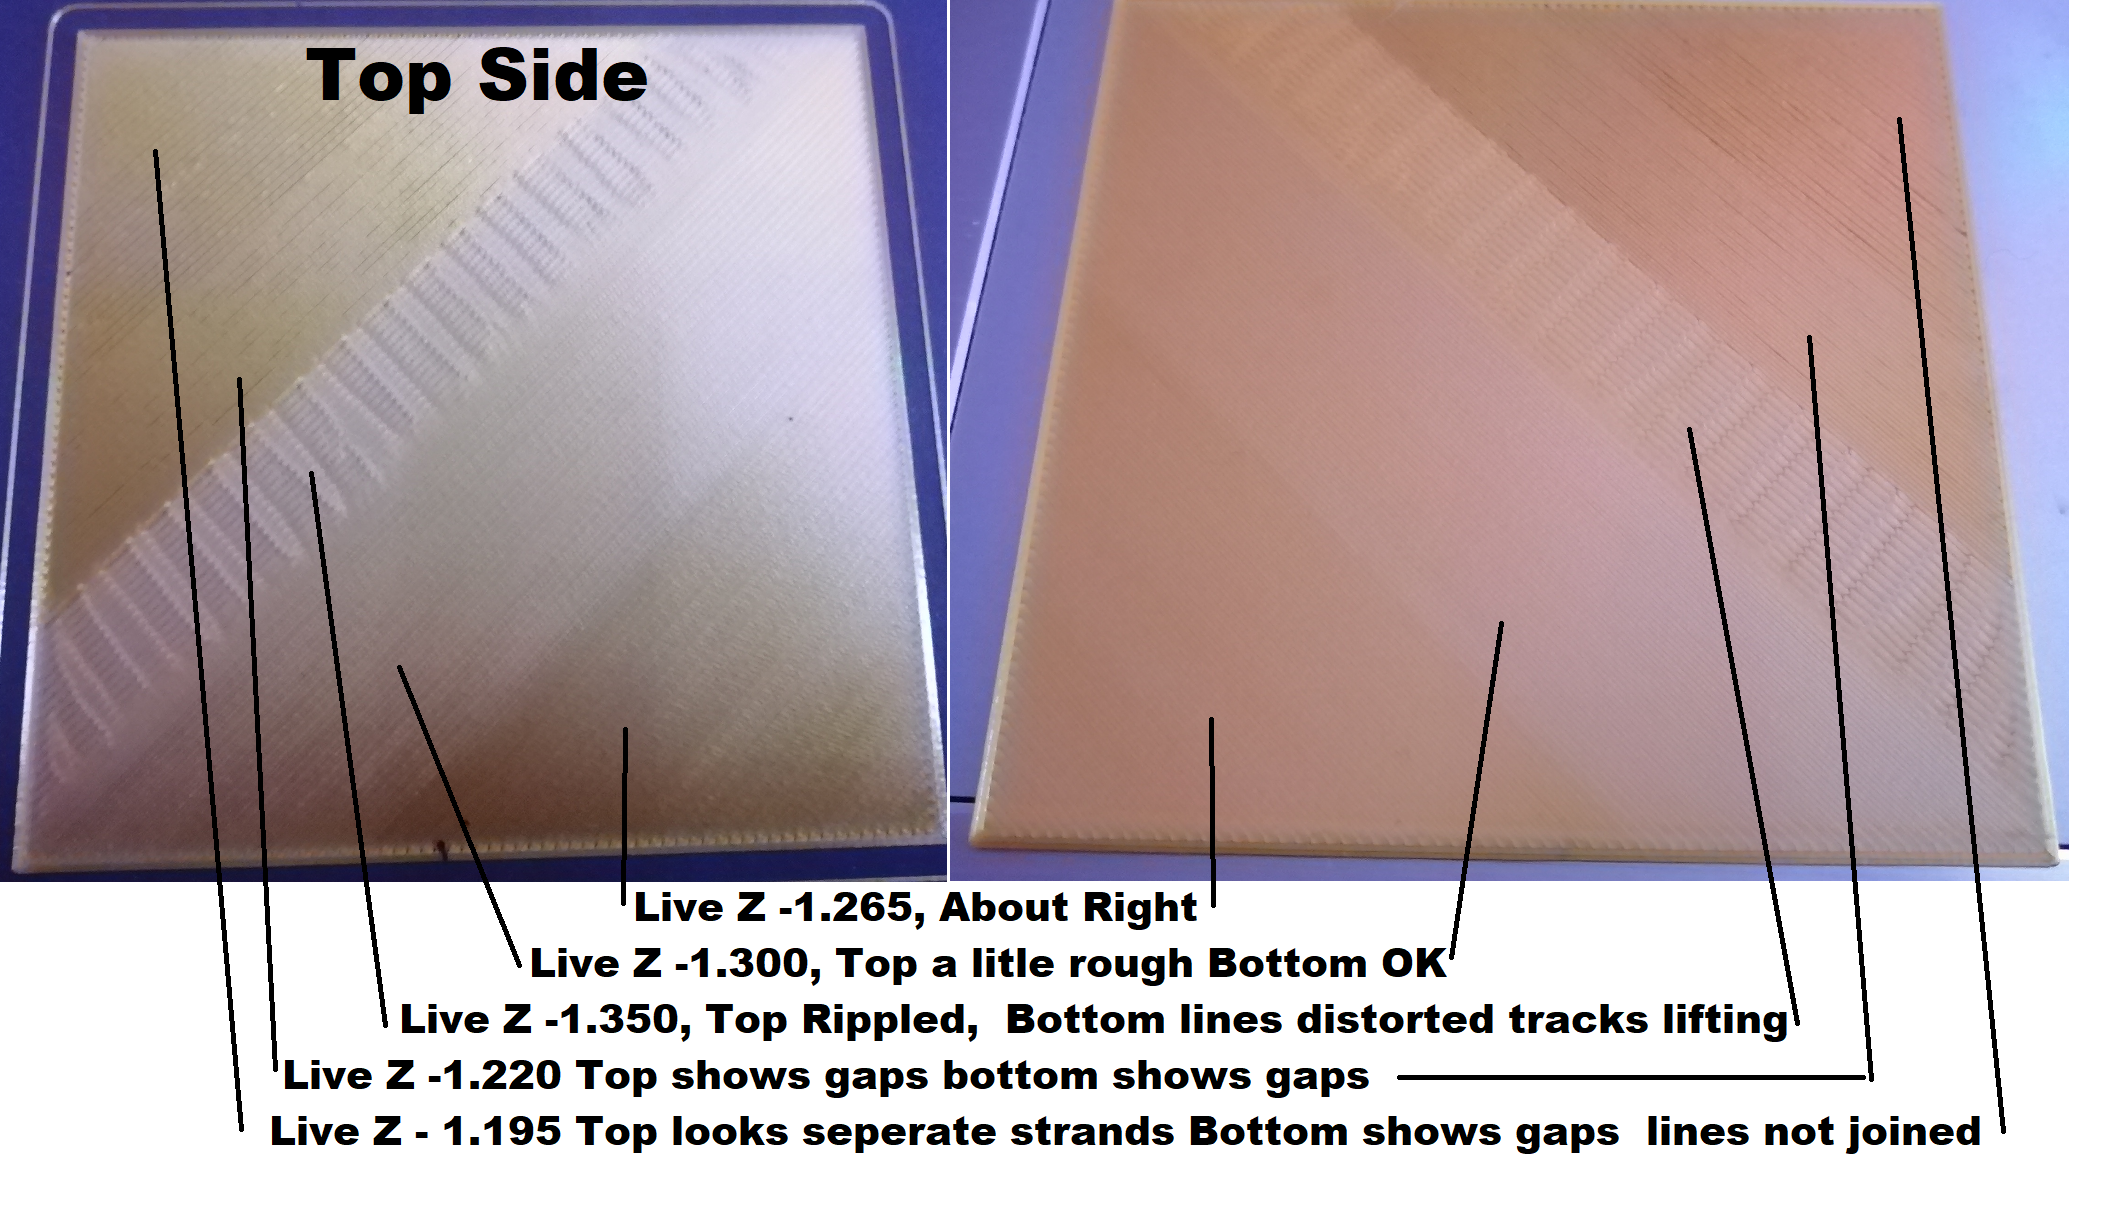
Regards Joan
I try to make safe suggestions,You should understand the context and ensure you are happy that they are safe before attempting to apply my suggestions, what you do, is YOUR responsibility.Location Halifax UK