Disassembly Heater Cartridge and Heat Break
Hi,
When cleaning the nozzle I must have made the mistake not to screw it tightly enough into the heater block: The filament came through the threads of the nozzle on the upper side of the heater block just where the heat break is.
Now I have to clean the heater block, the nozzle and the heat break. Therefore I'd like to remove the whole hotend without undoing the cable management. To achieve that, I have to remove the heater cartridge.
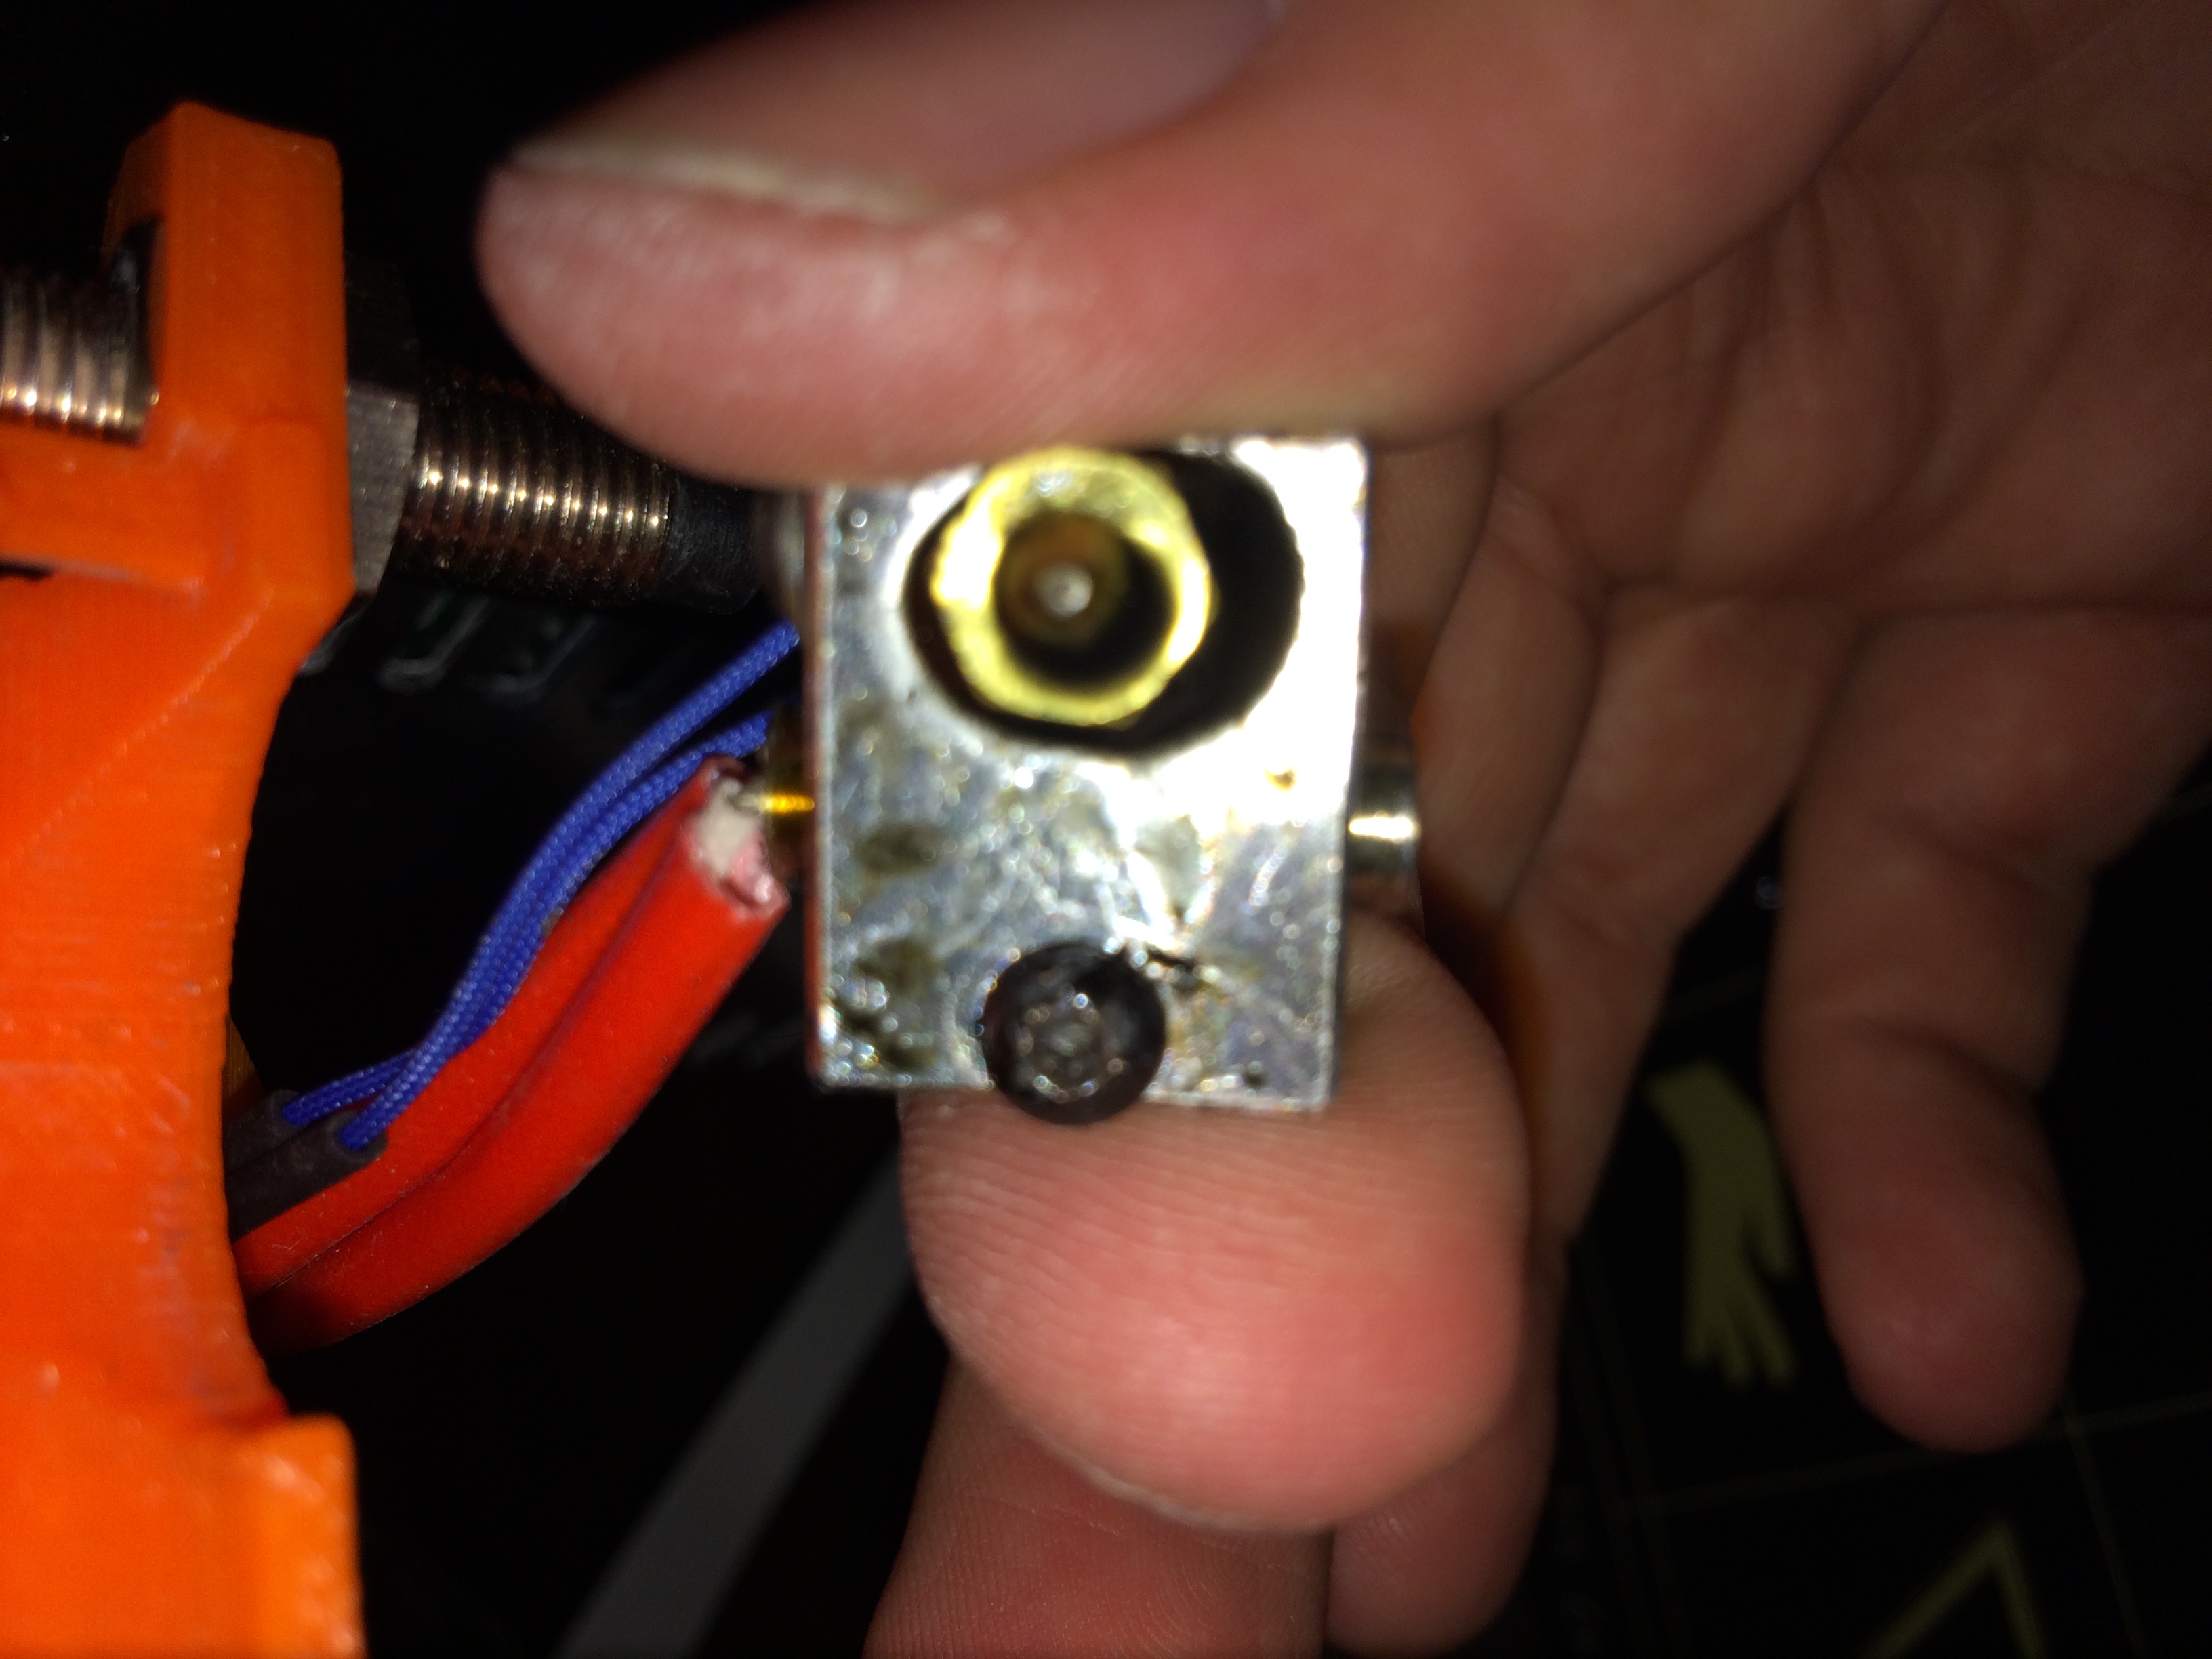
The thing is that I can't remove the screw that puts tension on the heater block and holds the cartridge in place. I'm not able to get the Allen key into the screw. I thought it might be to clogged but cleaning with heat and needle did not help. It seems to be clear of filament.
(Sorry for the bad photo quality...)
It seems that the structure of the screw is rounded and the Allen key doesn't have anything to hold onto even though I did not use that screw before.
Any ideas on how to get the screw unfastened?
And then there's the heat break. After heating up the heater block I had no problems to unscrew the heat break from the heater block. But what doesn't work is to remove the heat break from the cooler. I did not try with brute force since I don't want to break it and it is supposed to come off with by using only my hands (at least I think so).
Could it be the thermal grease? Should I apply more force?
Thanks in advance for your help!
Re: Disassembly Heater Cartridge and Heat Break
it's probably glued in place by the old filament.
can you get it hot, and try again?
maybe use a heat gum ?
mind your fingers,be careful with heat sensitive items nearby.
regards Joan
I try to make safe suggestions,You should understand the context and ensure you are happy that they are safe before attempting to apply my suggestions, what you do, is YOUR responsibility.Location Halifax UK
Re: Disassembly Heater Cartridge and Heat Break
Hey Joan,
Thanks for your suggestions. Already tried that using a heat gun at 280 degree celsius (maybe I should try heat gum 😉 ) but that did not help.
I managed to clean the heat block without disassembling everything and therefore do not have the need for a disassembly currently. If I ever have to do it, I'm afraid I have to cut the screw with a rotary tool.
Re: Disassembly Heater Cartridge and Heat Break
Try heating up the block and cooling the screw with an icecube or something. Maybe a piece of metal that you put in the freezer for a while
Re: Disassembly Heater Cartridge and Heat Break
If nothing works, you could try a screw extractor:
https://en.wikipedia.org/wiki/Screw_extractor
or
https://www.google.com/search?q=screw+extractor
Re: Disassembly Heater Cartridge and Heat Break
If you have a dremel you can carefully cut a notch in it so that you can use a standard screwdriver after heating it up.
Re: Disassembly Heater Cartridge and Heat Break
Hi,
When cleaning the nozzle I must have made the mistake not to screw it tightly enough into the heater block: The filament came through the threads of the nozzle on the upper side of the heater block just where the heat break is.
Now I have to clean the heater block, the nozzle and the heat break. Therefore I'd like to remove the whole hotend without undoing the cable management. To achieve that, I have to remove the heater cartridge.
Hi
I have the exact same issue, straight from the factory, first time I've touched this nut and same thing - its circular inside. I have a whole range of alan keys, including some direct from E3D for a new cartridge, and they either turn endlessly or do nit fit. How did you get yours off? I am not looking forward to unbraiding all the cabling and sawing new slots in the screw just to get a new cartridge on 🙁
Re: Disassembly Heater Cartridge and Heat Break
If you go the screw extractor route spend the extra money and get yourself some reverse dill bits. These drill in the same direction the extractor works, counter clockwise. Most extractor kits I have found usually come with some but others don't. And if you manage to drill the hole too large you can still get helicoils. These are simply replacement threads and look somewhat like a spring. Or tap the hole and get the next size bolt to fit.
I don't know much about 3D printing but fixing broke stuff is another matter.
Neal
