Issue printing upgrade parts
Hey everyone,
I've used my MK2s for many prints and never had any bad issues with first layer adhesion before - but the PETG gives me great headaches. The outlines just won't properly stick, even with a bit of gluestick.
Before I'll now completely screw my setup, I wanted to ask you guys what the best course of action would be here.
Thanks a bunch, Chris

Prusa MK2s -> MK2.5 -> MK2.5 MMU2
Re: Issue printing upgrade parts
I have also tried to print some parts with the PRRUSA PETG.
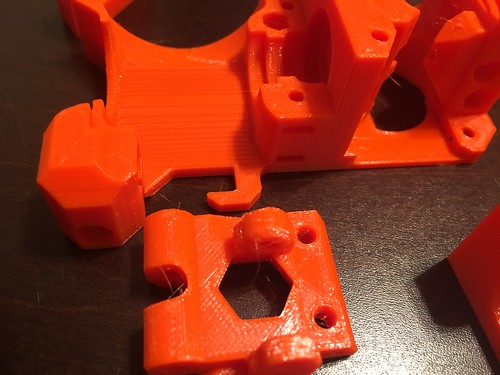
I guess you are using the black PETTG from PRUSA too. I also experienced a very bad bed adhesion with this filament, also the surface finish on top is matte and rough. Hairspray did not help, cleaning the bed with 99% IPA did not help and the gluestick even made it worse. However, the fail-rate lowered with a proper Live-Z-Adjustment, so try it with that. In general, Z-height is set too low. But it was still garbage for me.
Solution for me: I switched to another PETG ( https://www.amazon.de/Digitalrise%C2%AE-PETG-%C3%B81-75mm-3kg-Rolle-schwarz/dp/B06XKY3RRN/ref=sr_1_1?ie=UTF8&qid=1522675196&sr=8-1&keywords=petg+schwarz ) and it worked flawlessly.
I never had any issues with eSUN PETG too.
EDIT: Just looked: The sticker on the Prusa Spool sais "PET black". So maybe it really is PET instead of PETG. That would explain our issues, because the glycol (the "G" in PETG) improves layer and bed adhesion and some other physical attributes.
Re: Issue printing upgrade parts
I've had a roll of black PETG from Prusa which I've ordered about 2 month ago I think. I've had issues with it since opening it (I think moisture might have caused the bad printing with it if nothing else). The first 200m or so of the roll printed like garbage with the a few small exceptions. However, after keeping it in a sealed container with lots of dessicant it started printing better (or at least that's how it seems). FYI having the same issue with their white PETG.
I have printed the upgrade parts with it and they worked fine after dialing in the settings. One tip about this PETG from Prusa would be to lower your Z height more than you would with typical PETG for the first layer. And print on clean bed without any gluestick. Or print on Kapton tape wiped with IPA.
Check your bed level with PLA before to make sure your bed isn't warped (in my case it is) and adjust accordingly. Additionally, if you have an enclosure make sure it's not getting too warm. This PETG seems to have a lower softening point and at around 40°C in my enclosure the gears grind the filament and extrusion gets bad and eventually stops.
I have printed all the parts with Linear Advance at 100mm/s and 50% fan and they came out flawless.

Re: Issue printing upgrade parts
Thanks for all of your suggestions!
In the end I switched to Simplify3D and used their PET settings combined with very low speeds for the first layer. I printed problematic parts one by one to make sure the curling has no chance. I printed all but one part up until now and it is hopefuilly good enough for the upgrade.
Thanks again
FitzZZ
Prusa MK2s -> MK2.5 -> MK2.5 MMU2
Re: Issue printing upgrade parts
Just FYI. You are not alone in this situation. I pulled out my hair trying to get the PETG from Prusa to print on my MK2s for the 2.5 upgrade. I finally found if I took the live "Z" to almost my PLA setting and cranking the extruder temp to 250 it completed the parts necessary for the upgrade. I think Prusa knows there is issues with the filament sent with the upgrade kits as they even offered to send me more PETG or print the parts there. When finally finished I did not have much filament left to try a print with the new 2.5 upgrade so I had to use my PLA which was fine.
Original Prusa I3 MK2s with 2.5 upgrade; Original Prusa I3 MK3s; Slic3rPE; FreeCAD
Re: Issue printing upgrade parts
Where can I find someone who can print a couple of the extruder idler for me? I broke mine getting the pin in. Got distracted and forgot to widen one side. I would love to get a couple printed for me, I live in USA South Bend, IN.
Re: Issue printing upgrade parts
My goodness this has been challenging 😕
Having exactly the same issue coupled with odd behaviour from my MK2...
My PEI sheet was trashed, so I changed it for a fresh one to print all the upgrade parts on. Calibrated afterwards, no dramas. Made sure the new sheet was clean, and started to print the first upgrade parts file (extruder gcode). While it was printing the skirt I dialled in the live z, got to -300, perfect grab, let it go. Every part came out perfectly, some of the best prints I've seen.
THEN... removed those parts, went to print the next file... No good. It's like it lost the z height I had set. I had to adjust it to about -1800 to get it to grab (which is just wrong). So, after it grabbed, I stopped the print, cleaned the little bit it did, then started to print again. Same issue, I had to lower another -1500 to make it grab. Crazy behaviour! I messaged support and got told how to check the pinda (I purchased an assembled unit), I lowered it a bit, put it didn't appear to have come loose at all. Calibrated XYZ, all perfect, off I want again. Same behaviour. Every time I start the print I have to immediately go to live z and lower about -1500. Haven't gotten a first layer I've been happy with yet, can't lower it fast enough before the first circle it prints after the skirt.
There wouldn't be anything in the GCODE doing this right? I'm sure it would have been reported. Thing is, I can slice a model in Simplify3D, whack it in, and it'll print fine. Completely doing my head in! 😯
I'm currently printing a spare idler, as I saw in the instructions people were having trouble, and thought it best to have a spare. I used Slic3r PE with the recommended settings to make the GCODE, but was having the same issue. So I made the skirt 5 loops to give me time to get it down -1500.
Has anyone had this kind of behaviour!? This thing has been flawless up until now. I've designed and printed hundreds of things without anything close to an issue like this. The only variable is it's not my GCODE, and it's been sliced with Slic3r as opposed to Simplify?
Re: Issue printing upgrade parts
I've had the same issues when using eSun PETG.
What I did to fix the adhesion problem was to cover the bed in a light layer of gluestick, then using the green side of a sponge, very gently scratch up the glued area (no force at all, just move the sponge around in small circles). Finally, use a dry paper towel to wipe off any glue dust that you may have created, then start printing. Have had perfect first layers every time using this method.
Re: Issue printing upgrade parts
Has anyone had this kind of behaviour!? This thing has been flawless up until now. I've designed and printed hundreds of things without anything close to an issue like this. The only variable is it's not my GCODE, and it's been sliced with Slic3r as opposed to Simplify?
I'll relate a bit of what I've run into with live-z and PETG. One thing I noticed is that the printer doesn't seem to retain the live-z changes properly if the print is cancelled before it finishes. For example, I would calibrate my Z-axis and get a z-offset of -0.350, and print the PLA test lines perfectly. I would then switch to PETG, start a print, move the live-z down by -100 or so (ending up at -0.450), and it would stick well. Then something would happen to the print later and I'd cancel it before it finished. The firmware still showed an offset of -0.450 when I checked. But when I printed again, I would have to move the live-z down by -100 all over. So I'd end up at -0.550, and if I cancelled and tried again, it would be -0.650!
Ultimately, I ended up re-running the z-calibration and keeping track of how much I'd adjust live-z when I started a print. Then, if I had to cancel it, I would always go back into settings > live-z and reverse that amount again before I would start another print.
I really thought it was just my imagination for quite a while, but this kept happening so frequently that I really think it's a quirk of the MK2 firmware. Or something with my use of OctoPrint for starting and cancelling, perhaps. After upgrading to MK2.5, with the temp-adjusting pinda probe, I haven't had to deal with it at all.
Final note, I printed all my parts with eSun PETG as well, not what Prusa sent in the kit.
Brian
Re: Issue printing upgrade parts
I'll relate a bit of what I've run into with live-z and PETG. One thing I noticed is that the printer doesn't seem to retain the live-z changes properly if the print is cancelled before it finishes. For example, I would calibrate my Z-axis and get a z-offset of -0.350, and print the PLA test lines perfectly. I would then switch to PETG, start a print, move the live-z down by -100 or so (ending up at -0.450), and it would stick well. Then something would happen to the print later and I'd cancel it before it finished. The firmware still showed an offset of -0.450 when I checked. But when I printed again, I would have to move the live-z down by -100 all over. So I'd end up at -0.550, and if I cancelled and tried again, it would be -0.650!
Brian
Got it! That's the exact behaviour right there, every time I cancel it loses the z height and you have to keep adding it until you get to a height that should be below the bed. I'll go and report it because I've been chasing it for the last 2 days! 😯
https://www.thingiverse.com/thing:2952959/comments
I put this together to dial in the first layer, I can get the Prusa PET to print perfectly, but once it's set, and I try to print the parts, it's all wrong again.
Maybe I just won't cancel and let it finish. I've been stopping it when I see a perfect strip get laid down. Get it dialed in, let it finish, then try and print the RAMBo stuff. I really must have fluked the first lot of parts!
Edit: It almost feel like it's angry at me for trying to upgrade it... Like, buying your wife breast implants for her birthday. I have never seen this issue before!
Re: Issue printing upgrade parts
Ok, reported it to support, they guys are looking into it.
I did a few tests and it doesn't even when you don't cancel the print. The only variable here is that these parts were sliced in Slic3r.
I've never seen this issue using Simplify3D for the last year, it only popped up when trying to print these parts using the prusa supplied gcode.
Just wondering... is there something in the 'header' of the gcode that could be causing the printer to lose it's live z adjustment value?
I created two files to test this and had a look at them in notepad, the simplify gcode was all laid out easy to read, but the slic3r file was a complete mess 😯
I know it's more efficient and uses less characters having it look like a complete mess, I mean, who needs all those carriage returns 🙄
Re: Issue printing upgrade parts
Forgot to mention I did find a work around with the z height issue. I recalibrated, printed my test strips, got the height (-770), then started the print of the RAMBo components. Set the speed to 10% so I had time to live set the a height to -1540 during the purge. Watched the skirt go down, looked perfect, so ramped the speed up to 100 and currently looking ok. This filament is a bit... globby though. As I said, the first lot of components were just perfect, I'm struggling to understand why the second lot are coming out so, meh.
Re: Issue printing upgrade parts
Finally got a pretty clean first layer down... then because of all the stuffing around, false starts and calibrating, I'm nearly out of filament! 😥
Re: Issue printing upgrade parts
Yah PETG printing seems tricky.

There is simply not enough good simple information about printing it compared to PLA and there isnt as robust of a layer height calibration process for it.

For example of these Prusa support kept on saying I should increase my z-hop. Turned out I was following the diagrams in their instructions to literally and was leaving to much of a gap because I was trying to reproduce the gap they show in their documentation which was WAY to much. I think the instructions are written to be paranoid about to much PEI adhesion and worrying about build-up or curling up to the hot parts of heat block and sides of the nozzle.
With some modifications, switching to cheap Inland PETG, printing one to two pieces at a time, and accepting I would have several bad first layers so I had to watch the first 2-3 layers like a hawk... I was able to print out all of the parts in enough quality to be able to assempt the Mk 2.5

Now I can print small objects no problem in PETG, medium sized PETG objects are a sometimes, and large ones is still a pain due to small imperfections in a first layer being even more impactful in the final result compared to PLA or ABS in my experience:

Now if Only I can figure out how to get the promised amazing "best of PLA and ABS" qualities out of the remaining Prusa PETG filament.
Re: Issue printing upgrade parts
Has anyone found a fix for this creeping z height issue!? It's really annoying. I just downloaded the spool holder gcode, and it's doing the same thing, took me three goes to chasing the first layer to get it perfect.
Also, I love PETG, once tuned it it's given me the best parts I've made. I use De-Solv-It to clean the bed between prints, I find it makes it stickier, and also releases better. I reckon it's old mate D-Limonene working it's magic.
Re: Issue printing upgrade parts
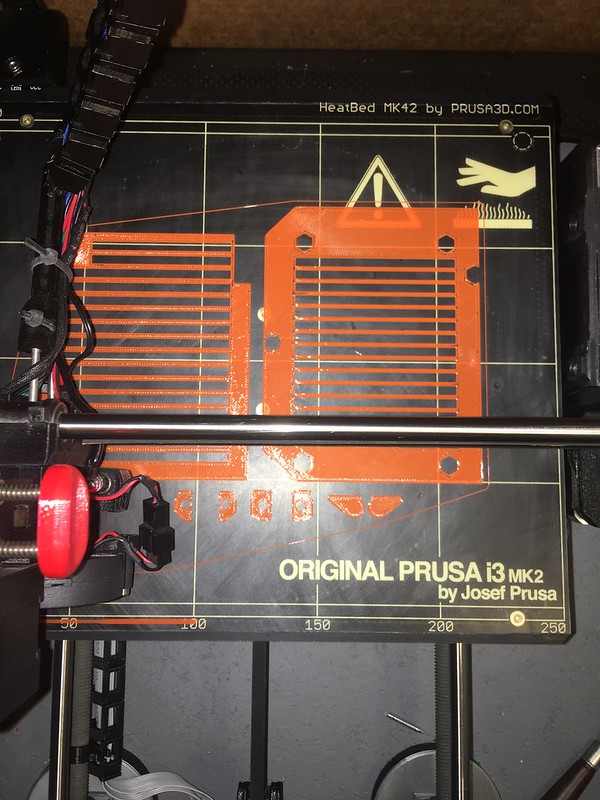
I just started printing the PETG (orange, although I also ordered black) 2.5 upgrade parts. The first 3 attempts did not stick at all to my Mk2S that has about 150 hours of print time on the PEI. I tried with a layer of glue, then the 3D printing dedicated "Magigoo" to no avail.
I decided to wet sand the PEI sheet with 1500 grit paper (I would've rather used 1000 grit but didn't have any) and rubbing alcohol. wiped. repeat 2 more times. IT WAS NIGHT AND DAY DIFFERENCE. The very first print when without a hitch for the next 11 hours.
Actually at first after wet-sanding I thought some glue would give that extra insurance. It turns out that it's BETTER WITHOUT GLUE. Just a fresh wet sanded PEI sheet was all that I needed.
I started with circular sanding each of the squares so I can keep track of which areas were done. then a crisscross pattern, then circular again. Then wipe clean a few times with just alcohol. You'll noticed as you're wiping the alcohol, the surface has noticeable more friction. Don't be surprised, it will also look a little cloudy.
I used the Prusa Gcode pre-sliced for PETG
While printing, like others have done, I started first layer at 50% speed and adjusted Z to my liking.
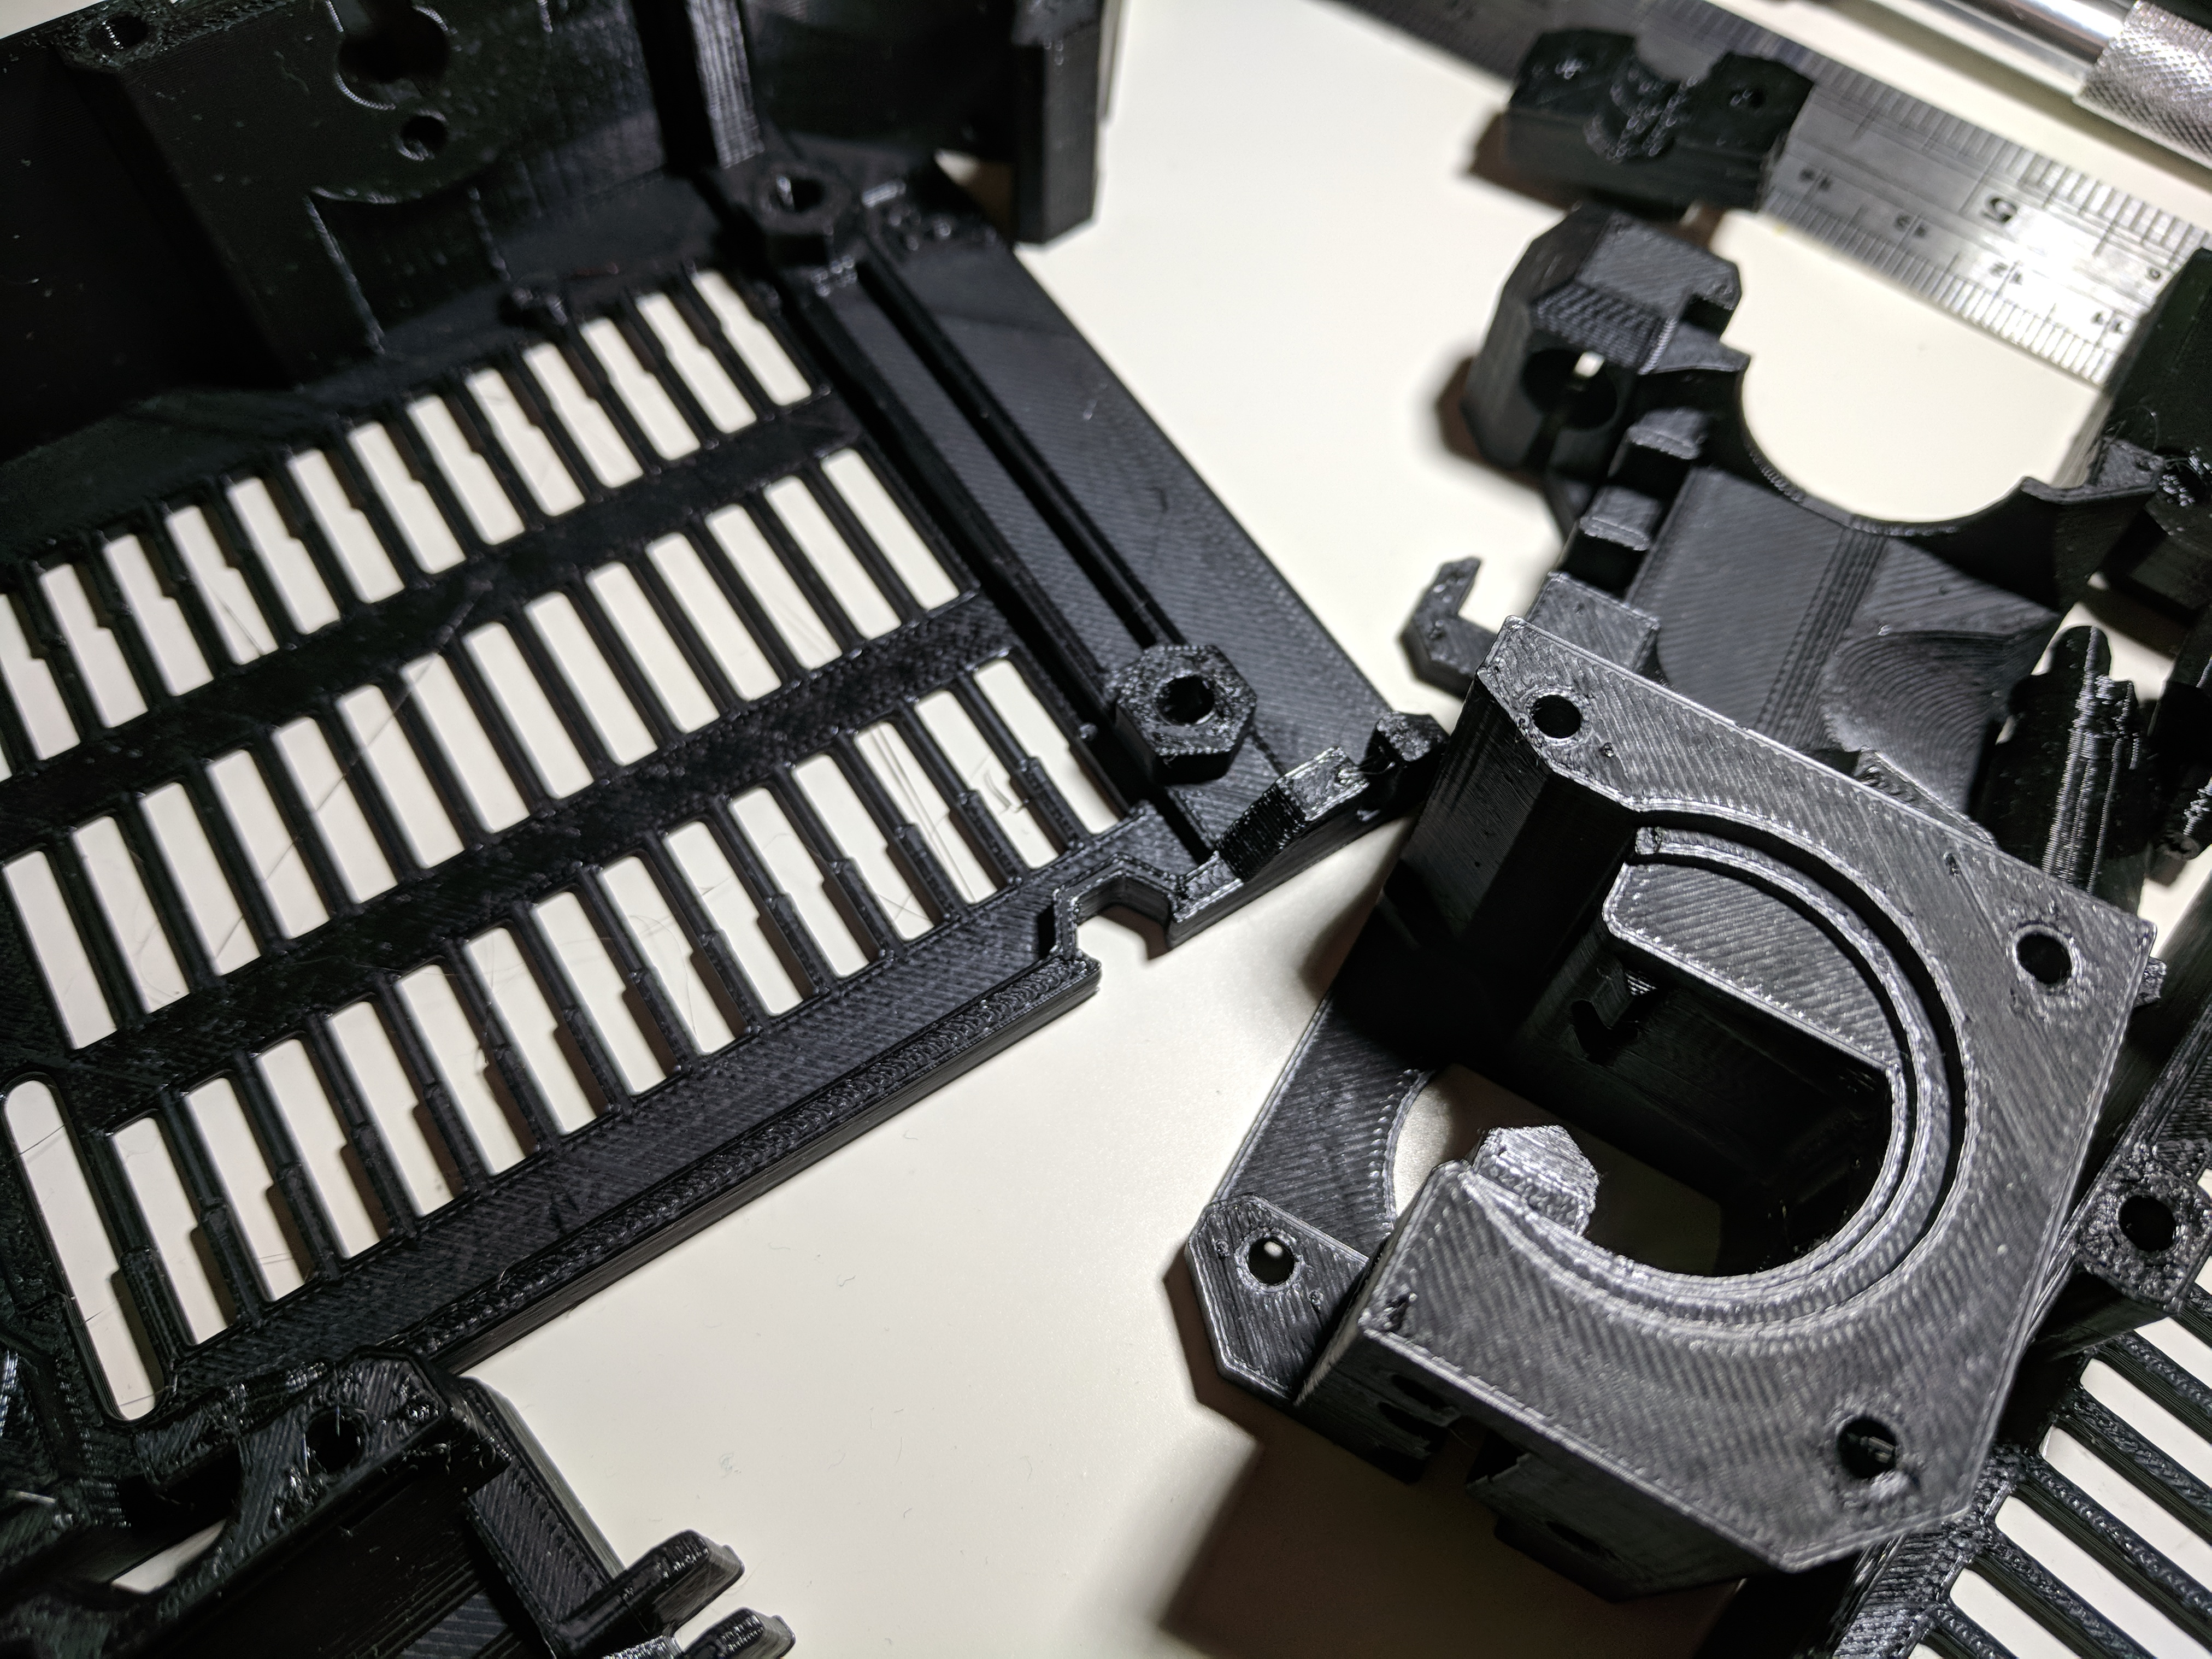
I was so happy I took these pics; they're fresh off the bed! They're even still a little warm 😆
hope this can help someone...

Re: Issue printing upgrade parts
Second batch going well so far. NO GLUE just wet sanded PEI with 1500 grit and alcohol.

Re: Issue printing upgrade parts
After recalibration all printing fine …
Previous to that I was unable to print at all
Using Gcode file and Supplied orange filament
Re: Issue printing upgrade parts
If you are suffering from poor adhesion then a good wipe with Acetone (not IPA) will bring the bed back to life.
Re: Issue printing upgrade parts
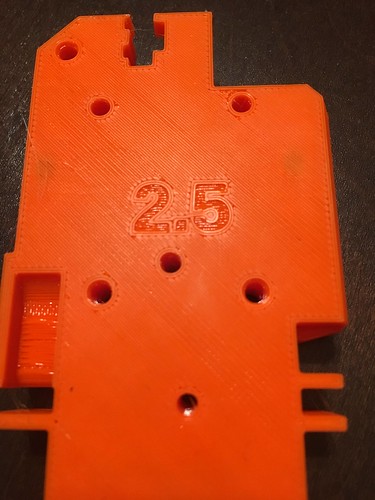
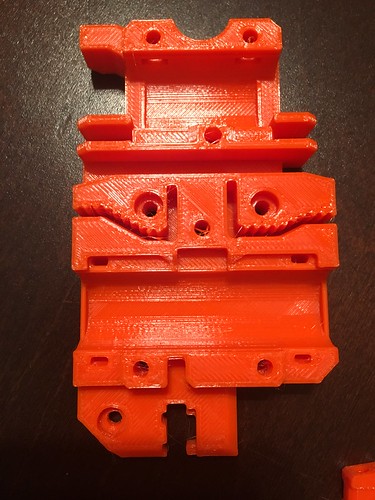
After much frustration I managed to print my set of upgrade parts with the Jet Black PET that came with the upgrade. Maybe this will help someone:
1. wiped with IPA
2. thin coat of hairspray
3. dialed down live Z from -0.850 to -0.900 (= 0.05 lower)
4. increased temp to 240°C
5. first layer printed at 60%, dialed up to 80% on second
6. 100% from there on
The resulting parts are very nice, with no globs or strings. I would say much better than the original parts from the factory I got with my MK2. Using the presliced G-Code from the website (R3 from August 3, 2018).