hotbed assembly misalignment
Anyone know how I can fix this? It's off by like 5mm which requires bending z-axis guides.
RE: hotbed assembly misalignment
I’m having same issue. Fronts line up, but rears are way off.
RE: hotbed assembly misalignment
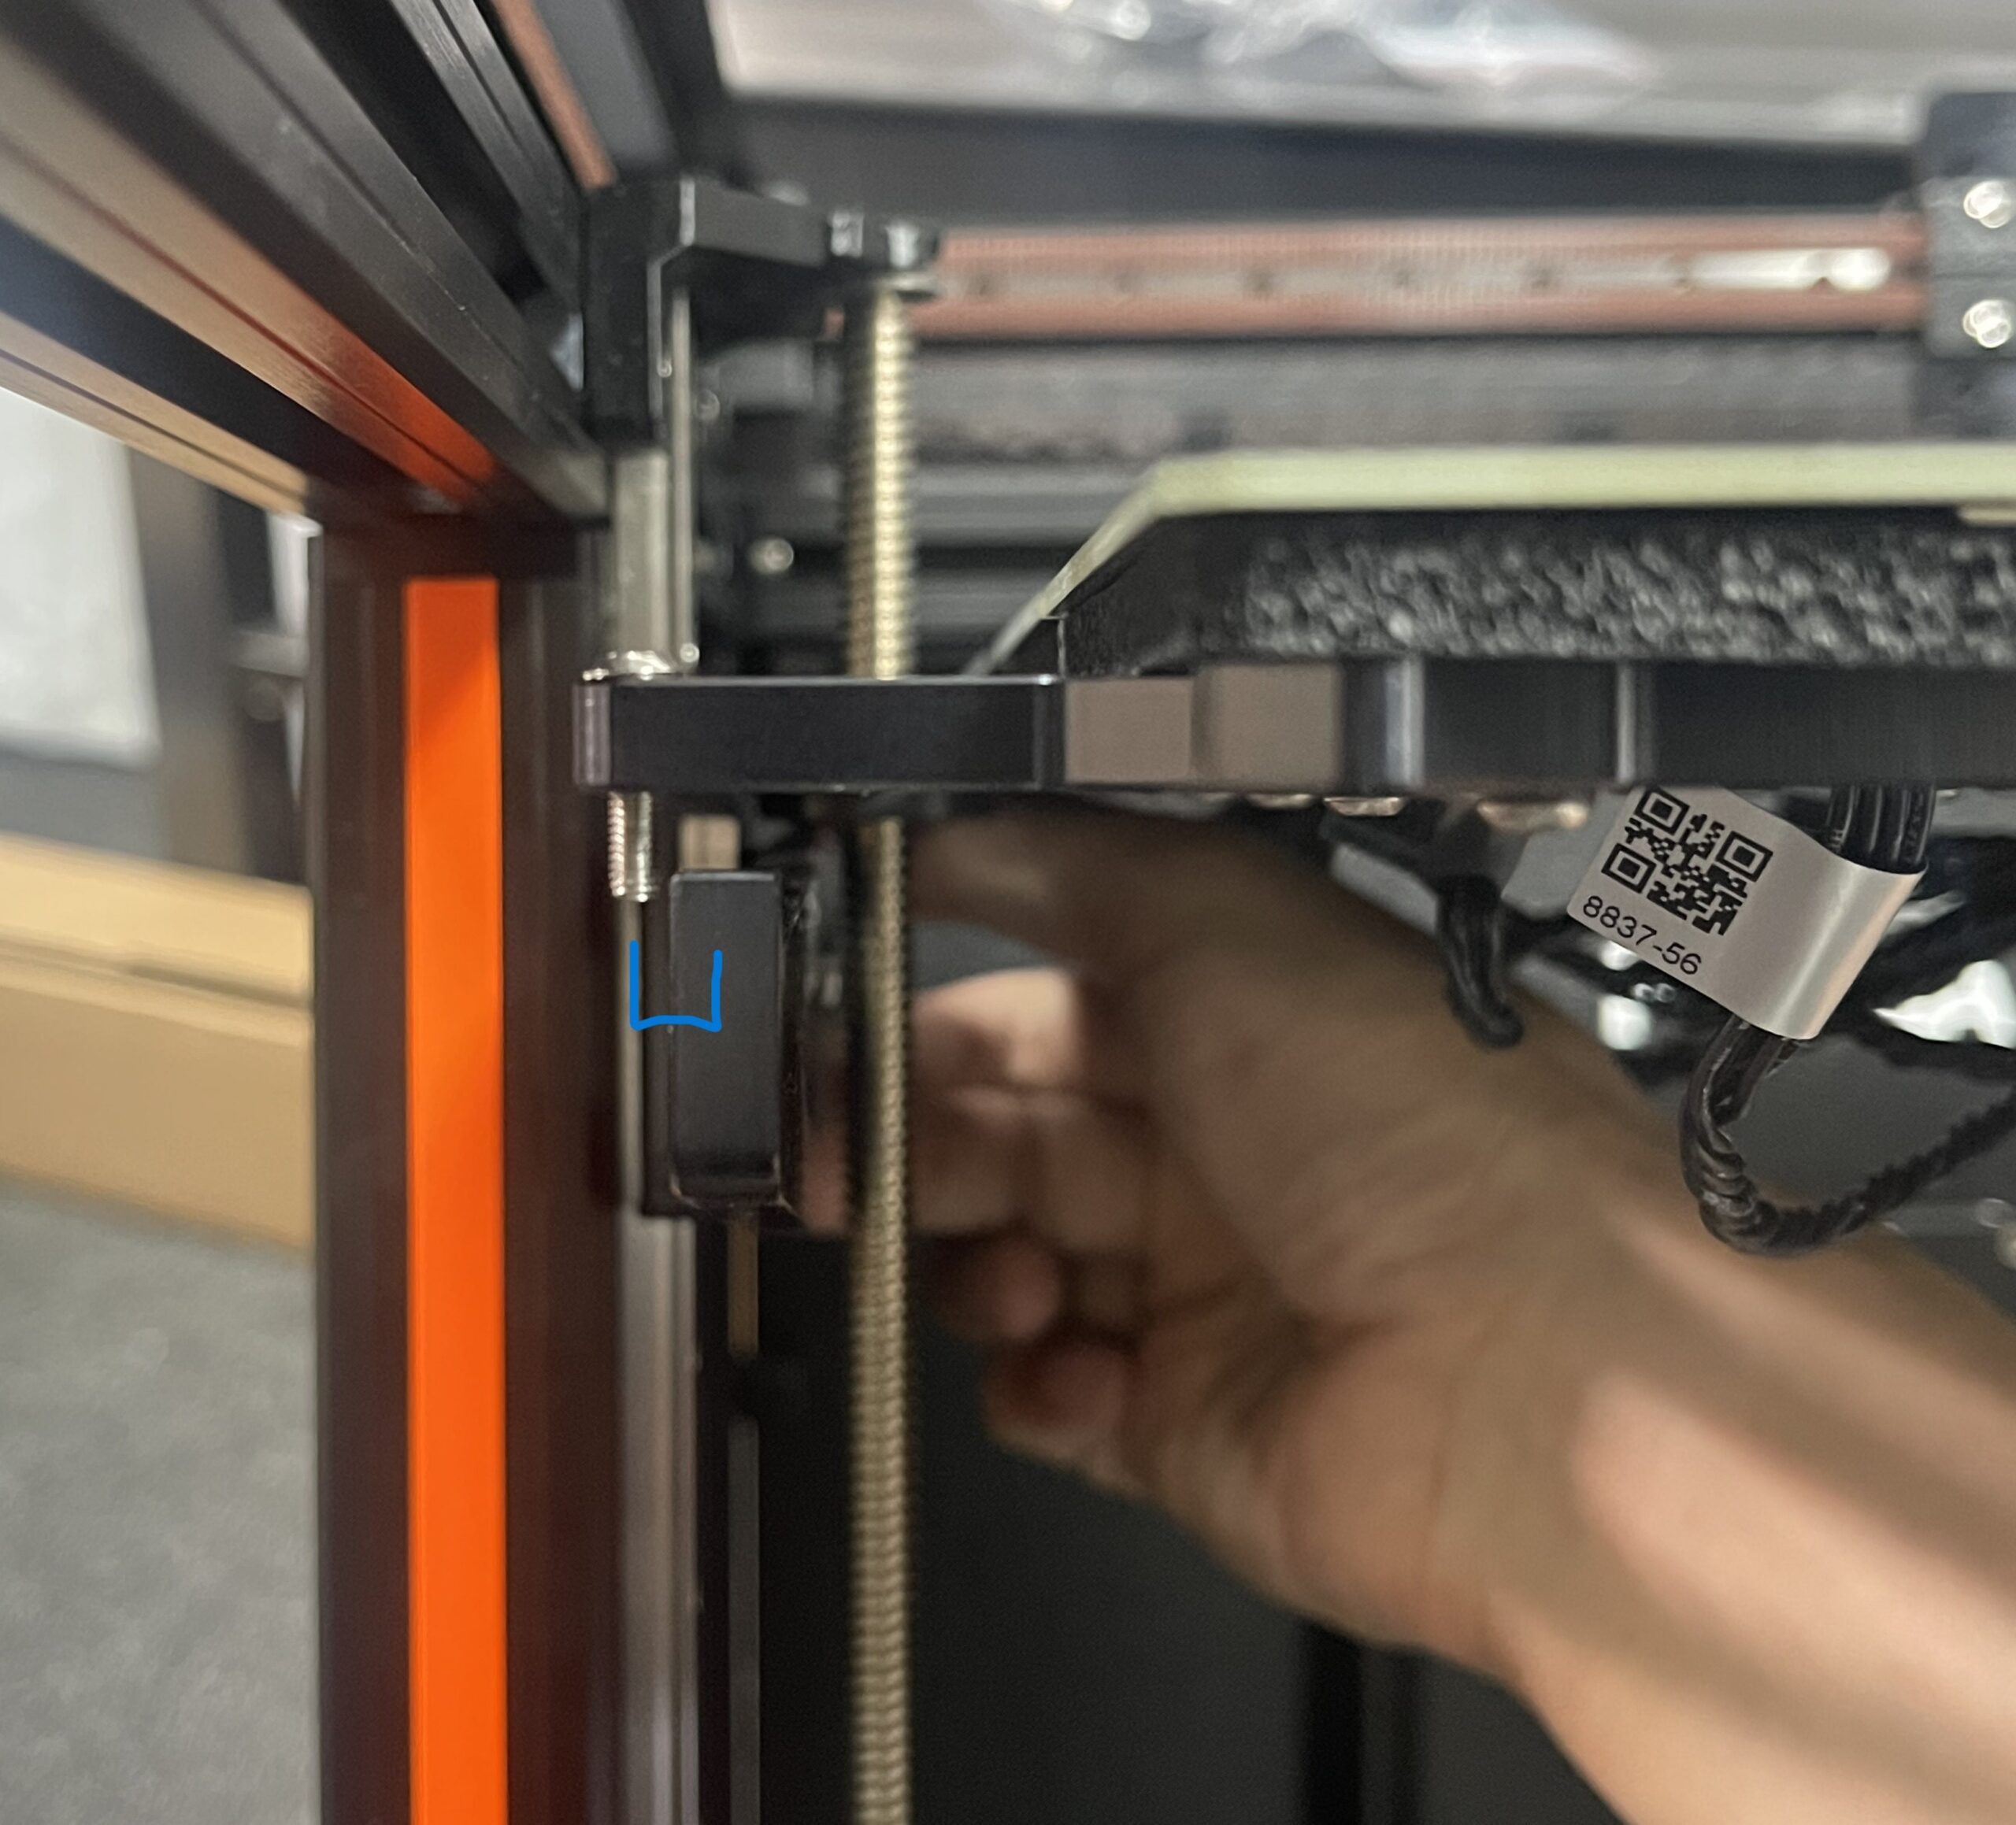
had the same issue during assembly but so far it didnt affect printing. just puts some preload on the rails...not sure if necessary or intended.
align the screw holes manually before inserting and tightening the last screw, there is enough flex in the z-A-frame
RE: hotbed assembly misalignment
Posting here for those future folks who may end up in this unfortunate situation.
(when i say left side, i mean when you are facing the front of the printer)
The heat bed should align perfectly with the Z-rails. If the left side of the heat bed is mis aligned by ~5mm like the photo above then you most likely didn't pay attention to the assembly steps in chapter 1 and make sure that the fixed Z-rail needs to be on the left side of the printer and the rotating Z-rail needs to be on the right side of the printer. and you wonder how do i know this? yes exactly thats how i know this.
the good news is that you wont need to completely disassemble the printer to swap the Z-axis assembly. you just need to swap the Z-axis rails.
the first problem you'll run into is that on the rotating z-rail, the screw is directly behind the threaded rod and inaccessible. so what you need to do is take the heat bed off the printer and put it aside, then remove the top bearing covers for the Z-rods. after you do that, the Z-rods can be bent slightly out of the way.
but first before you do anything further, you need to be careful not to slide the bearings off the top of the linear rail, so if you still have the green plugs that the rails shipped with, go ahead and put them back in in the top-most hole just below the screw. that'll keep you from accidentally sliding the bearing off the top of the rail. if you dont have the plugs, use something like non-marking tape and tape over the rail
after you've done this, slide the rail and bearing up till it stops on the green plug. using non-marking tape, put tape on the rail just below the bearing so it remains where it is and doesn't drop down to the bottom of the rail. do the same for the other side.
now you should be able to GENTLY push the Z rod aside enough to unscrew the single screw holding the rotating Z-rail. use the T10 tool that was provided with the printer. remove the rail, be careful not to lose the screw and washer. then you'll see a plate thats attached to the bearing with four screws. again using the T10 tool, remove that plate and put them aside somewhere safe.
on the fixed Z-rail side, all the screws are accessible, you don't need to push aside the Z-rod. four screws attach the Z-rail directly to the bearing. two screws attach it to some sort of metal spacer. unscrew the two screws and the metal spacer first and make sure to grab it before it falls off. then unscrew the four screws to remove the z-rail from the bearing.
now move the rotating Z-rail to the correct side (right side) and first attach the plate with four screws, then the rail on the plate. for the fixed Z-rail, if you try to screw the rail in before putting in the spacer, the spacer wont fit. you need to loosely attach the spacer to the Z-rail with the screws so it wiggles a bit, (be sure to match the angled side to the angled inset on the Z-rail, then loosely attach the Z-rail to the bearing with the four screws. once everything is loosely held together, evenly tighten down everything.
if you've done everything right, you should be able to drop the heat bed on the rail and the holes will all line up perfectly.