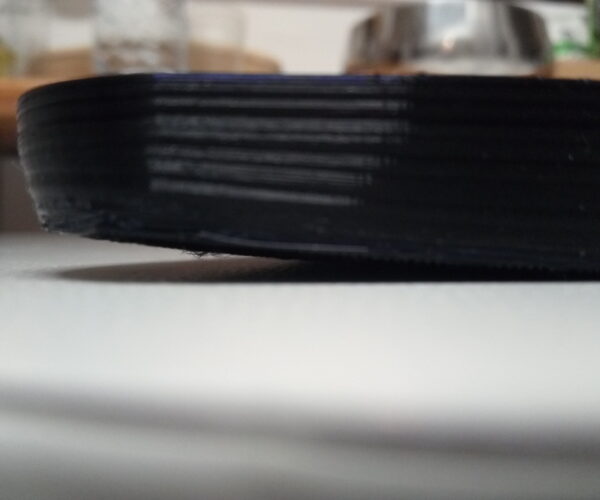
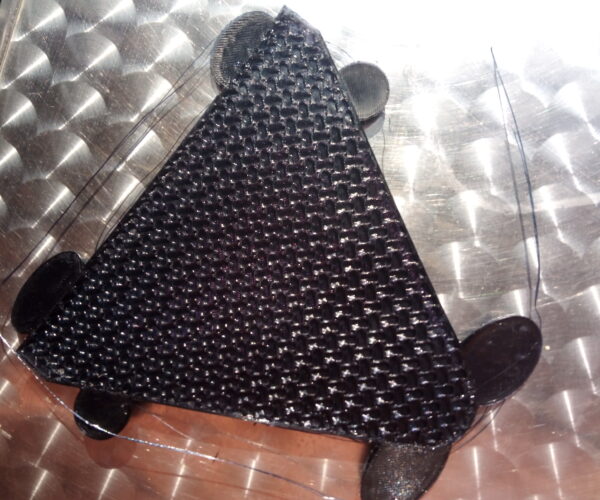
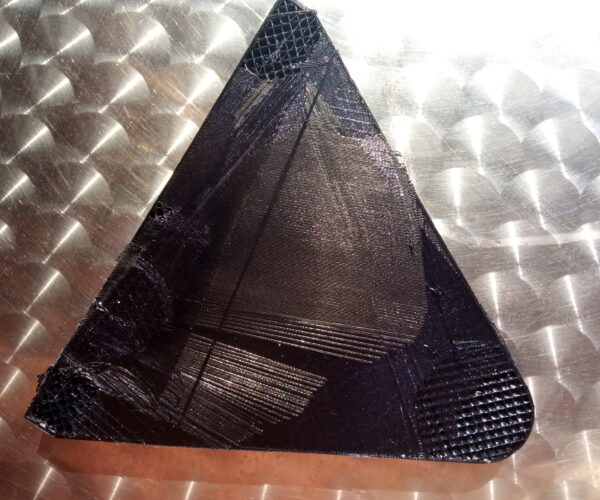
the print bending!!!😳
Hi
I am new to 3D printing.
For the first time I am printing fairly large material: a 15 cm per side triangle 2 cm high.Initially the prints went wrong. After a few levels the piece was coming off the bed because I noticed that the plastic (PLA) was curving upwards. I thought that maybe the bed temperature needed to be raised (it was 60°) . I raised it to 80° and things improved. The print had indeed improved, but when I got to a height of 1.5 cm I noticed that one of the vertices was lifting off the plate again.
For a while the printing was unaffected, but it didn't last long. If the piece bends upwards sooner or later the nozzle will touch the print. So it was....
I didn't know that in 3D printing there can be such a problem. Does it bend upwards because it cools down? Does it bend because there is tension due to the weave (gyroid in my case)? How do you solve the problem?
Thank you.
RE: the print bending!!!😳
To learn about why it happens, google for "warping in 3d printing". Plenty of stuff out there to understand what's happening.
It's most pronounced when trying to print large rectangular objects, which can be a challenge.
Assuming Live Z is well calibrated and the steel sheet is clean (using hot water and fragrant-free dish washing soap), here are a few approaches that have worked for me (copied/pasted from previous posts):
- Slow down print speed.
- Add Mickey Mouse ears to the corners. There's a "helper disk" in PrusaSlicer's Add Part library but I prefer to simply add a cylindrical, maybe 10mm diameter, change height to single layer height, then place the part at the corner. Repeat for each corner.
- Add a brim around the model, 5 mm or more. Wider or 2 -layer high brims may be needed but may not work with the size of the model or may require being added in your CAD software.
- Use Layerneer Bed Weld ( https://www.amazon.com/Printer-Adhesive-Layerneer-Original-Filament/dp/B079984GV5/ ). You only need a thin layer.
- If you have design control over your part and it's possible considering the intended use, you can try to round the edges and/or add holes to the base of the model.
- Combination of above. Usually, brim/ears does the job, or some Layerneer if needed, but large, rectangular objects can be a challenge.
- Also, drafts can encourage warping, so printing in an enclosure (with doors open for PLA) may help.
Formerly known on this forum as @fuchsr -- https://foxrun3d.com/
RE: the print bending!!!😳
The micky mouse ears work good
Please help me out by downloading a model it's free and easy but really helps me out https://www.printables.com/@Hello_474427/models
RE: the print bending!!!😳
Thank you very much.
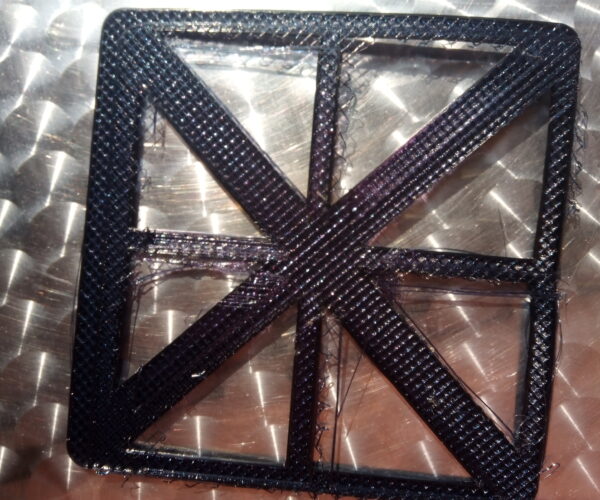
So there is confirmation that the material bends under certain conditions... This is no small defect... I found the design on the net. It is turned on a different plan (square with x cross - so base not filled completly).
To avoid waiting for the time of the necessary supports I thought of putting it on the solid side. I'll try printing it as it was shown (an extra hour), i see how the supports work (which I've never done), and we'll talk. However, I thought the type of filling might also be a problem. Of the remedies you gave me, it seems not.
Thanks!
RE:
From my own experience, Gyroid is actually one of the most forgiving of the infill types when it comes to part warping. Might have something to do with the isotropic properties, but compared to grid/rectilinear infills, it has meant the difference between lifting and non-lifting for me, even in PLA. Infill percentage does play a huge factor in this btw -- higher infill percentage will result in more warping due to higher internal strains.
If you want to play around with infill to address the warping, I would actually suggest the lightning infill method -- this will attempt to minimize the amount of internal structure actually required, and usually results in basically empty interiors for the lower portion of the model. This would allow the structure to establish itself without much internal strain before working inward at the upper layers. This is highly dependent on the part geometry though, so YMMV.
RE: the print bending!!!😳
Hi, here I am after all my trials.
I had a warping problem and tried to follow some of your advice. I tried with mikey mouse ears, but it got even worse! Even the ears didn't stick. I don't know if I worked well . I made them two millimetres high which seemed too much, but they still came off.
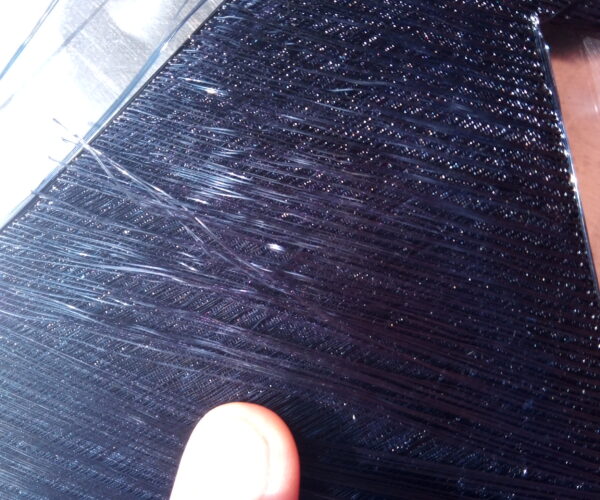
Ps :In this attempt I also had a strange problem: the first layer showed only strings! How could it fit better with such a first layer?
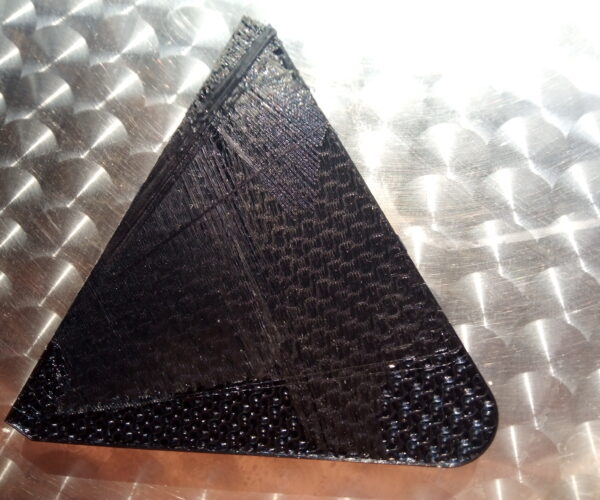
So, I tried changing the filling. From gyroid to linear. As you can see in the photos the print more or less stuck in the same place.
It had come off in the usual spot.
I therefore decided to print the other face of my object, a face that was not filled. After a couple of unsuccessful attempts (in one, the nozzle even managed to pull the plate off the machine and you can see in the photo that the print had shifted - I didn't realise this until a re-calibration told me there was a problem with the plate...😱)
after 17 hours (!) the print was successful. I have learnt new things so I thank you for your suggestions. Cu !
Glad you figured it out and happy to help
Please help me out by downloading a model it's free and easy but really helps me out https://www.printables.com/@Hello_474427/models
