Print Eyes Different Color?
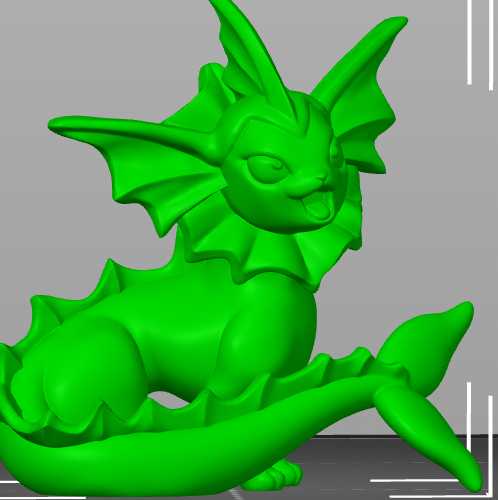
Are there any tricks to print eyes to be a different color with the Mini+, despite it only having a single extruder and not being compatible with the MMU? Some way to arrange the layers for example? Or, if not, how might I go about 'carving out' the eyes in PrusaSlicer to be able to print just the eyes and bond them in place? See attached model that I'm trying to work with. All else fails, paint will have to do. But new to 3D printing, so I don't know what I don't know!
RE:
There are ways to get multiple colors in a layer without a MMU. You'll have to prepare the model by separating the eyes from the body into separate parts. Then you can set "multiple extruders" in Prusaslicer and assign each to the eyes and body respectively. The printer will initiate a filament swap at right time to allow you to change colors. The downside is that the constant manual color swaps get really tedious the more layers you print that require swaps. For a recent example with three colors I published, see https://www.printables.com/model/336203 . The 3mf file shows you how to set things up.
Formerly known on this forum as @fuchsr -- https://foxrun3d.com/
Take a look at these threads:
https://forum.prusa3d.com/forum/prusaslicer/manual-multicolor/
Cheerio,
RE: Print Eyes Different Color?
Thanks! I’ll give it a whirl…lots to learn
RE: Print Eyes Different Color?
With the object you showed, it will probably require dozens of swaps. Multicolor prints that work best are designed to minimize swaps, with an entire layer or an entire section of a layer being a different color. For something like you showed with curved surfaces that aren't really a seperable object, I'd just paint the eyes.
If you can limit the number of swaps by designing the object correctly, color changing on the Mini works well.
A very important concept in 3D printing is to design the object to be printed, knowing the possible issues and minimizing to them. For example, anything where the top of an object is larger than the bottom, causing an overhang, will reduce quality. Many objects you download have never actually been printed to see what issues there are. I've found it more satisfying to design things myself. I'd suggest you find and learn a CAD program and make the things you want.
You can search the forum for recommendations.
Regards,
Mark
RE: Print Eyes Different Color?
With the object you showed, it will probably require dozens of swaps.
Ah. I was afraid of that. Way too impractical then.
I've found it more satisfying to design things myself. I'd suggest you find and learn a CAD program and make the things you want.
Good point. Better to spend that same time learning something productive for the next print than tediously getting the desired result but being in no better position next time.
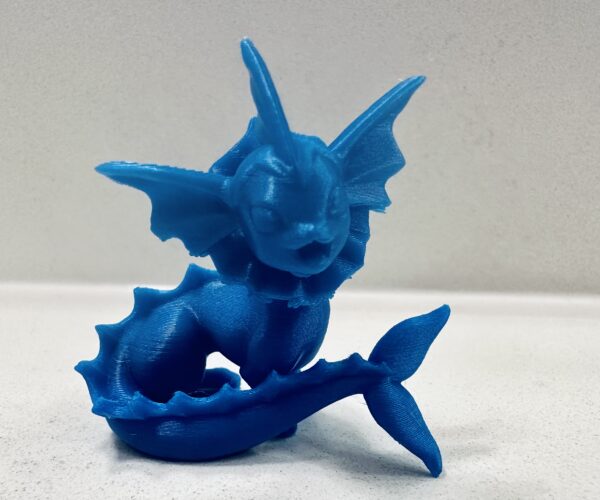
My son and I sliced this Pokémon from an STL file we downloaded. Maybe a good intro to self-modeling will be to try to edit the STL file somehow. With more Pokémon likely in the production line, I’ll have to research best design practices for faces and bodies.
thanks!
RE: Print Eyes Different Color?
You've brought up another point of annoyance for me. An STL file is very difficult to edit, as it defines the final shape only, without the original geometric information as to how the shape was constructed. Look for models with the original CAD files. They are not common.
One trick you can do with STL files that Prusa Slicer can do is to cut them into pieces and print them individually, and then glue the pieces together.
The figure you showed is very difficult to print. It has holes all over and the overhangs everywhere. I can't see the whole thing, but, for example it might be possible to cut it into two pieces, each with a big flat side on the bed, and glue them together.
Try printing it as is and see what happens. Then you can see problem areas. I'm sure it will need supports to be enabled and that lowers the surface quality. For things like this with all the holes and curves, a resin printer can do better, but they have their own issues.
Regards,
Mark
RE:
Try printing it as is and see what happens.
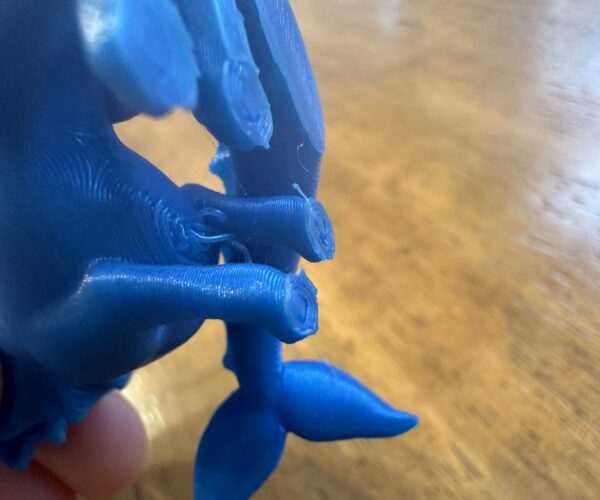
My novice eye thought it turned out quite good. Had to clean up a small trouble area near the back of the neck. And there are still a few places you can see on the underside of the “beard” and between the front legs. Given how difficult of a print this sounds, though, seems like I should be pleased with the Mini’s performance and calibration. But might just be that this was printed at small scale, about 2 inches high. And, yeah, just paint the eyes on this one!
RE: Print Eyes Different Color?
How can I print eyes in a different color on a single-extruder Prusa Mini+ without MMU? Can PrusaSlicer modify the model to print and bond separate eyes? Seeking alternatives to painting for a project resembling Koziol Eye Care's precision!
RE: Print Eyes Different Color?
this is an old link, but the process is still similar,
https://forum.prusa3d.com/forum/original-prusa-i3-mk3s-mk3-how-do-i-print-this-printing-help/acting-as-my-own-mmu/#post-100939
I would set a profile with two virtual extruders , and set single extruder - multimaterial, and set the custom Gcode> tool change gcode to M600
then I would use the paint tool to colour the eyes
then when the print runs, change the filaments manually each time the printer reaches an M600 code.
Please be aware there will be an aparrently un necessary colour change just after Mesh bed levelling, make sure you change to the preferred body colour on this change.
it's a bit of a faff, but it gets the job done.
joan
I try to make safe suggestions,You should understand the context and ensure you are happy that they are safe before attempting to apply my suggestions, what you do, is YOUR responsibility.Location Halifax UK


